Golden milk buns

One of our favourite discoveries of the past year has been golden milk for breakfast. Especially in the winter this is a lovely alternative to tea for the small ones, and they love grinding the cardamom up in the mortar & pestle and adding the neon turmeric (200ml milk, 1/4 tsp turmeric, 1/4 tsp cinnamon, 1 tsp raw honey, 3 cardamom pods ground/crushed. warm through, strain and serve). Ever since the kids were teeny I've made a point of telling them about the different powers carried by the food they eat, it helps to add both wonder and reason to meals - avocados make your hair sparkle and shine, tomatoes help to keep your skin safe from the sun, lentils make your brain and muscles strong, bananas help you to have sweet dreams... etc. Turmeric is worshipped as a superfood, coming into your body to help fight off bugs and keep you at your sharpest. We incorporated our golden milk and all its powers into a yummy twisted bun, after being inspired by a pre Christmas post from Twigg Studios. These are another easy one for kids to prepare, delicious for breakfast if you can get out of bed on time, or as a handy snack. We were all off to the women's march in London the next morning and needed something to set us up and to pack for snacks through the day.  I've also adapted them to make a gluten free golden muffin. Both are sugar & dairy free (substitute coconut oil if you don't have butter). 

IMG_2503.JPG

Golden Milk Buns

300ml almond milk (or other unsweetened milk of your choosing)
1 tbsp ground turmeric
6 pods cardamom, crushed in mortar and pestle or with the back of a spoon
360g strong white bread flour (preferably organic)
1 sachet/7g fast action yeast
1 tsp salt
115g coconut sugar

to fill:
230g coconut sugar
2 tbsp cinnamon
3 tbsp melted butter

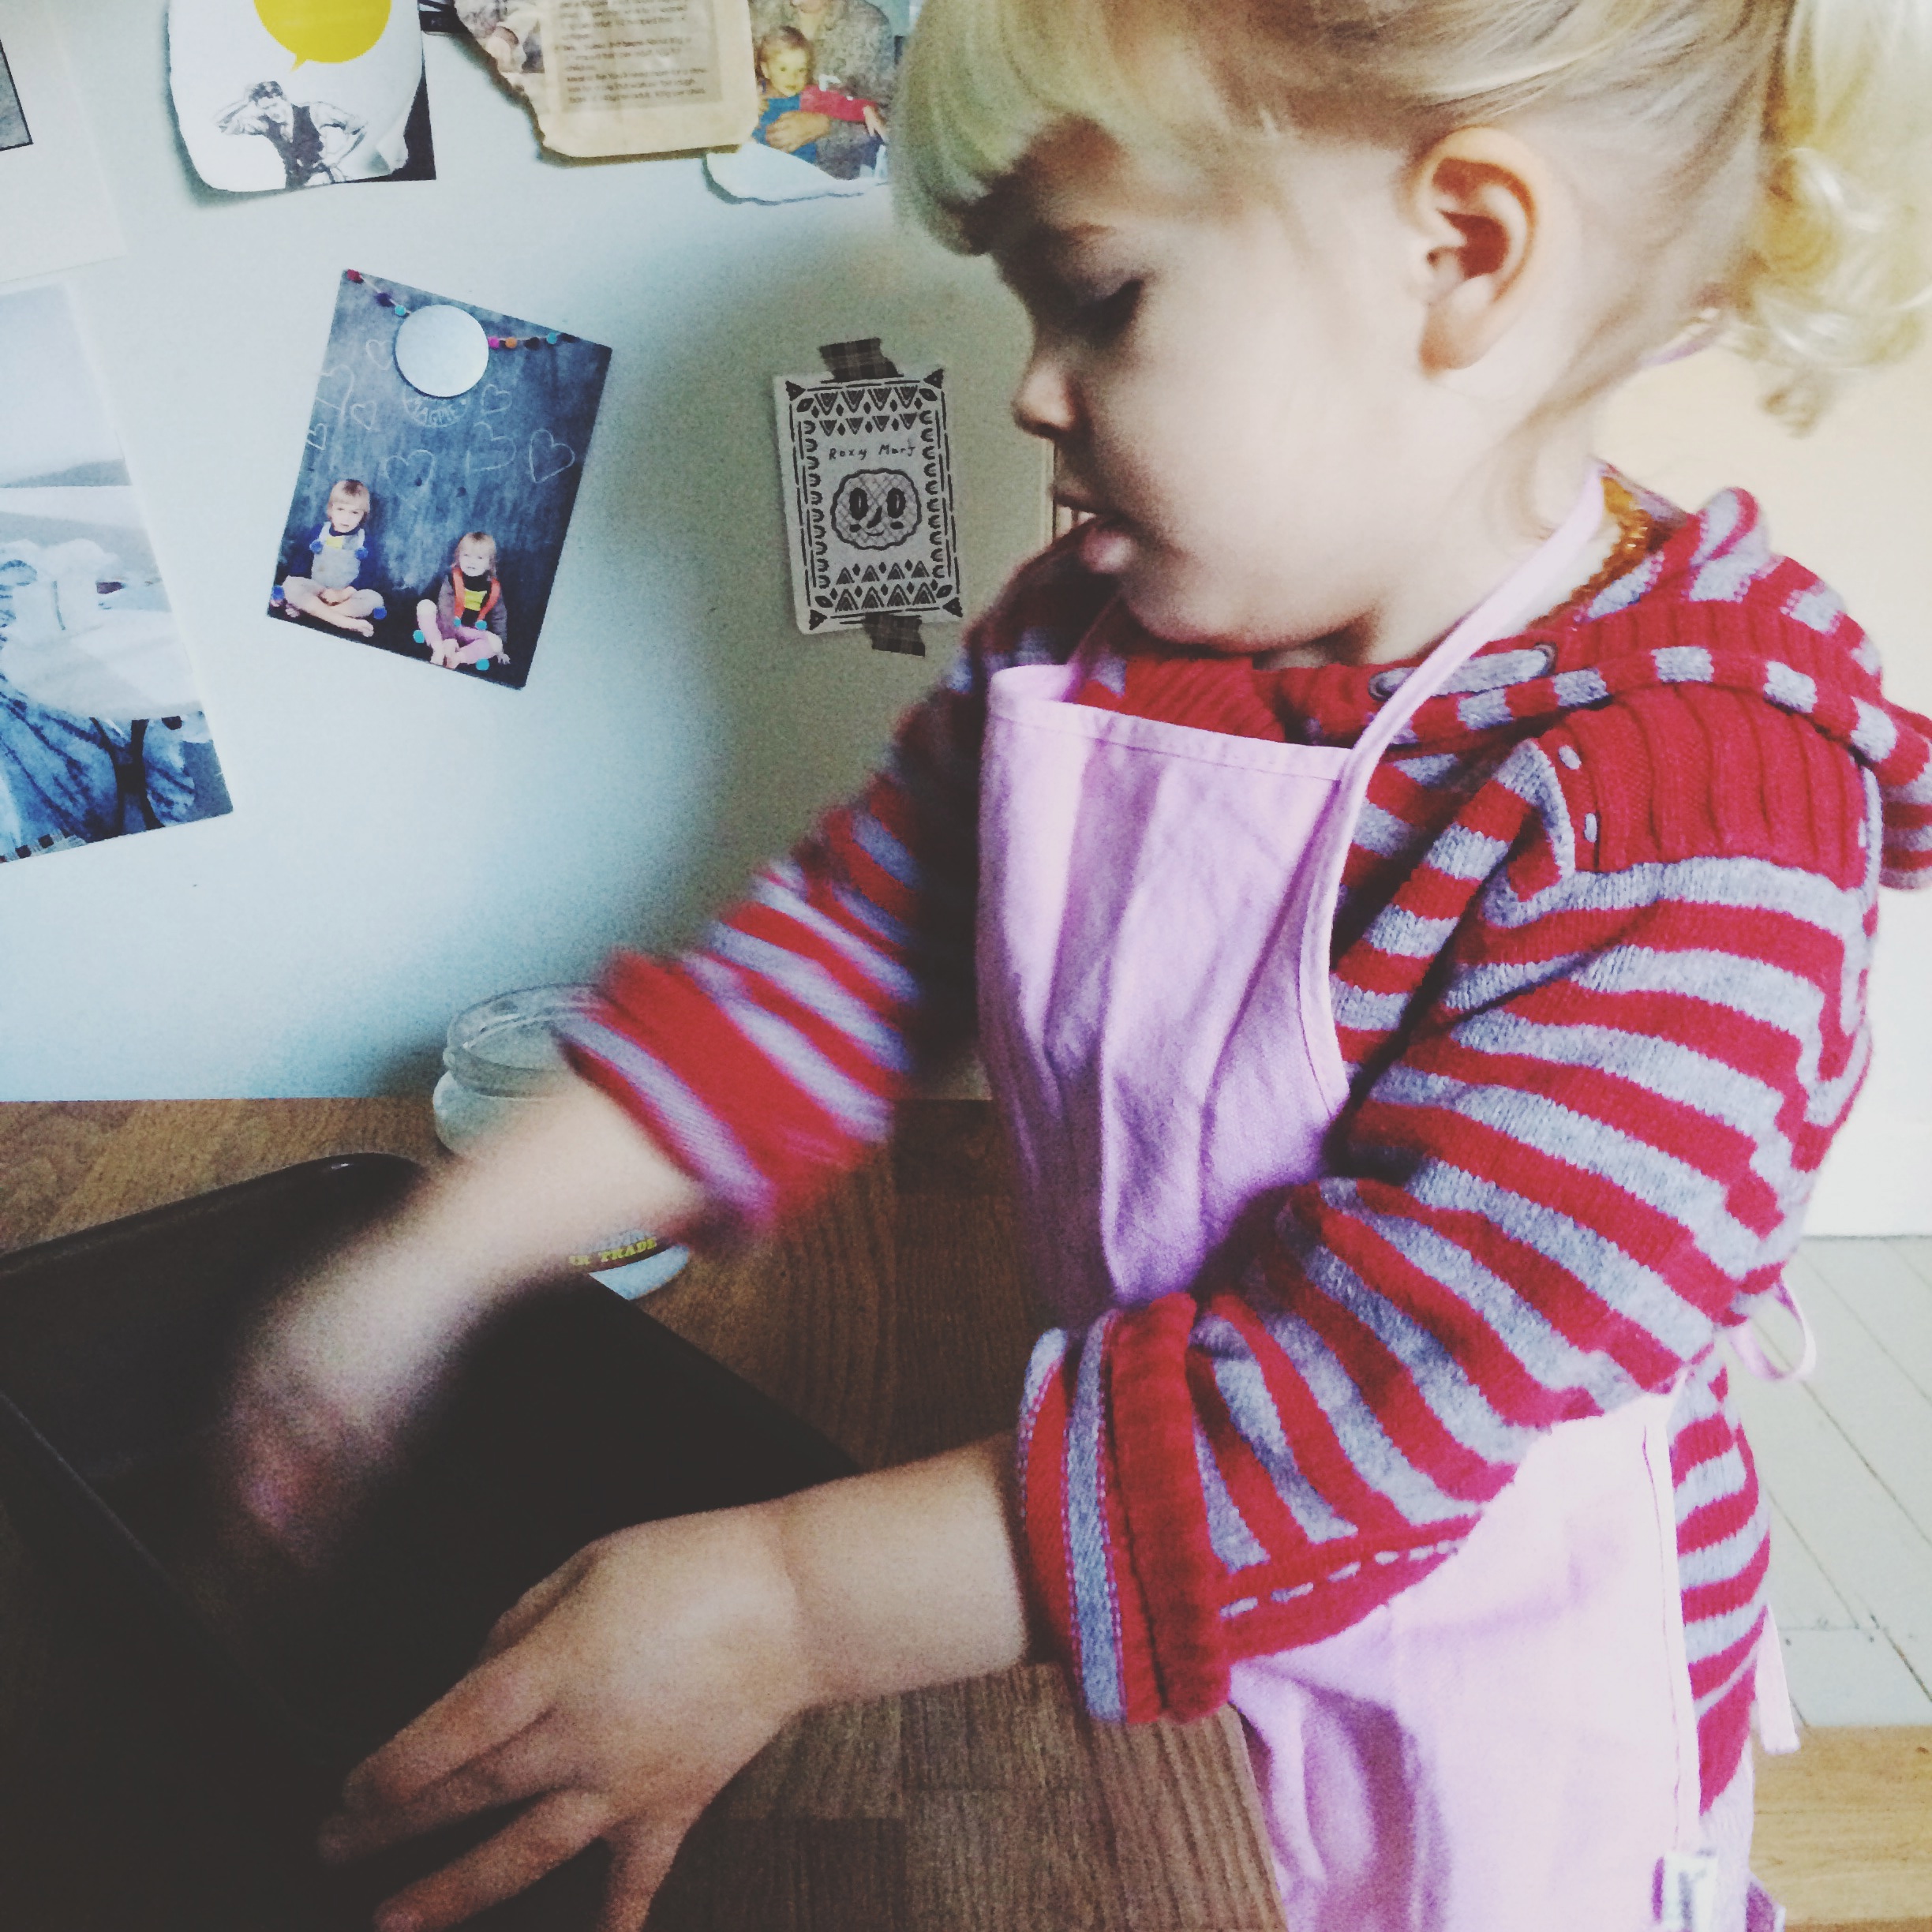
Warm the milk, turmeric and cardamom in a pan until hot but not bubbling. Strain into a jug and top up to 350ml with cold water.  Add the dry ingredients to a bowl and mix, then add your golden milk little by little whilst mixing. This is a fun pouring/mixing one for kids, but be careful as turmeric definitely stains anything and everything a lovely fluoro yellow!  The dough needs to be mixed and kneaded until it isn't too sticky, without adding more than a sprinkle more flour. Let the kids loose to pummel it for a good five minutes, then pop it in the fridge in an oiled tupperware/covered bowl overnight. If you don't want the buns for breakfast you can just leave it to rise for an hour or two somewhere warm until doubled in size. I like how this is easily split into two parts as it helps with short attention spans. We made the dough as a group after school, then split it in half and each family tackled the bun prep the next morning separately. 

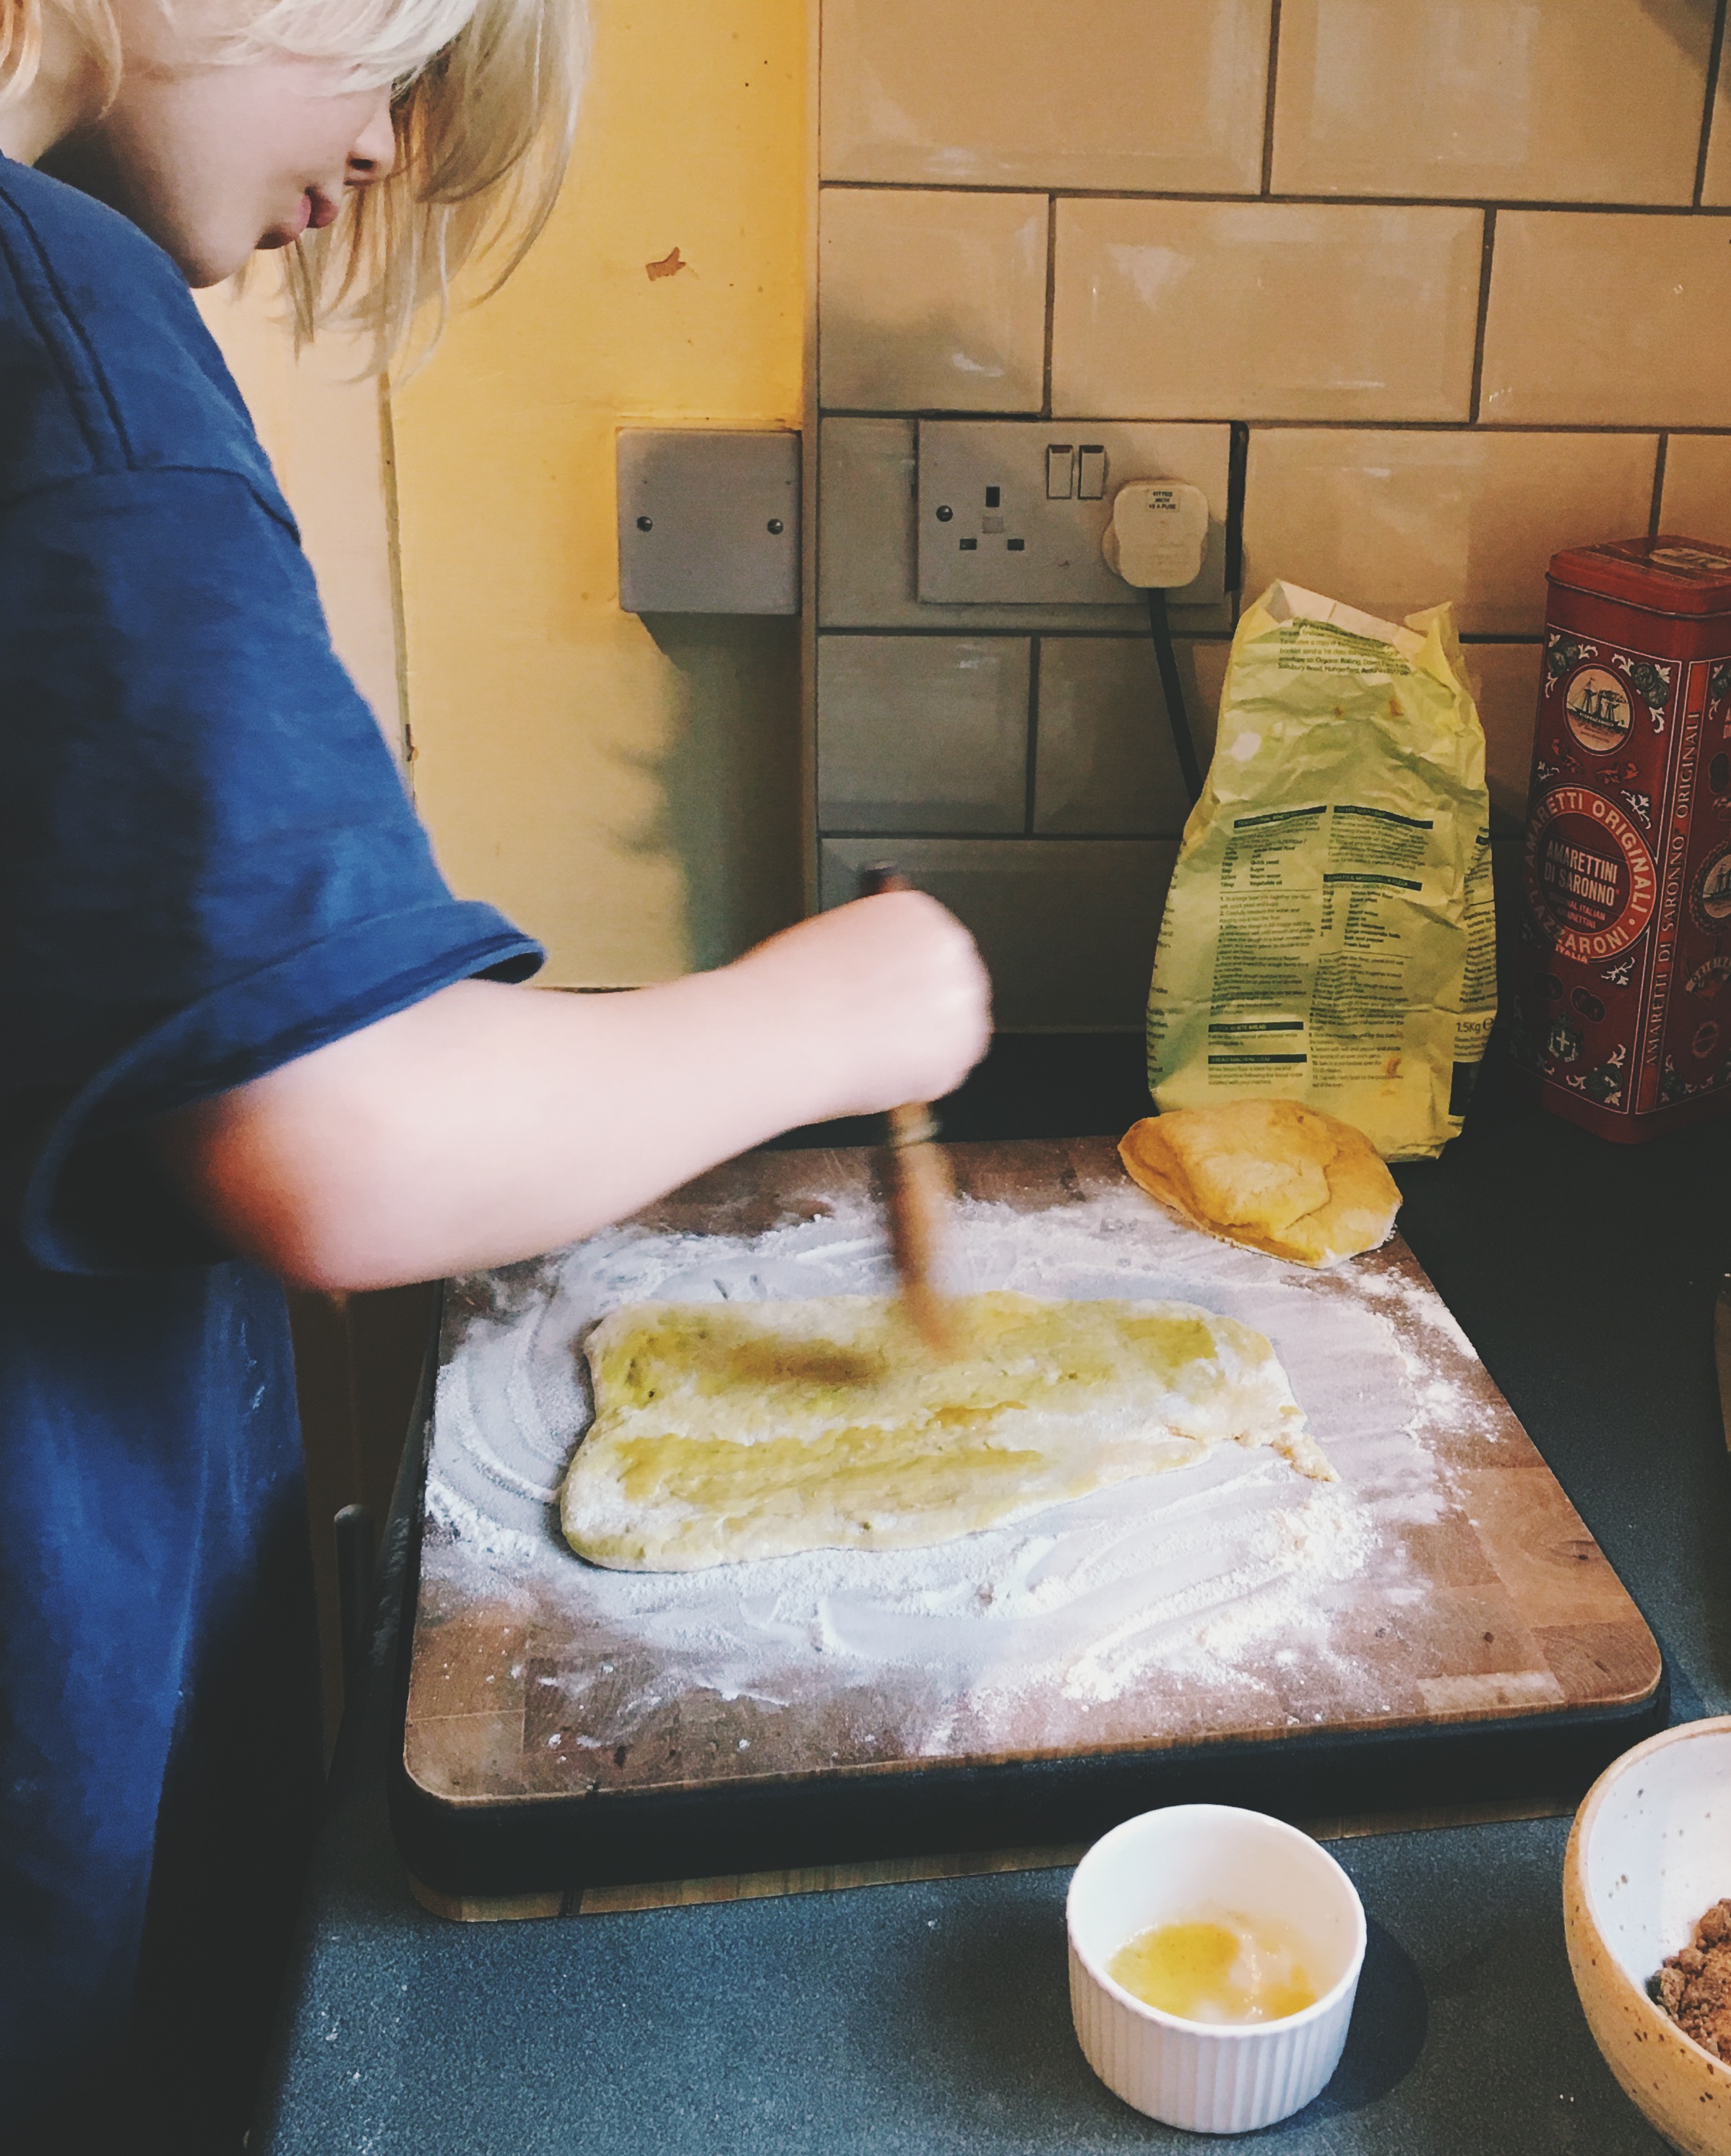
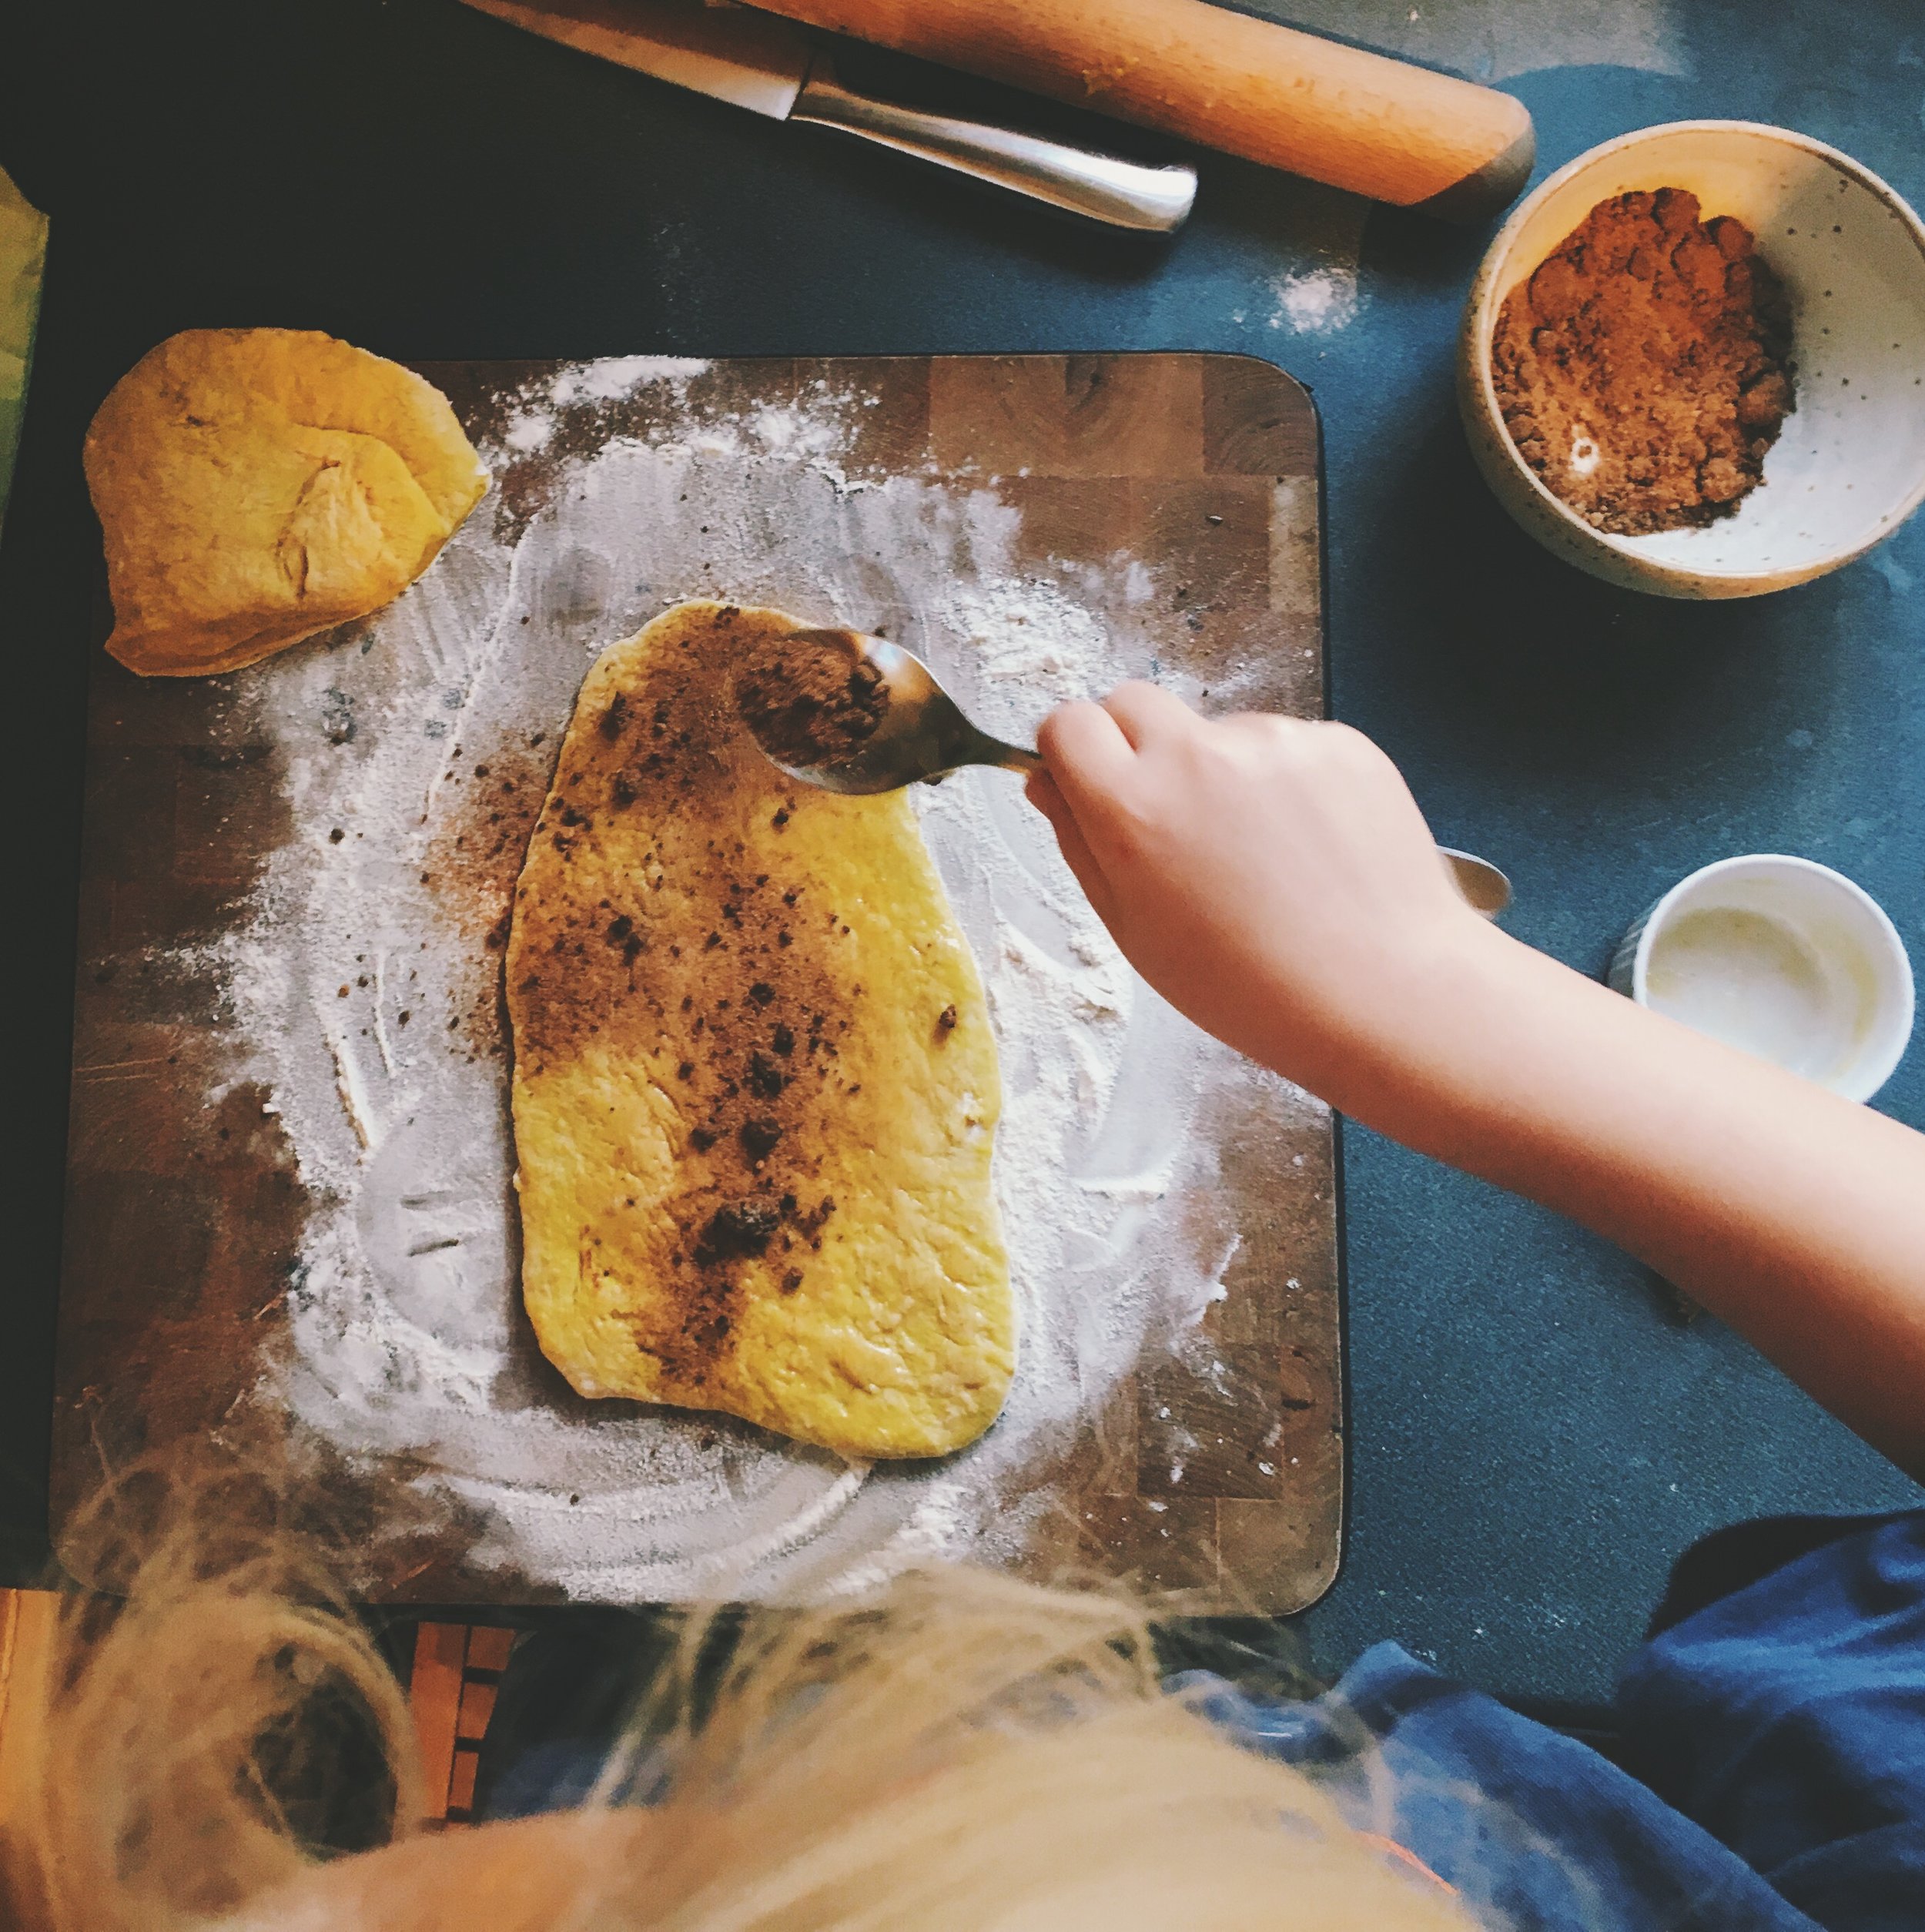
Next morning, remove the dough from the fridge. Because it is cold it will be easier to work with. lightly flour a surface and roll your dough out into a large rectangle(ish) shape - my kids are competitive roller-outers so we made two smaller rectangles, which is also fine. Mix together your coconut sugar and cinnamon, and pop the melted butter/coconut oil into a little dish. Use a pastry brush to coat the pastry with melted butter, then sprinkle the cinnamon mix over the dough rectangle (or one of them, if you've made two). Fold your rectangle in half and press the edges together. If you have made the two smaller rectangles, simply place one on top of the other and seal the edges. 

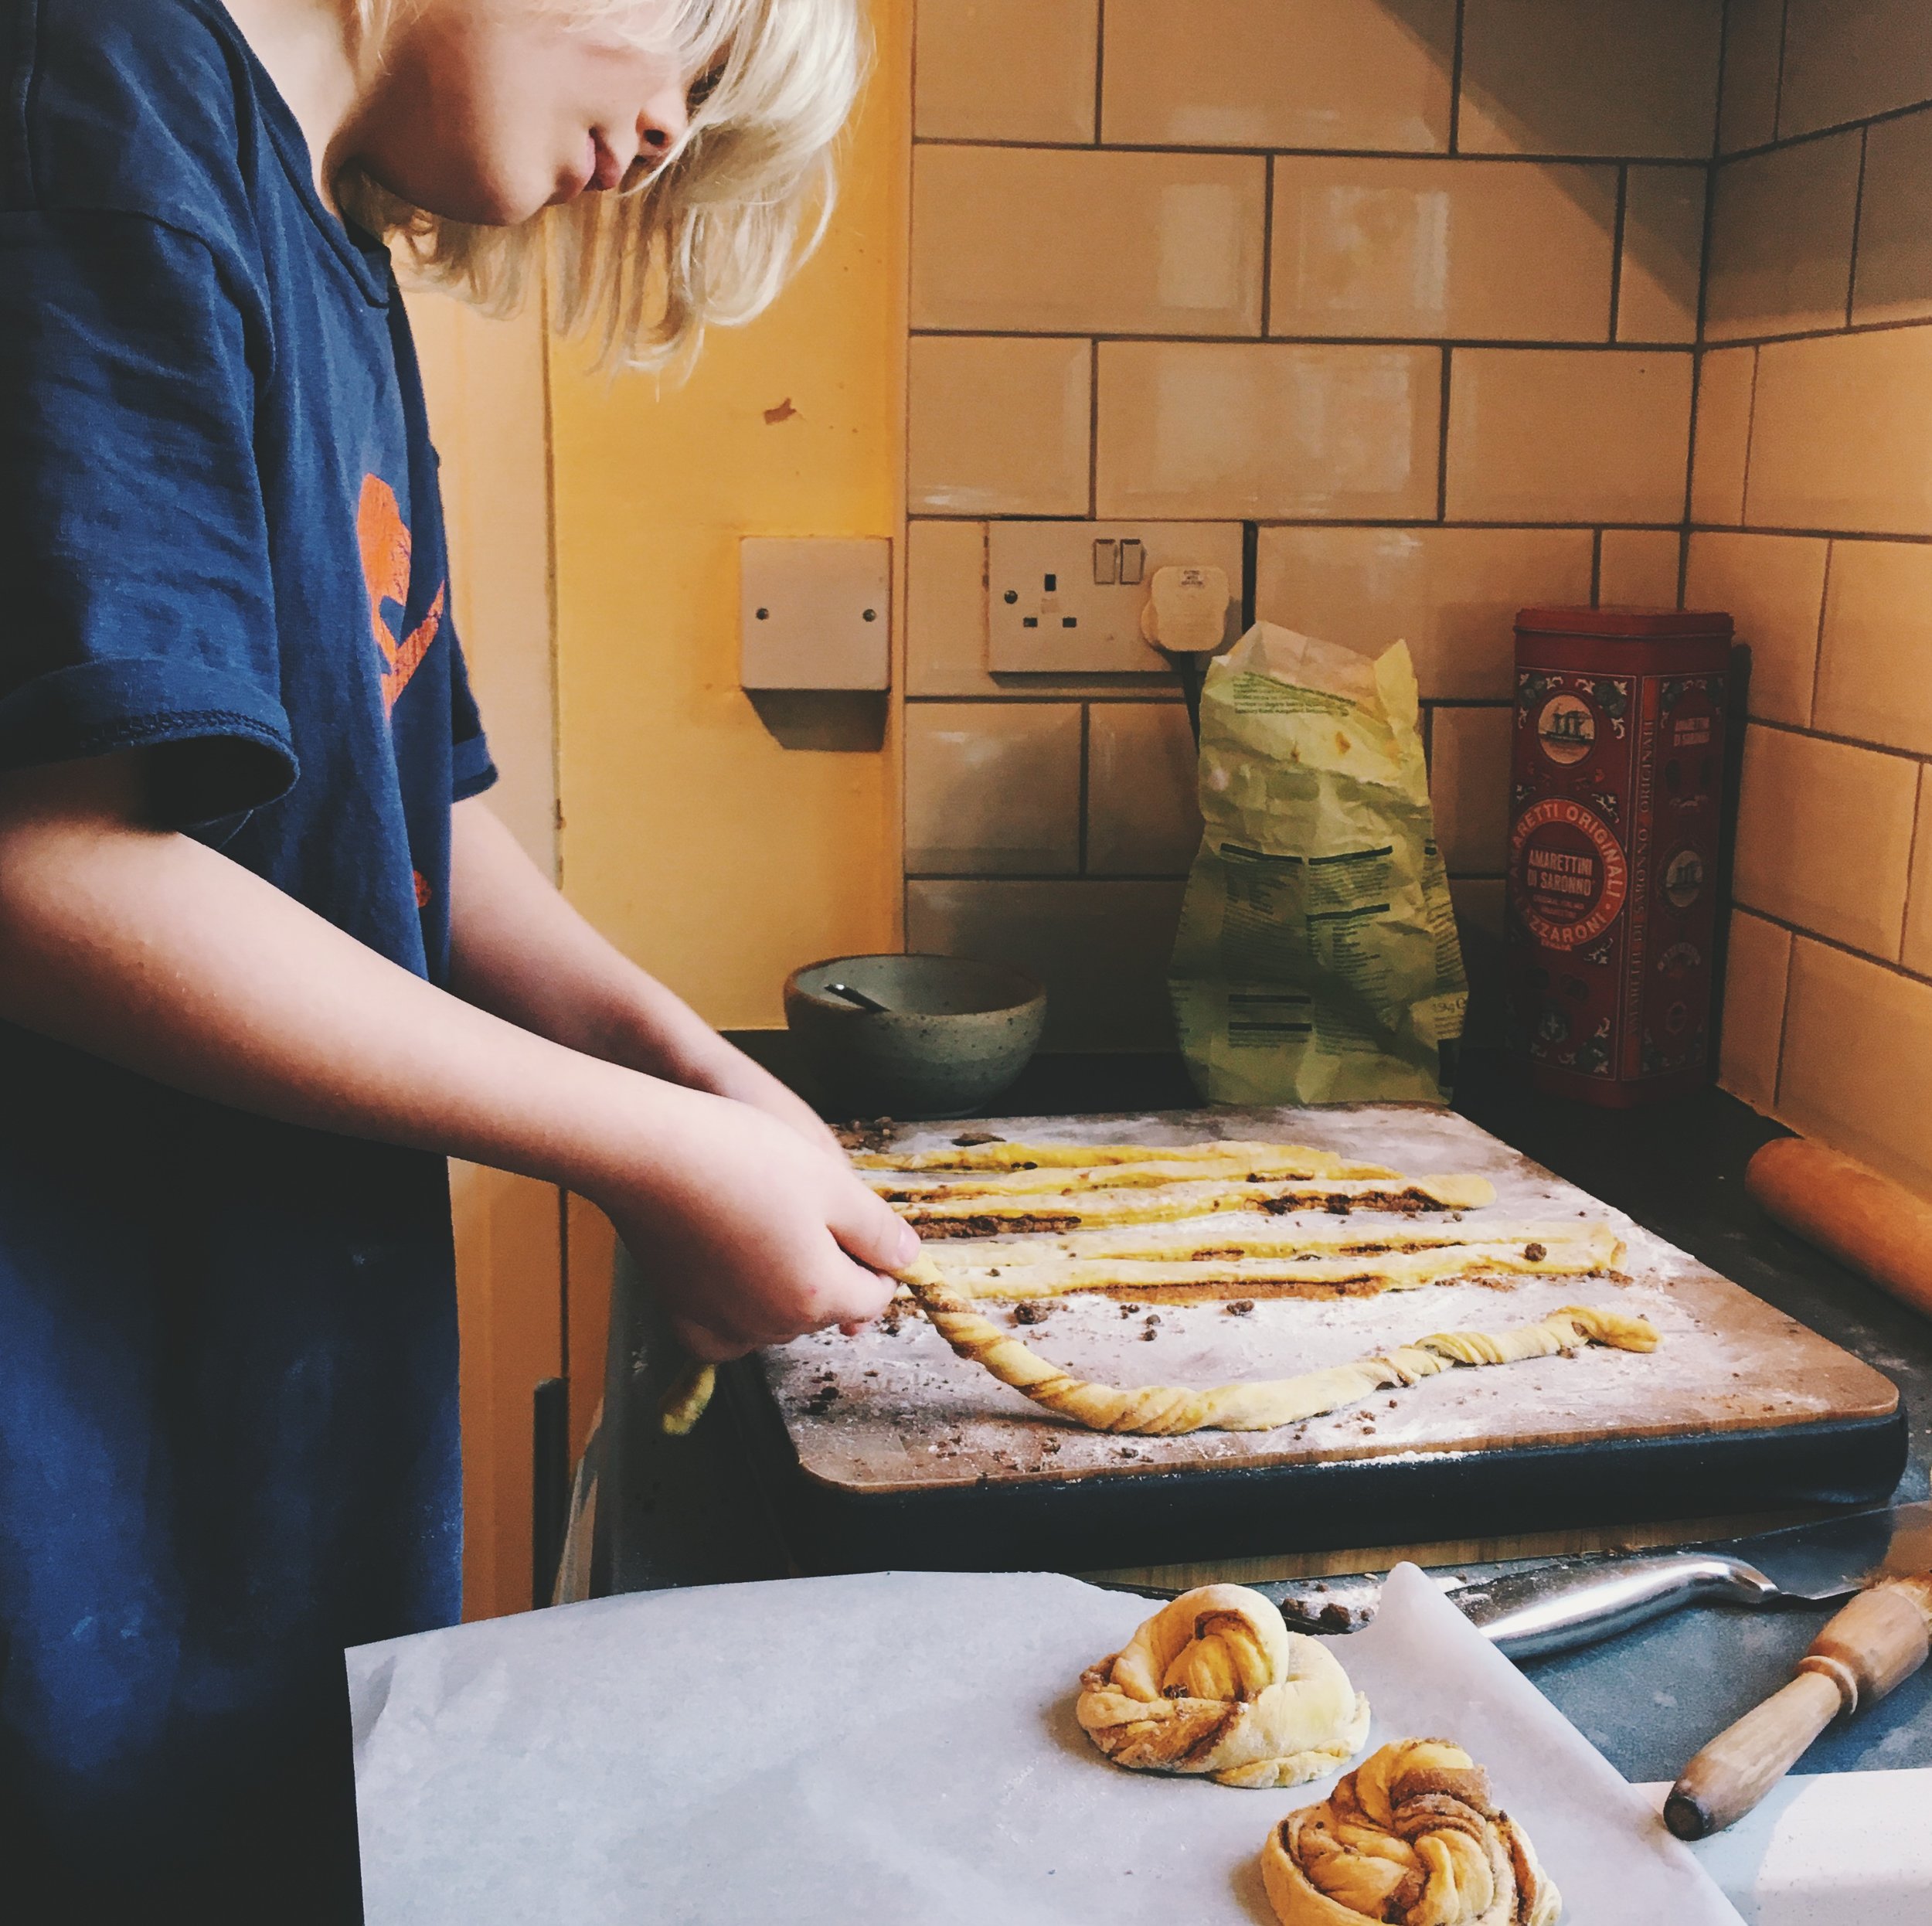
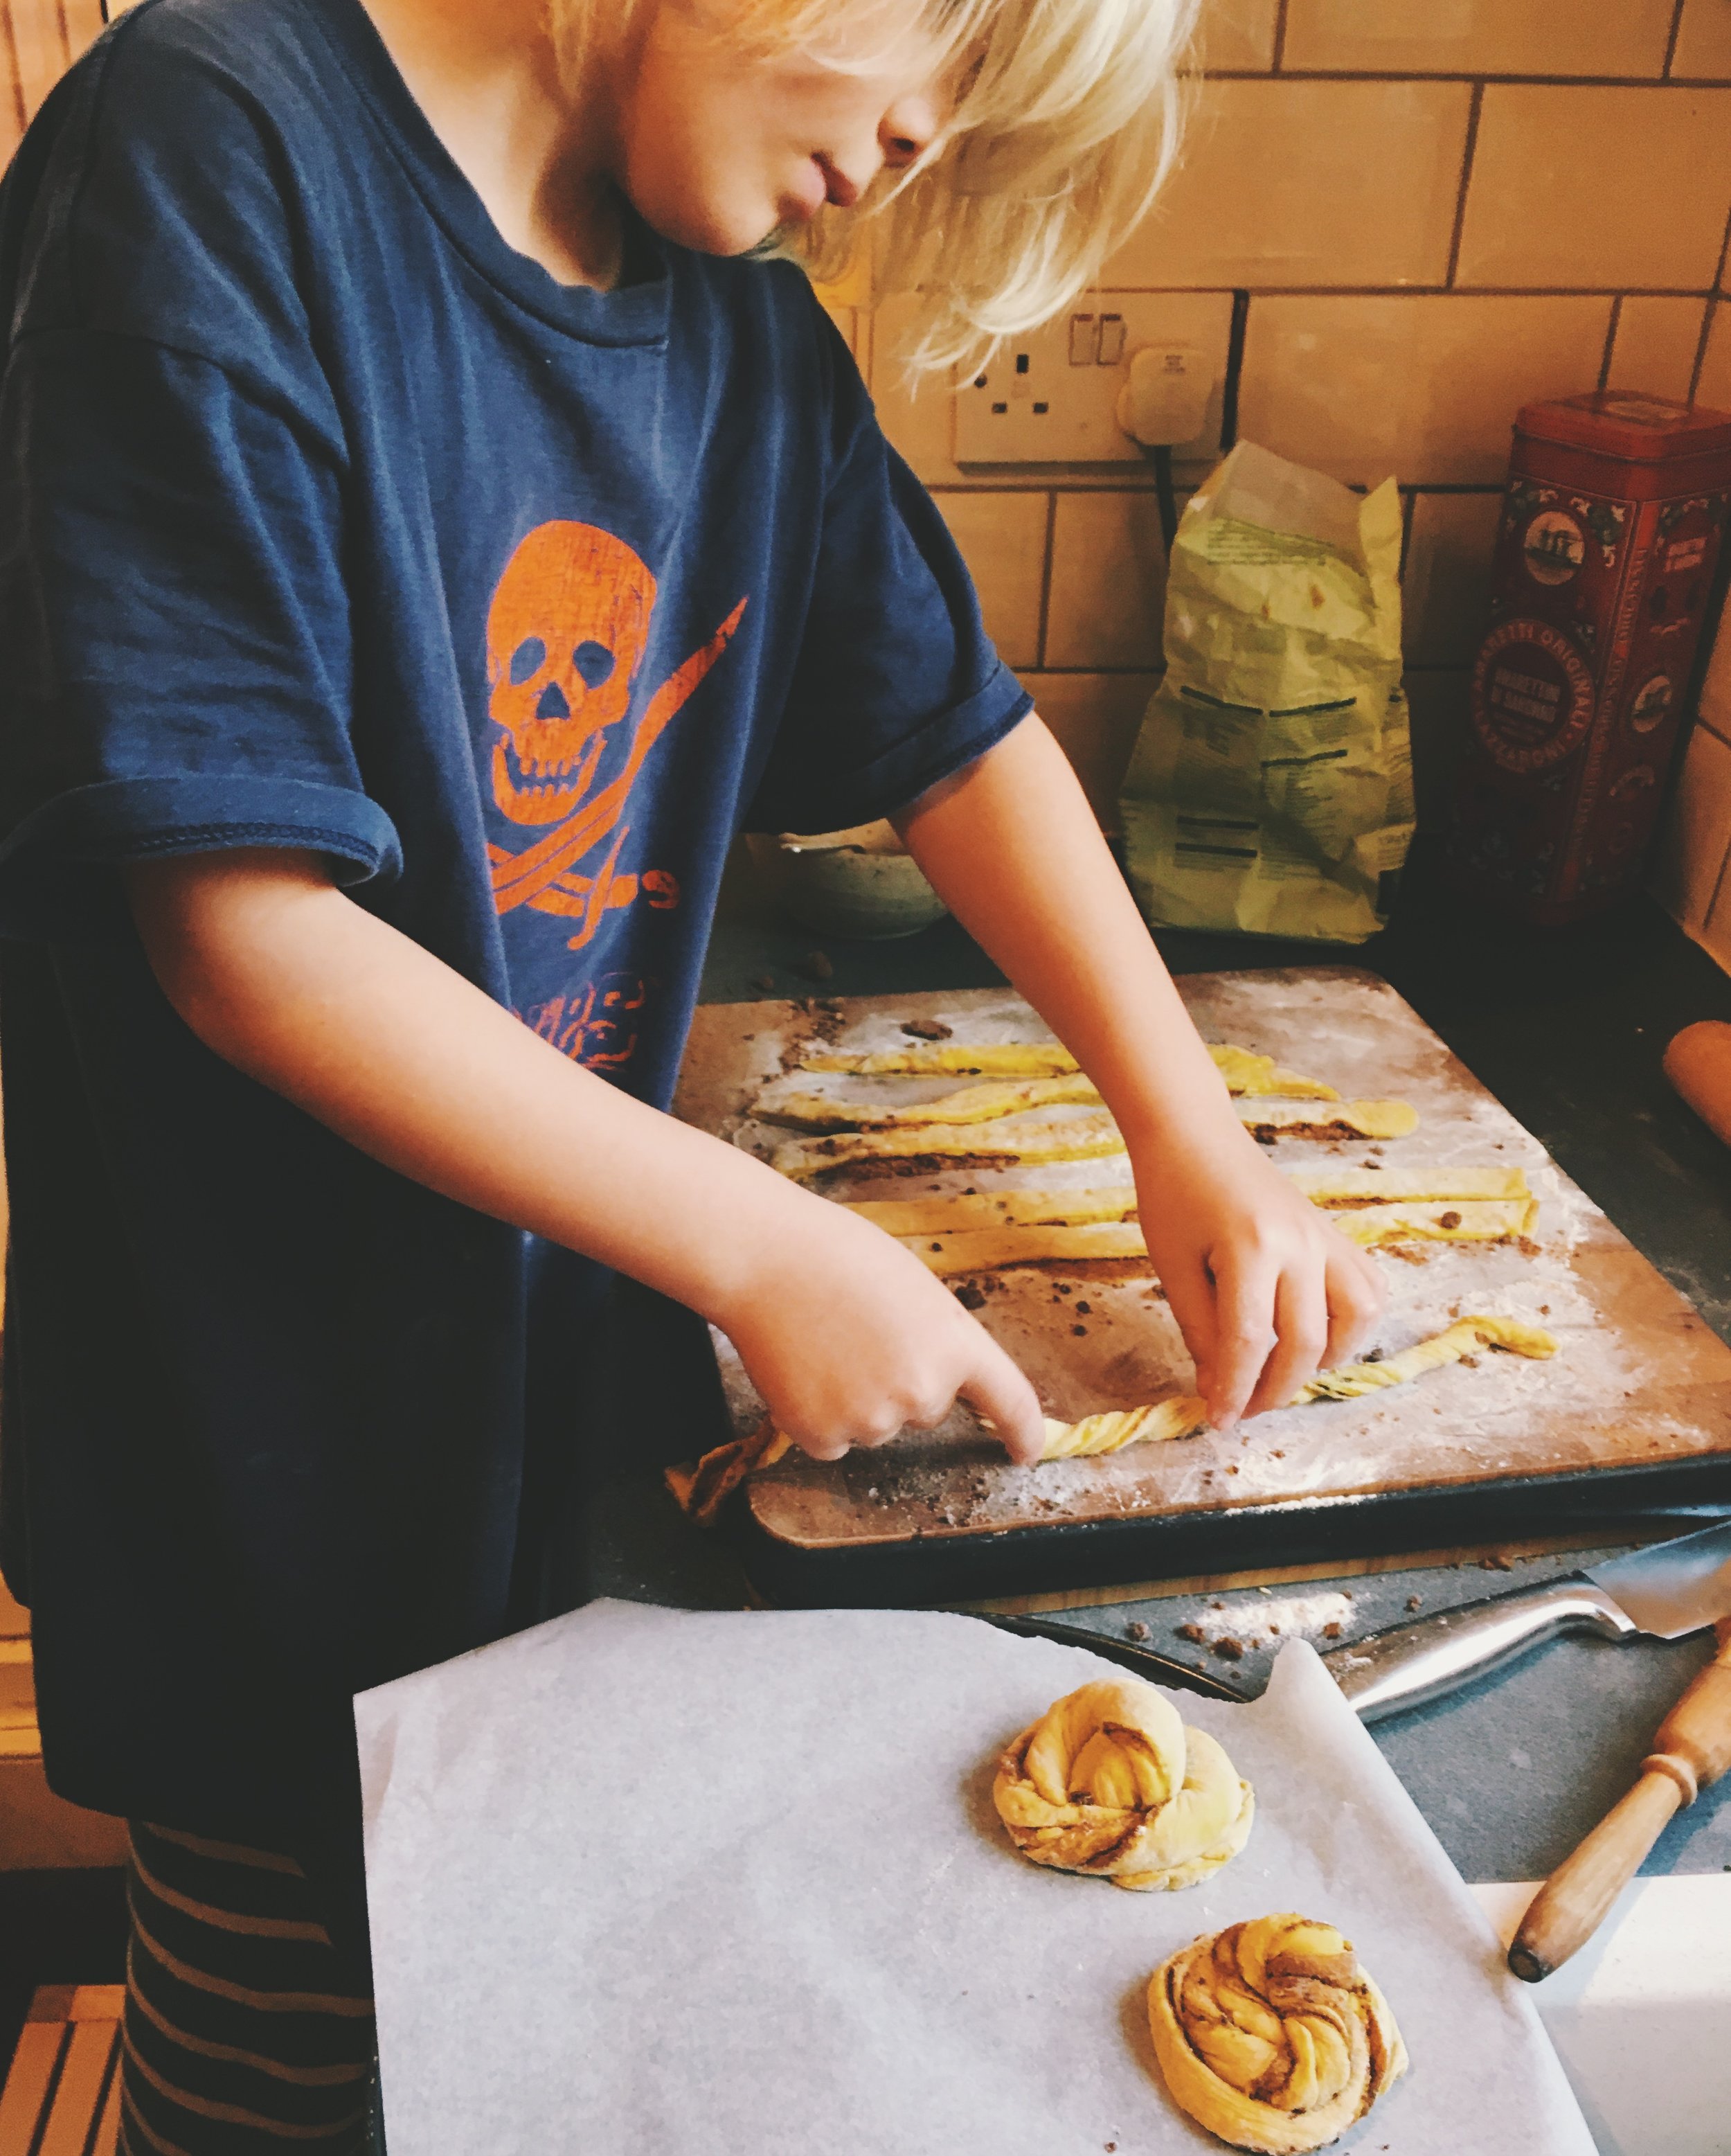
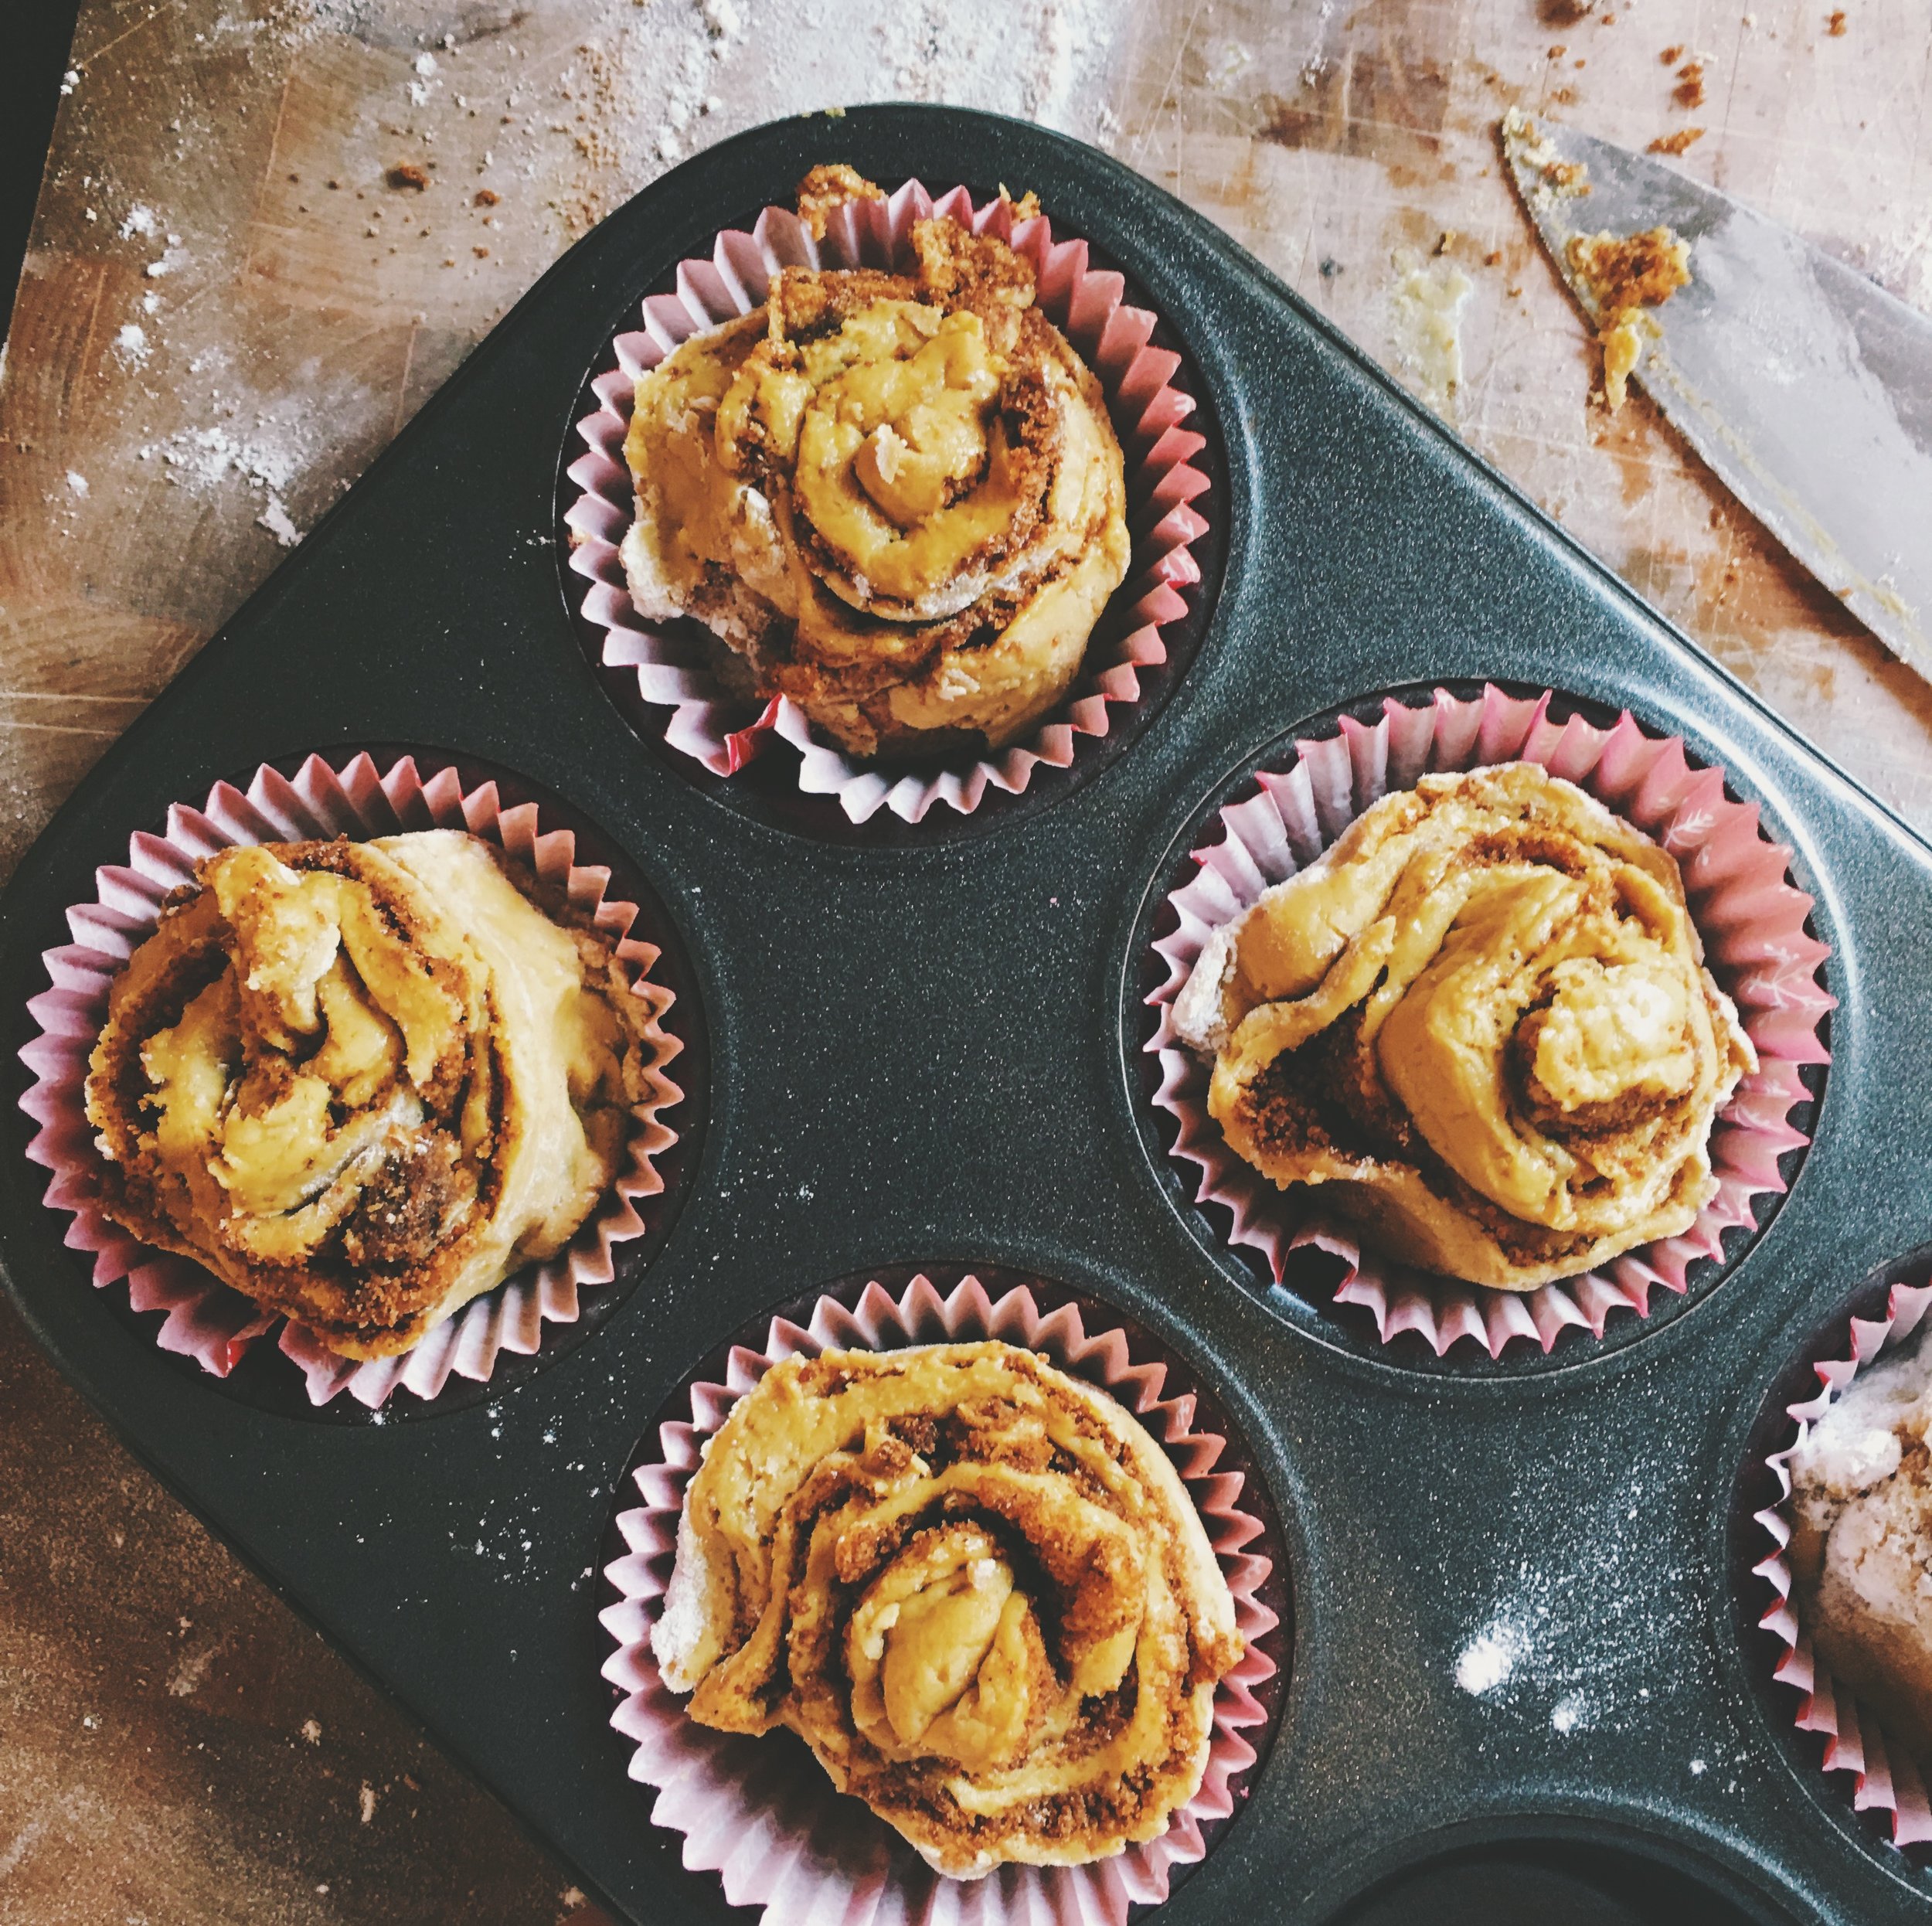
Once you have a single rectangle of dough filled with cinnamony goodness, use a sharp knife to slice the dough into strips lengthways, approx a thumb-width. My kids are allowed to use certain kitchen knives and the dough should be easy to safely slice with supervision. Take a strip and twist it at either end to make it spiral, then wrap it into a little bun shape. The shape you end up with isn't important, as they all taste delicious regardless. Just make sure the edges are tucked in and it's nice and plump. Place the buns on a tray lined with parchment. 

Place your bun tray somewhere warm for 30-60 mins whilst the buns prove. In the meantime heat the oven to 180C. The buns will be ready to go in when they have plumped up. A good way to test is to poke them gently with a finger - if the indentation slowly fills back out they are good to go. A quick bounce-back or no bounce back at all indicate over or under proved dough. Brush the buns with some beaten egg or double cream (or a mix of the two!) and sprinkle with some more coconut sugar and/or fennel seeds before putting into the oven. For vegan egg wash use 2 parts nut milk to one part agave syrup. 

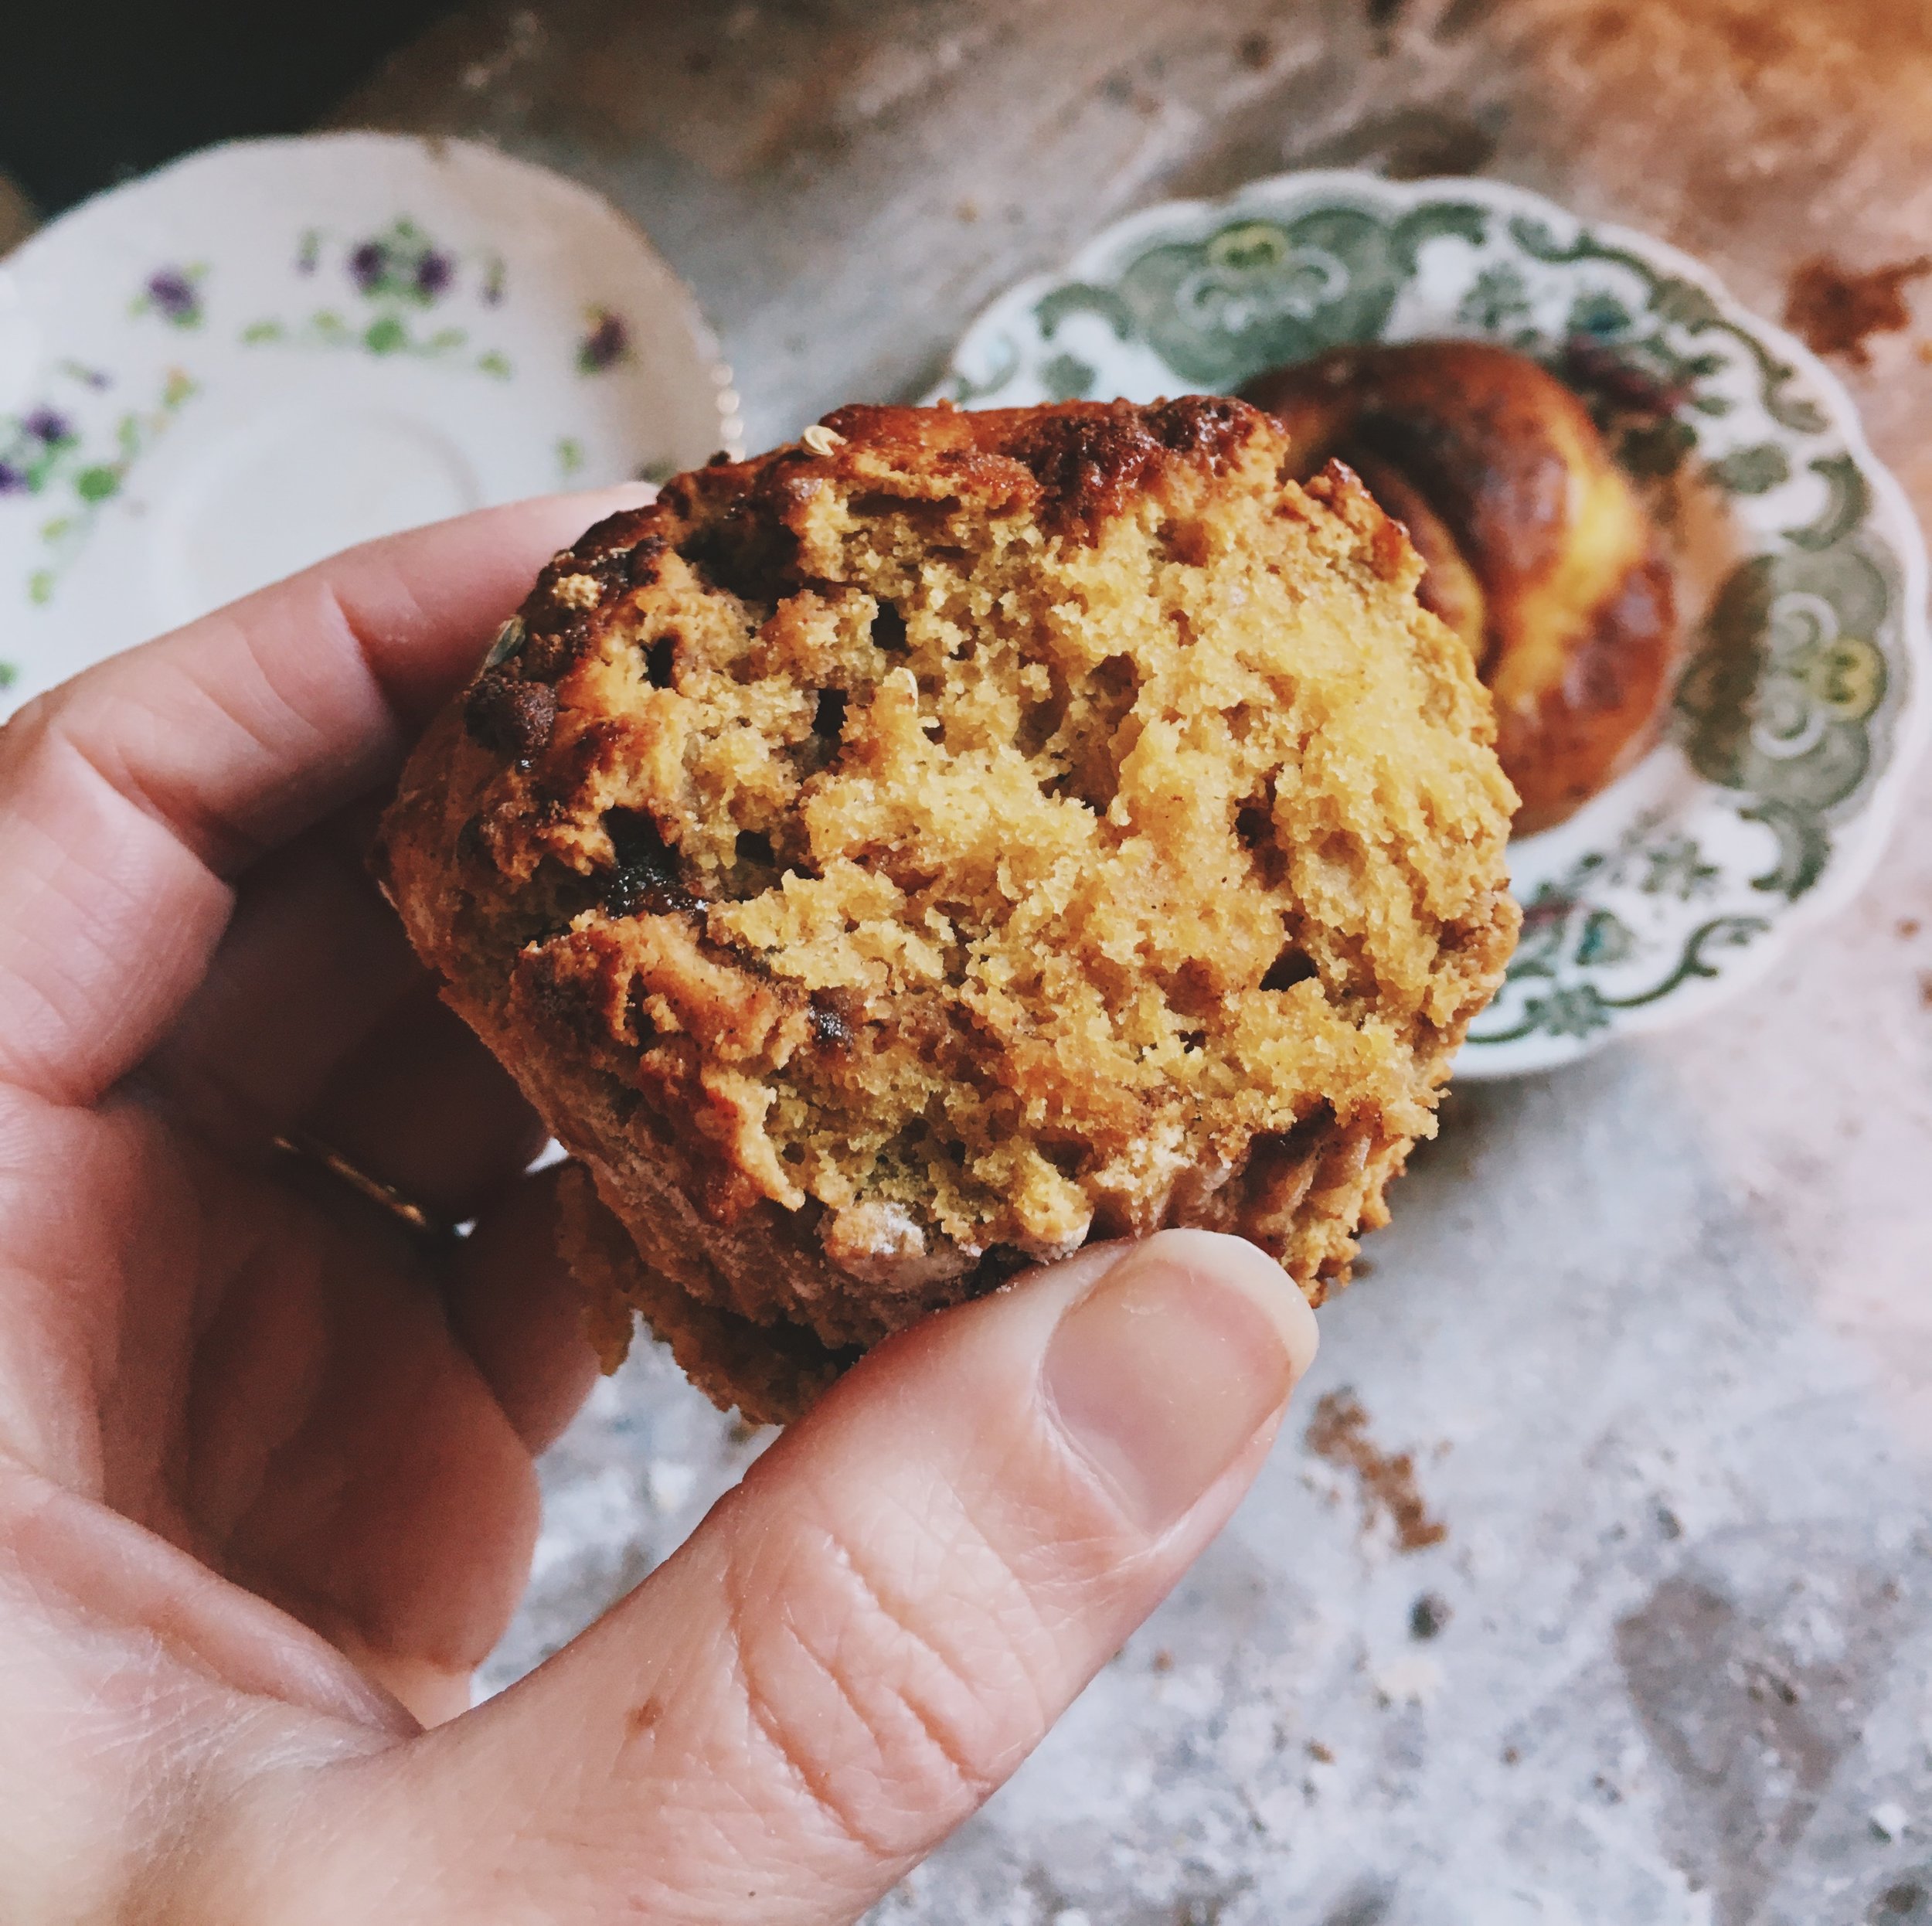
the gluten free muffin version on the left, original golden milk bun on the right

the gluten free muffin version on the left, original golden milk bun on the right

Bake the buns for 20 mins, until they are golden brown. Whilst mine baked I made a gluten free variation, since having regular wheat flour makes me swell up like a super unsexy balloon... recipe below. 

Gluten Free Golden Cinnamon Muffins

170ml almond milk
1 tsp turmeric
3 cardamom pods
1 tbsp butter/coconut oil
7g yeast
50g coconut sugar
220g gluten free self raising flour (I use Dove's Farm)
1/2 tsp baking powder
1/2 tsp salt
1 large egg
1/4 cup coconut oil (melted)
1/2 tsp vanilla
for the filling:
125g butter
100g coconut sugar
2 tbsp cinnamon

In a large bowl, combine yeast and sugar. Warm the milk with the cardamom pods and turmeric, then strain and return to the pan, adding the butter and warming through to melt it. Add the golden milk/butter combo to the yeast/sugar mix. Leave to get a bit bubbly. Whisk dry ingredients together, then add the remaining wet ingredients (including the egg) to the milk/butter combo. Whisk together then add to the dry ingredients. Beat or mix together until it becomes a coherent dough and is no longer insanely sticky. Try to avoid adding more flour. At this stage I placed my dough in the fridge overnight with the golden bun dough. The dough is much easier to deal with once it's cold. If you prefer you can use it immediately. 

gluten free roll out... 

gluten free roll out... 

Roll out your dough into a large rectangle - if it feels very sticky you may want to do this with some parchment above and below. We just about coped without. Brush the dough with melted butter and sprinkle on the cinnamon/sugar mixture, as with the buns. Fold over to make one lovely filled rectangle. Cut into strips as with the buns, but slightly thicker strips this time and bear in mind they will be fragile. Roll them up into a swirl, as pictured above, and place in a cupcake case in a muffin tin. Leave to prove for 20 mins. Brush with egg wash and sprinkle with fennel seeds if desired. Bake for 15 -20 minutes at 180C, until golden. These are seriously delicious... 

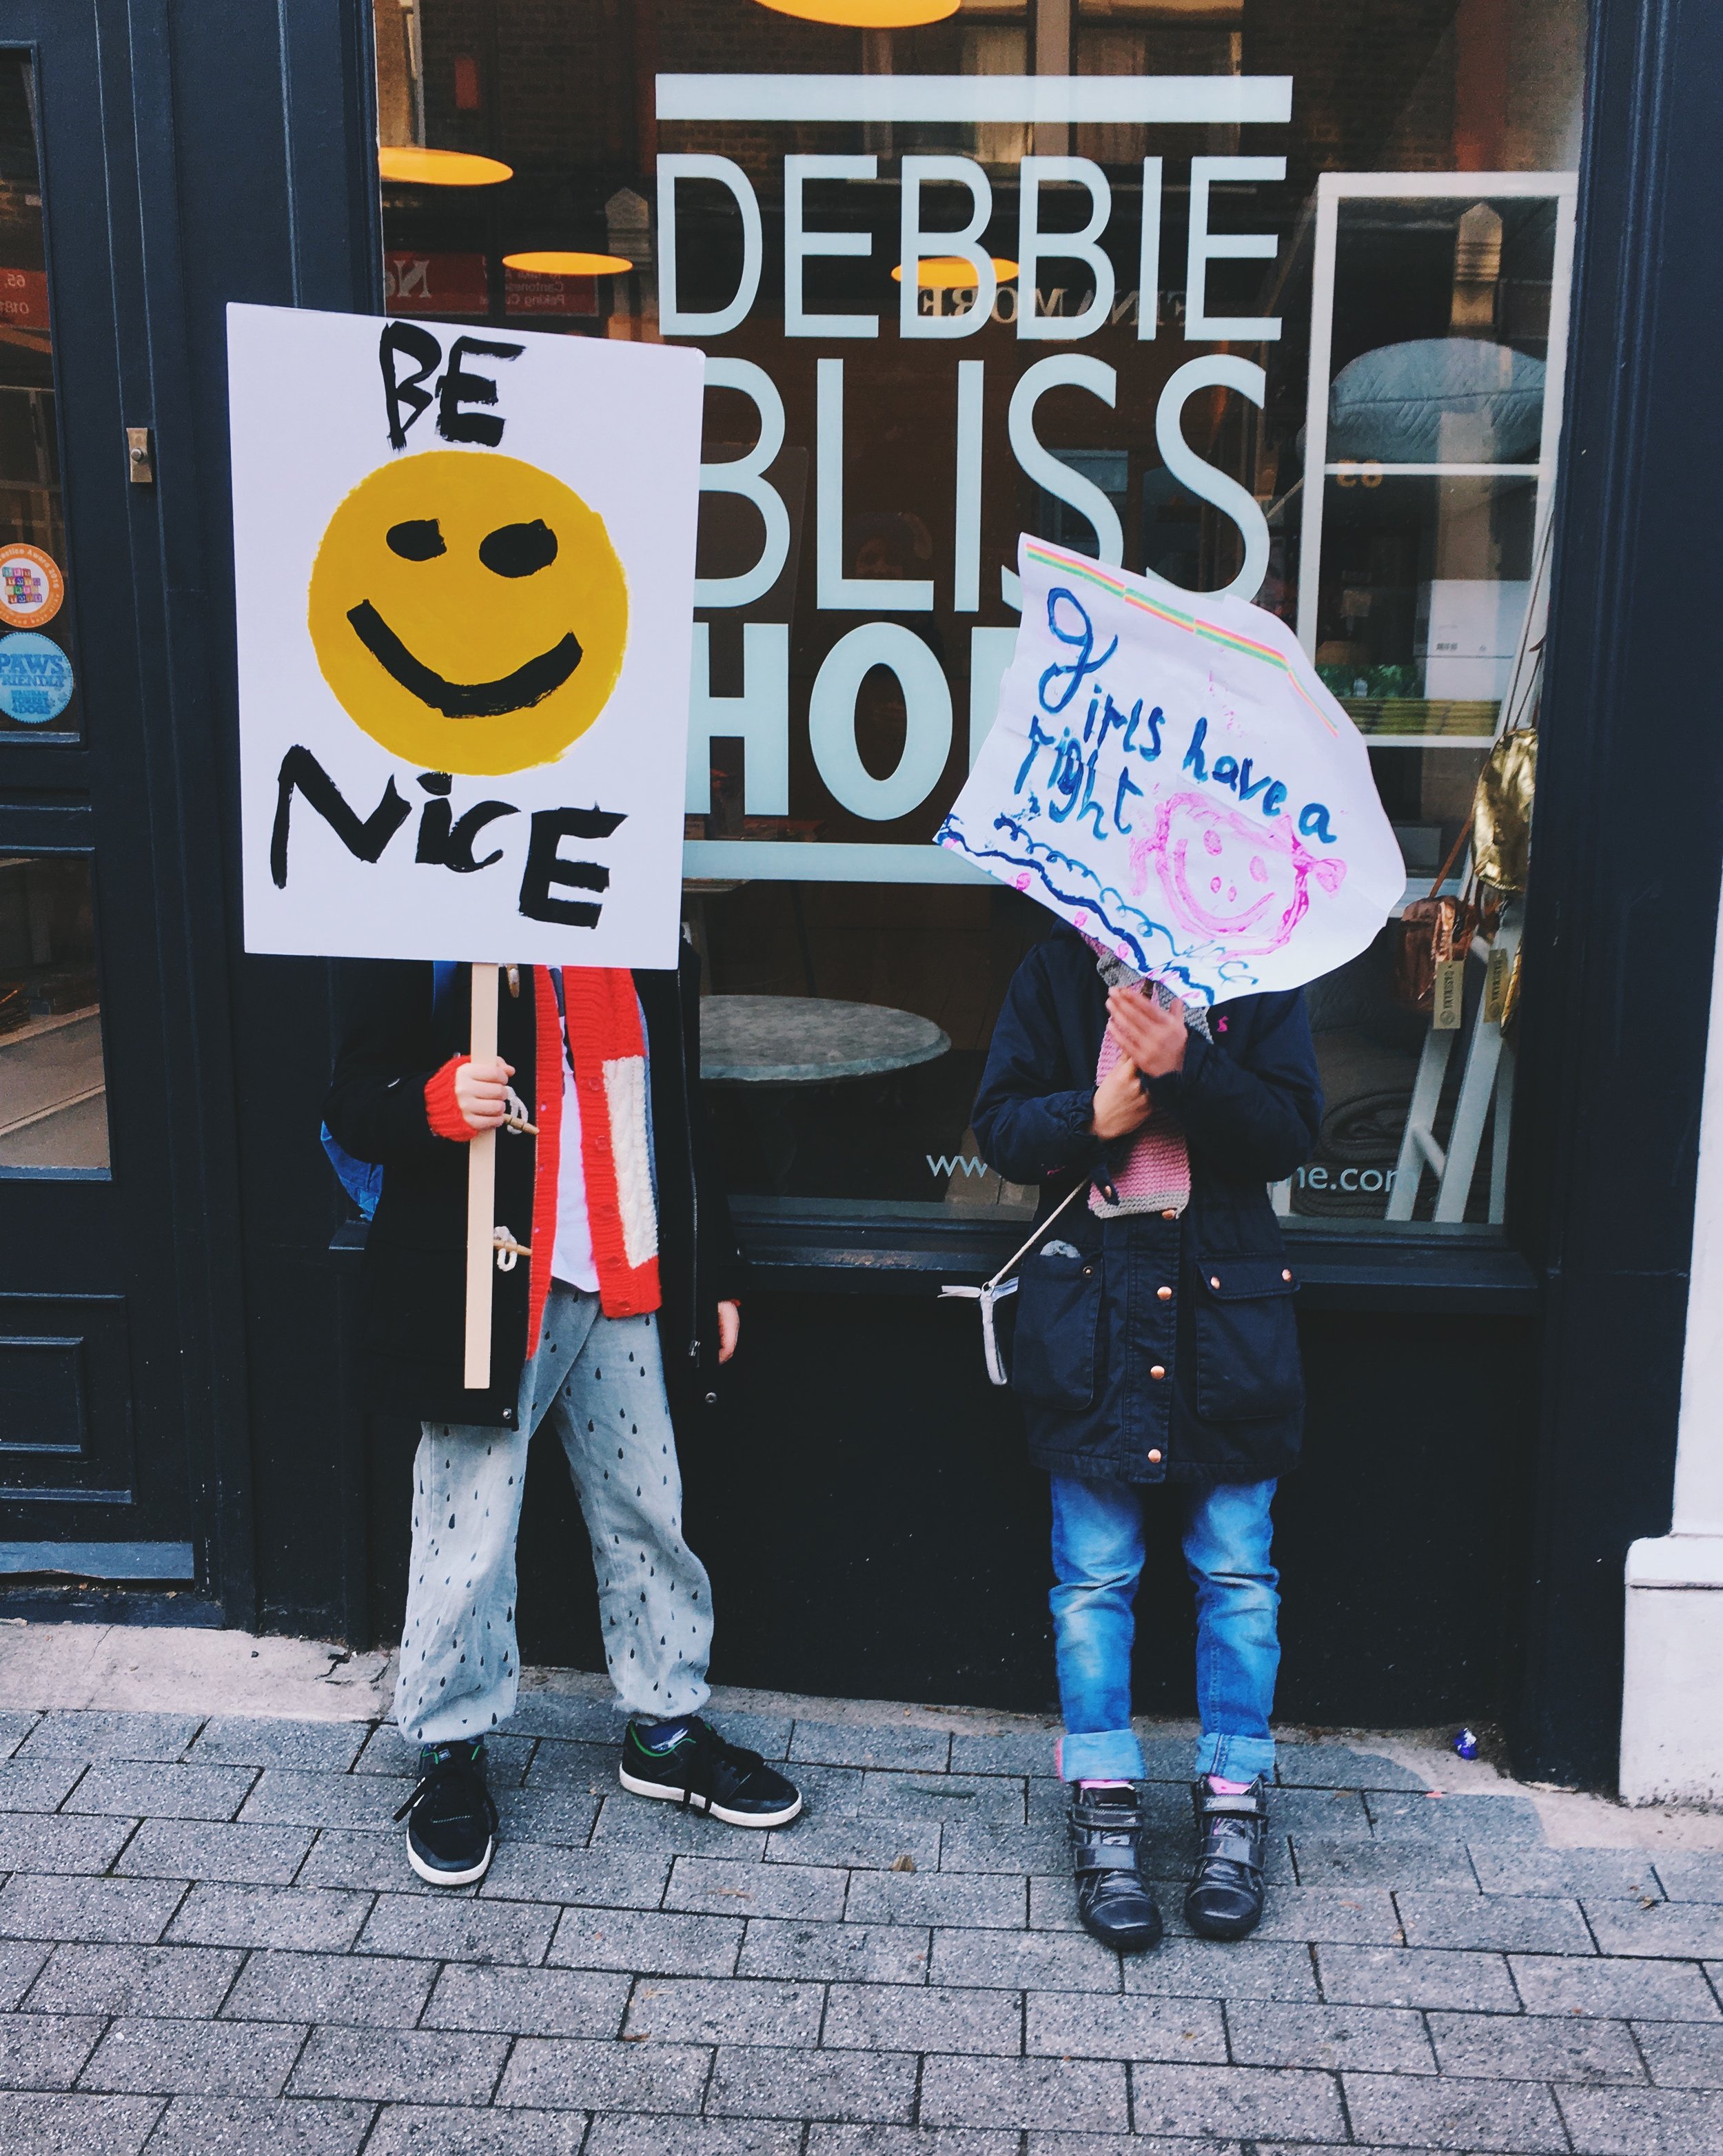
We ate about three buns each (!) for breakfast with butter and bacon (!) and packed the rest into a little rucksack to take on the march. Such a yummy all day long treat. Feeling proud of the small folk for both their baking and sign-making skills...

GONE BANANAS

baby, it's extremely cold outside...
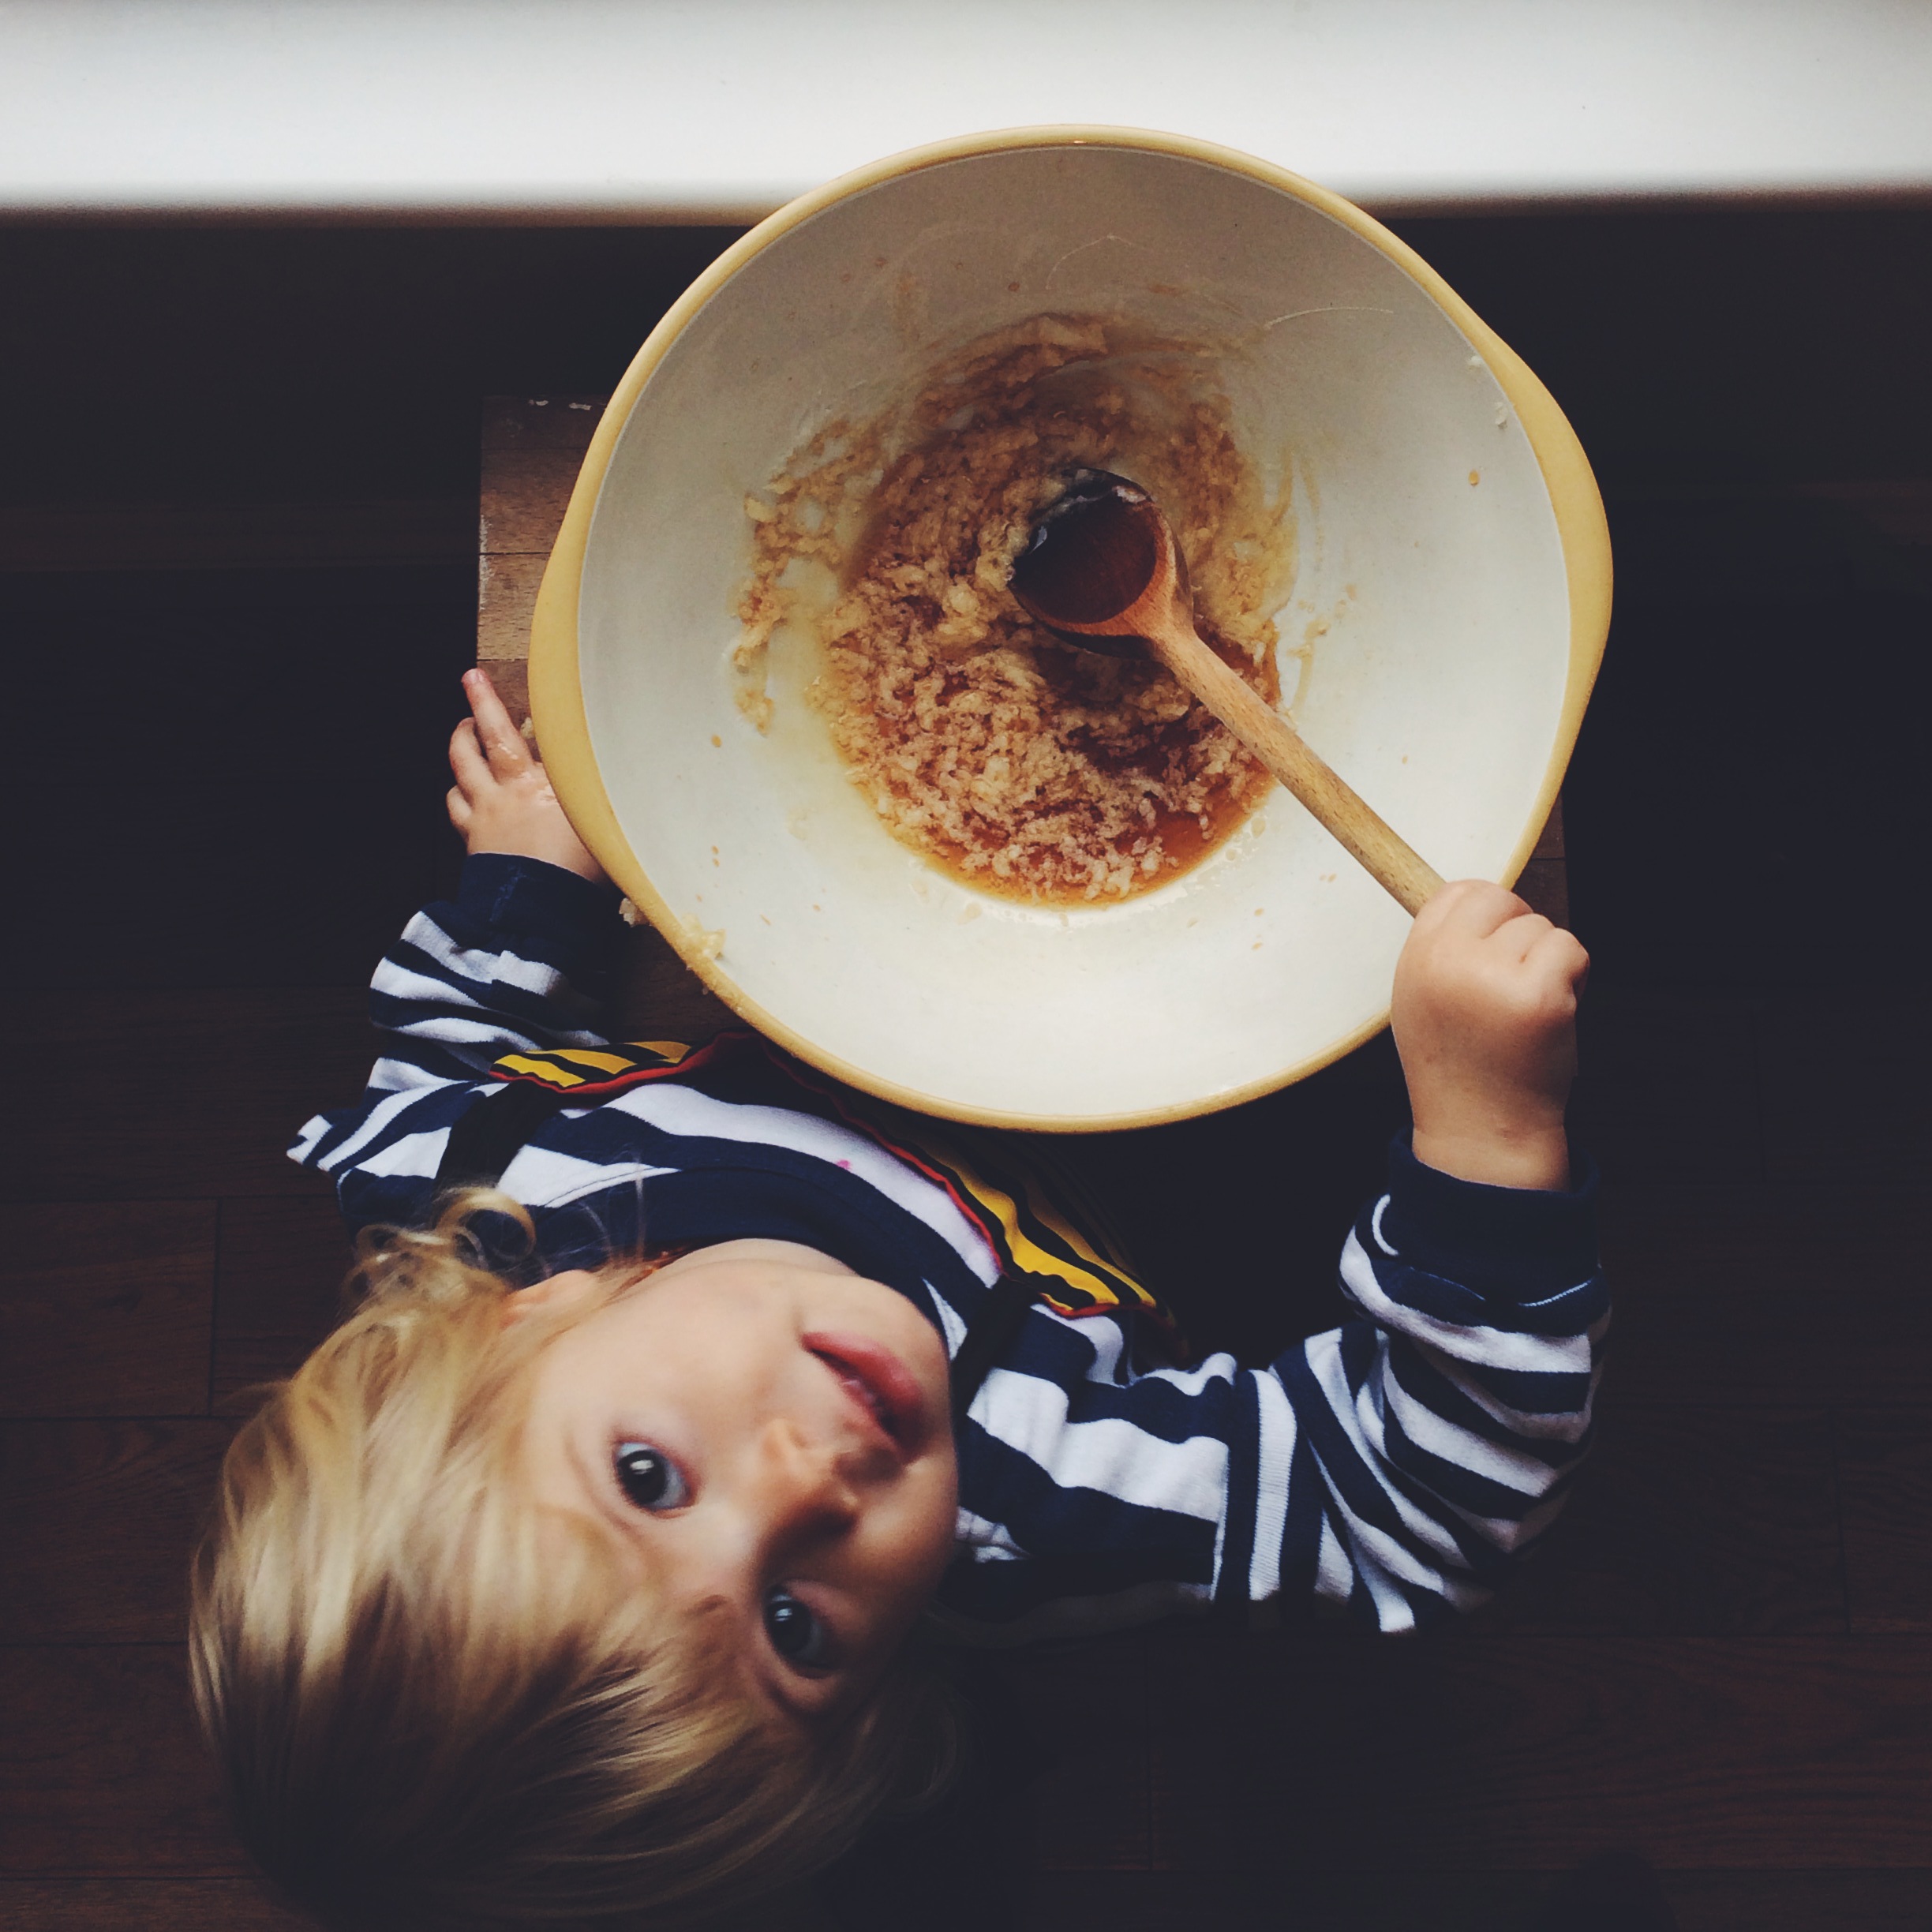
baby, it's extremely cold outside...
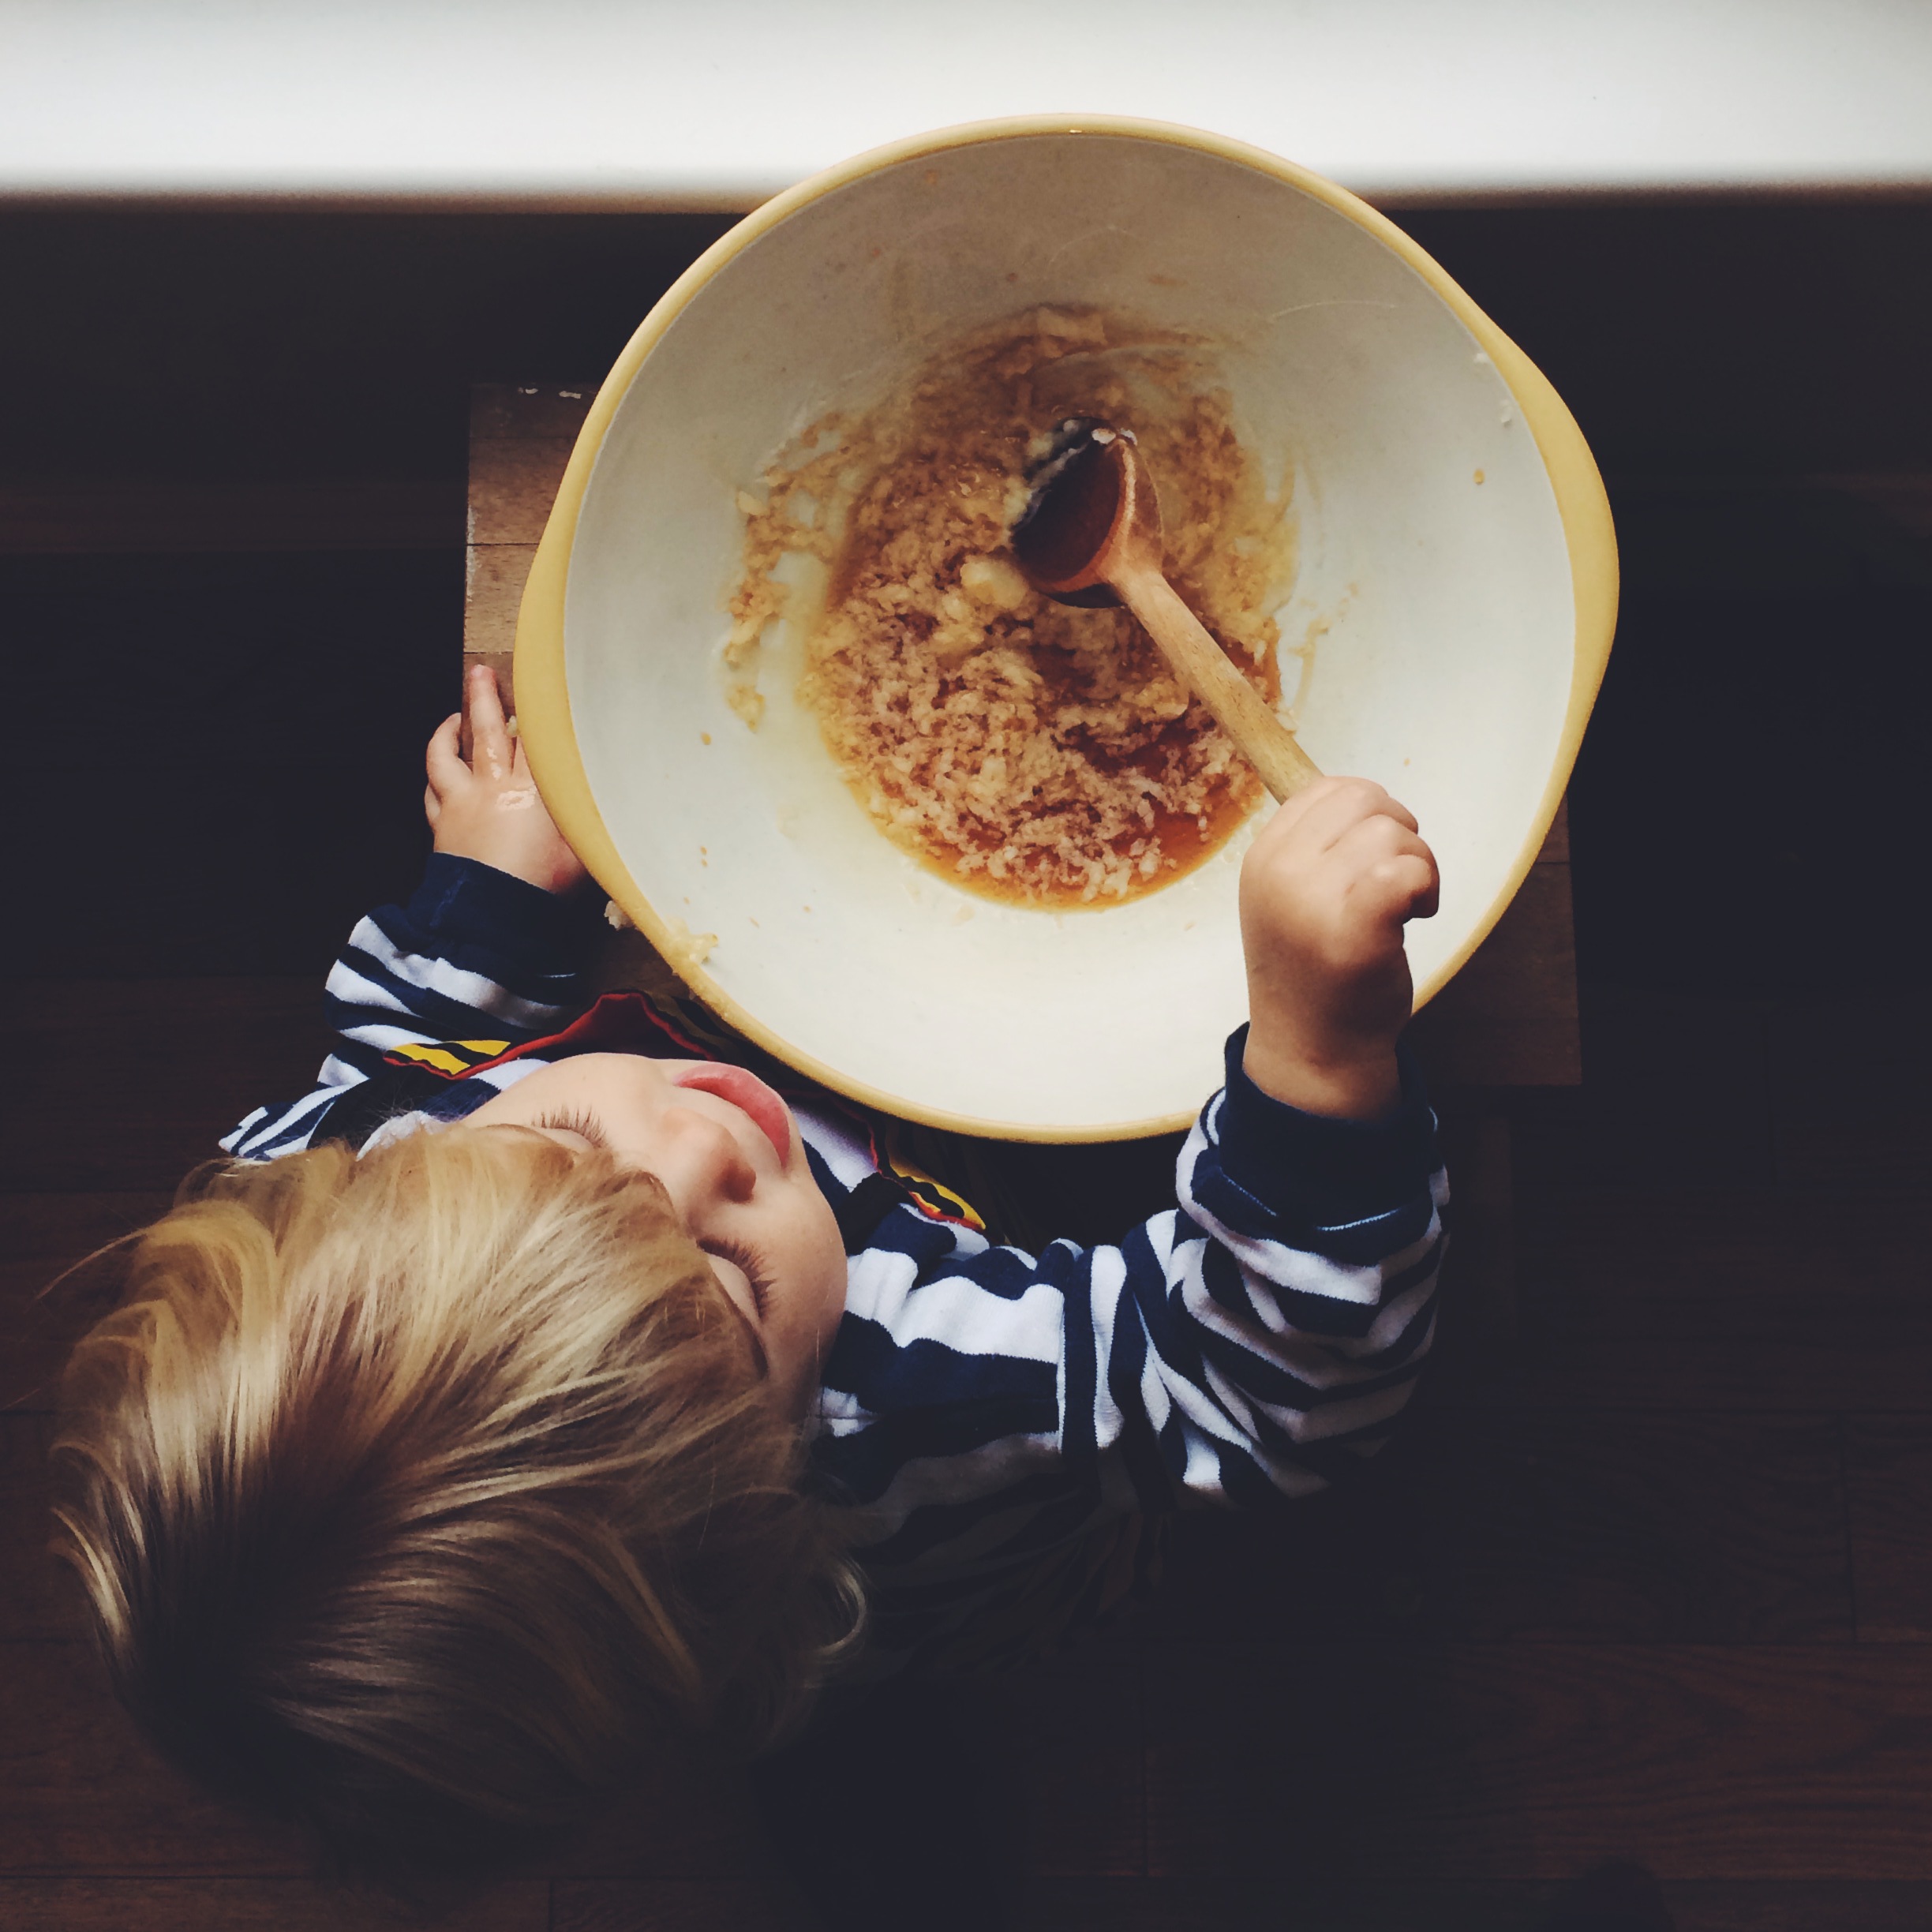
I actually have gone bananas, because *still* rarely a night passes without Indy padding down the hall and squirrelling in next to me, using me as a pillow and wrapping herself around me like a little butterscotchy octopus. Then I can't get back to sleep. And she wriggles the covers off. And in the morning I feel like lying on the floor with a funnel in my mouth whilst someone fills me to the brim with coffee. Or waves a one way ticket to a Mexico in front of my face. It's January, so even the brightest days are mostly dark and frosty and I'm not a fan of long spells of hibernation, I need some sun and air and adventure. So we have been baking a lot to make the house smell of cinnamon and warmth, and keep away from watching too much tv or feeling too blue. 
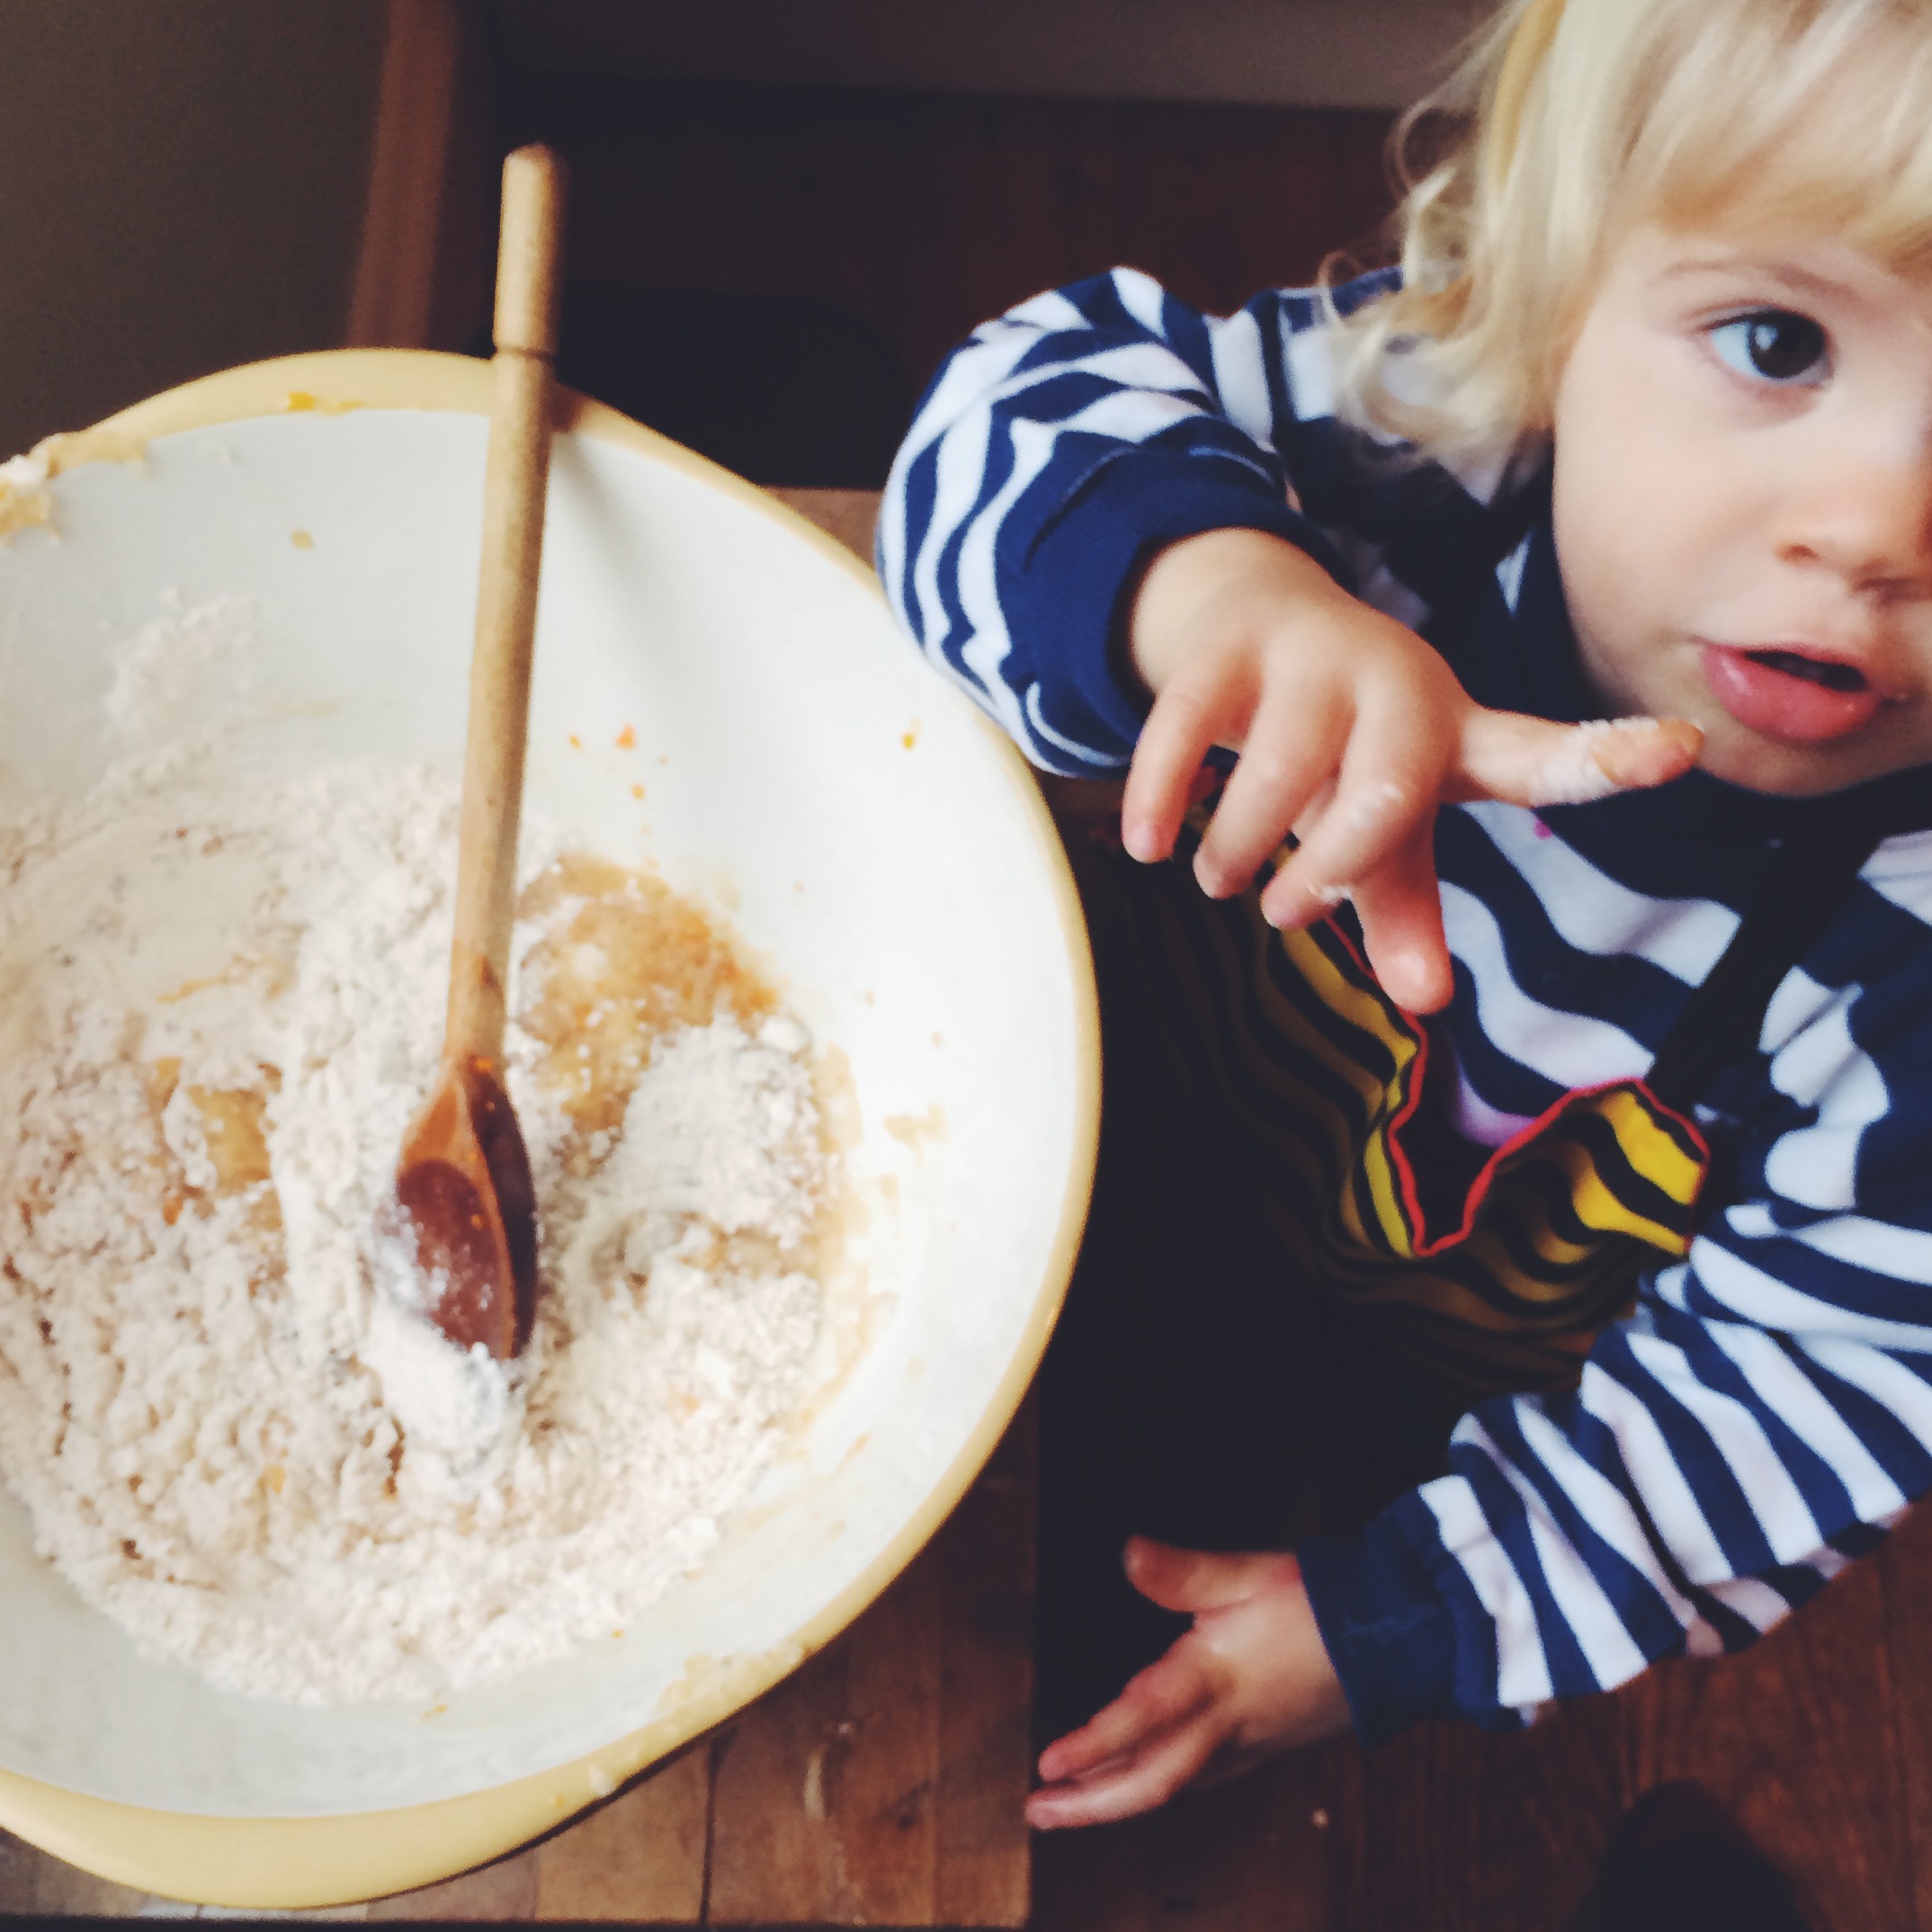
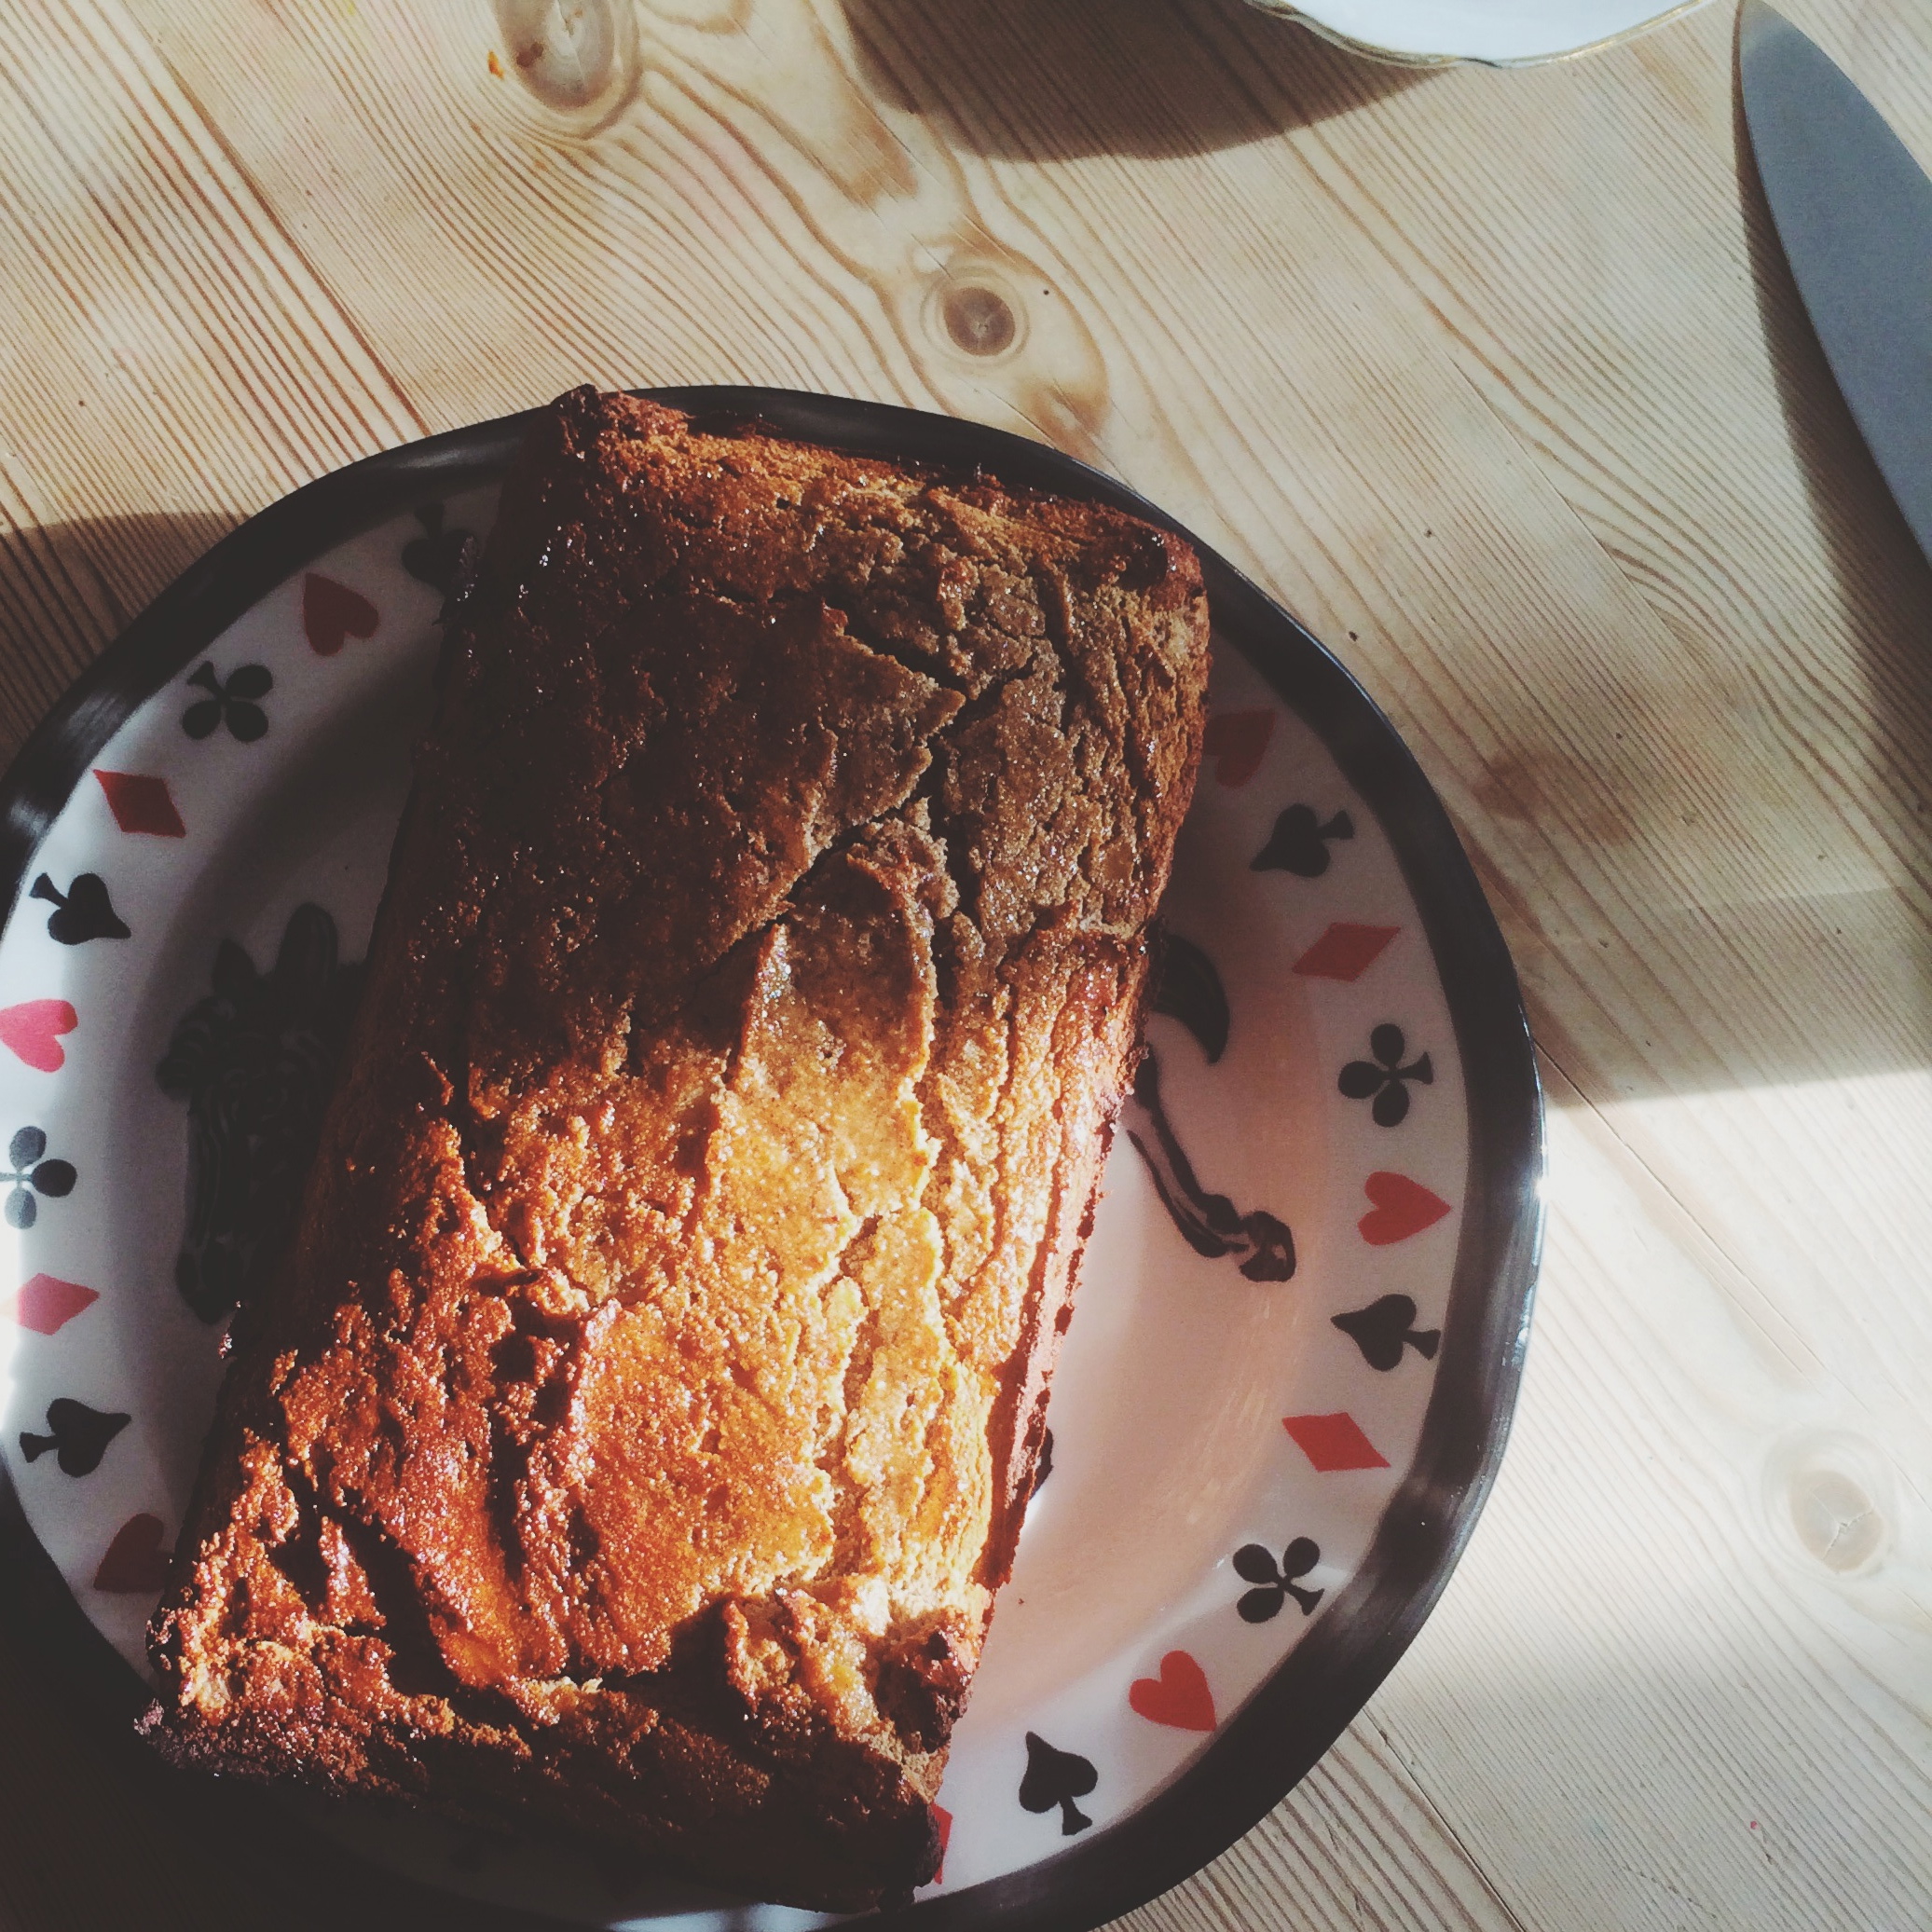
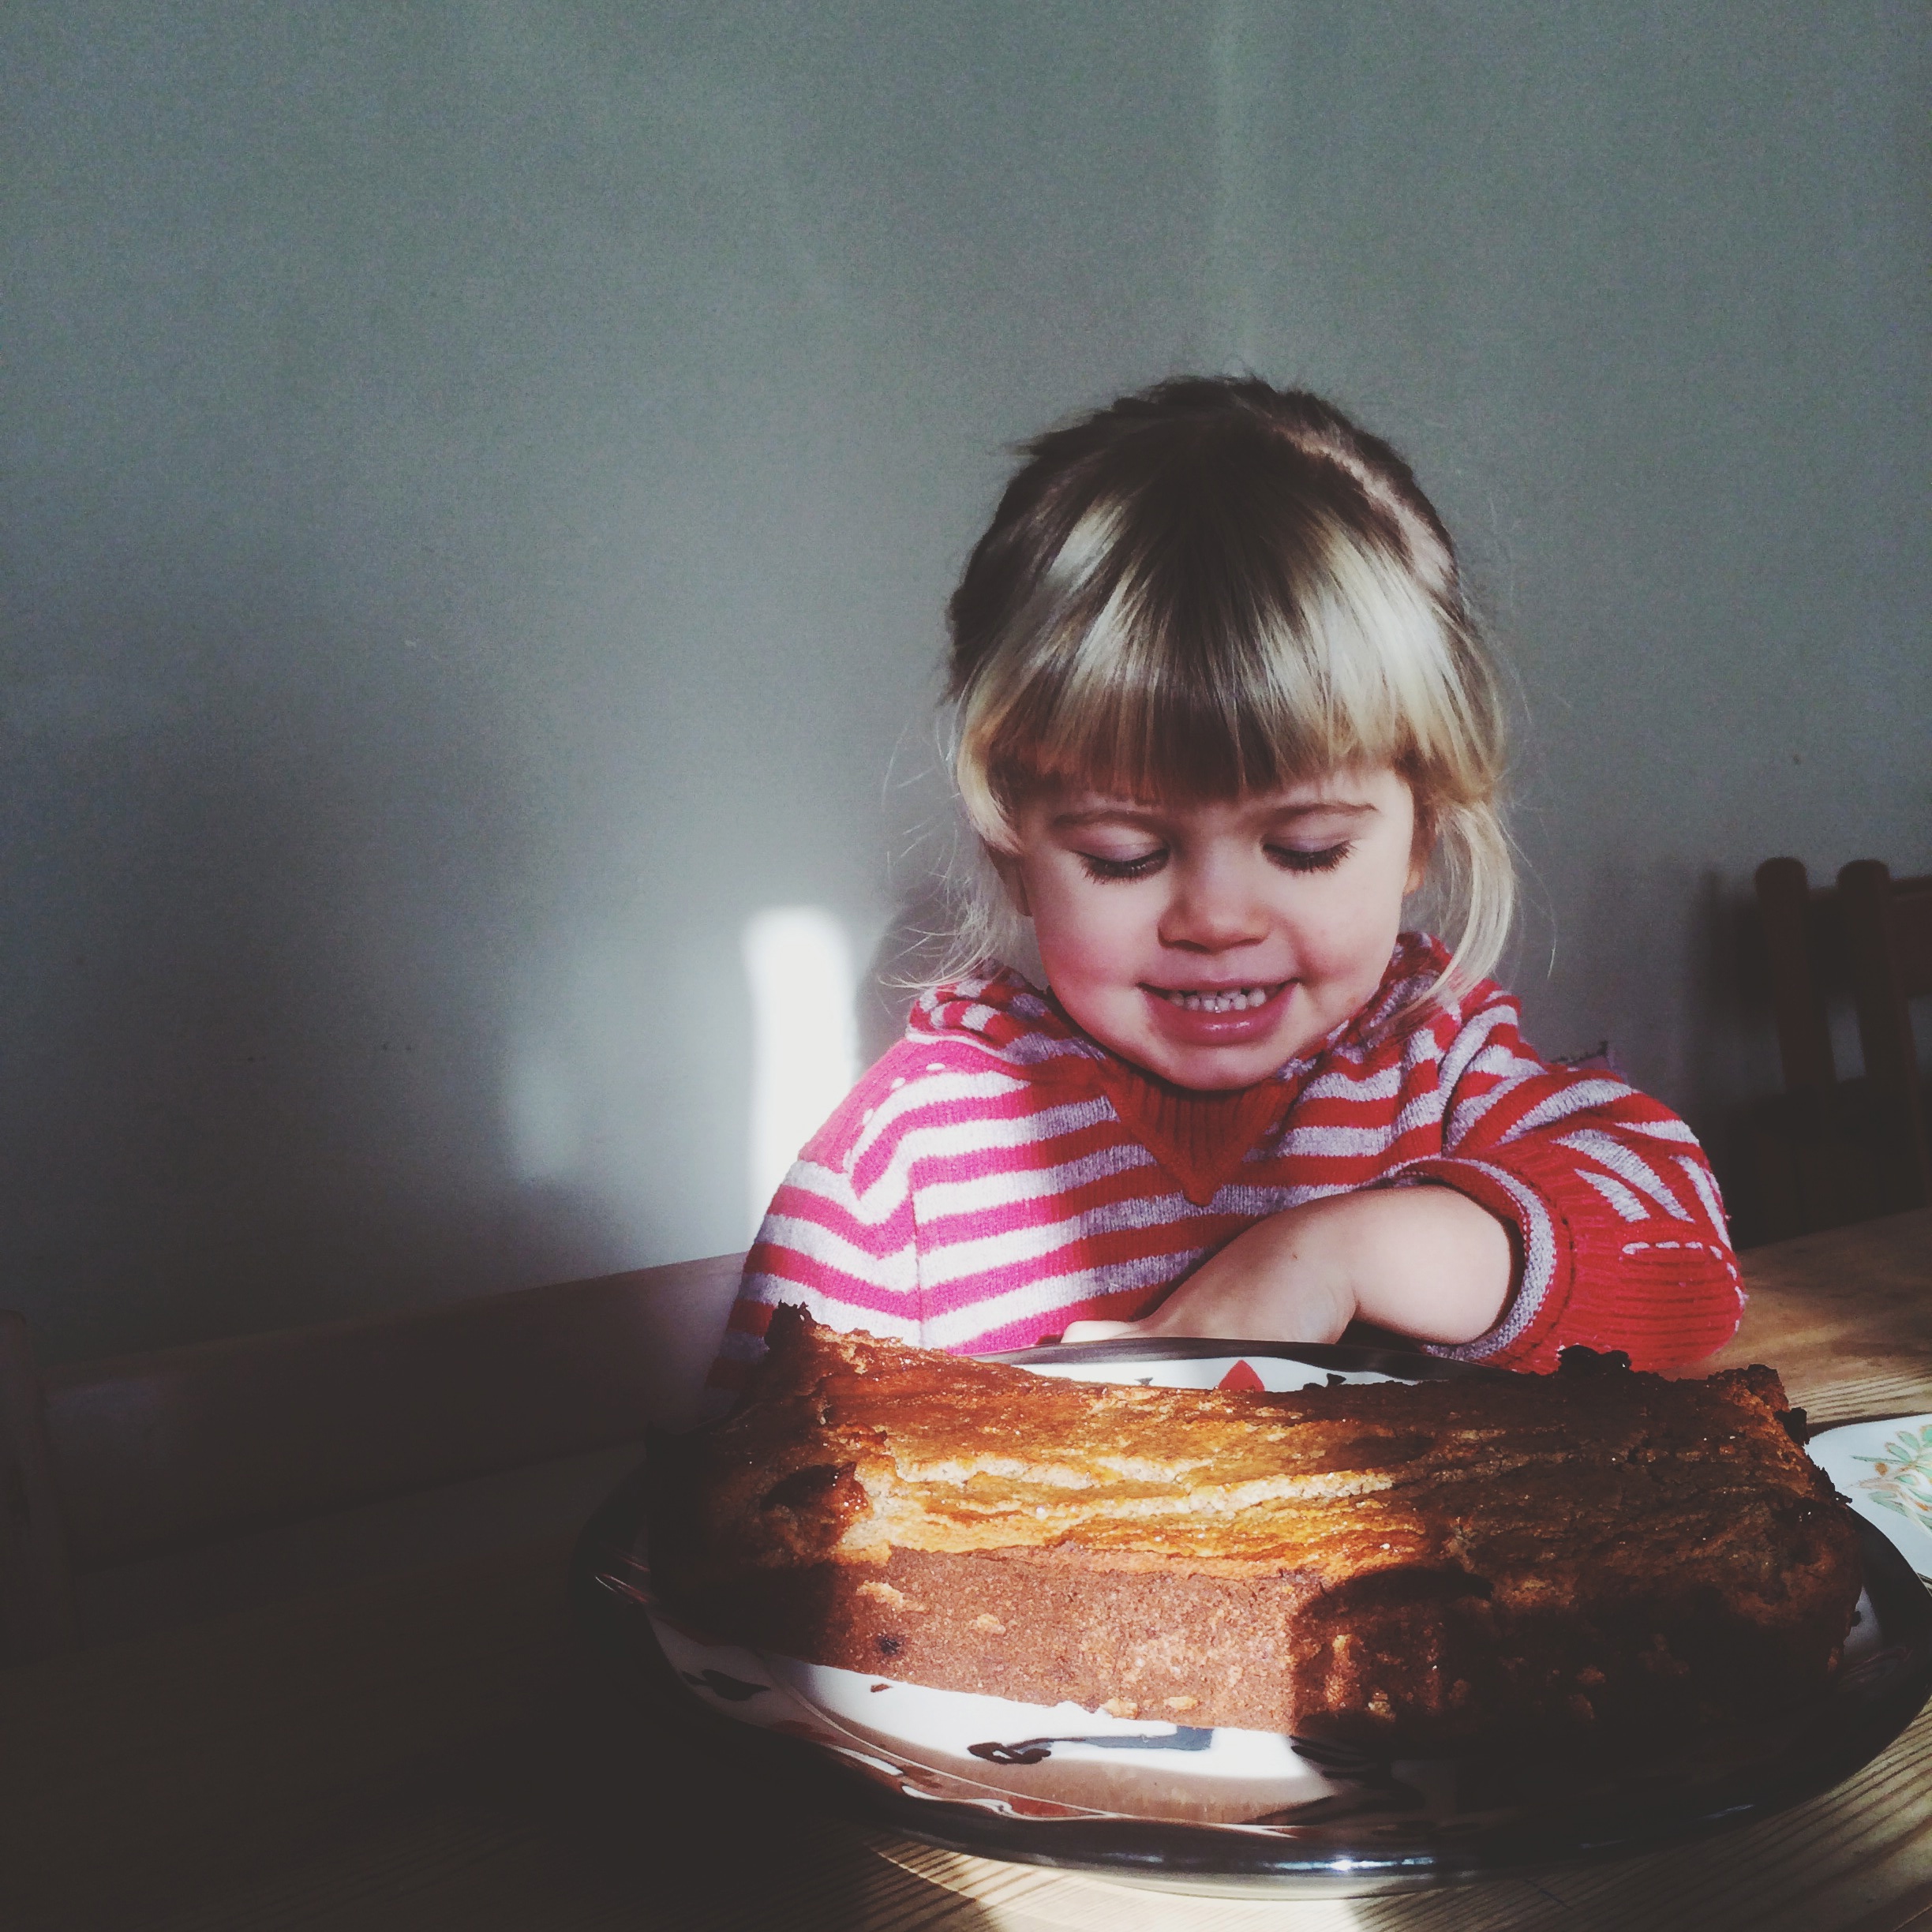
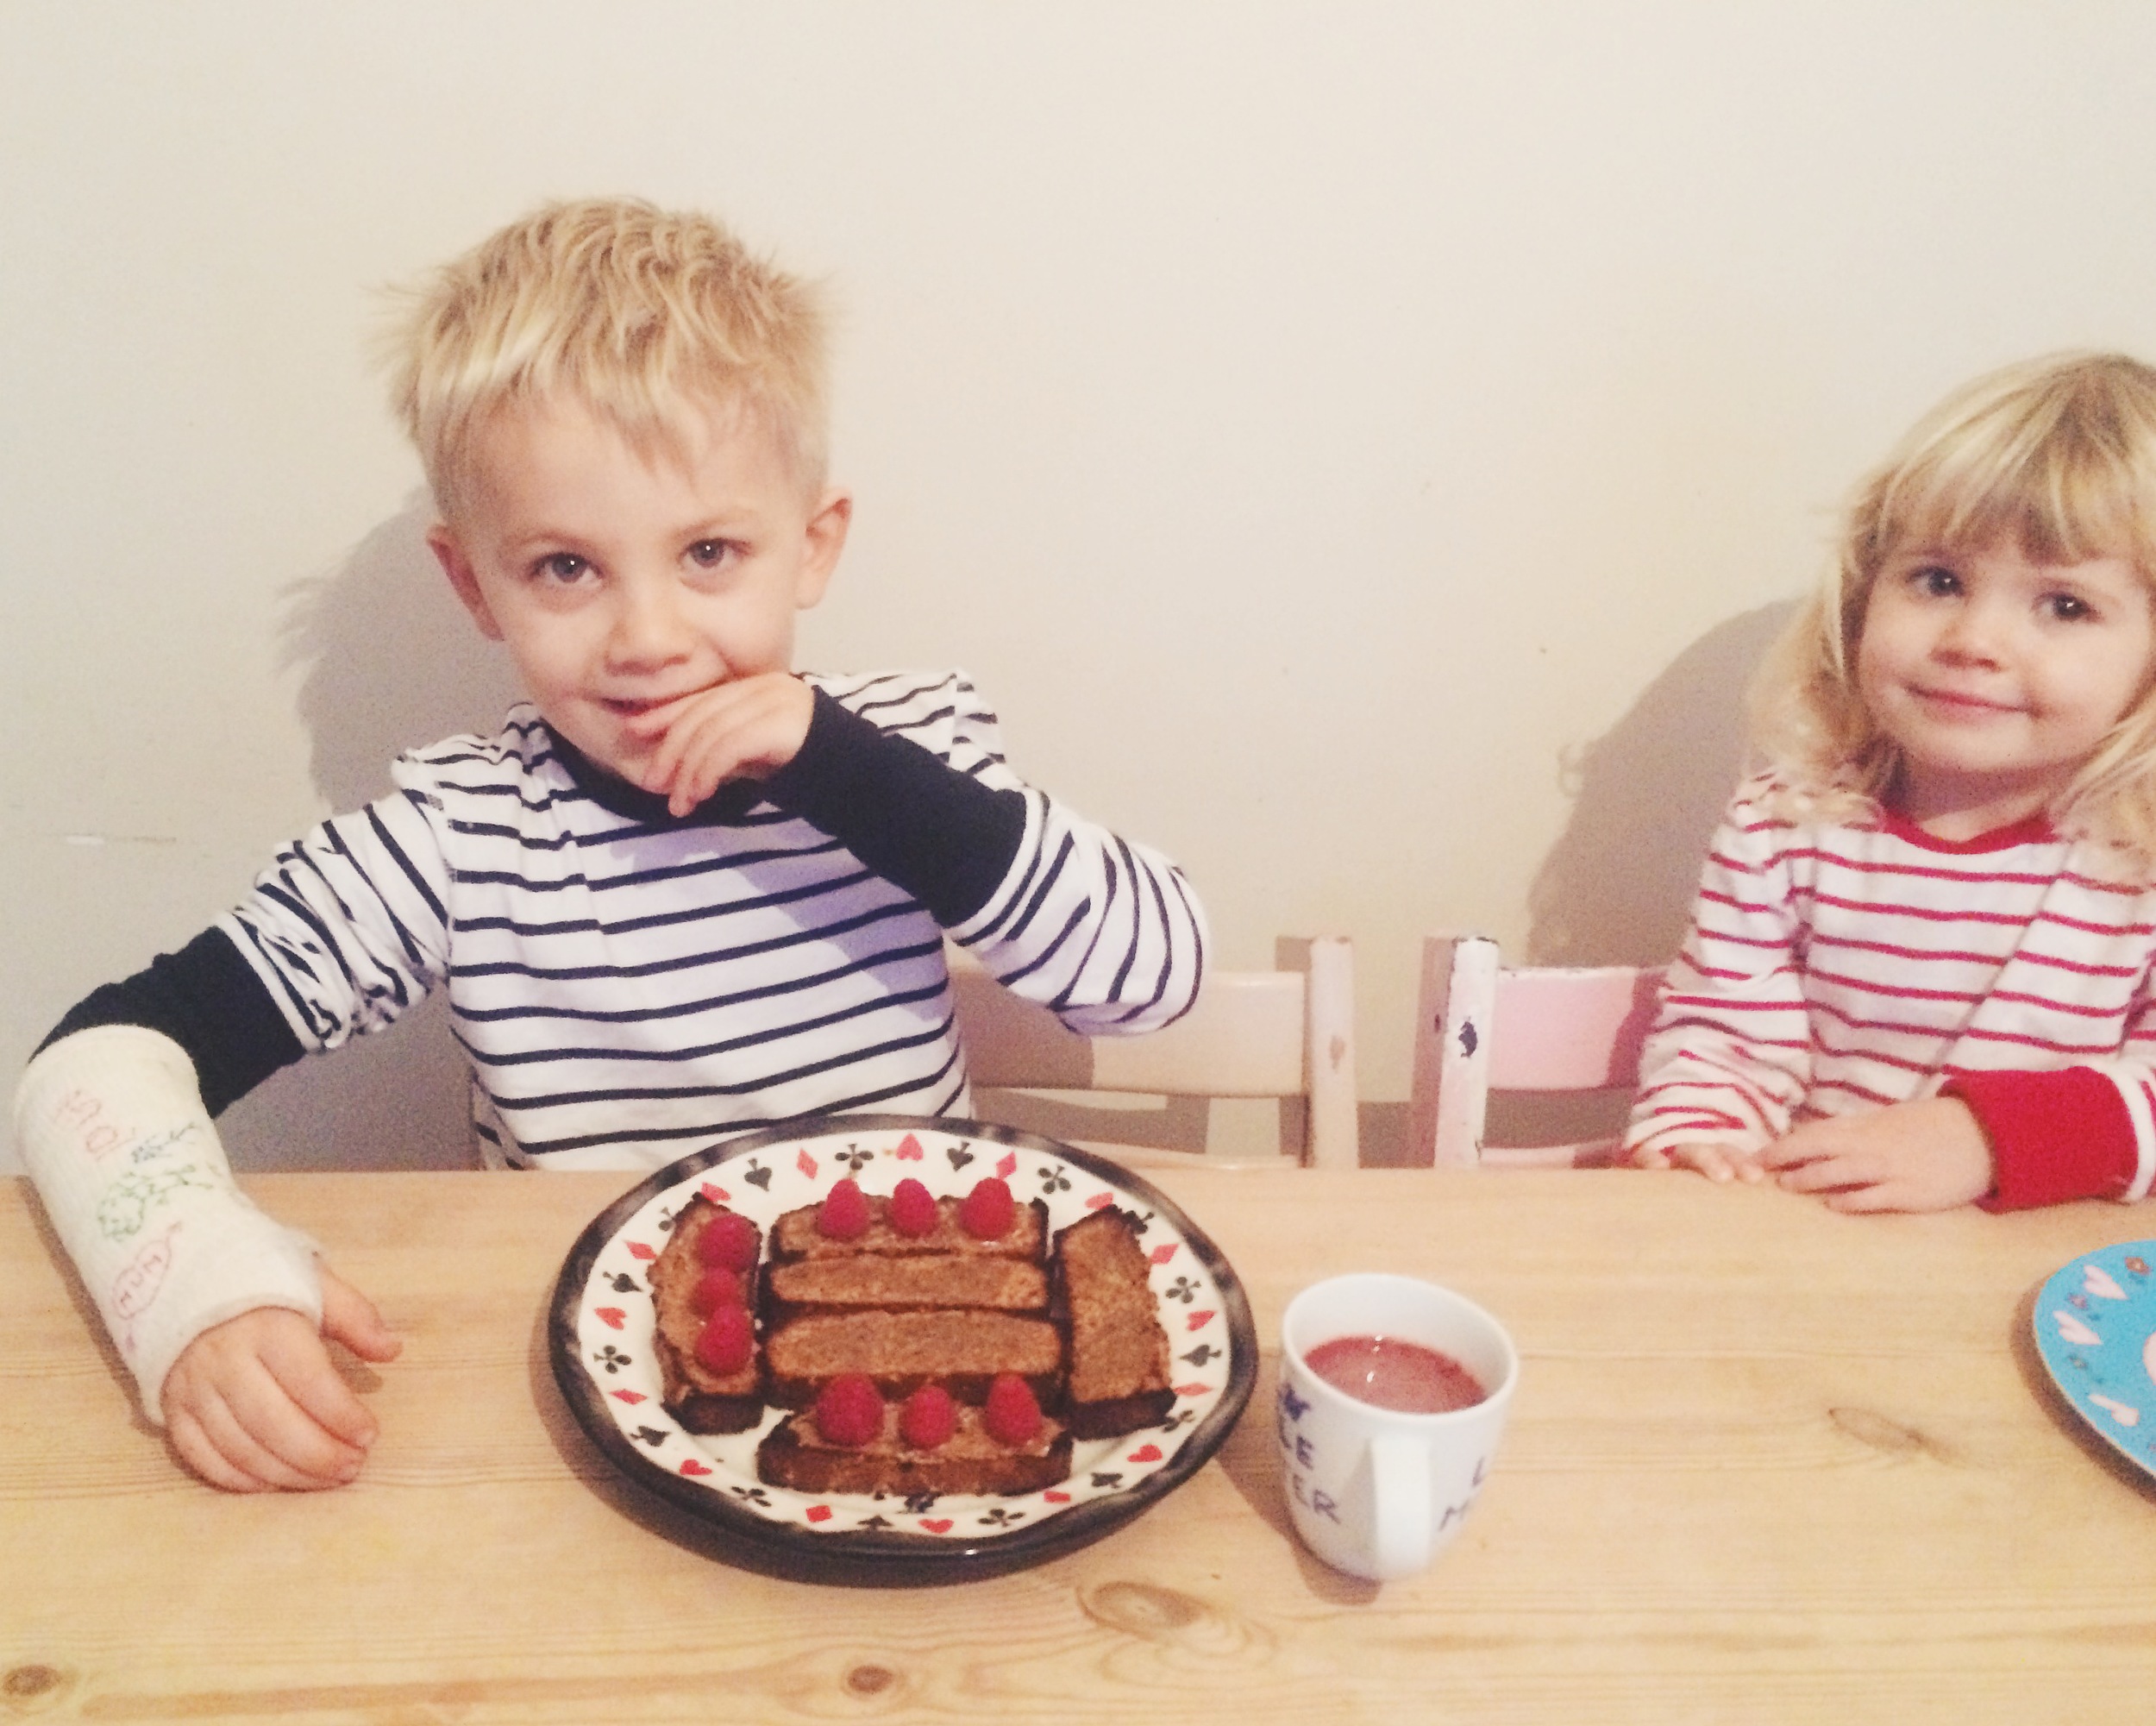
This banana bread is our latest invented recipe and we are all now total addicts. It's delicious straight from the oven or cold or toasted with butter or slathered in almond butter and raspberries for breakfast. We're on a loaf a week at the moment and show no signs of slowing down. But it's totally sugar/gluten/dairy free so we can smugly devour as much as we fancy & get ourselves strong for treeclimbing season at the same time... 

IMG_5046.jpg

Wintertime Banana Bread

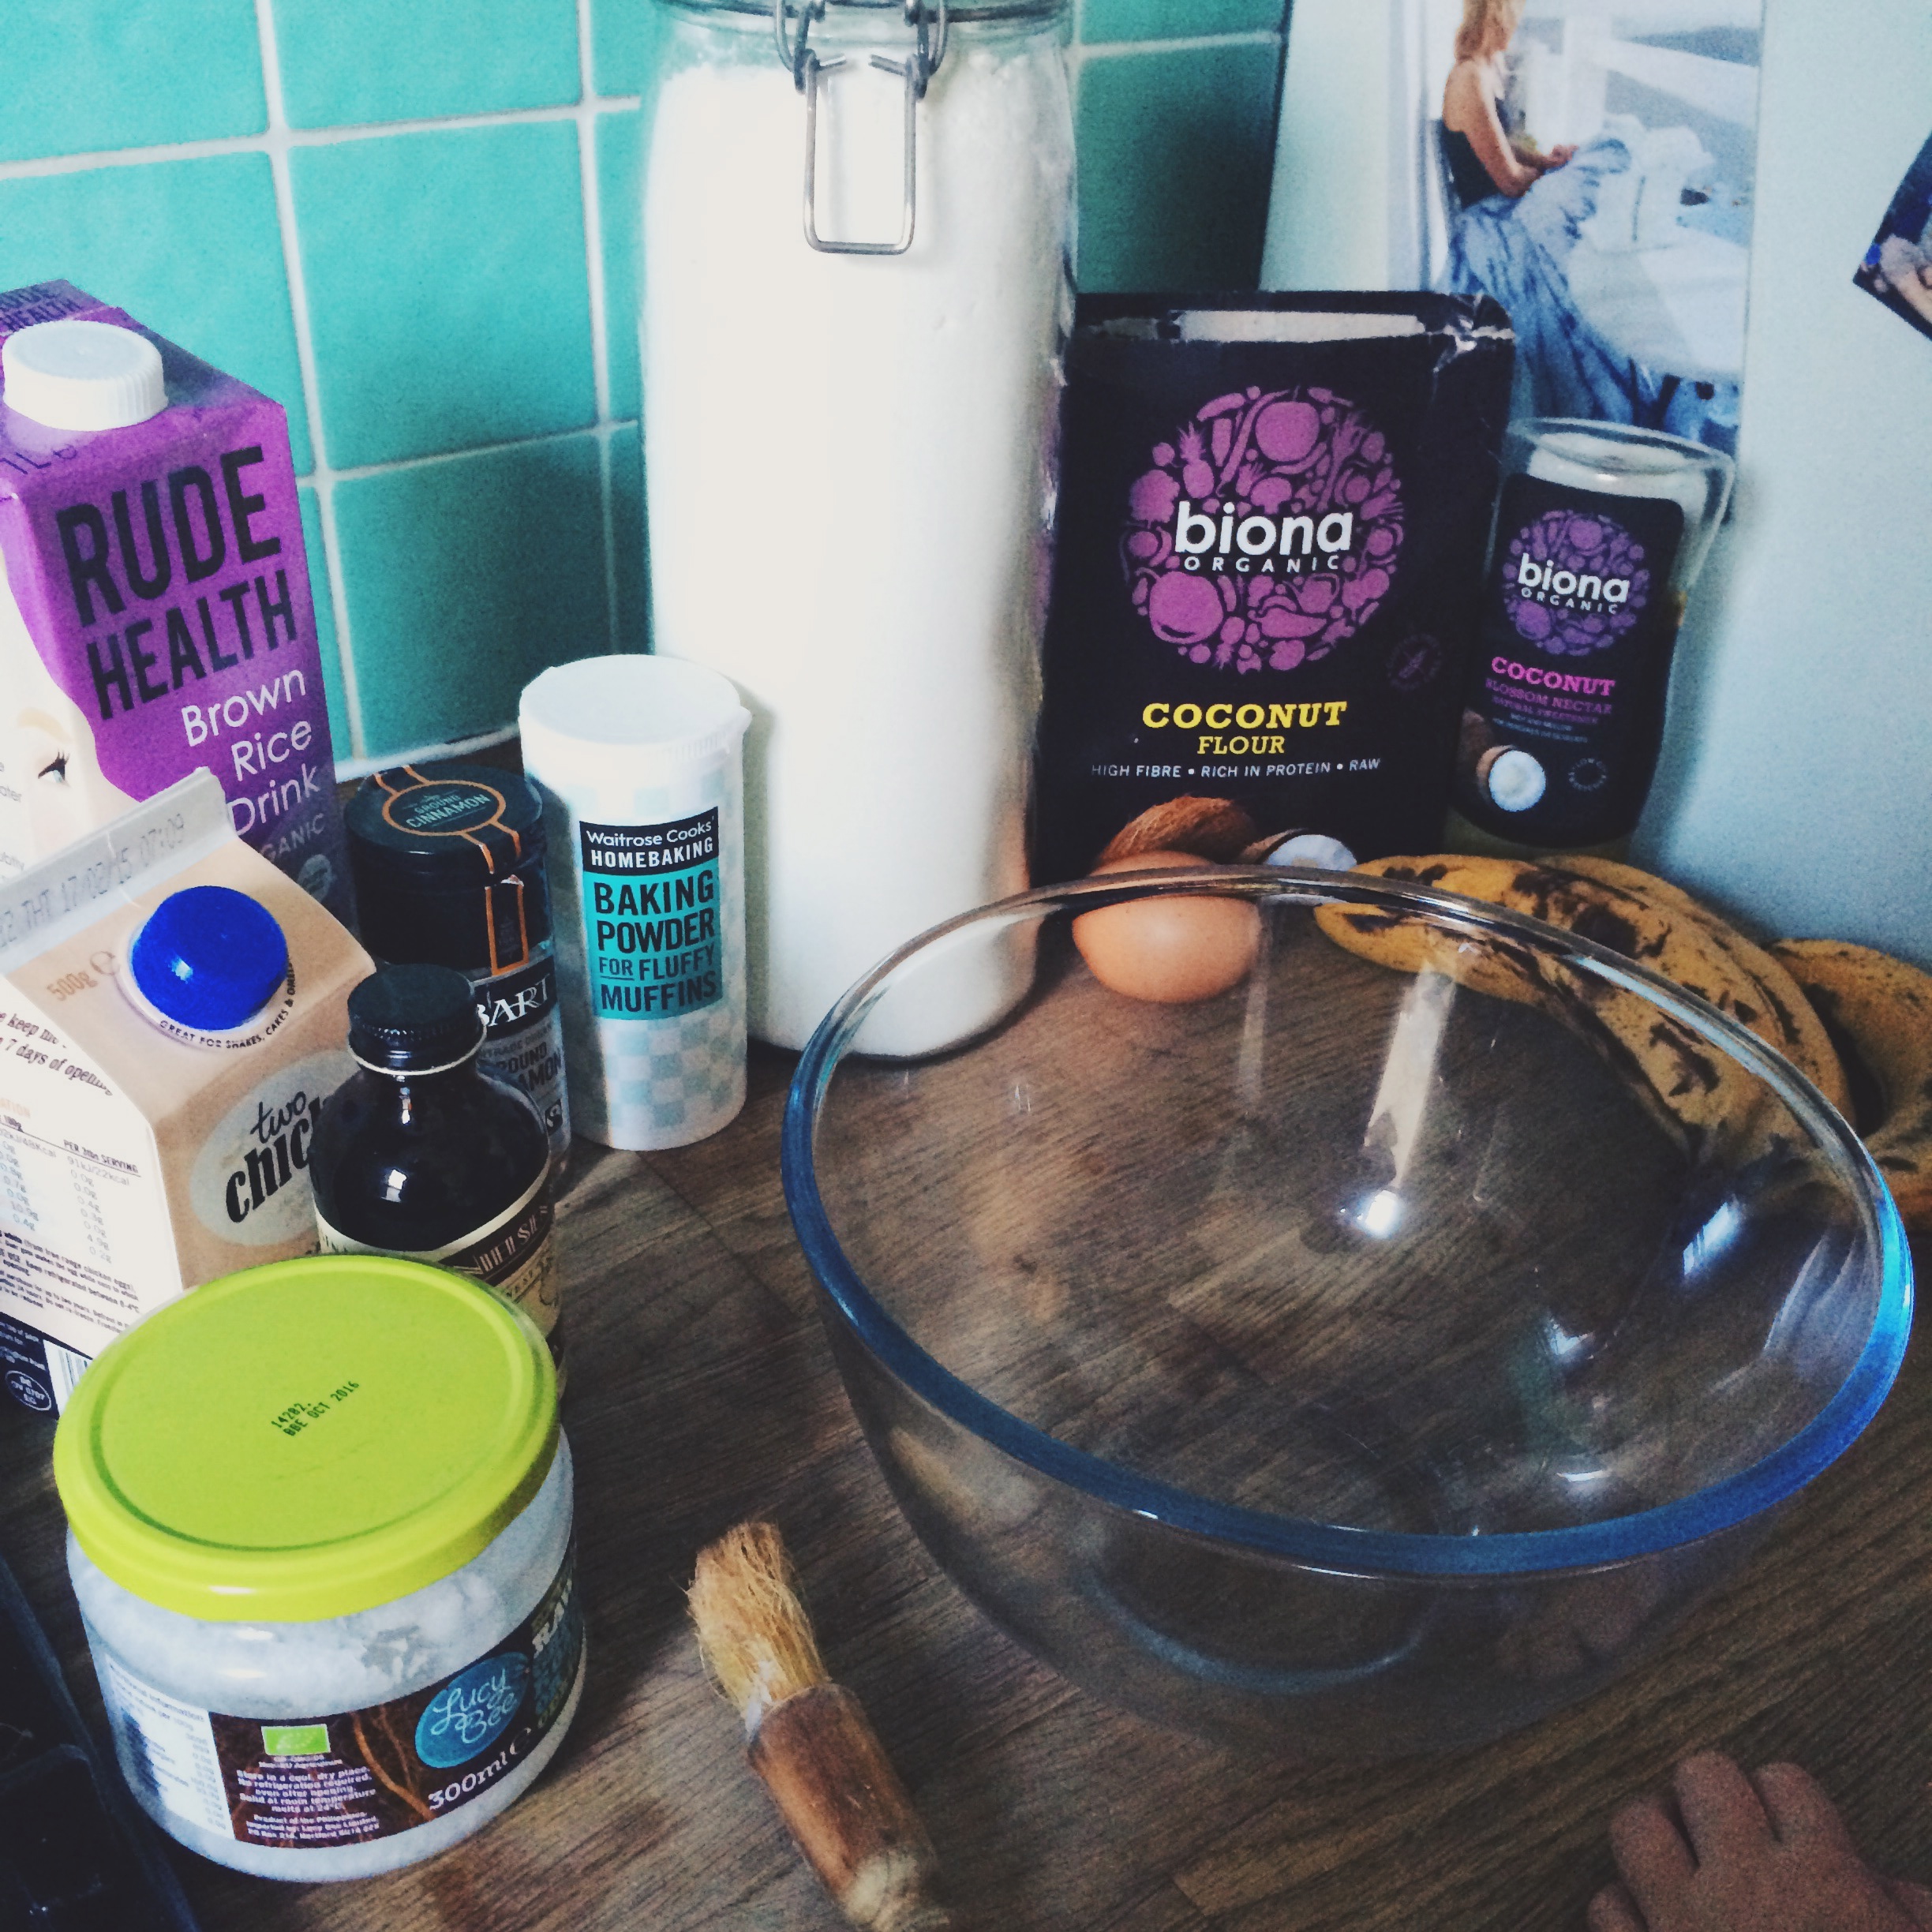
75g Doves Farm Gluten Free Self Raising Flour (I imagine you could substitute buckwheat or rice flour)
50g coconut flour
1 tsp baking powder
2 tsp ground cinnamon
50g melted butter or coconut oil
2 tsp vanilla
1 egg
1 tbsp almond or rice milk (make sure it's unsweetened)
80g egg white (approx 3 large egg whites, but I buy it by the carton)
3 mega ripe bananas
1 tbsp coconut nectar, raw honey, maple syrup or agave
more agave or maple syrup (for serving)

This one is lovely and easy for kids to help with. Pablo's just getting into maths so loves to measure the ingredients, and Indy is always keen to sneak licks of spoons when my back is turned. Line a loaf tin with parchment in the bottom, and butter/coconut oil the sides (indy does this by painting with a pastry brush). Mash the bananas in a bowl, then add all other wet ingredients *except the egg whites*.  Mix all dry ingredients in a separate bowl, then combine the two. Whip the egg whites into soft peaks and very carefully fold into the mixture. 

indy mixing

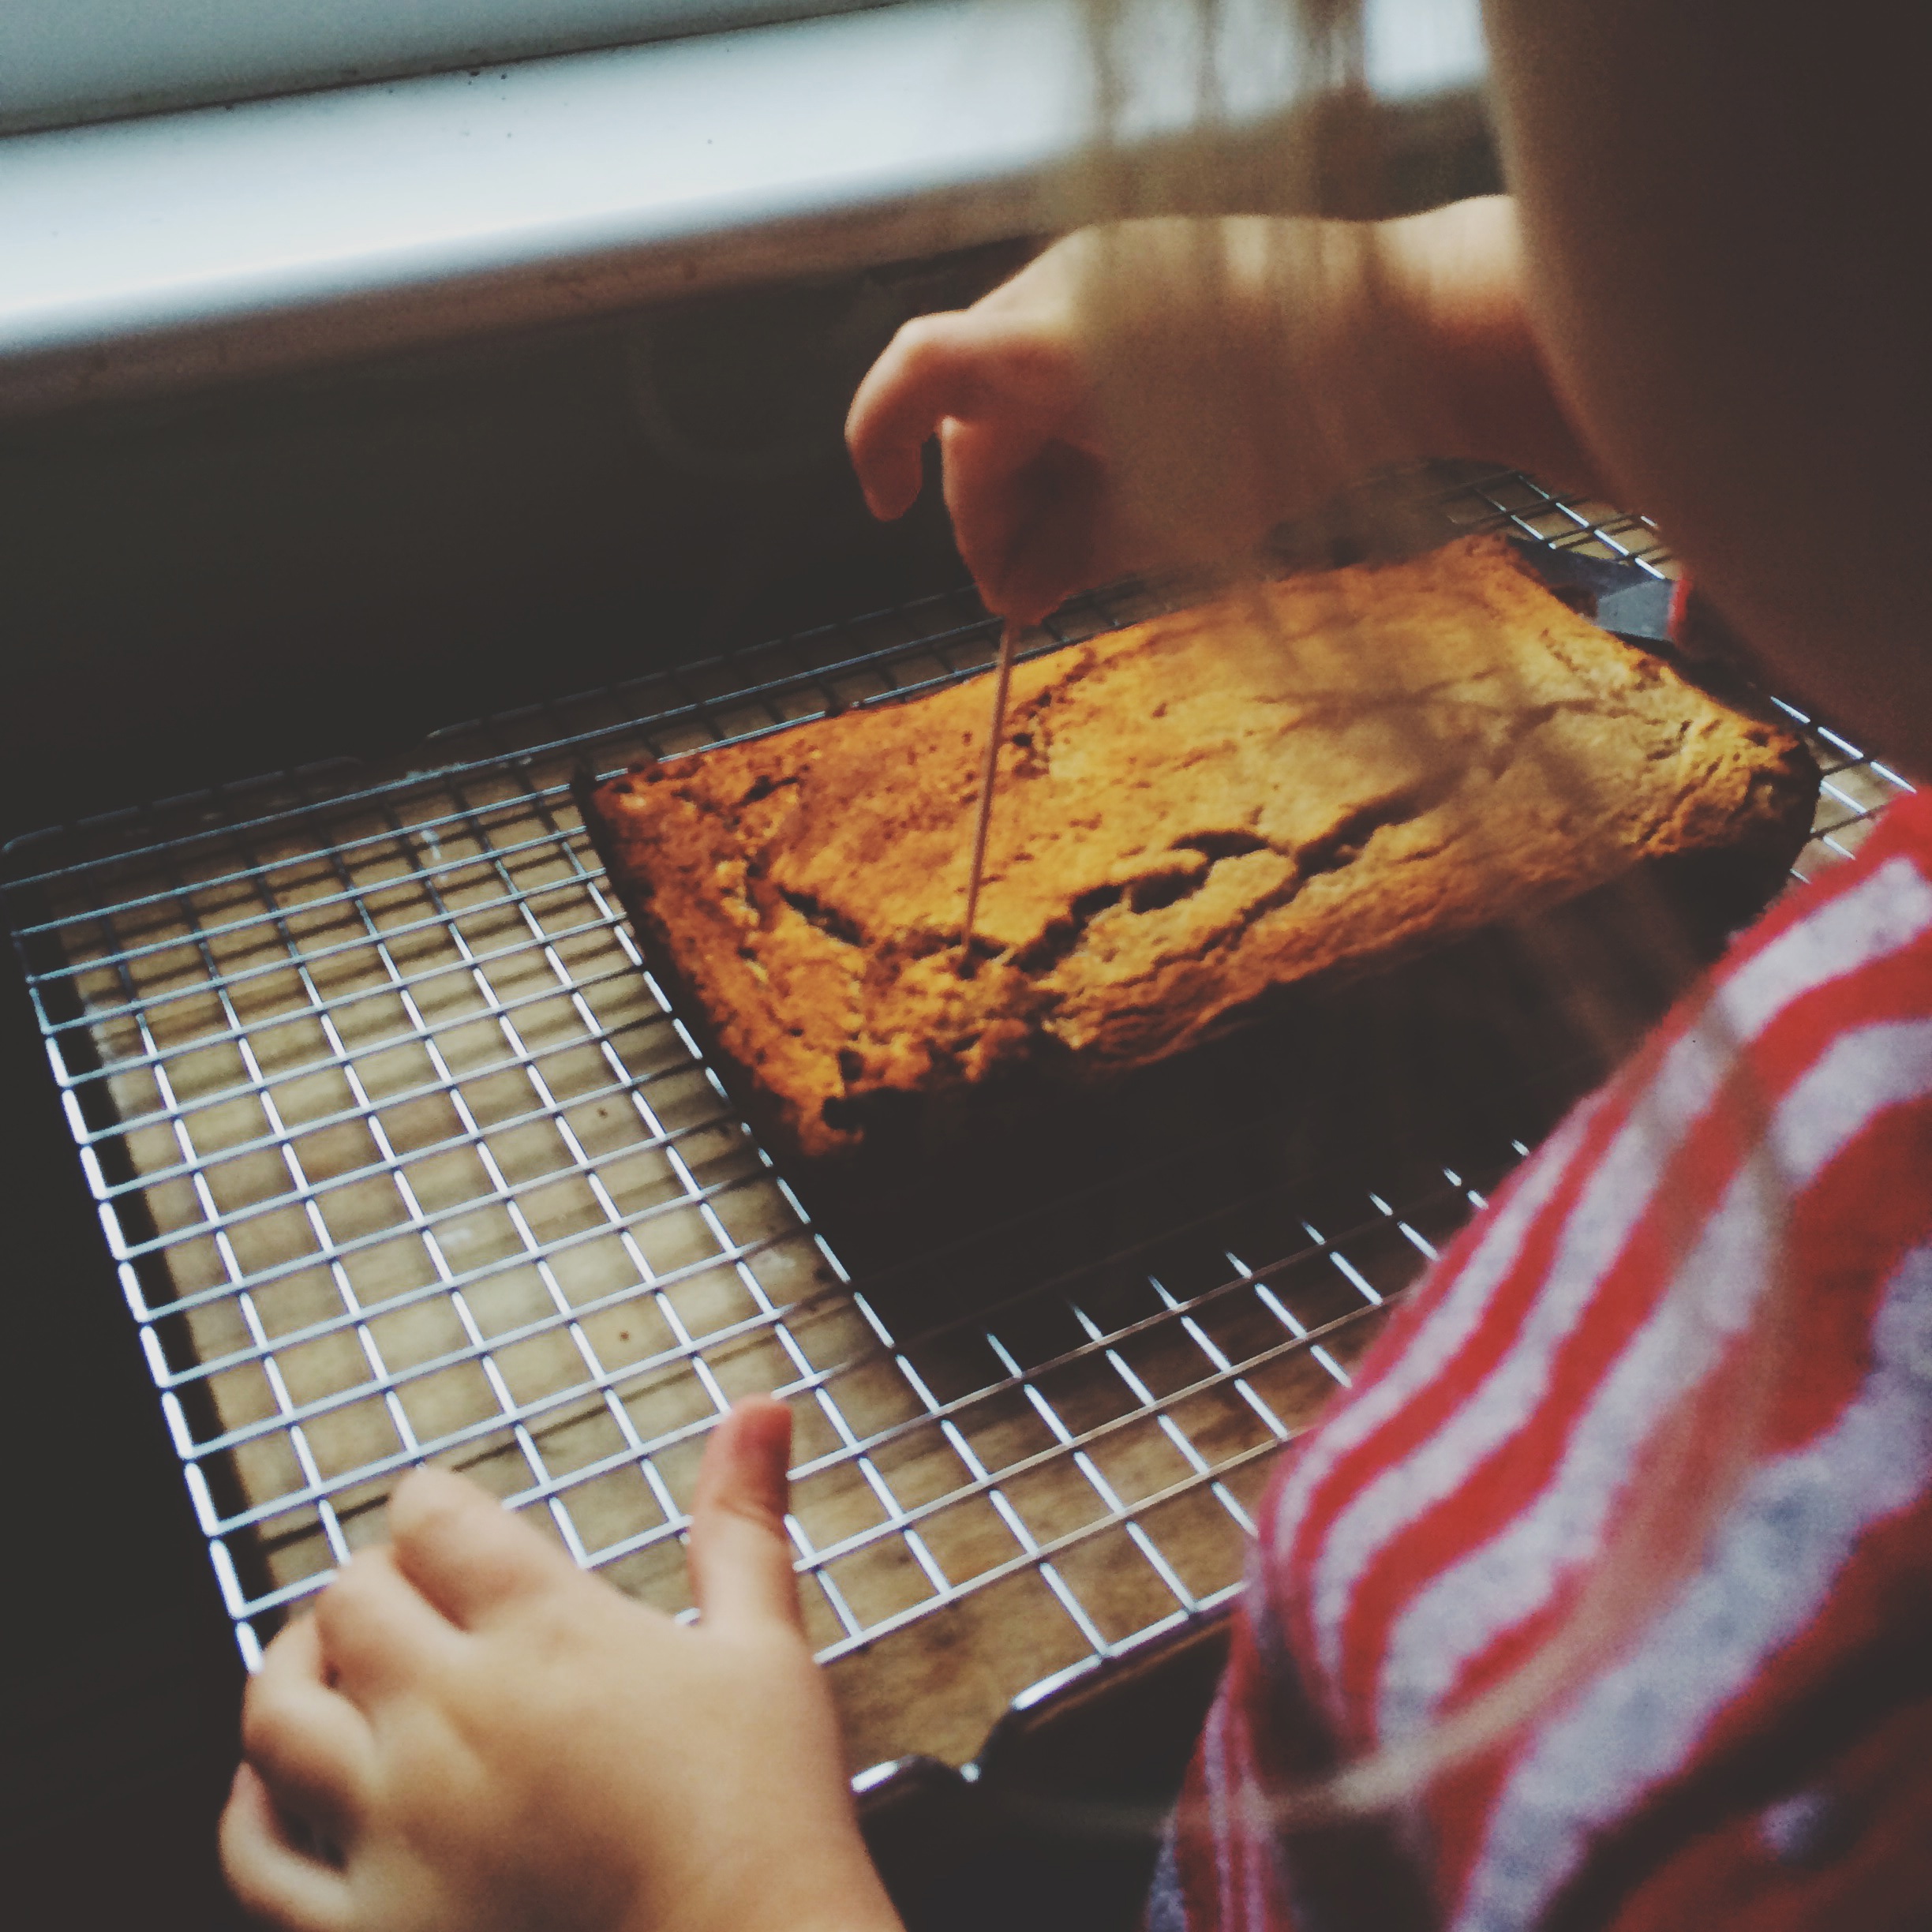
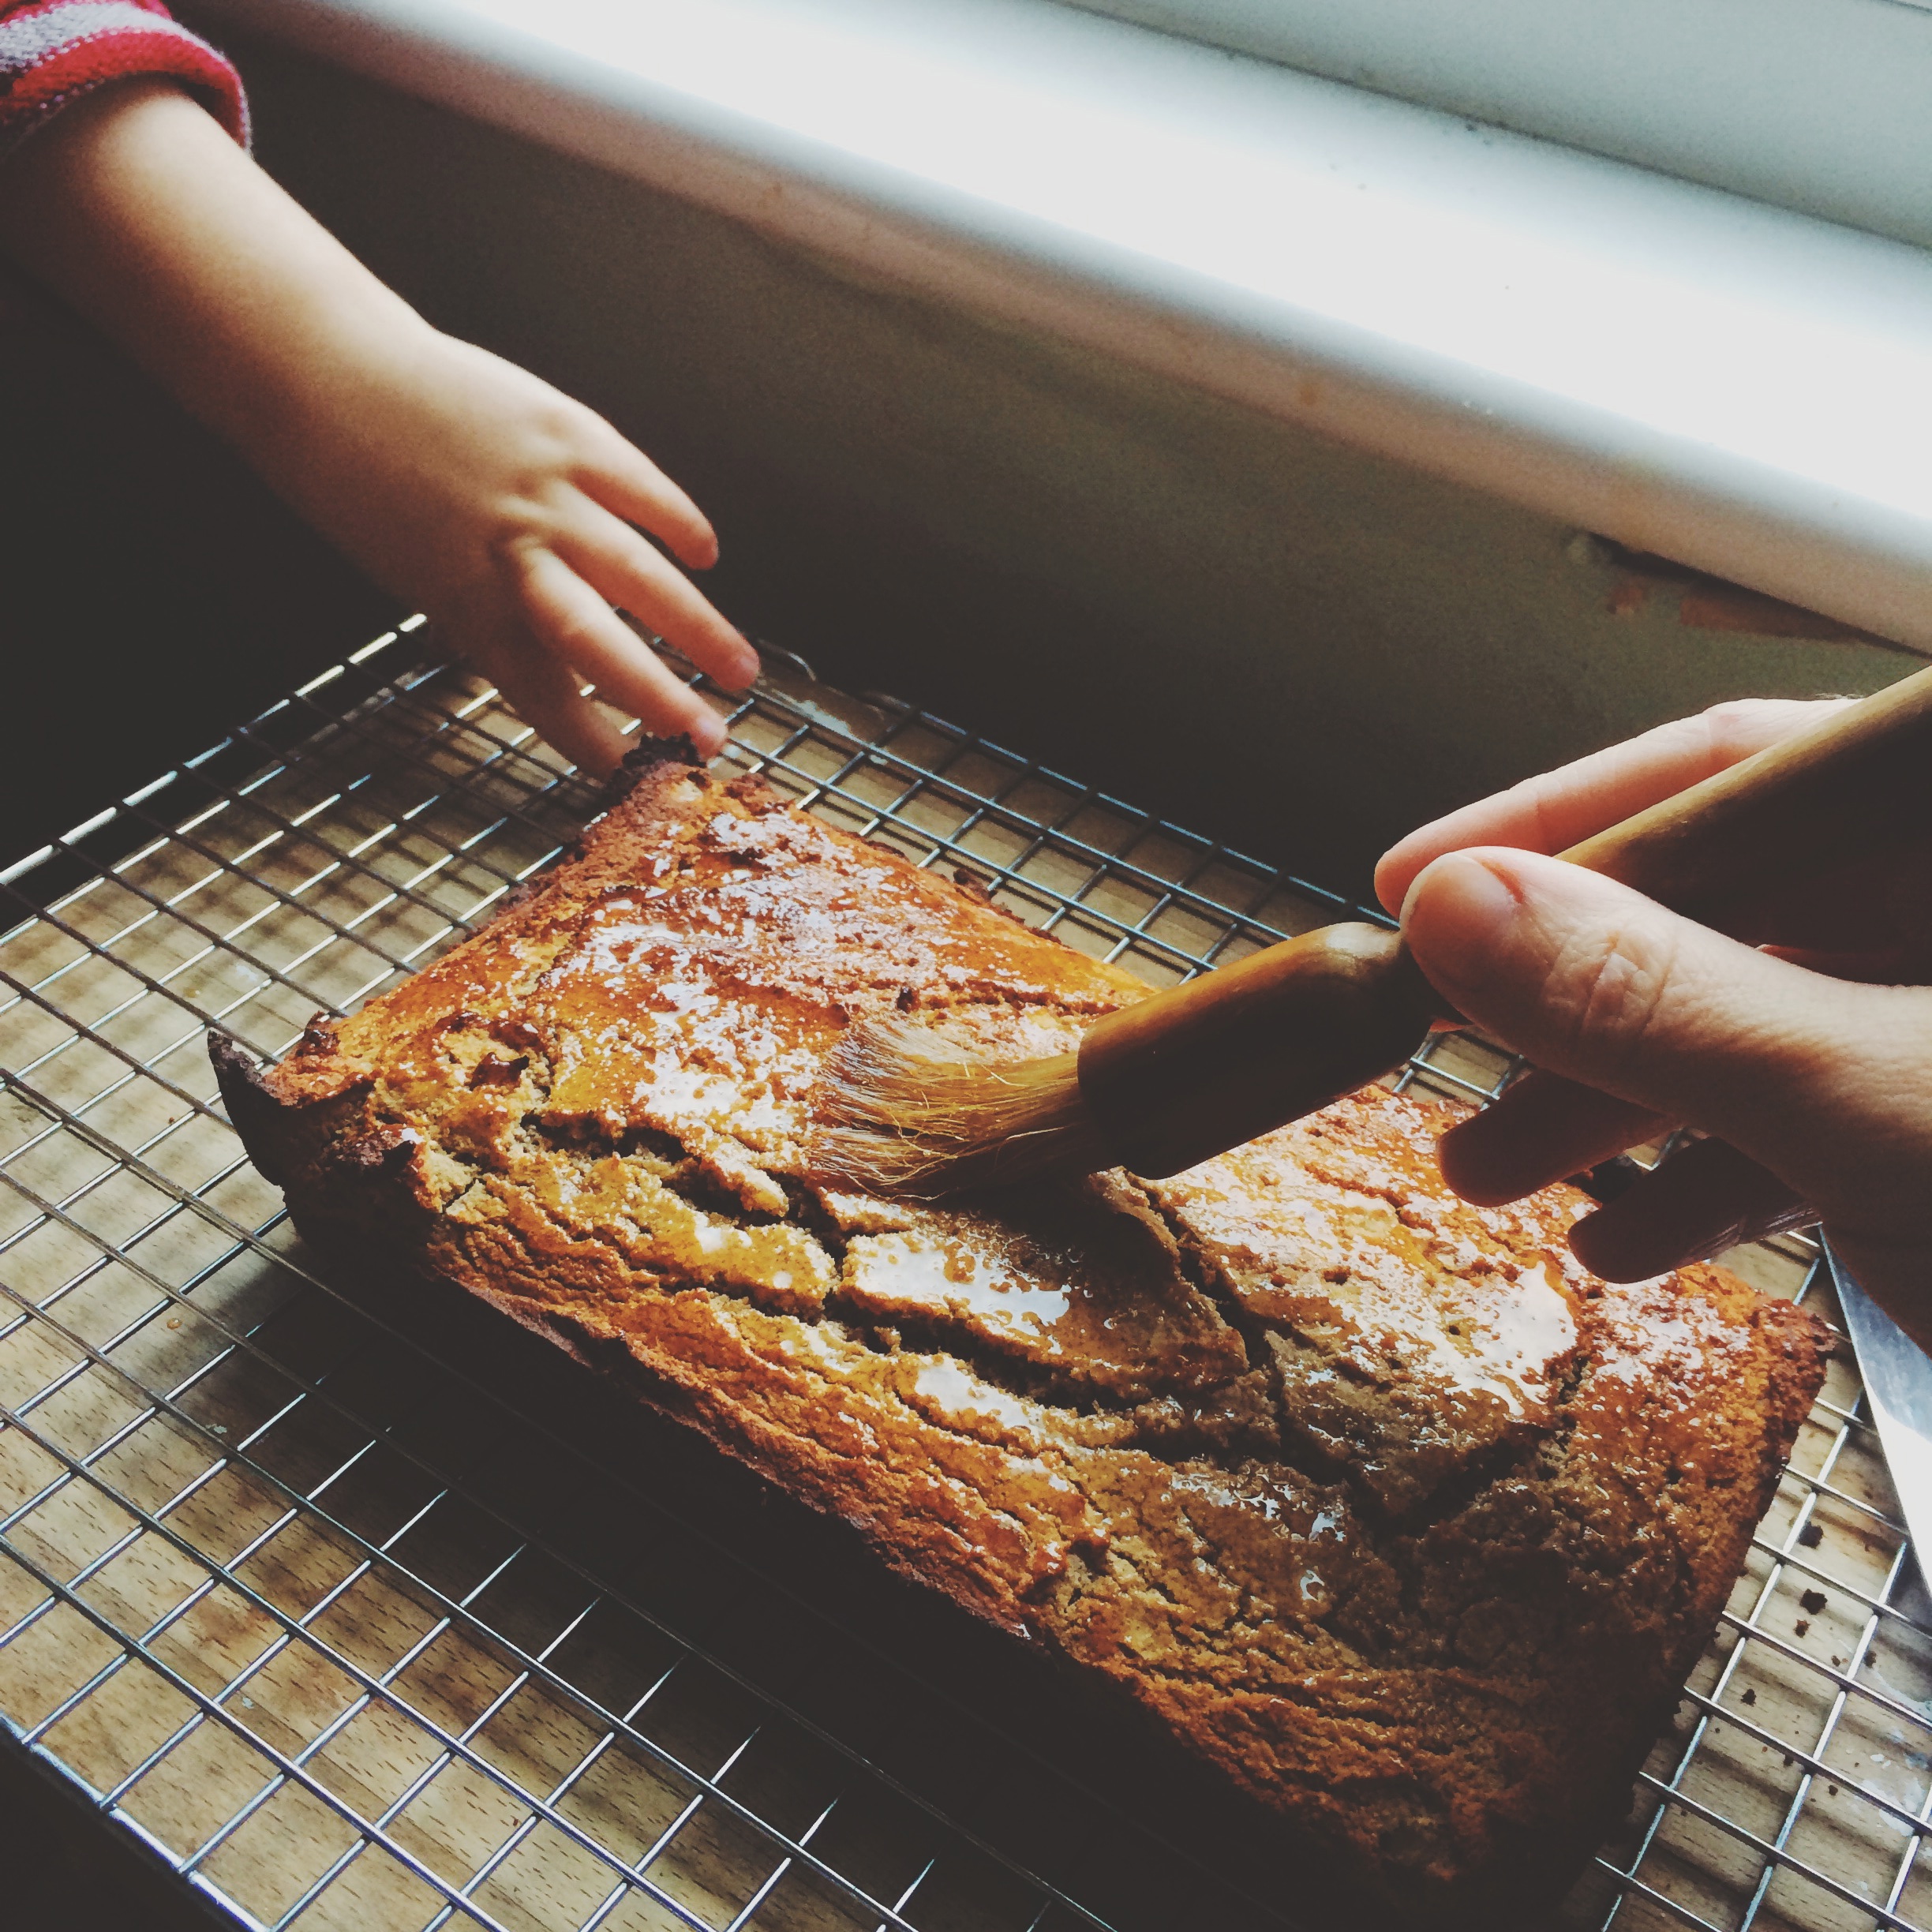
Bake in a preheated oven at 180C for 30 minutes. It should come out lovely and golden. Leave to cool in the tin for ten minutes, then transfer to a wire rack. Warm your additional agave or maple syrup (about 1-2 tbsp) until super runny. Poke the bread with a toothpick all over - not all the way through. Brush with the runny syrup. It makes the bread super glossy and extra delicious. 

The bread is really light and I imagine you could easily jazz it up with some nuts, raisins, coconut, maca....maybe we will try and make a carrot version if any carrots survive in our house long enough not to be juiced. Or a beetroot and chocolate! Ok I'm getting carried away...but make this and eat it and feel better and know that spring is around the corner. I hope. 

These are a few of my favourite things

cactus flower

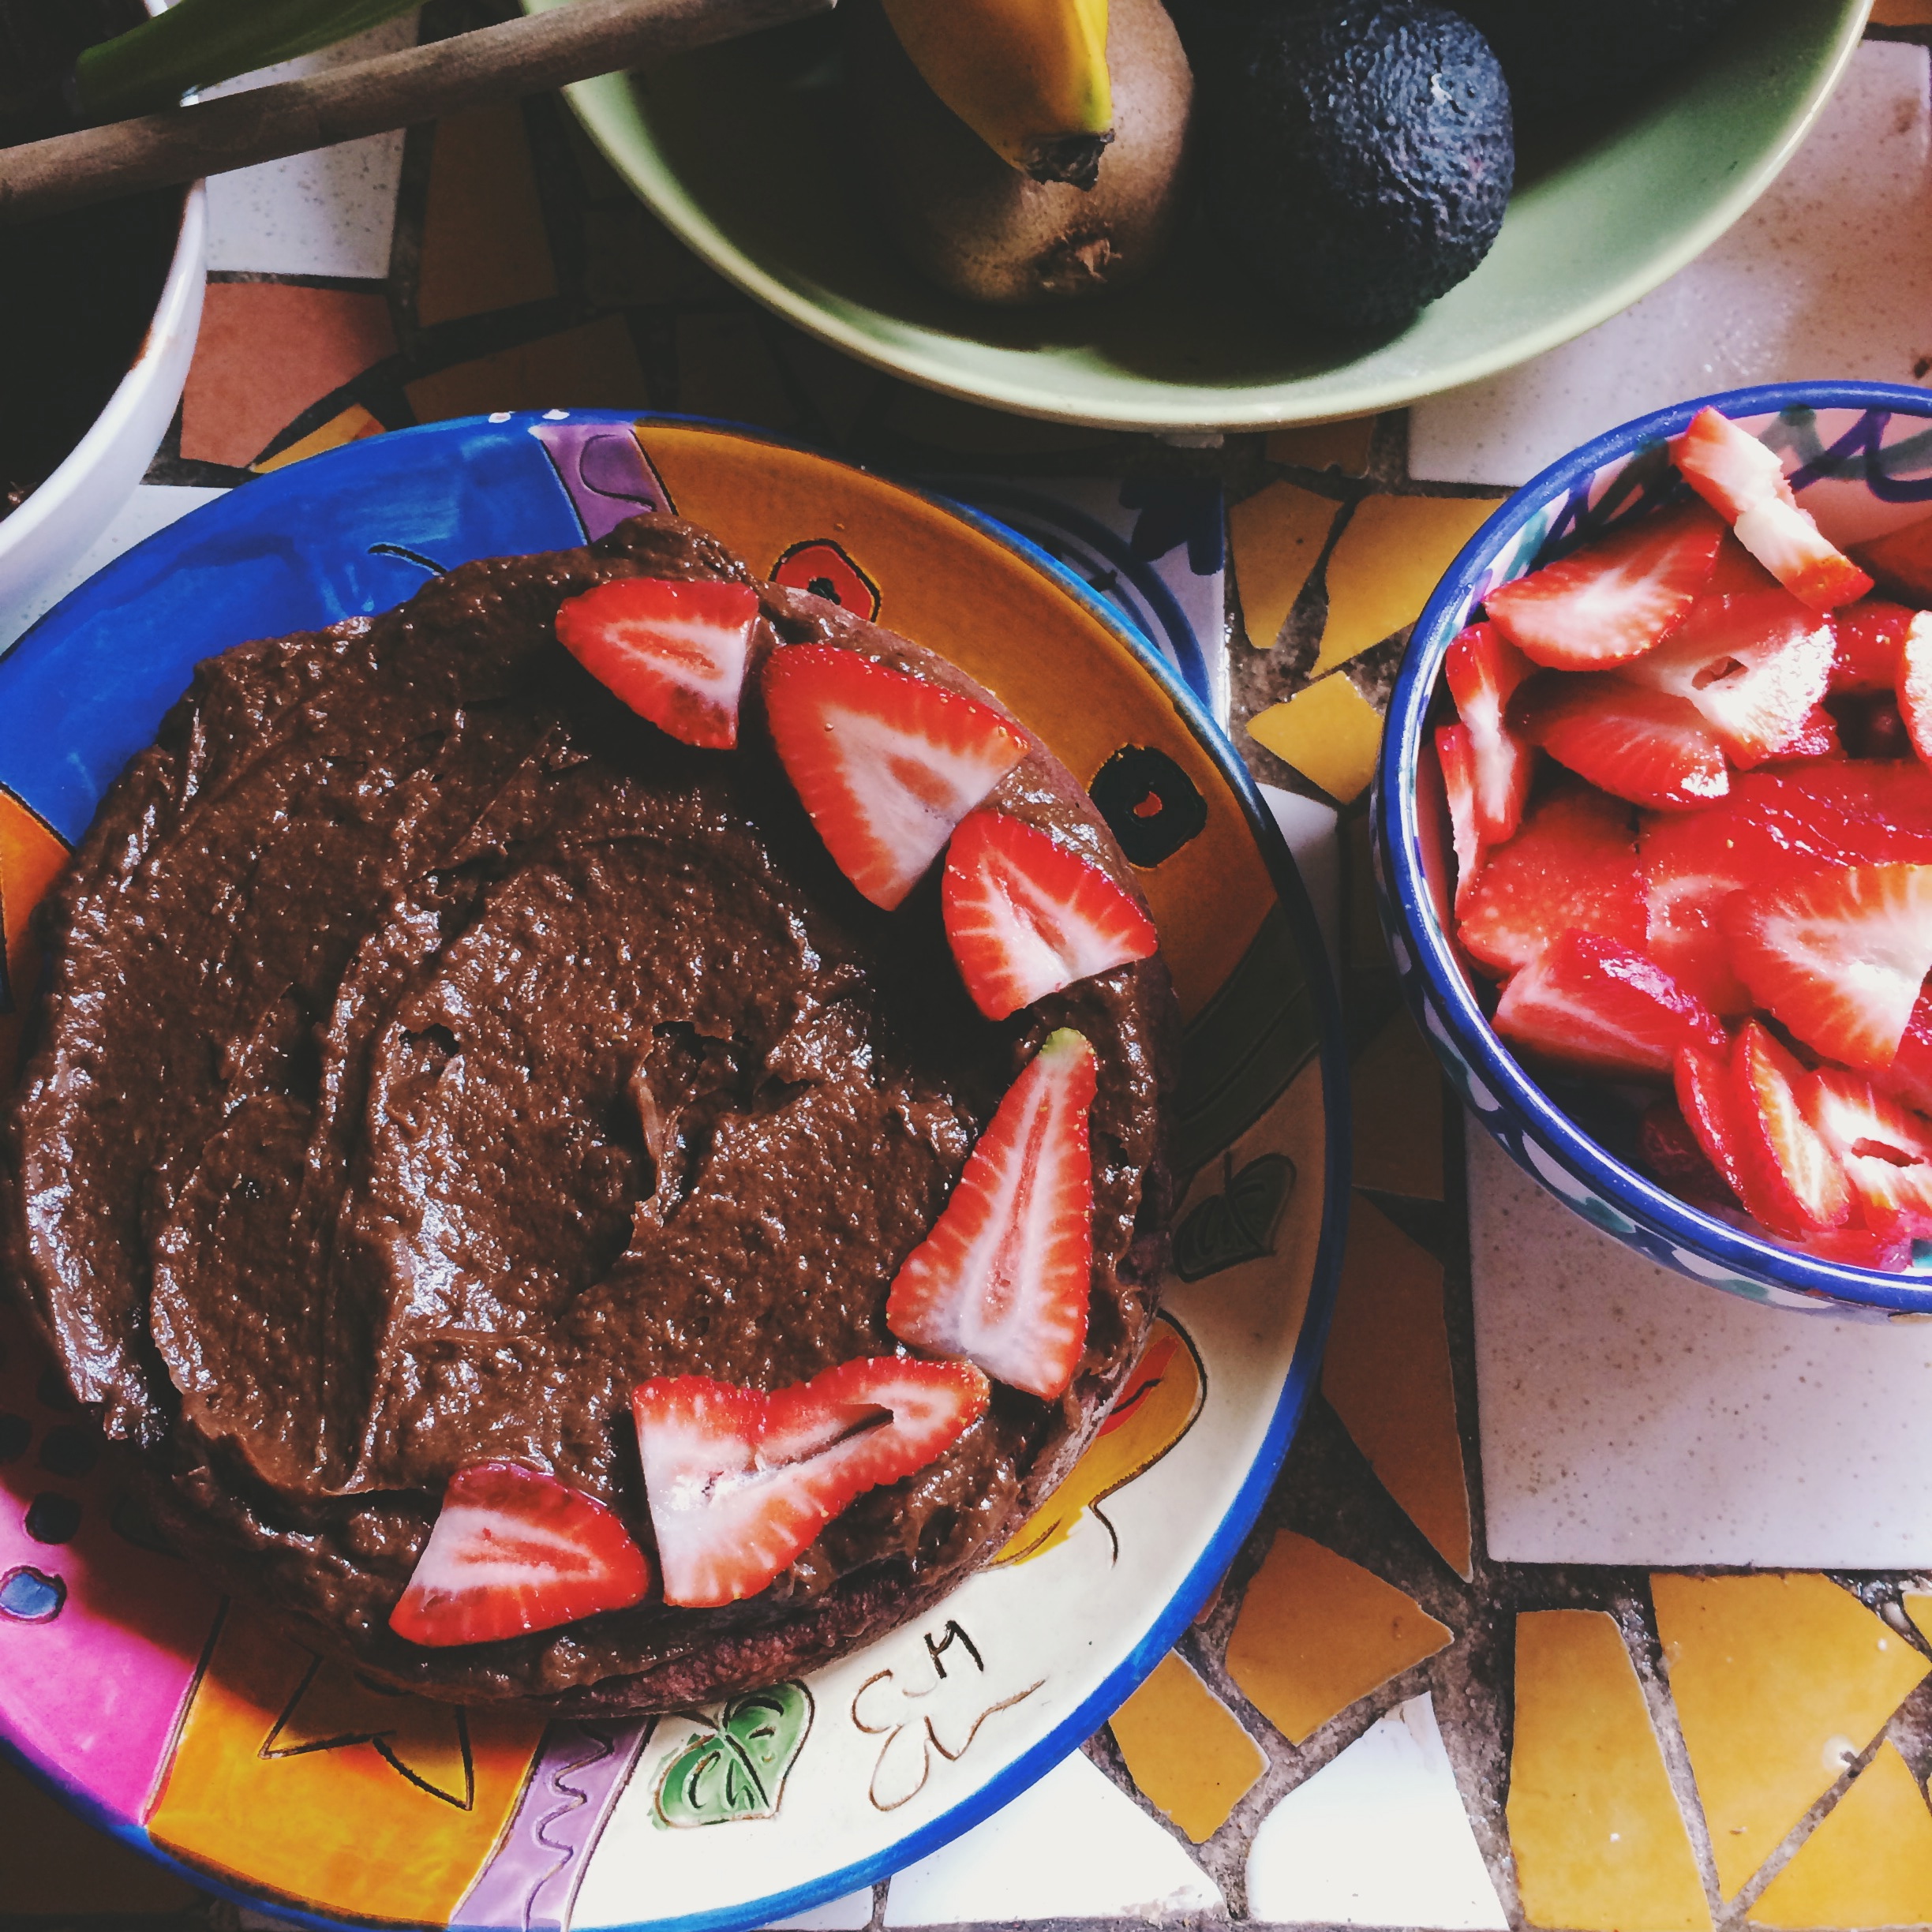
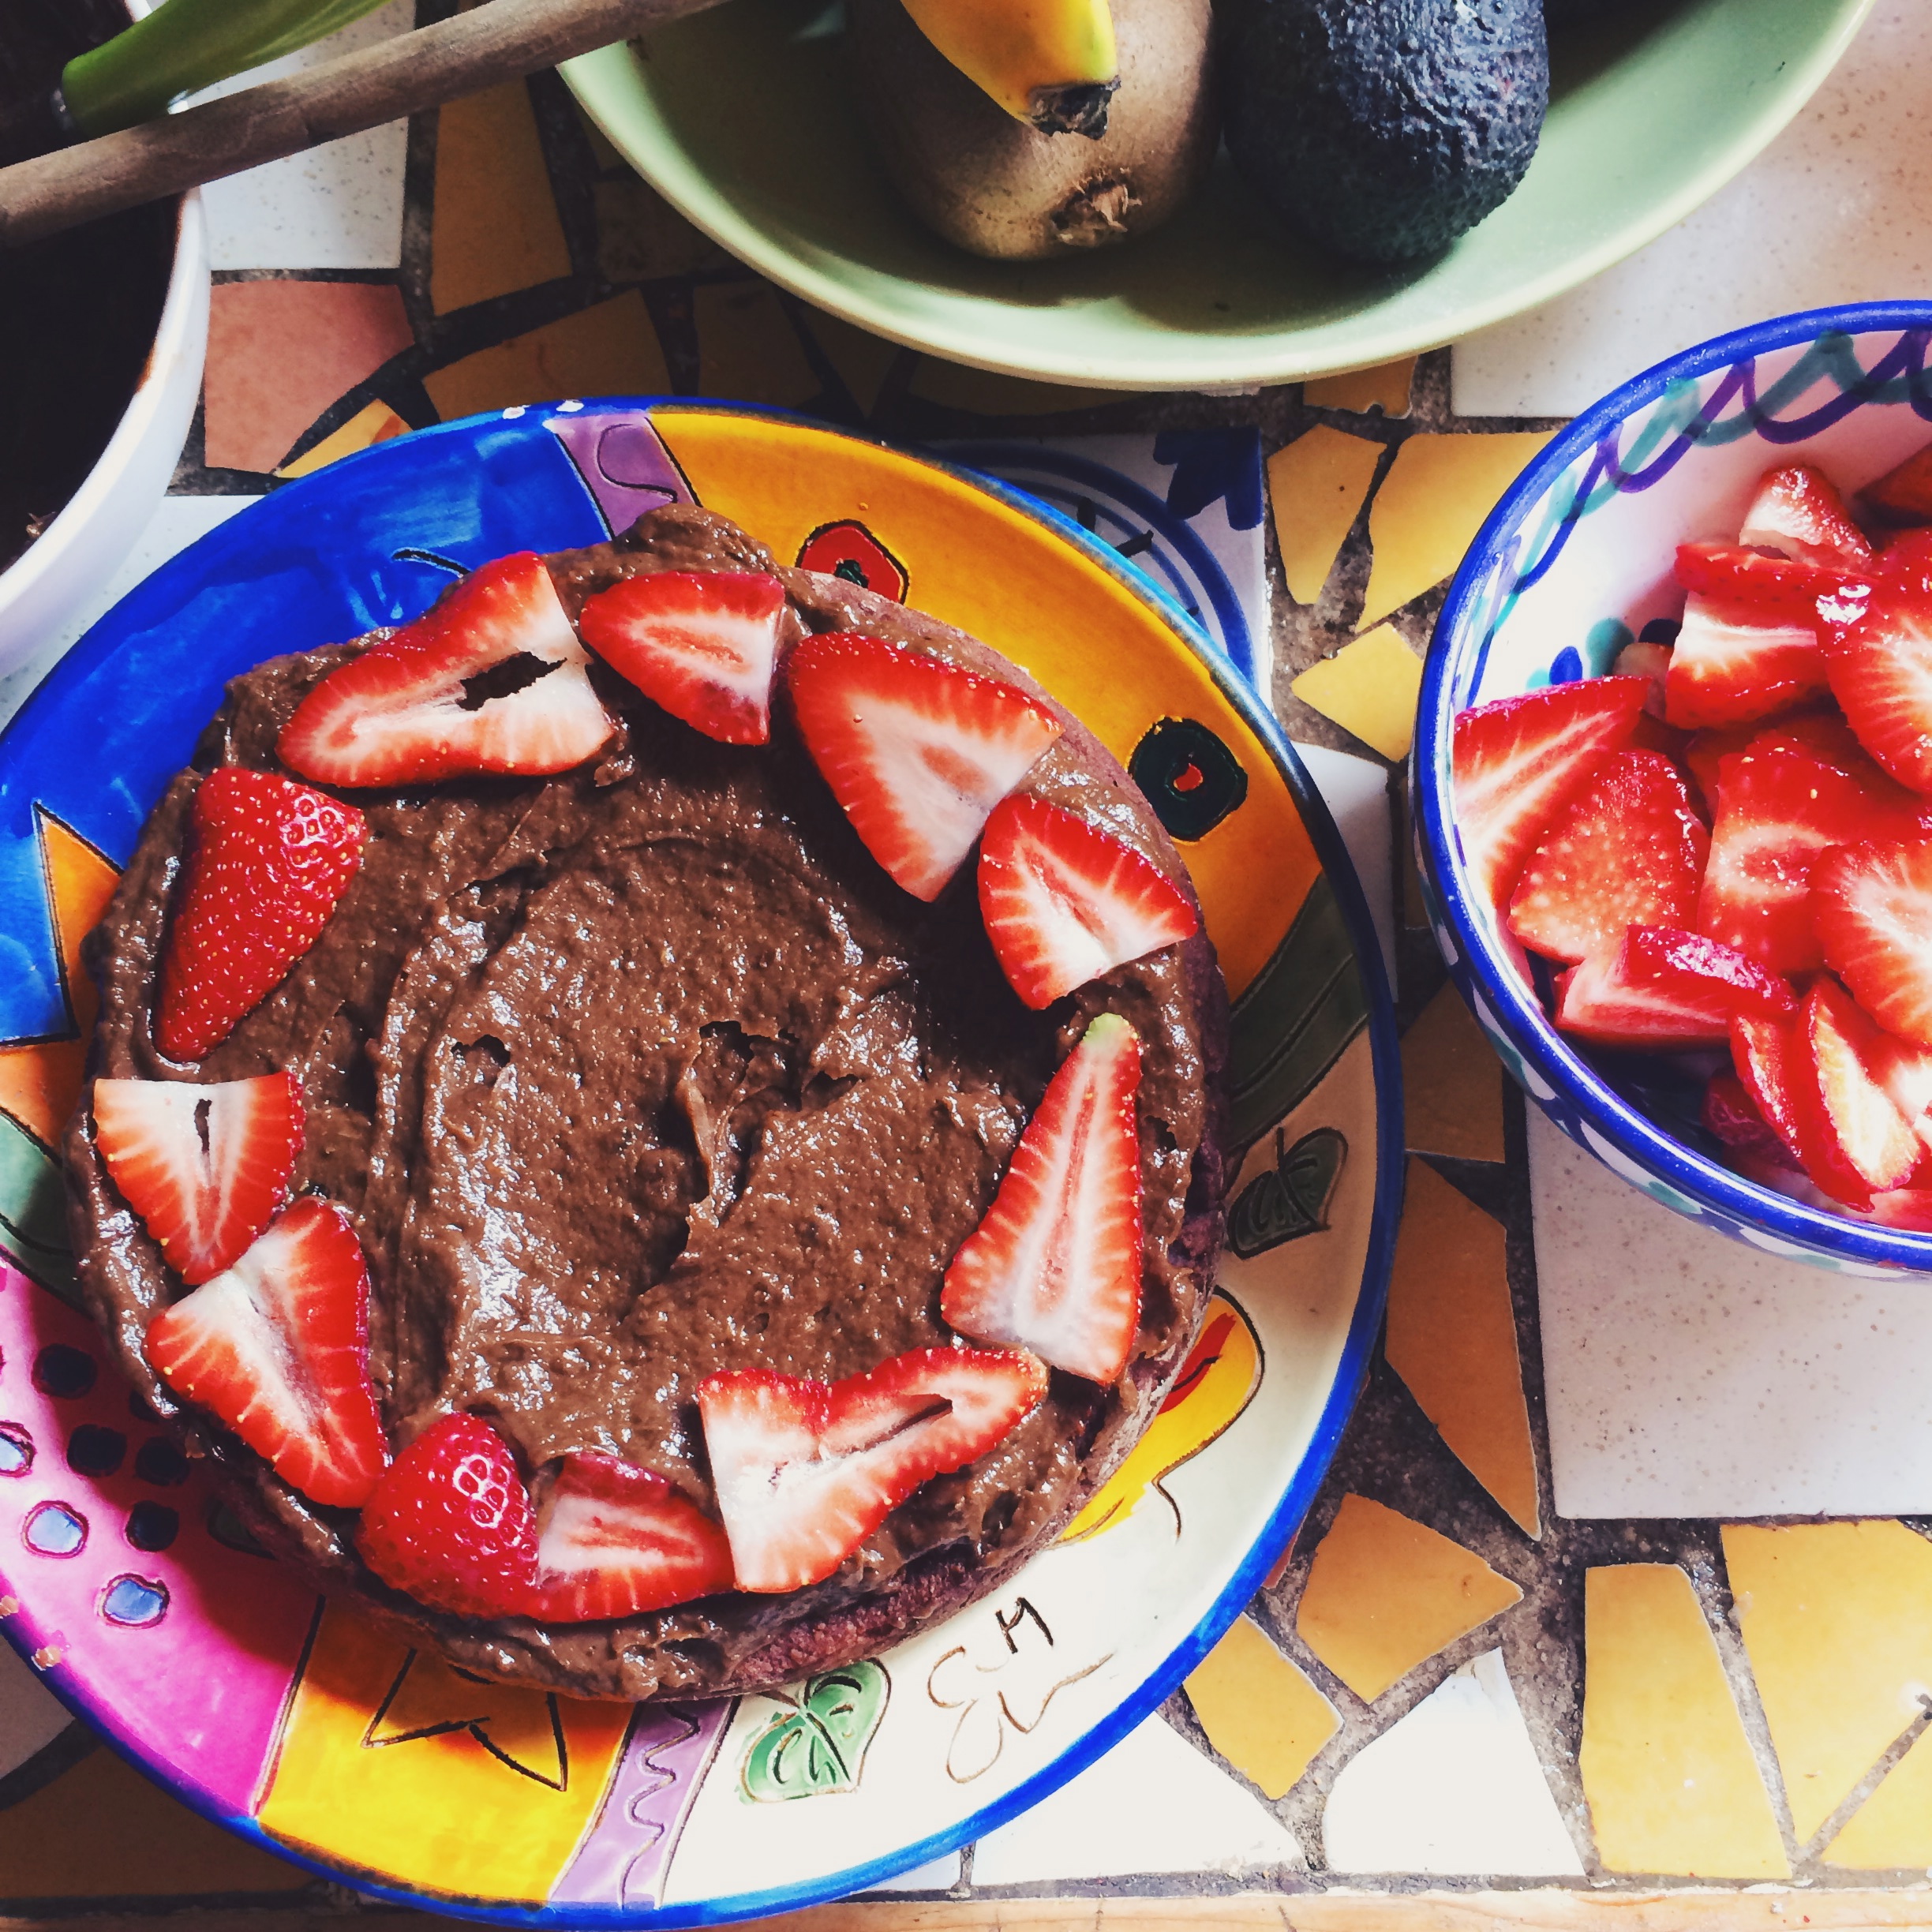
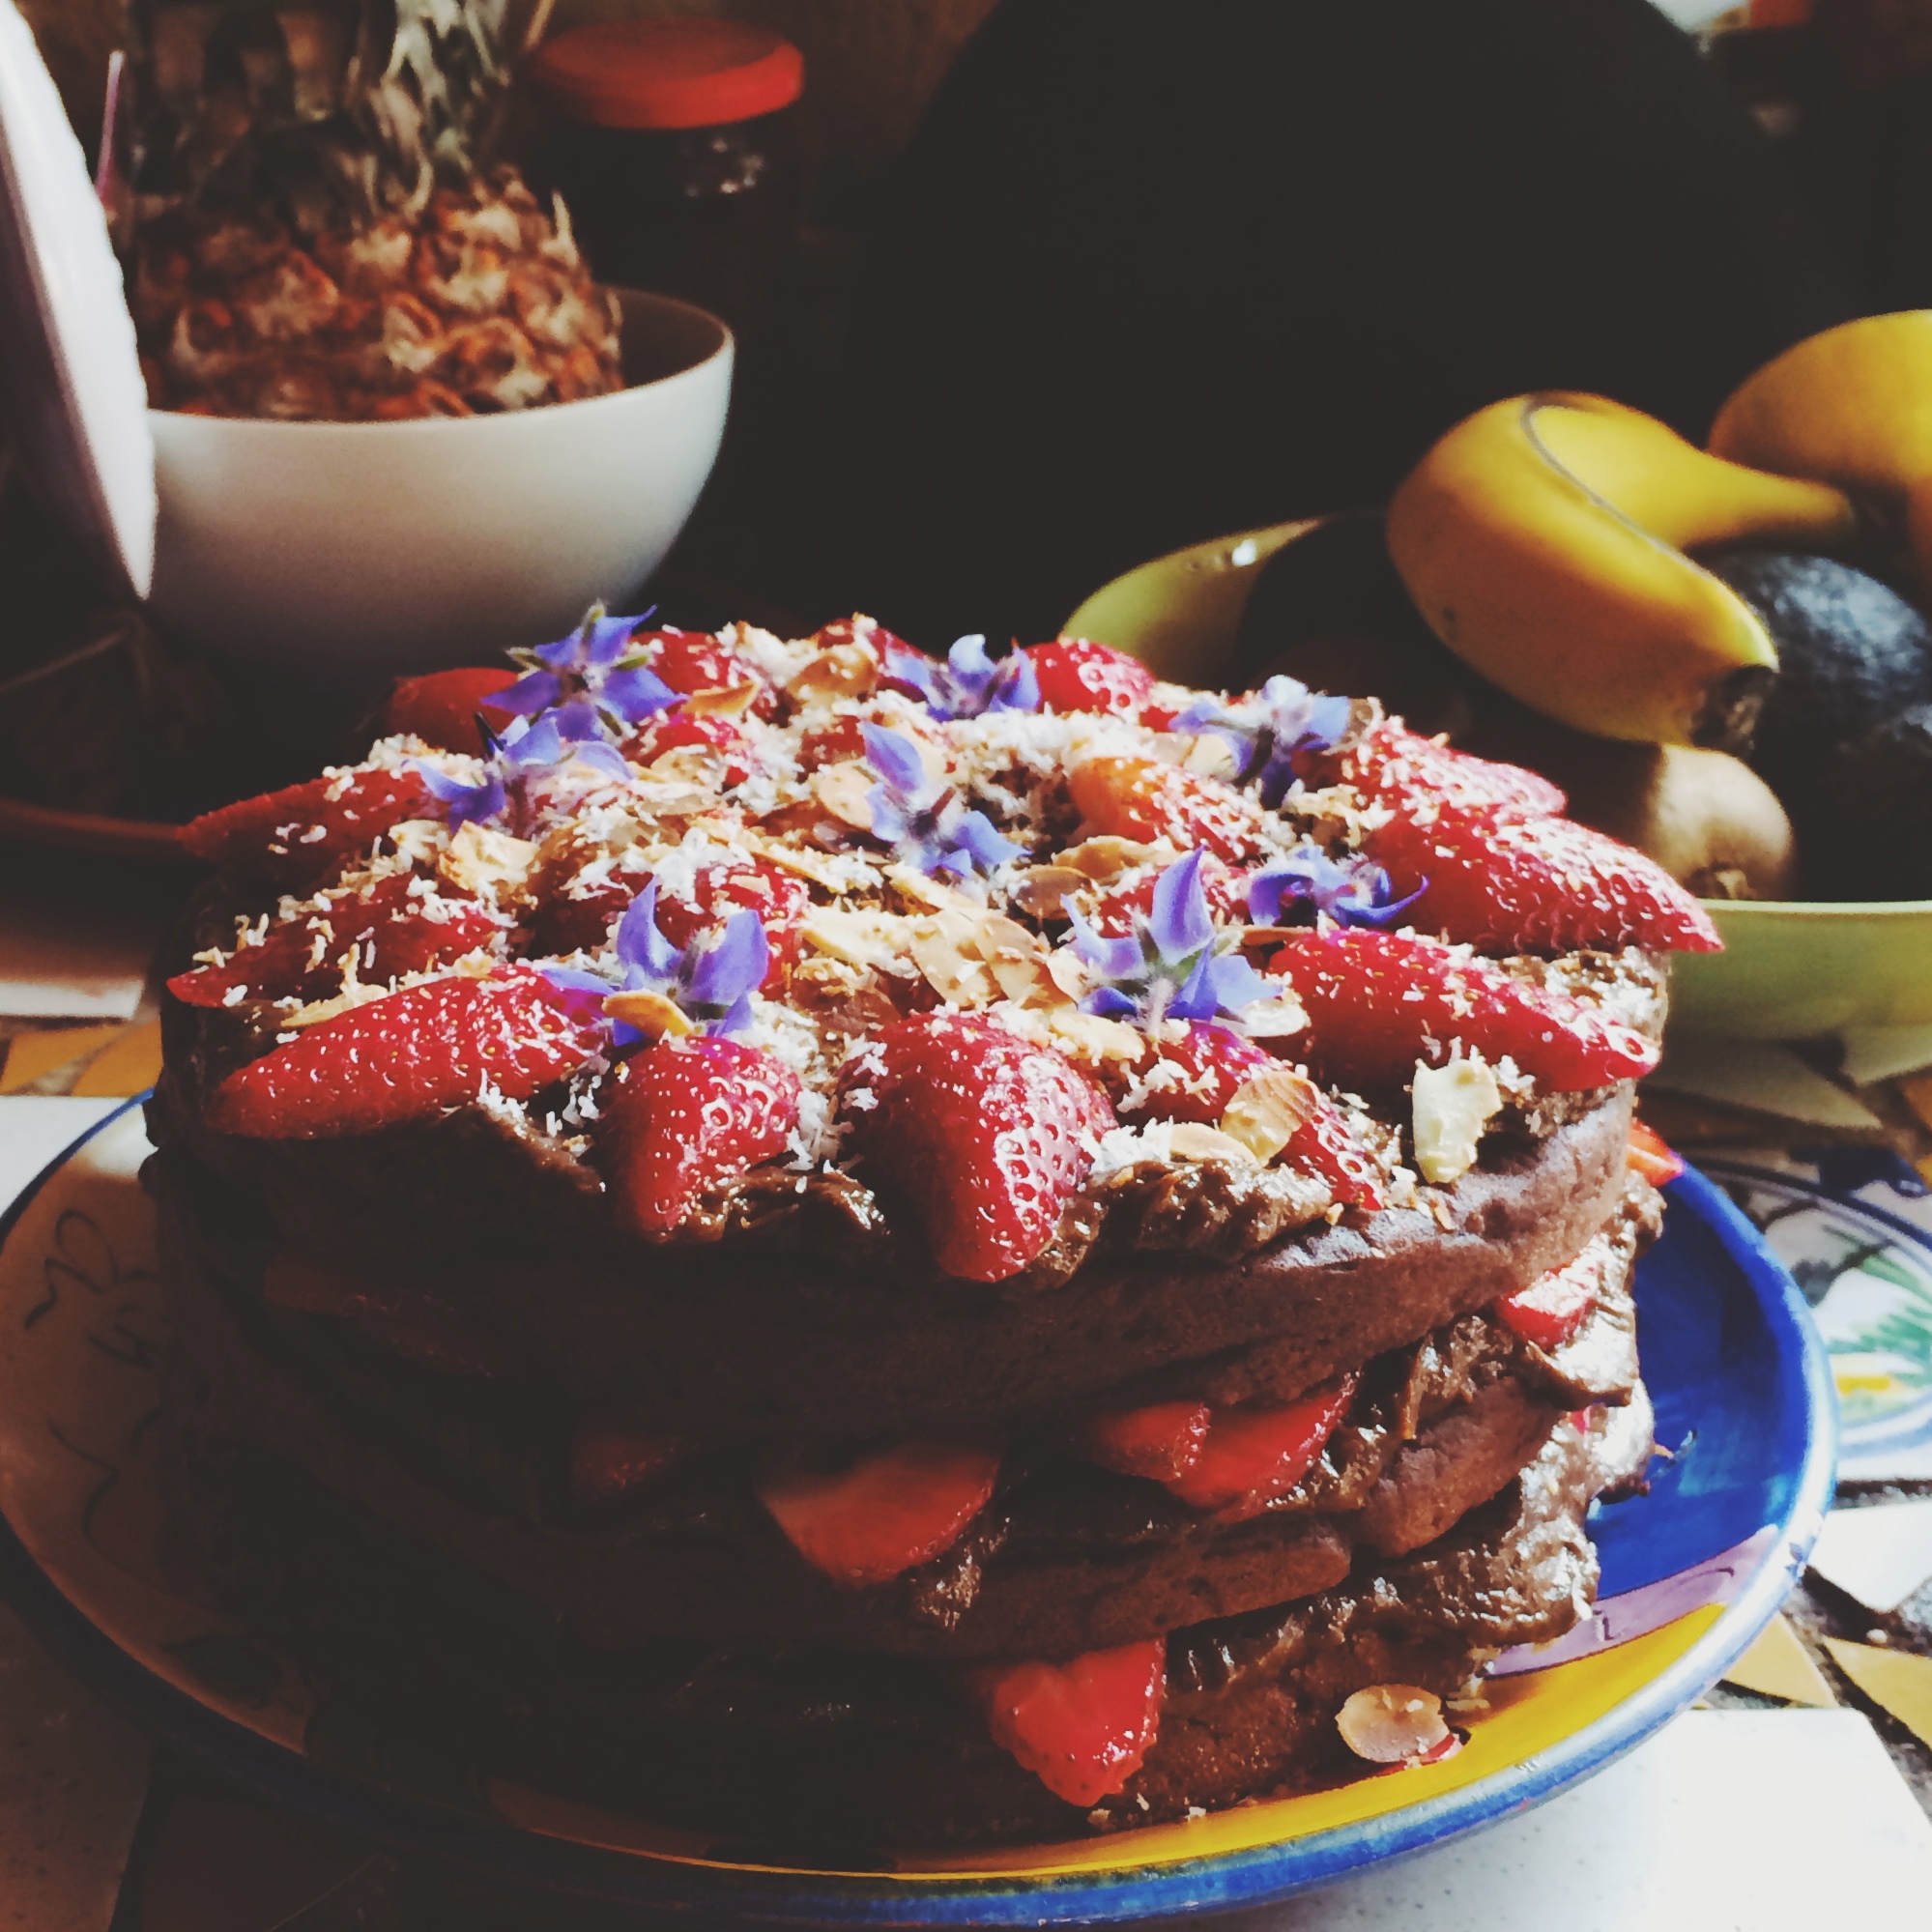
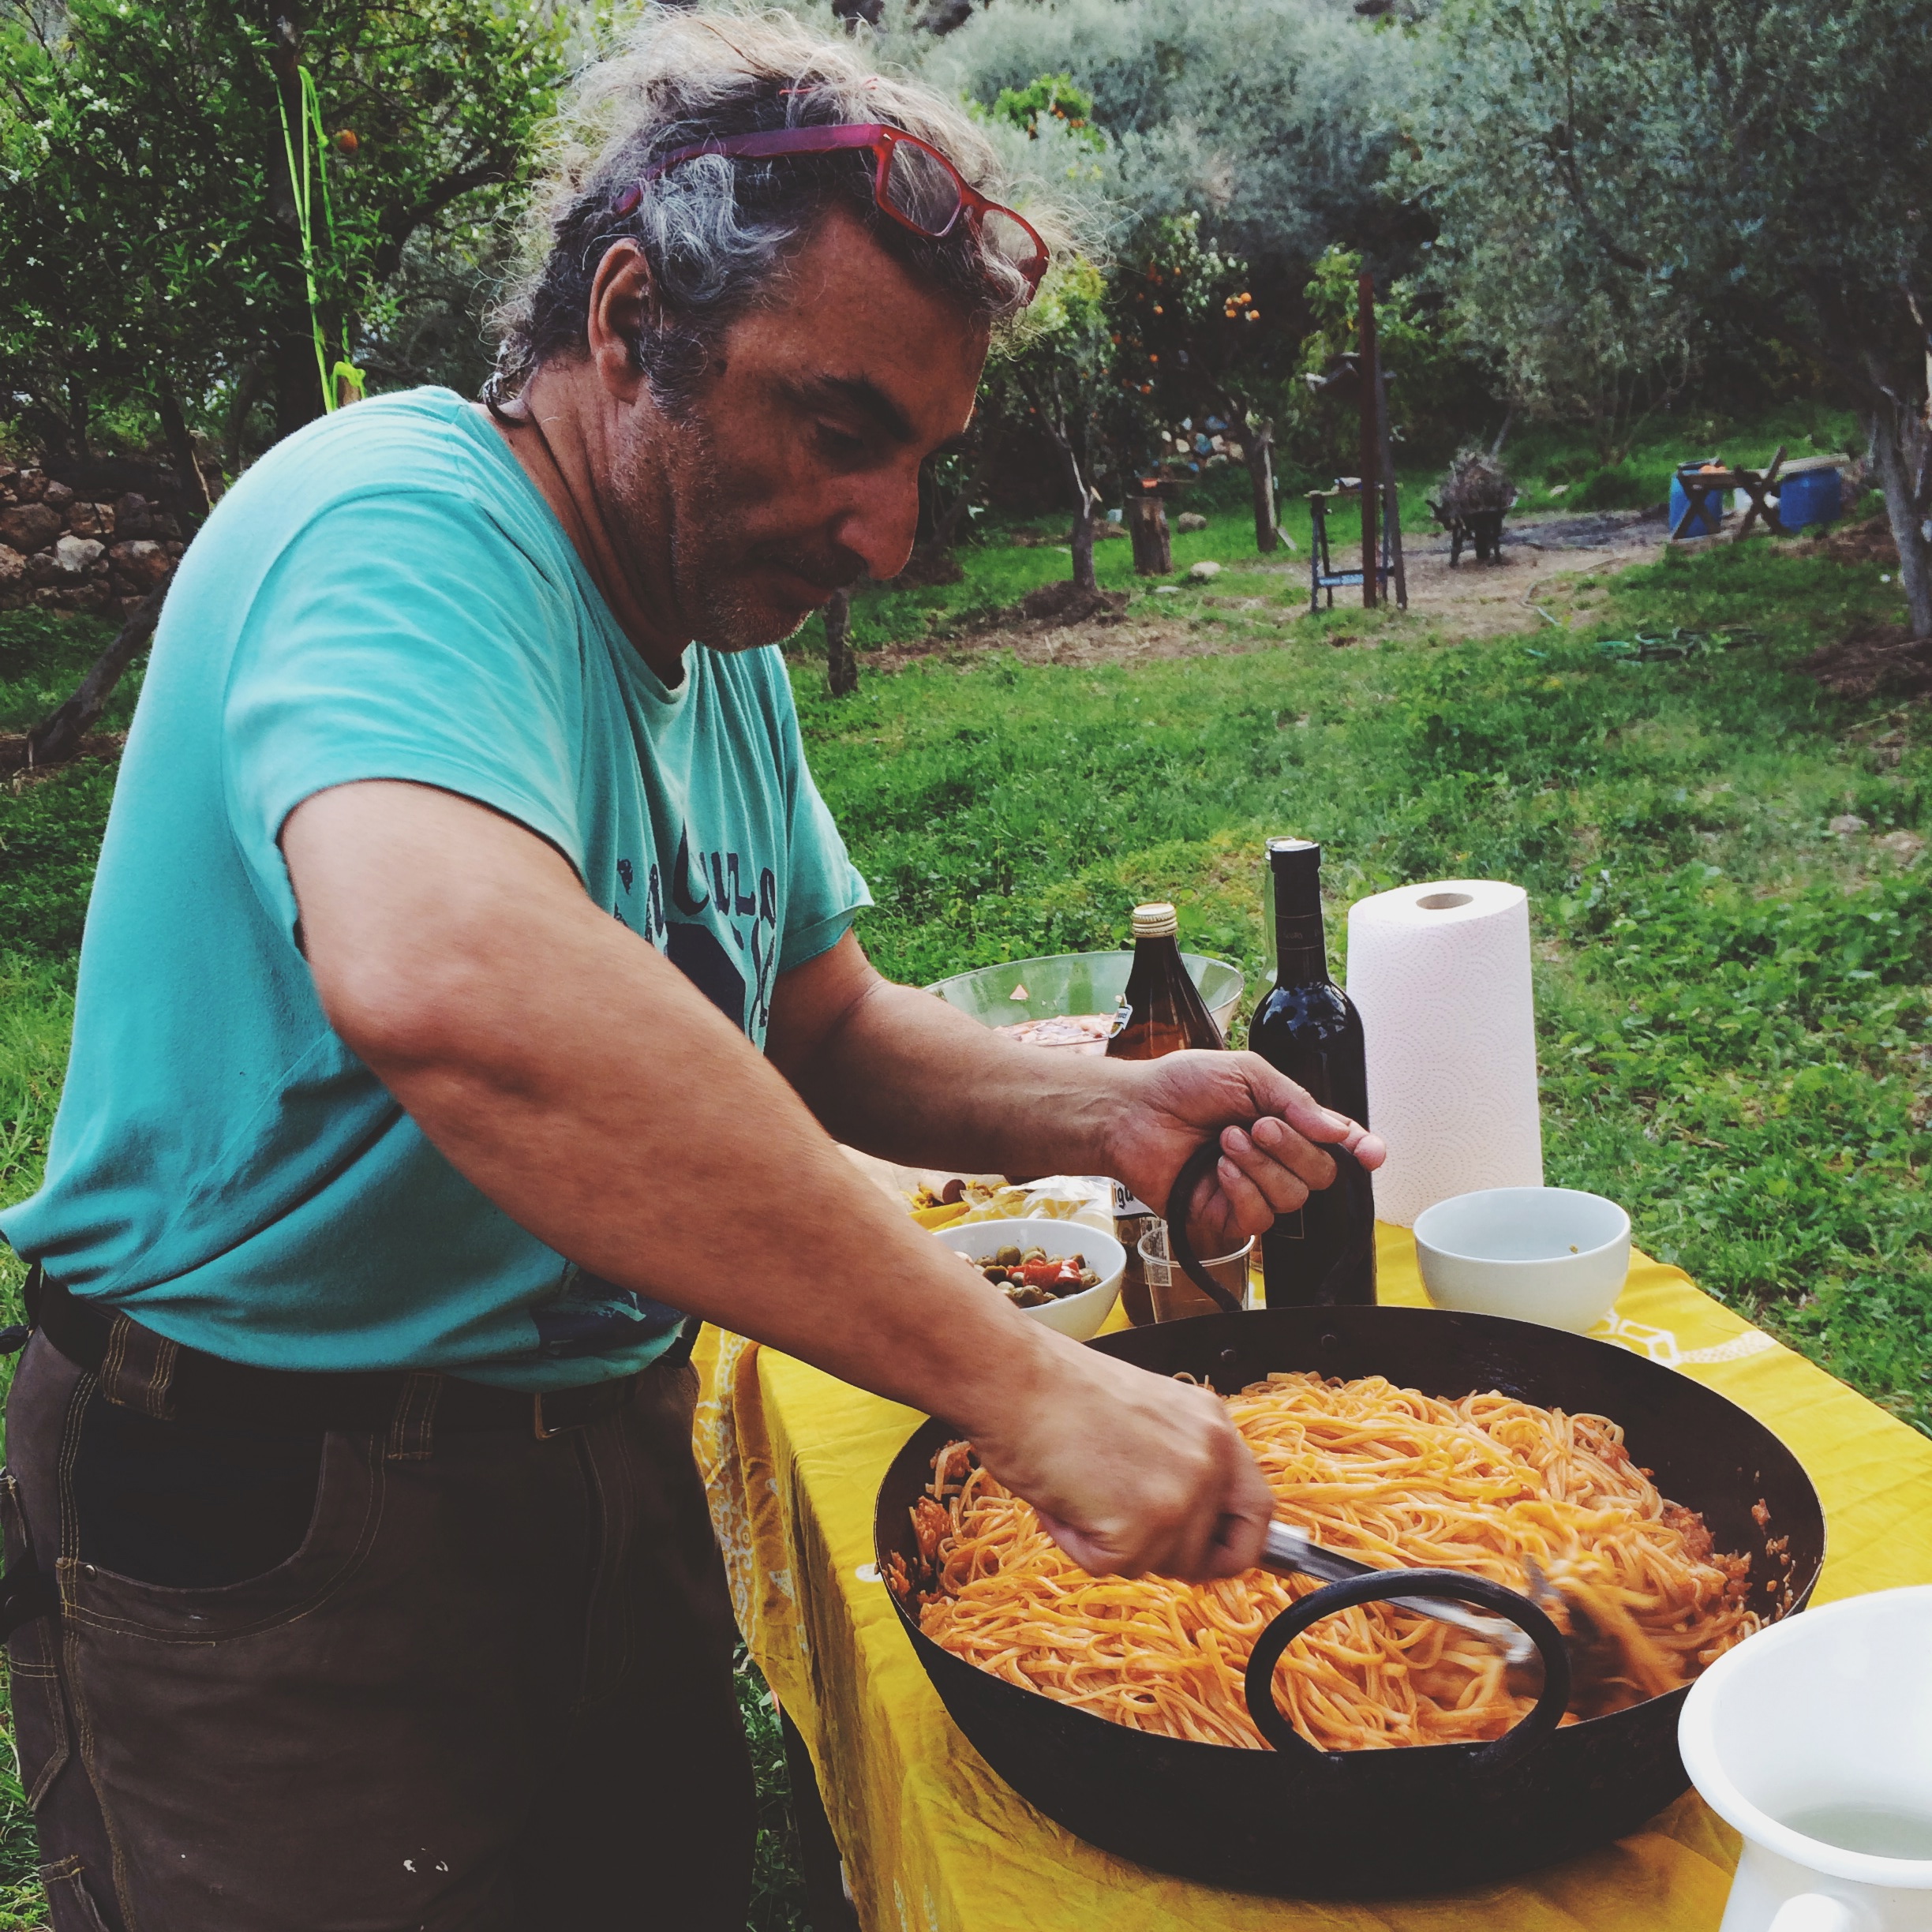
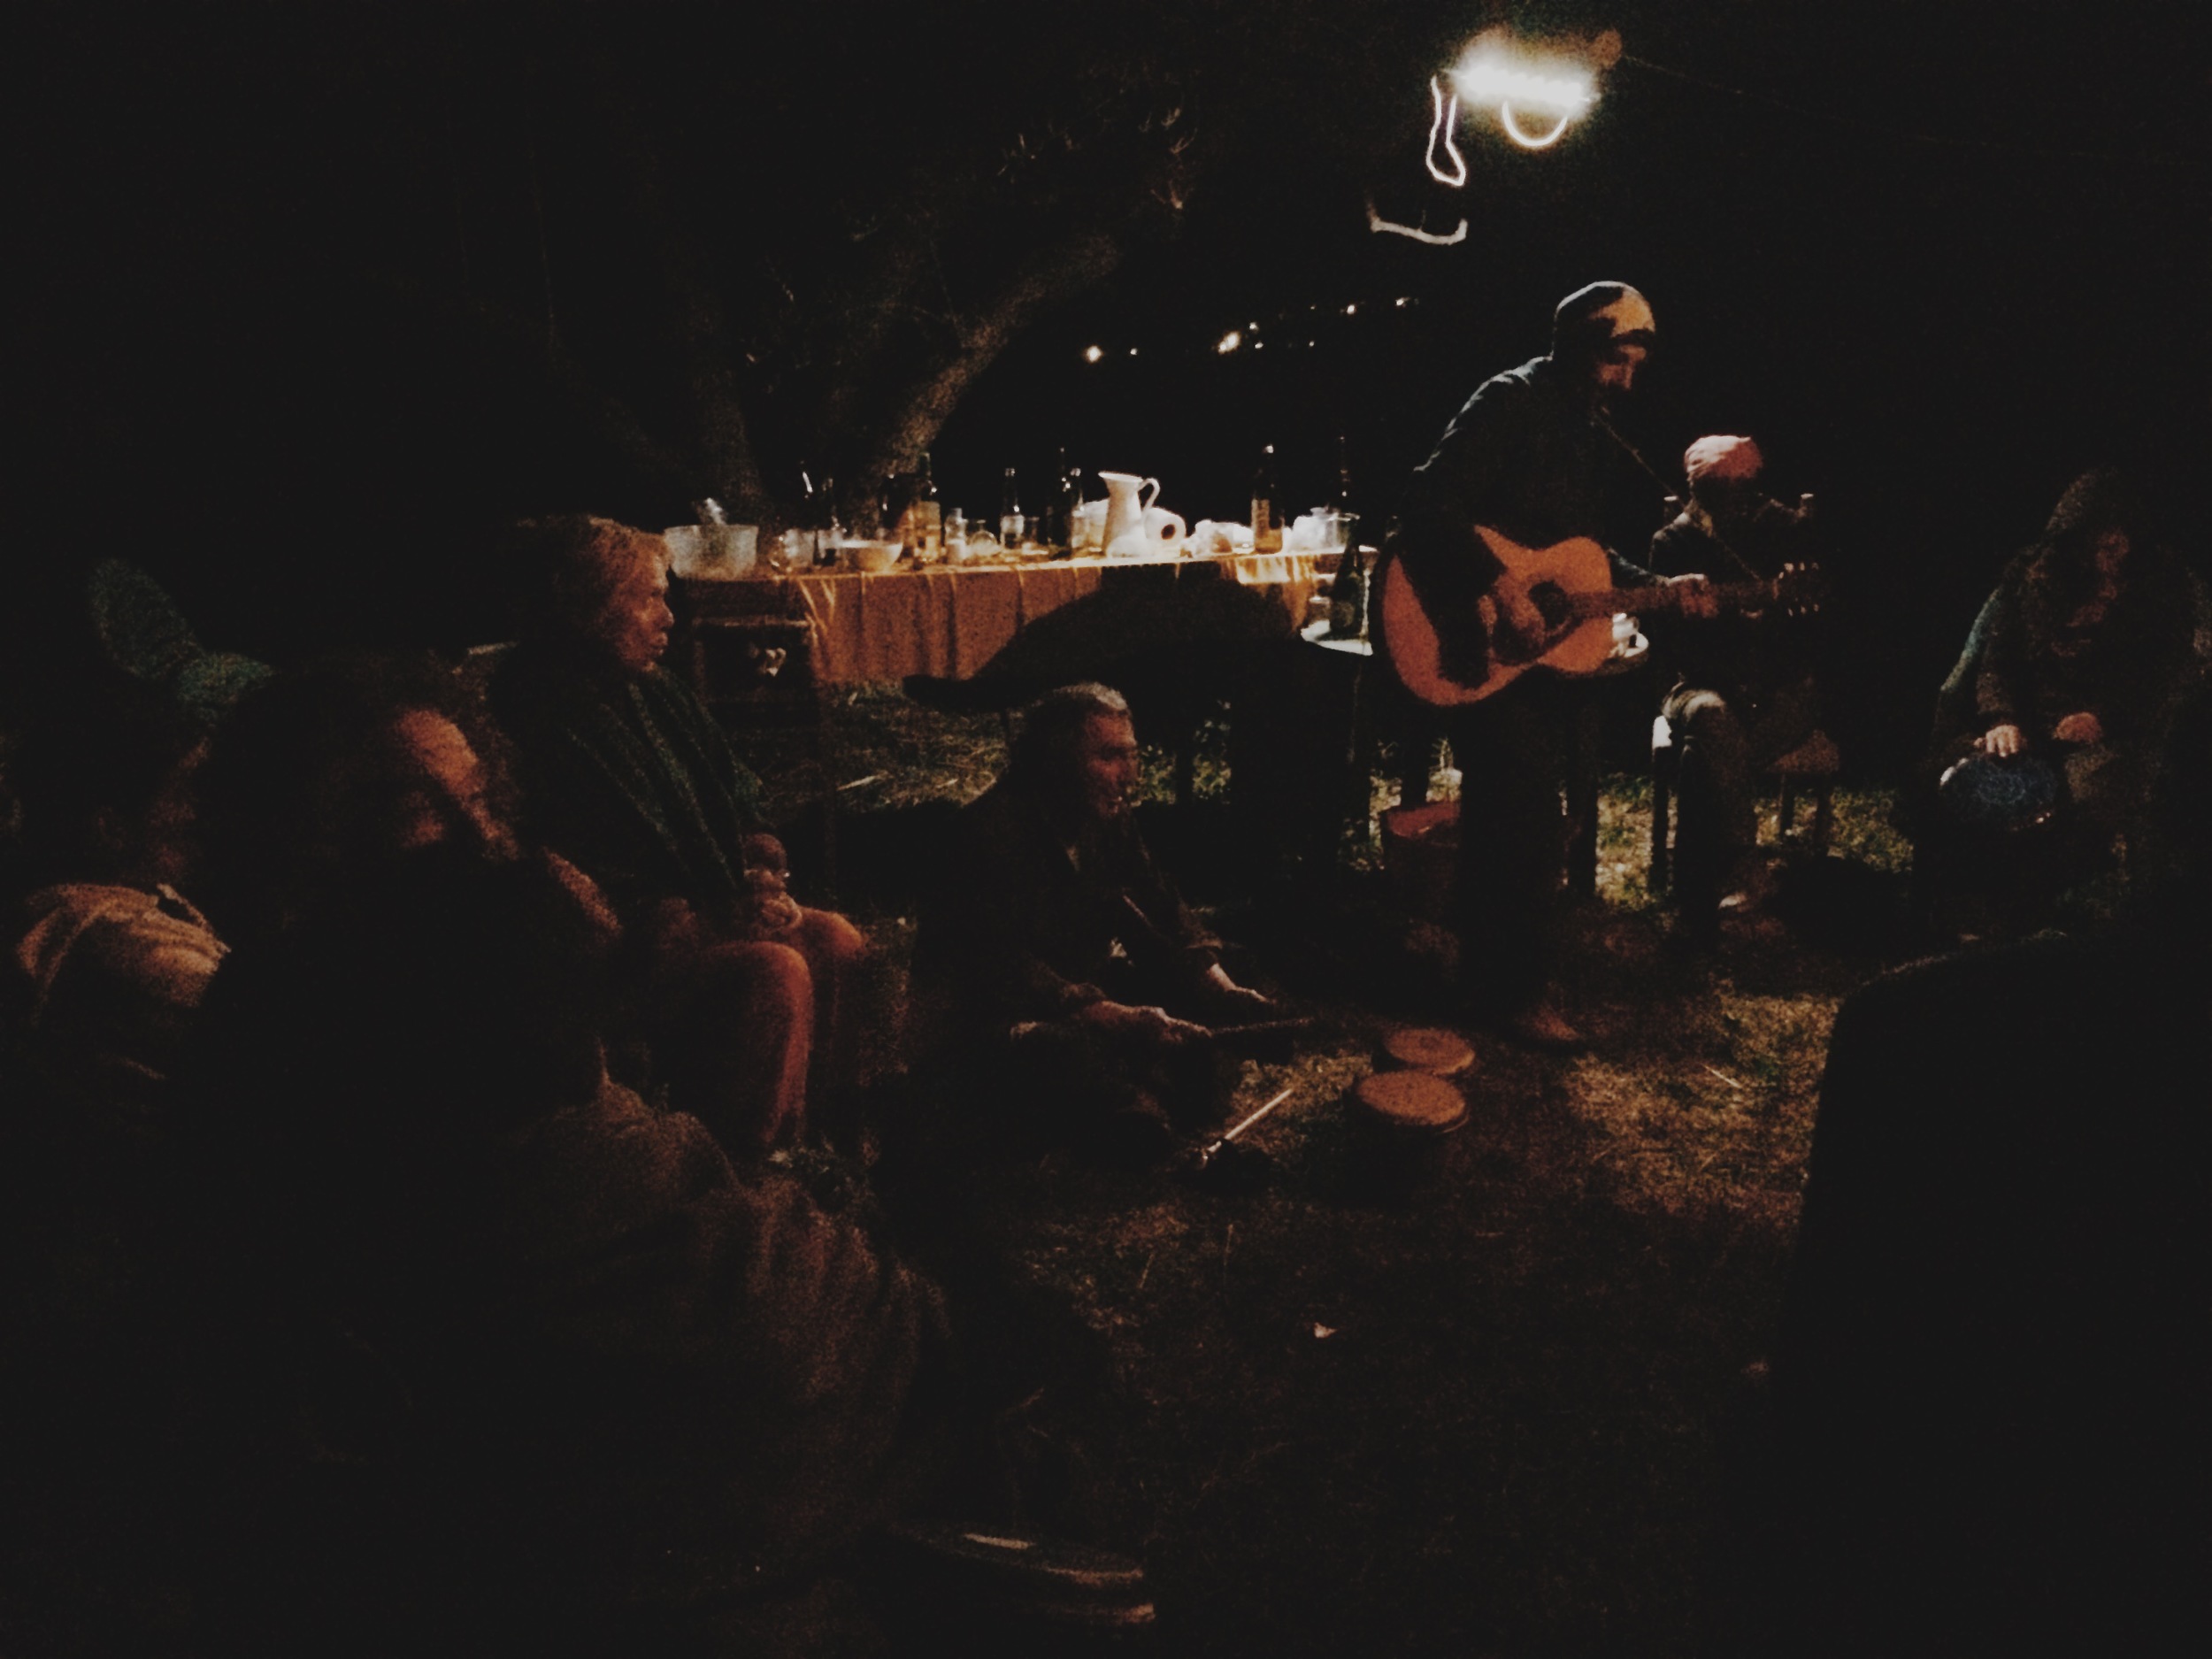
Baking and sunshine, sunshine and baking…probably my two bests in the whole world. Apart from maybe a very good margarita on a lovely evening with lovely friends. We're a week back from our yearly soaking of Vitamin D at my mama's beautiful little homestead in Spain. Whilst we were there we had a little birthday bash for my mama - al fresco pasta and sangria with the neighbours, who all brought drums and guitars and friends and kept us dancing under the shooting stars. I made a cake (of course), and took the excuse to make one I've been wanting to try out for ages. The original recipe is from the gorgeous Deliciously Ella, and I altered it slightly….and also somehow managed to make it without the luxury of a food processor, so mine was a bit lumpier but just as divine. It's completely gluten/sugar/dairy free and there wasn't a crumb left uneaten…I promise it tasted totally incredible. It's also quick and easy to make. Total winner.

Smug Chocolate & Strawberry Birthday Cake 

for the cake
5ish small sweet potatoes 
2 cups ground almonds
1/2 cup buckwheat flour
1/2 cup gluten free self raising flour (I like Dove's Farm)
1 cup medjool dates (pitted)
3/4 cup water
1/2 cup maple syrup
4 tbsp raw cacao
1 tbsp cinnamon
1 vanilla bean
pinch of salt

for the icing
5 ripe avocados 
1 very ripe banana
1 cup medjool dates (pitted)
3 tbsp raw cacao
3 tbsp maple syrup
2 cups strawberries
handful of almond flakes
edible flowers and desiccated coconut (optional)

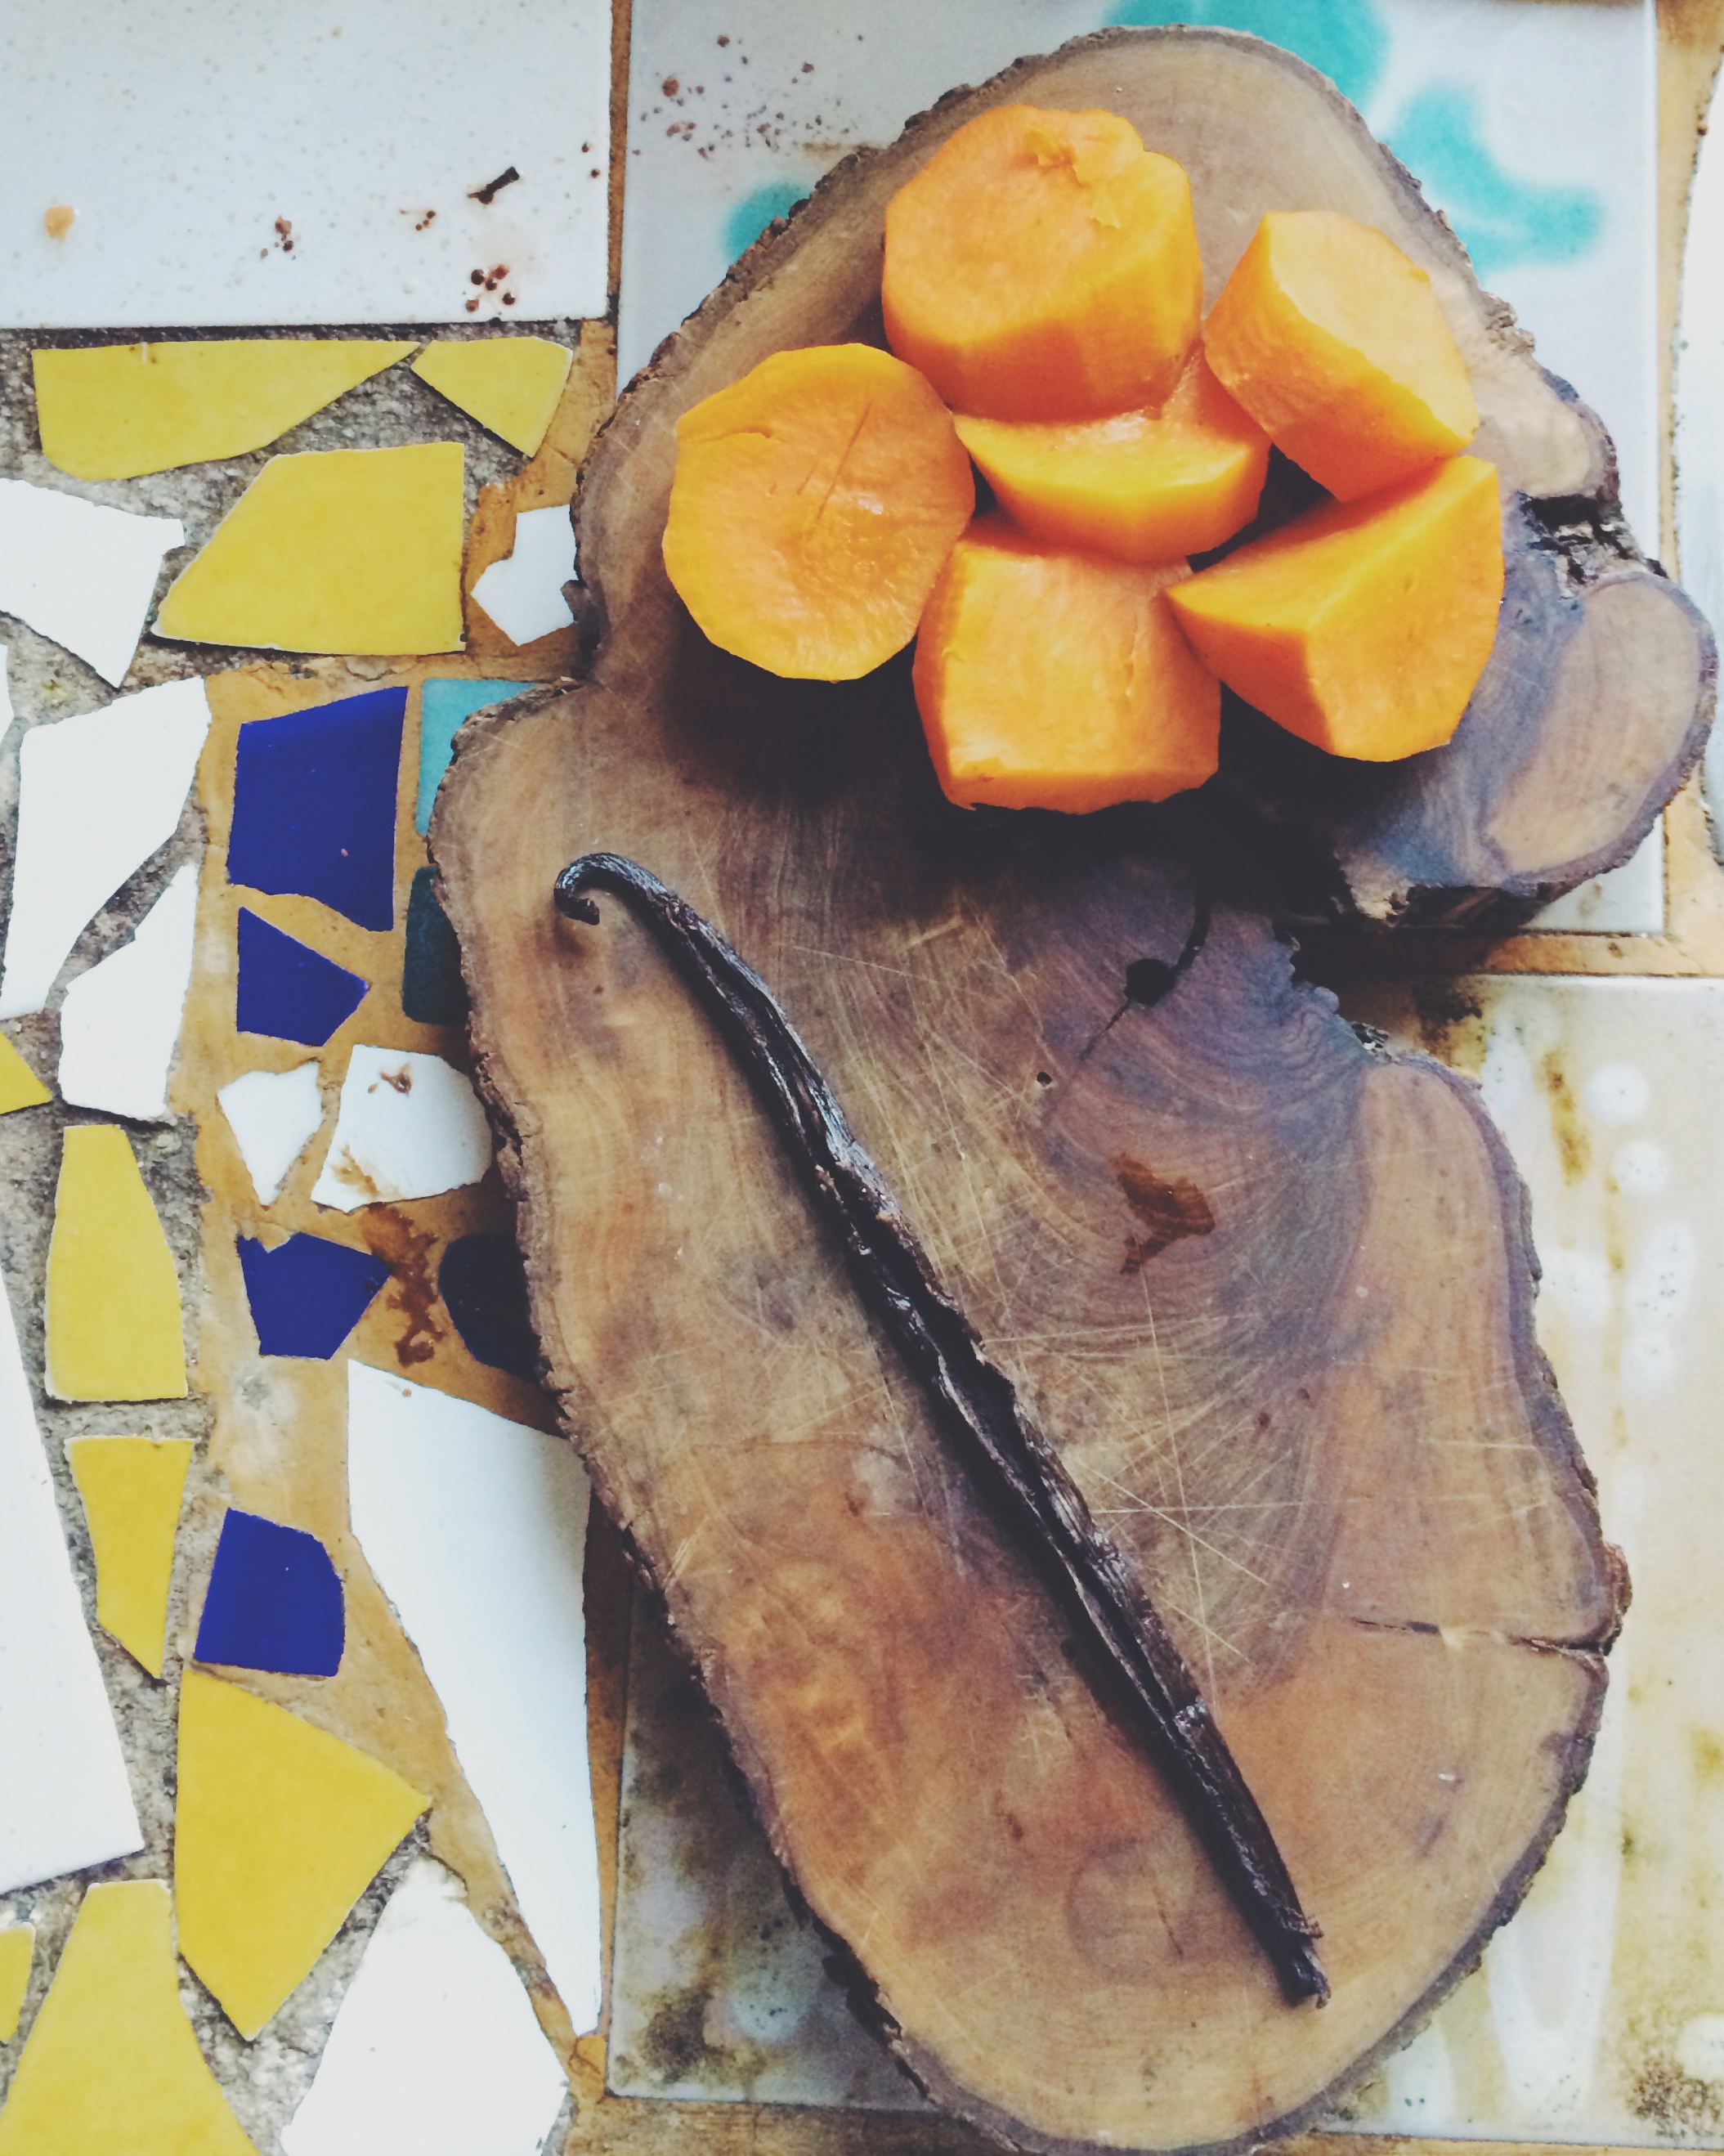
Preheat the oven to 180C. Peel the sweet potatoes, chop into chunks and steam for about 20 mins, until they are really soft. In a large bowl, mix the ground almonds, flours, cacao, cinnamon and salt and set aside. 

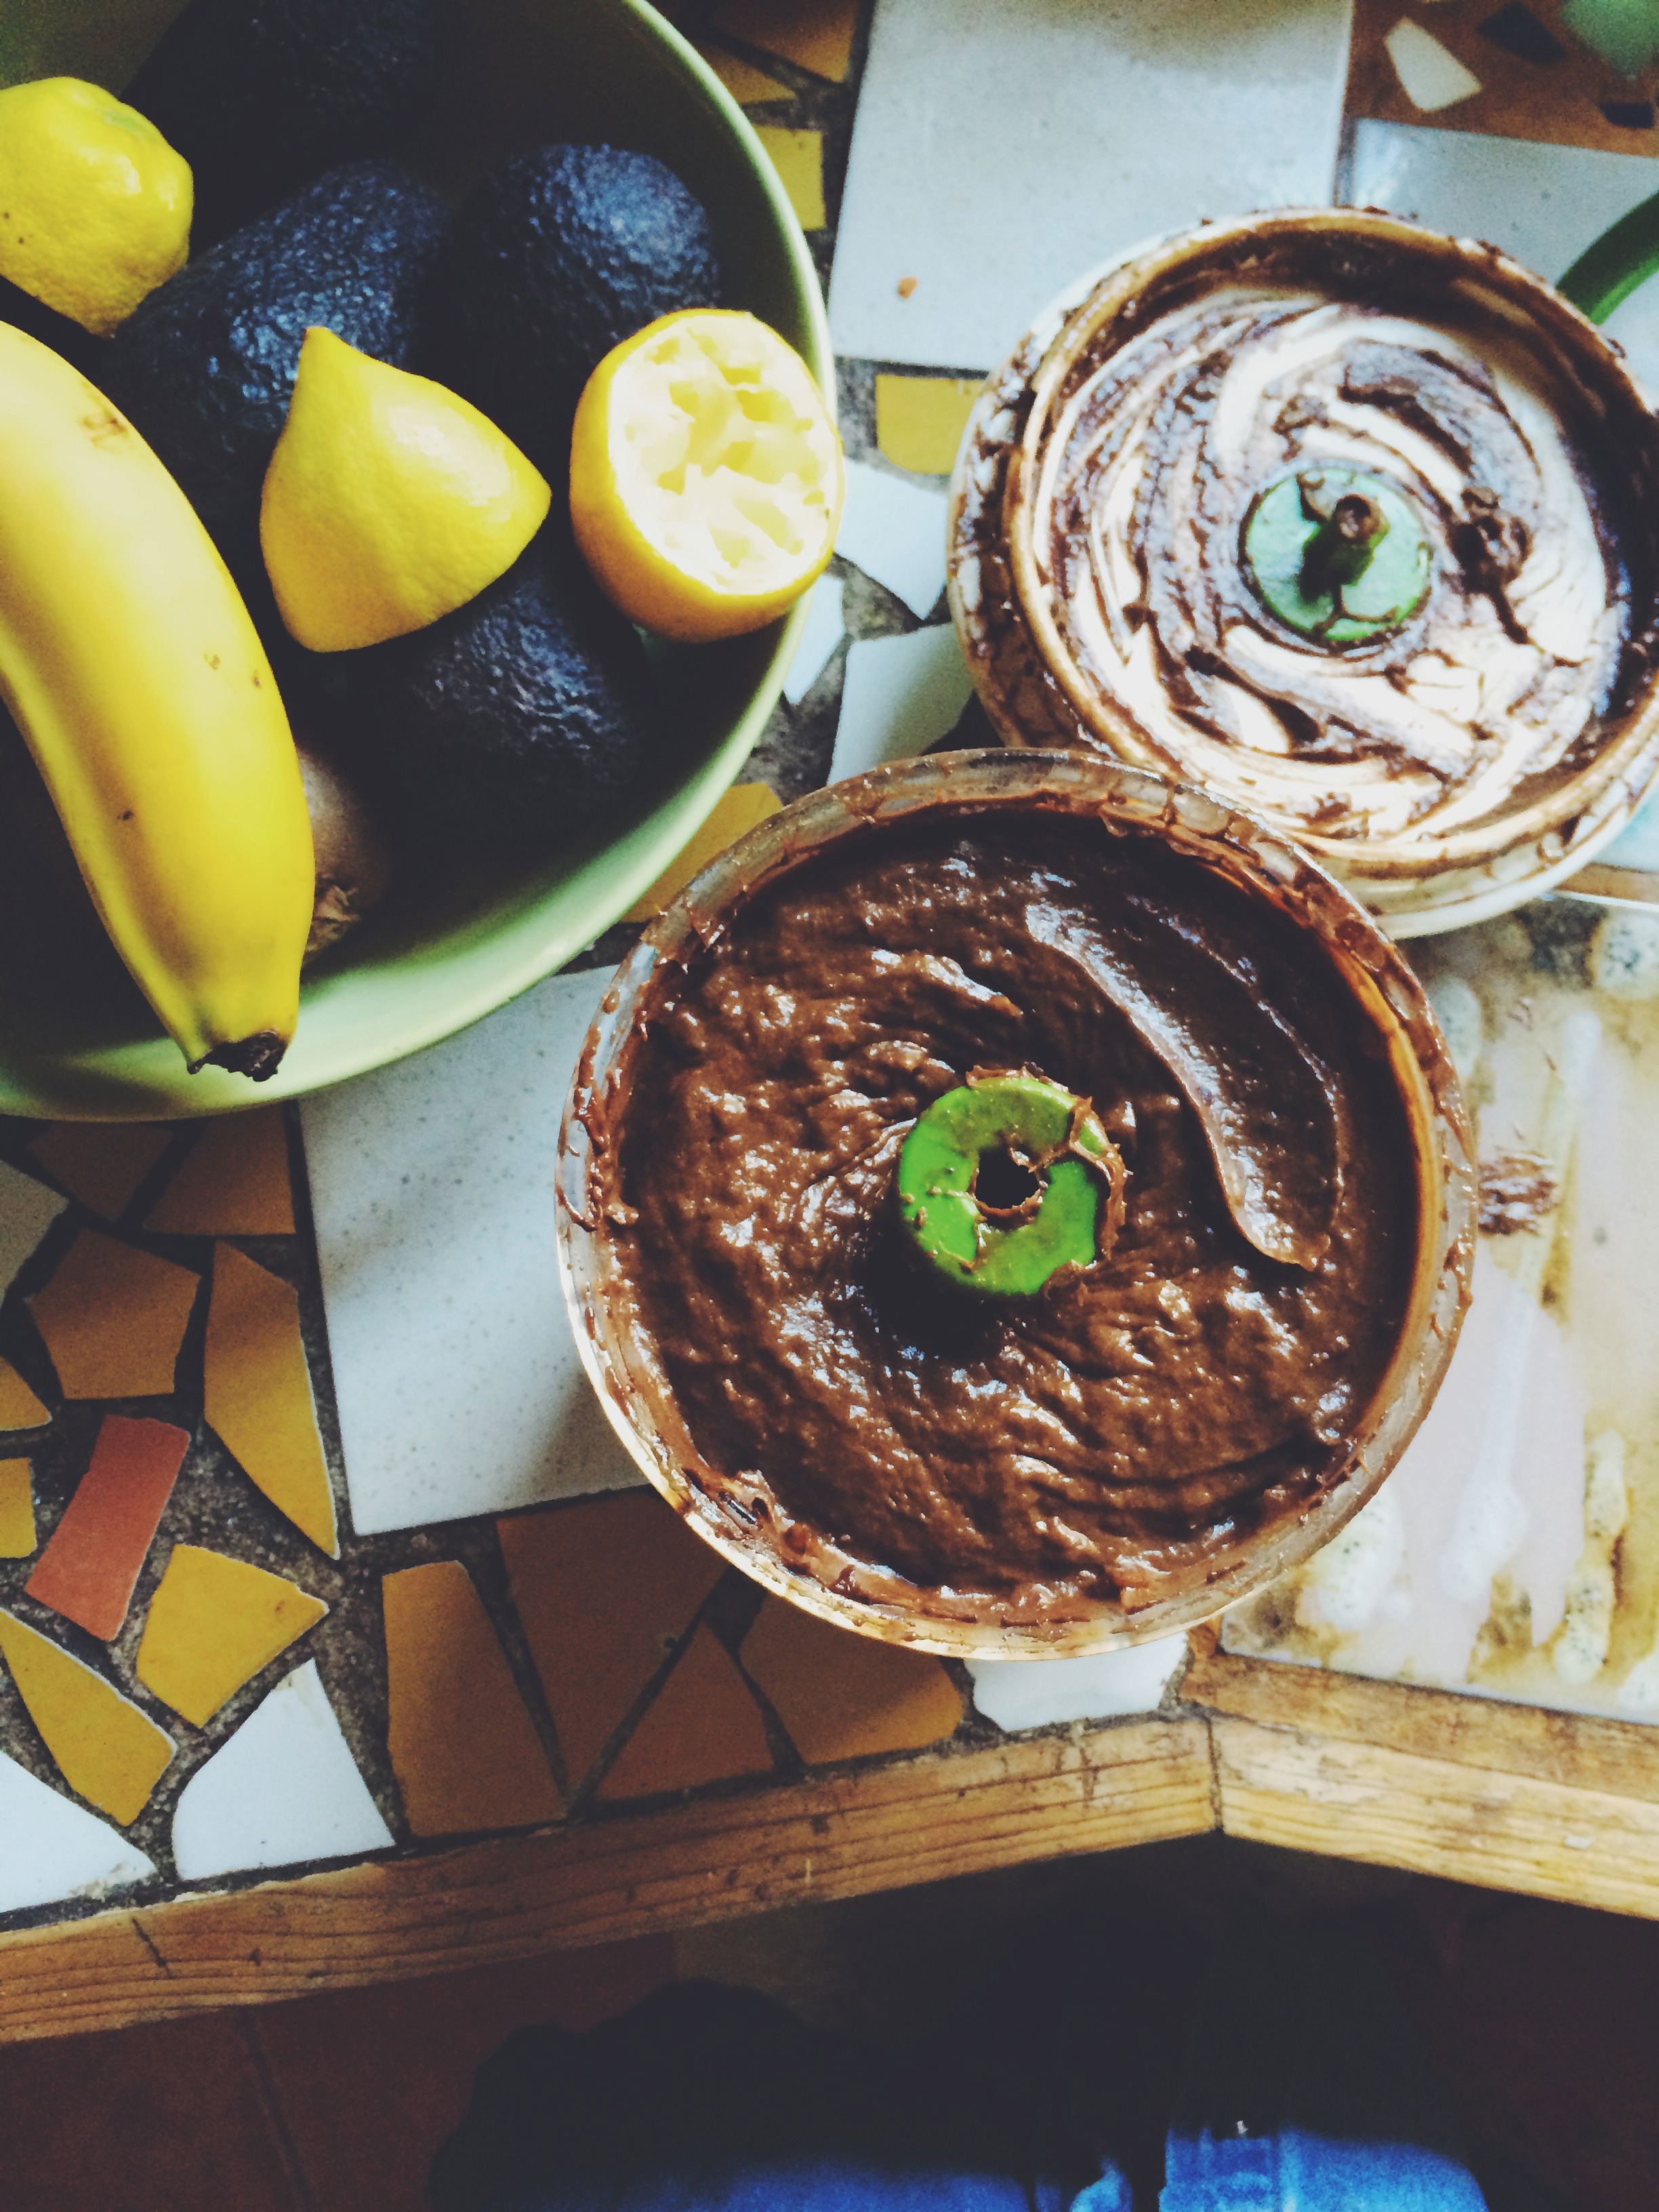
Prepare the icing by blitzing all the ingredients in a food processor until smooth and creamy. Or, in my case, pop them in some strange manual chopper and attempt to blitz them until they are as un-lumpy as you can manage… Pop the icing into a bowl, cover and keep in the fridge. 

Place the soft, slightly cooled sweet potatoes, dates, vanilla bean seeds (scraped from the pod - discard the pod), maple syrup & water into a food processor or blender, and blend until smooth. Stir this into the dry ingredients until well combined. Prepare three 8" cake tins (I actually think this would be rad even taller in 6" tins, but that might just be me) by brushing with coconut oil and lining with parchment circles. 

Sitting in the hot hot sun whilst you mix the cake is optional but really helps, I find...

Sitting in the hot hot sun whilst you mix the cake is optional but really helps, I find...

Spoon the batter into three separate tins (I like to measure it out with scales to make sure all three have an even amount) and bake for about 20 mins, until a skewer comes out clean. Cool in the tins 20 mins, then invert onto a cooling rack until completely cool. 

Chop your strawberries and layer your cake with strawberries and the creamy chocolate frosting. I sprinkled some lightly toasted slivered amends and desiccated coconut between the layers too, and topped the cake with more of those plus some yummy edible flowers. Keep in the fridge until serving. ENJOY! God I want to eat it again, right now… 


Β 

Β 

cookie monster

Nom

Nom

I've been being all January and taking a long, hard look at our eating habits. It's so easy with kids to slip into a routine where every meal is based around wheat and cow's milk, the two things we are supposed to try and have less of. Not to mention the horrible hidden sugar in everything from bread to baked beans. So it's been a month of learning new, quick recipes and making things from scratch, and actually it's been really fun. I got this fab Gwyneth Paltrow cook book, which is full of super fast, mega tasty family friendly meals and snacks. I must have made about 15 of the recipes so far and have yet to be disappointed. I know, I know, everyone loves to roll their eyes at Gwyneth - and she invites it, to a degree, with the inclusion of phrases such as "Like a prize, a perfectly ripe avocado emerged from Gwyneth's carry-on" errrm - but I bloody love her, especially for this book. Seriously. Try it. 

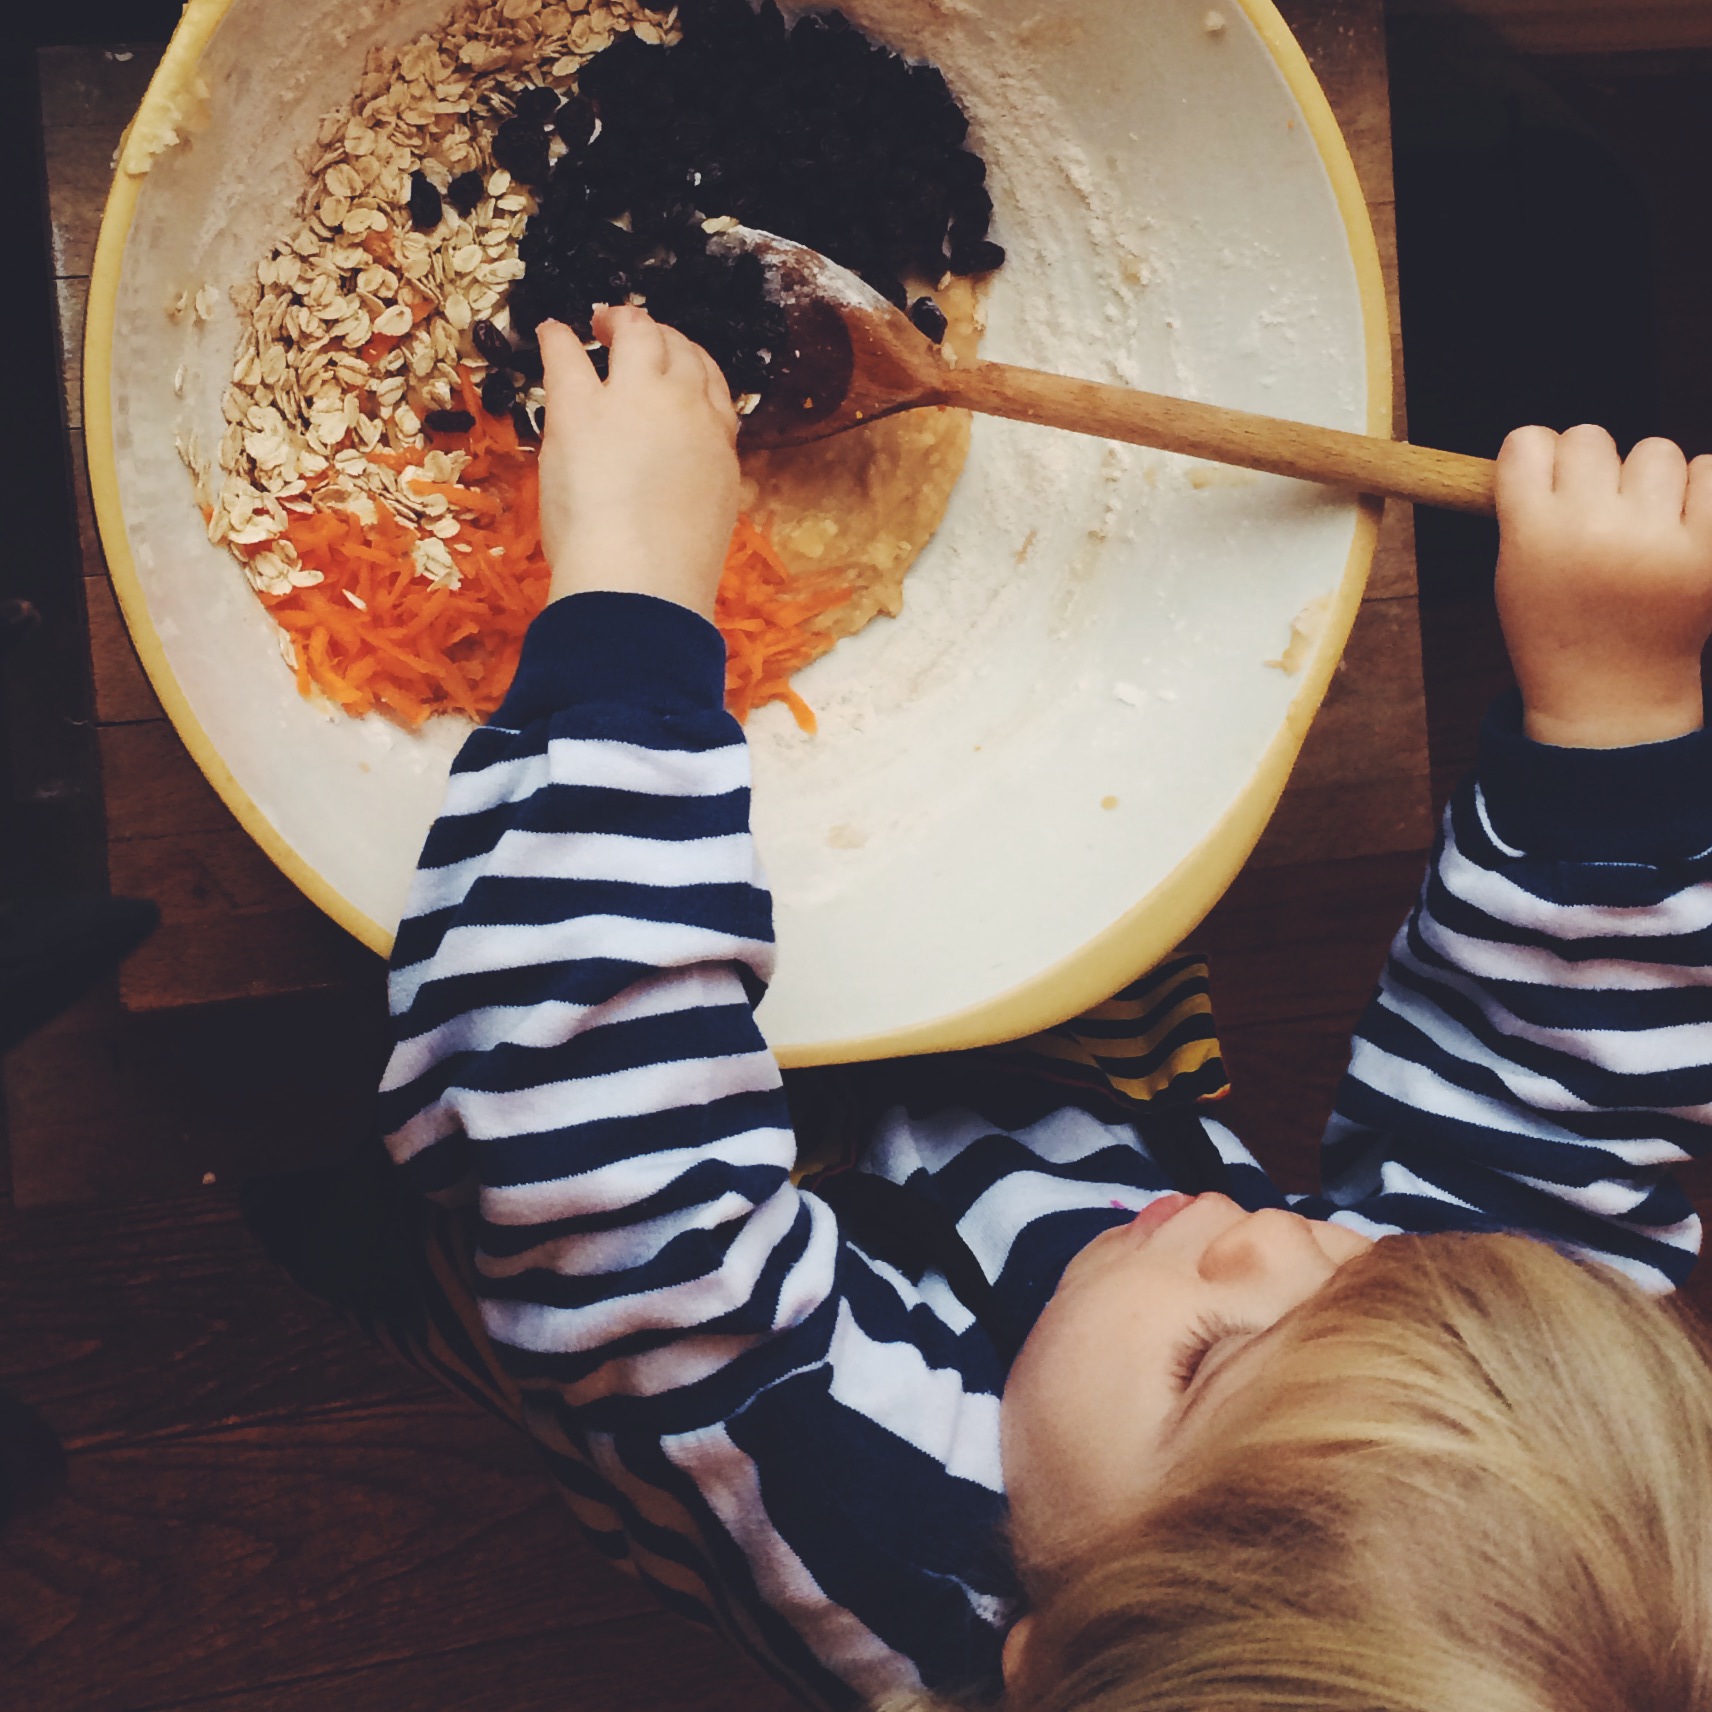
I've been loving the soups, the endless avocado and quinoa feasts, but sometimes you need a cookie. Especially if you are a hyperactive smalley. Or a little boy with a lunchbox. So today Indy and I baked up a batch of invented biscuits, and they were so completely delicious that I had to share… 

Raring to go...

Raring to go...

Monster biscuits

110g gluten-free plain or self raising flour (we use Dove's Farm)
1/2 tsp baking powder
1/2 tsp cinnamon
1/4 tsp salt
75ml coconut oil
3 tbsp raw honey
75ml maple syrup
2 tsp vanilla
1 large egg
grated zest of half an orange 
50g oats
50g grated carrots
50g raisins
1 mashed banana

Mix together the flour, baking powder, cinnamon and salt in a small bowl, and set aside. In a big bowl, mix the coconut oil, honey, maple syrup and vanilla. Try not to let your toddler eat it all at this stage - this is the most challenging bit of this recipe. Add the egg, the orange zest & mashed banana and give it a good mix.

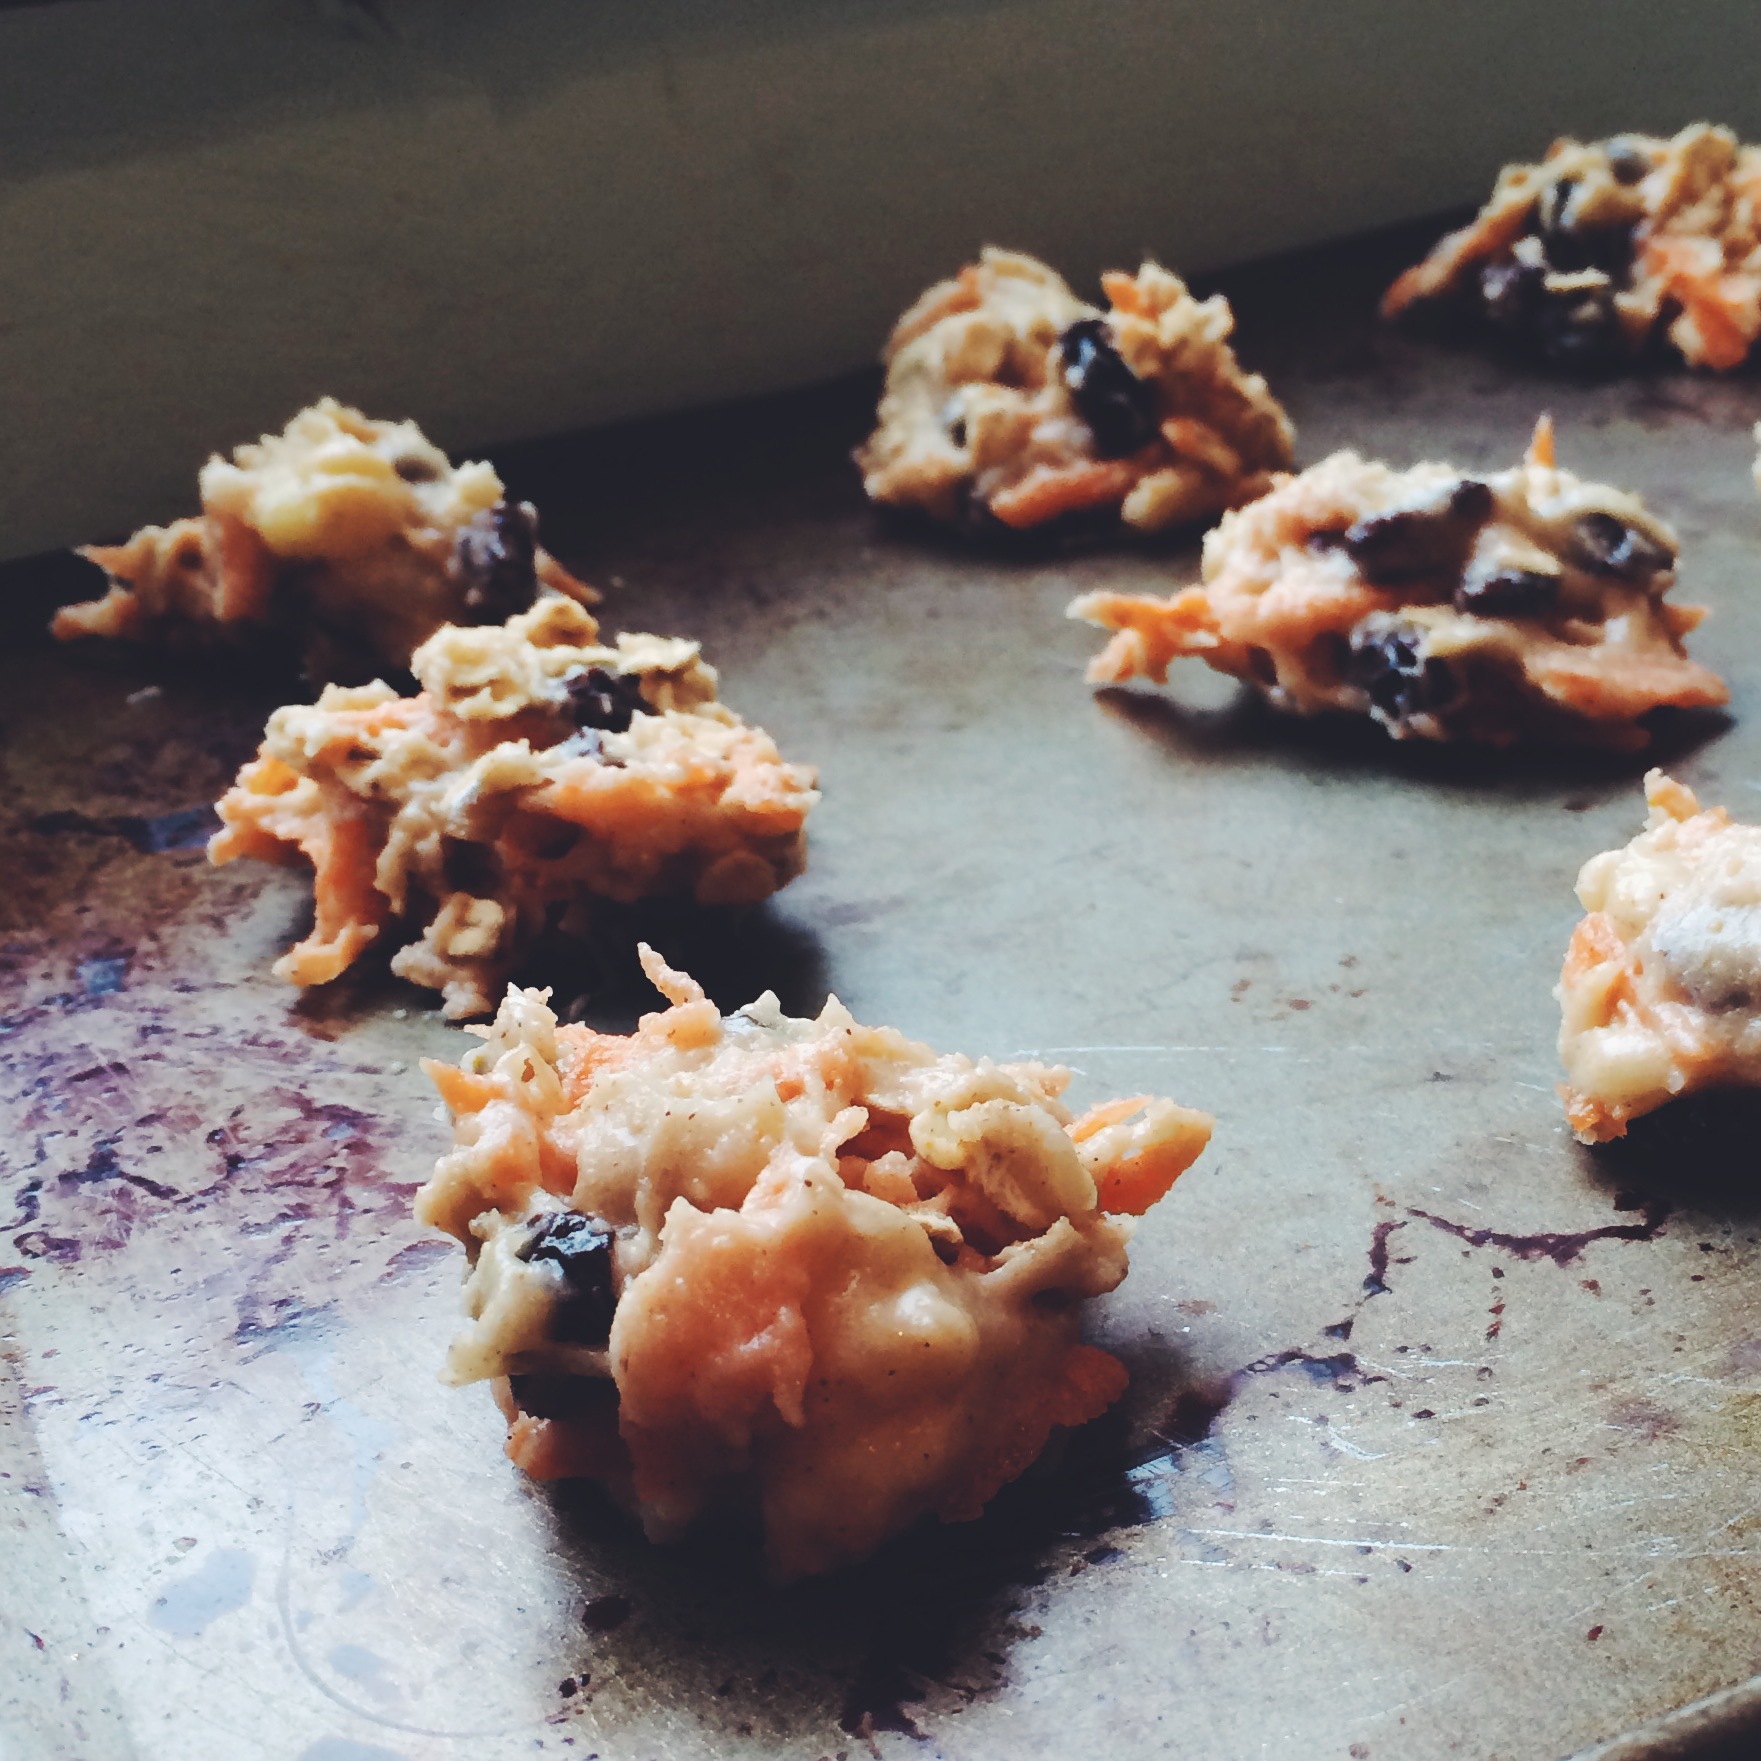
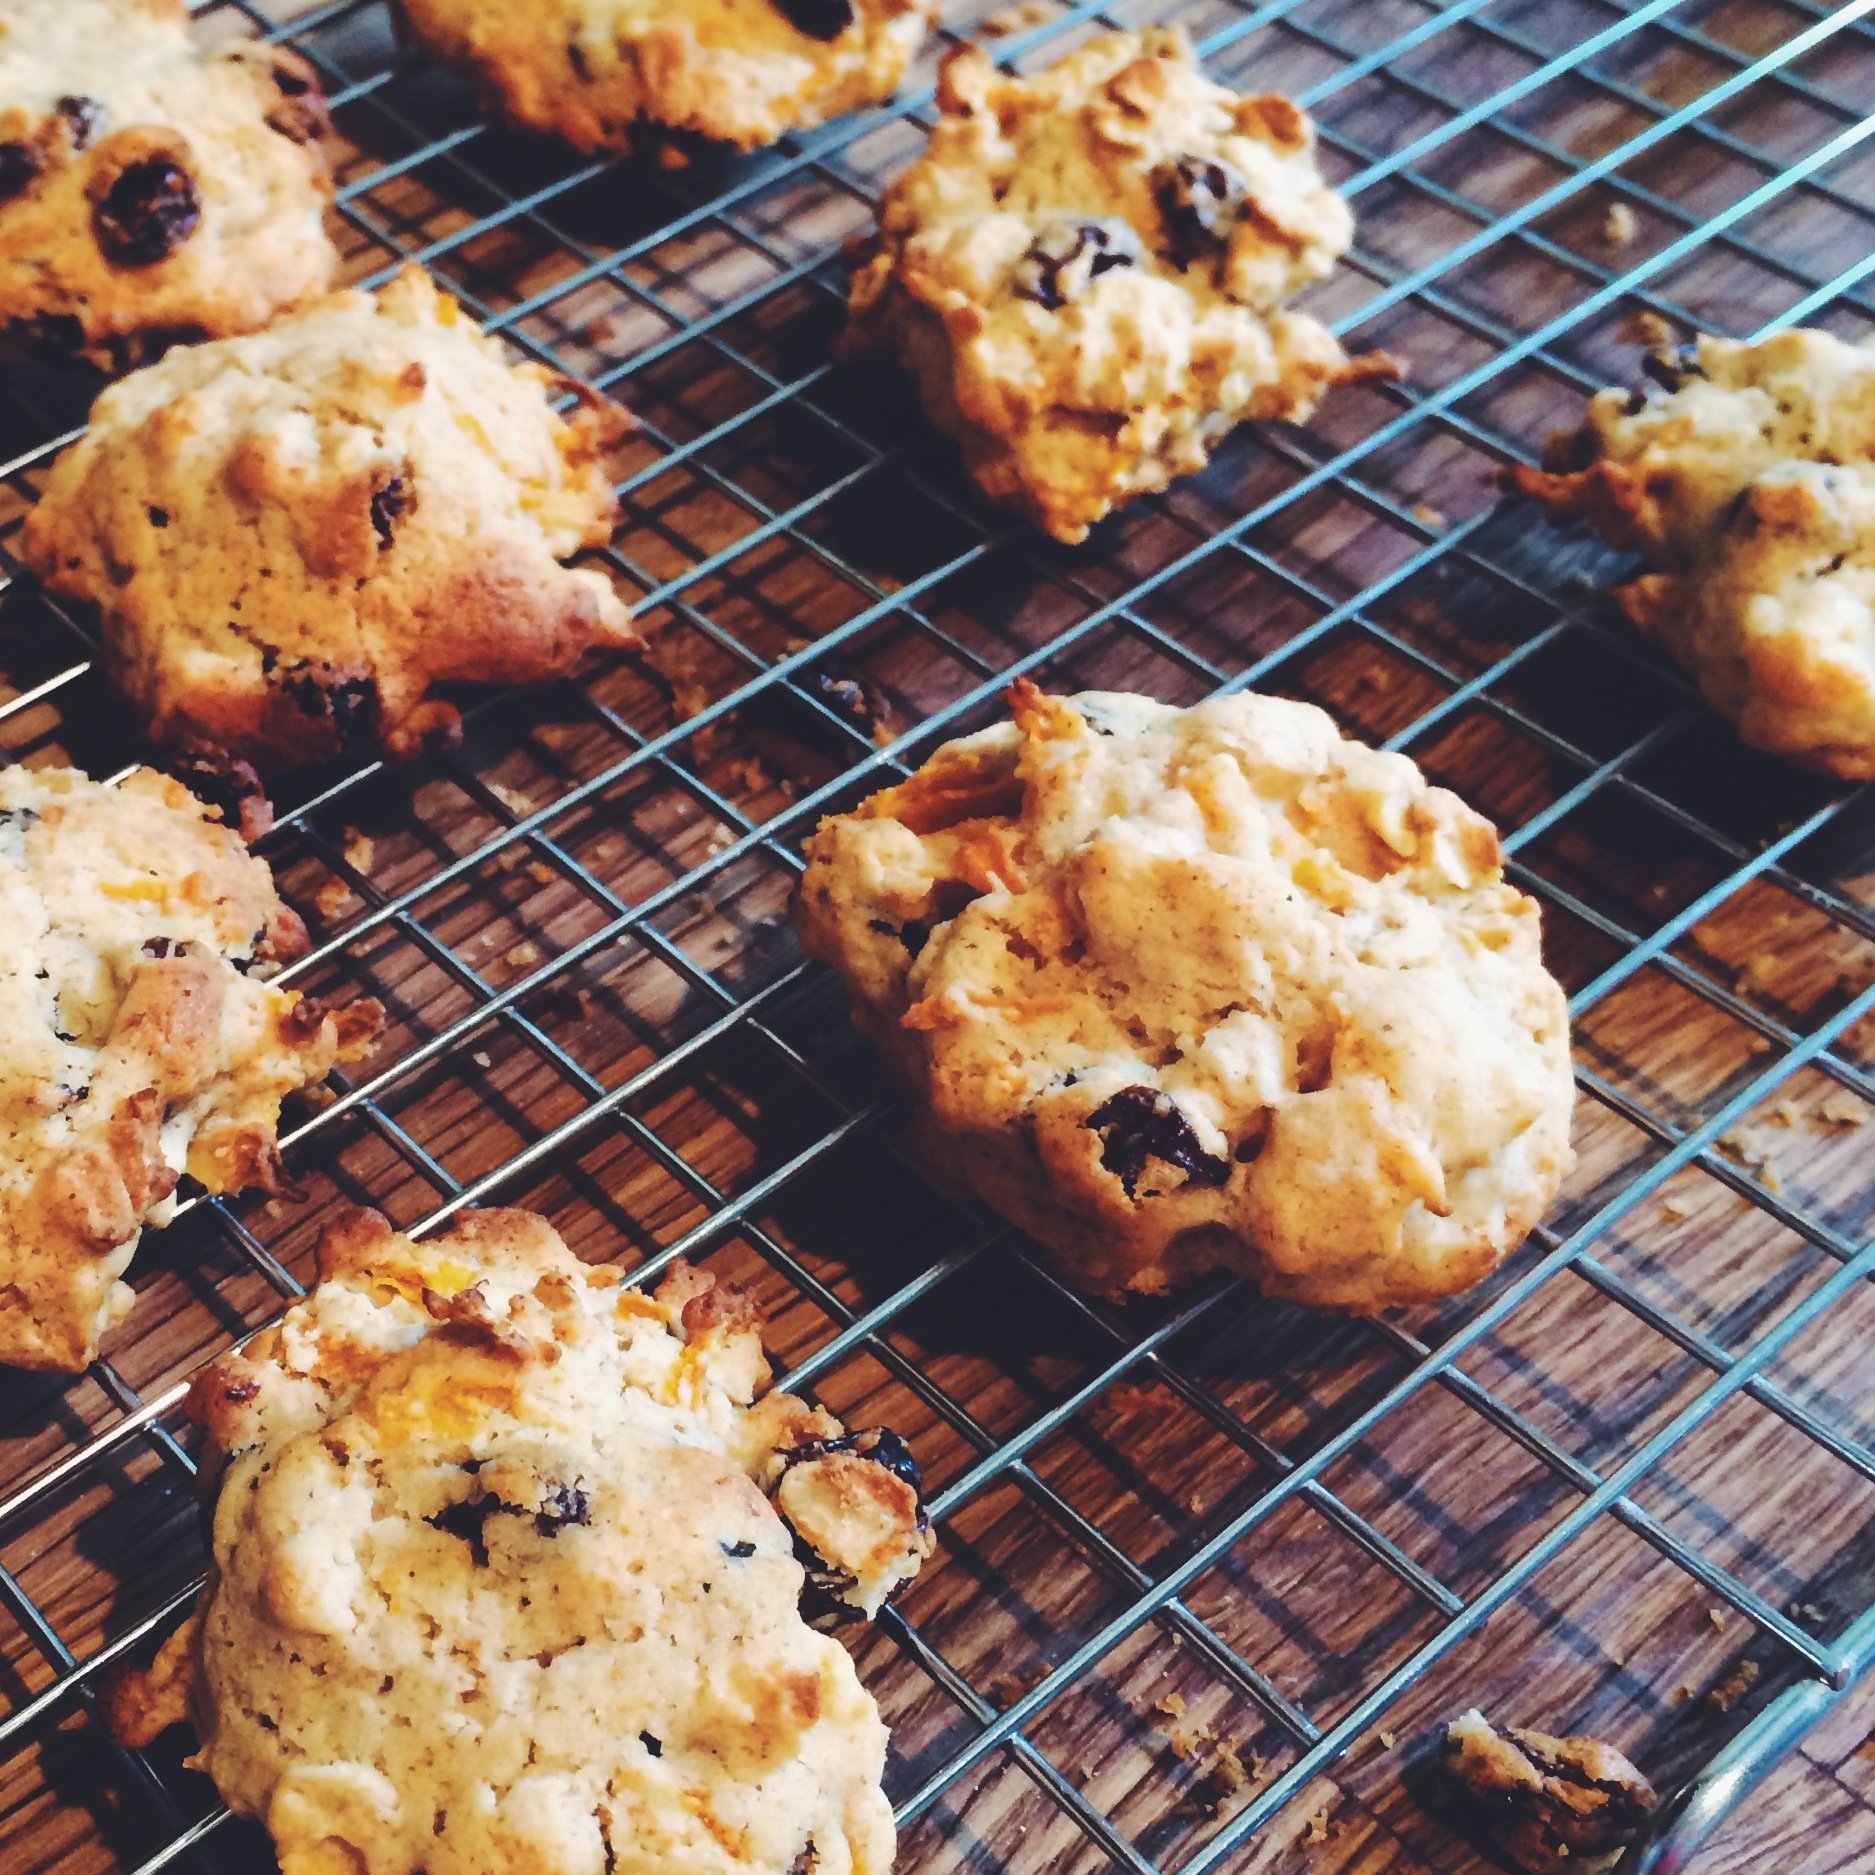
Next add the dry ingredients to the wet and mix until well incorporated. Then mix in the oats, raisins and grated carrot. Indy was pretty into pinching these out of the bowl too… Once all is mixed, add dollops (approx 1 tbsp) to a cookie sheet - ours is nonstick (but a bit haggard) and we didn't bother greasing it, which worked out fine.  Bake at 170C for 12 minutes, then place on a rack to cool. 

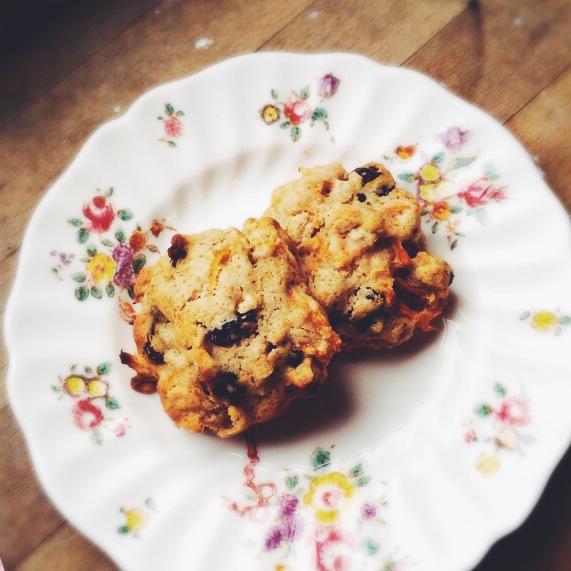
Having made this kind of "healthy" biscuit before, with varying degrees of success, I wasn't expecting them to be so incredibly tasty. They were soft and sweet and tasted like the best home made oatmeal raisin cookies I've had. And they were quick to make, and a fun activity with a crazy toddler. Hopefully Gwyneth would approve, too…