Golden milk buns
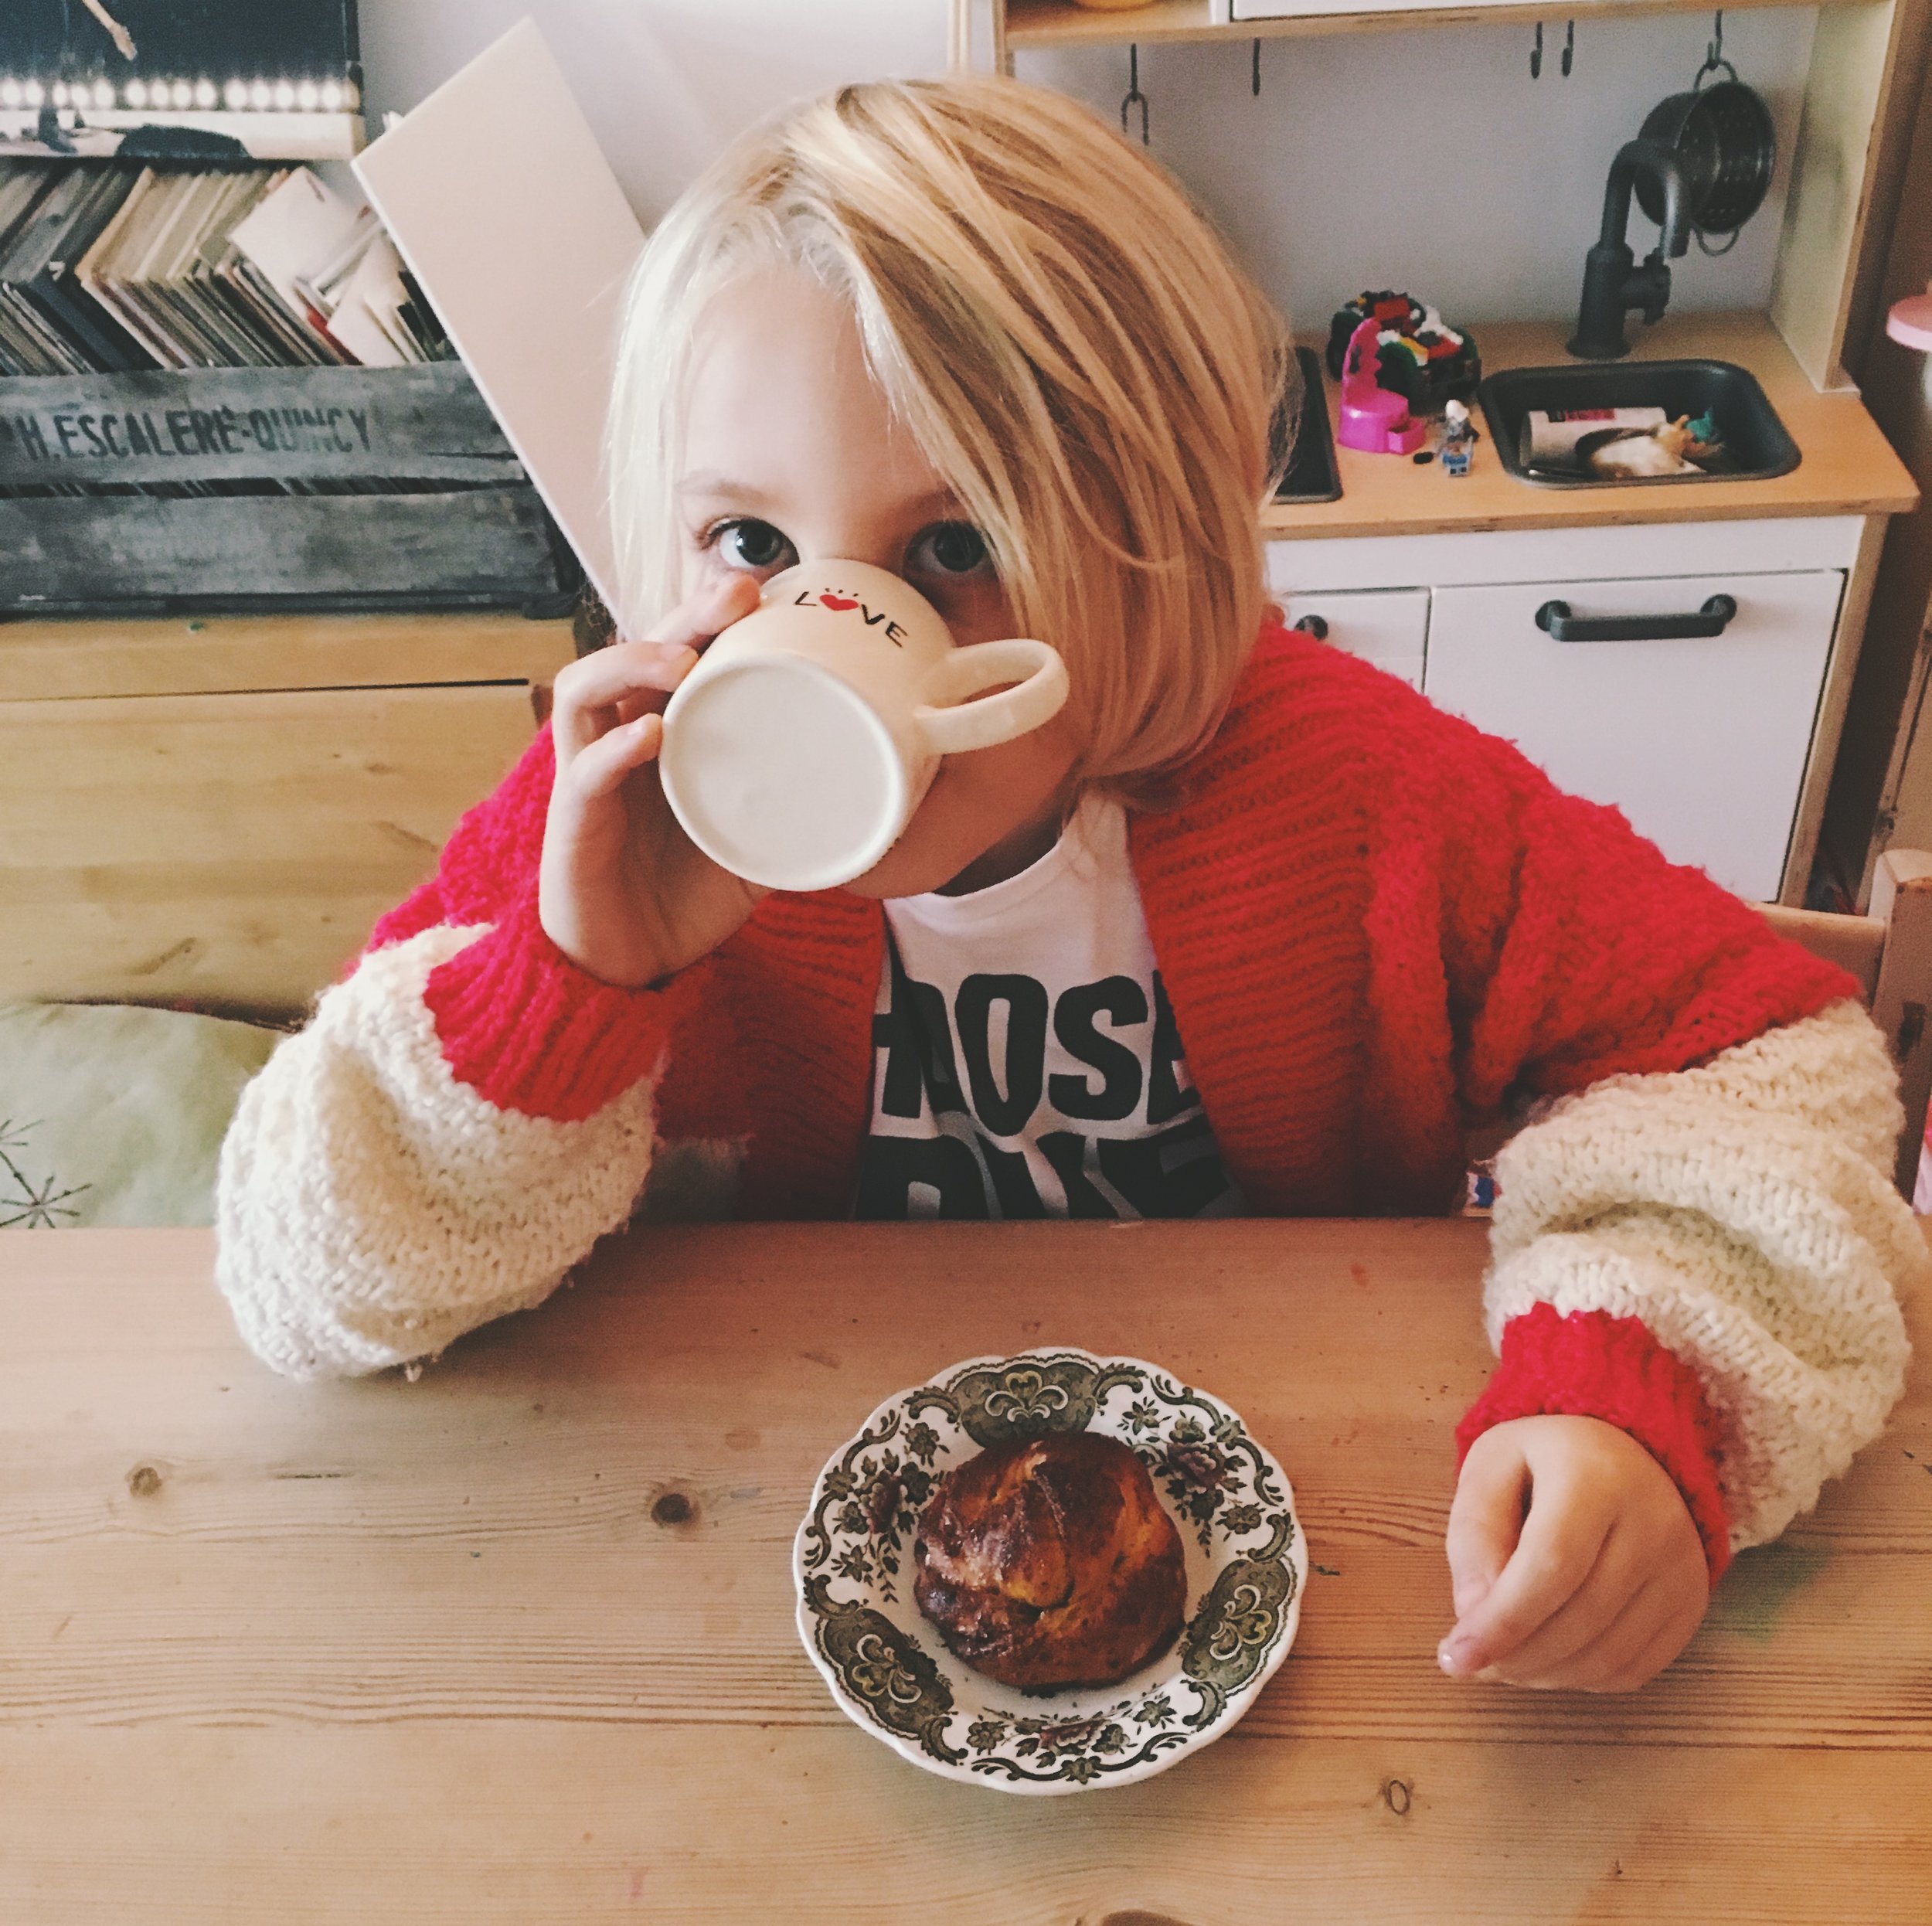
/One of our favourite discoveries of the past year has been golden milk for breakfast. Especially in the winter this is a lovely alternative to tea for the small ones, and they love grinding the cardamom up in the mortar & pestle and adding the neon turmeric (200ml milk, 1/4 tsp turmeric, 1/4 tsp cinnamon, 1 tsp raw honey, 3 cardamom pods ground/crushed. warm through, strain and serve). Ever since the kids were teeny I've made a point of telling them about the different powers carried by the food they eat, it helps to add both wonder and reason to meals - avocados make your hair sparkle and shine, tomatoes help to keep your skin safe from the sun, lentils make your brain and muscles strong, bananas help you to have sweet dreams... etc. Turmeric is worshipped as a superfood, coming into your body to help fight off bugs and keep you at your sharpest. We incorporated our golden milk and all its powers into a yummy twisted bun, after being inspired by a pre Christmas post from Twigg Studios. These are another easy one for kids to prepare, delicious for breakfast if you can get out of bed on time, or as a handy snack. We were all off to the women's march in London the next morning and needed something to set us up and to pack for snacks through the day. I've also adapted them to make a gluten free golden muffin. Both are sugar & dairy free (substitute coconut oil if you don't have butter).

Golden Milk Buns
300ml almond milk (or other unsweetened milk of your choosing)
1 tbsp ground turmeric
6 pods cardamom, crushed in mortar and pestle or with the back of a spoon
360g strong white bread flour (preferably organic)
1 sachet/7g fast action yeast
1 tsp salt
115g coconut sugar
to fill:
230g coconut sugar
2 tbsp cinnamon
3 tbsp melted butter
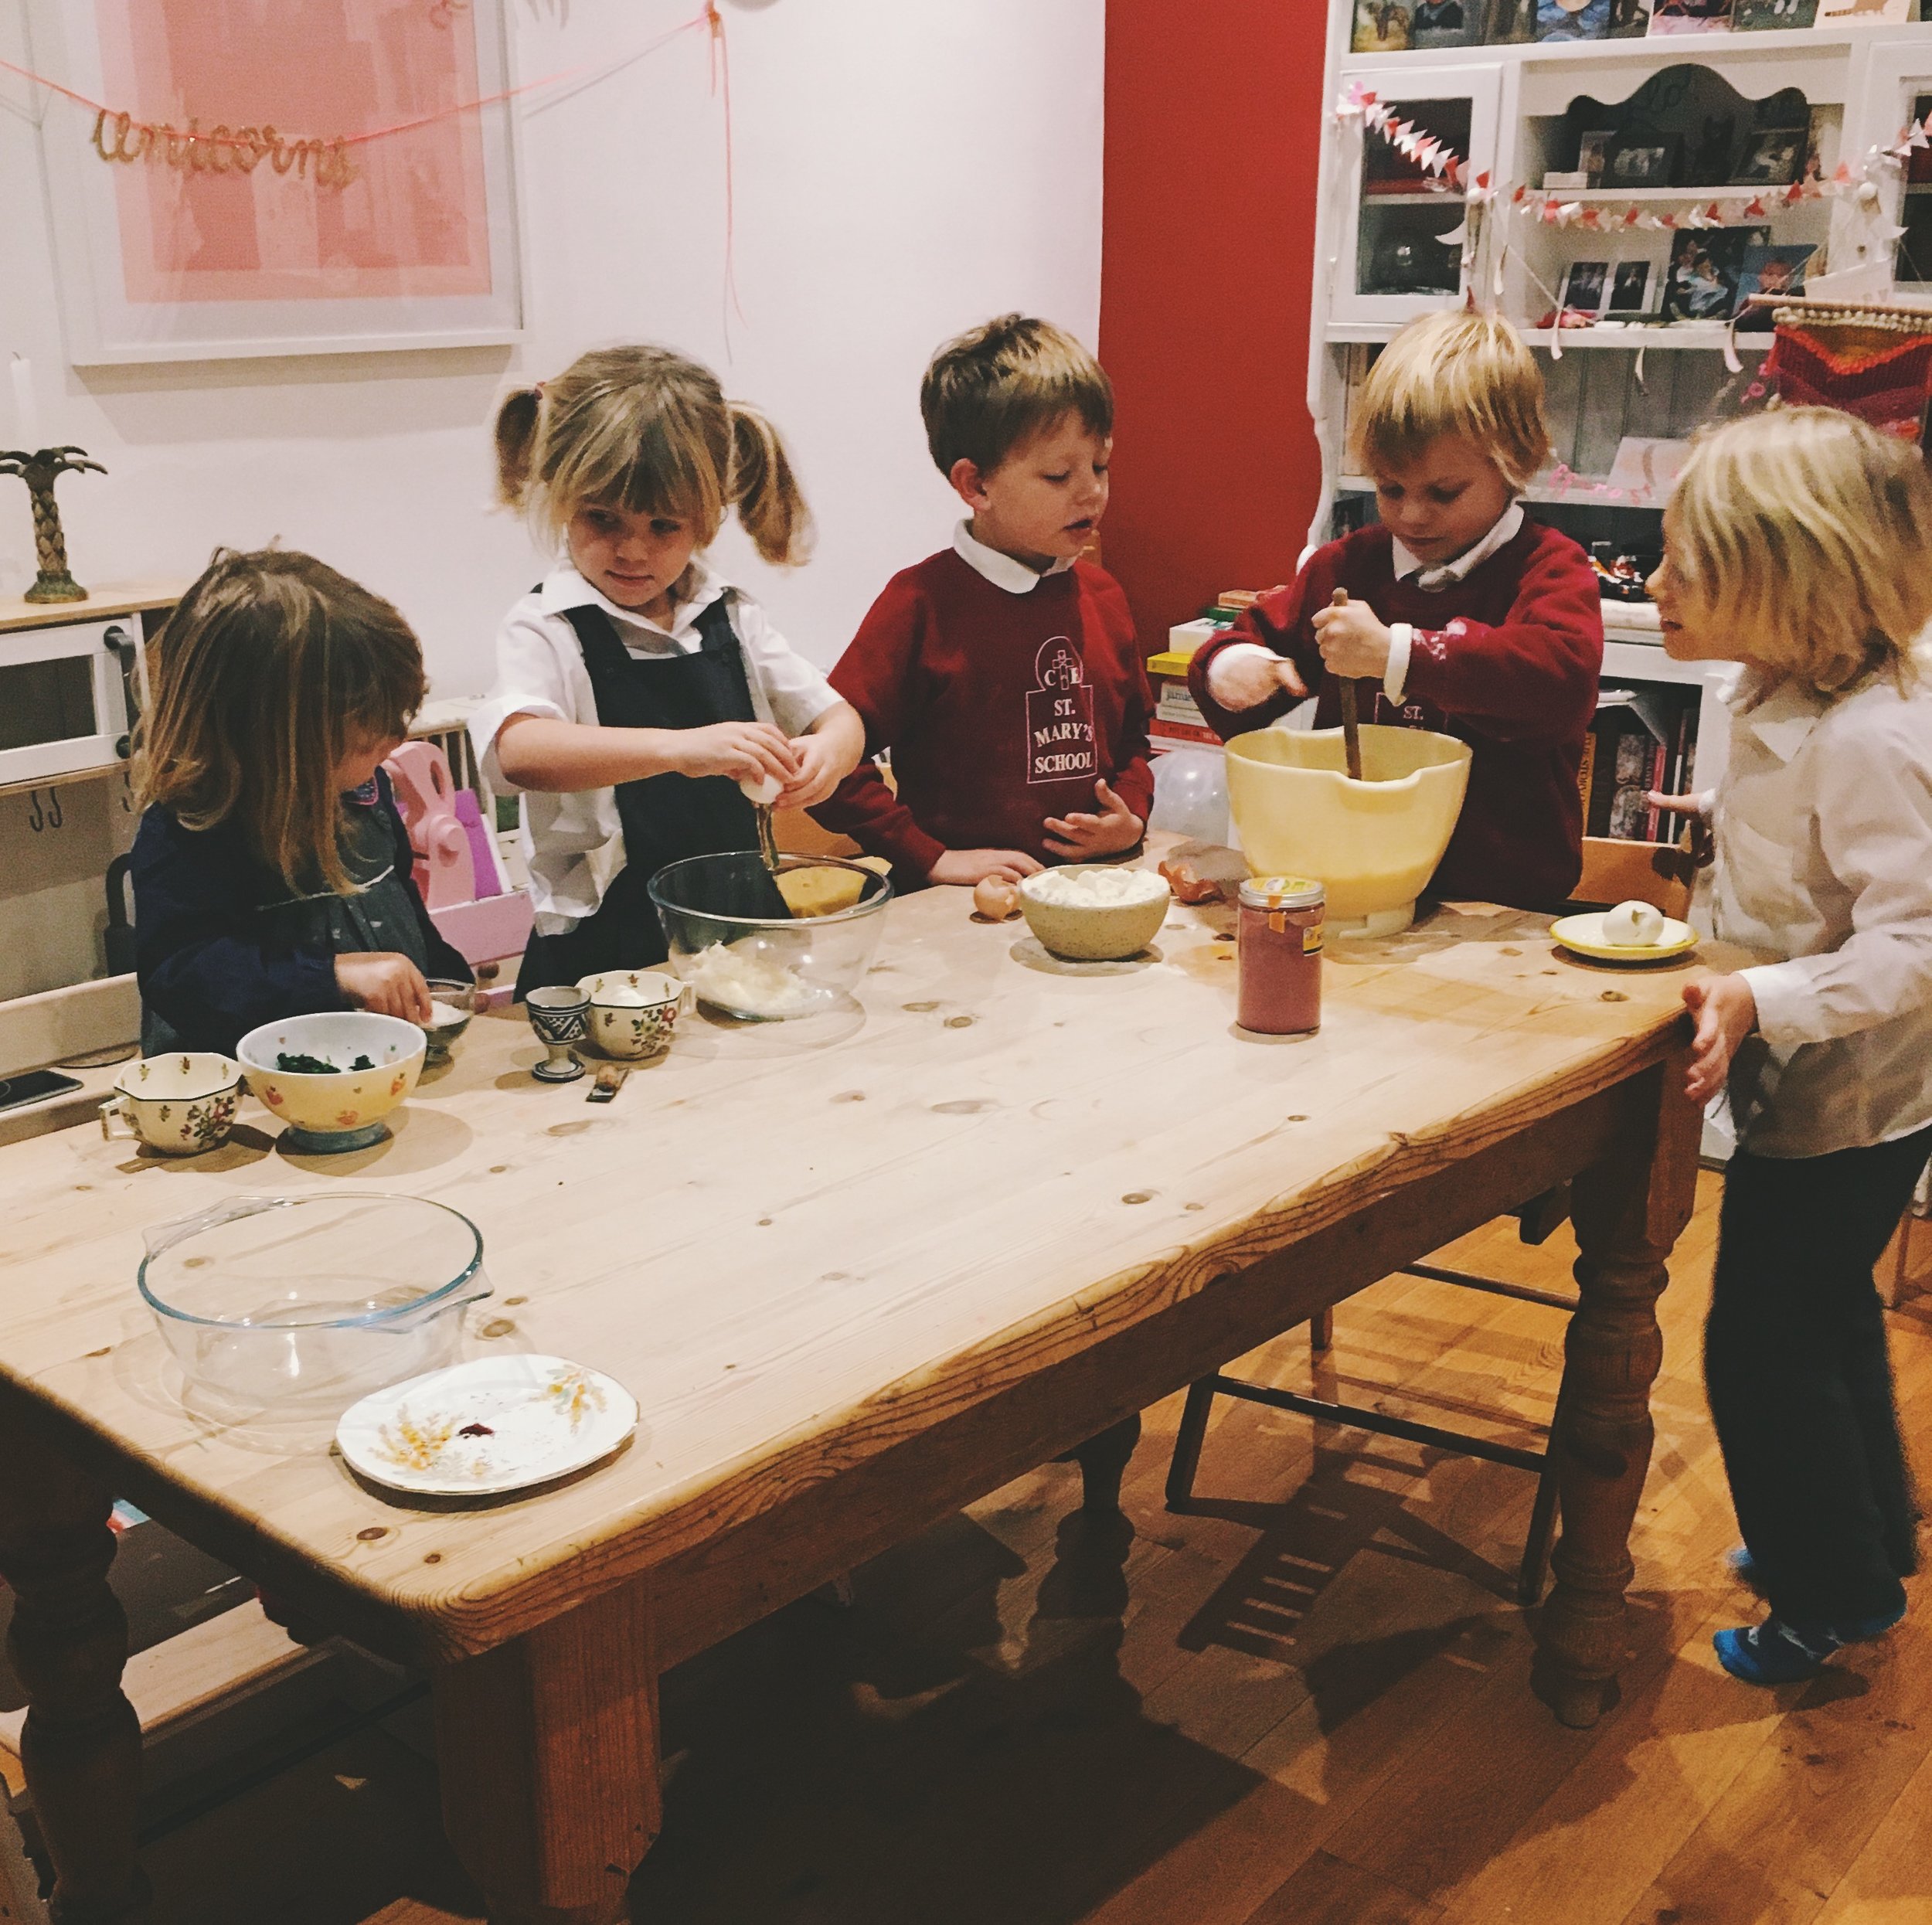
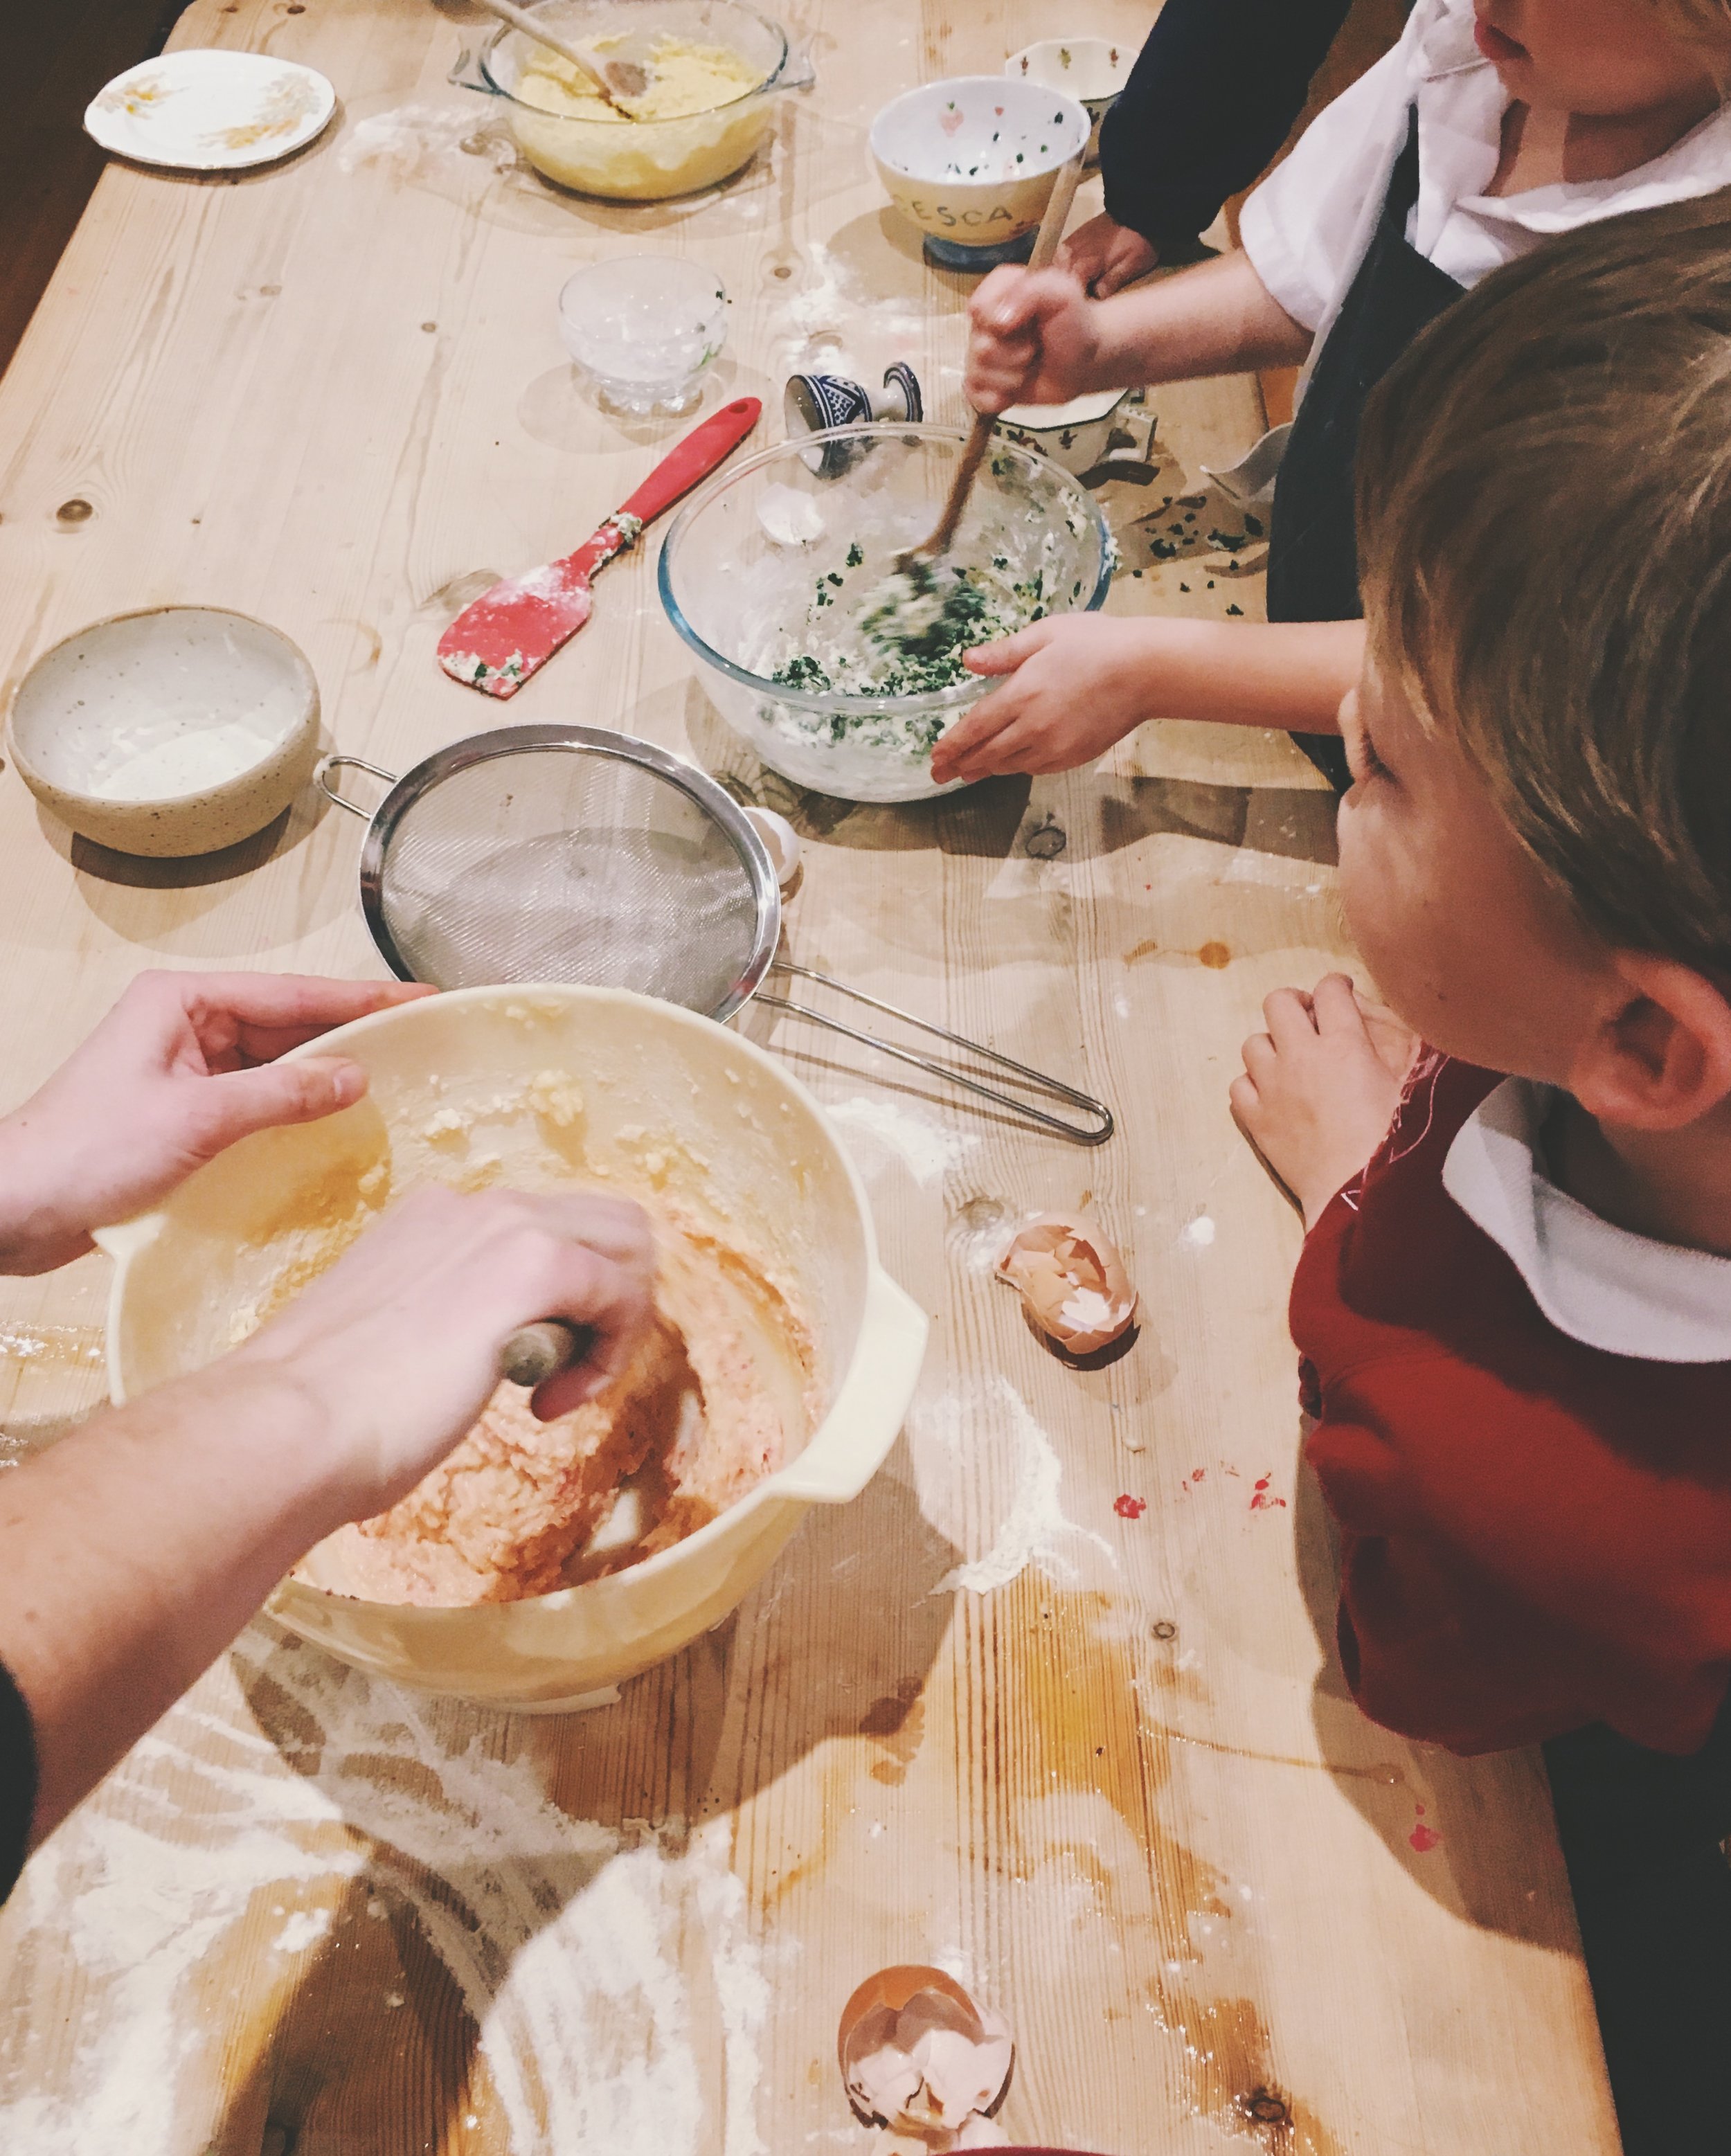
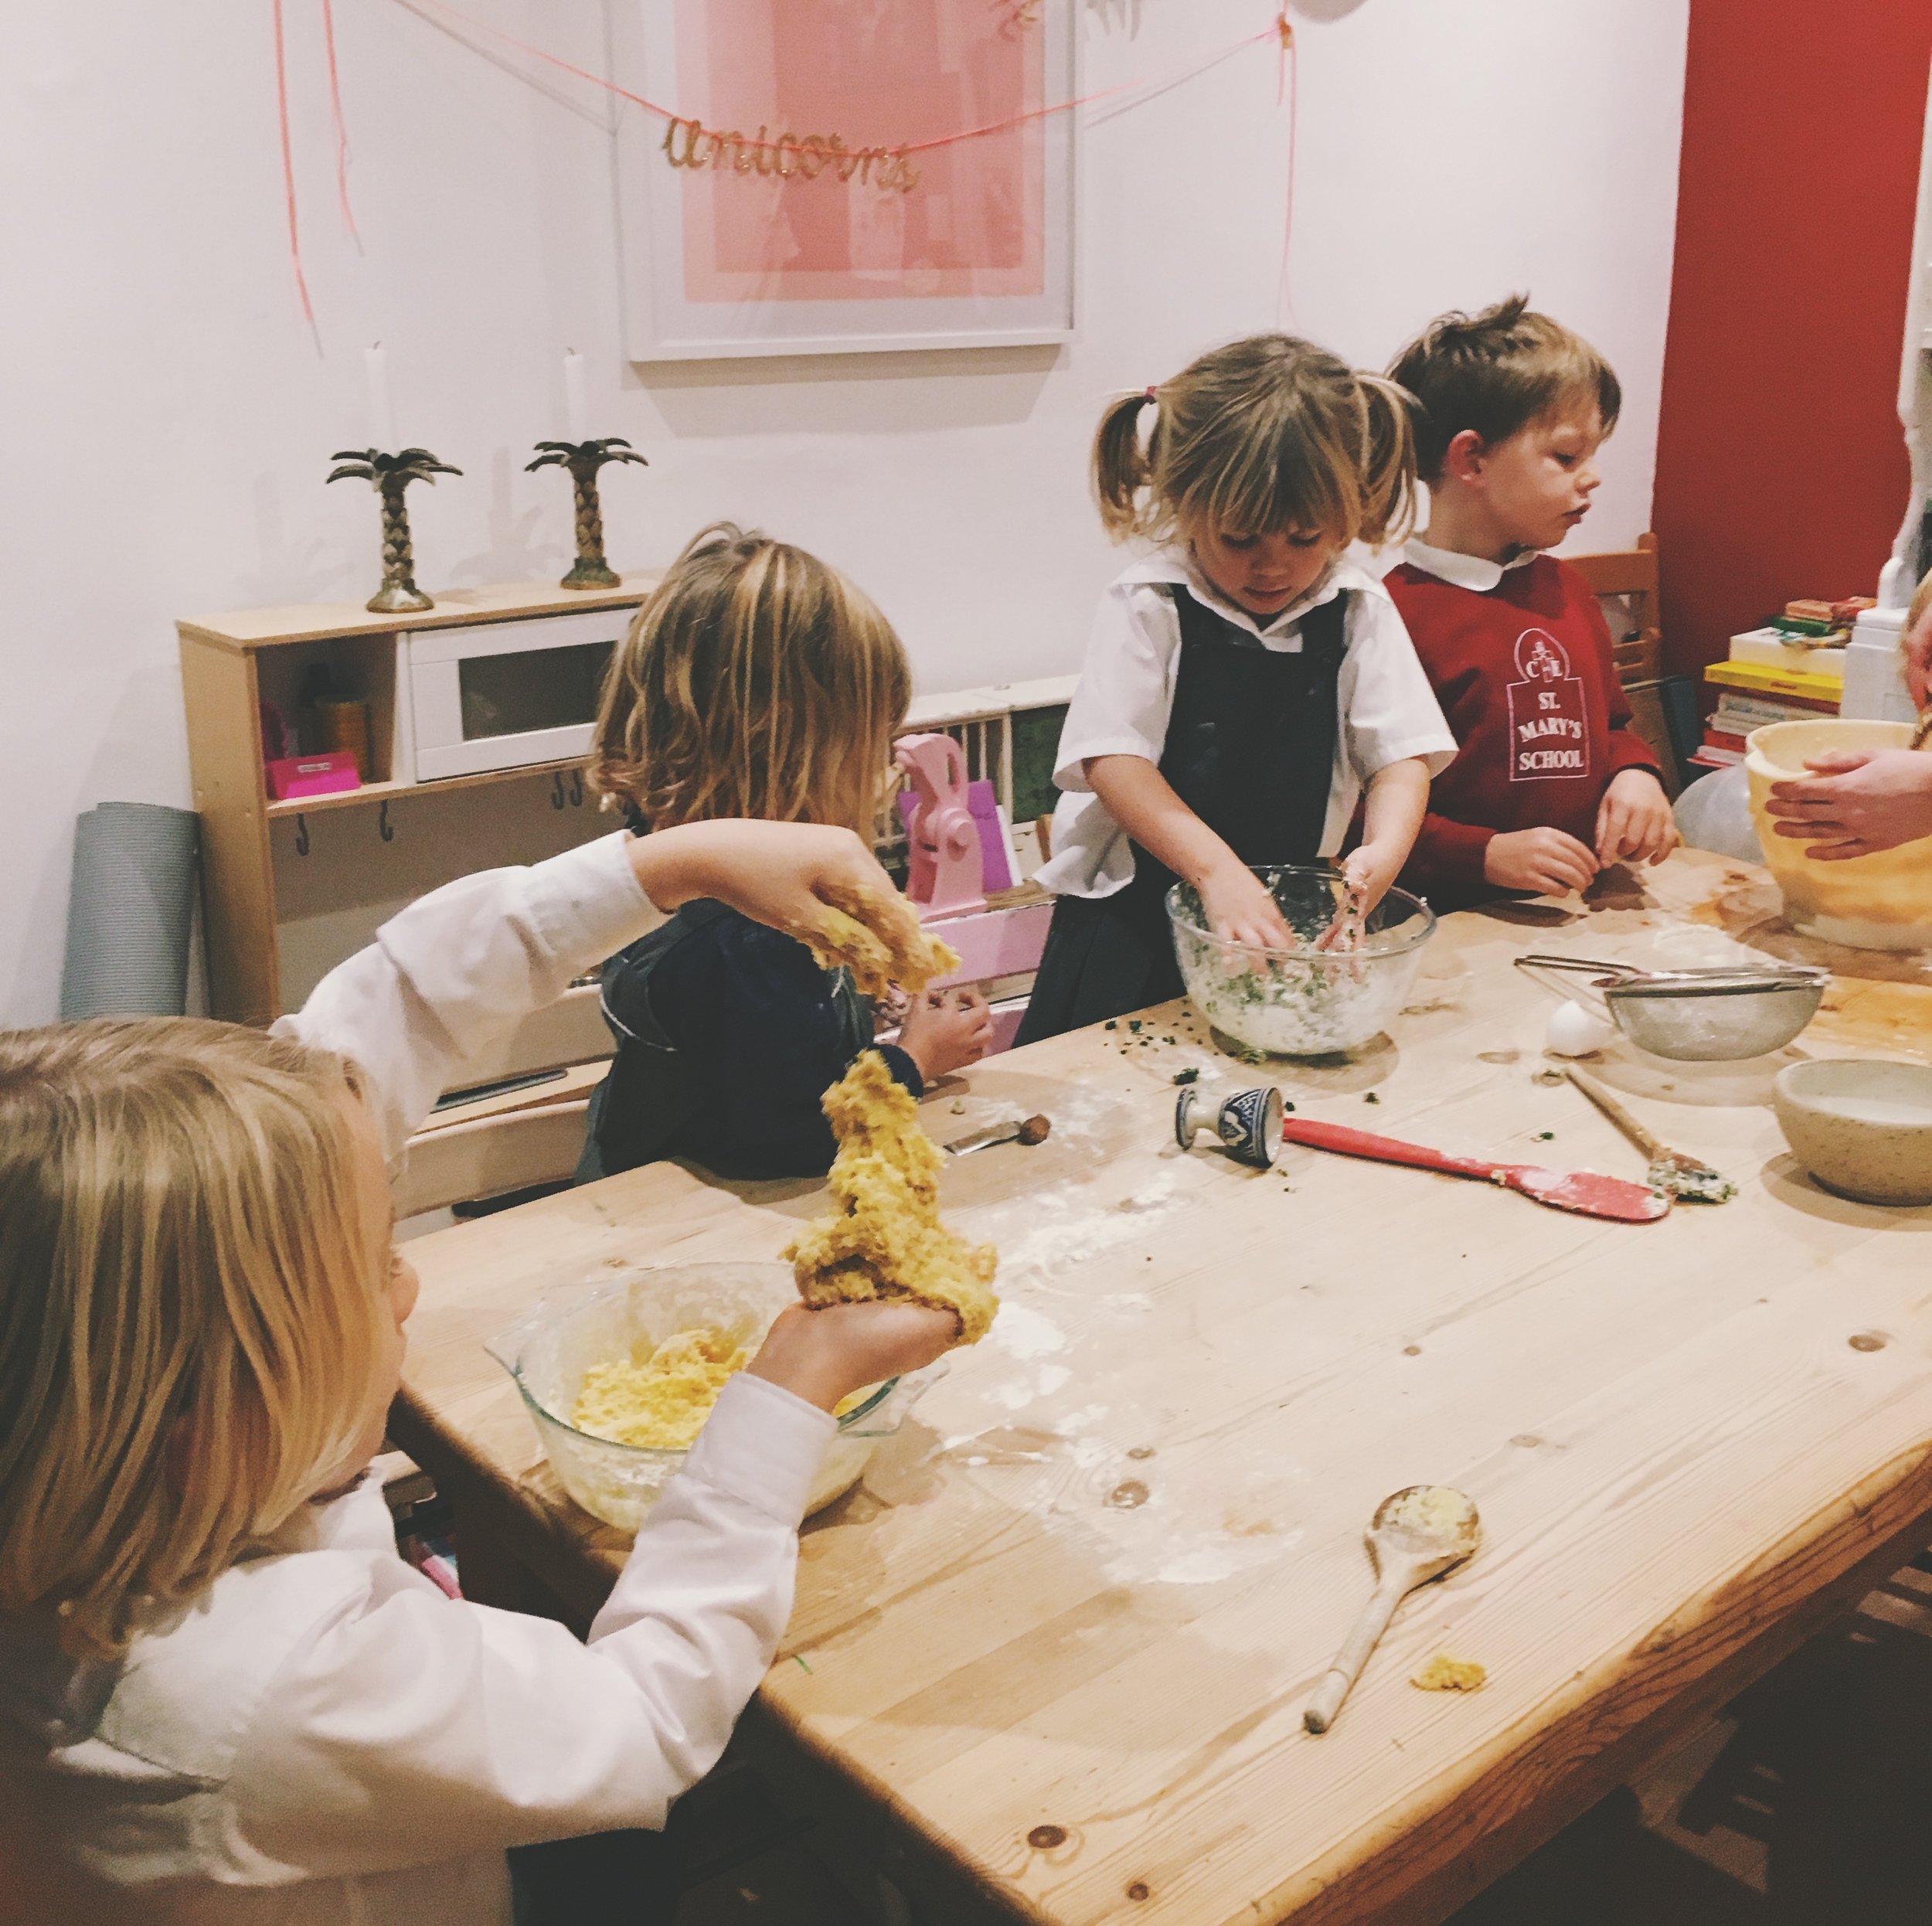
Warm the milk, turmeric and cardamom in a pan until hot but not bubbling. Strain into a jug and top up to 350ml with cold water. Add the dry ingredients to a bowl and mix, then add your golden milk little by little whilst mixing. This is a fun pouring/mixing one for kids, but be careful as turmeric definitely stains anything and everything a lovely fluoro yellow! The dough needs to be mixed and kneaded until it isn't too sticky, without adding more than a sprinkle more flour. Let the kids loose to pummel it for a good five minutes, then pop it in the fridge in an oiled tupperware/covered bowl overnight. If you don't want the buns for breakfast you can just leave it to rise for an hour or two somewhere warm until doubled in size. I like how this is easily split into two parts as it helps with short attention spans. We made the dough as a group after school, then split it in half and each family tackled the bun prep the next morning separately.

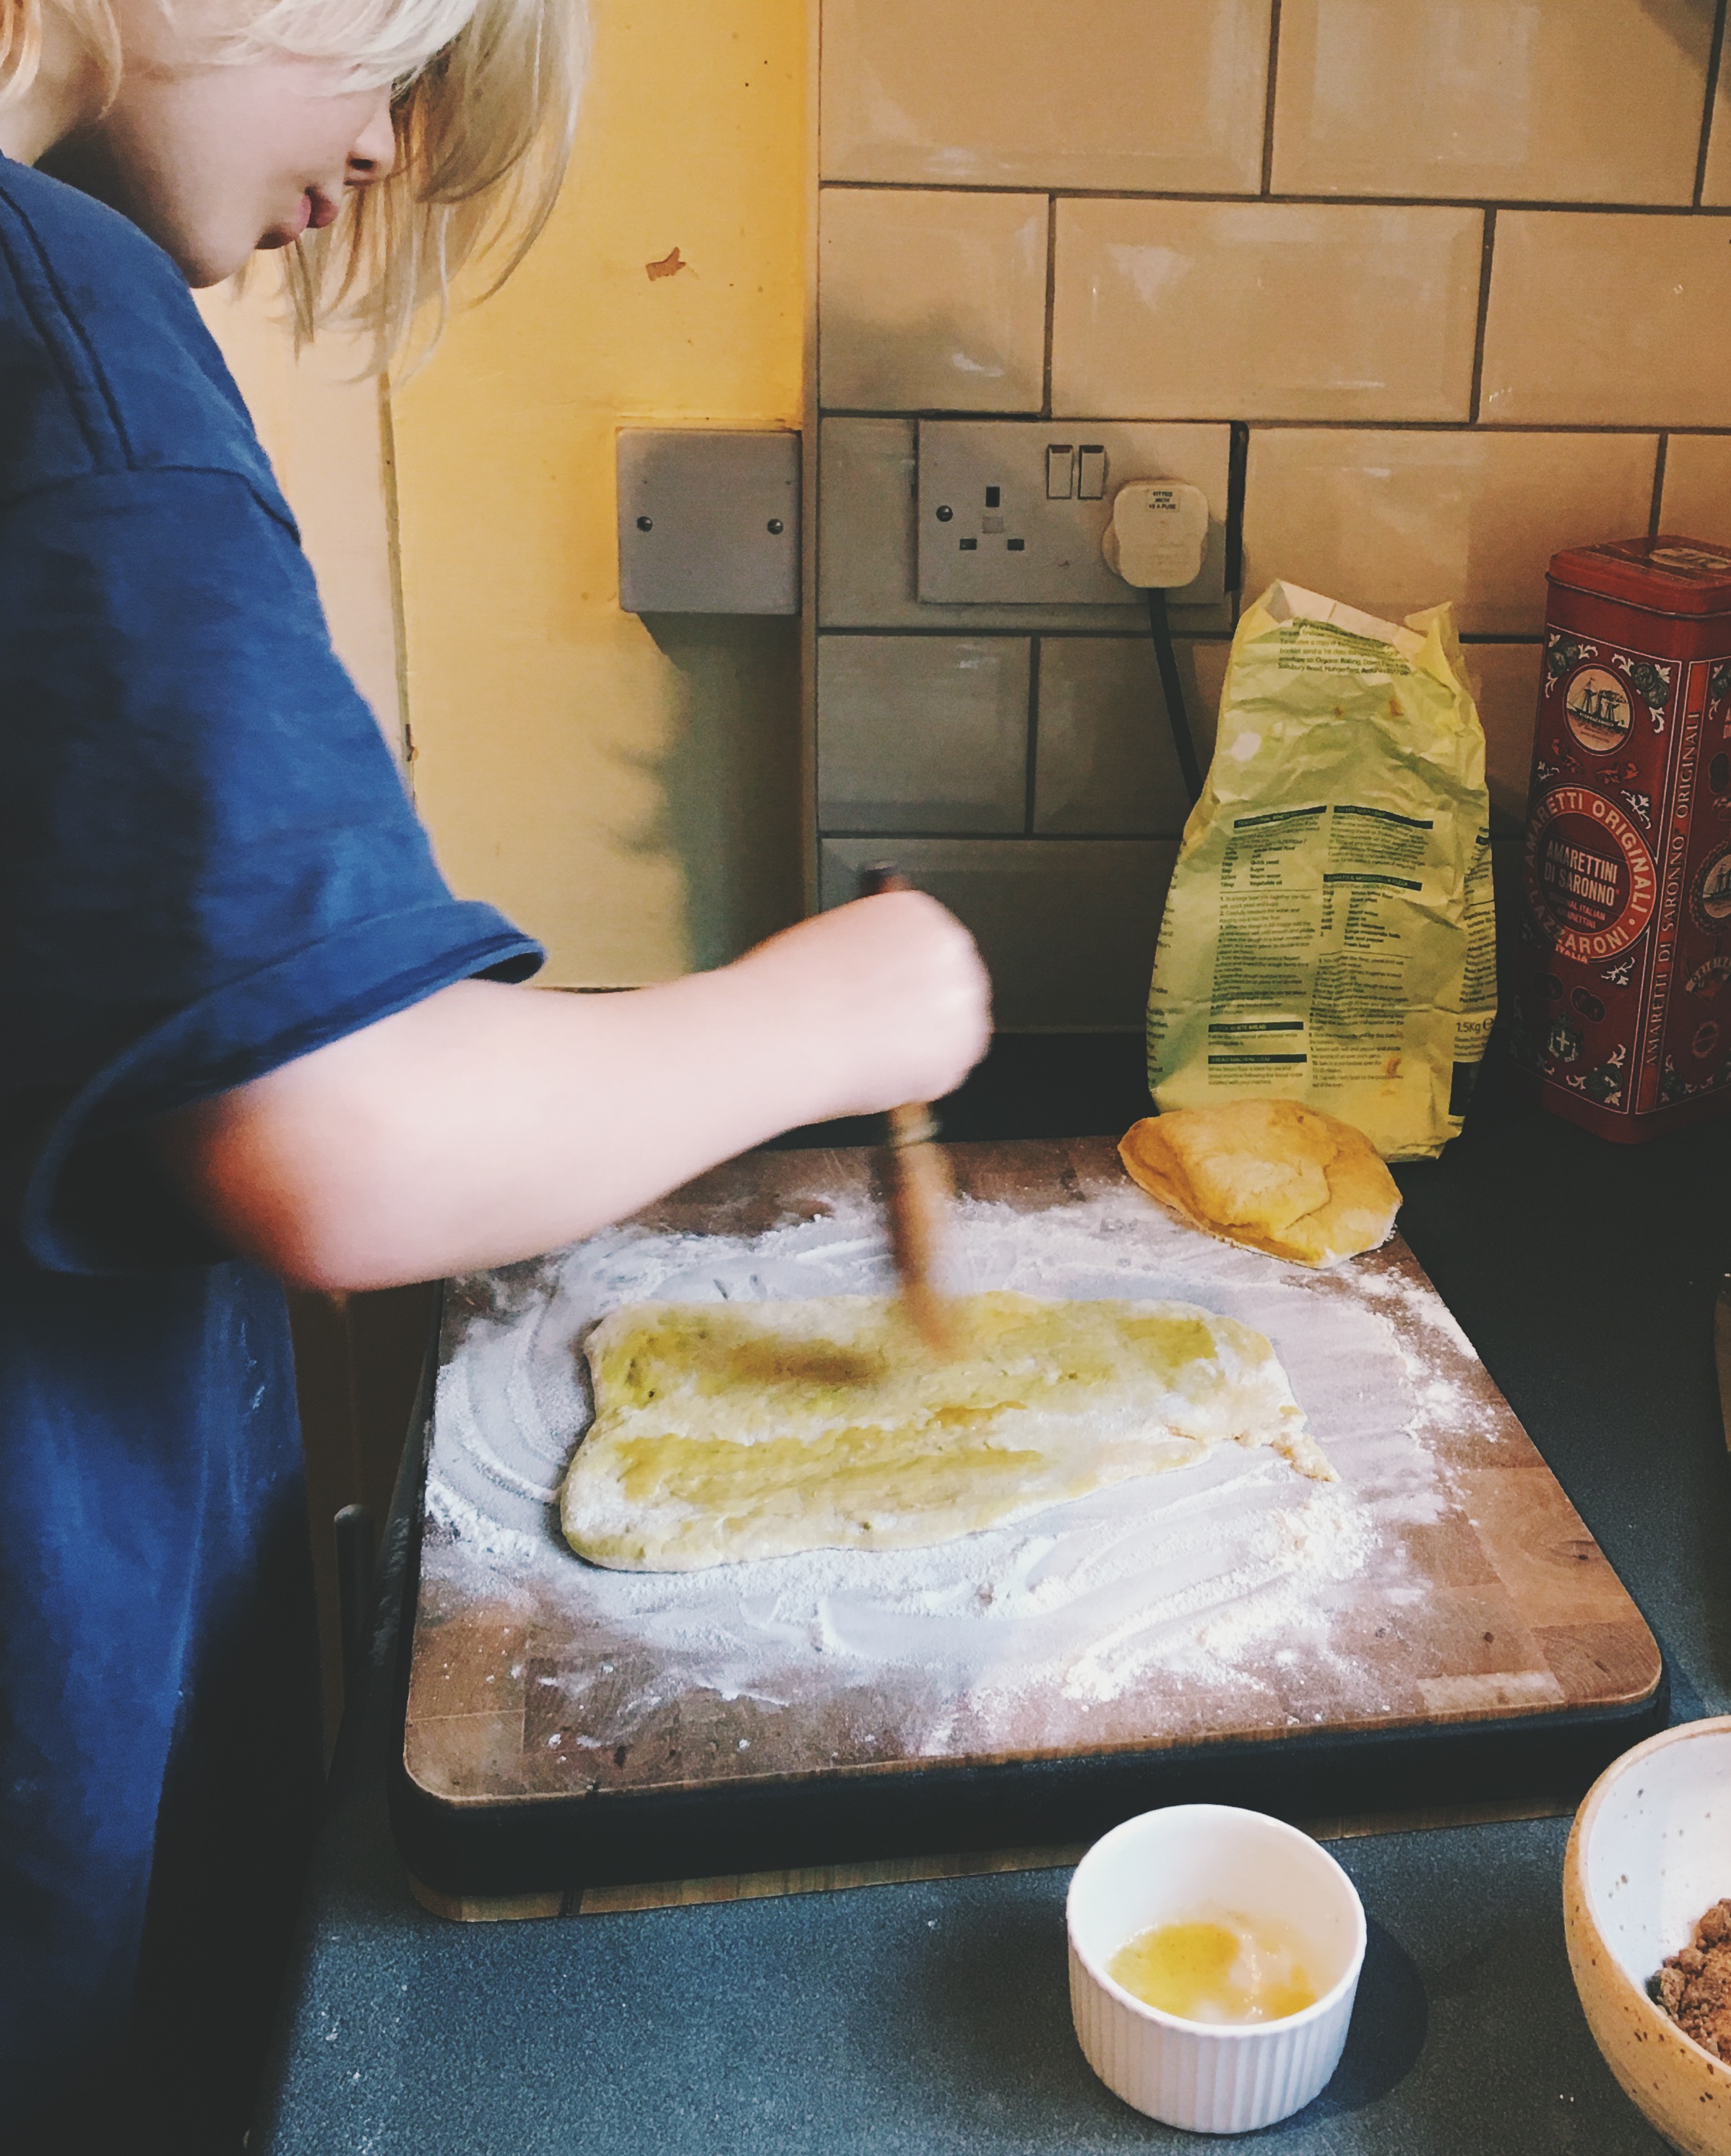
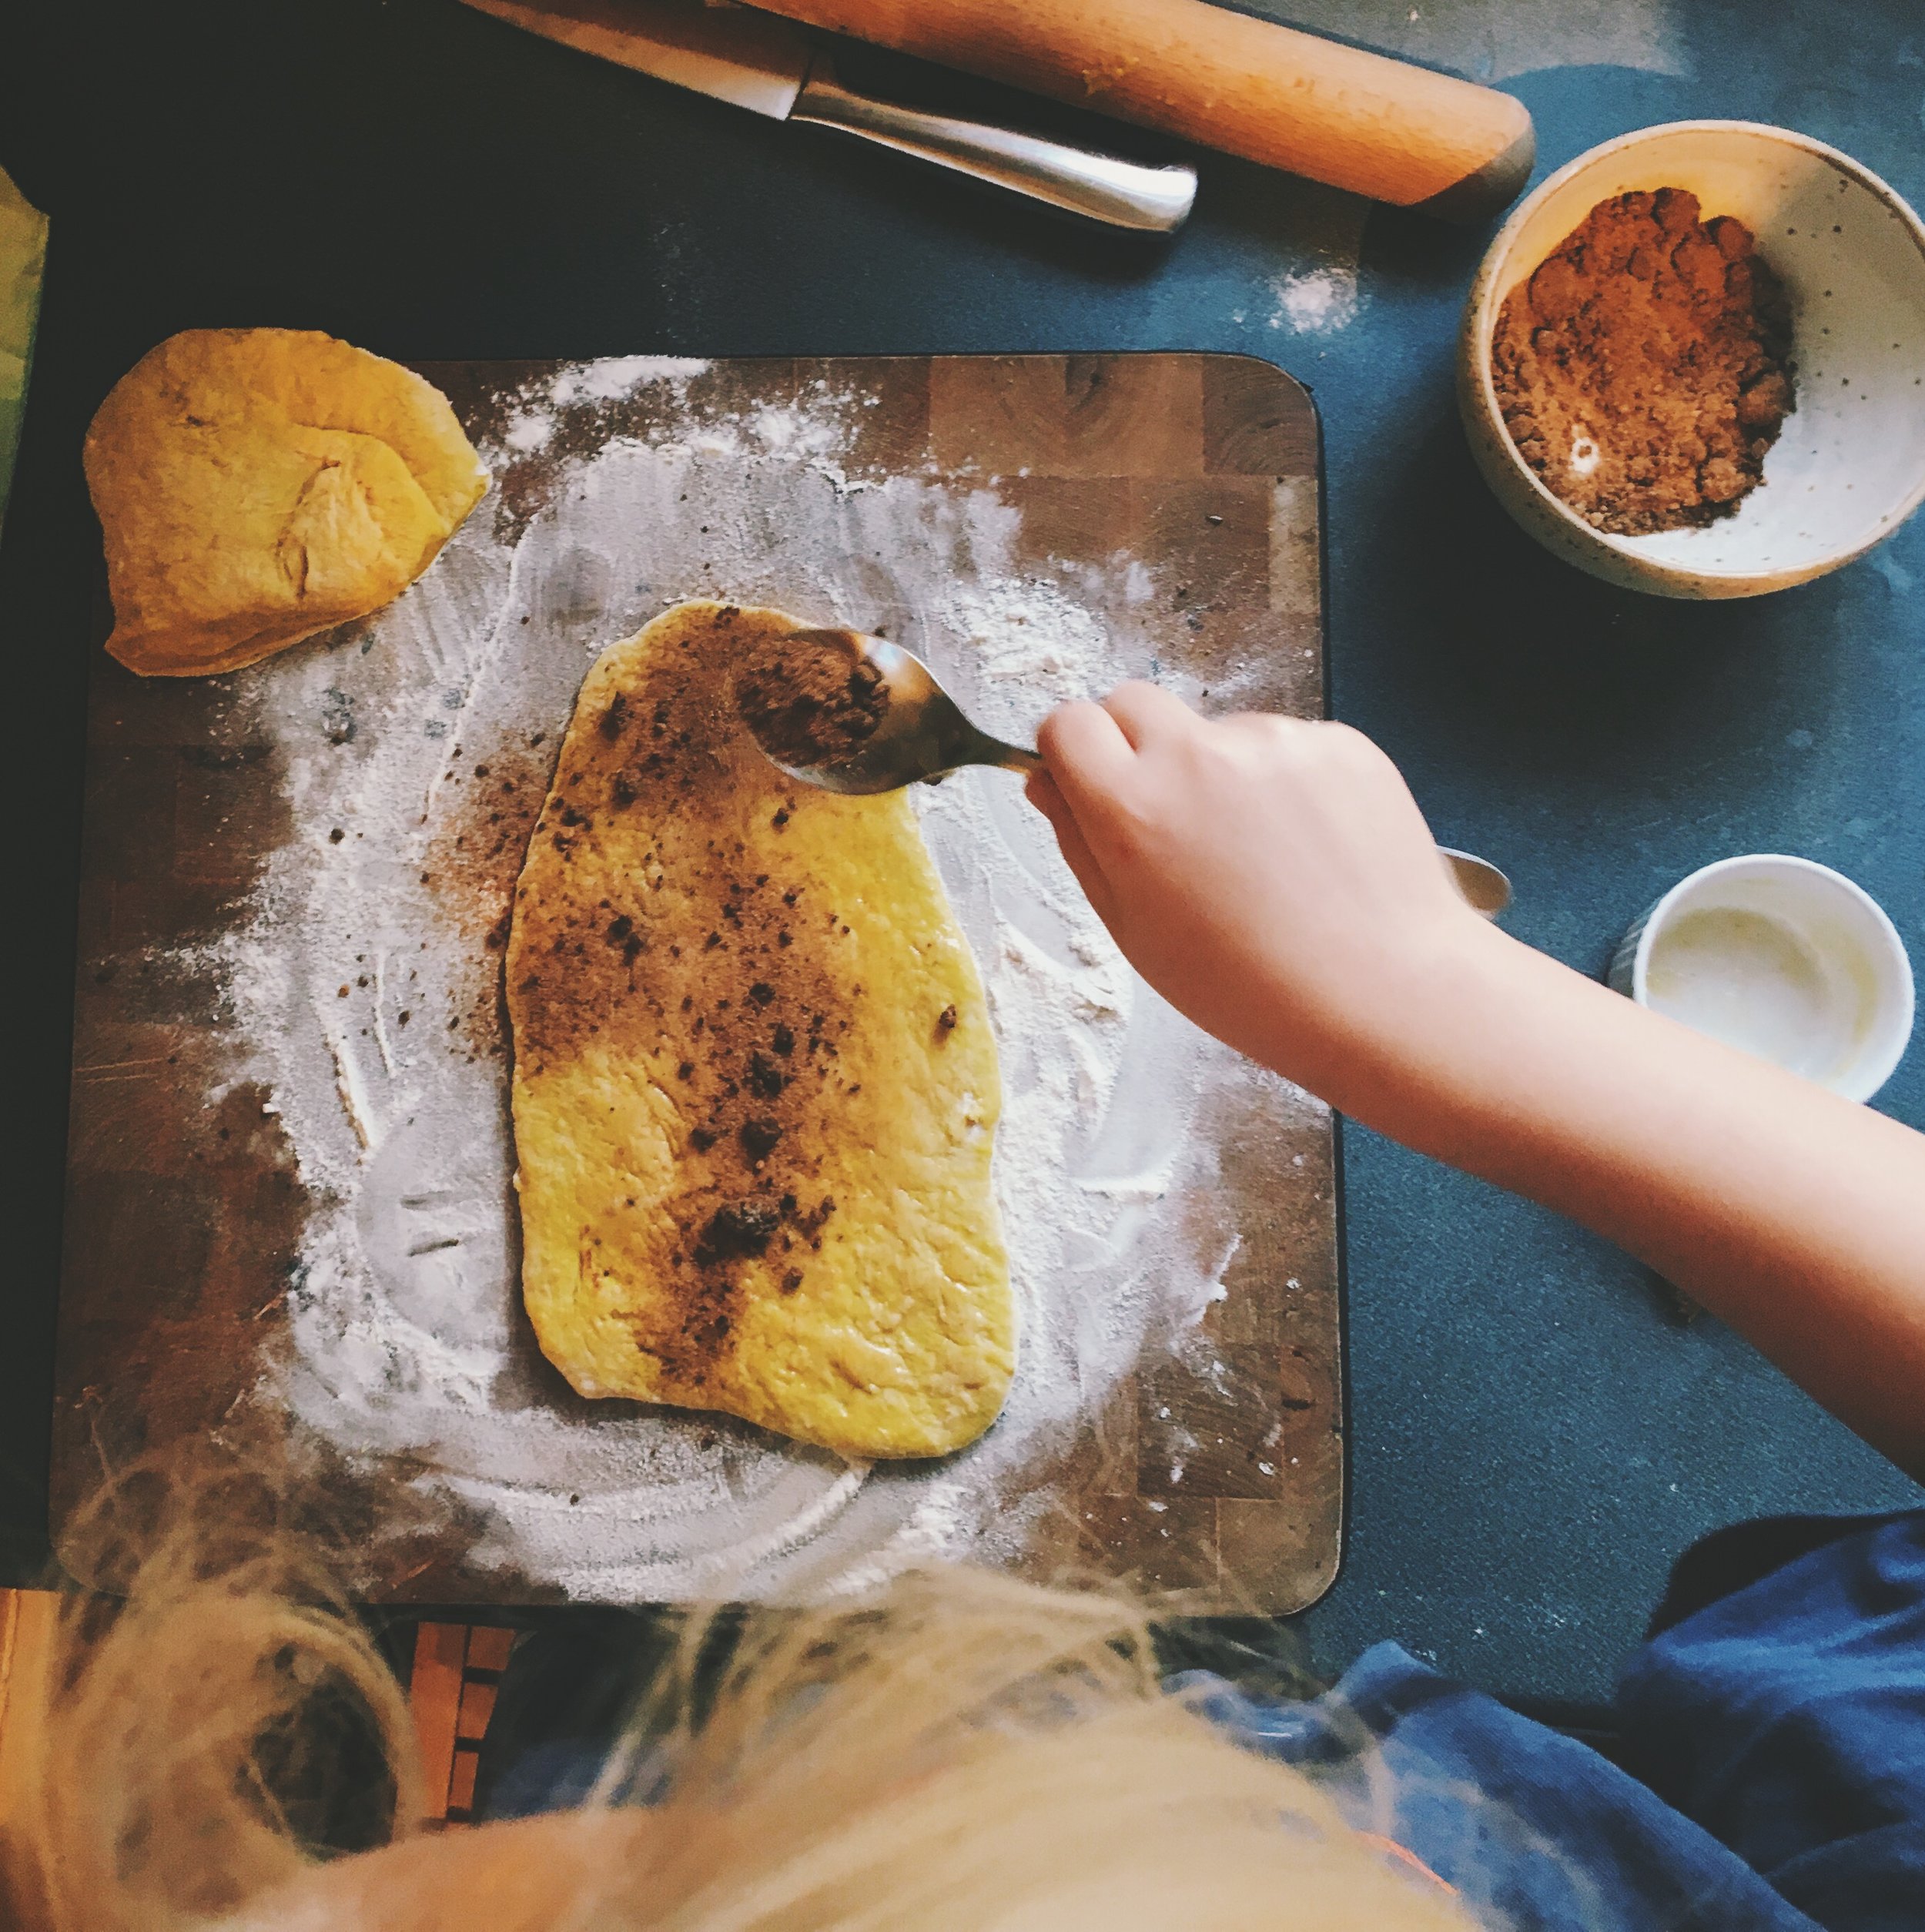
Next morning, remove the dough from the fridge. Because it is cold it will be easier to work with. lightly flour a surface and roll your dough out into a large rectangle(ish) shape - my kids are competitive roller-outers so we made two smaller rectangles, which is also fine. Mix together your coconut sugar and cinnamon, and pop the melted butter/coconut oil into a little dish. Use a pastry brush to coat the pastry with melted butter, then sprinkle the cinnamon mix over the dough rectangle (or one of them, if you've made two). Fold your rectangle in half and press the edges together. If you have made the two smaller rectangles, simply place one on top of the other and seal the edges.
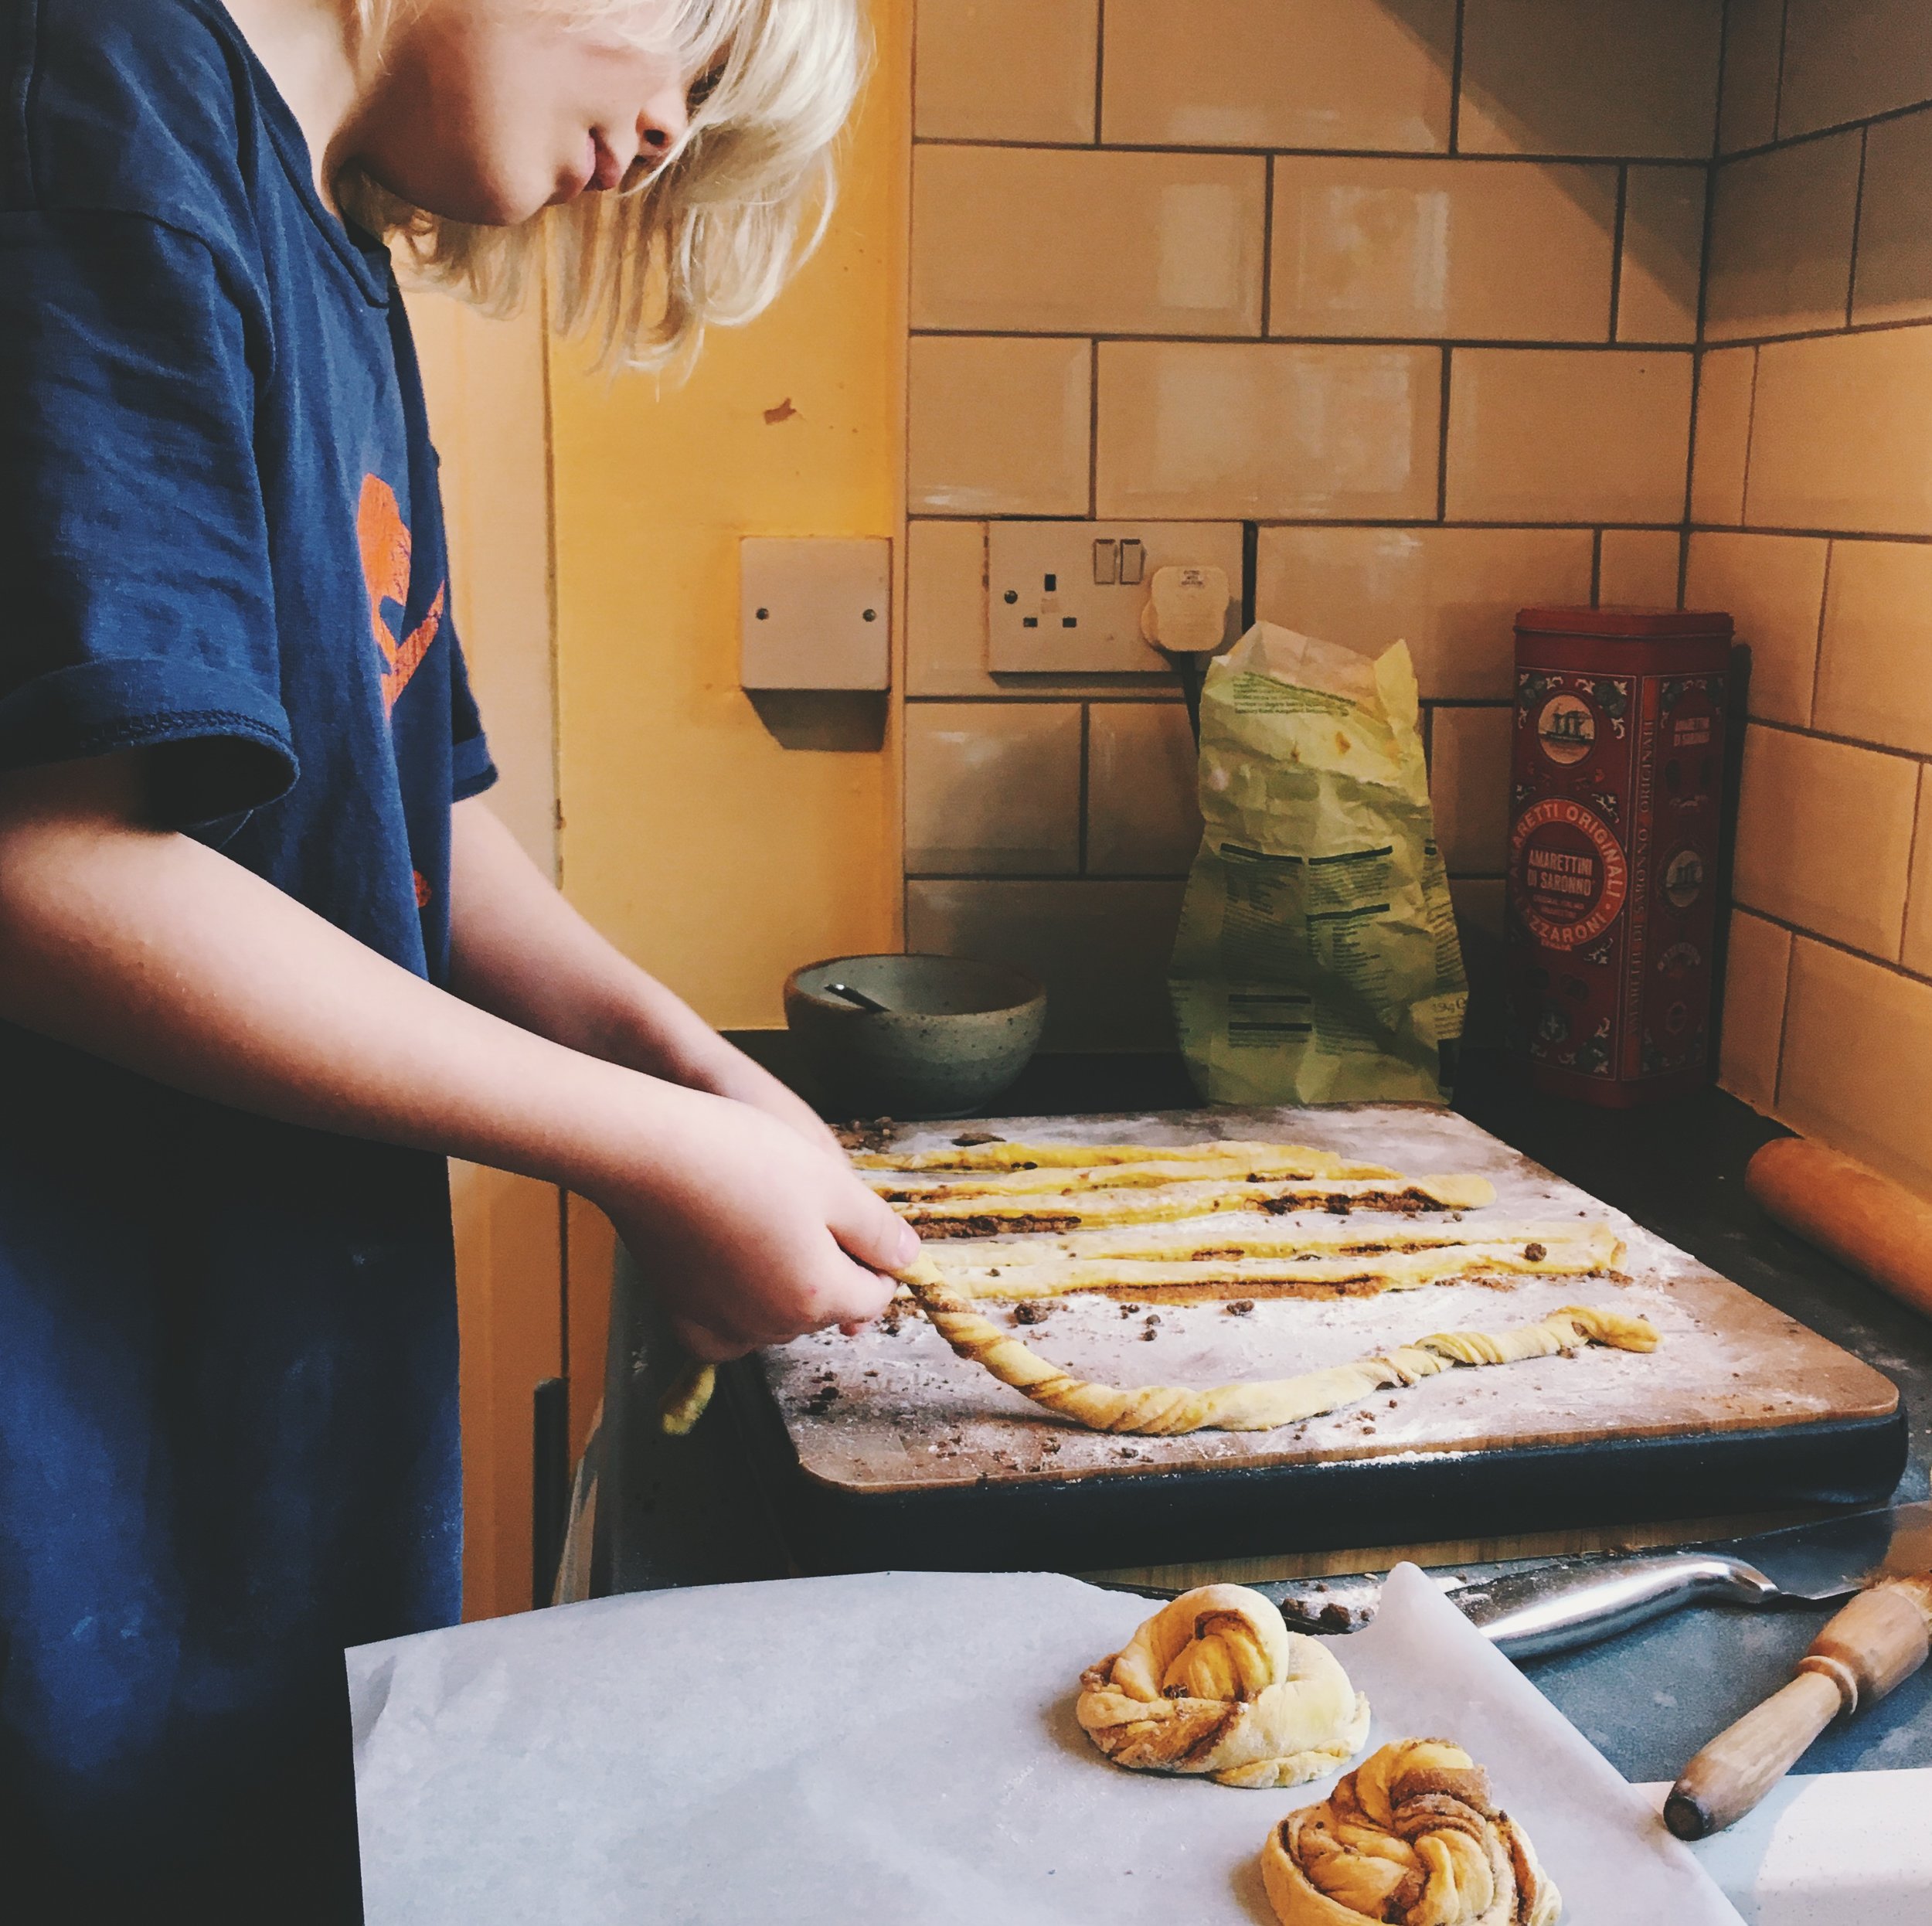
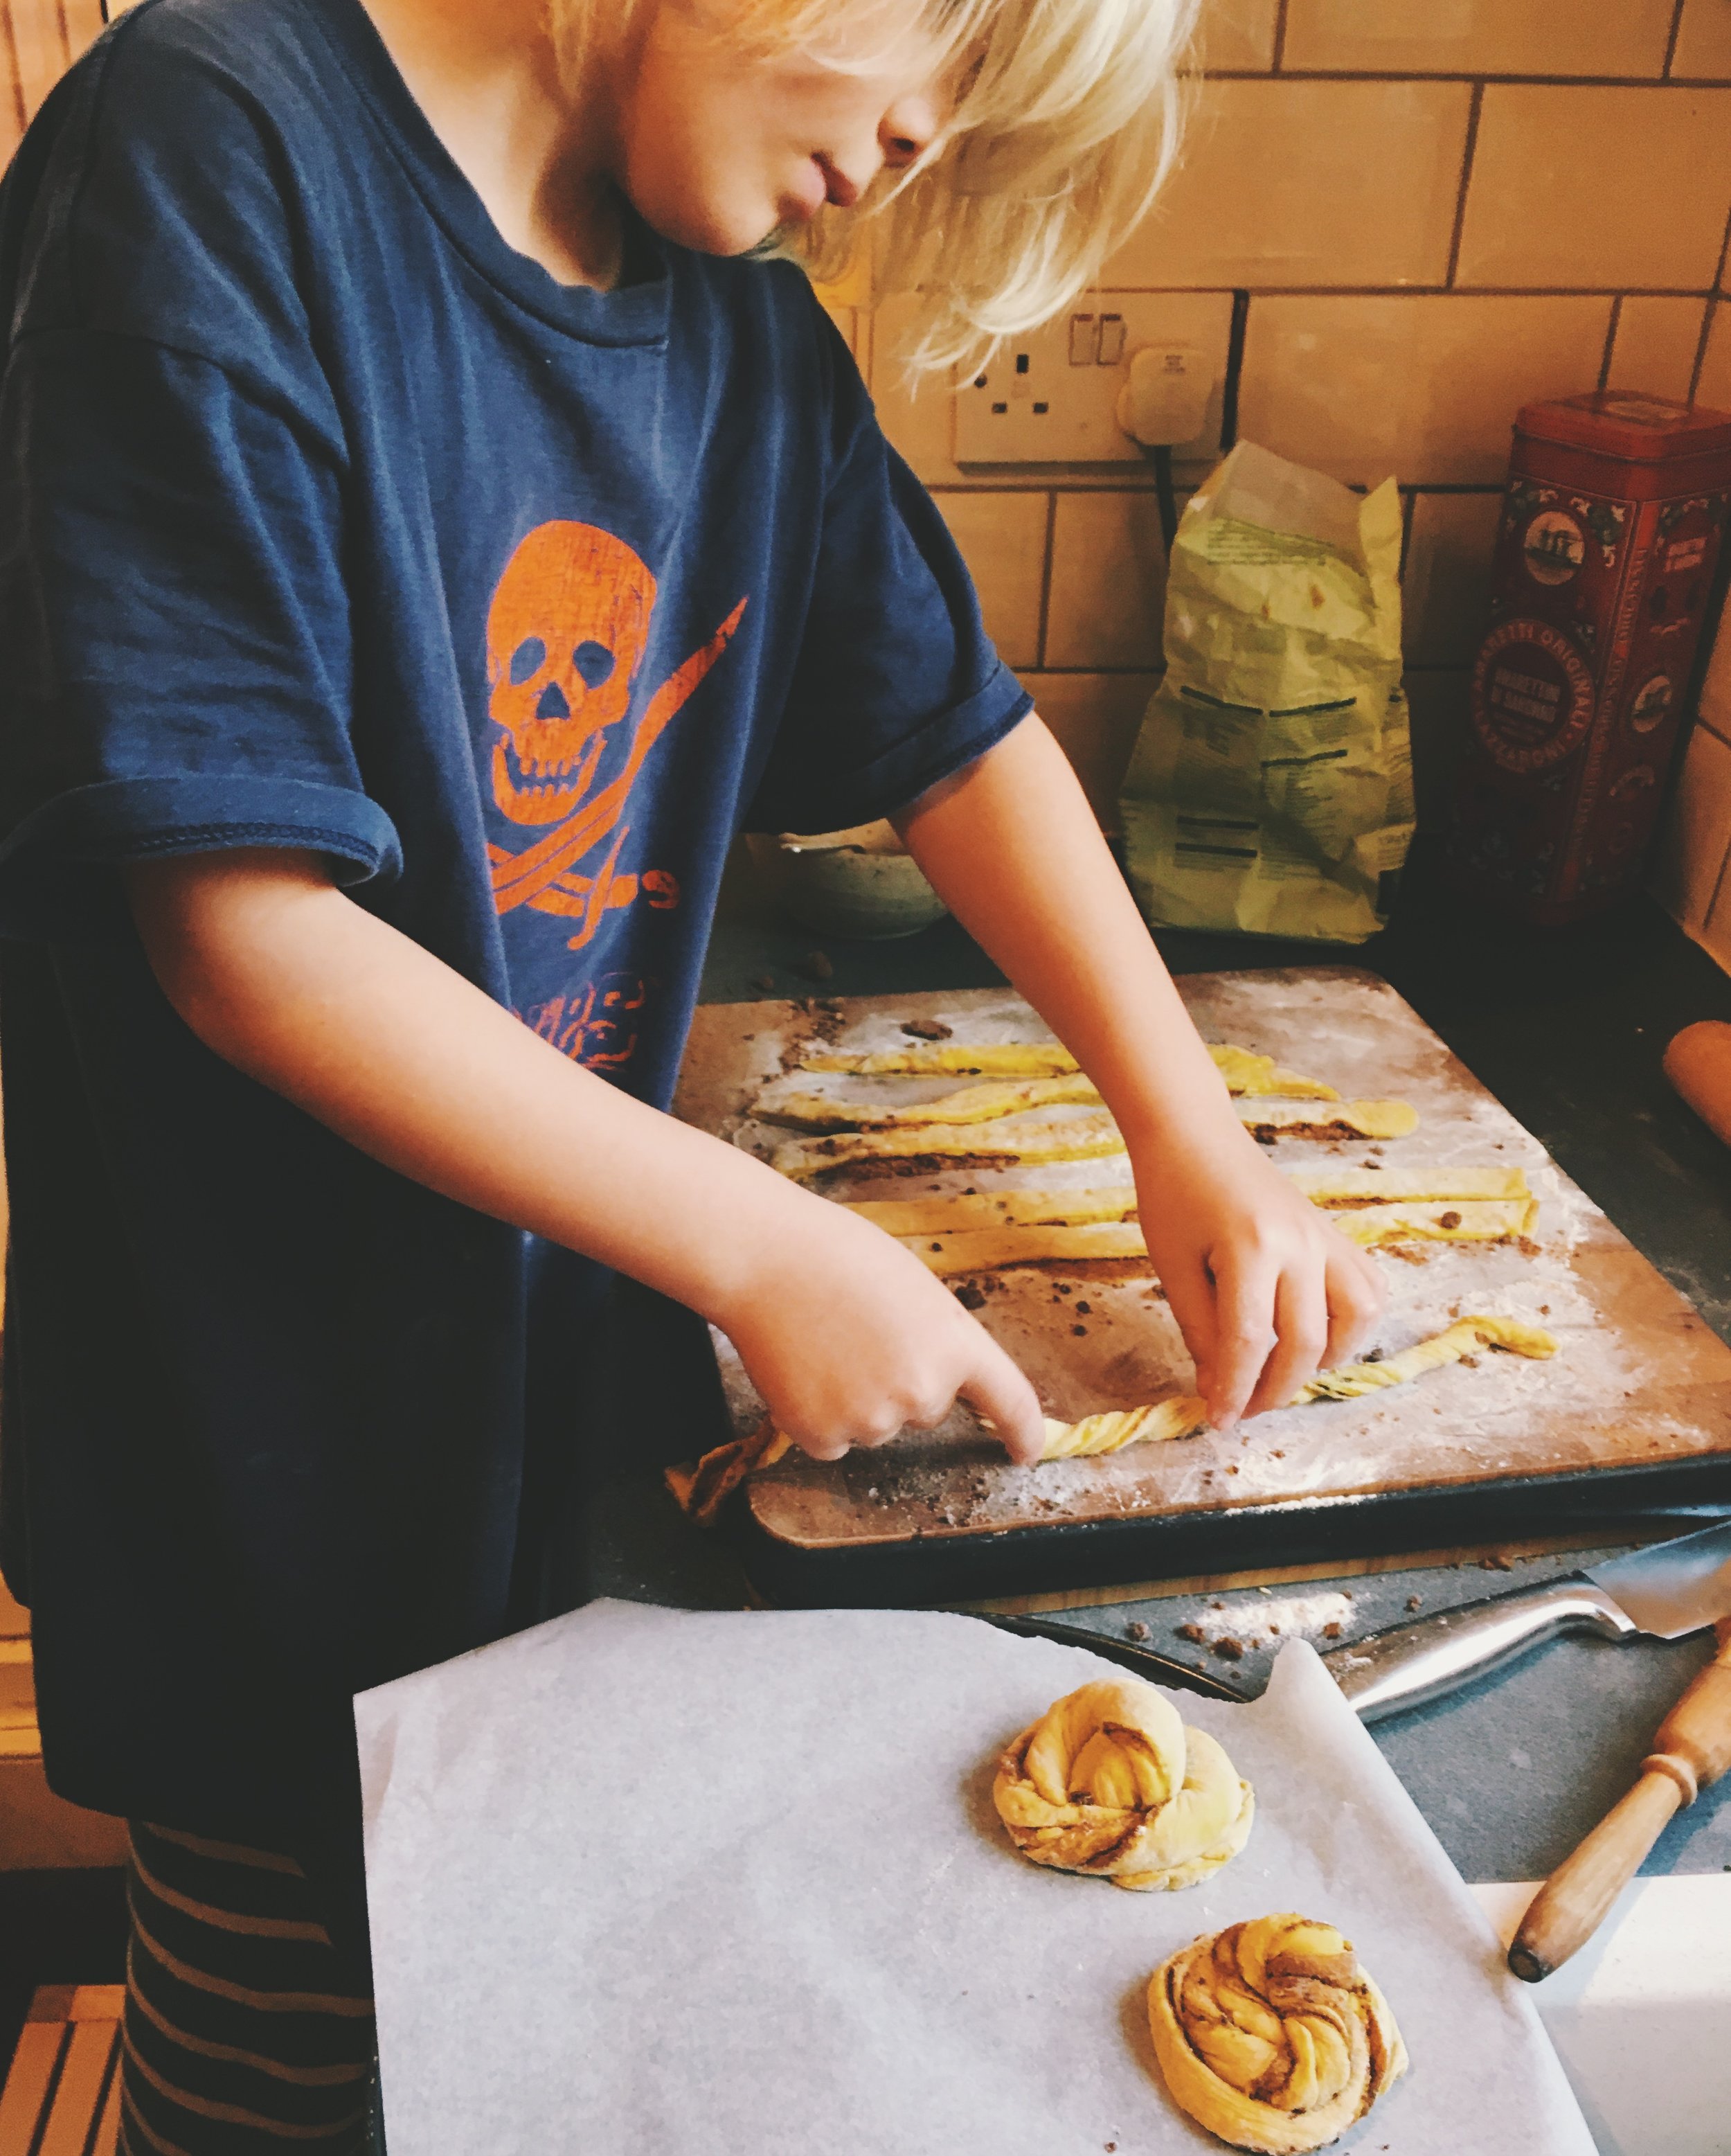
Once you have a single rectangle of dough filled with cinnamony goodness, use a sharp knife to slice the dough into strips lengthways, approx a thumb-width. My kids are allowed to use certain kitchen knives and the dough should be easy to safely slice with supervision. Take a strip and twist it at either end to make it spiral, then wrap it into a little bun shape. The shape you end up with isn't important, as they all taste delicious regardless. Just make sure the edges are tucked in and it's nice and plump. Place the buns on a tray lined with parchment.
Place your bun tray somewhere warm for 30-60 mins whilst the buns prove. In the meantime heat the oven to 180C. The buns will be ready to go in when they have plumped up. A good way to test is to poke them gently with a finger - if the indentation slowly fills back out they are good to go. A quick bounce-back or no bounce back at all indicate over or under proved dough. Brush the buns with some beaten egg or double cream (or a mix of the two!) and sprinkle with some more coconut sugar and/or fennel seeds before putting into the oven. For vegan egg wash use 2 parts nut milk to one part agave syrup.

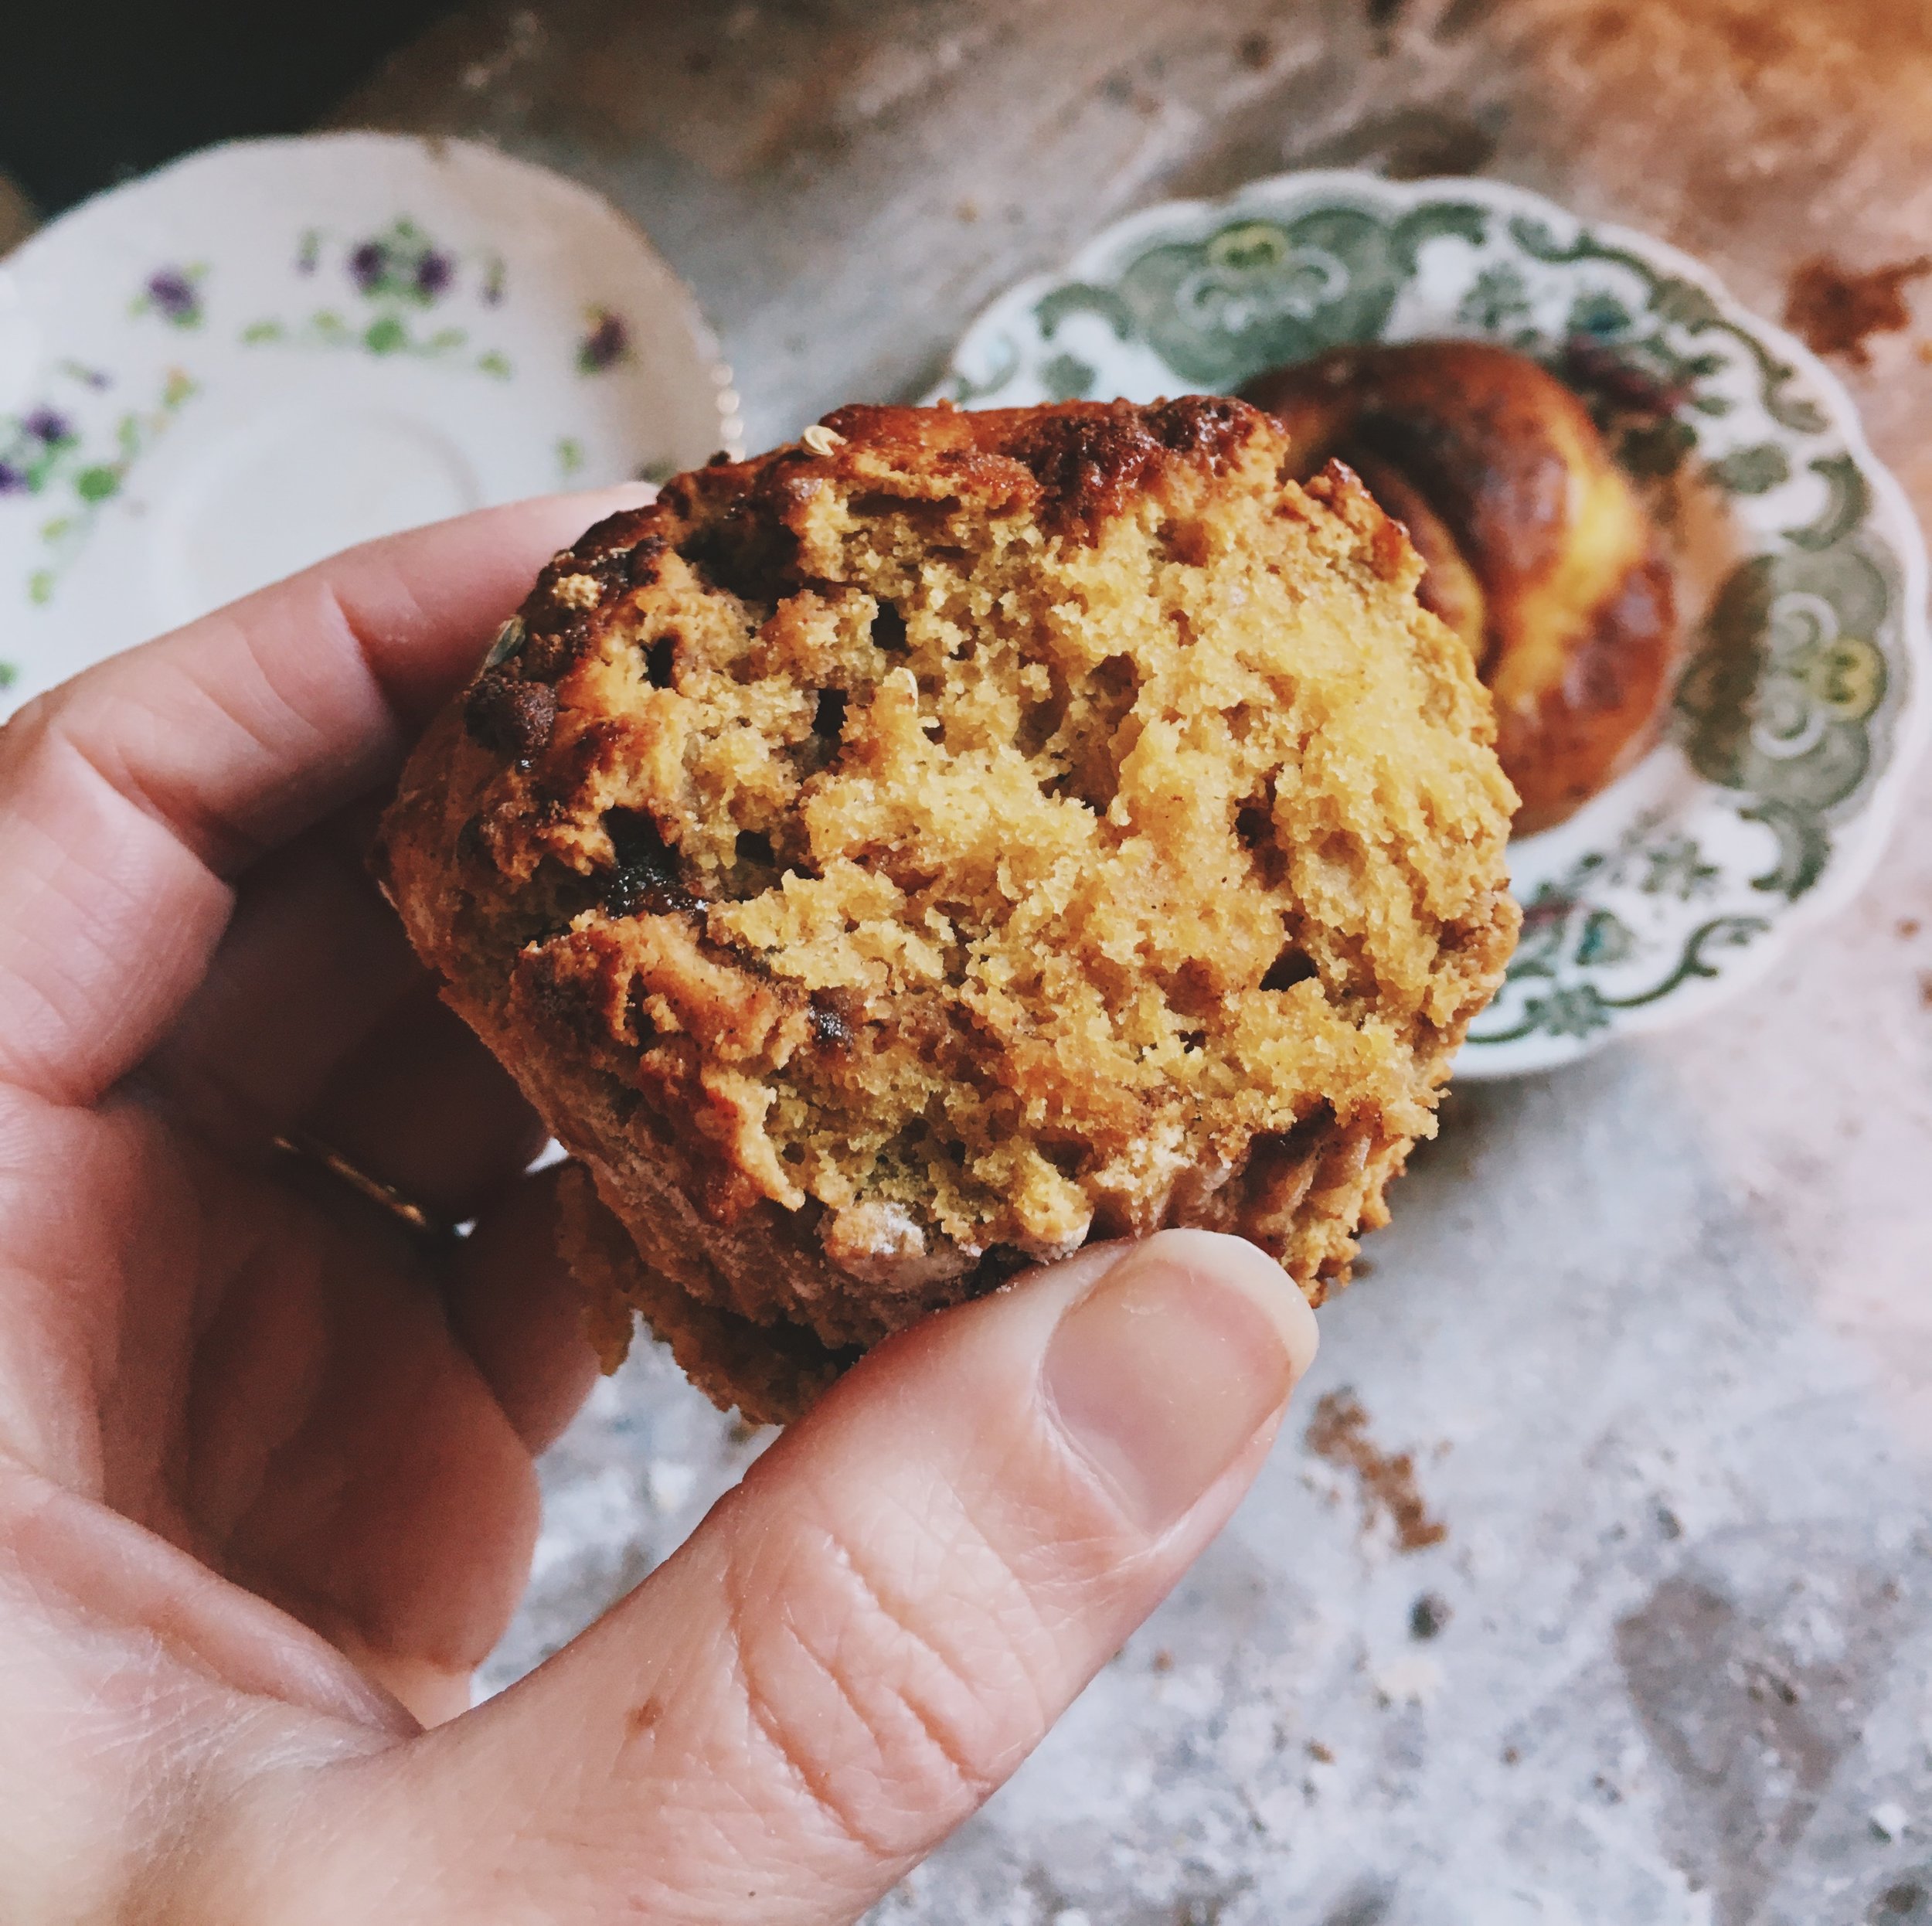
the gluten free muffin version on the left, original golden milk bun on the right
Bake the buns for 20 mins, until they are golden brown. Whilst mine baked I made a gluten free variation, since having regular wheat flour makes me swell up like a super unsexy balloon... recipe below.
Gluten Free Golden Cinnamon Muffins
170ml almond milk
1 tsp turmeric
3 cardamom pods
1 tbsp butter/coconut oil
7g yeast
50g coconut sugar
220g gluten free self raising flour (I use Dove's Farm)
1/2 tsp baking powder
1/2 tsp salt
1 large egg
1/4 cup coconut oil (melted)
1/2 tsp vanilla
for the filling:
125g butter
100g coconut sugar
2 tbsp cinnamon
In a large bowl, combine yeast and sugar. Warm the milk with the cardamom pods and turmeric, then strain and return to the pan, adding the butter and warming through to melt it. Add the golden milk/butter combo to the yeast/sugar mix. Leave to get a bit bubbly. Whisk dry ingredients together, then add the remaining wet ingredients (including the egg) to the milk/butter combo. Whisk together then add to the dry ingredients. Beat or mix together until it becomes a coherent dough and is no longer insanely sticky. Try to avoid adding more flour. At this stage I placed my dough in the fridge overnight with the golden bun dough. The dough is much easier to deal with once it's cold. If you prefer you can use it immediately.
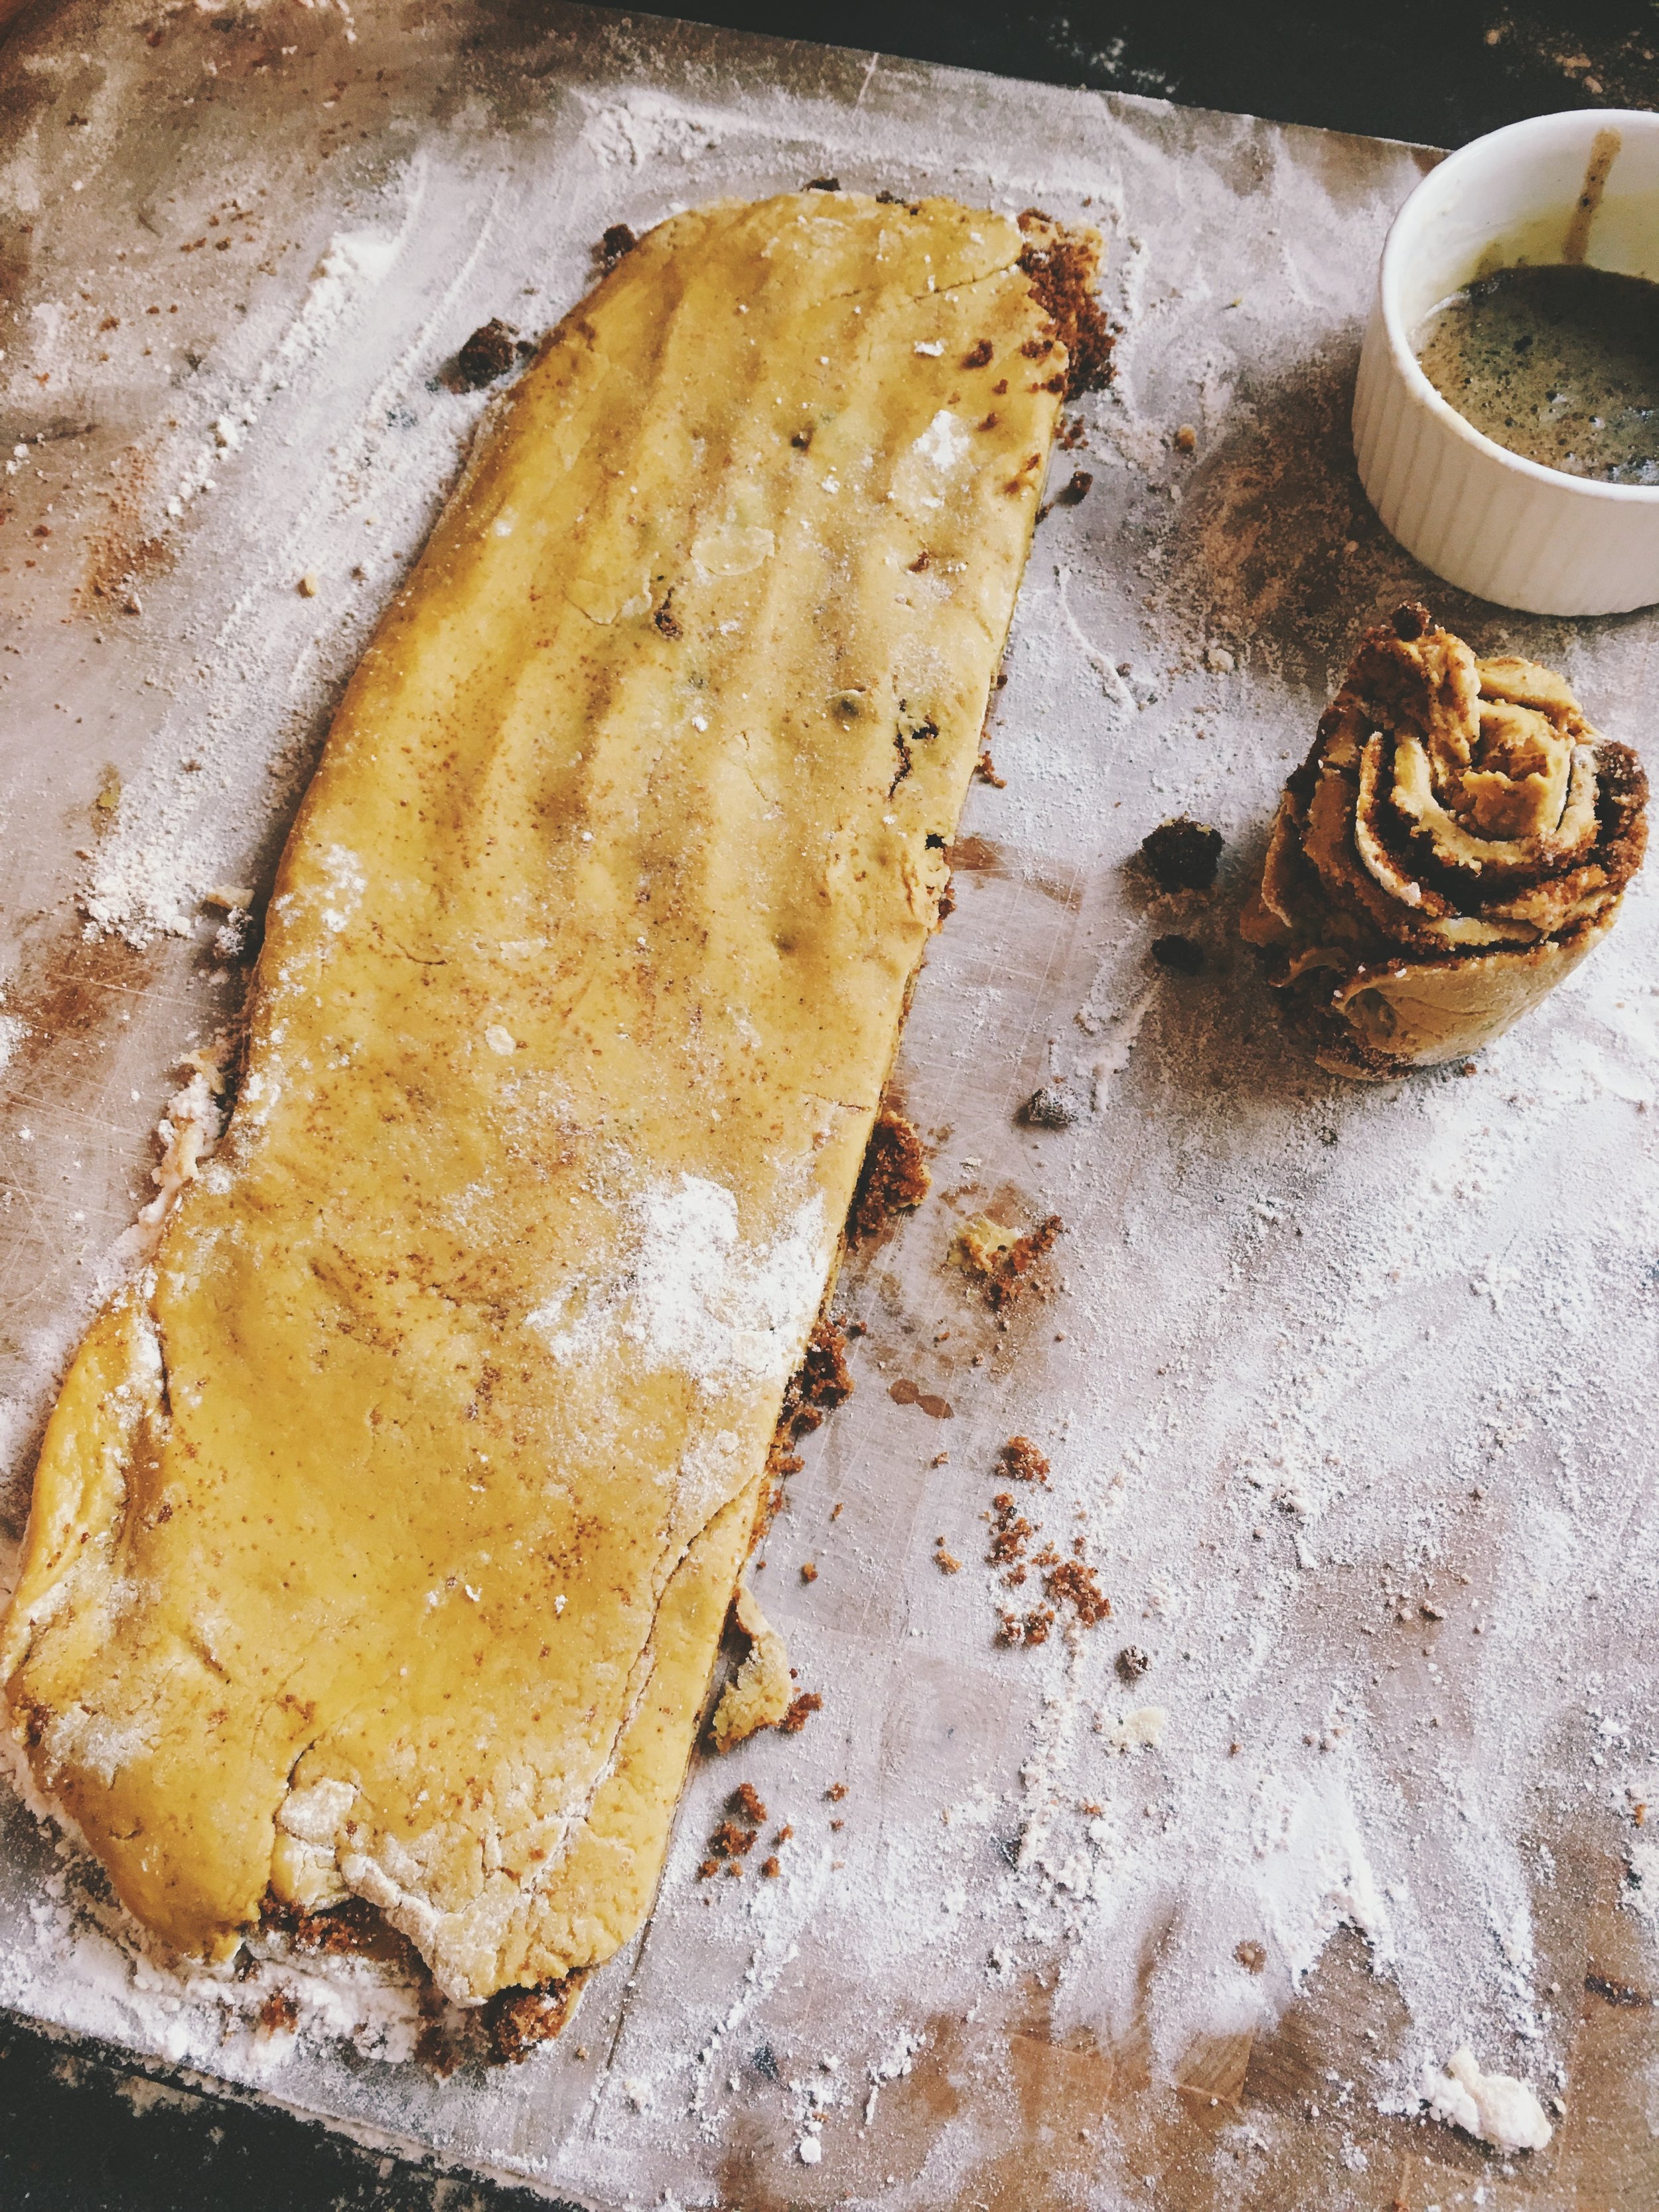
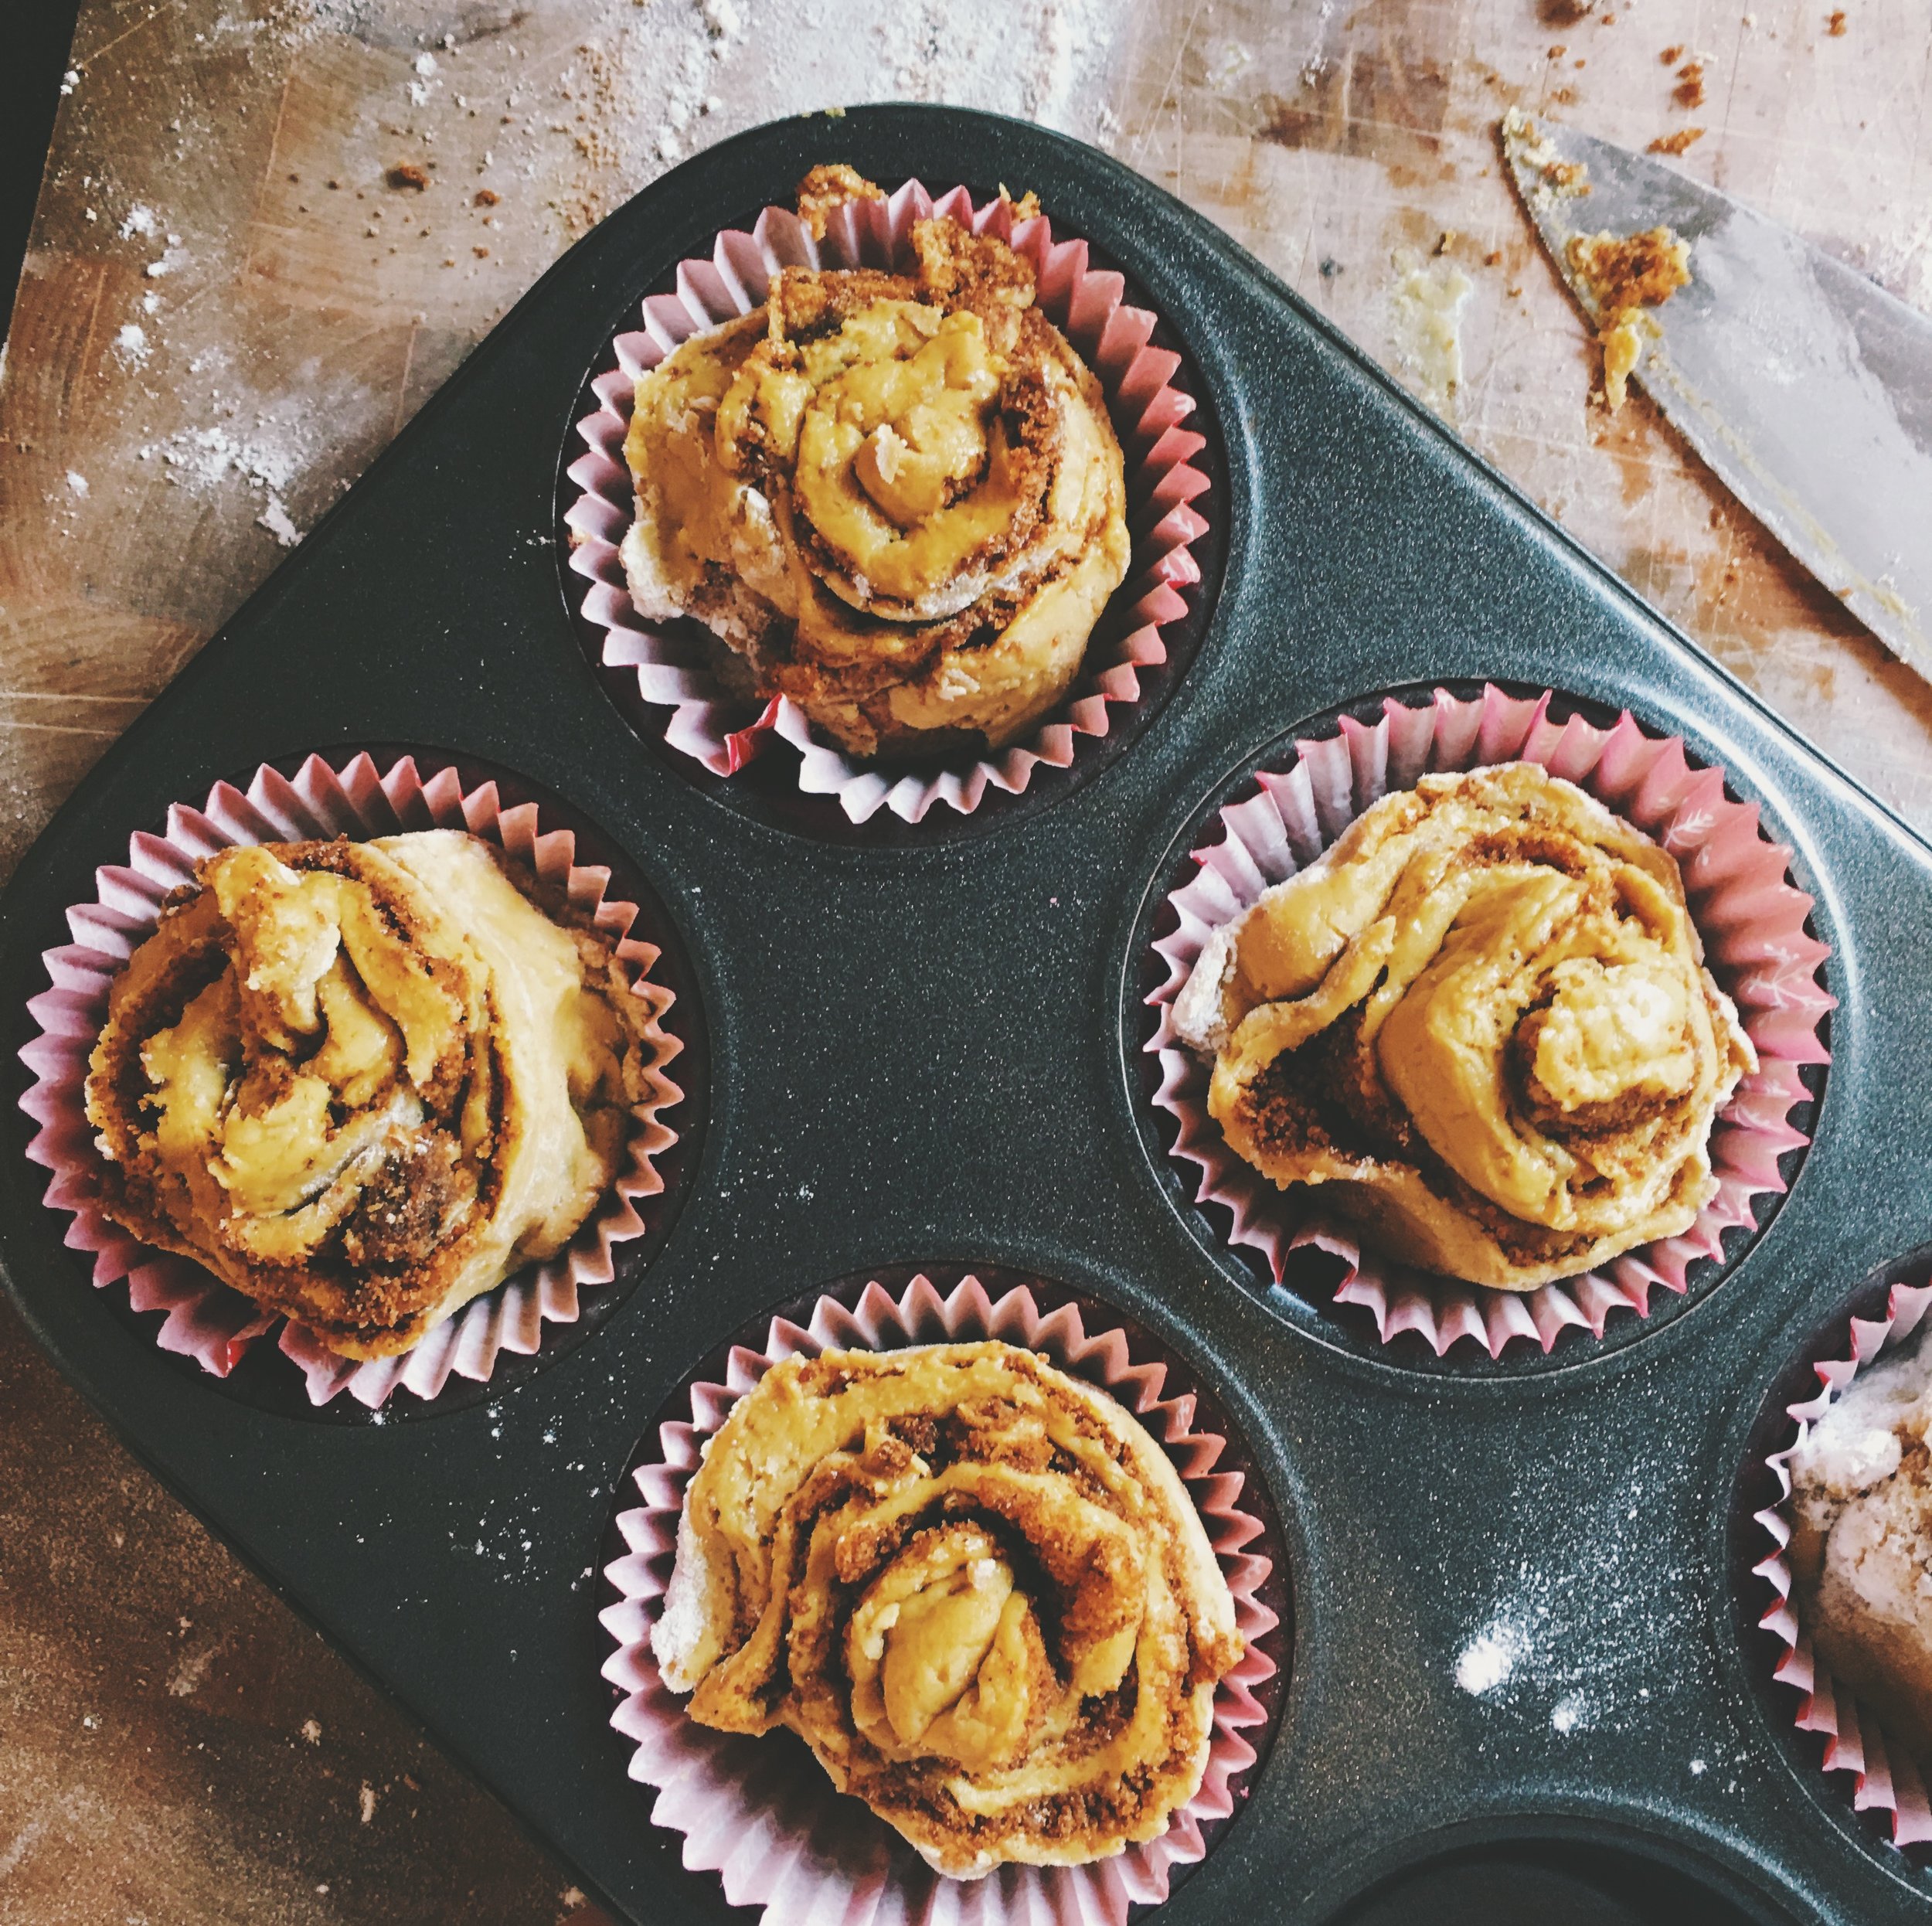
gluten free roll out...
Roll out your dough into a large rectangle - if it feels very sticky you may want to do this with some parchment above and below. We just about coped without. Brush the dough with melted butter and sprinkle on the cinnamon/sugar mixture, as with the buns. Fold over to make one lovely filled rectangle. Cut into strips as with the buns, but slightly thicker strips this time and bear in mind they will be fragile. Roll them up into a swirl, as pictured above, and place in a cupcake case in a muffin tin. Leave to prove for 20 mins. Brush with egg wash and sprinkle with fennel seeds if desired. Bake for 15 -20 minutes at 180C, until golden. These are seriously delicious...
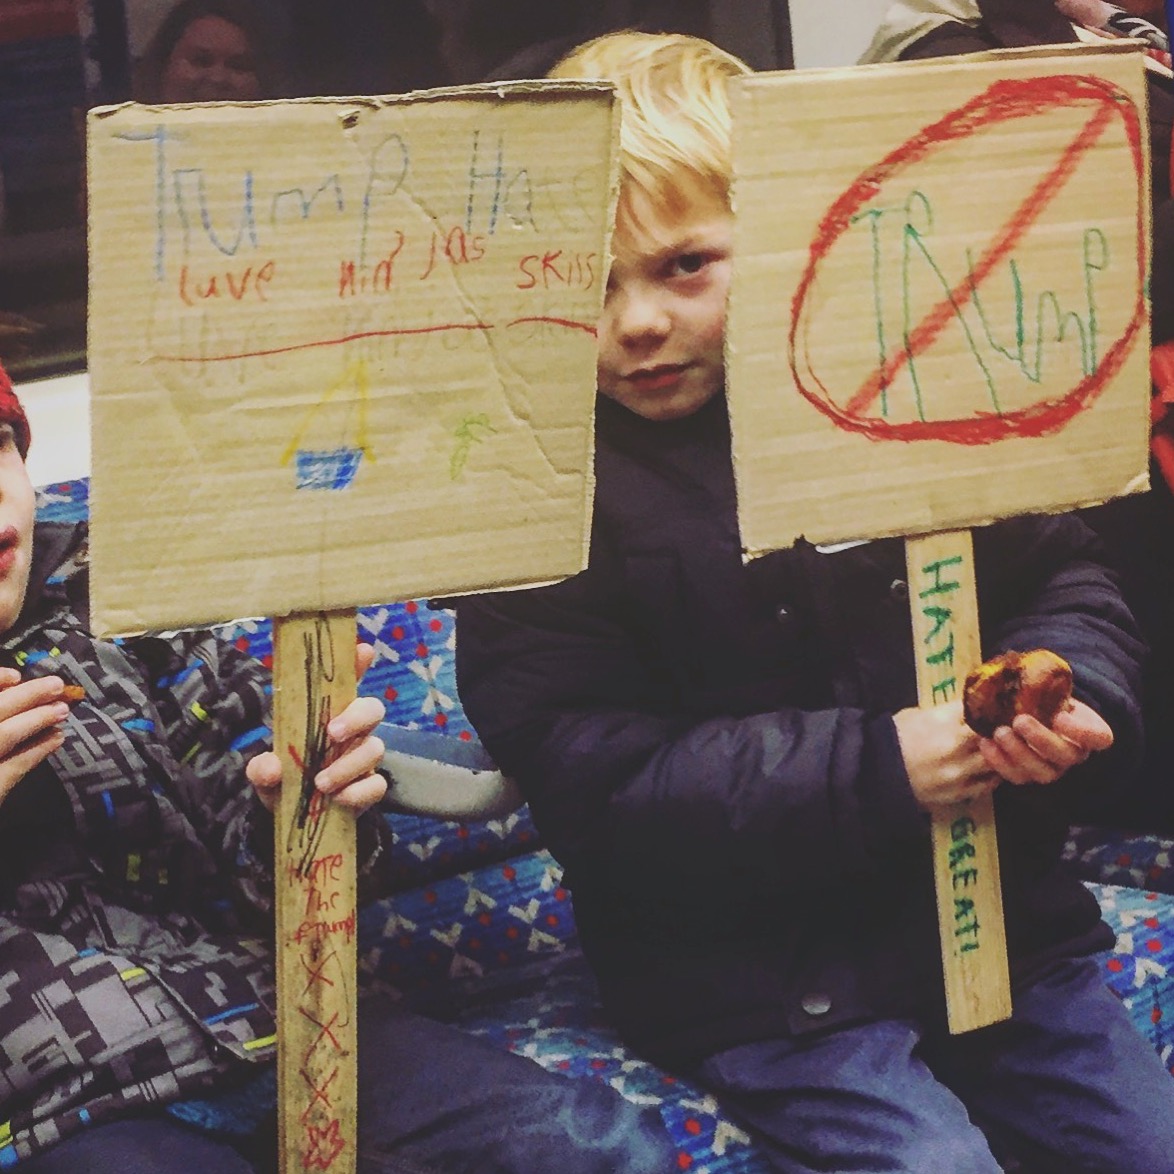
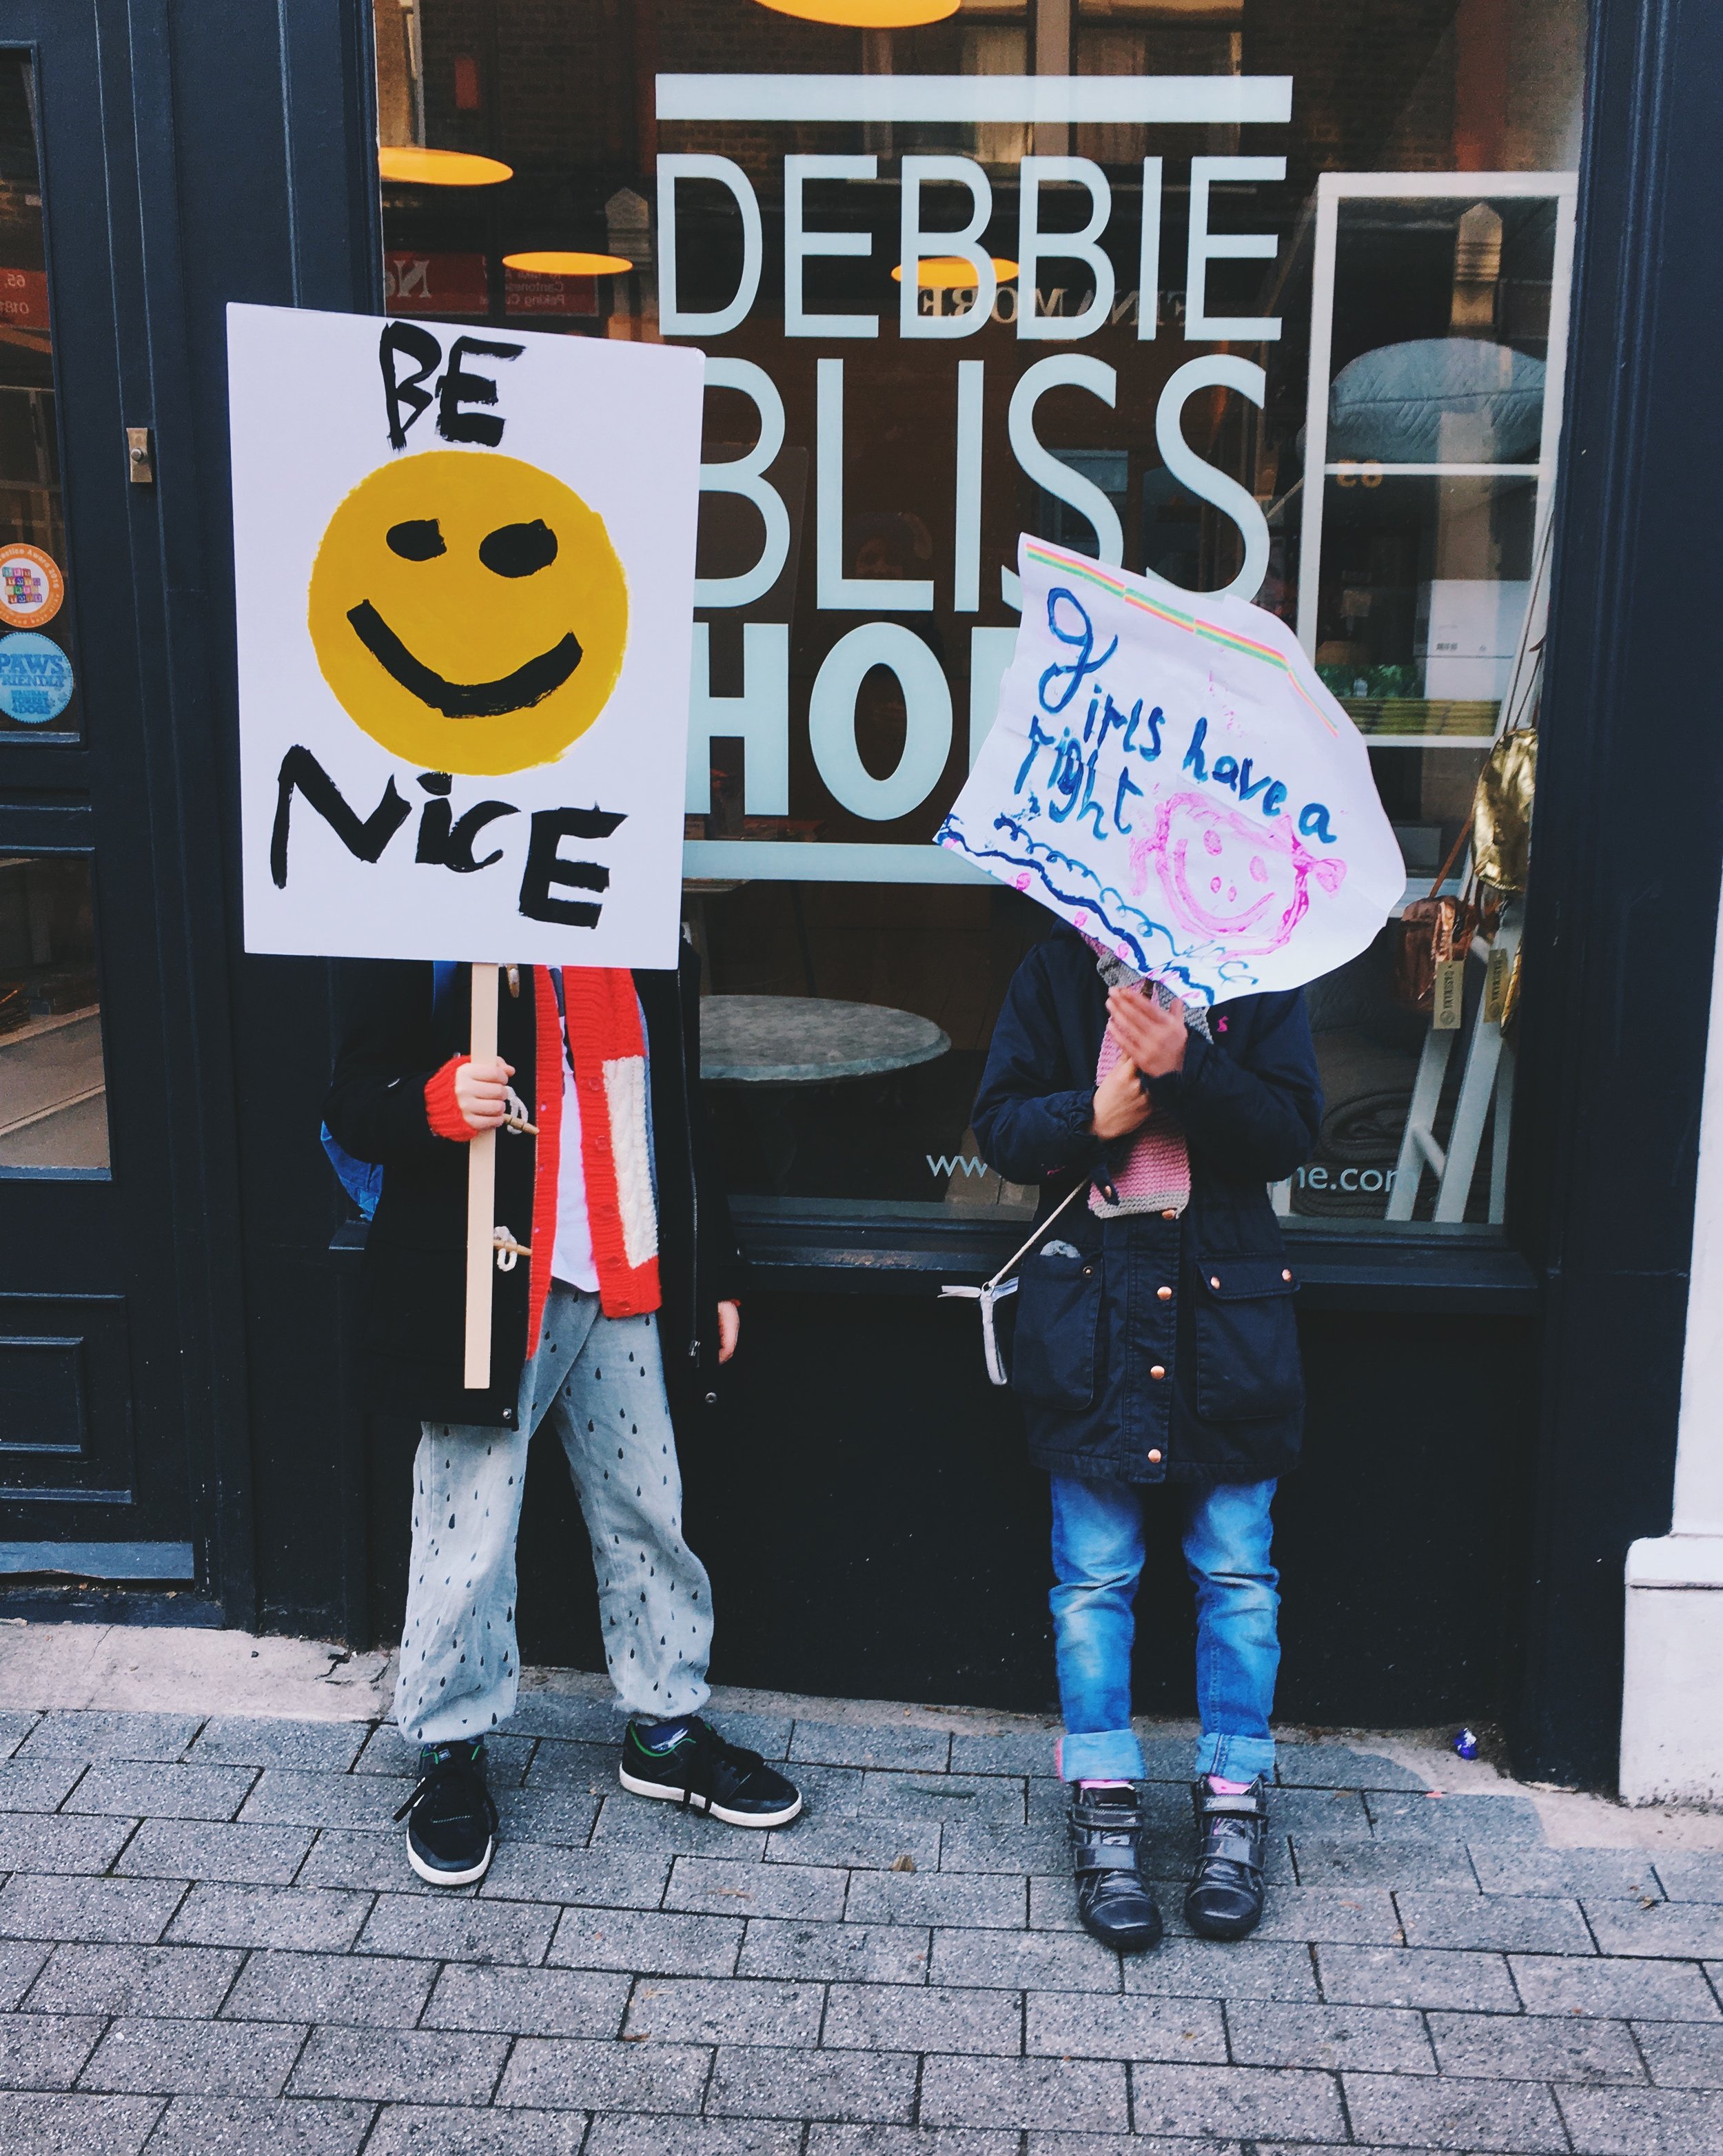
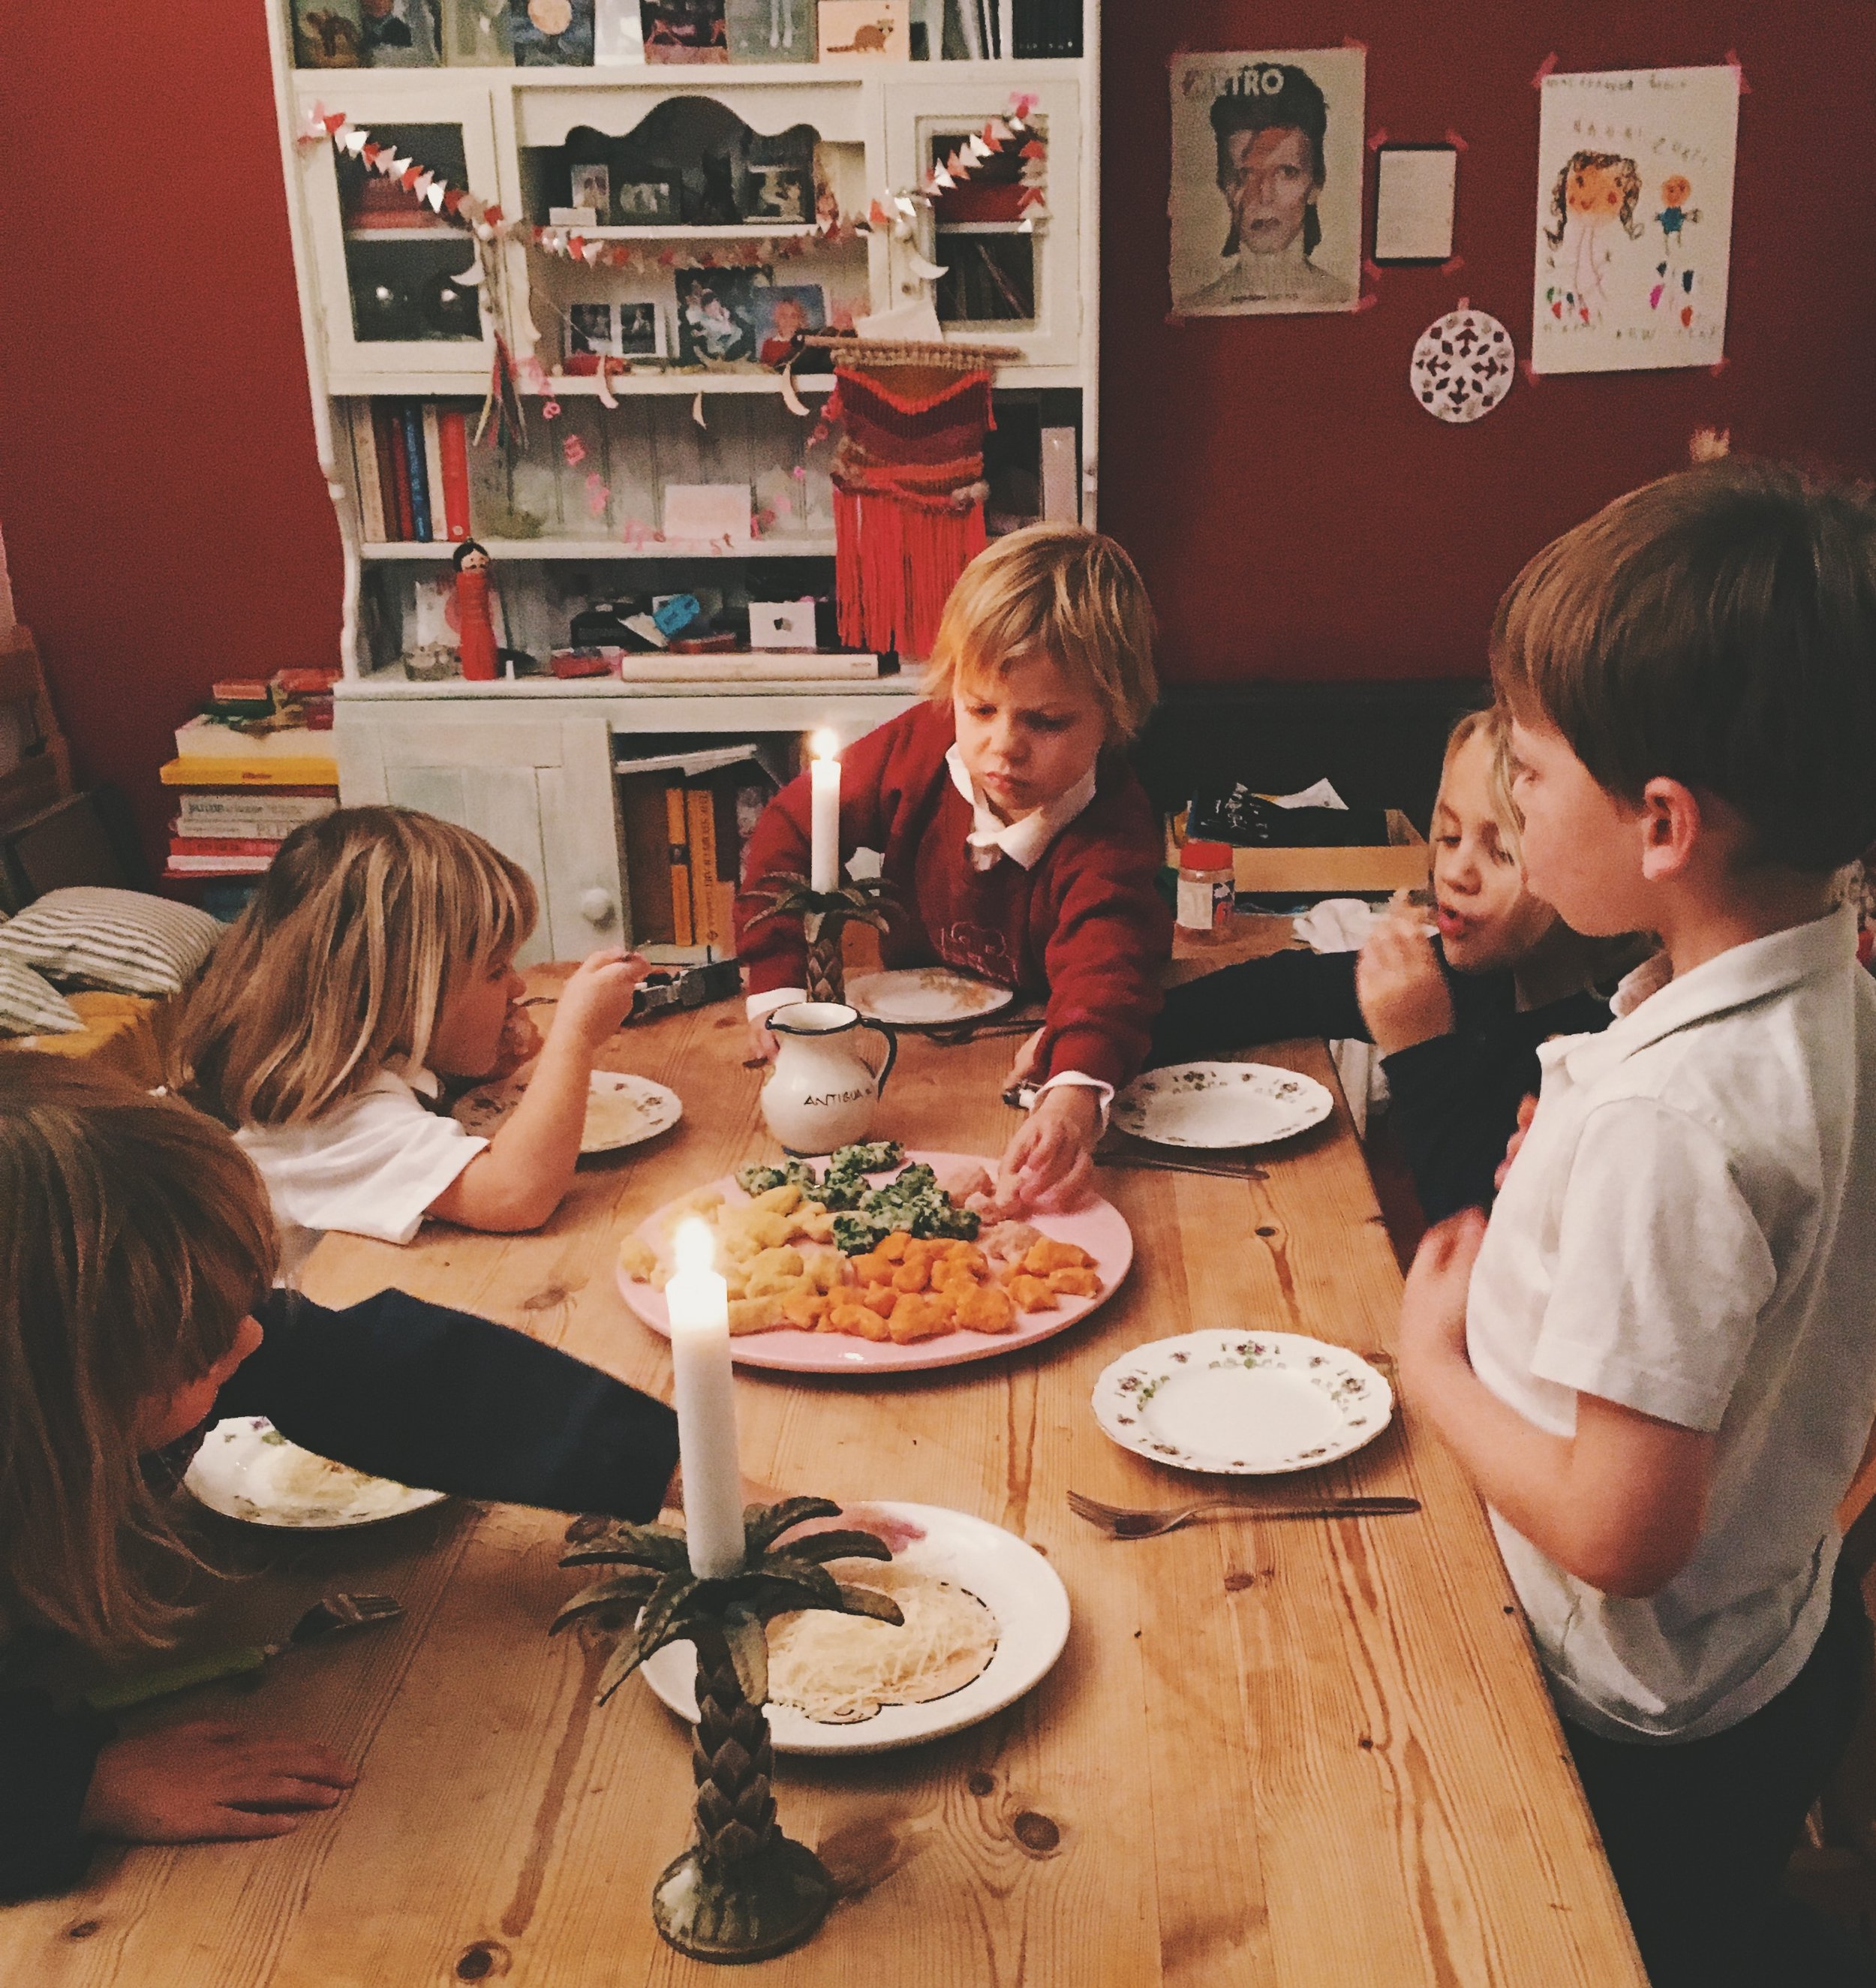
We ate about three buns each (!) for breakfast with butter and bacon (!) and packed the rest into a little rucksack to take on the march. Such a yummy all day long treat. Feeling proud of the small folk for both their baking and sign-making skills...