cheese in paradise
/
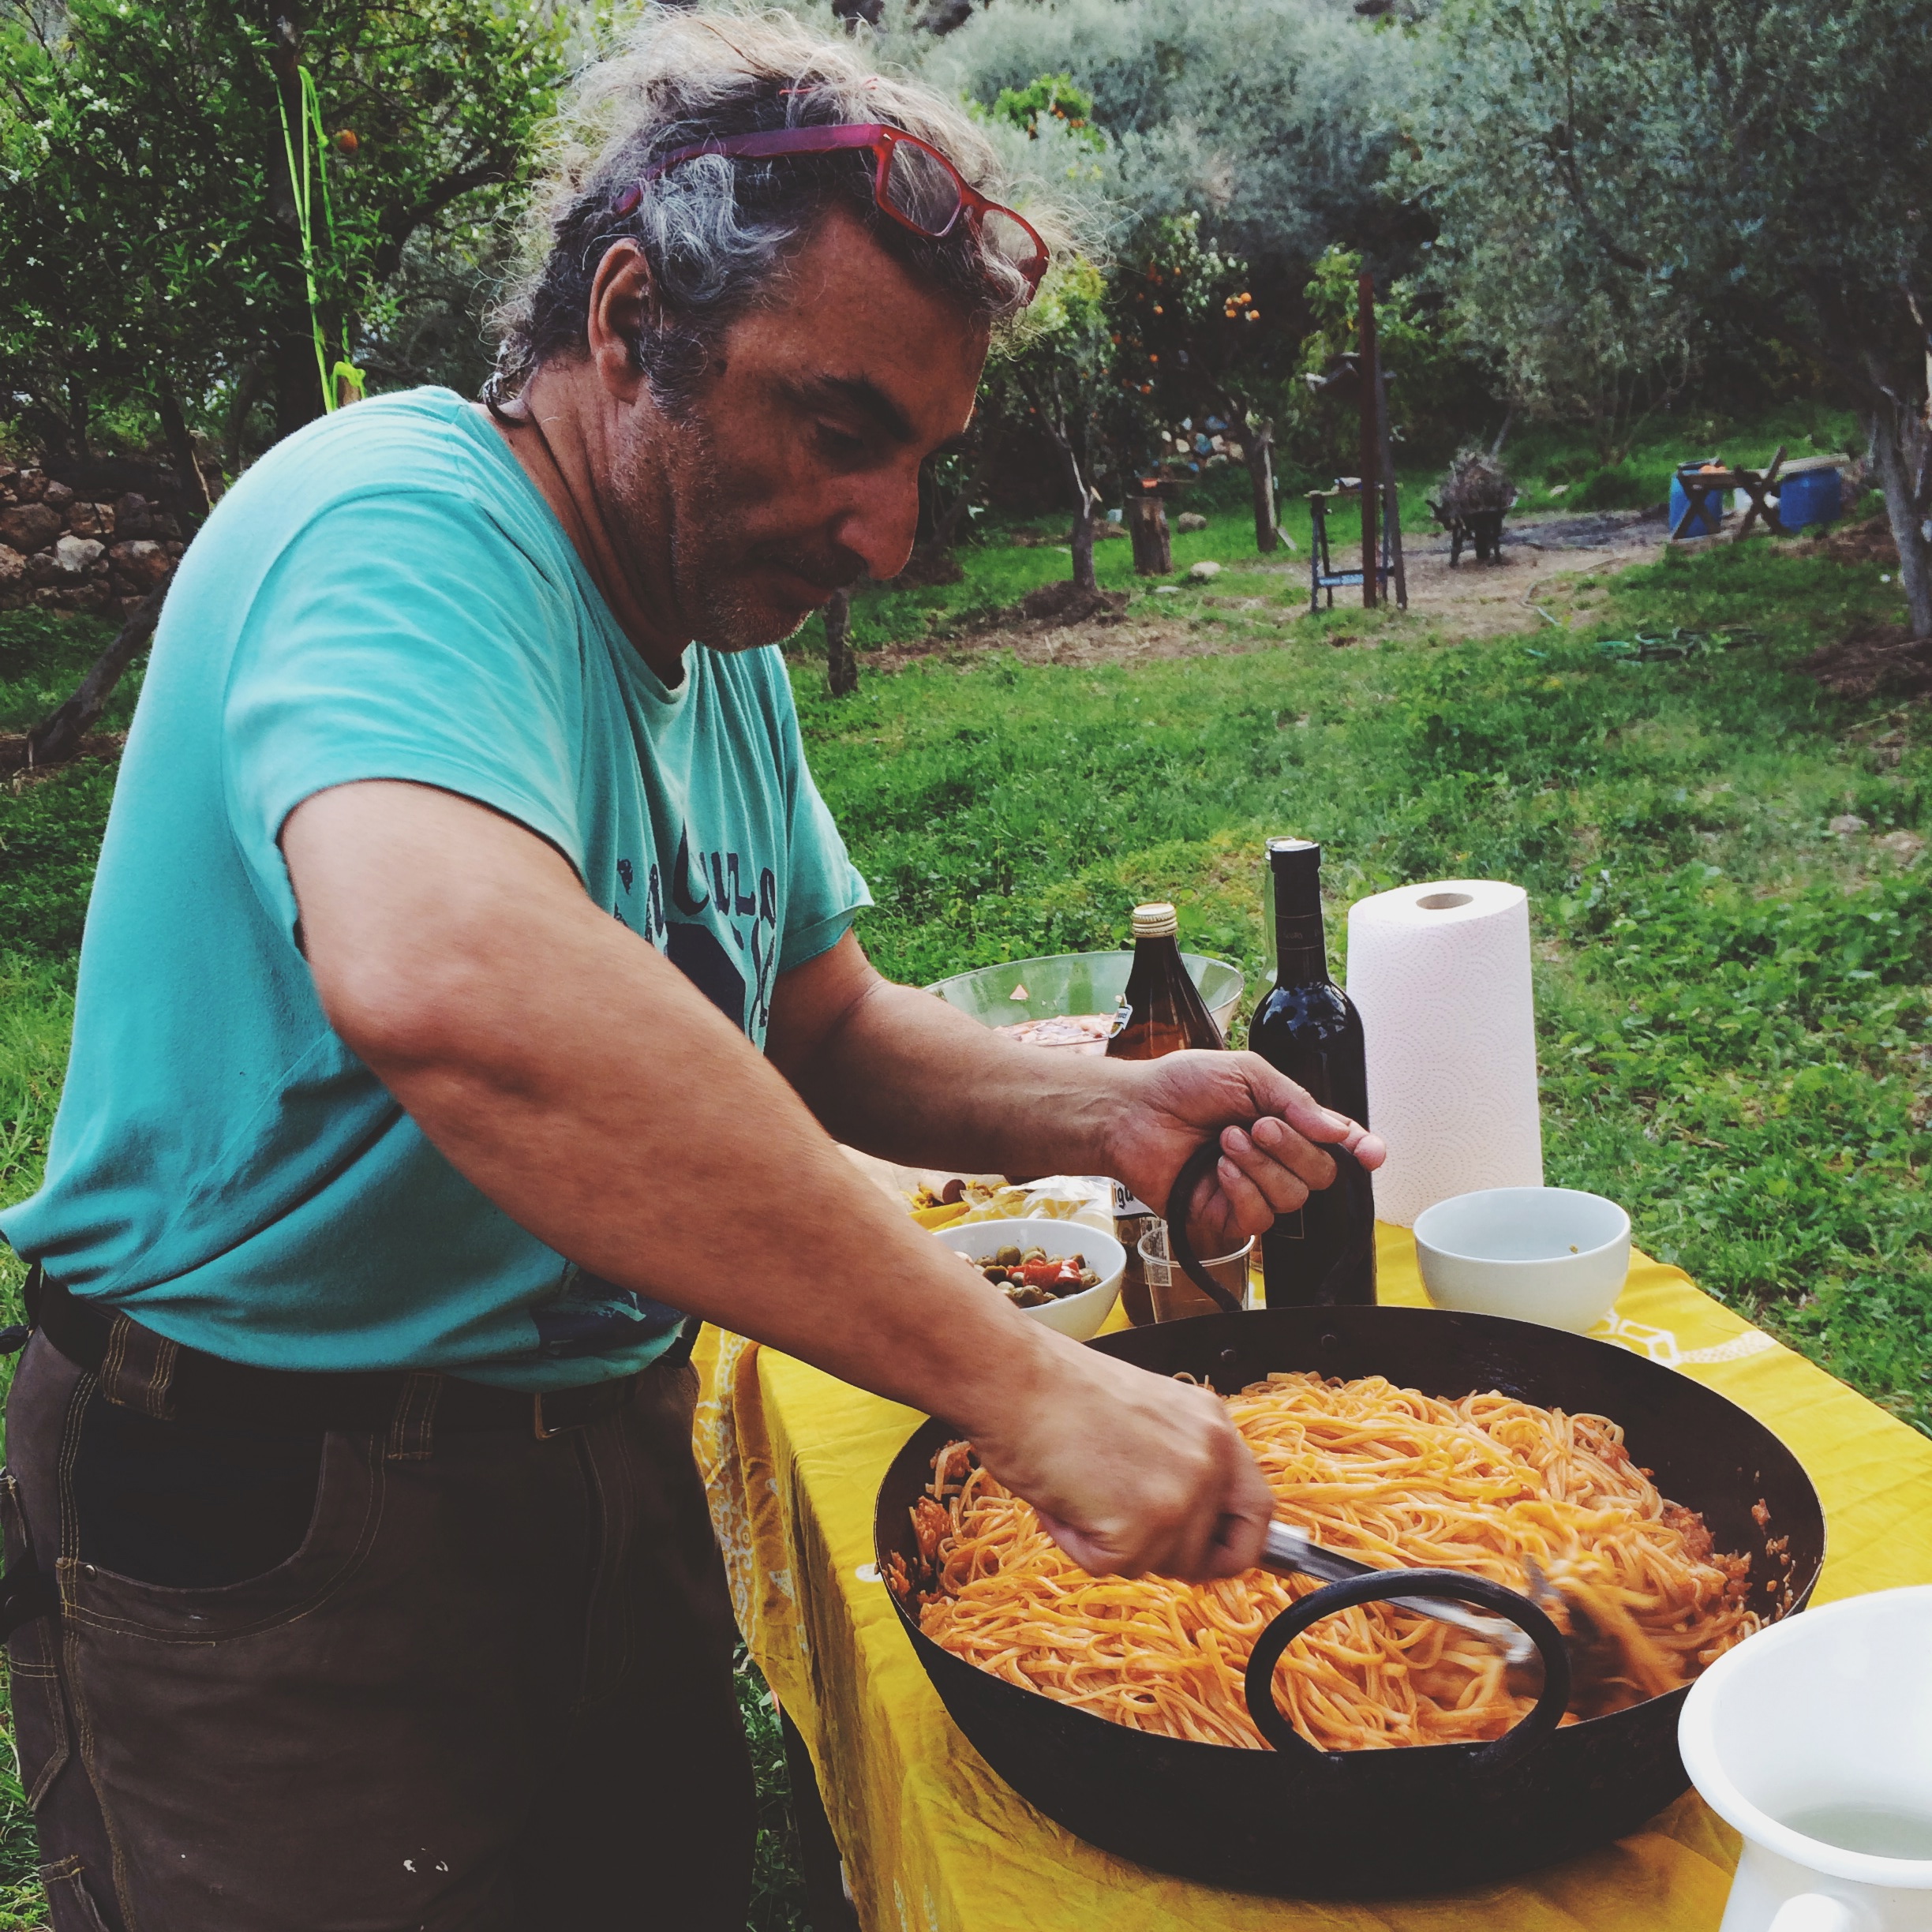
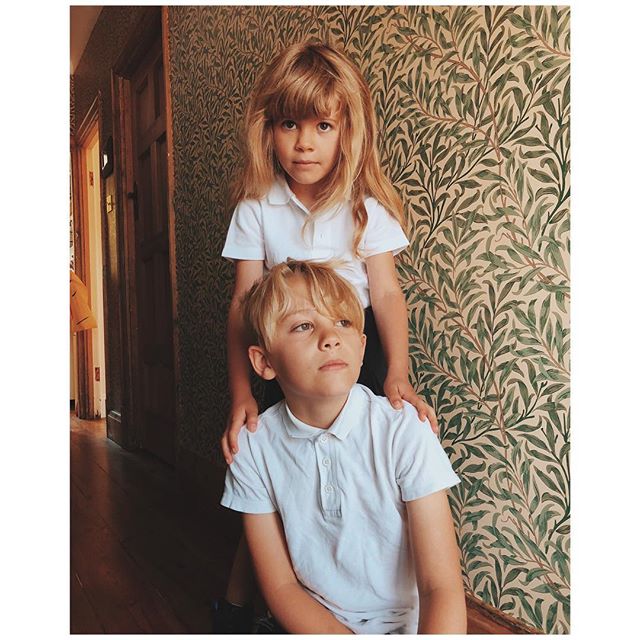
Indiana & Quinto pruning trees at Harmony Farm, 2015
We are abundantly lucky to have an especially magical holiday each year, to my mama's tiny farm in the hills of Andalusia. It's amazing how content the most basic living standards can be as long as the sun is reliably shining. We sleep in a tiny, sloping hut my mama and her partner Quinto built themselves from old bedsprings (!), share a remarkably pleasant outdoor composting toilet (also built by them) and bathe in river water, when we remember to bathe. The power is only solar, and it goes without saying that there is no television. The air is filled with the scent of orange blossoms and song of bees in the springtime, you have to dodge falling pomegranates in late summer and wintertime is for the olive harvest. There is such an abundance of food from the land, and everything tastes at least a hundred times more delicious than anything shop-bought. Fresh OJ for brekkie, almonds to collect and shell then toast or turn to milk or cheese, salads and fruit trees, broad beans to shell in the sunshine as a happy team. And if we need eggs then every little homestead a short walk away has chickens.
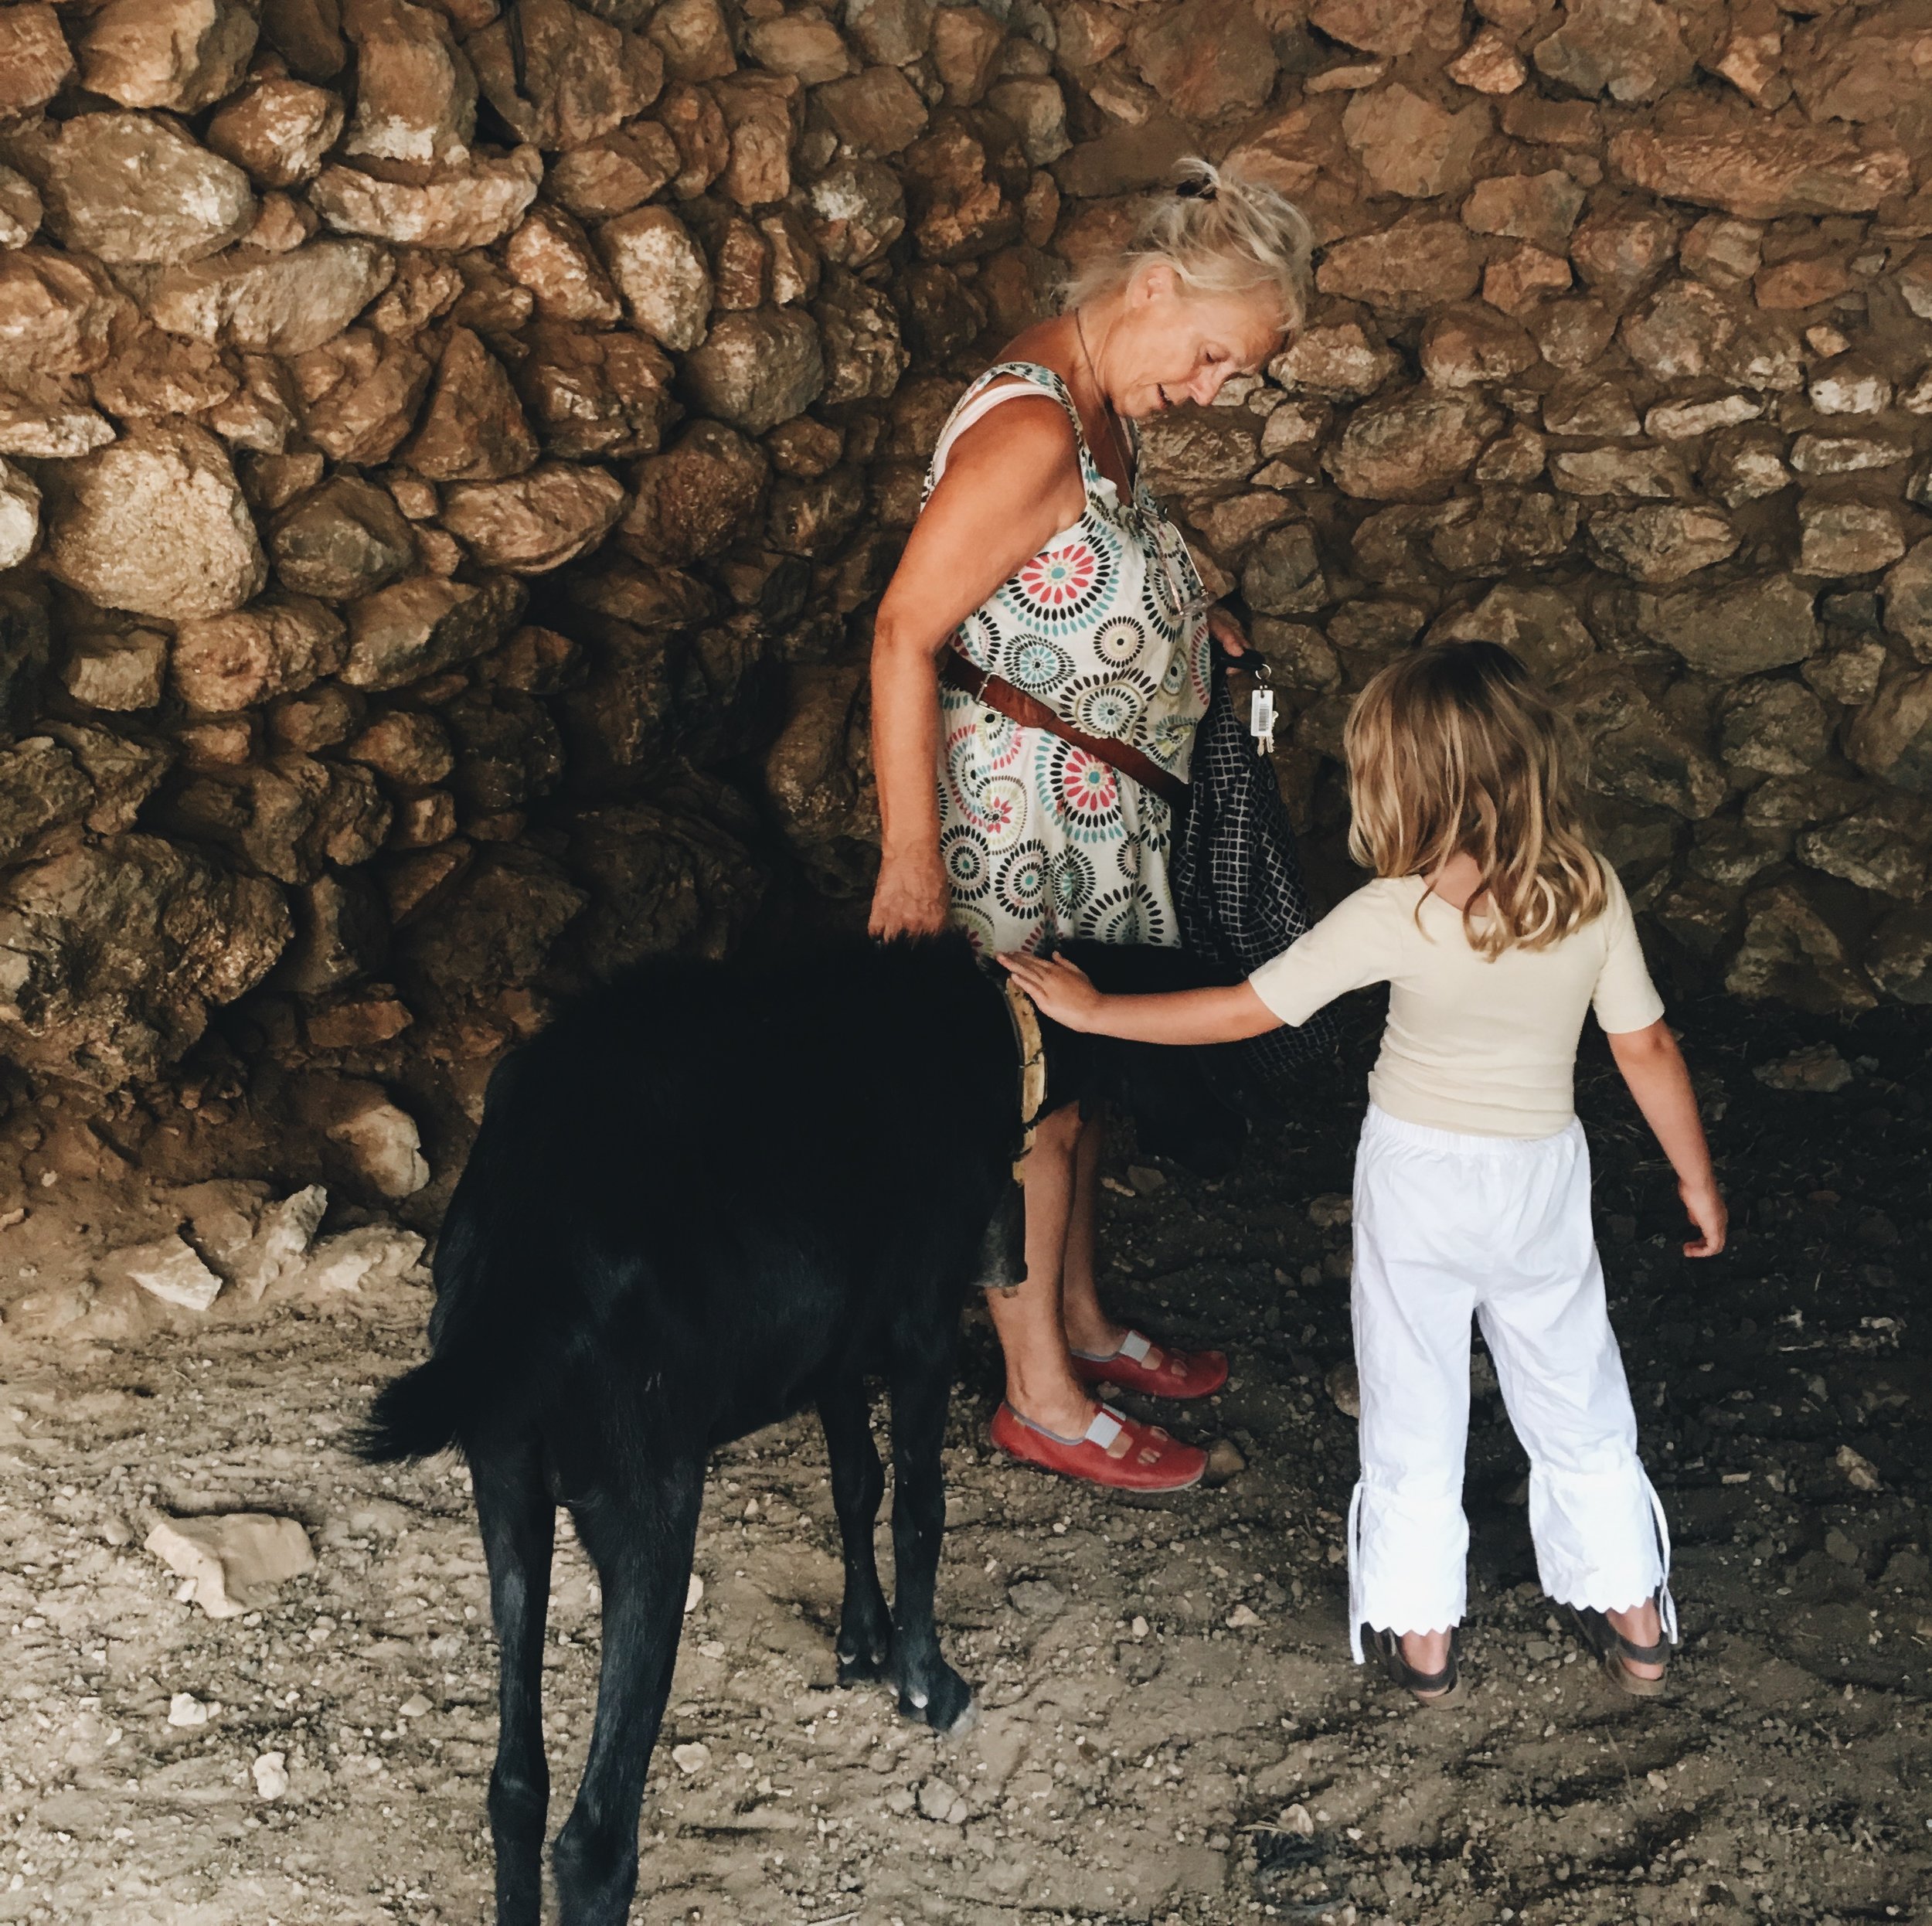
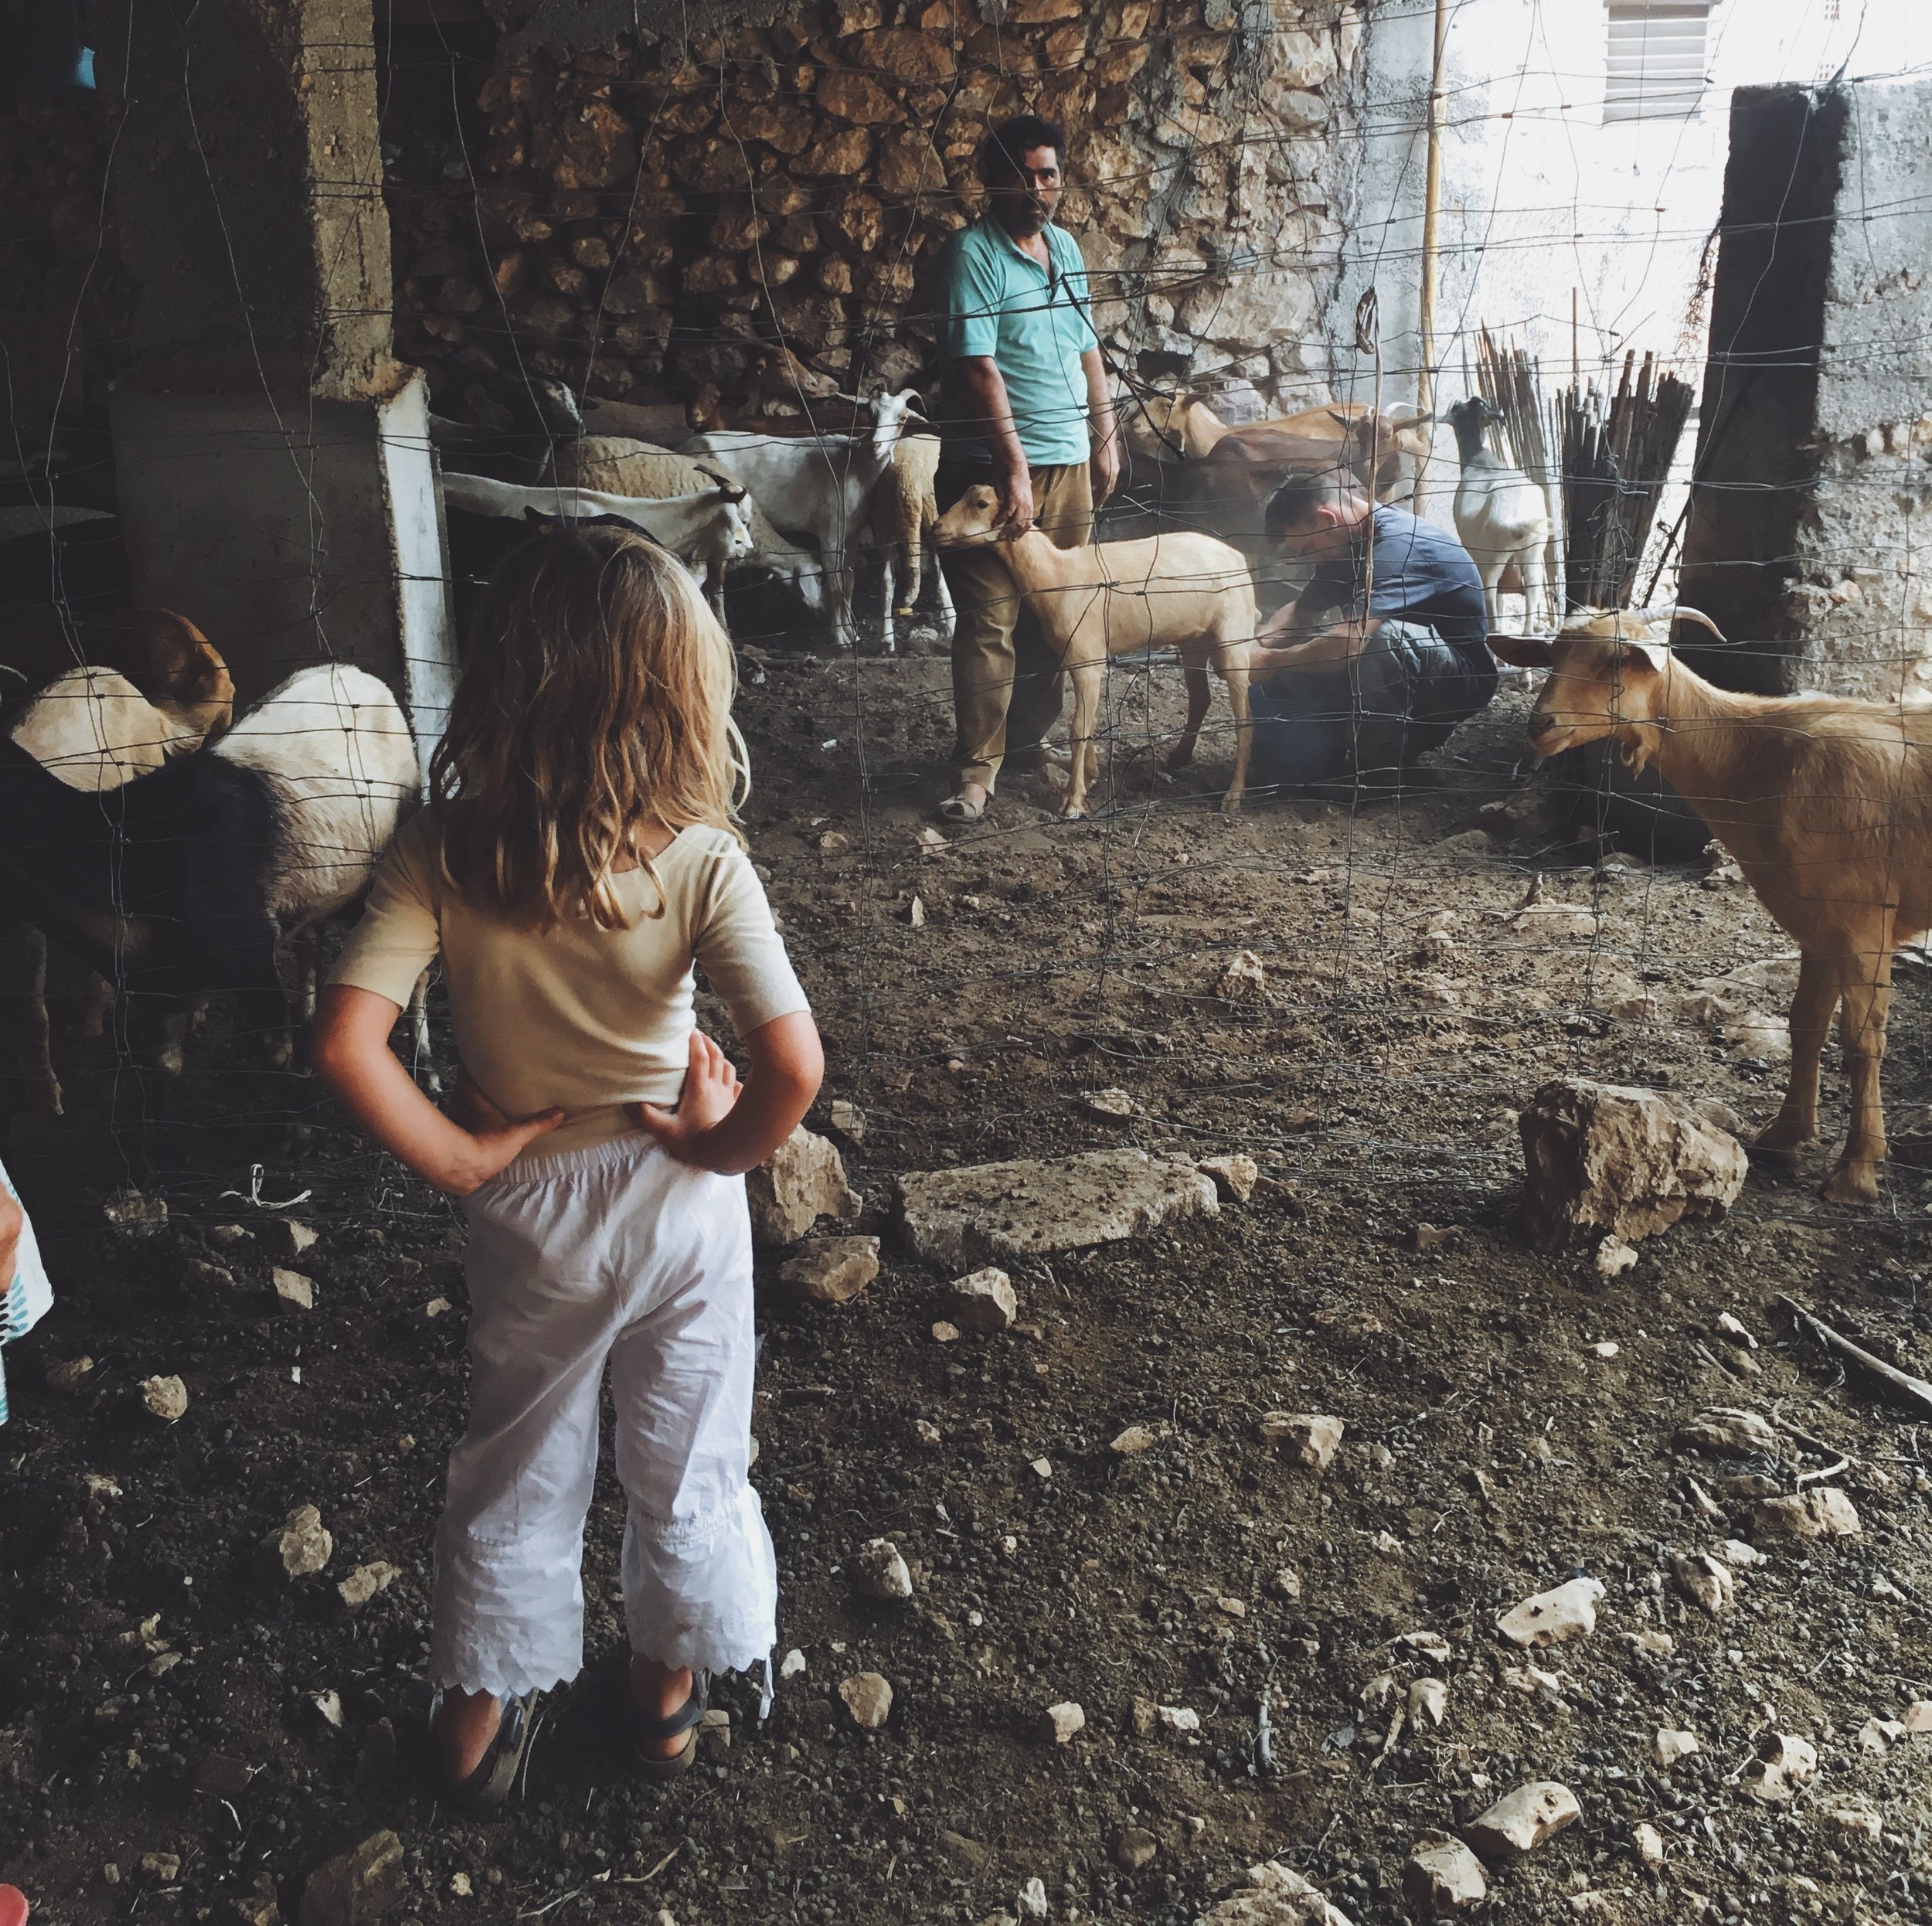
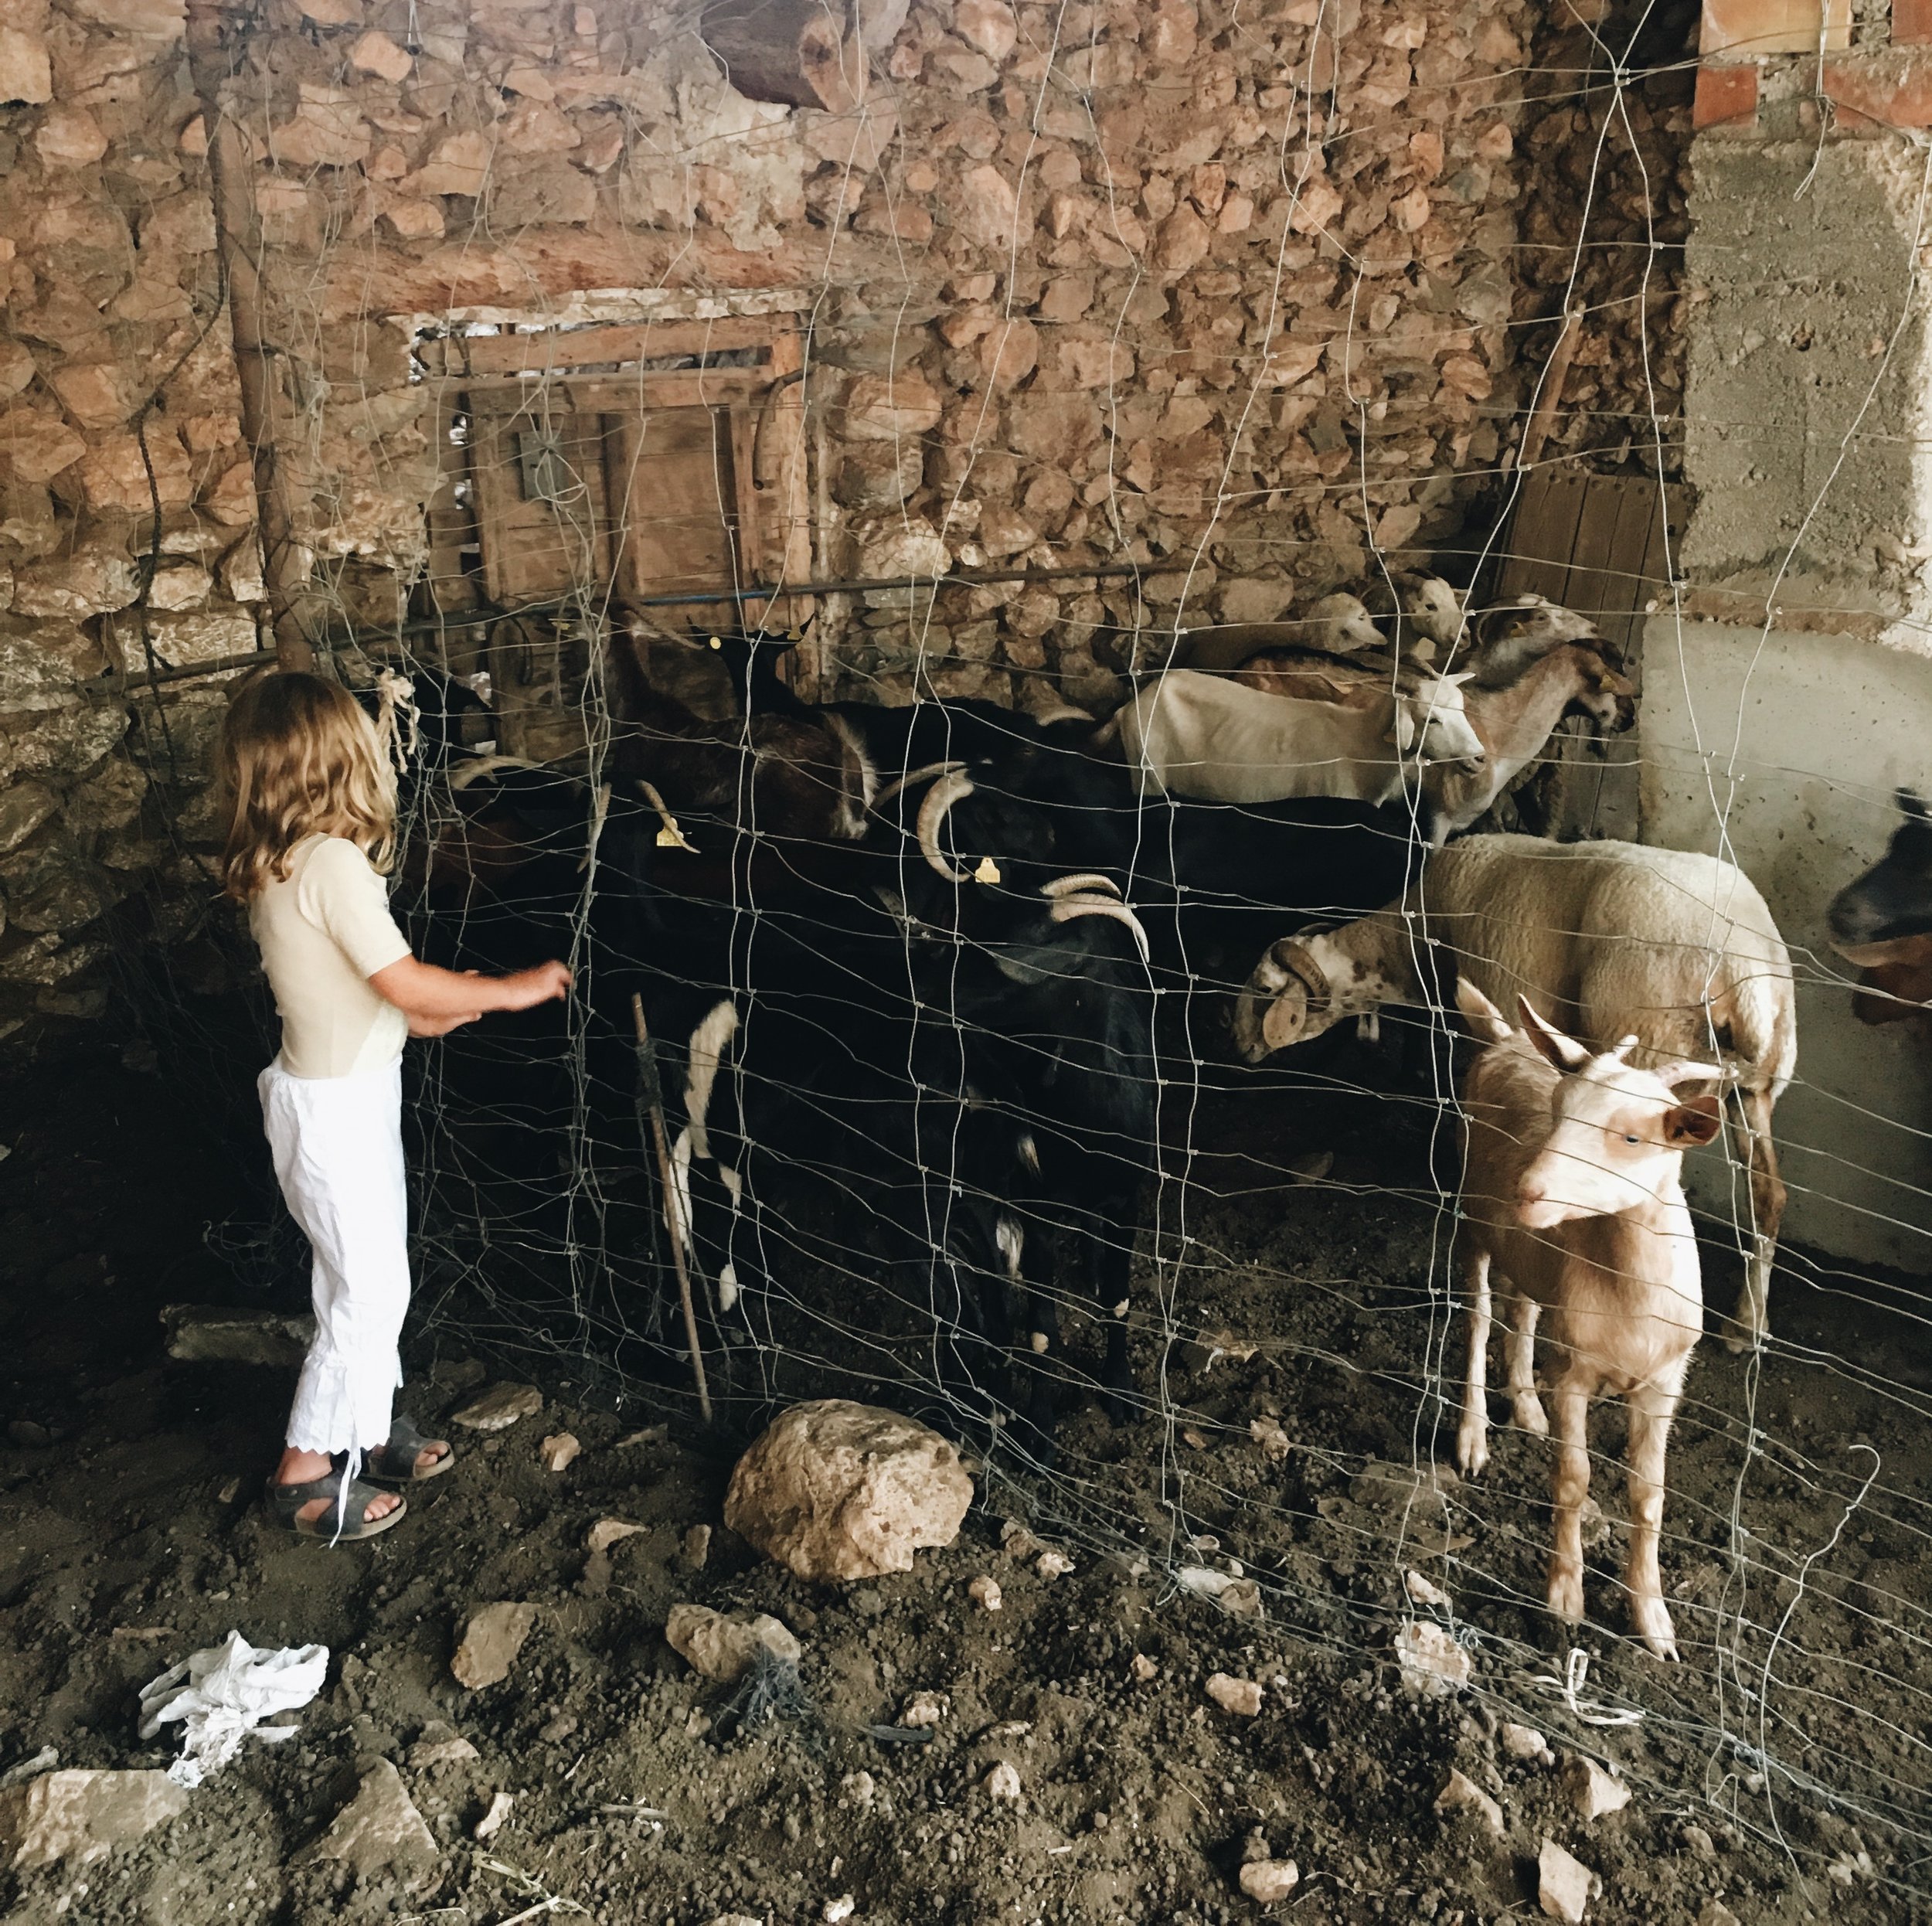
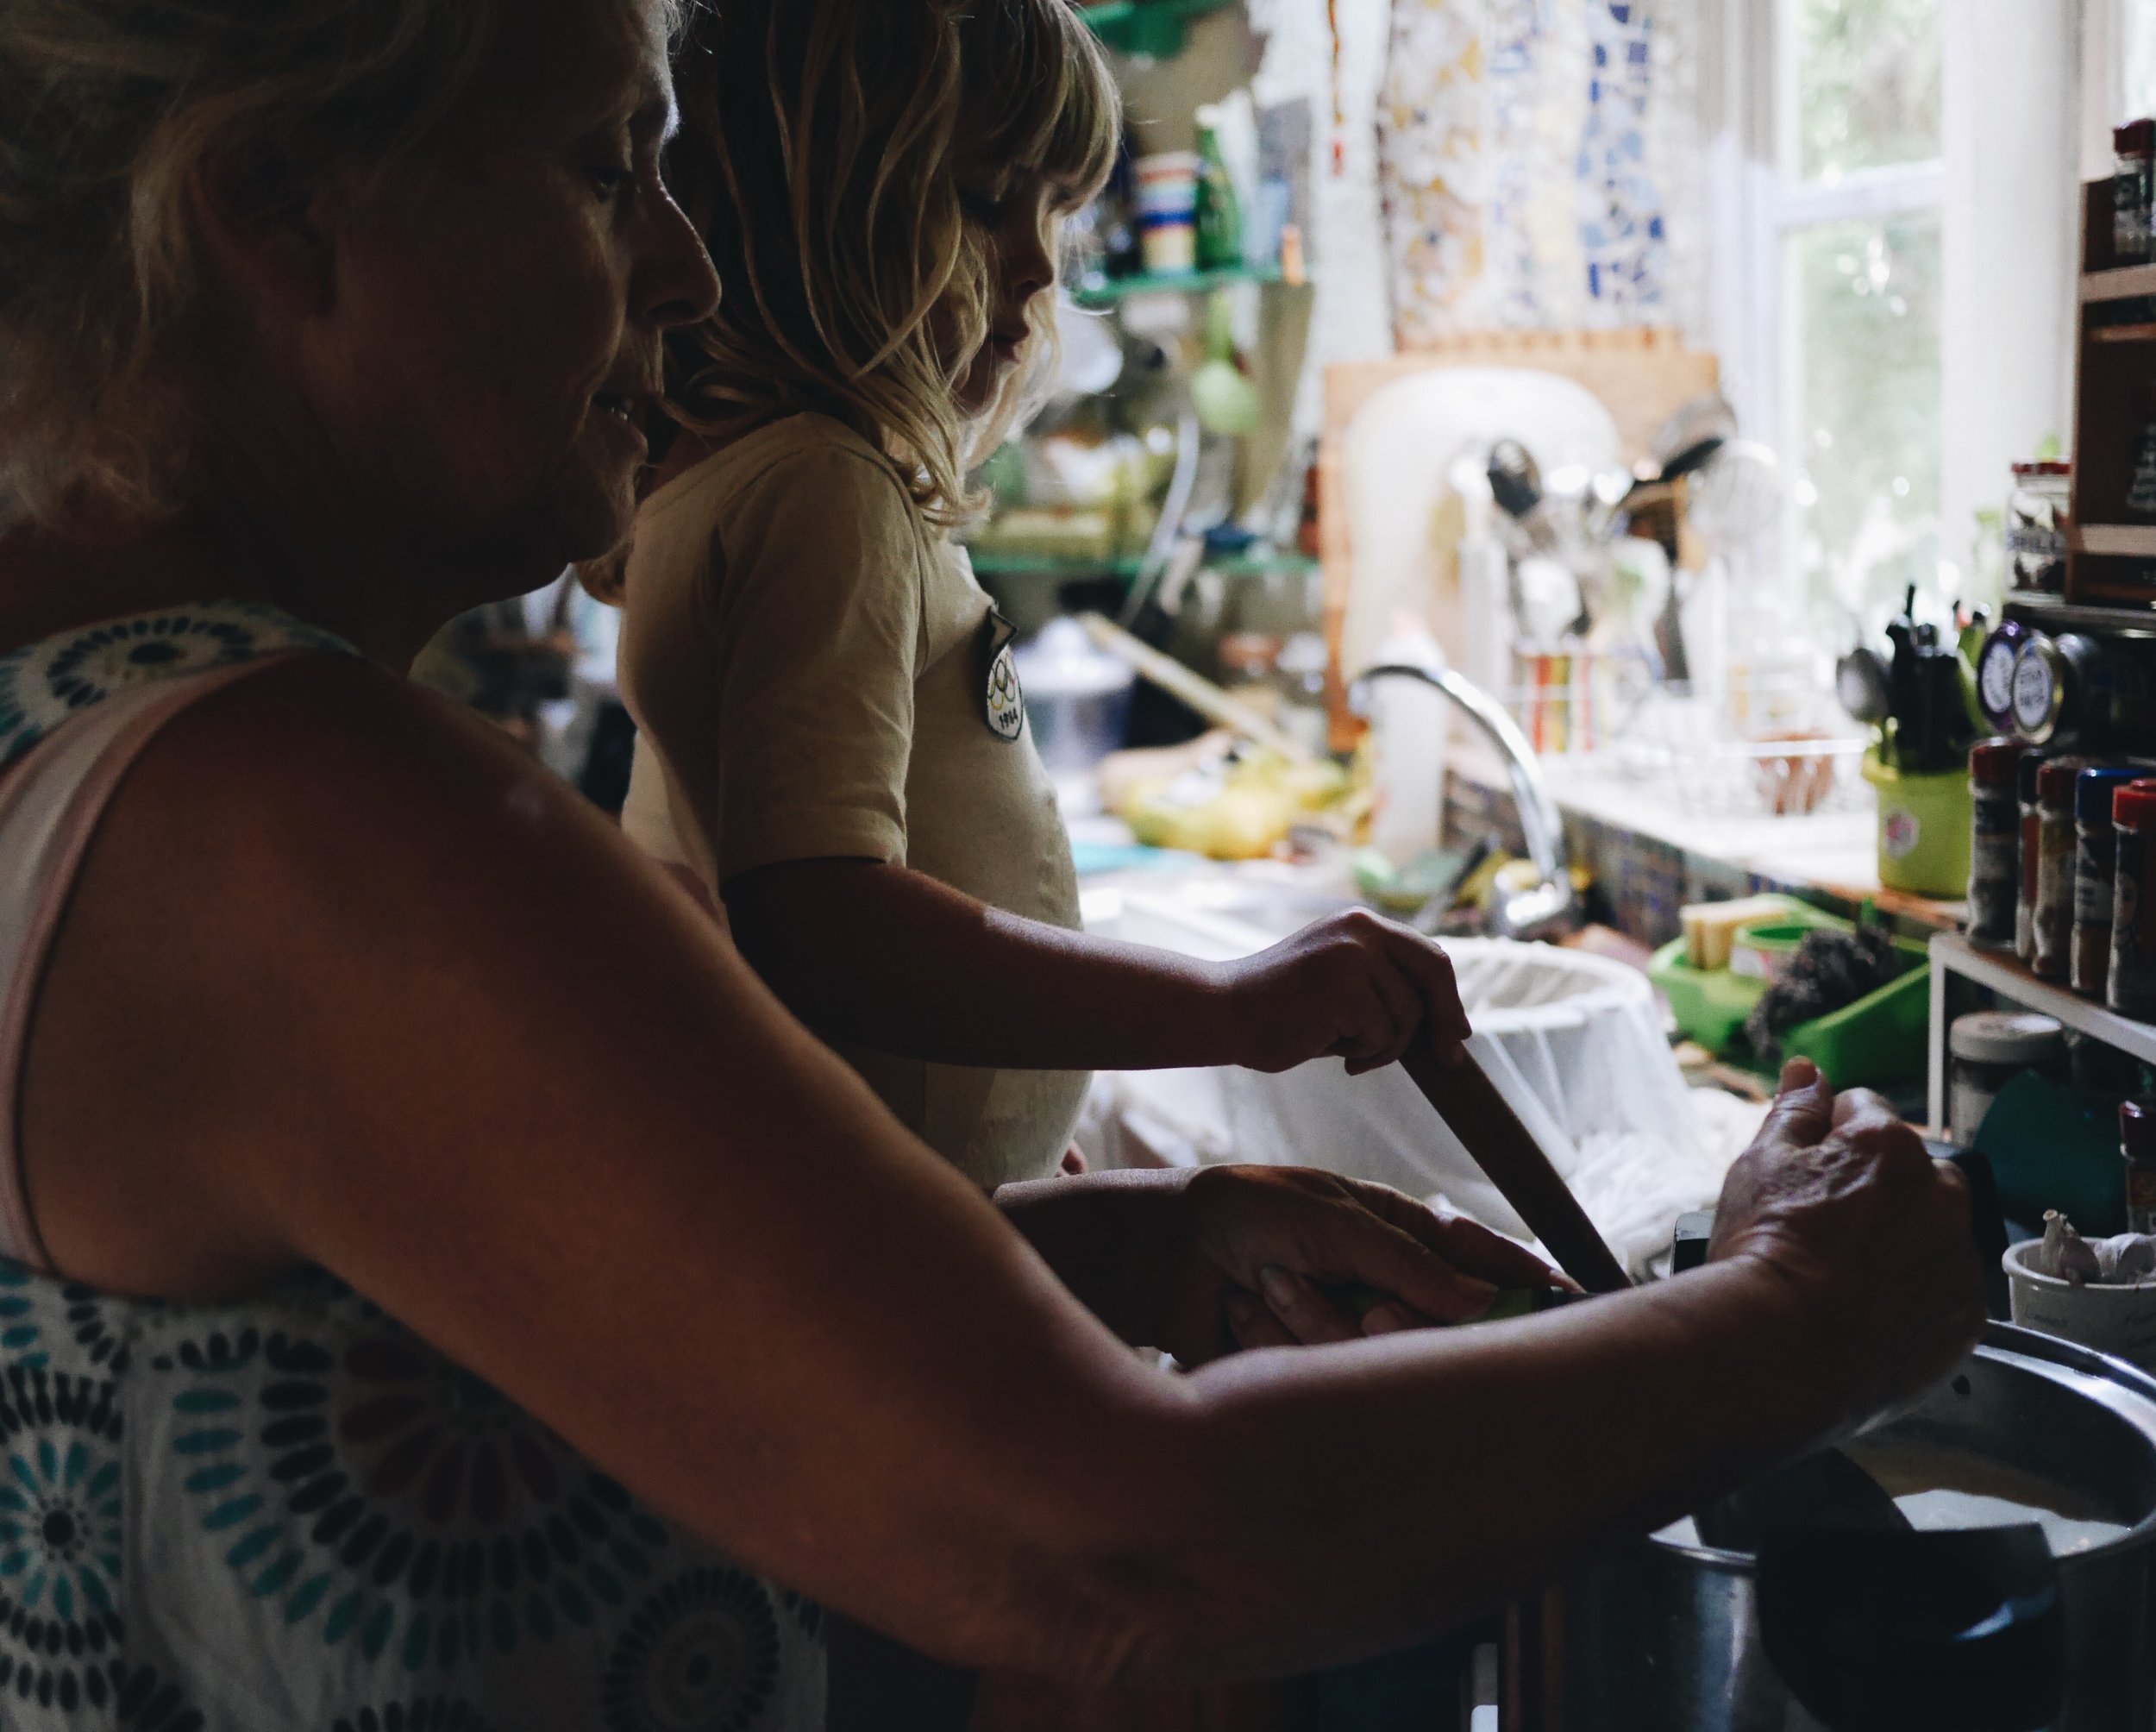
Every afternoon I steal some time to lie on the flat roof and let the sunshine throb through me, soaking up a book, whilst the kids climb trees or hike hills or scrub the big empty swimming pool ready to fill from the river for an icy frog-ridden swim. There's no sound beyond the lazy carpenter bees and the occasional breeze rustling the sage bushes, until the distant sound of goat bells begins, and they all slowly plod up the hillside to graze, the air filling with their hypnotic tune. This last trip my mama offered to show us how to make our own cheese, so we went off down the riverbed to visit Davide the goat herder, and collect some milk from my sunbathing companions.
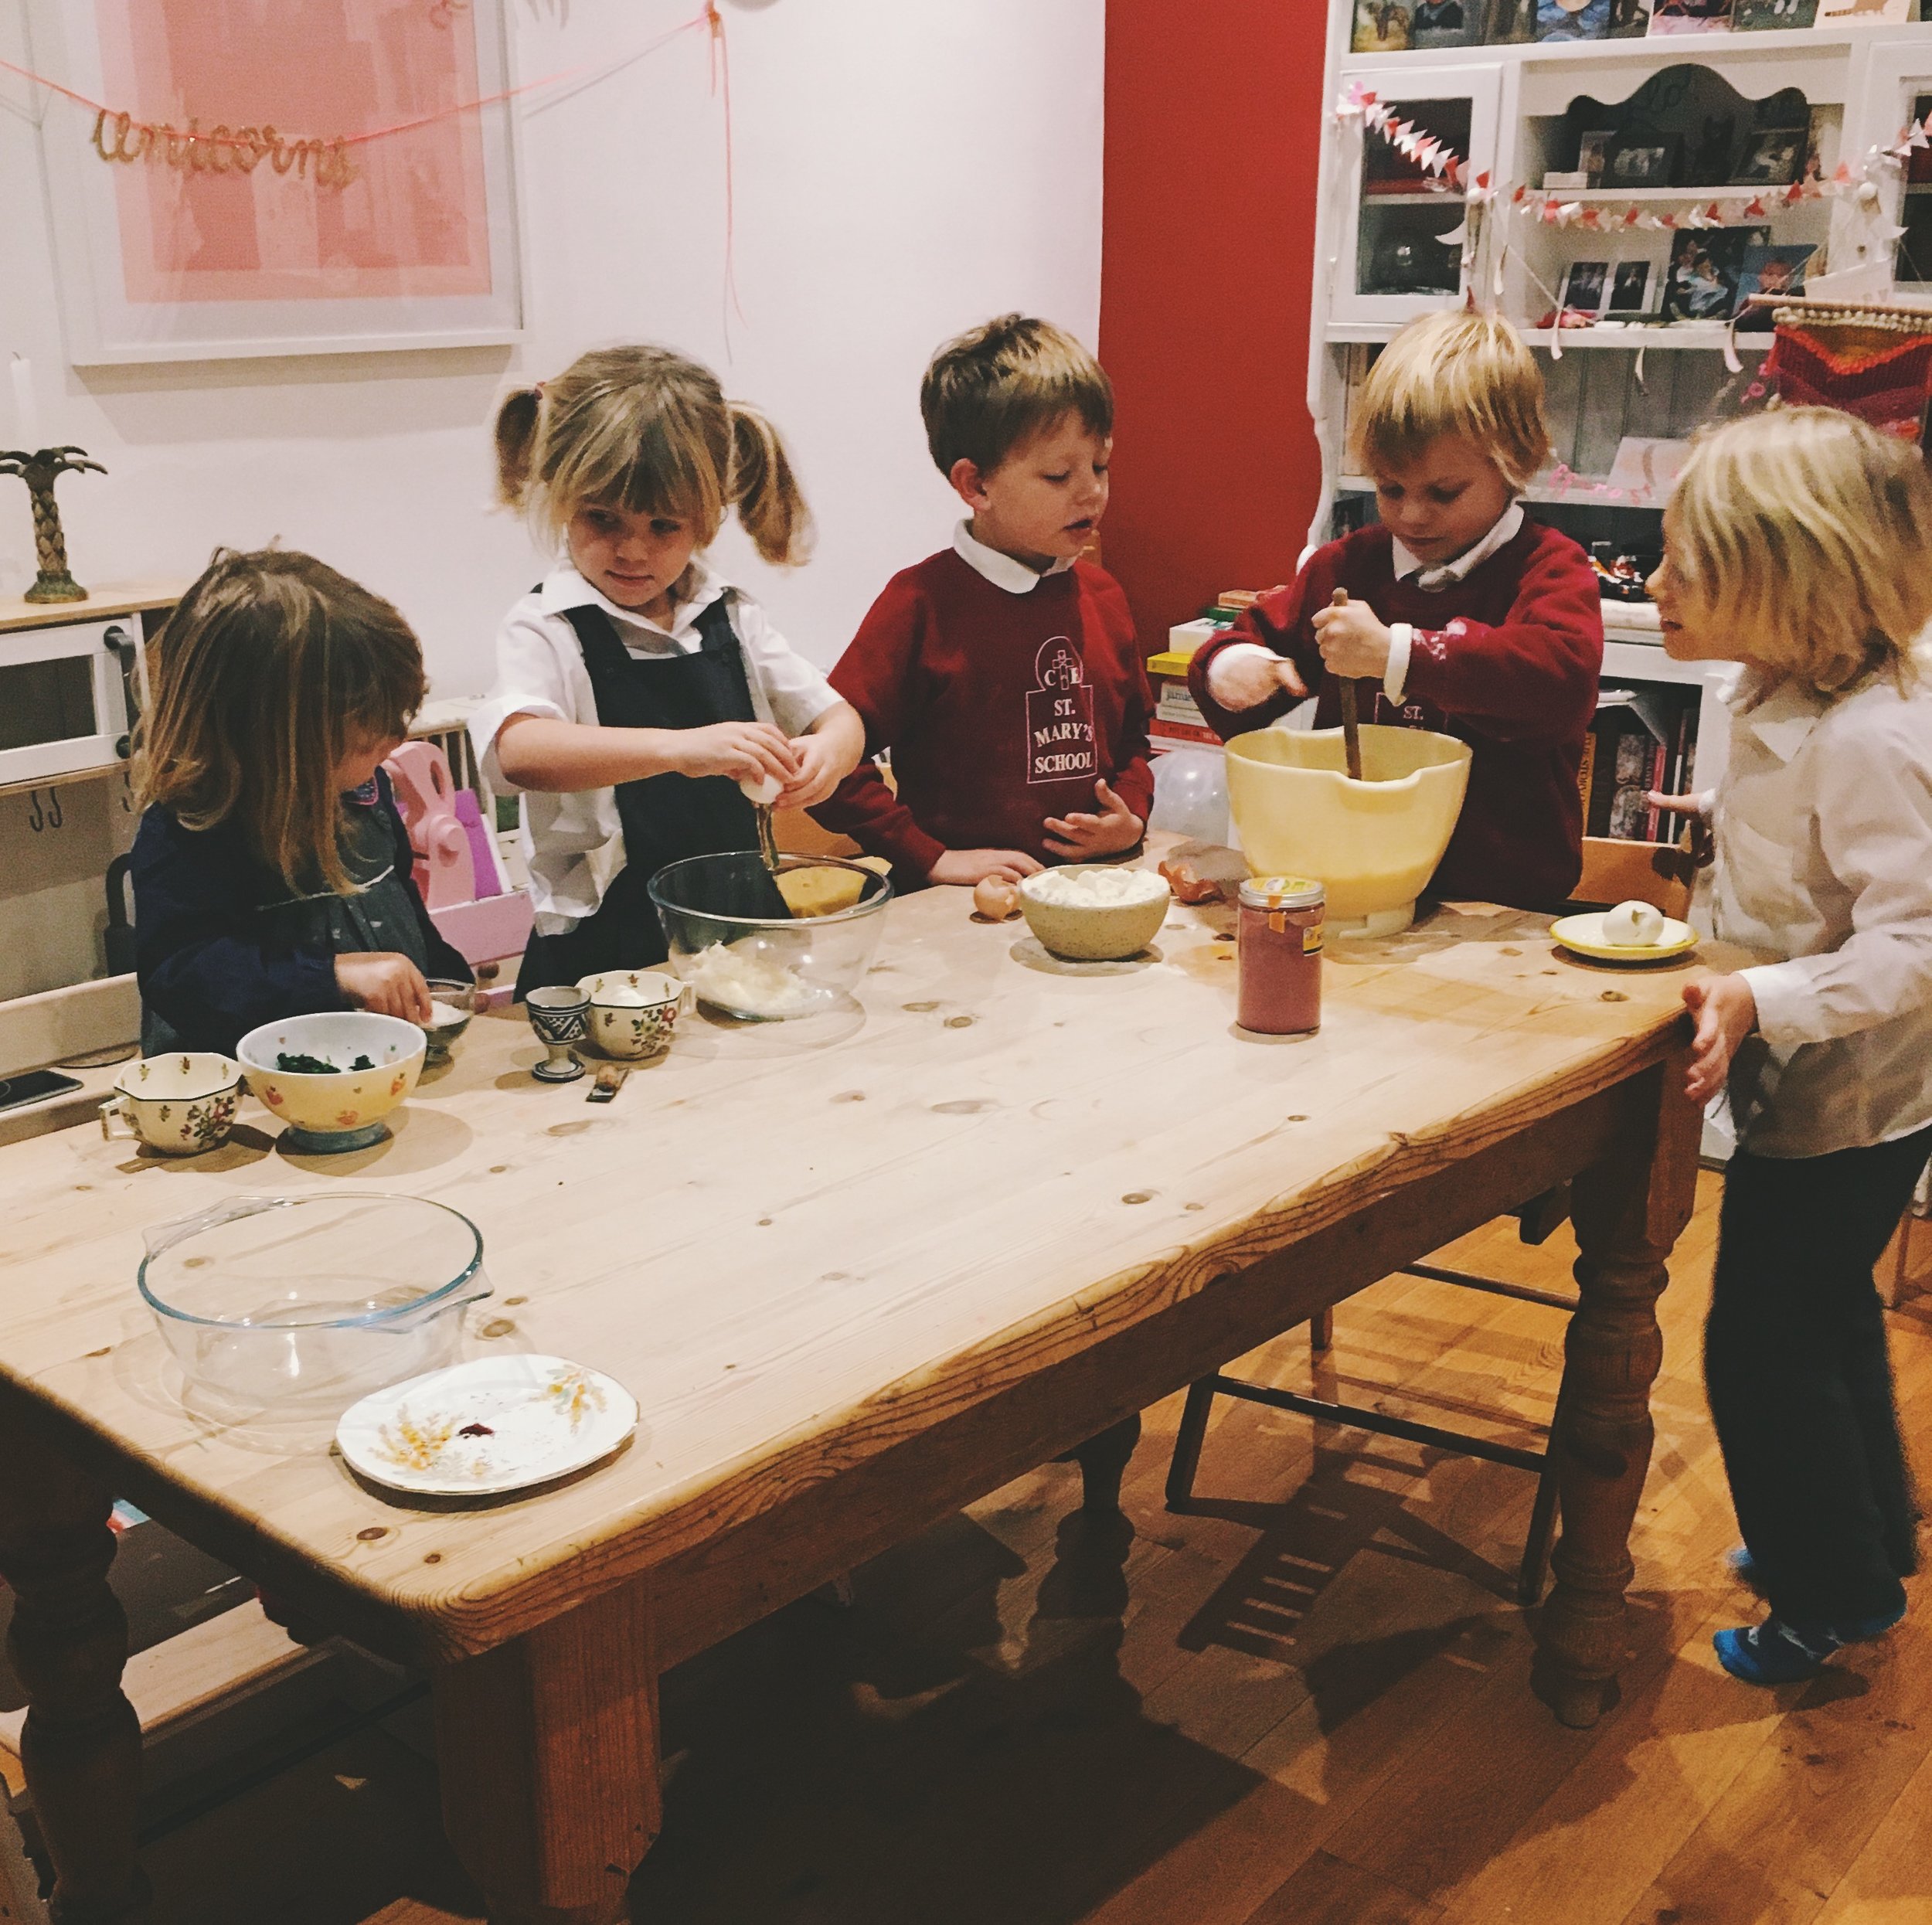
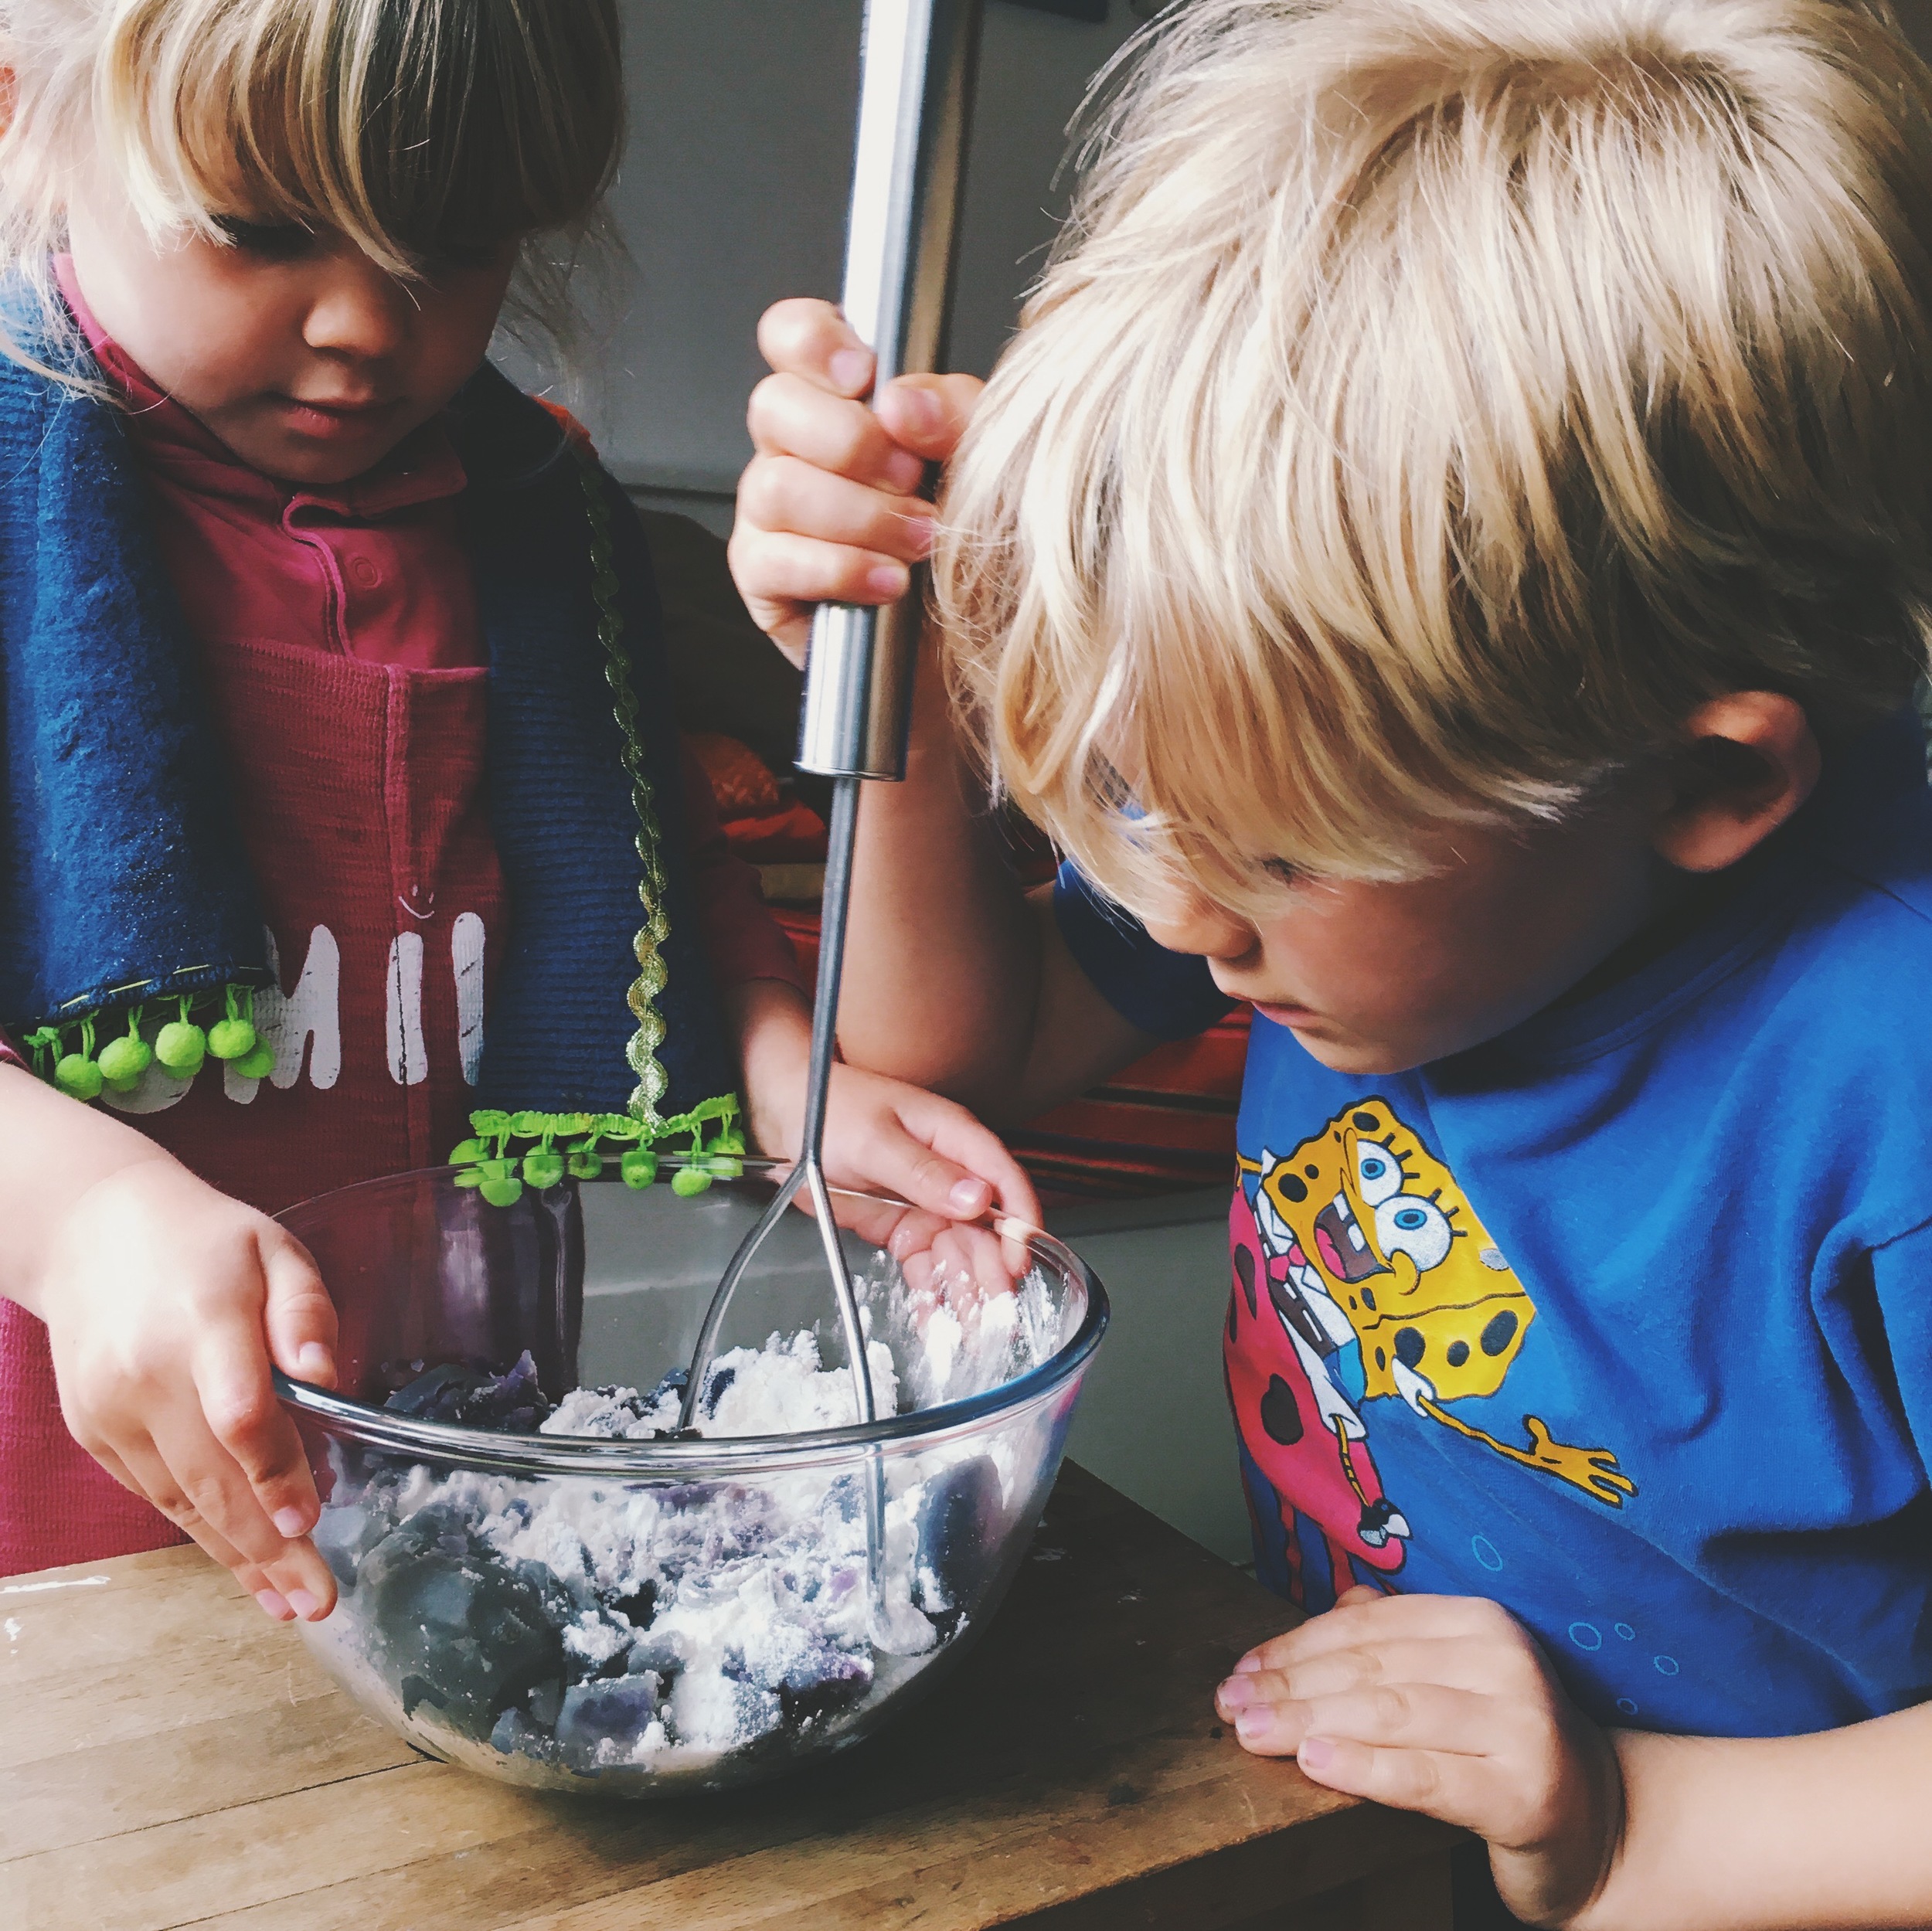
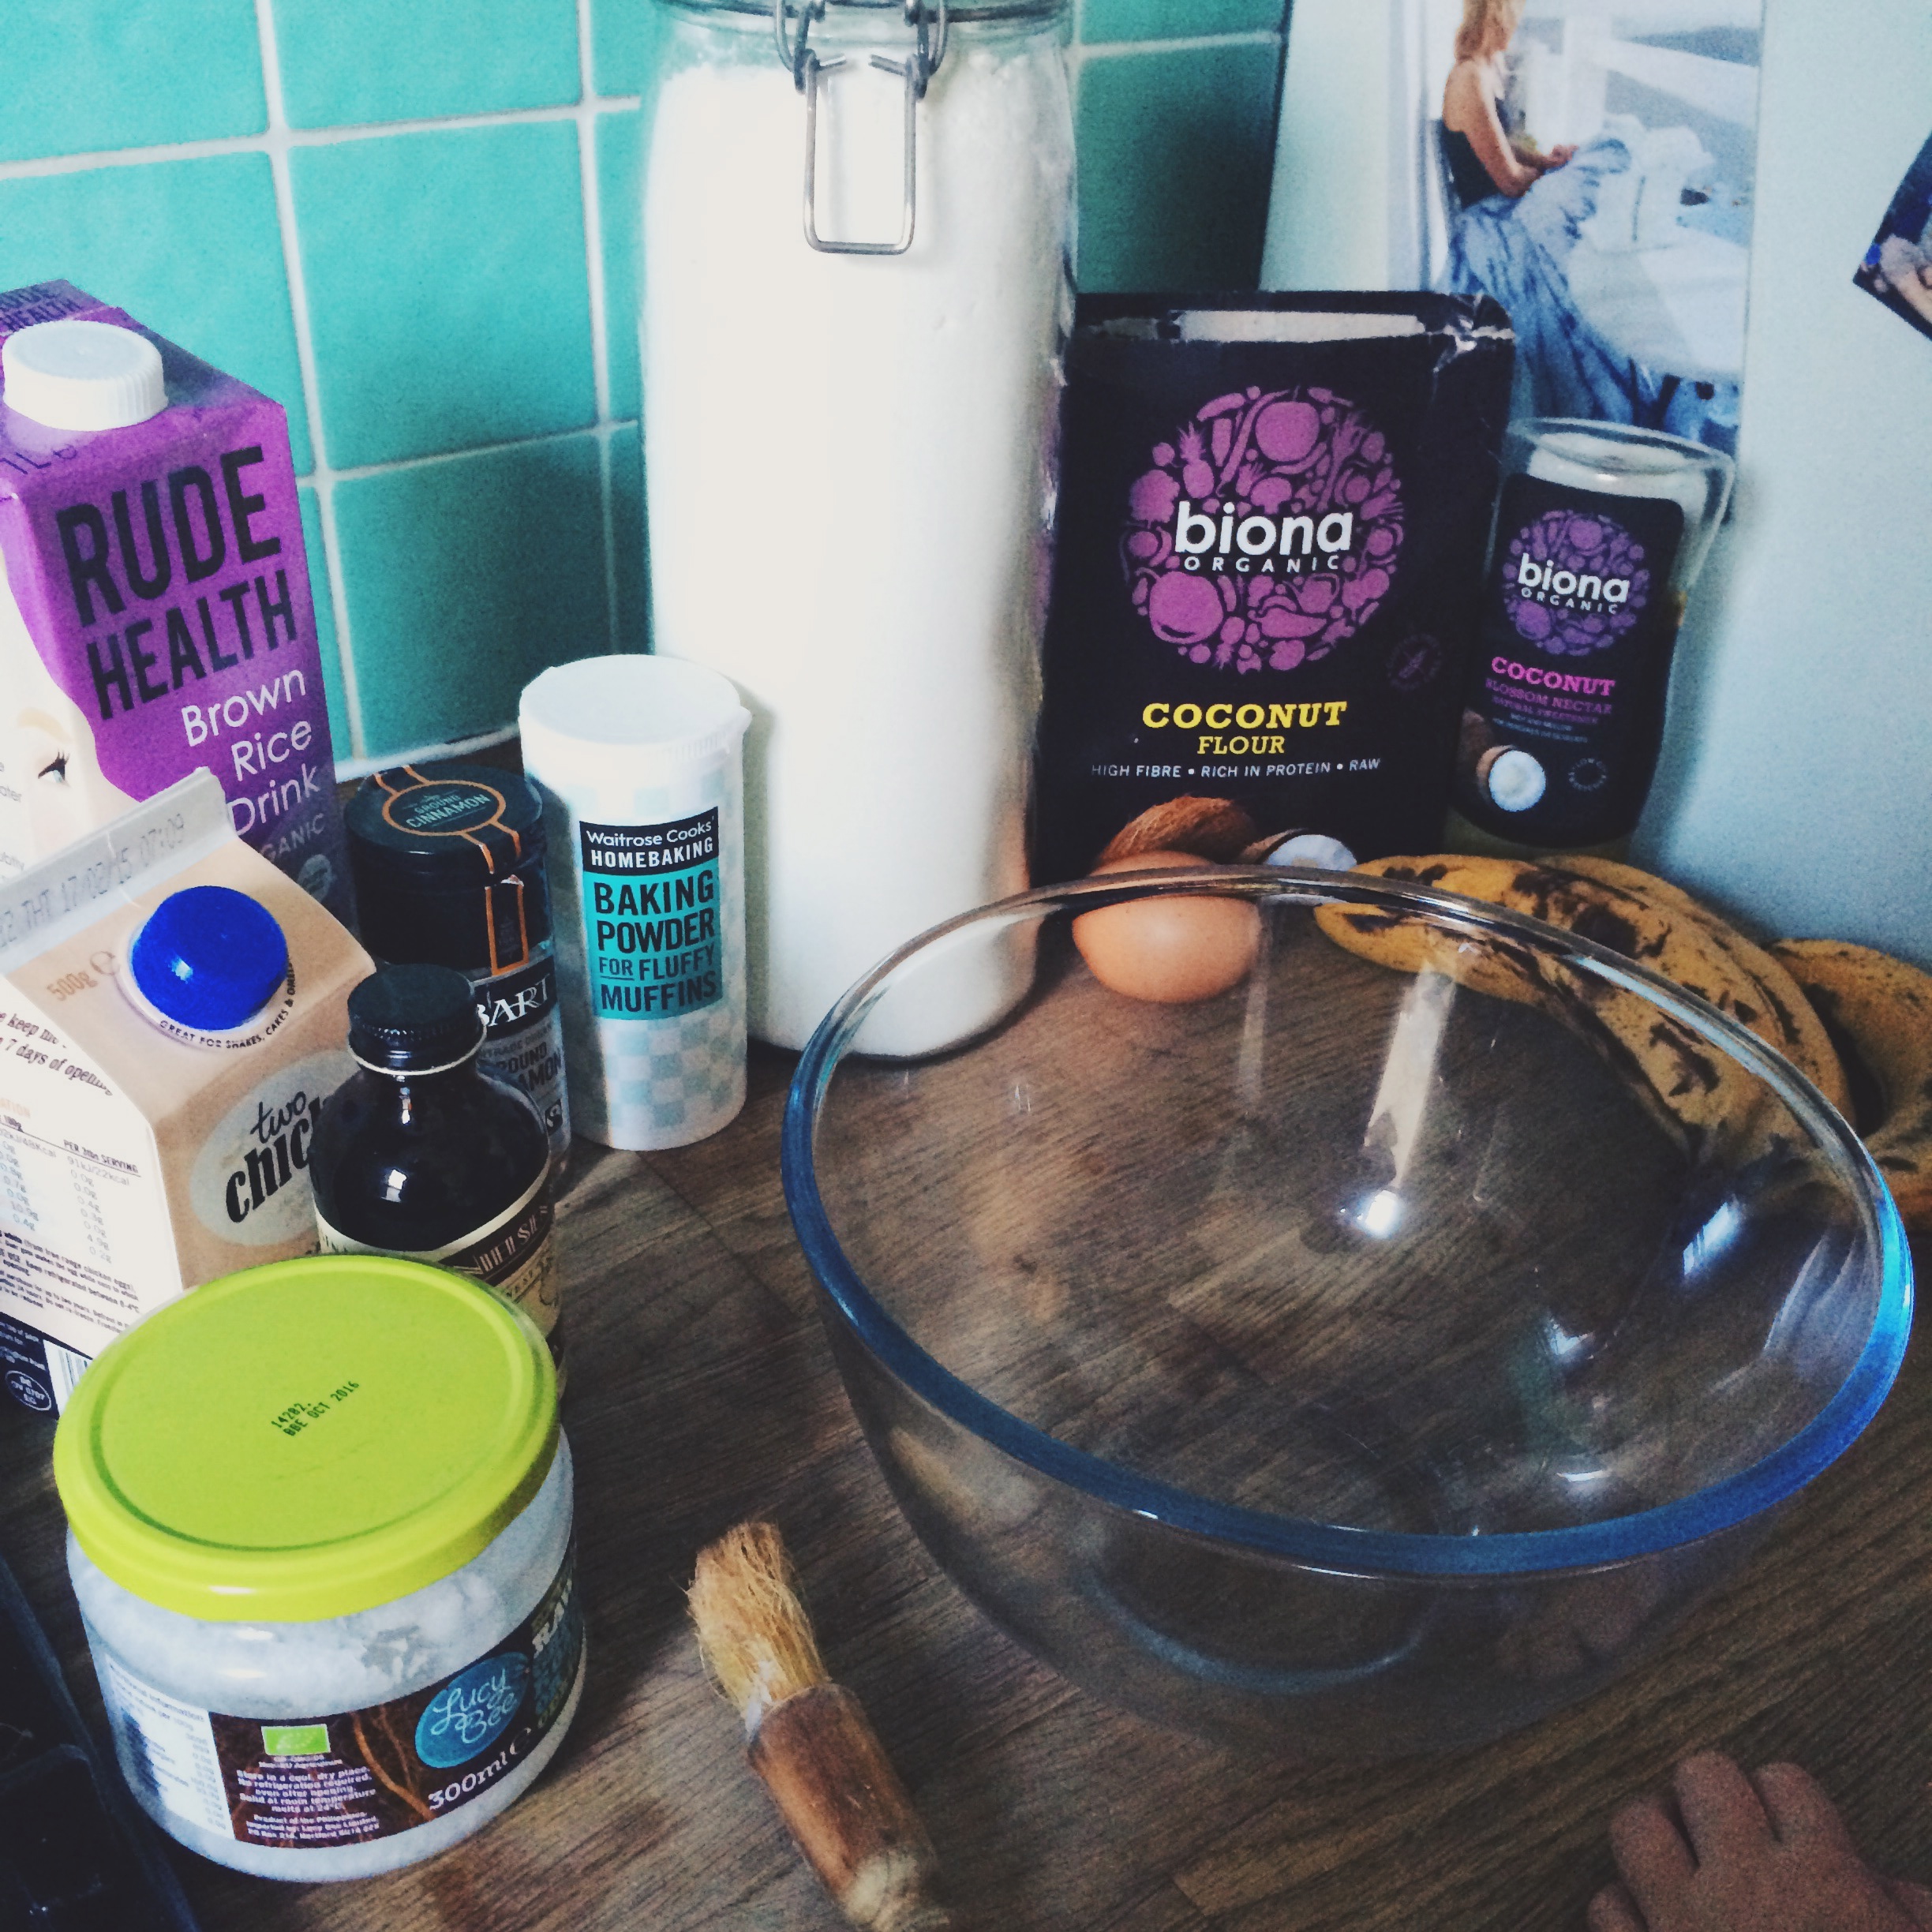
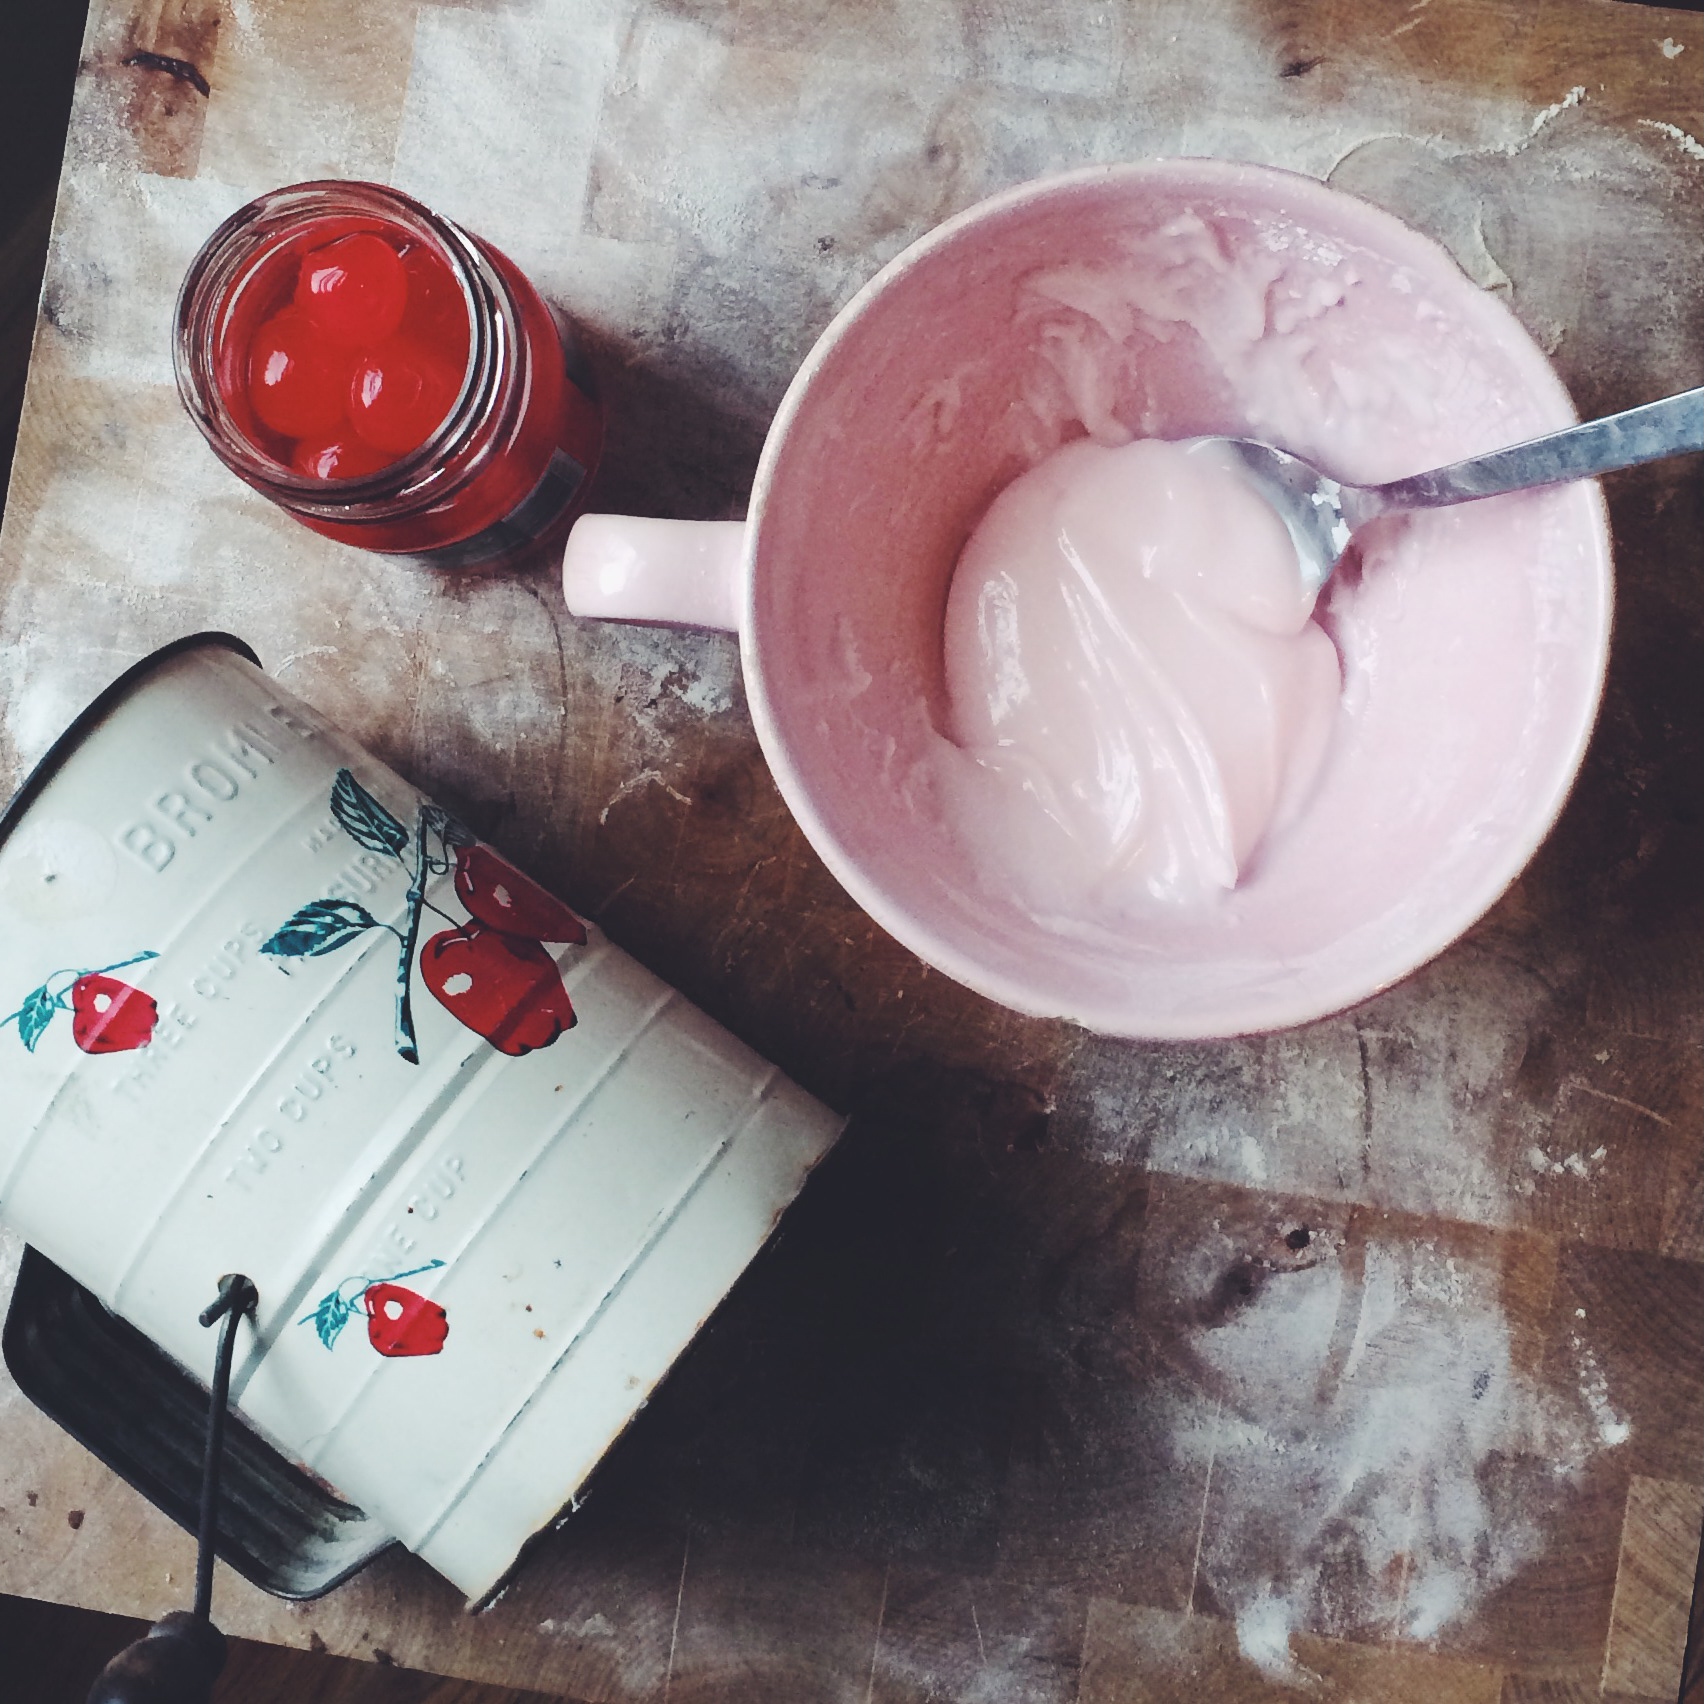
It takes quite a lot of milk to make a decent sized cheese - we collected 3 litres which was plenty. It goes without saying that this milk is totally unpasteurised - if you are buying milk and you can't find raw, unpasteurised milk then make sure you get full fat, organic, non homogenised milk - the kind with the layer of cream sat at the top, ideally. Once home we poured it through a muslin to remove any dirt and hair. We then heated the milk in a big saucepan with a thermometer to sterilisation point - 38C - which is the same point at which the milk begins to rise in the pan. Immediately remove from the heat. Leave to cool slightly until milk is warm. Stir in lemon juice. The amount of lemon juice you add varies totally from batch to batch. Begin to stir it in half lemon by half lemon and stop once the milk begins to form curds. Now leave the milk to cool completely.
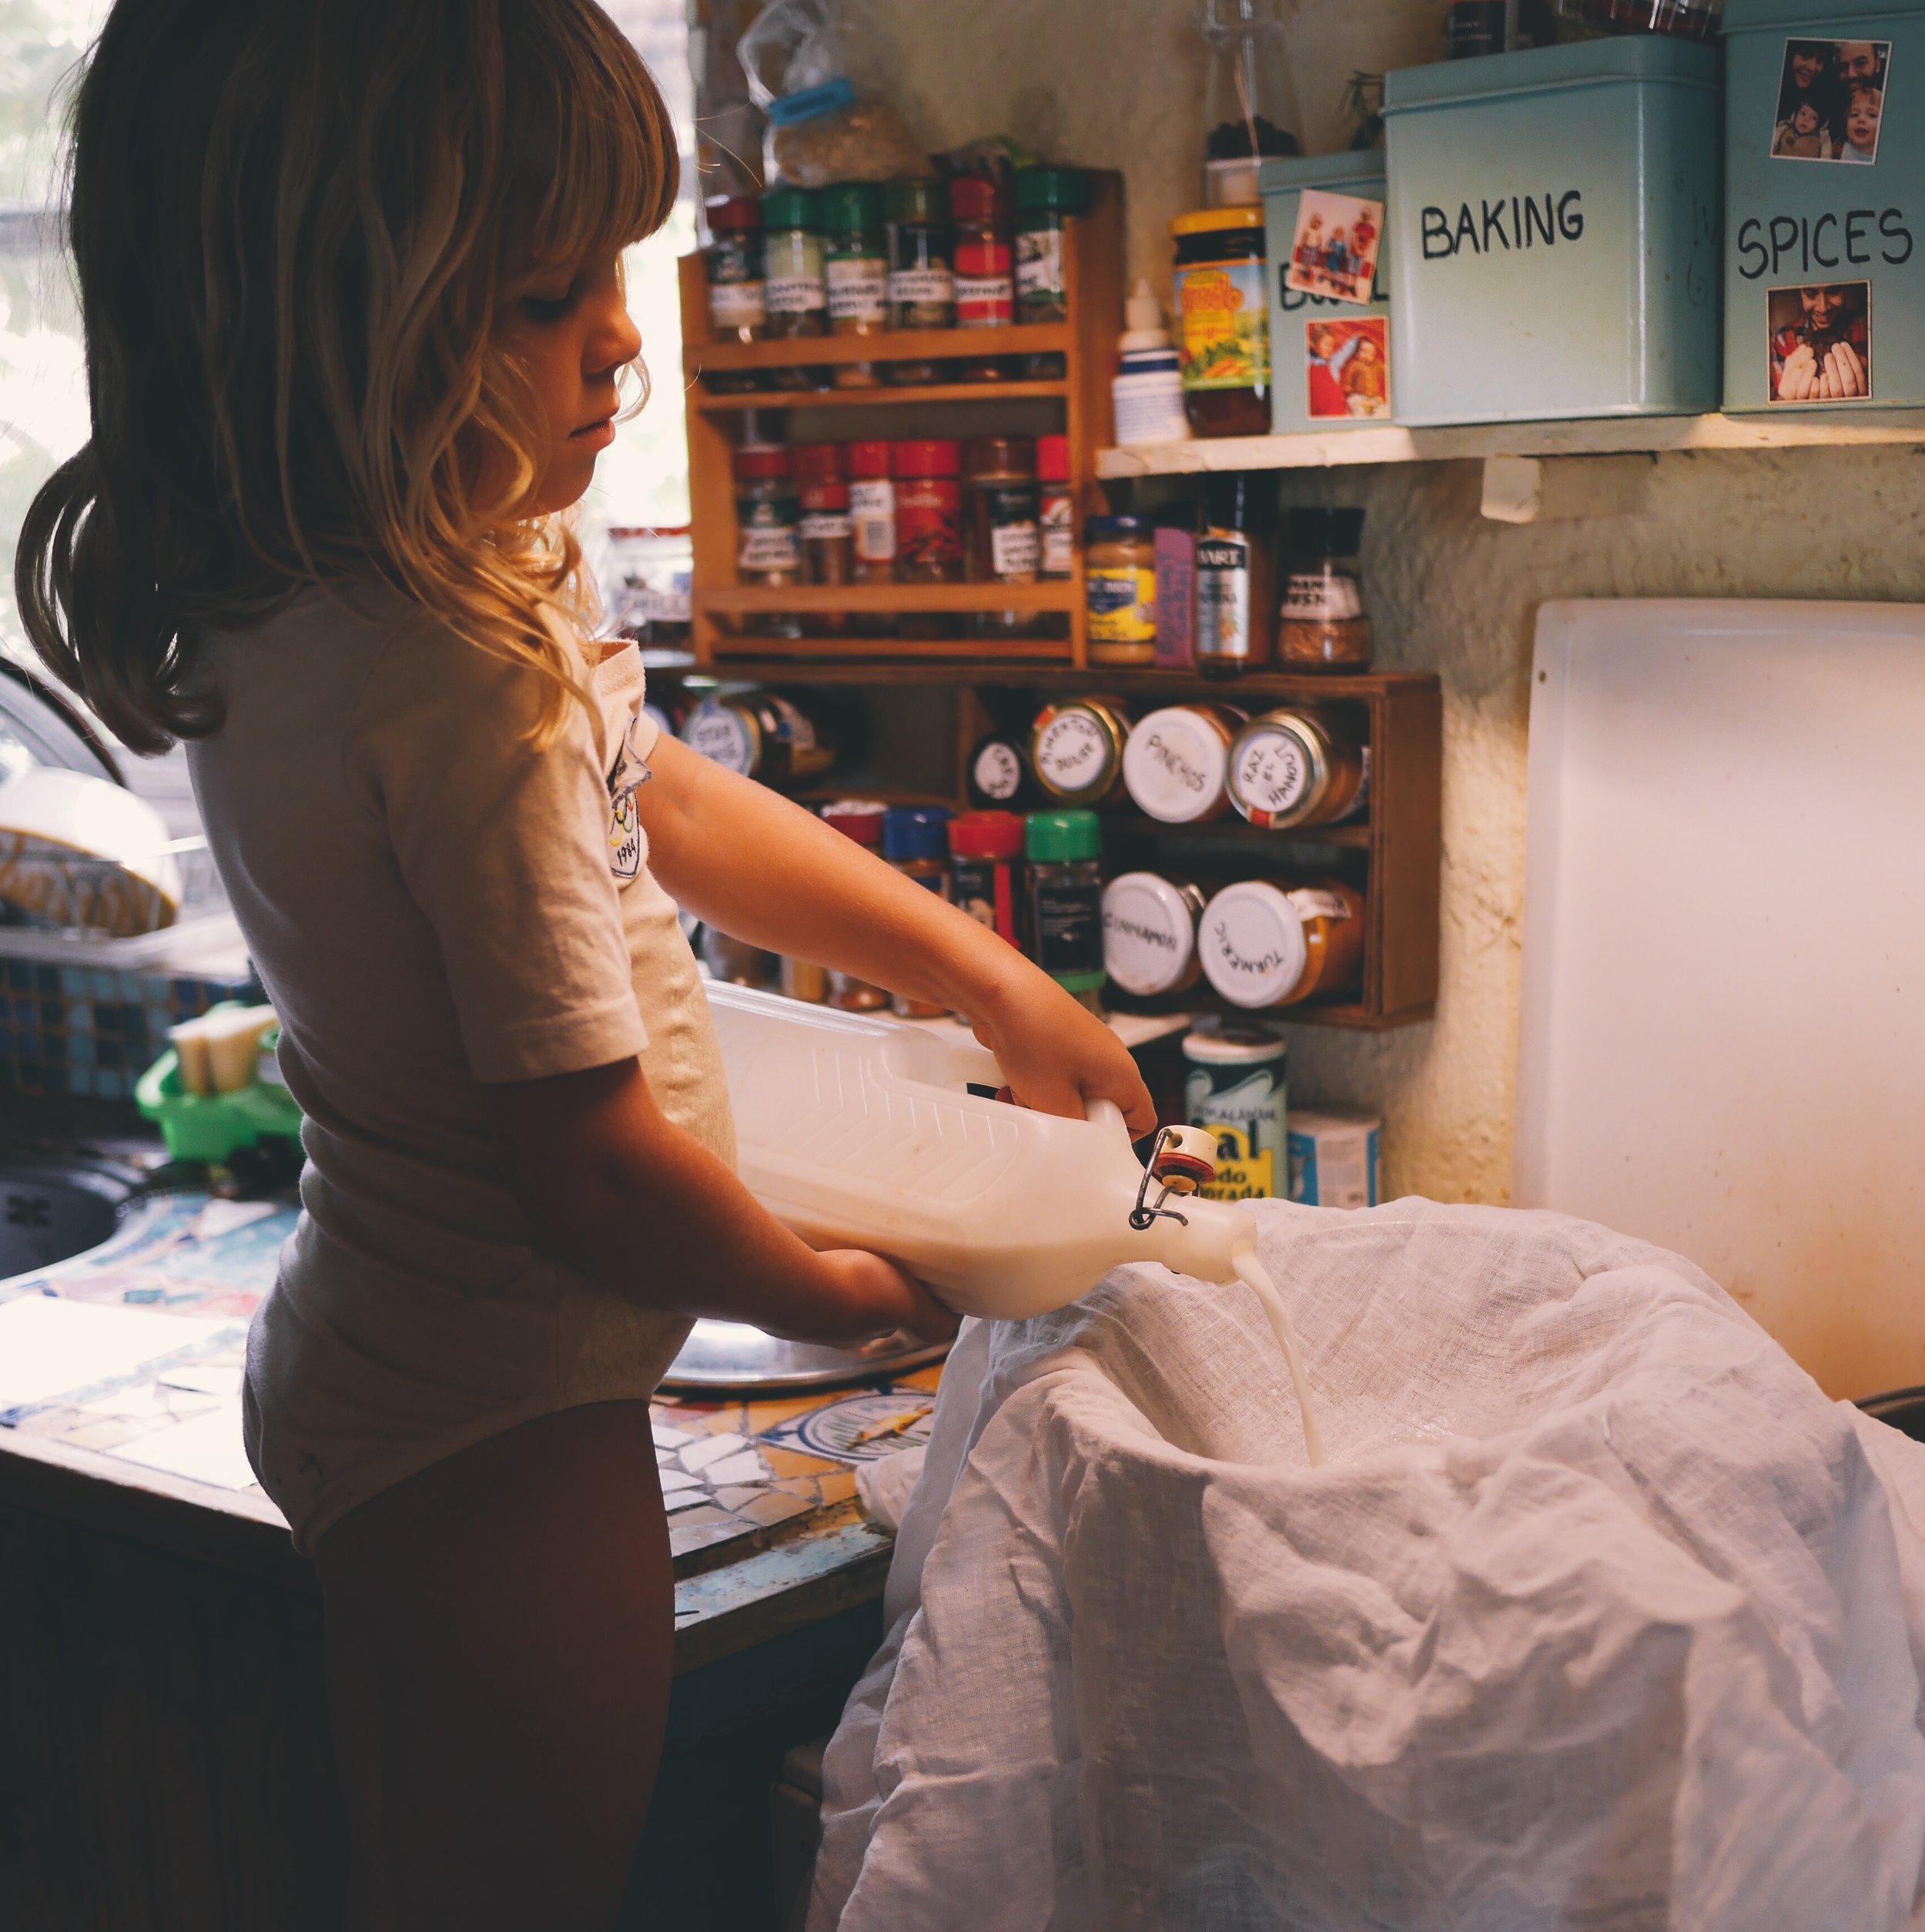
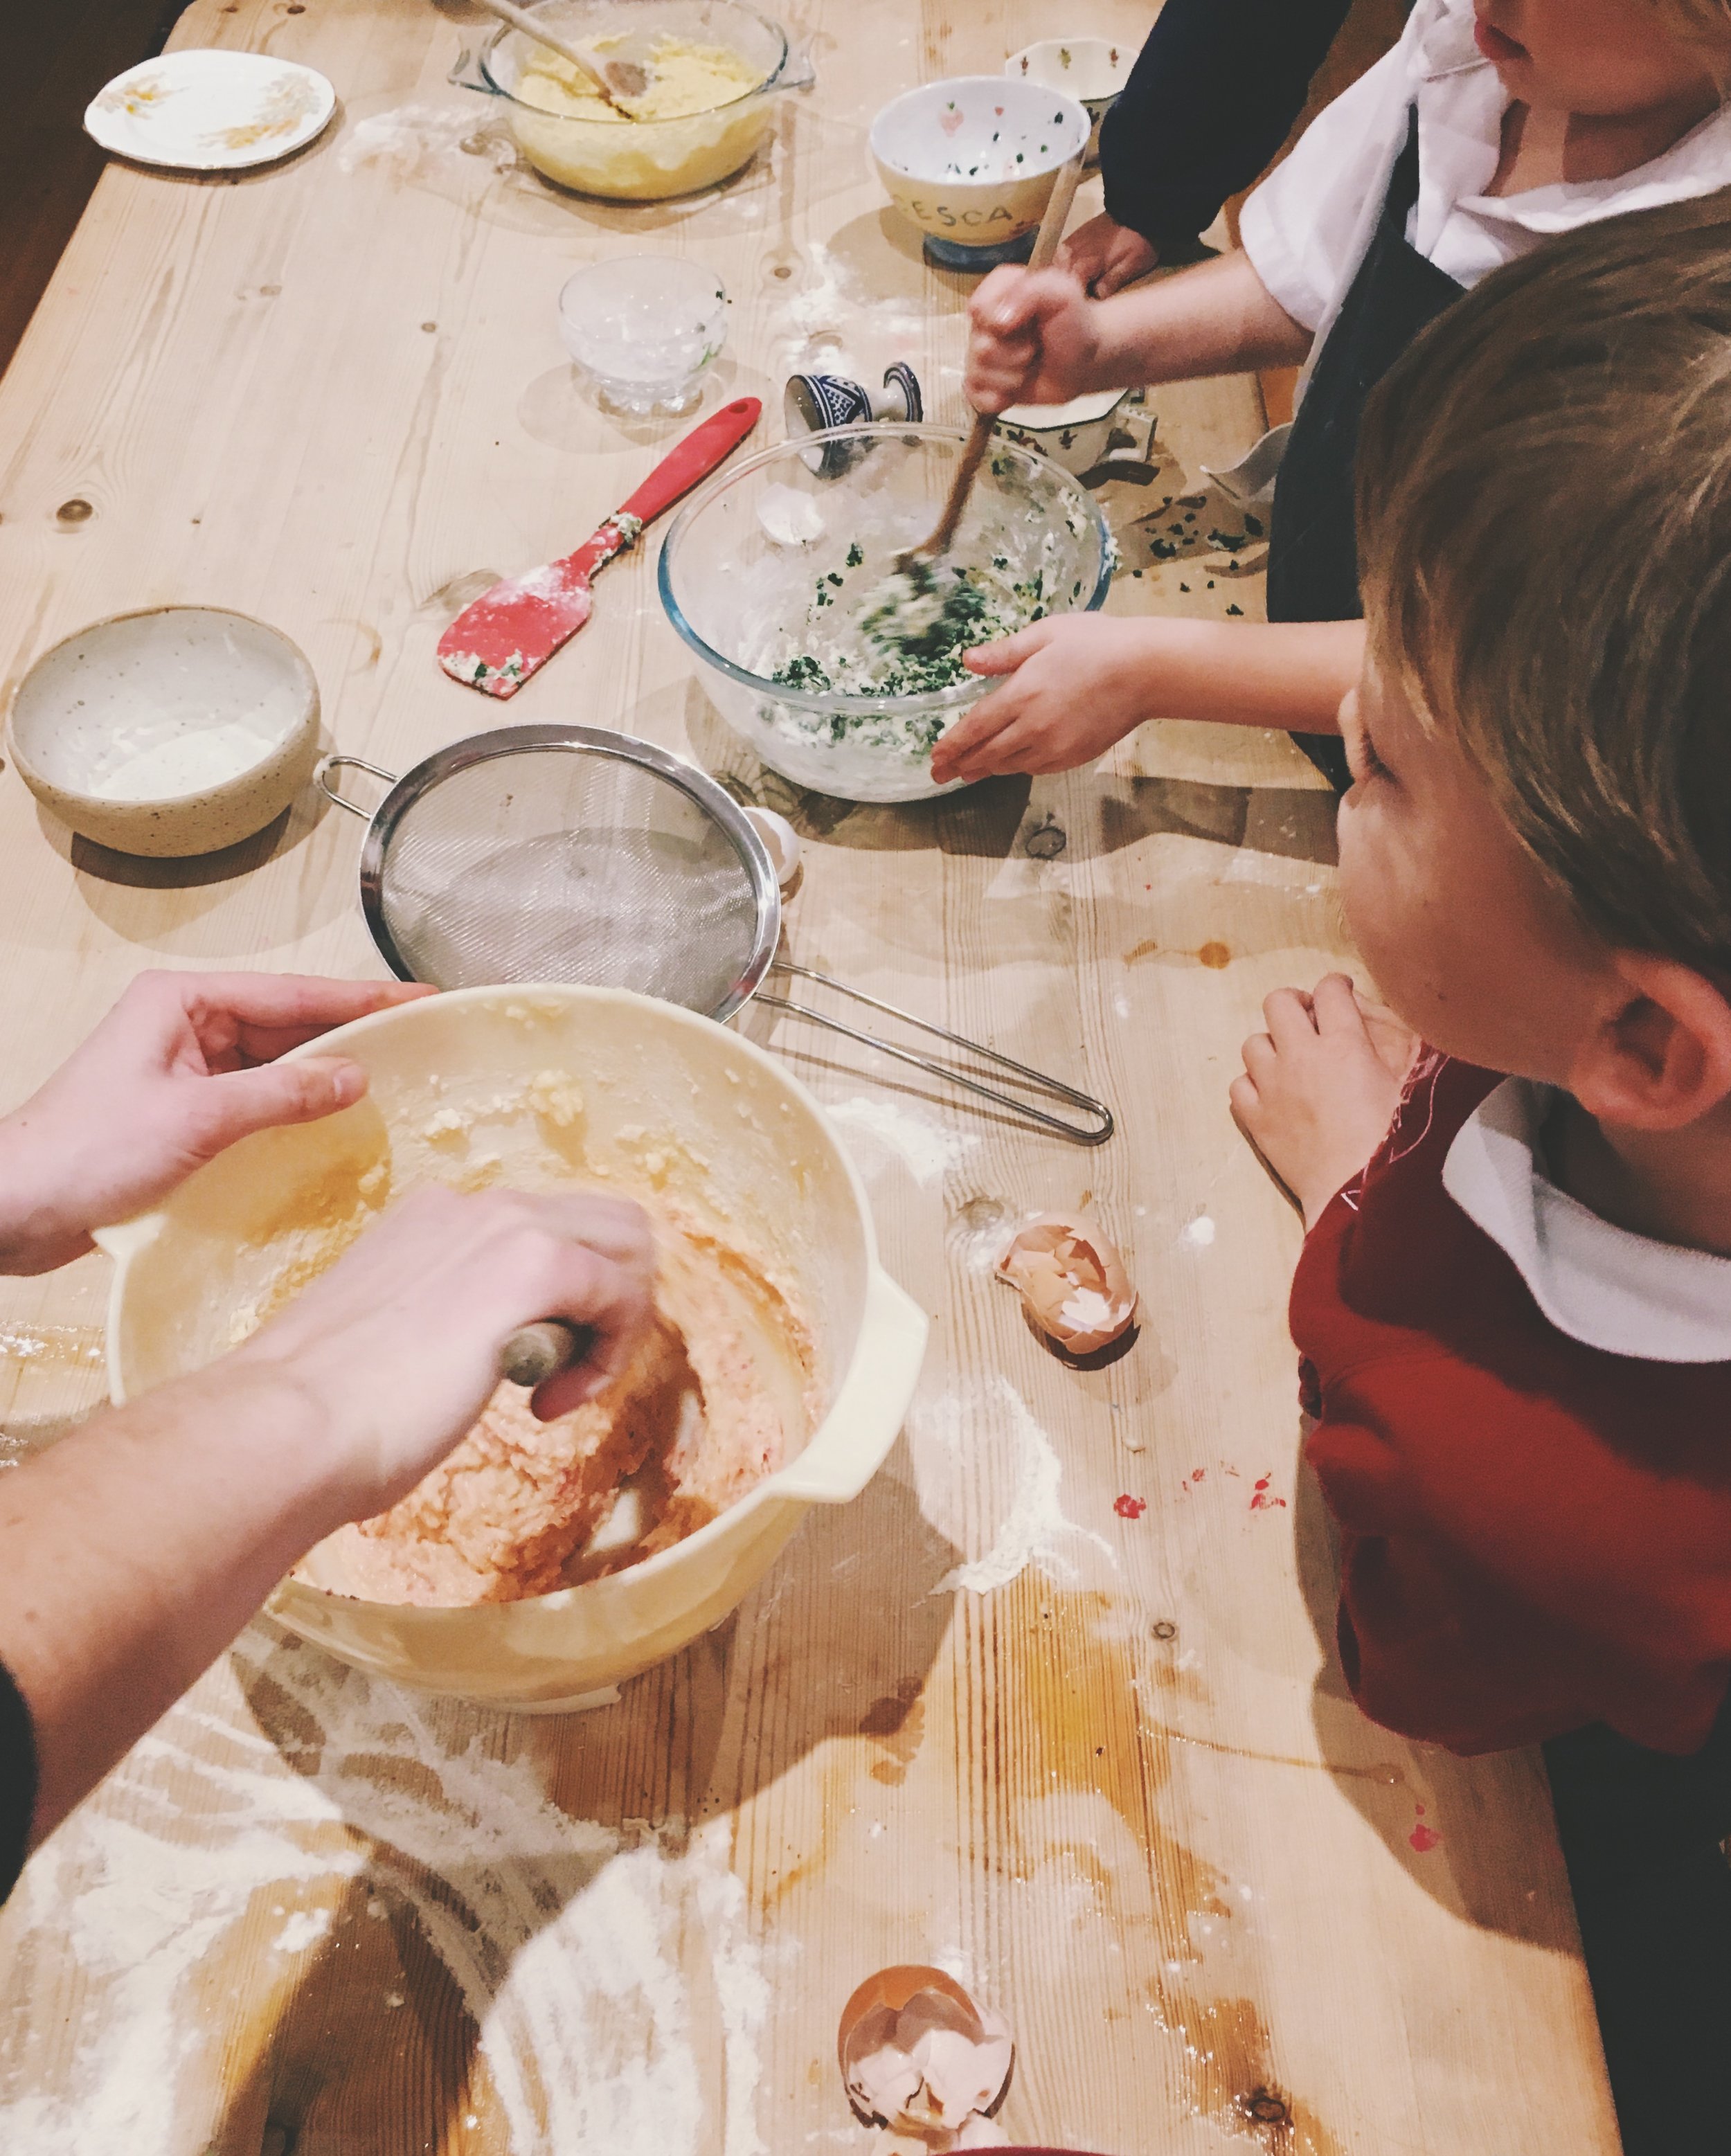
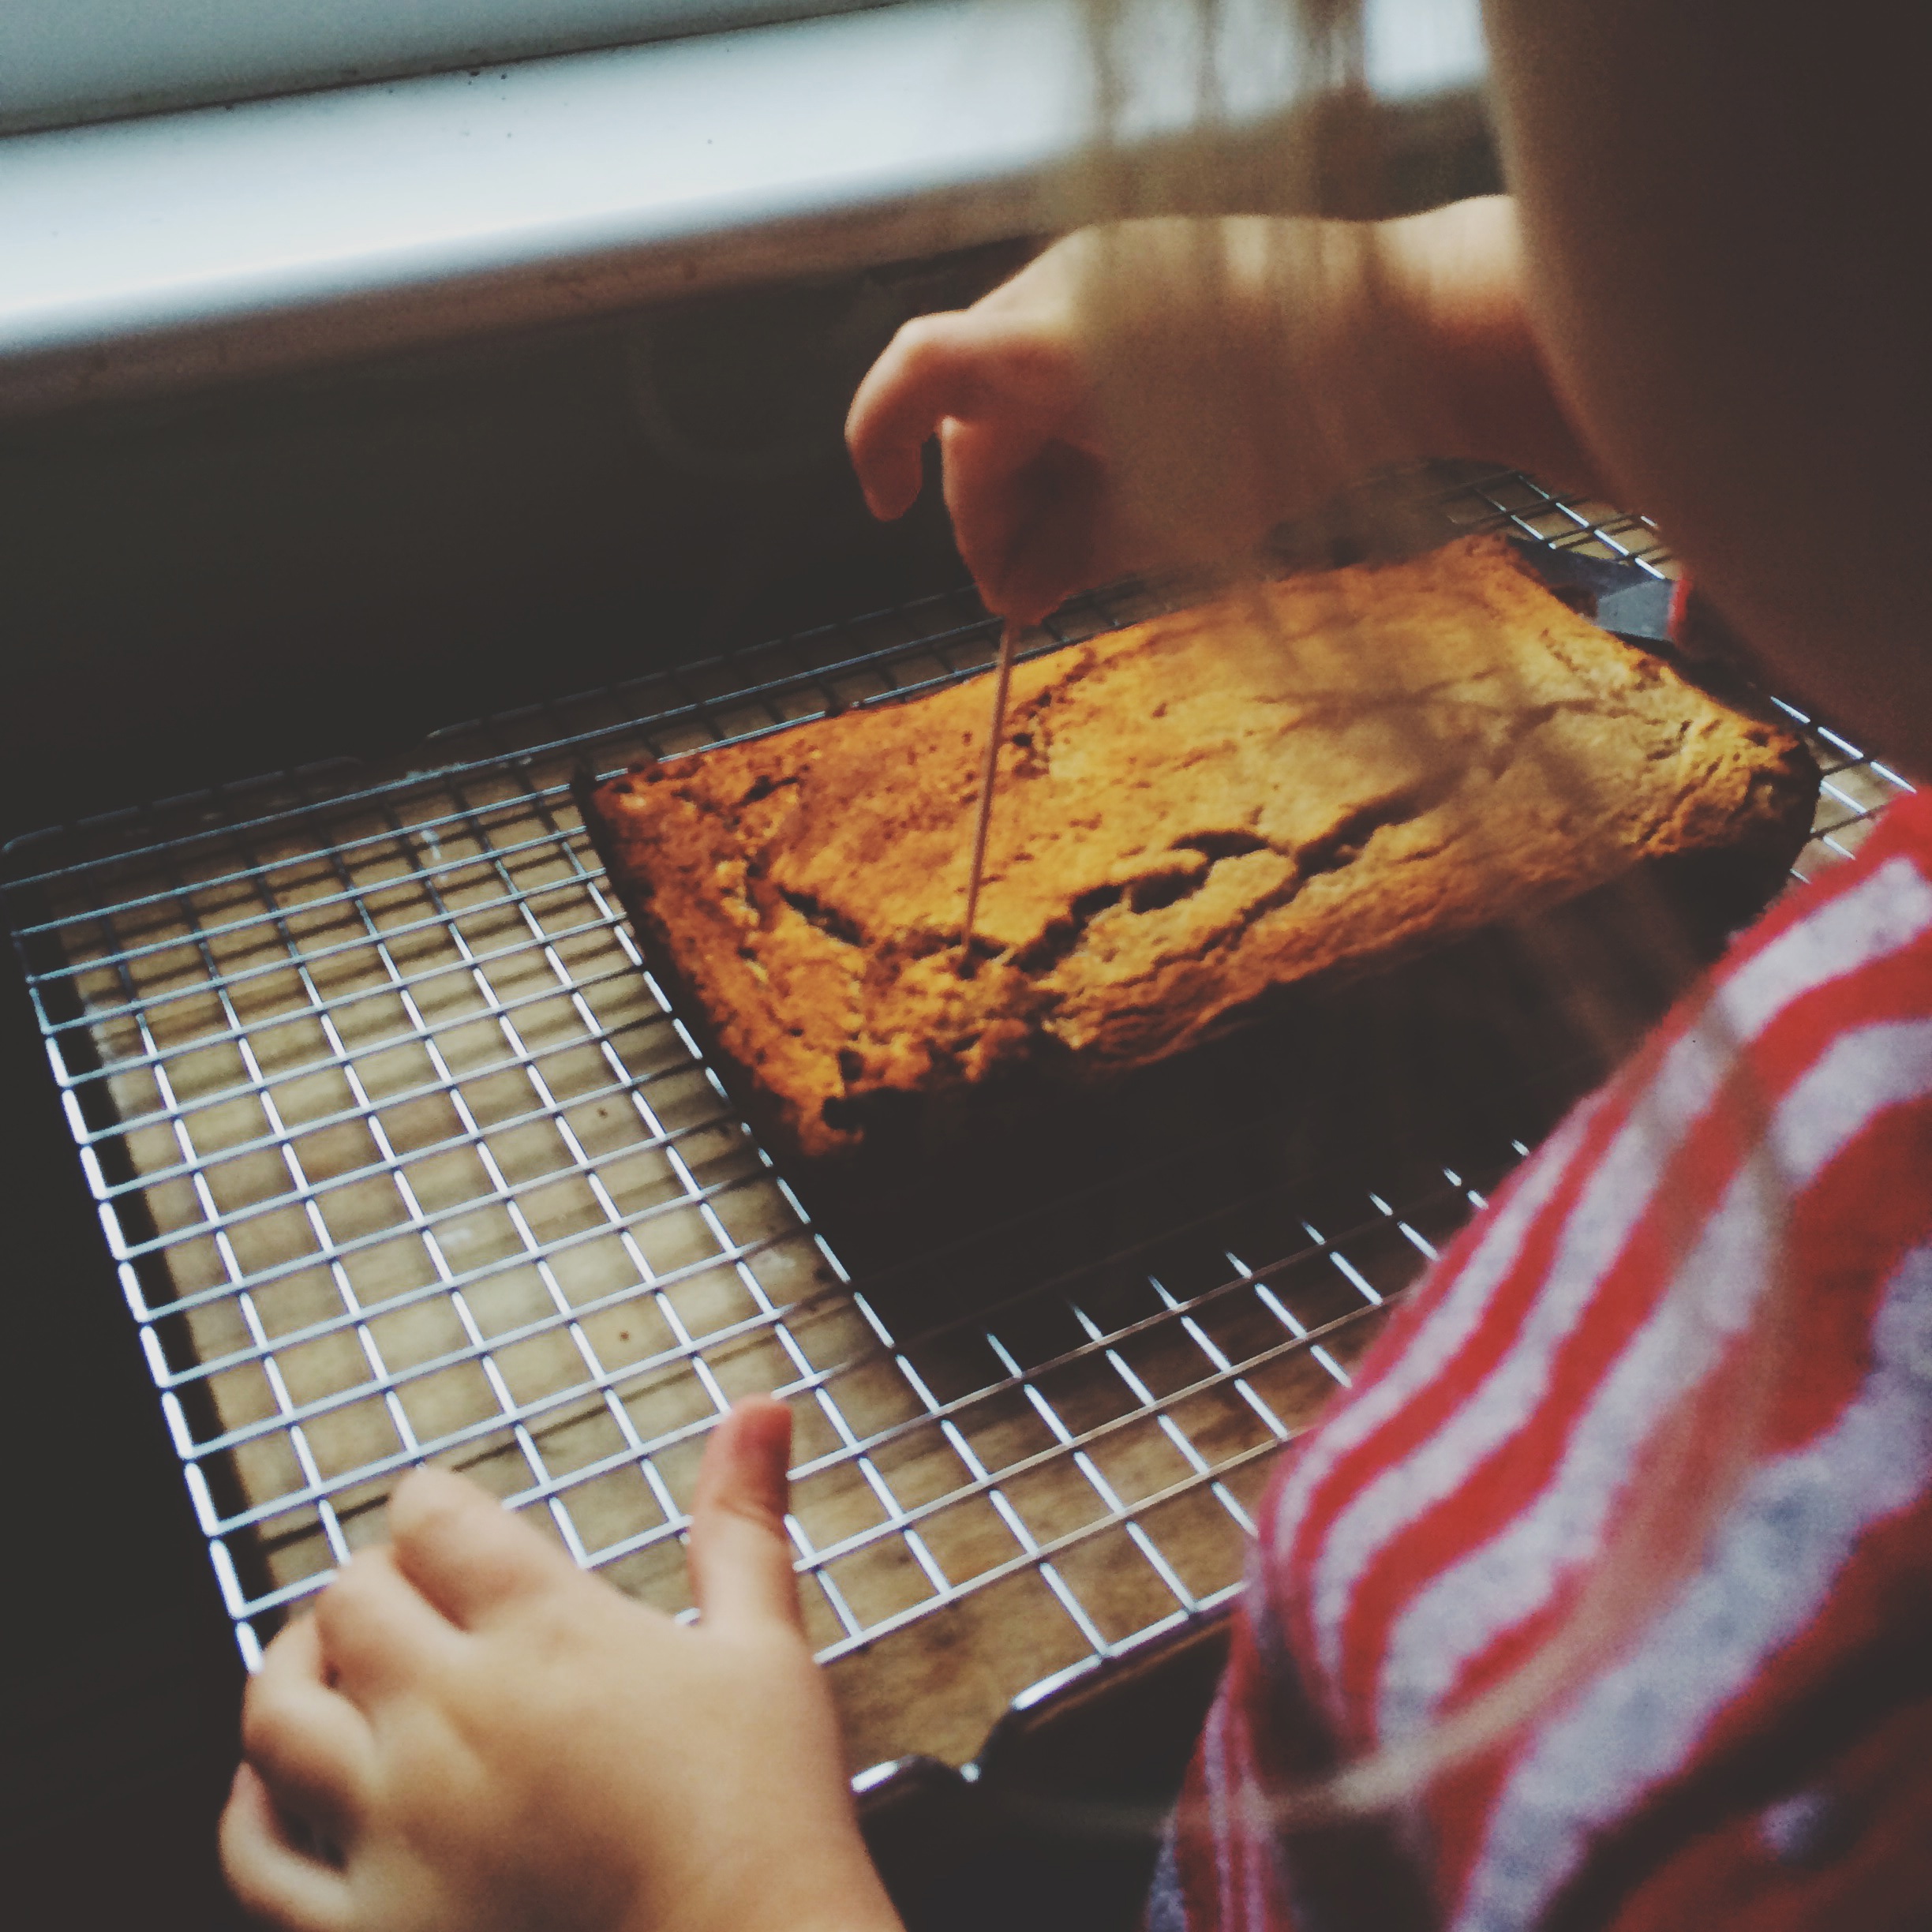
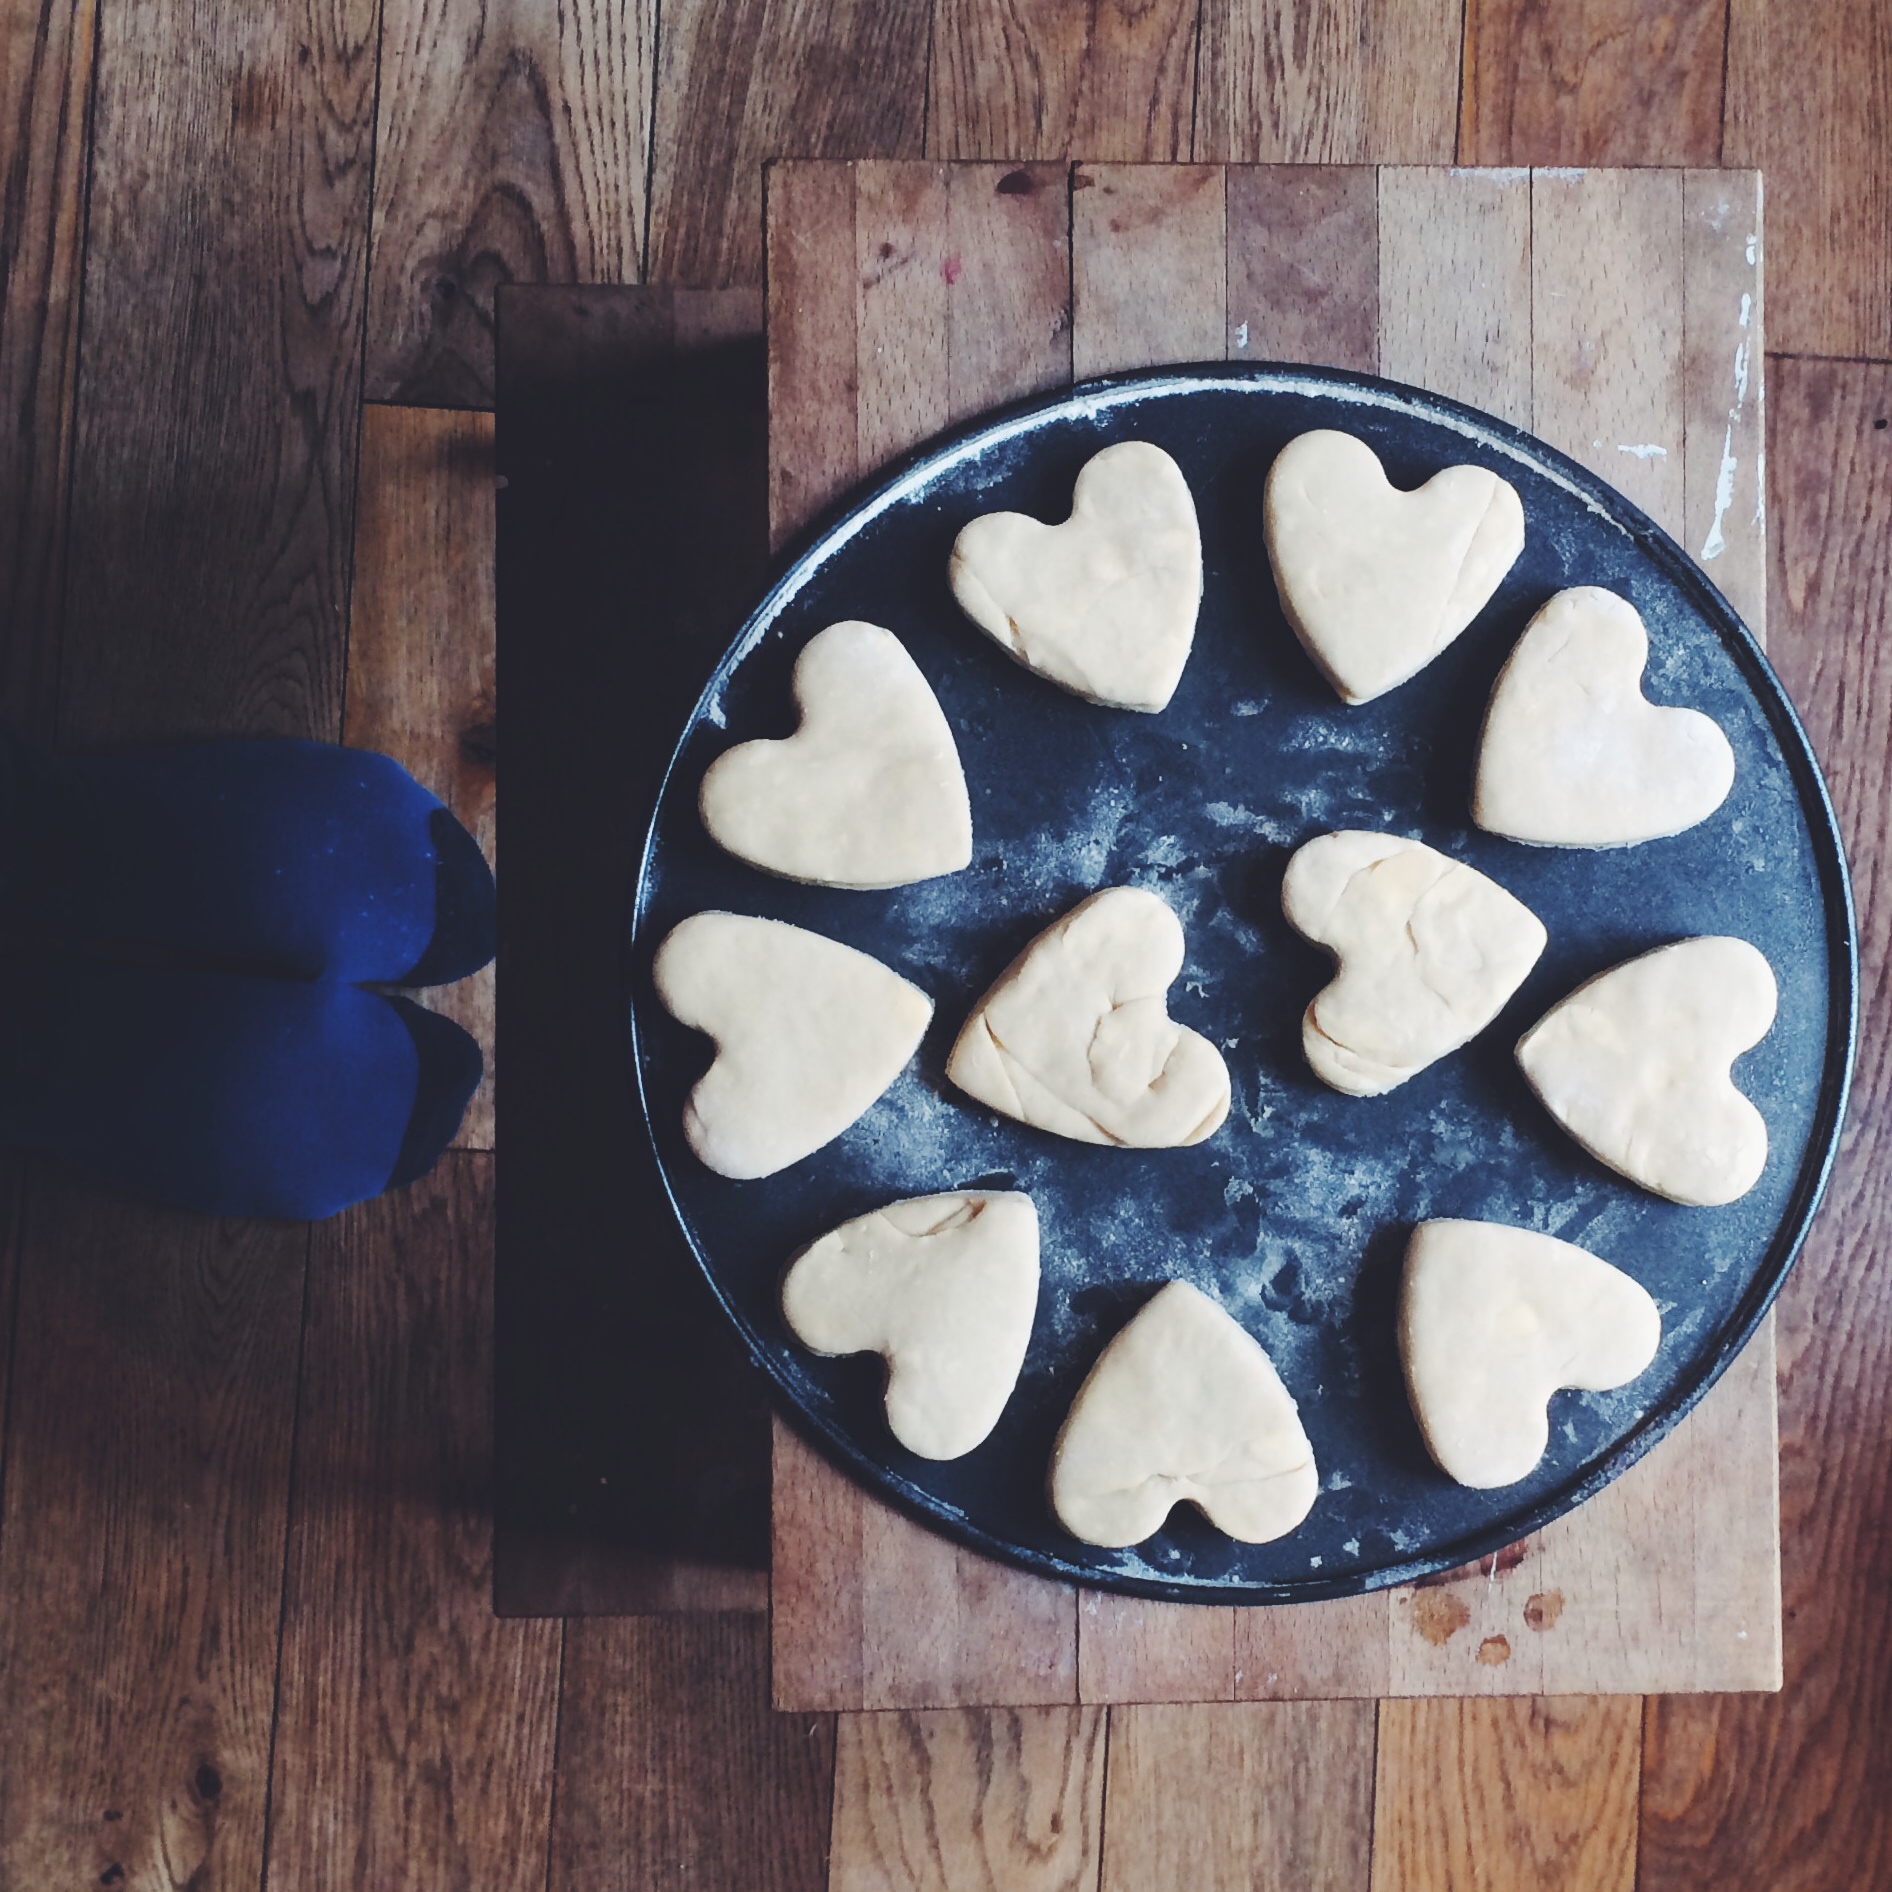
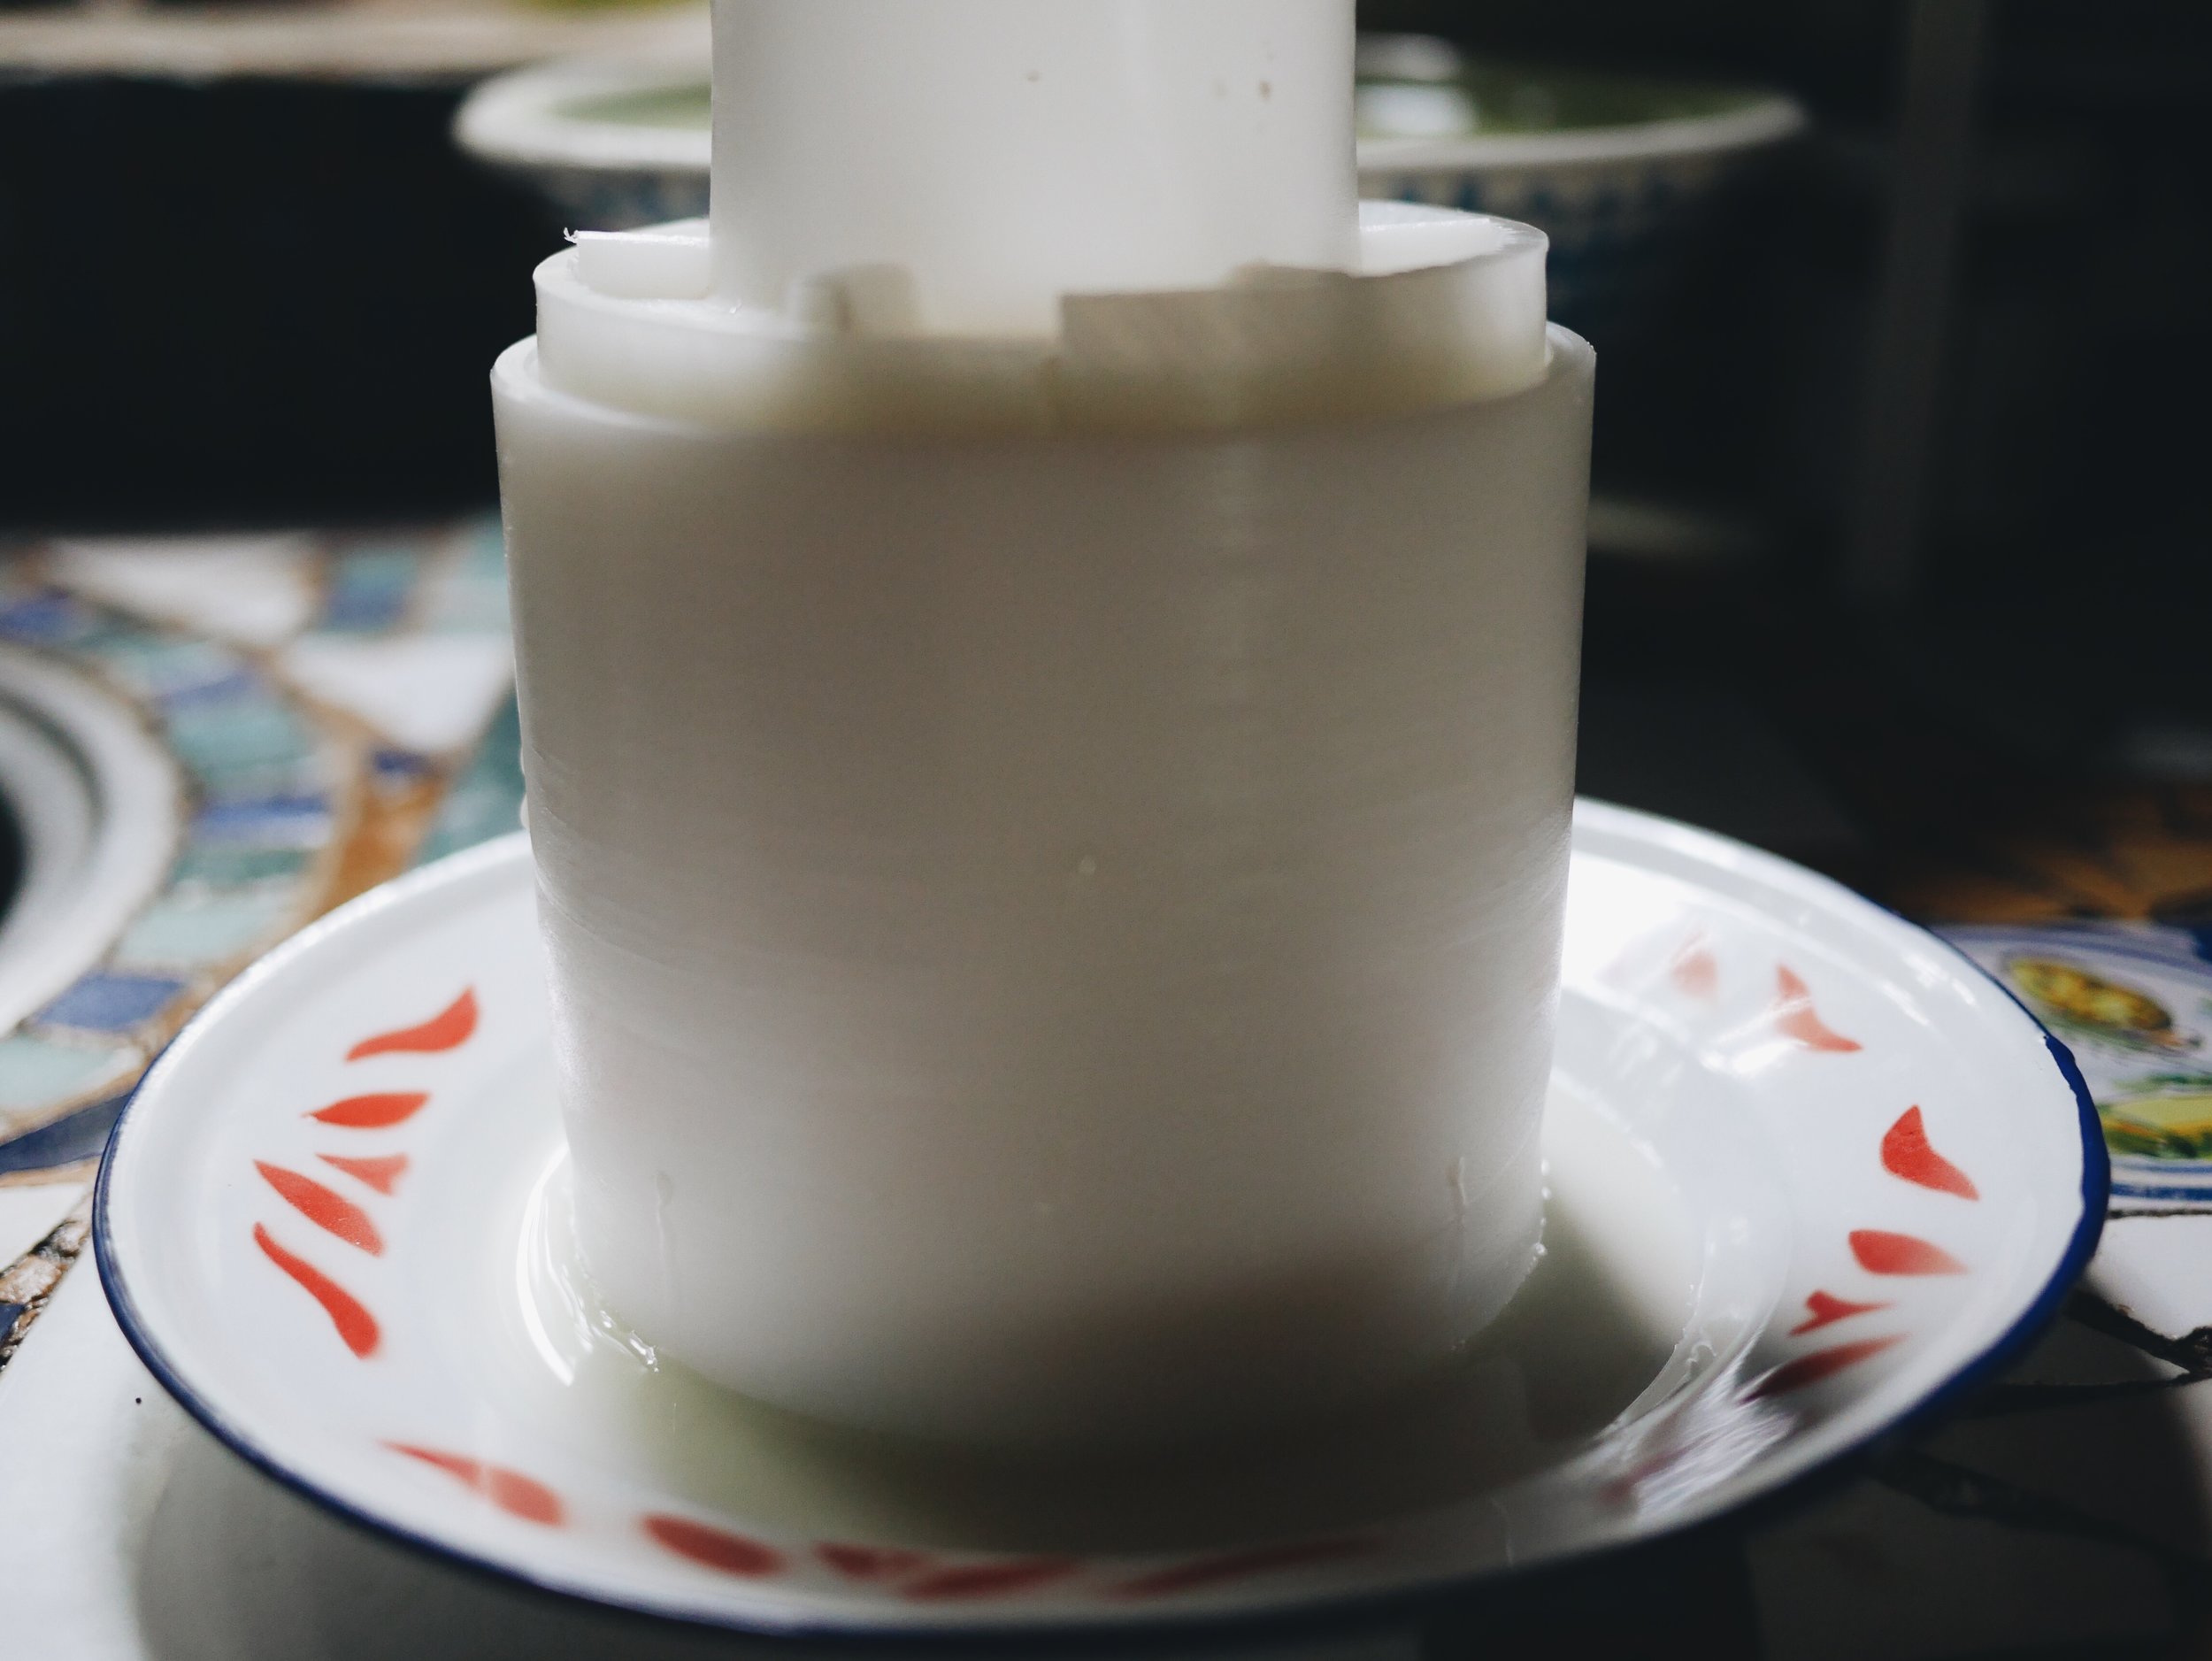
Once cooled, strain the cheese through a fresh muslin and squeeze out as much liquid as possible - make sure you keep this liquid as it is essentially buttermilk and great for making pancakes with! Tie the muslin at the top and hang it, over a bowl to collect any liquid, for a few hours, then you can either transfer it to keep straining in the fridge or transfer it to a cheese mould or press which does the same job - removing as much liquid as possible. Be sure not to have the cheese in anything airtight though - air needs to circulate and moisture needs to drain.
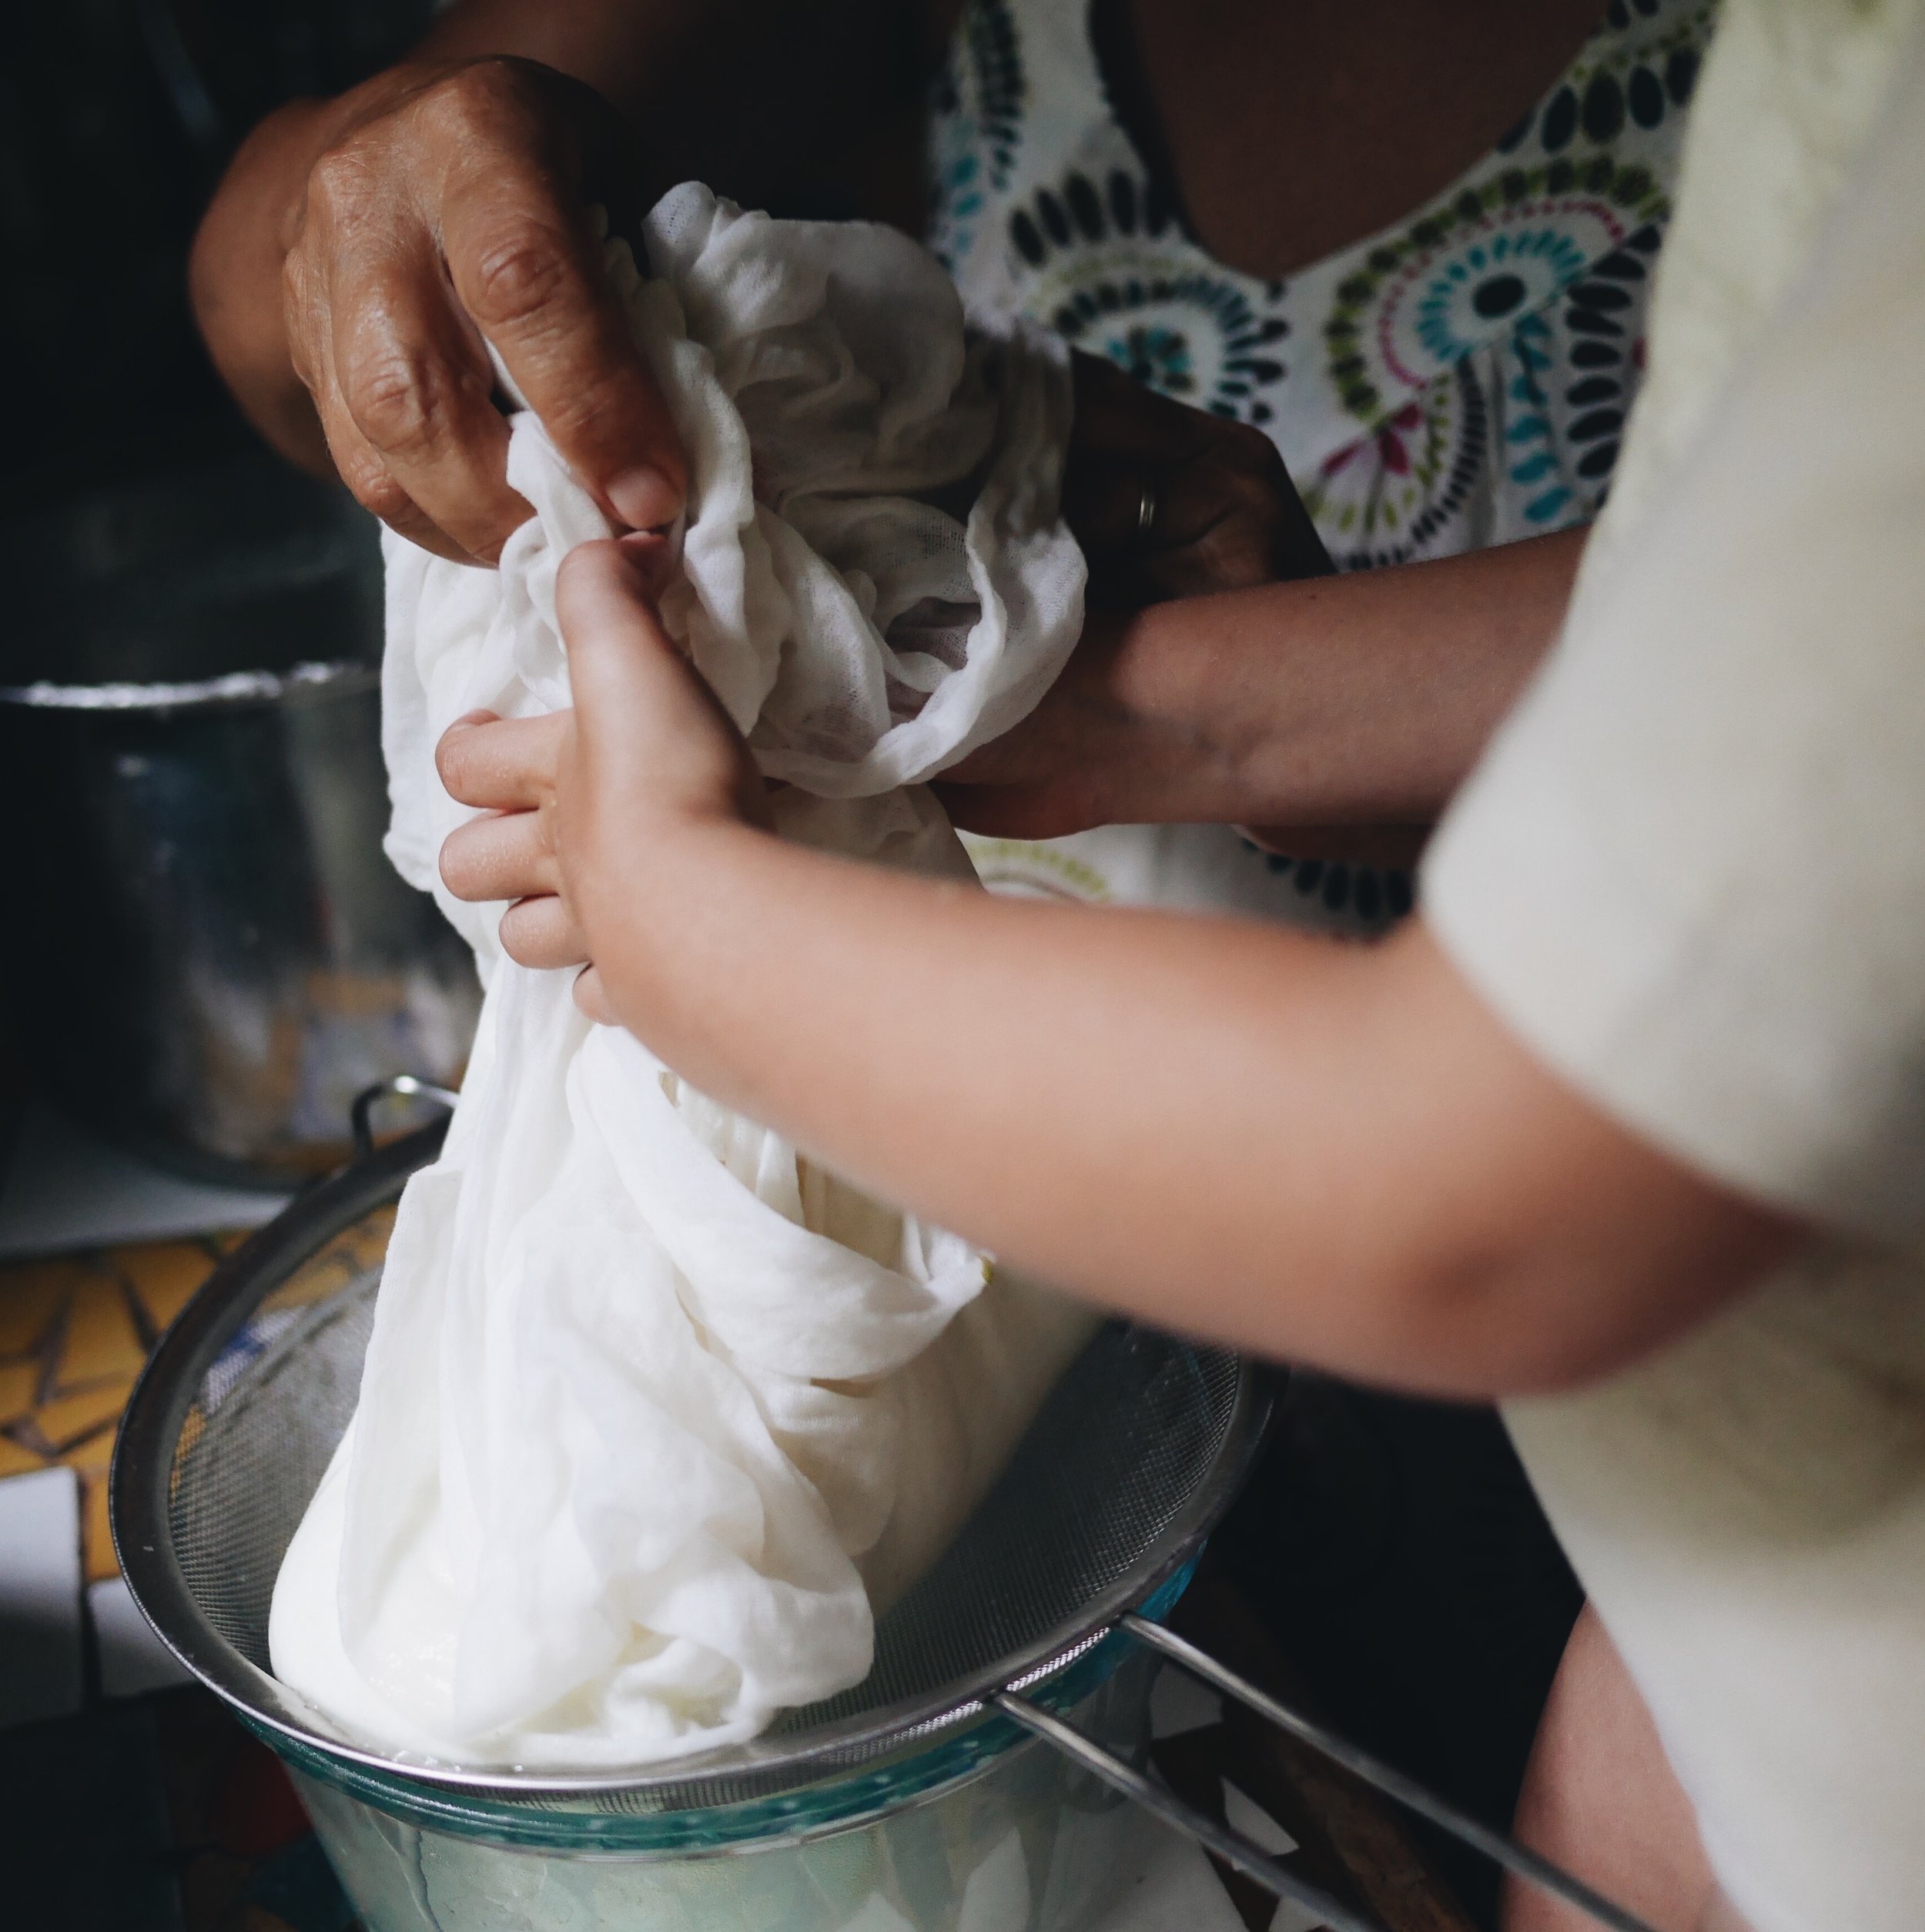
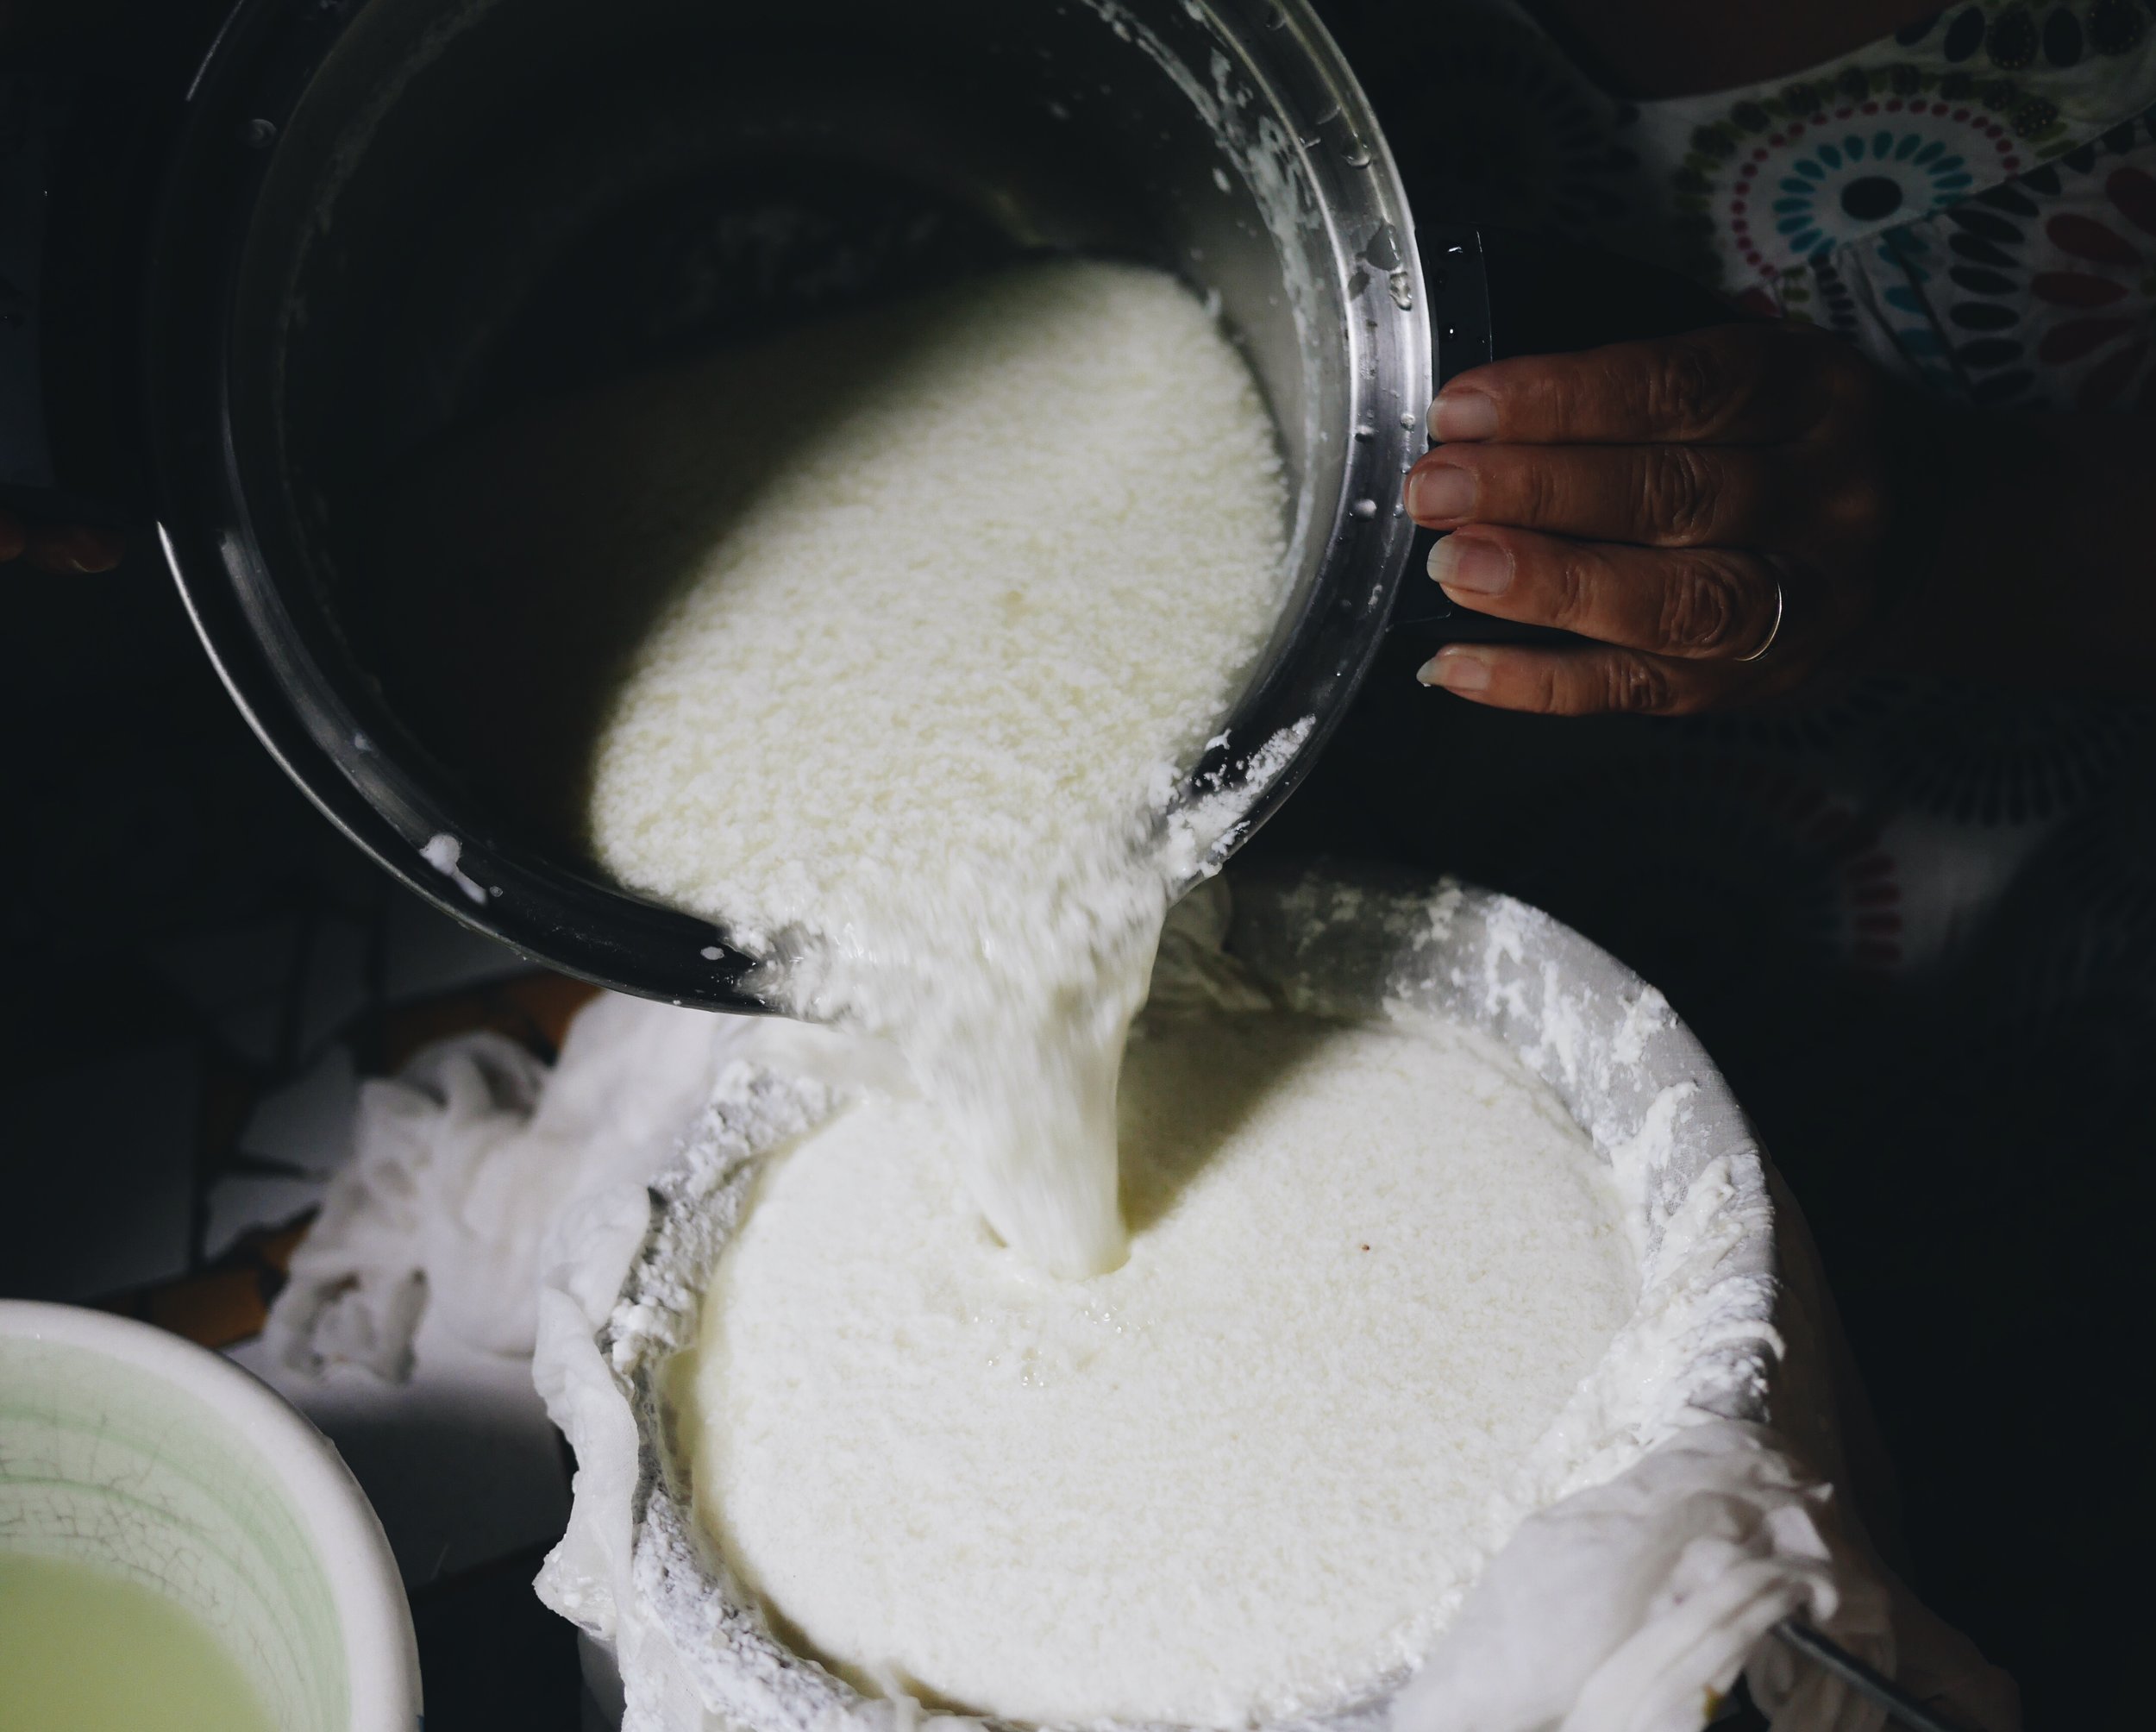

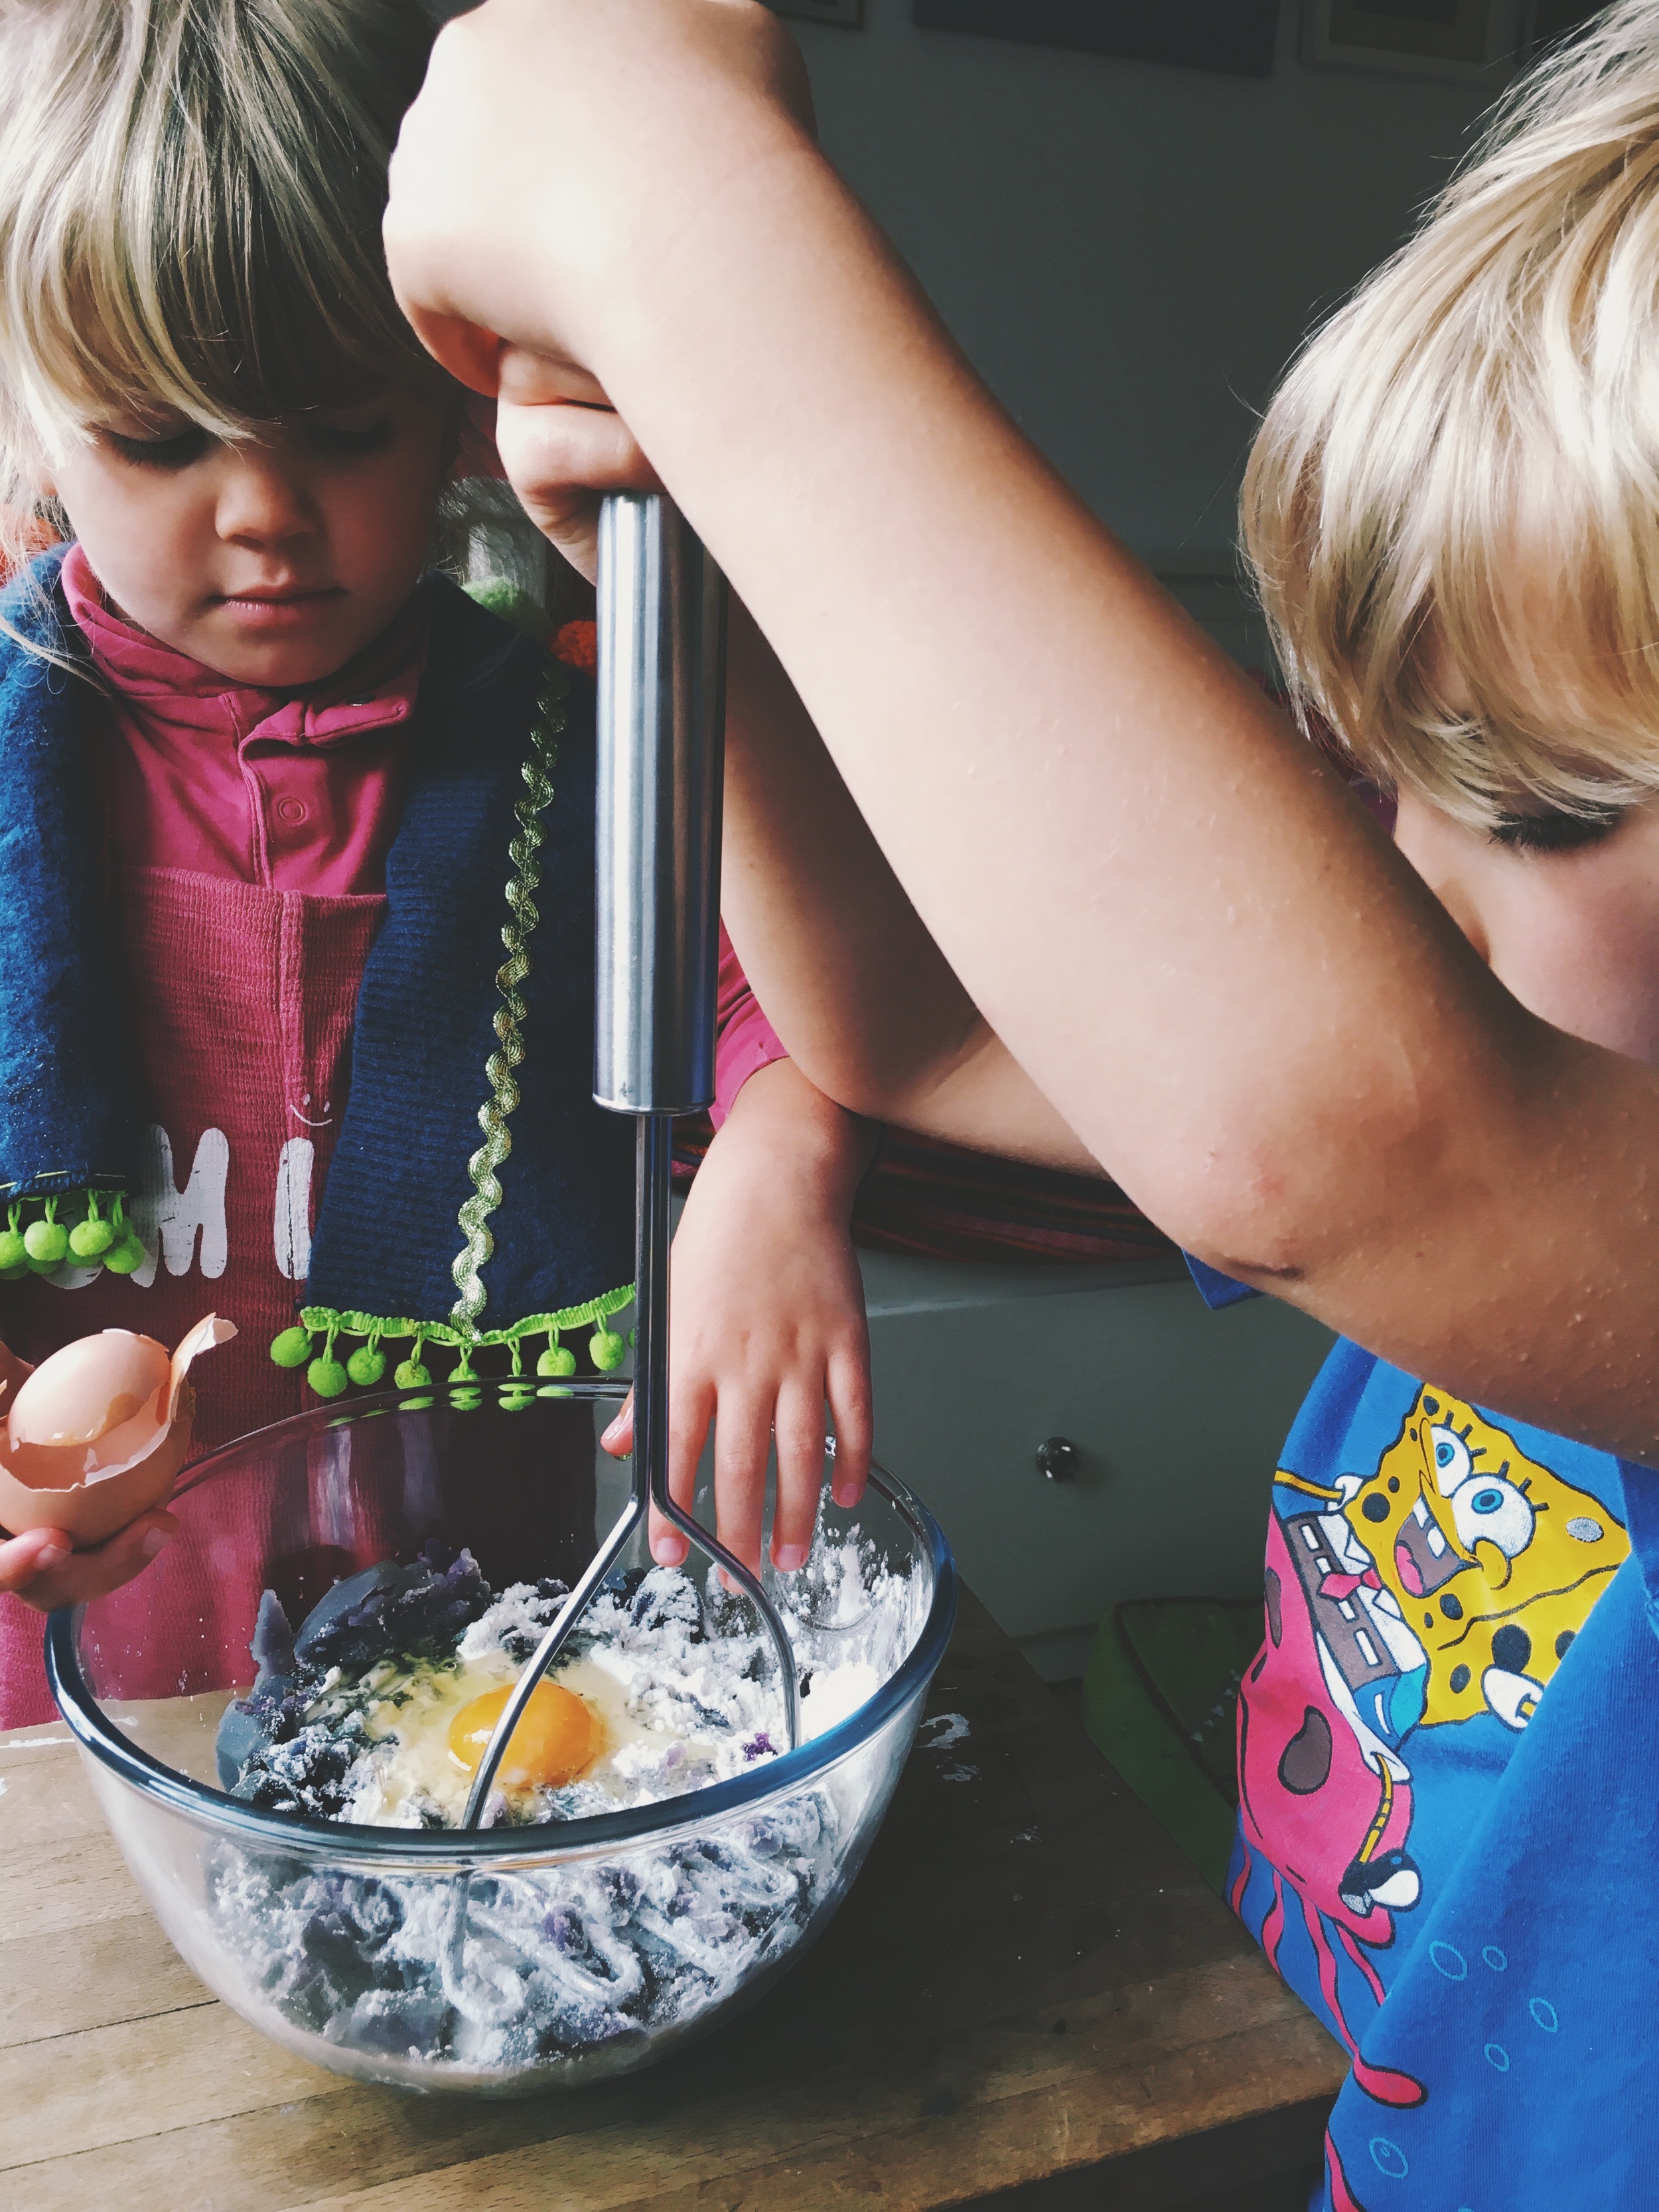
Separating the curds and whey
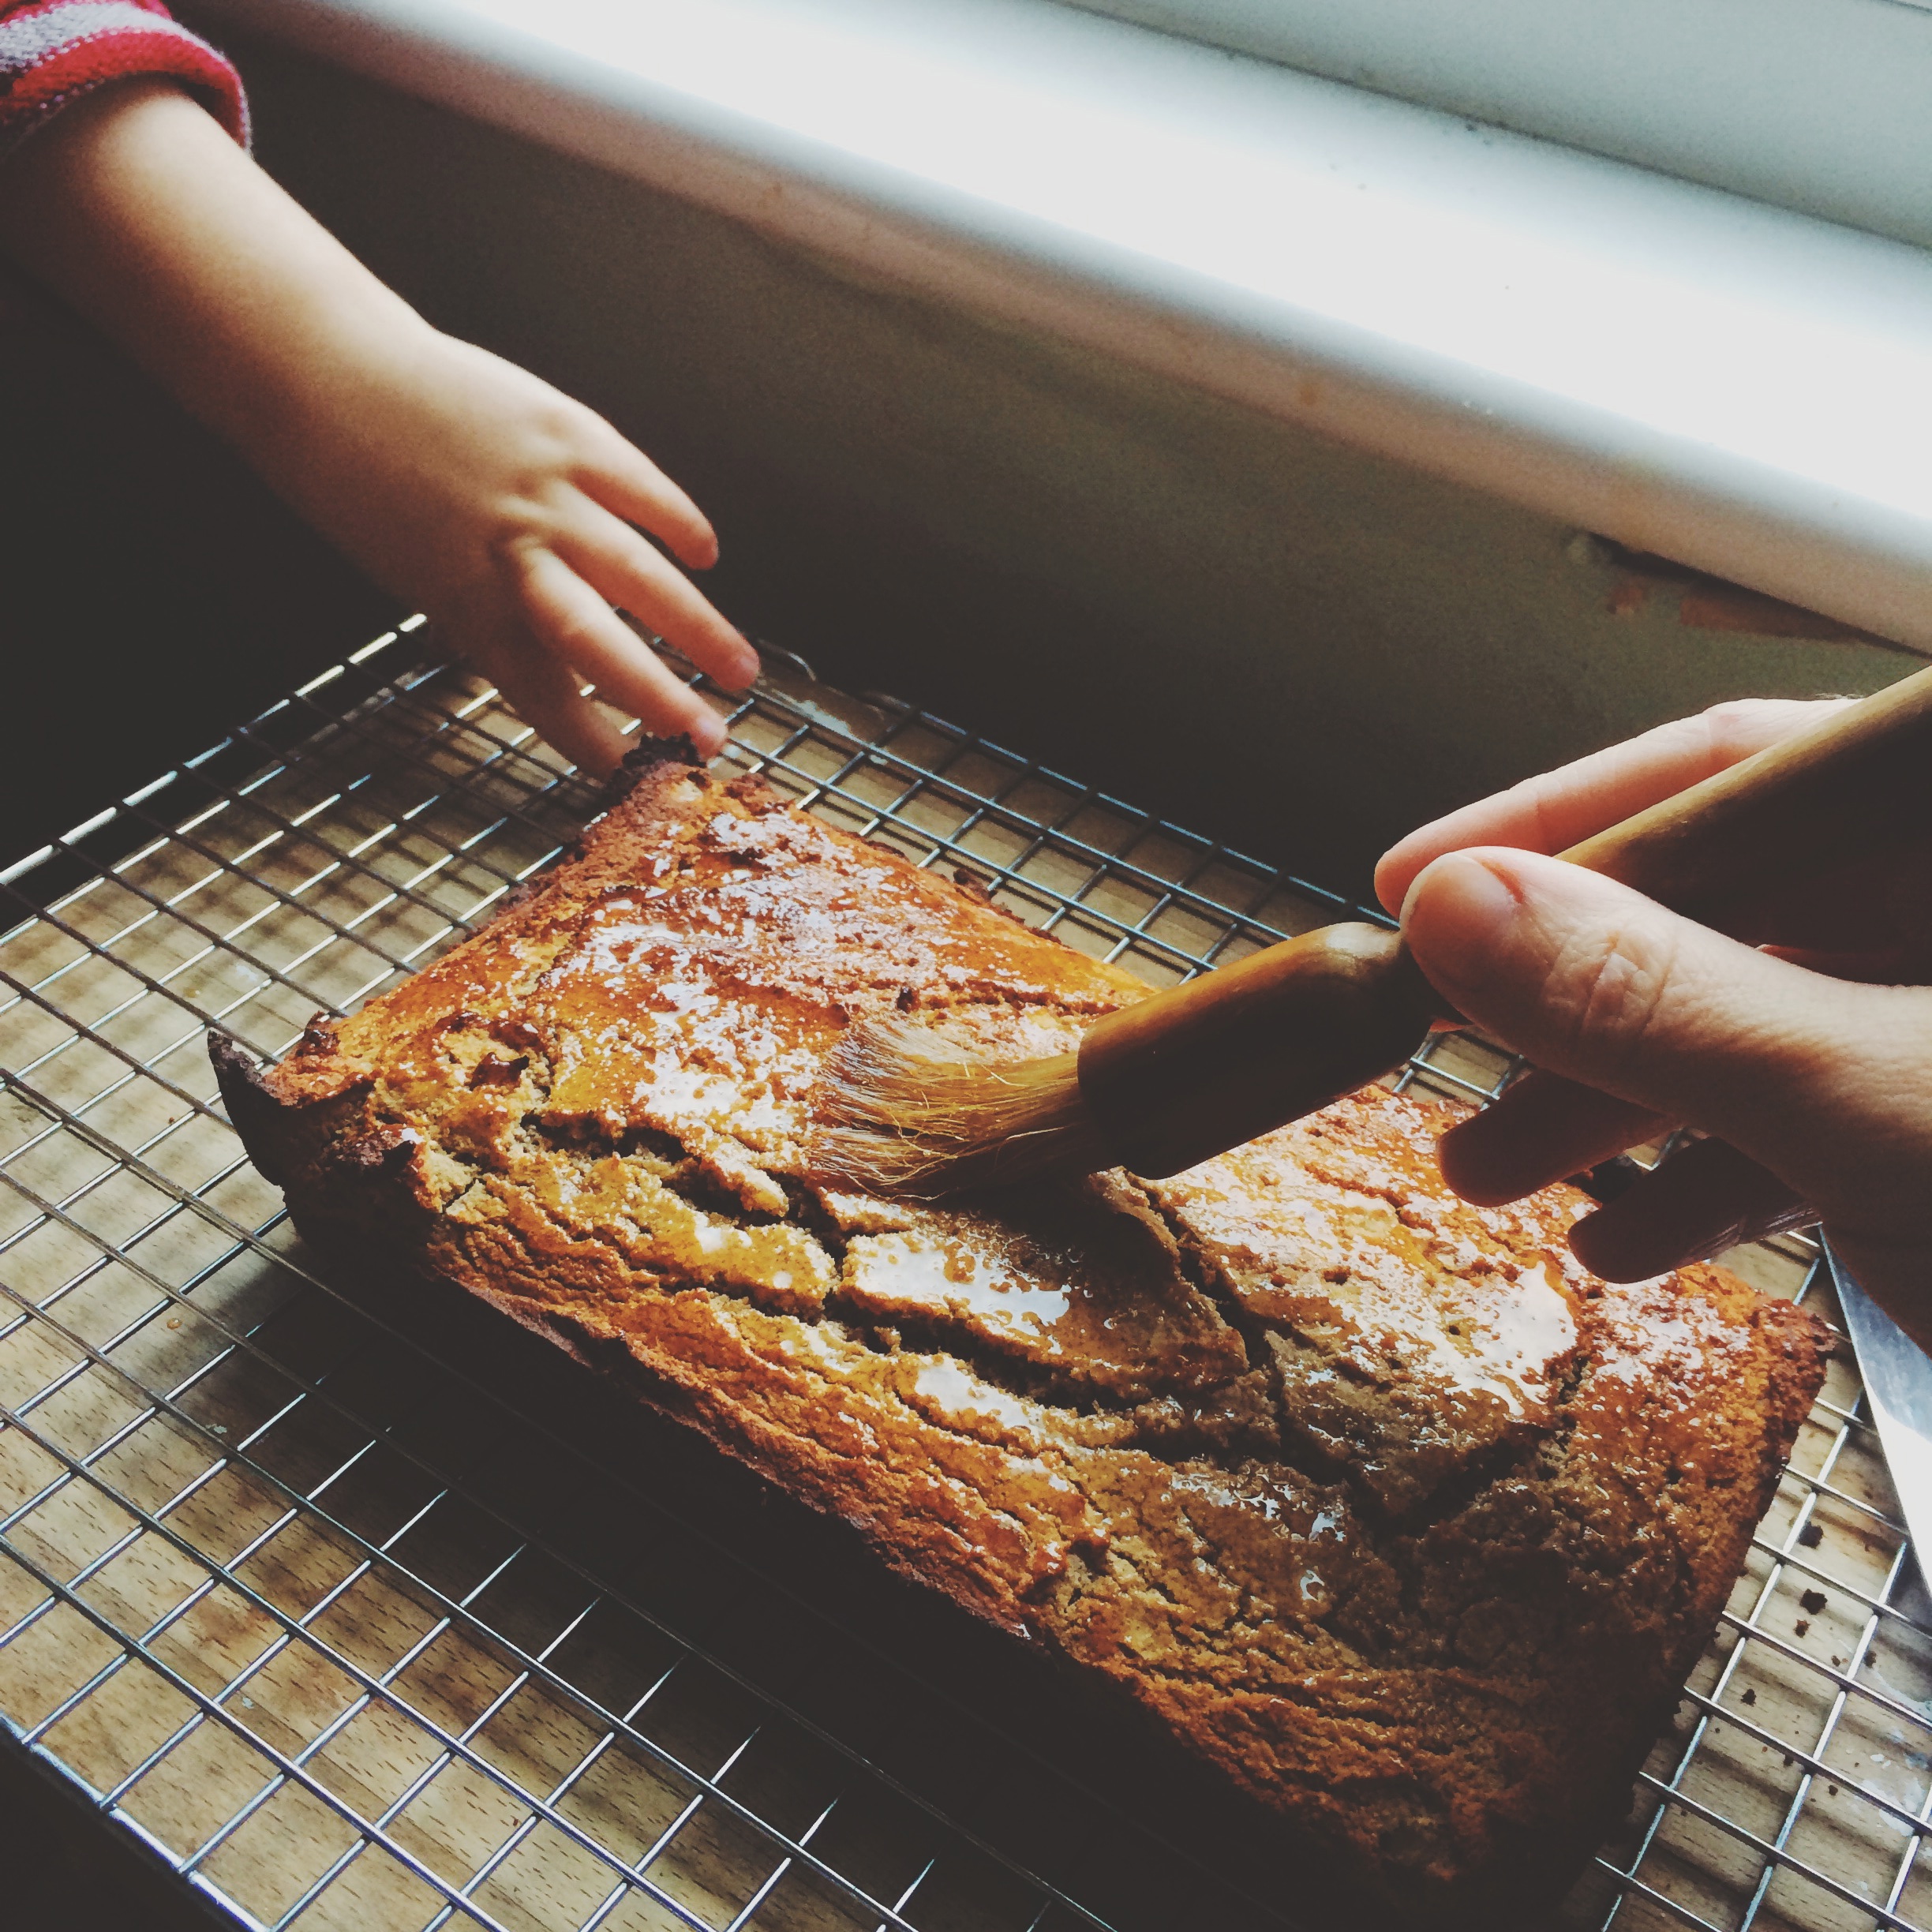
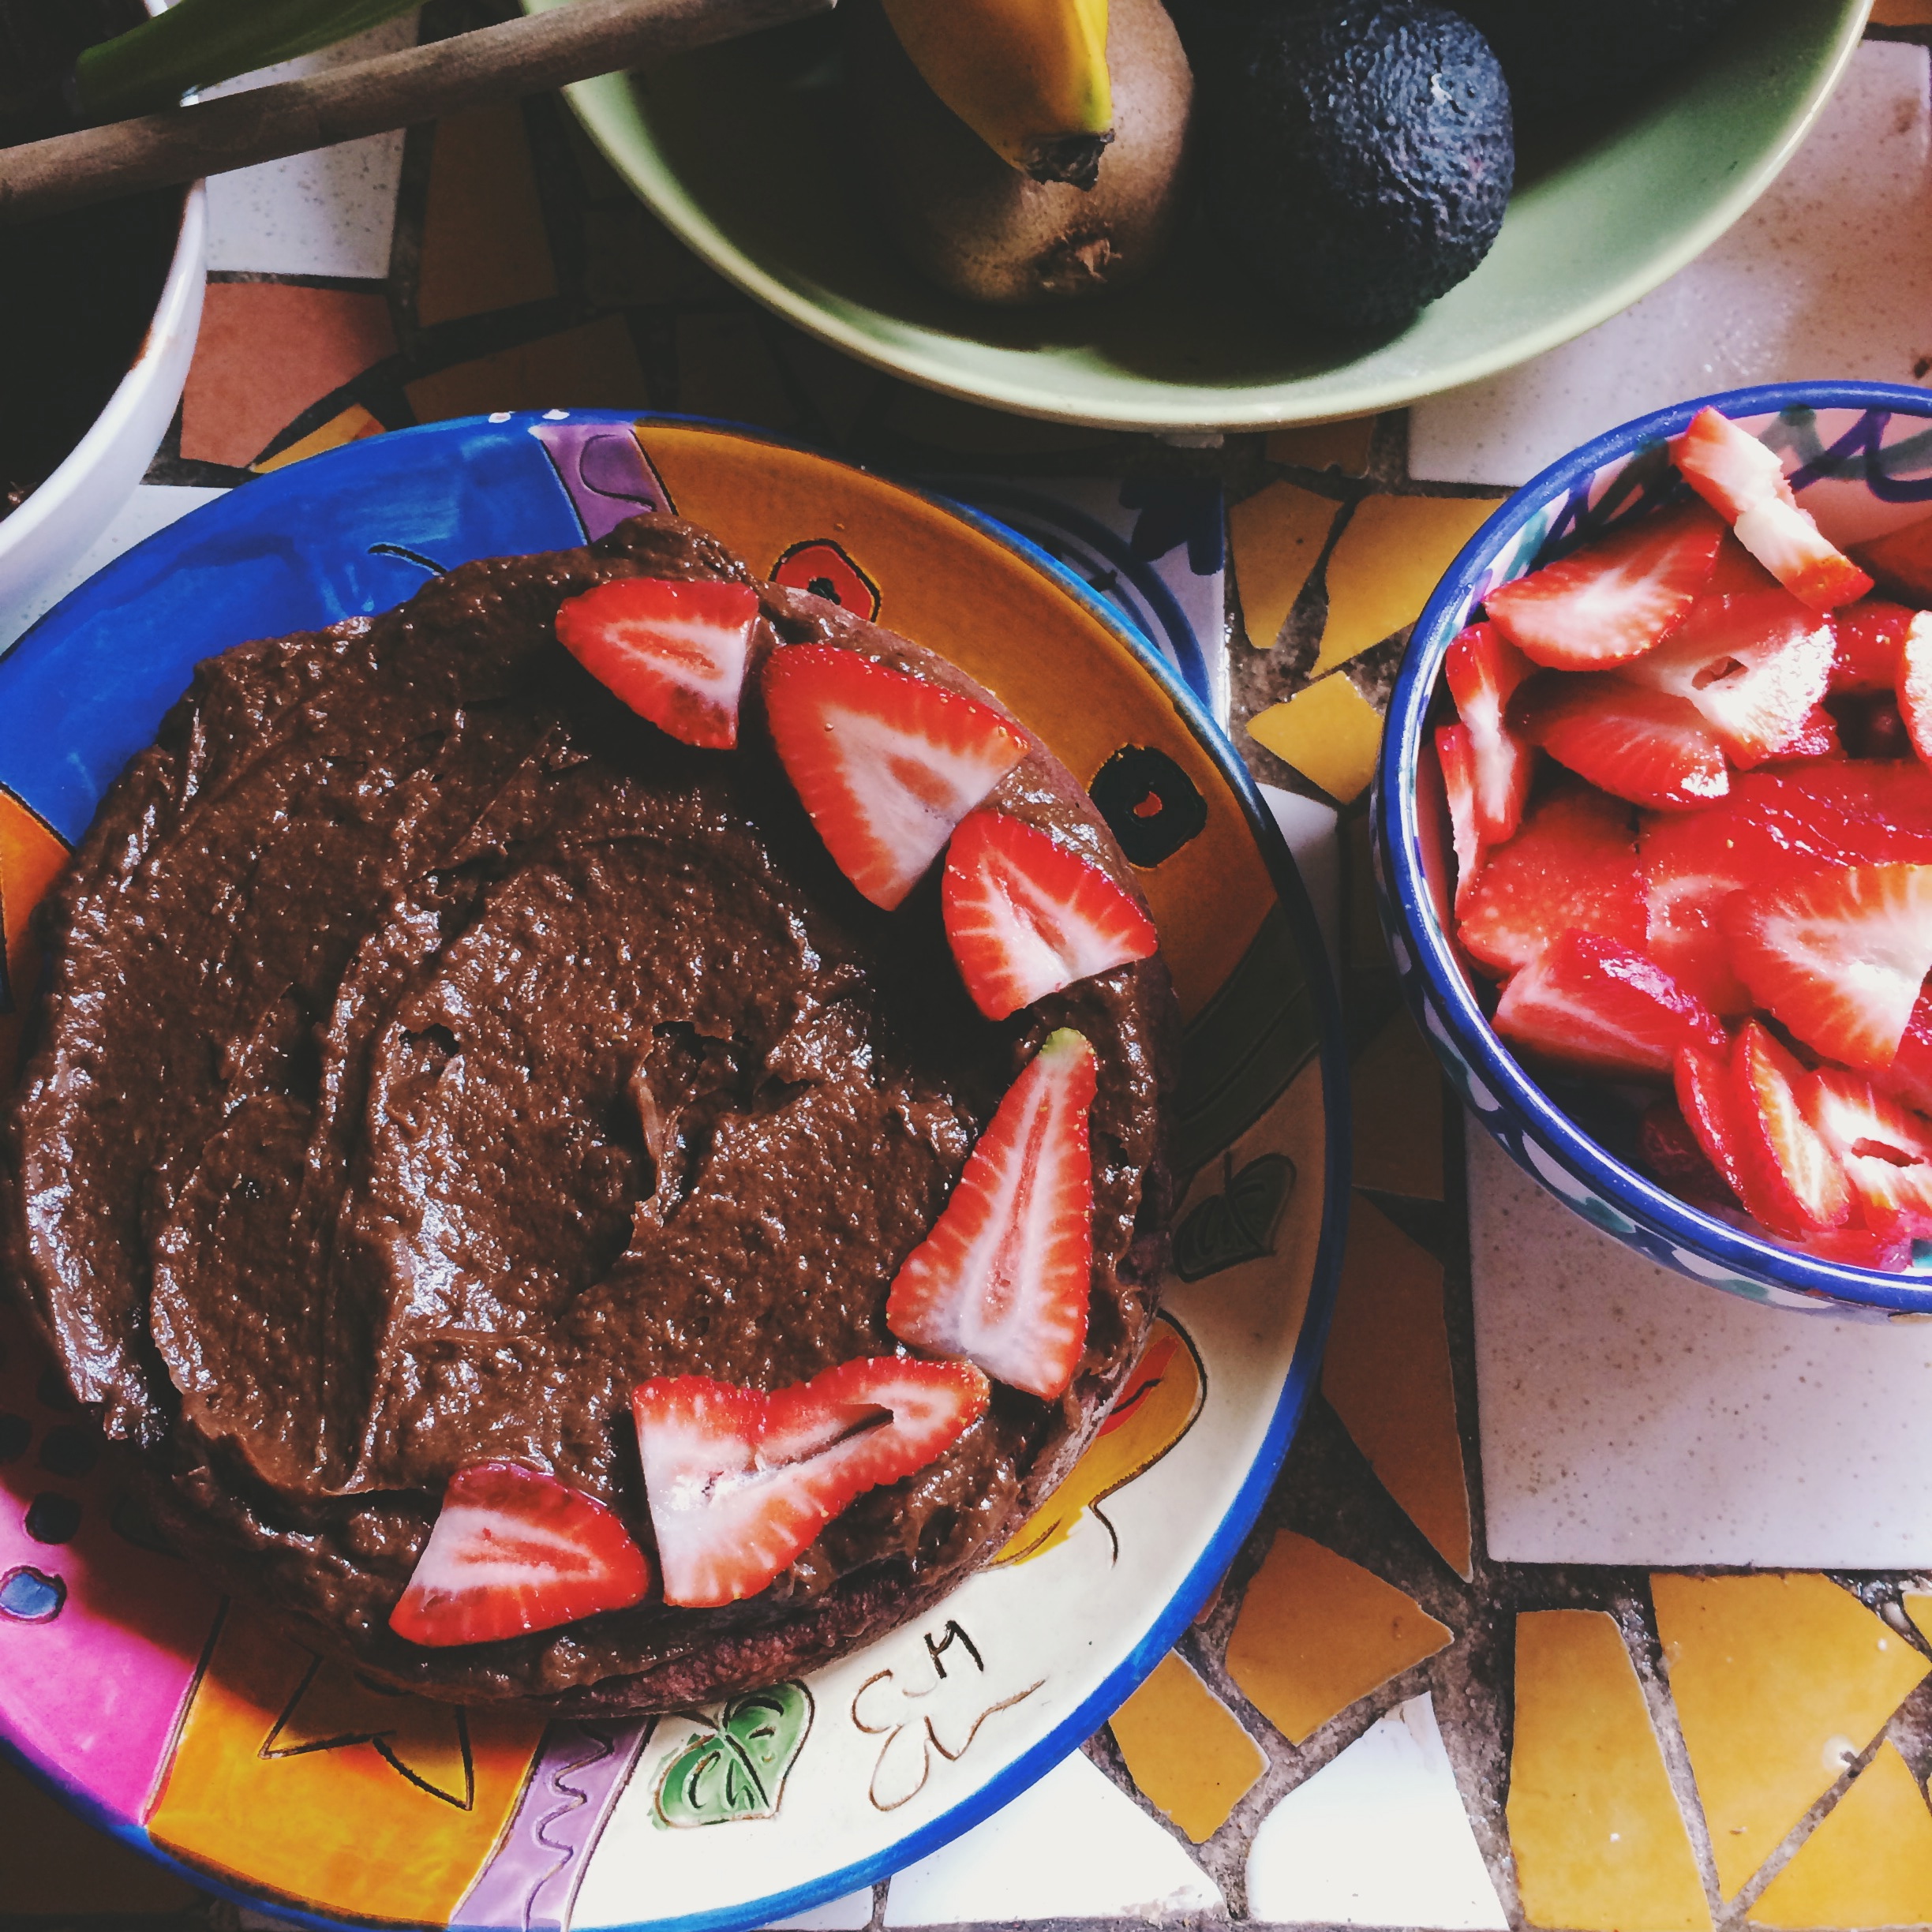
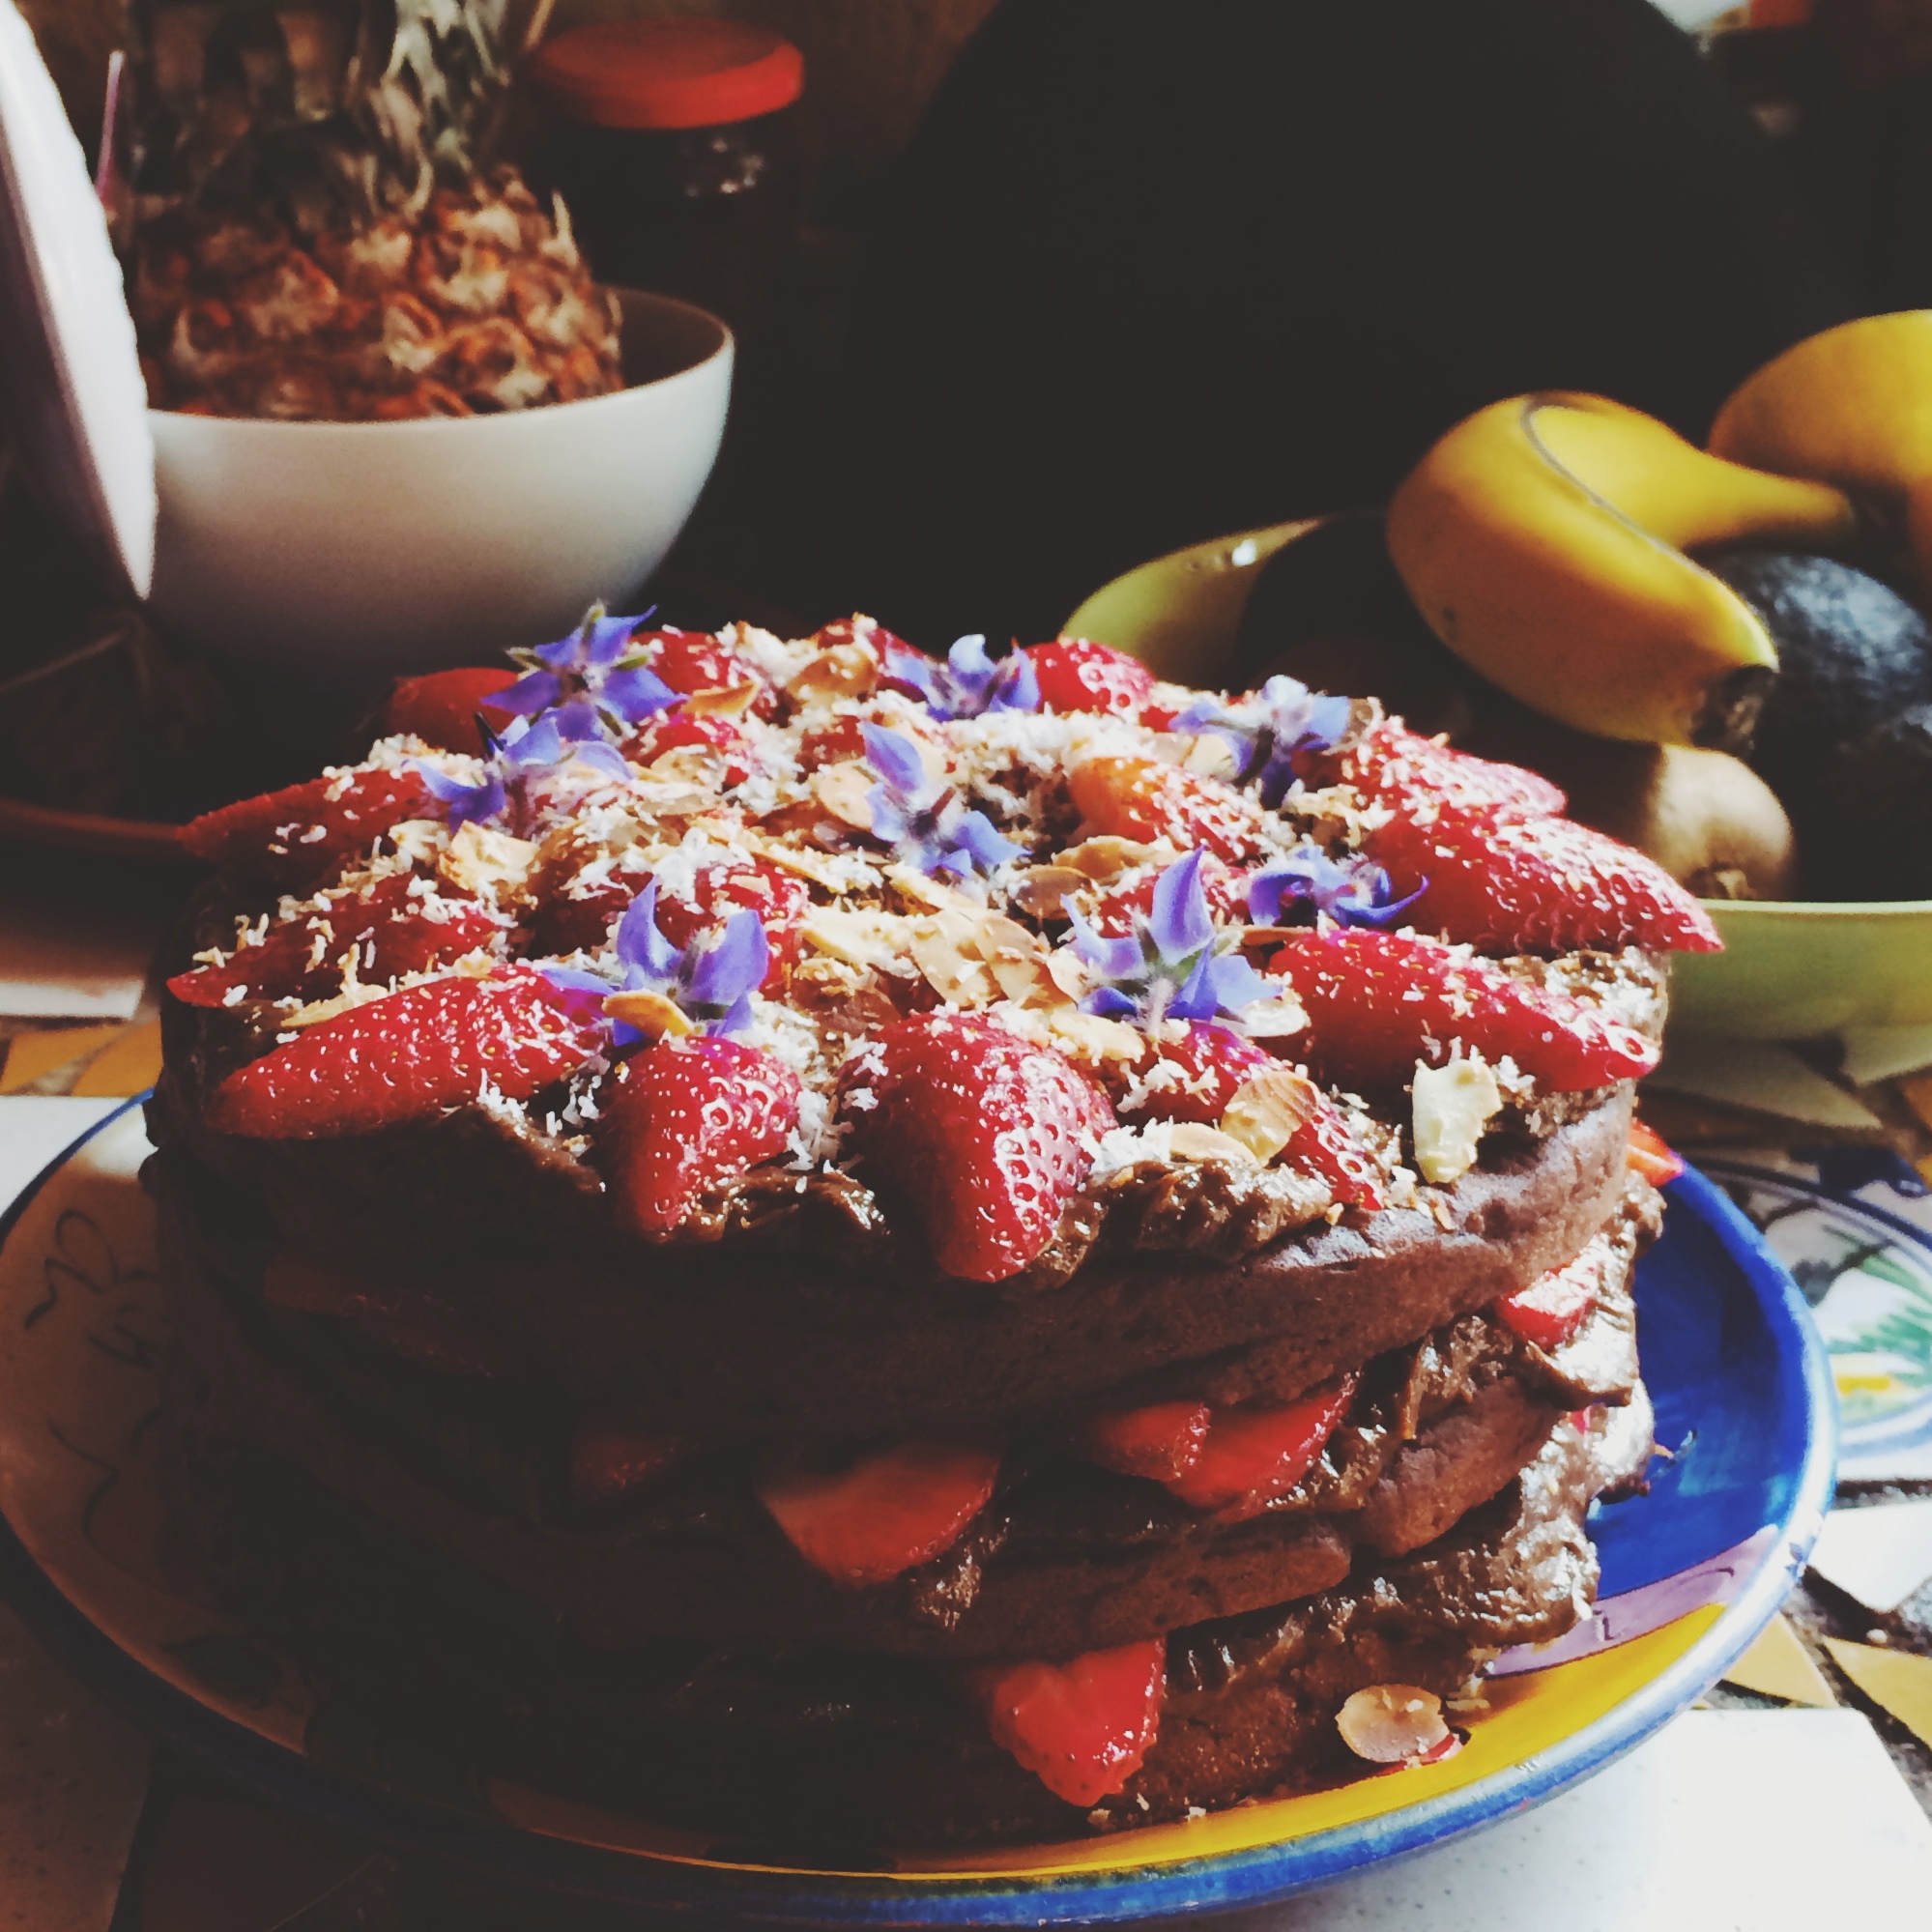
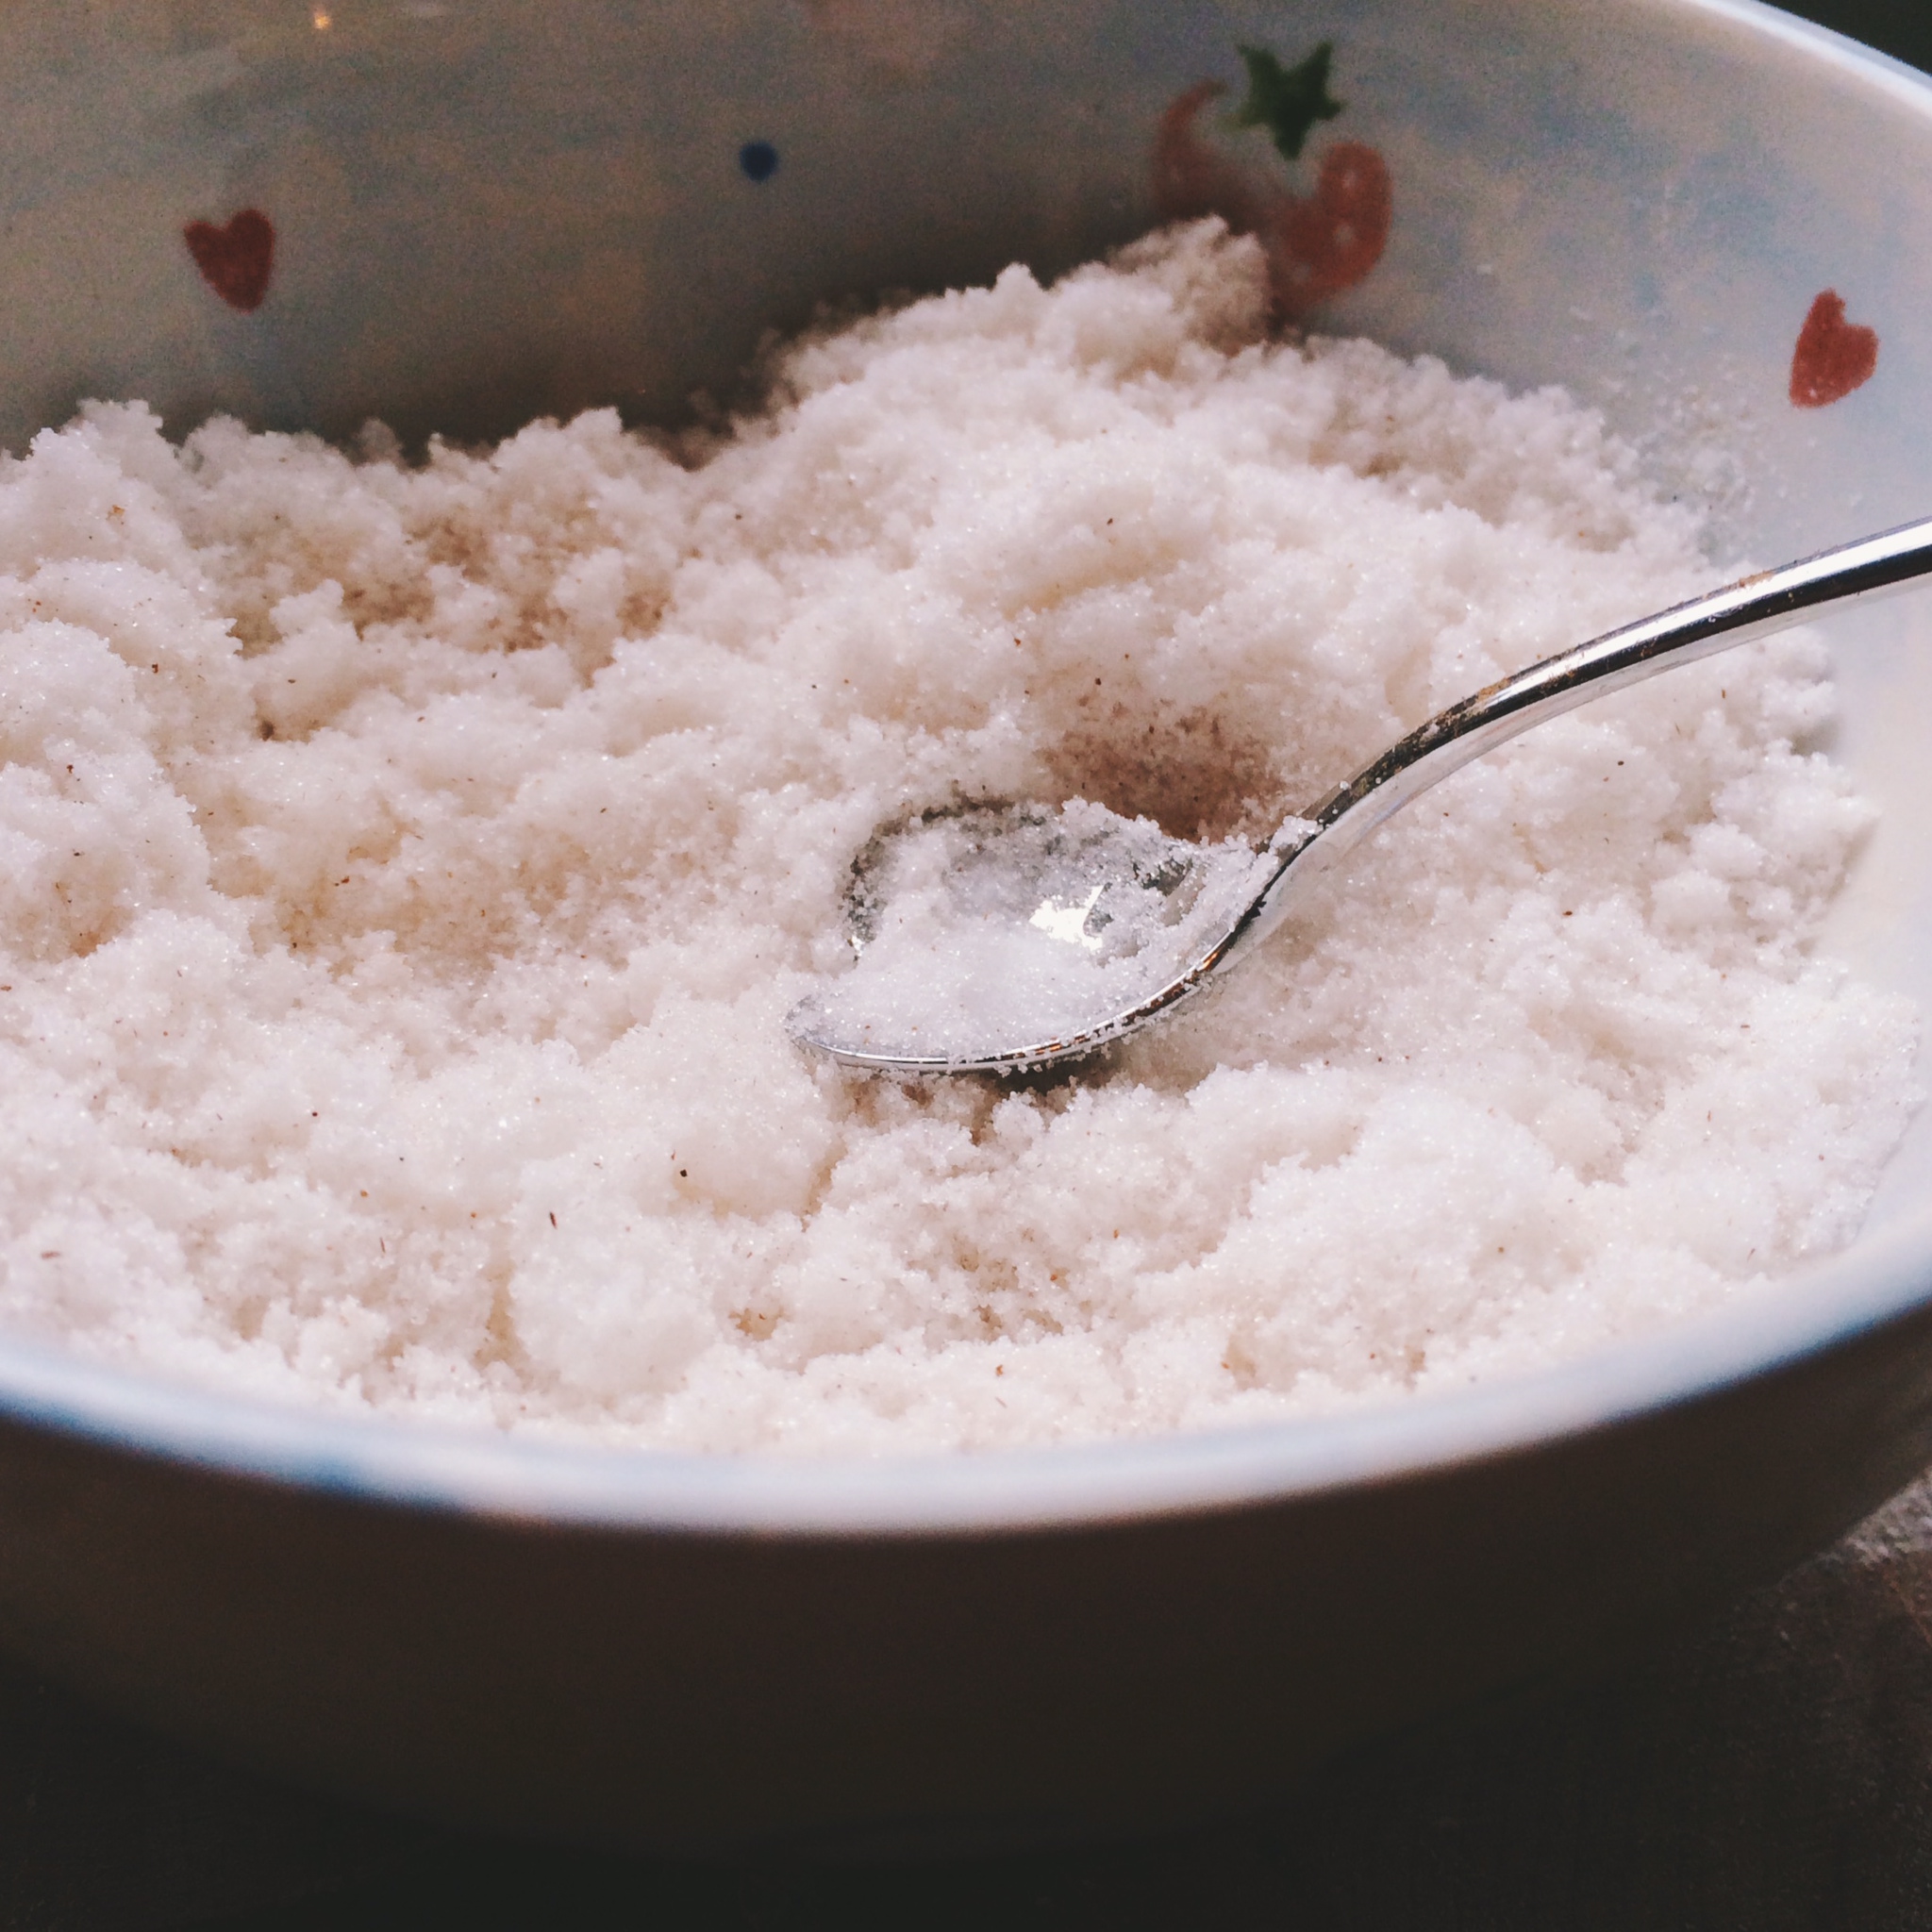
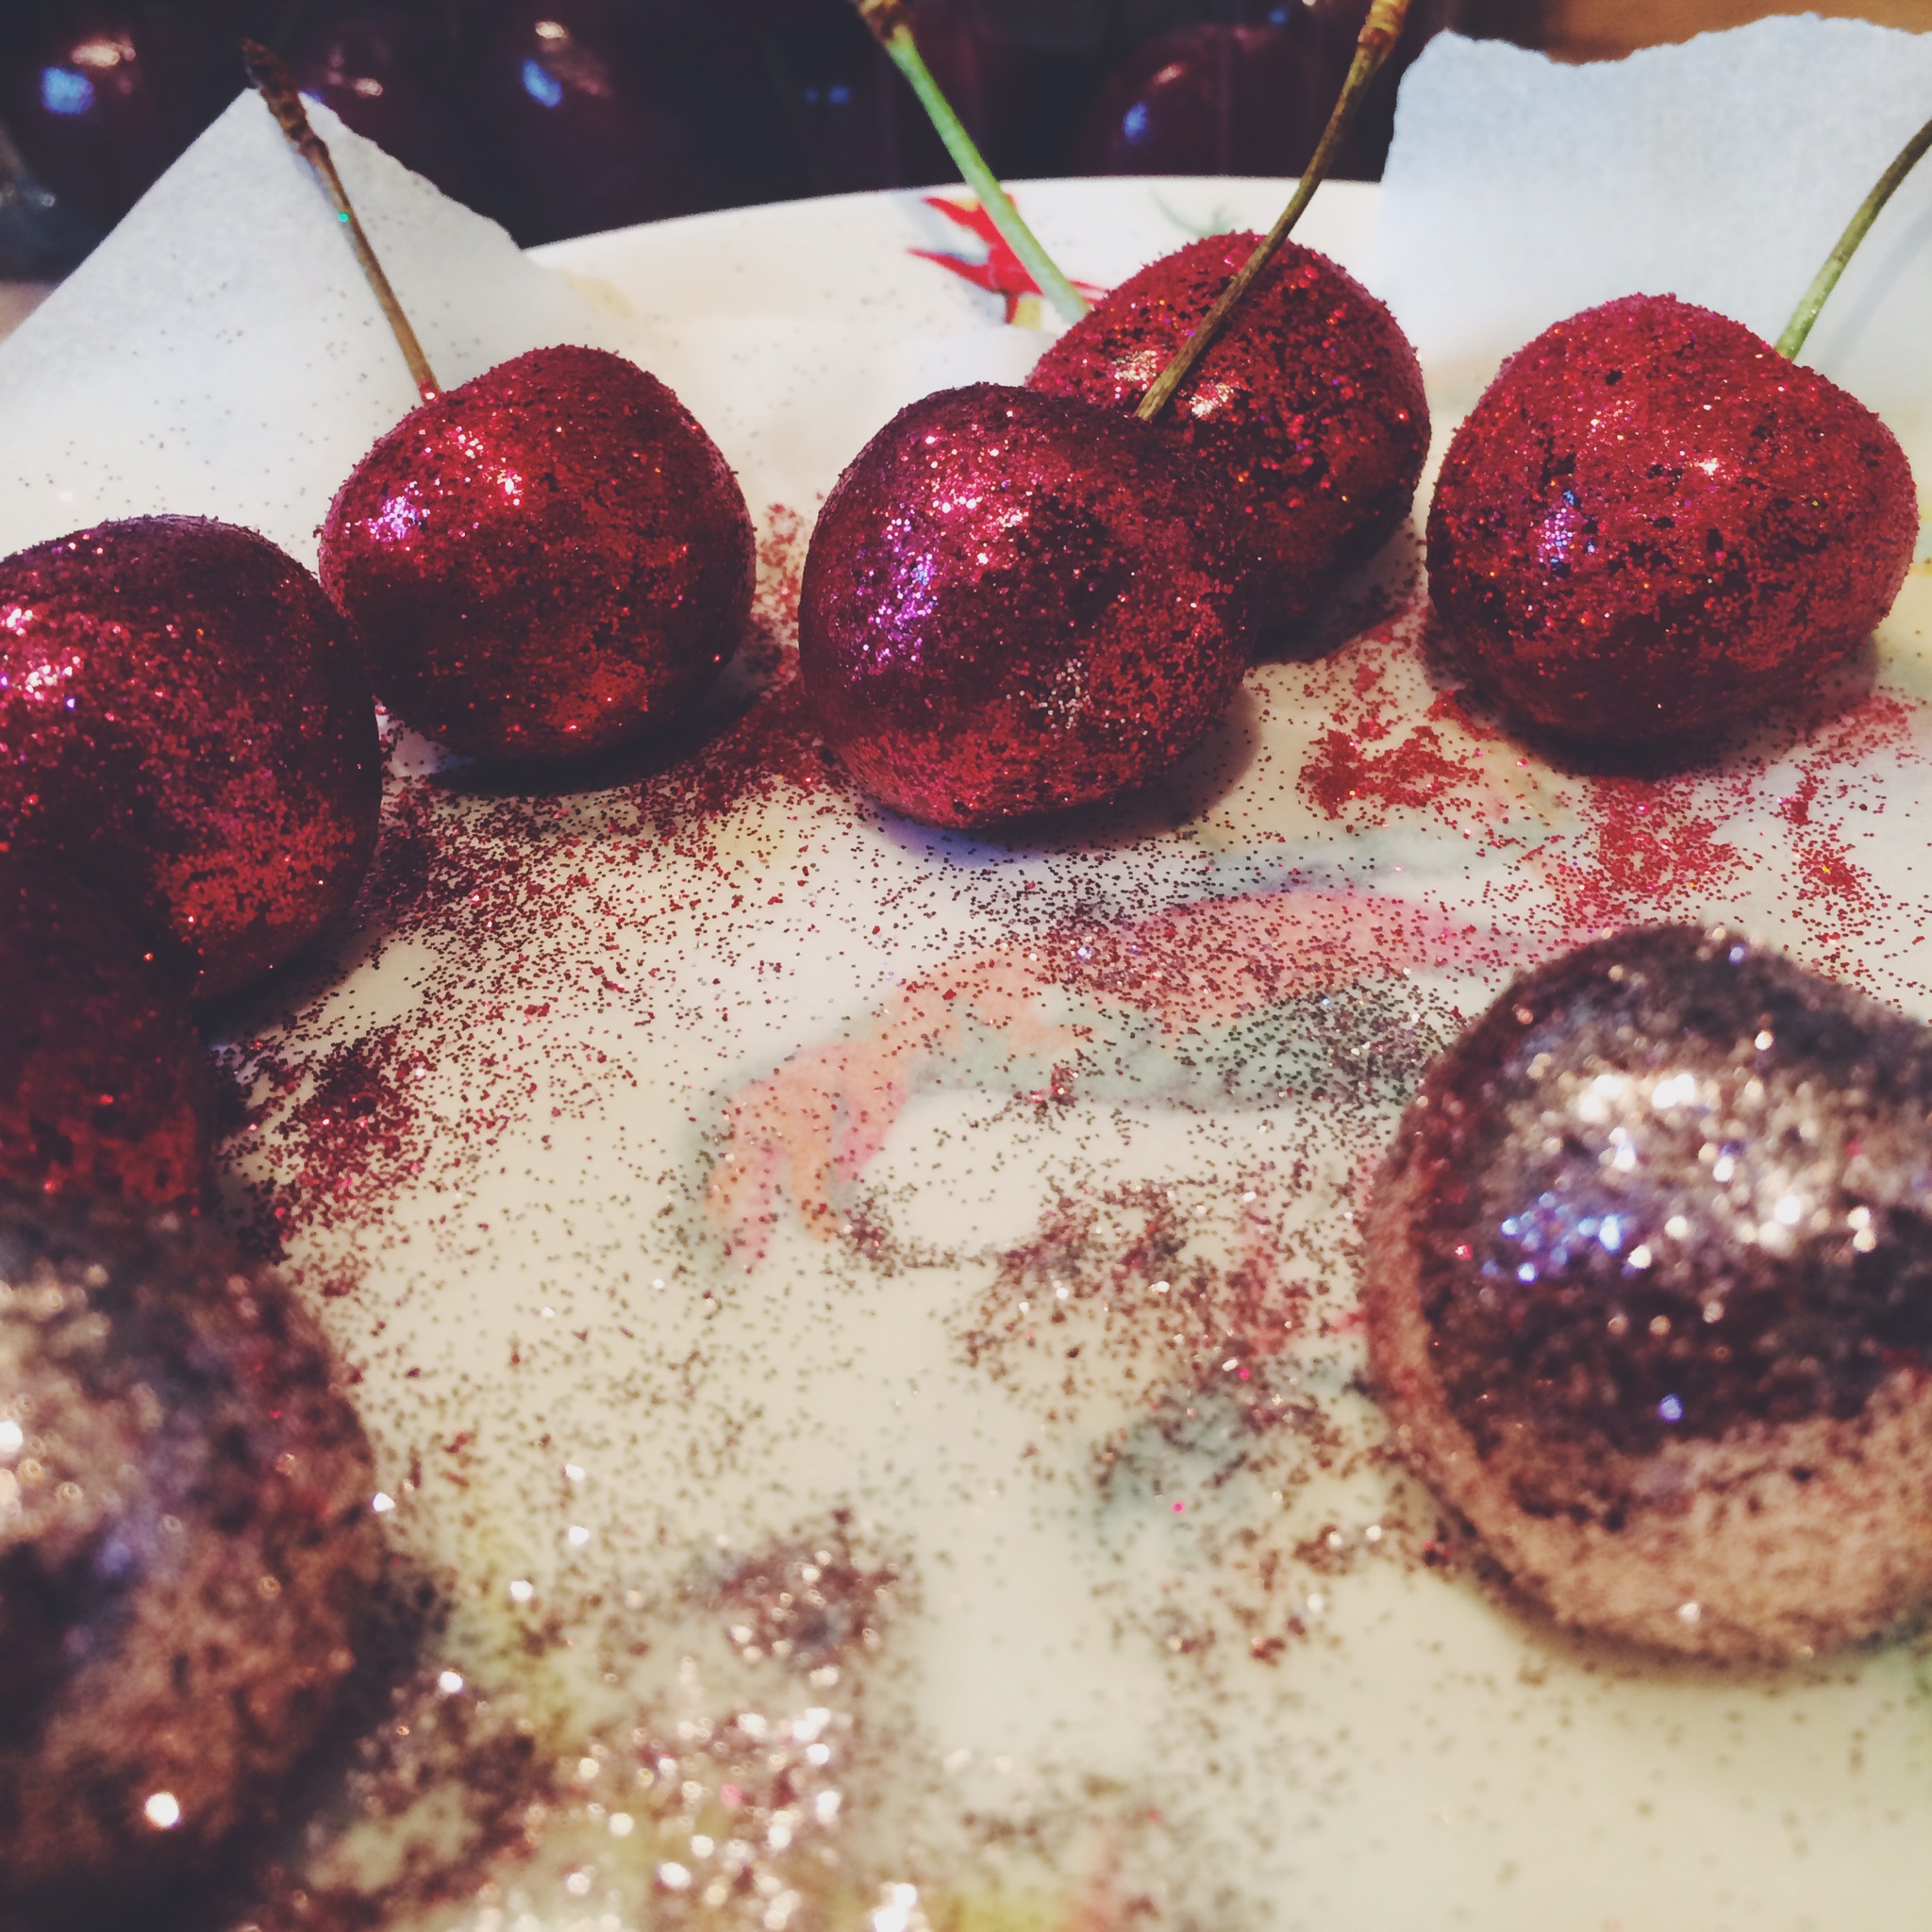
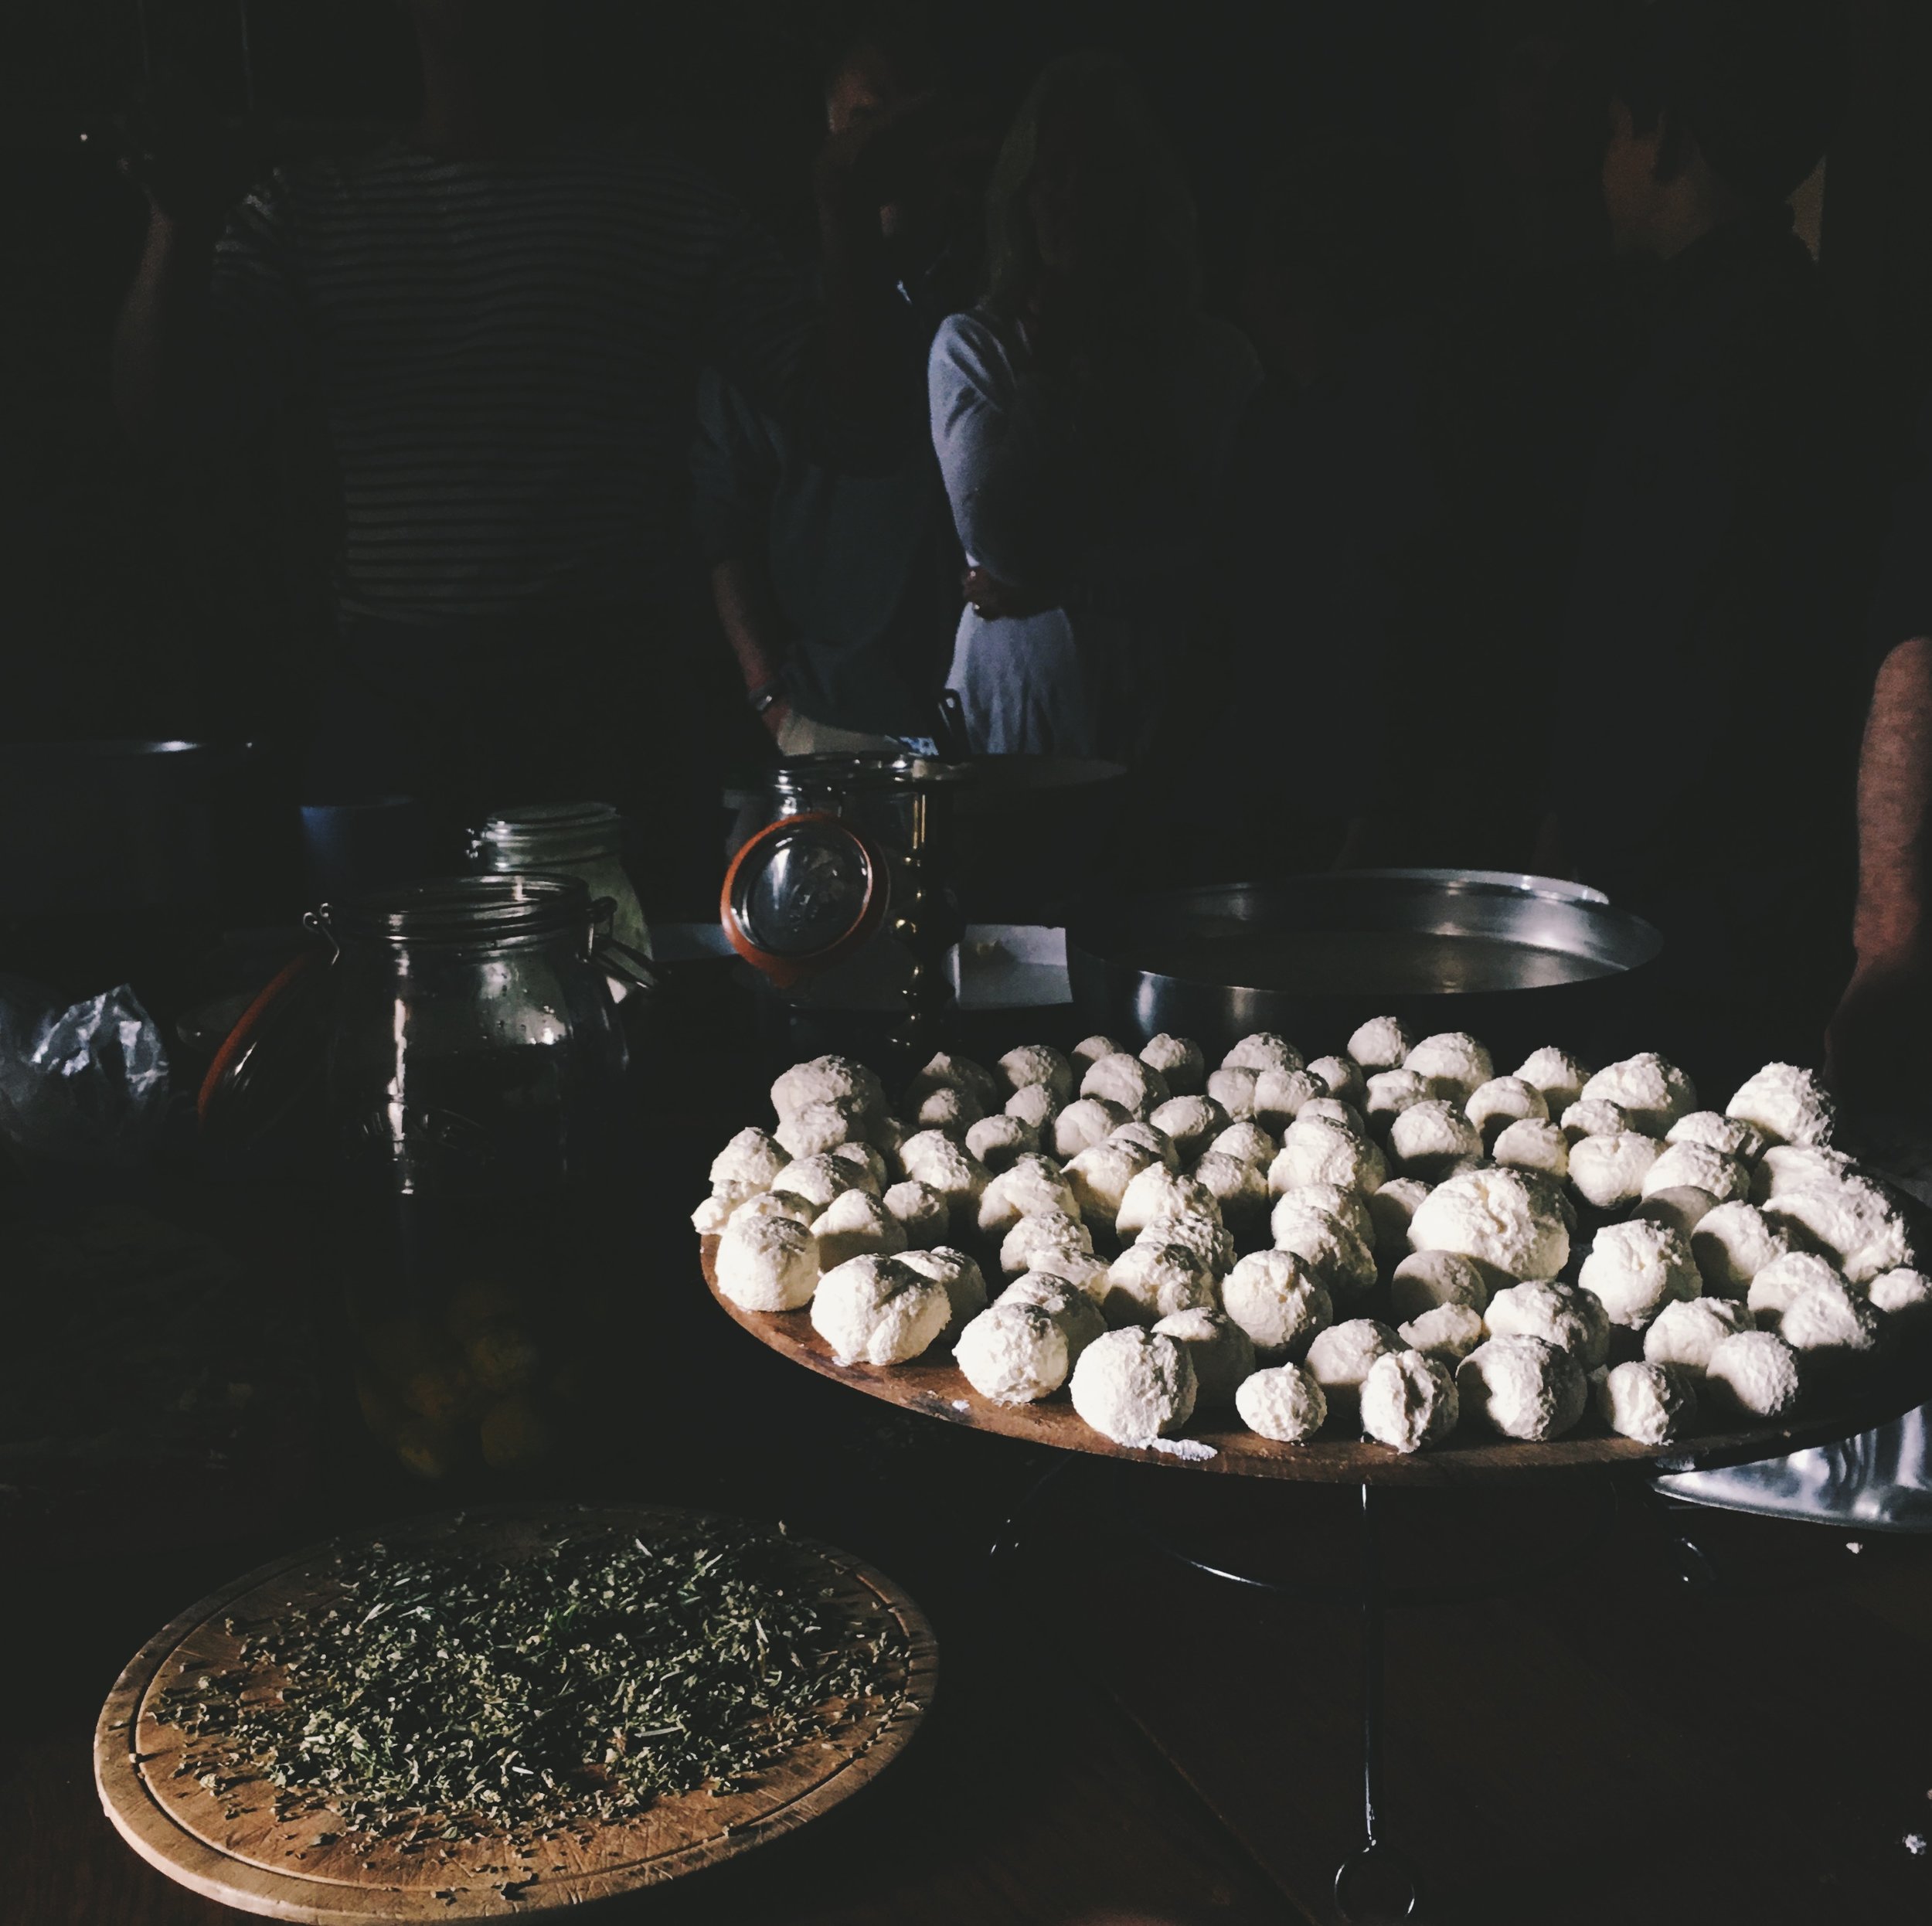
After a day or so in the fridge your cheese will be set. The longer you leave it the more solid but also more tangy it will be come. The less time you leave it the sweeter it is - more like ricotta. We ate ours asap with peaches and pancakes made with the buttermilk, but any left longer can be rubbed in salt to prevent mould. Or you can form it into creamy little balls, rub in herbs and drop it into jars of oil, a technique we learned earlier in the summer whilst doing a little cheese making workshop at Fforest Gather. Either way, delicious, and fun, easy and magic for kids to join in with. As well as much better for you than anything you could buy in a shop...

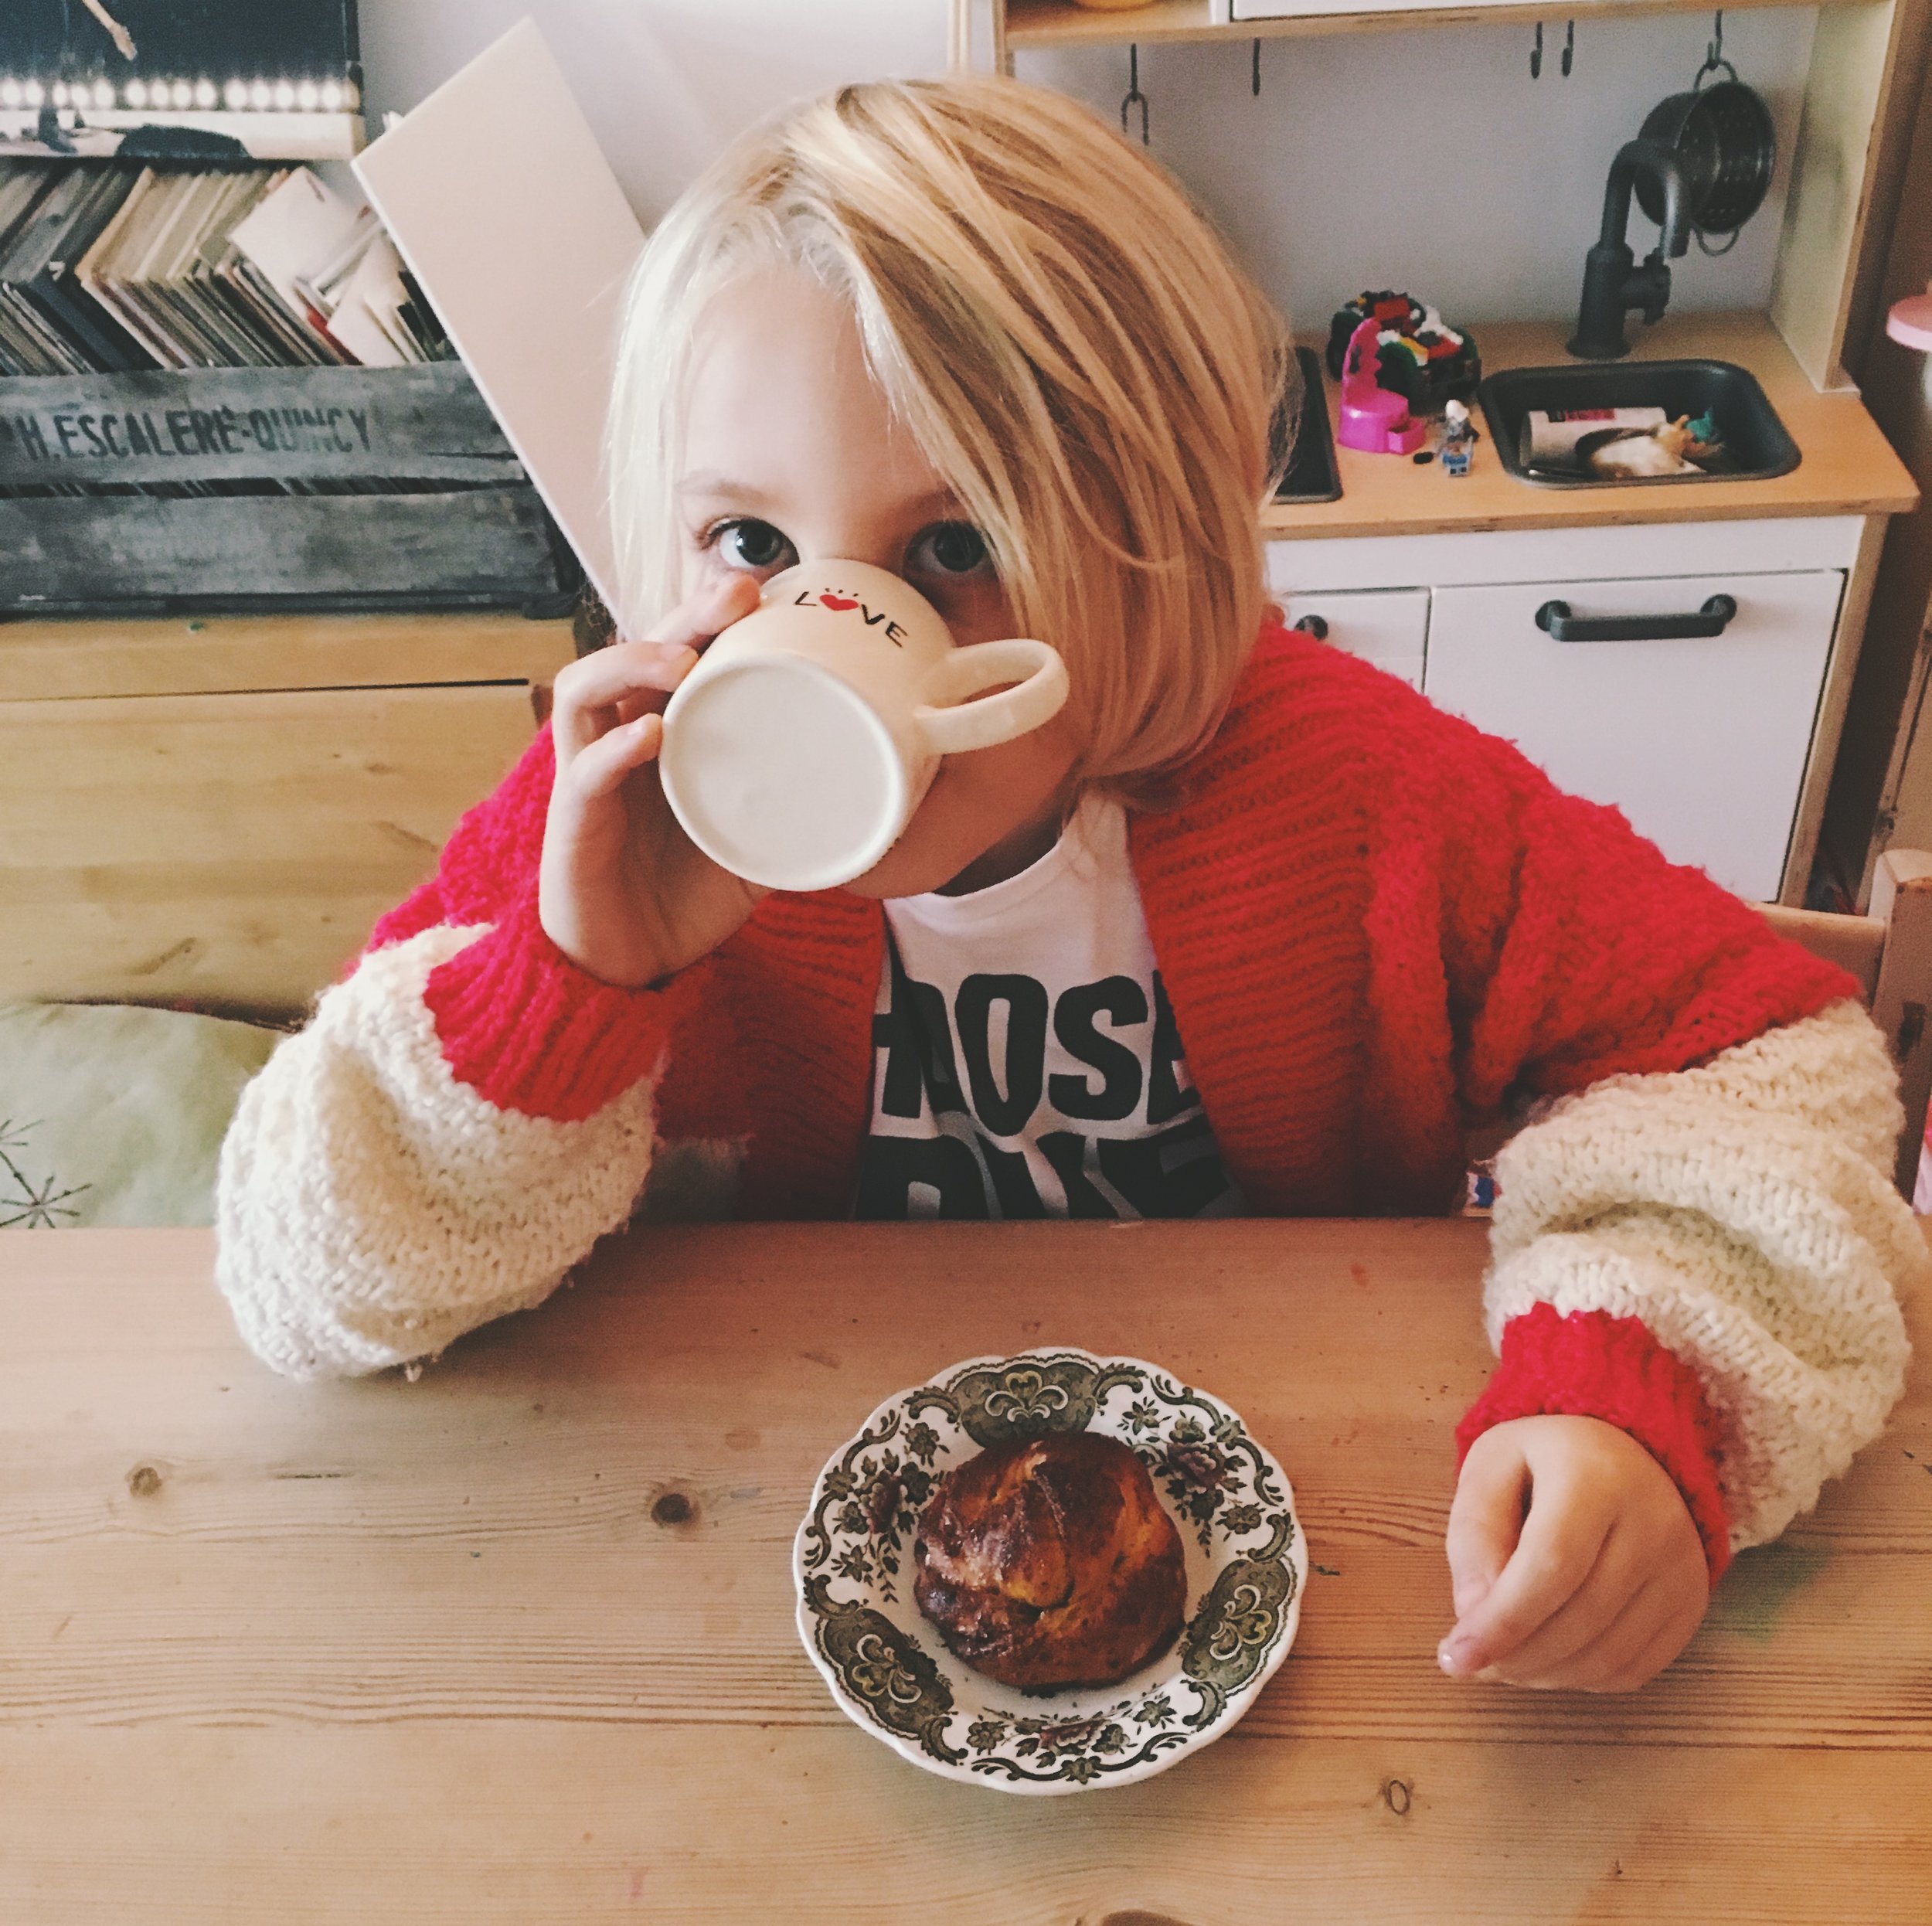
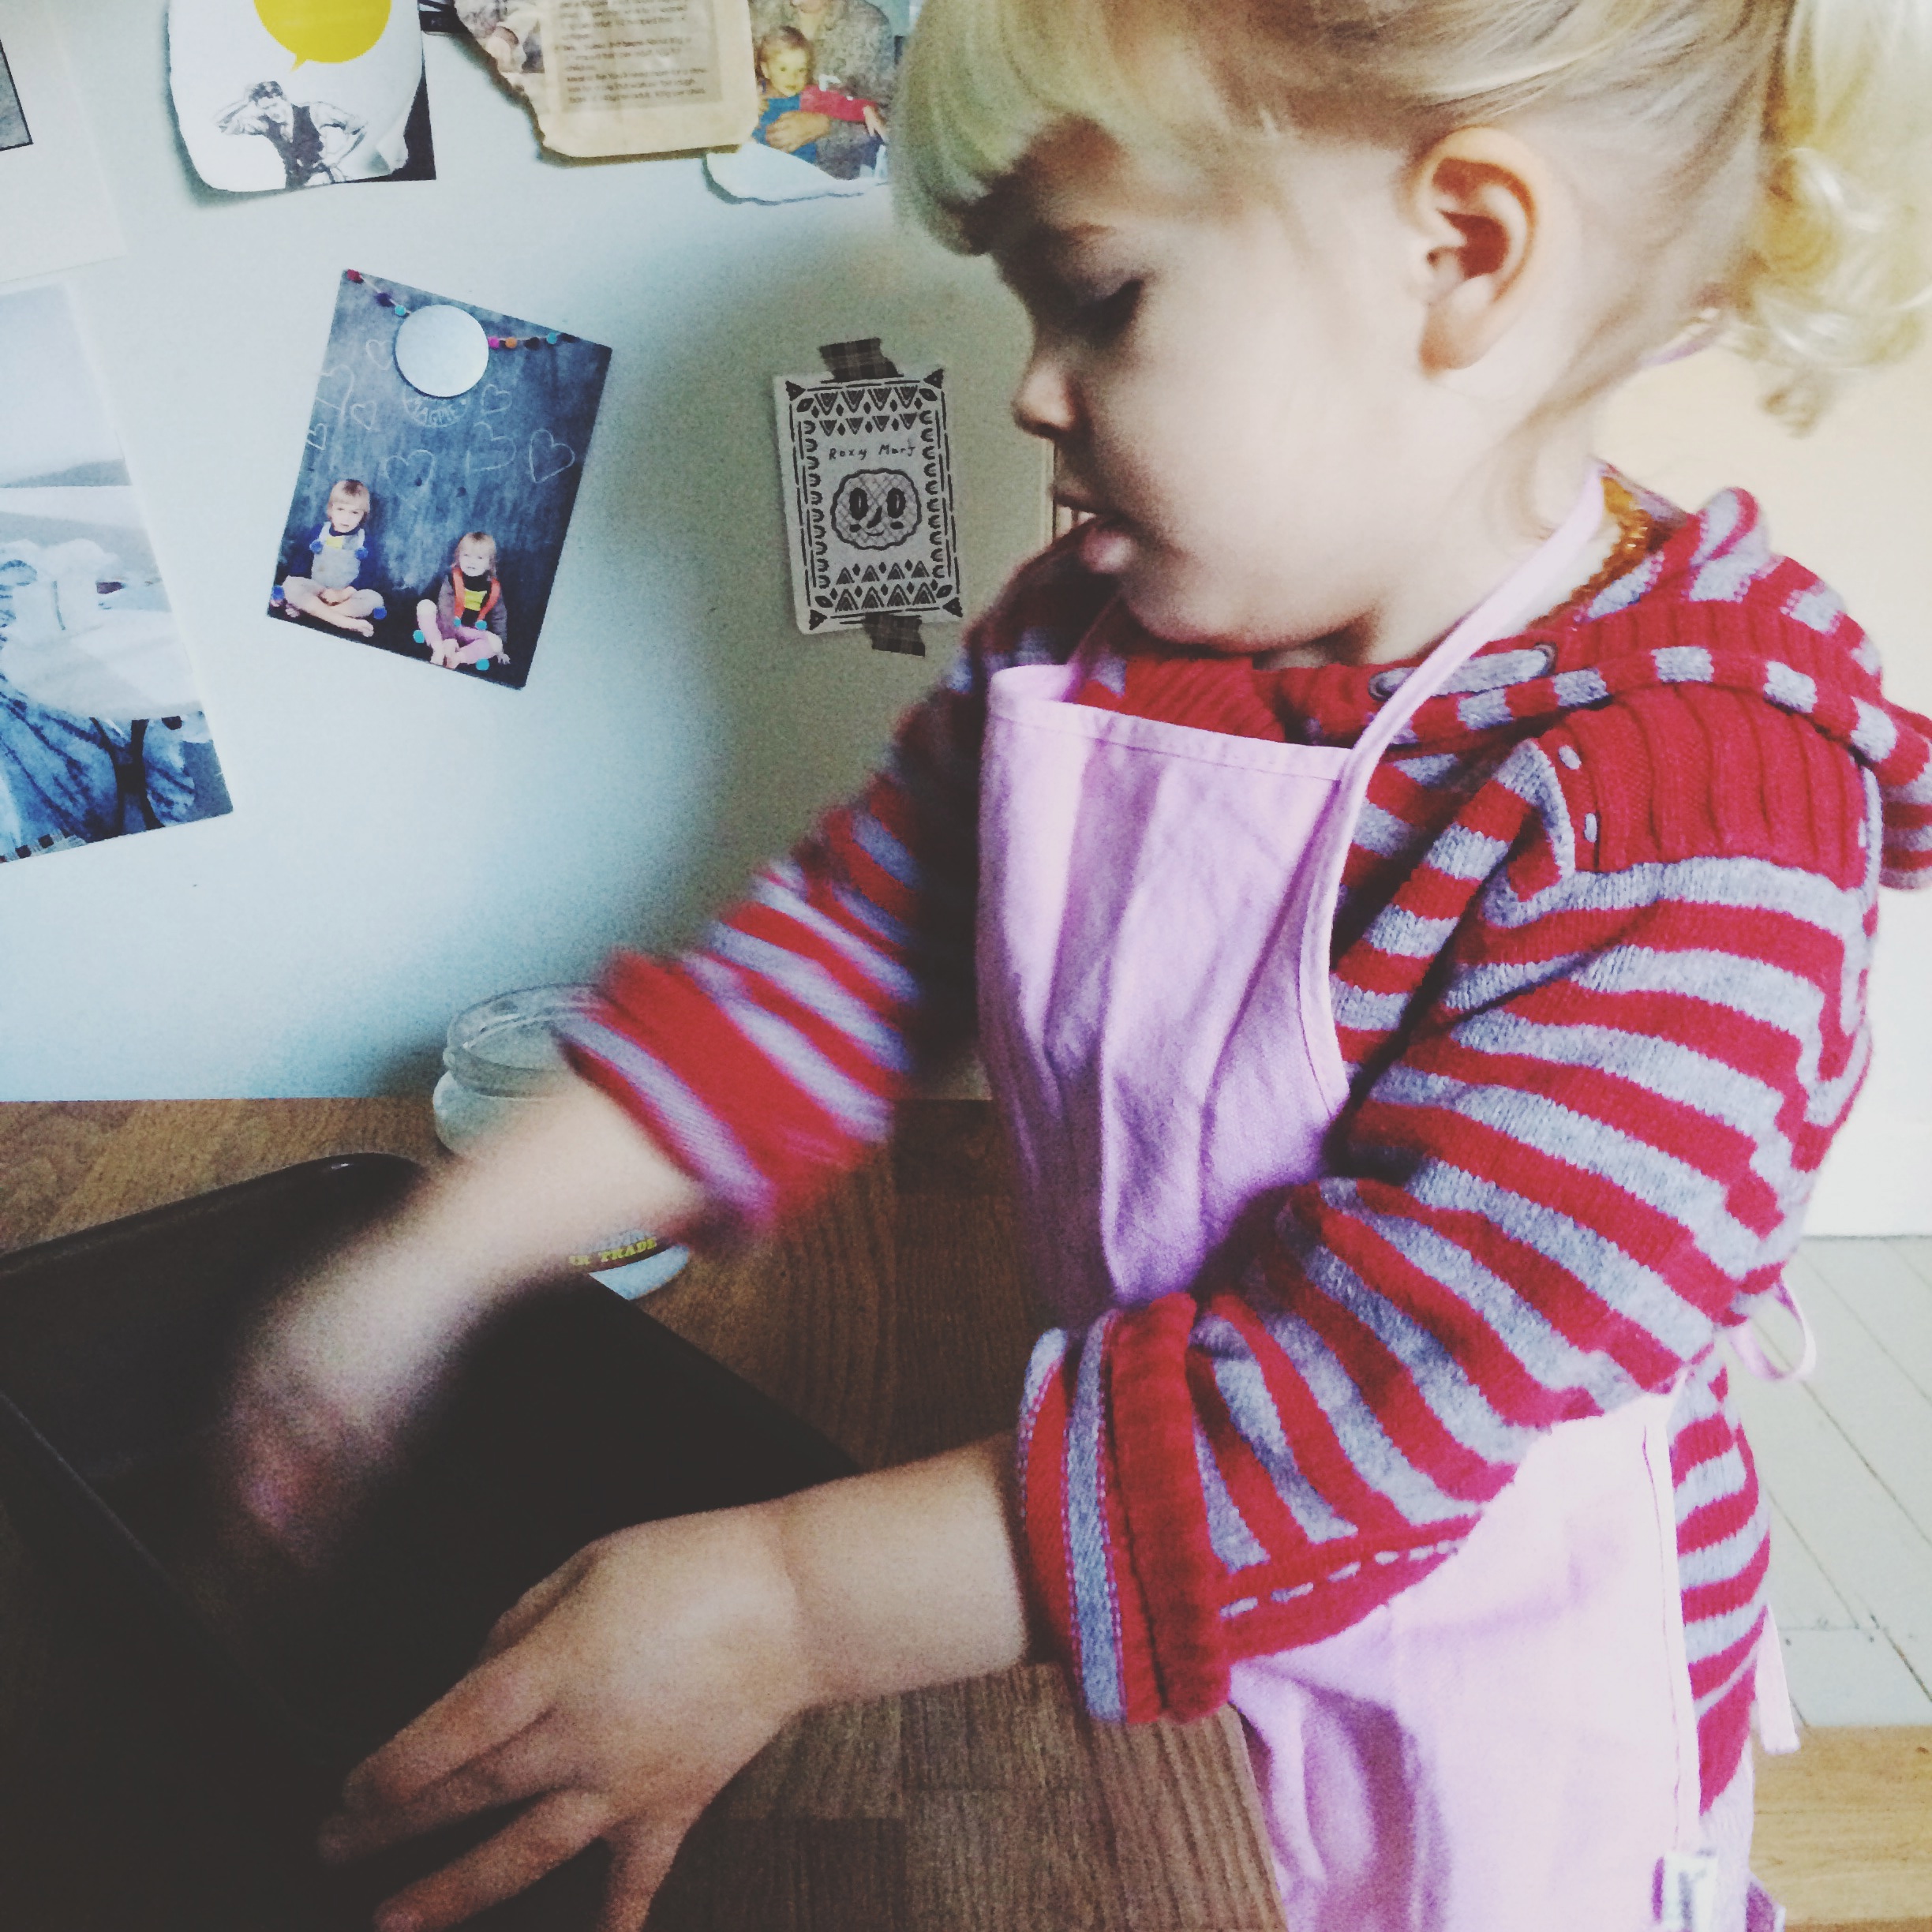
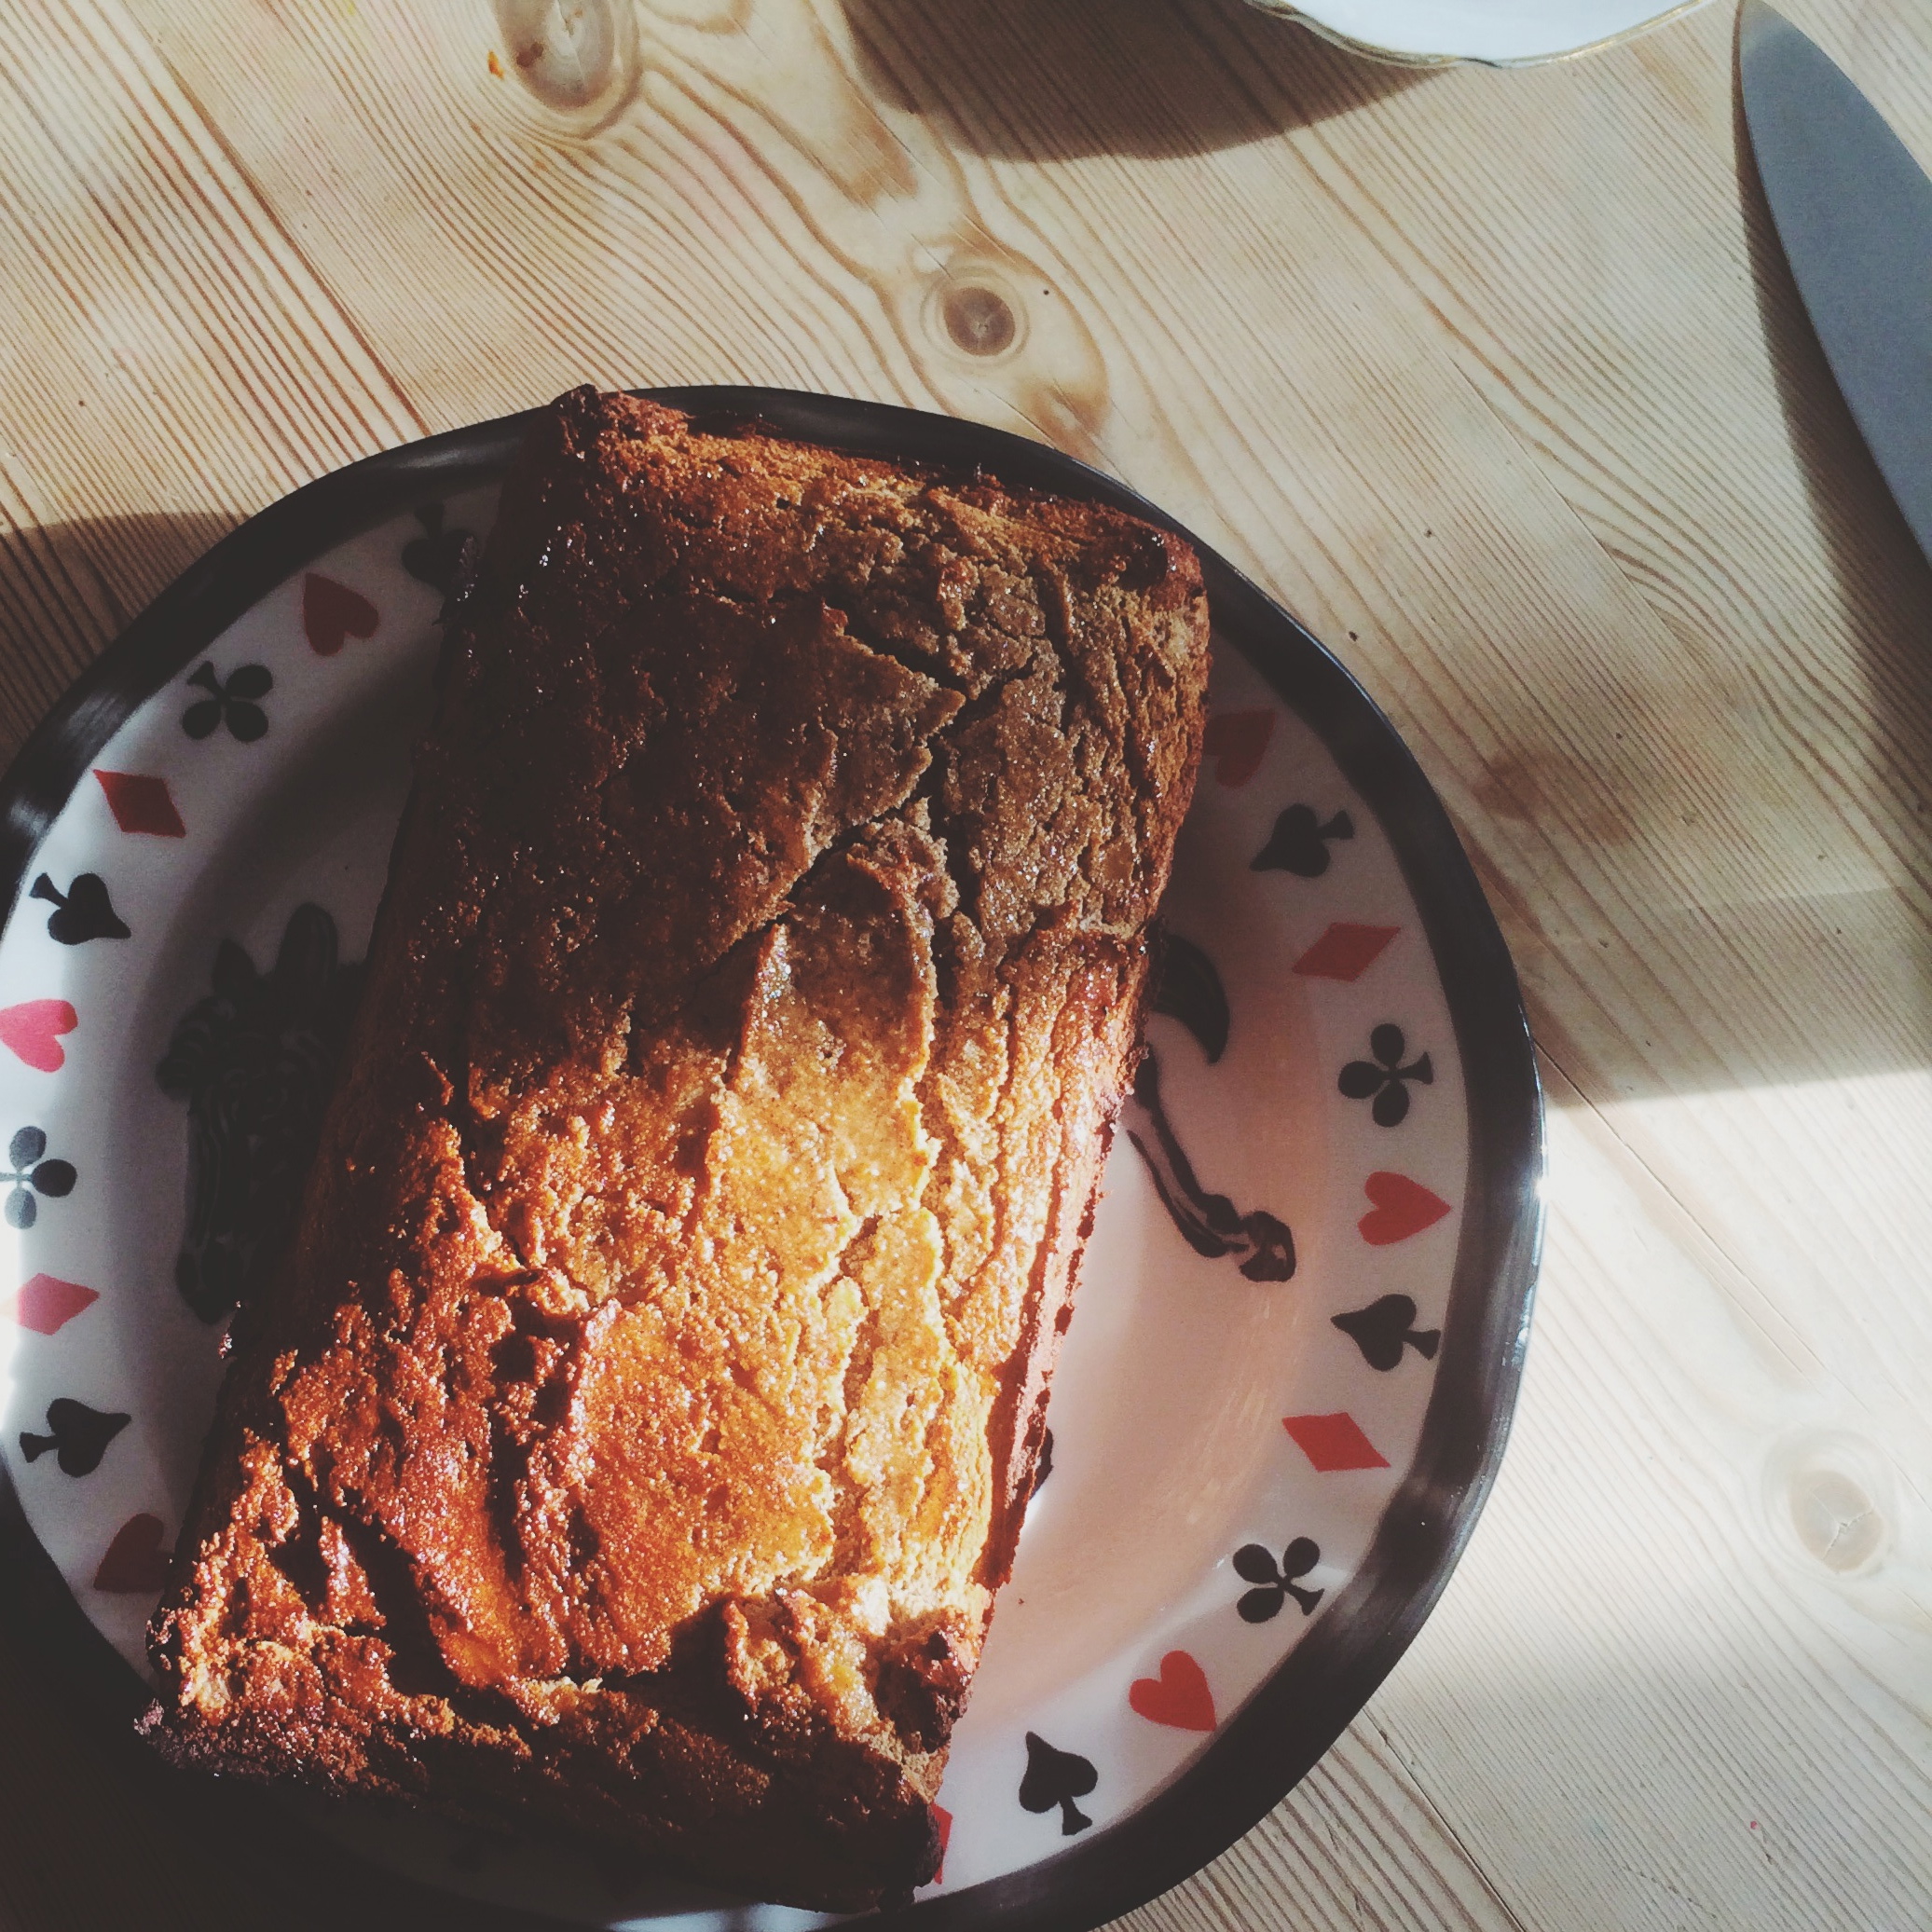
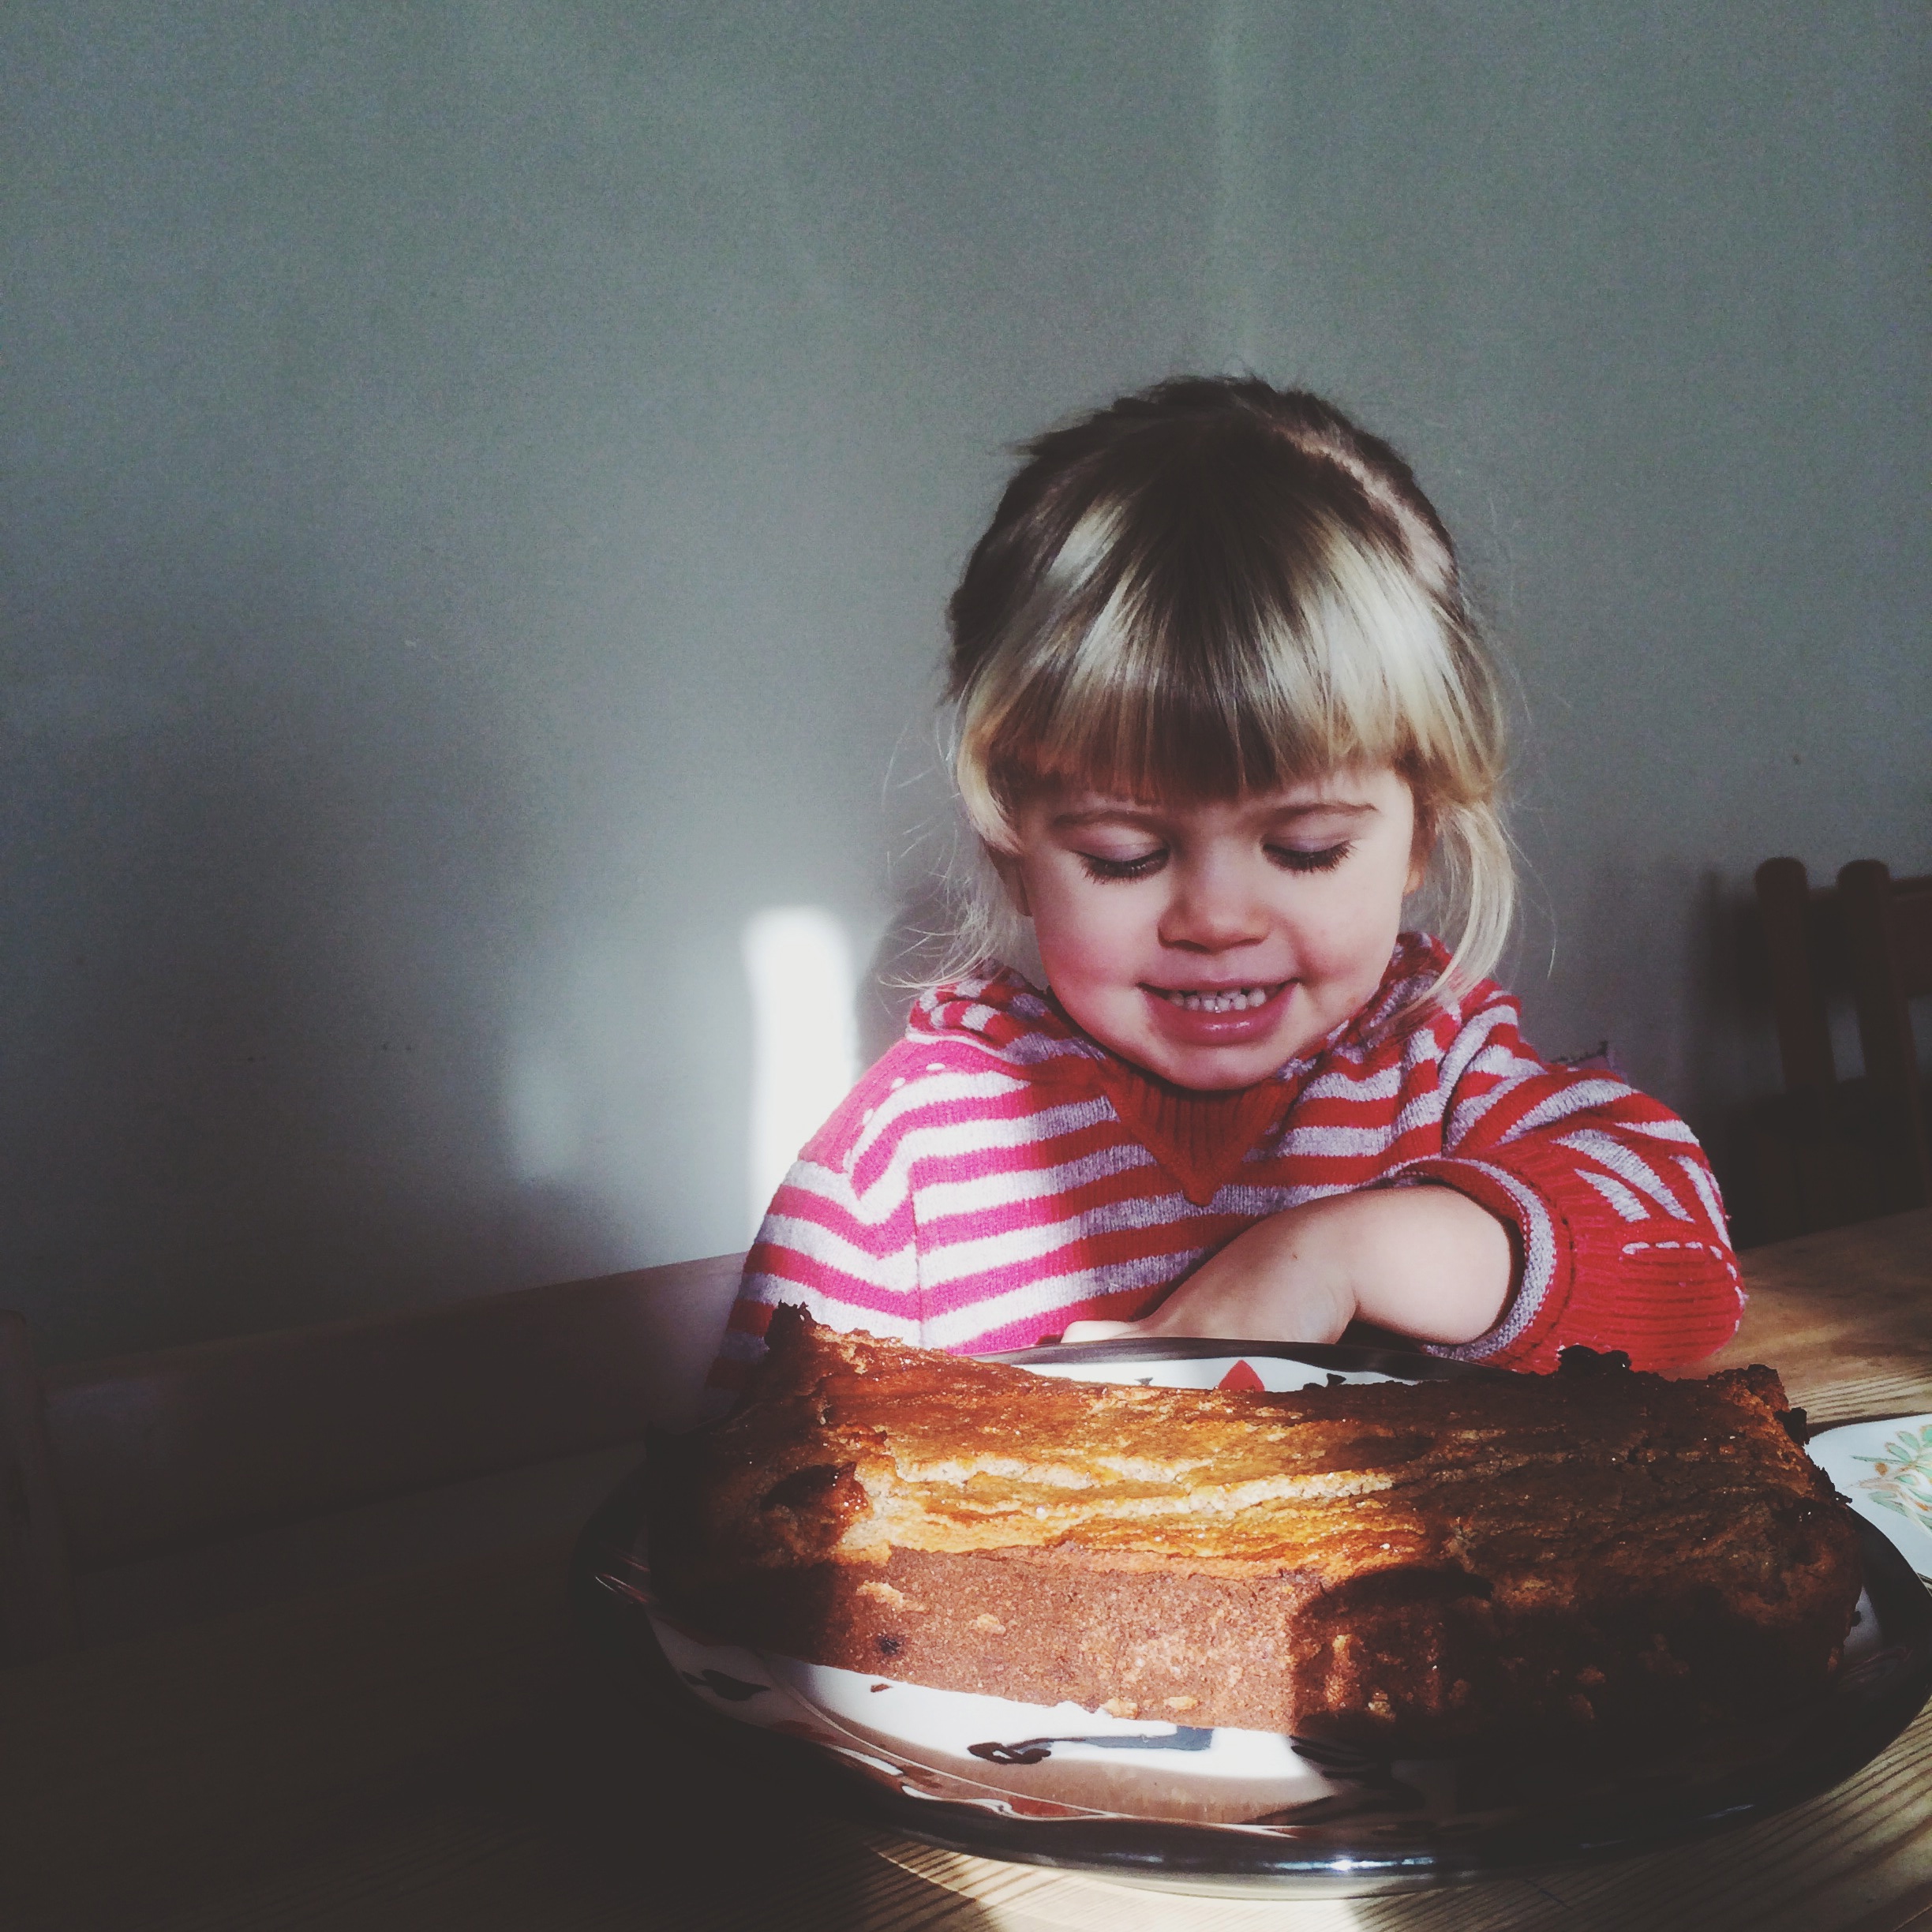
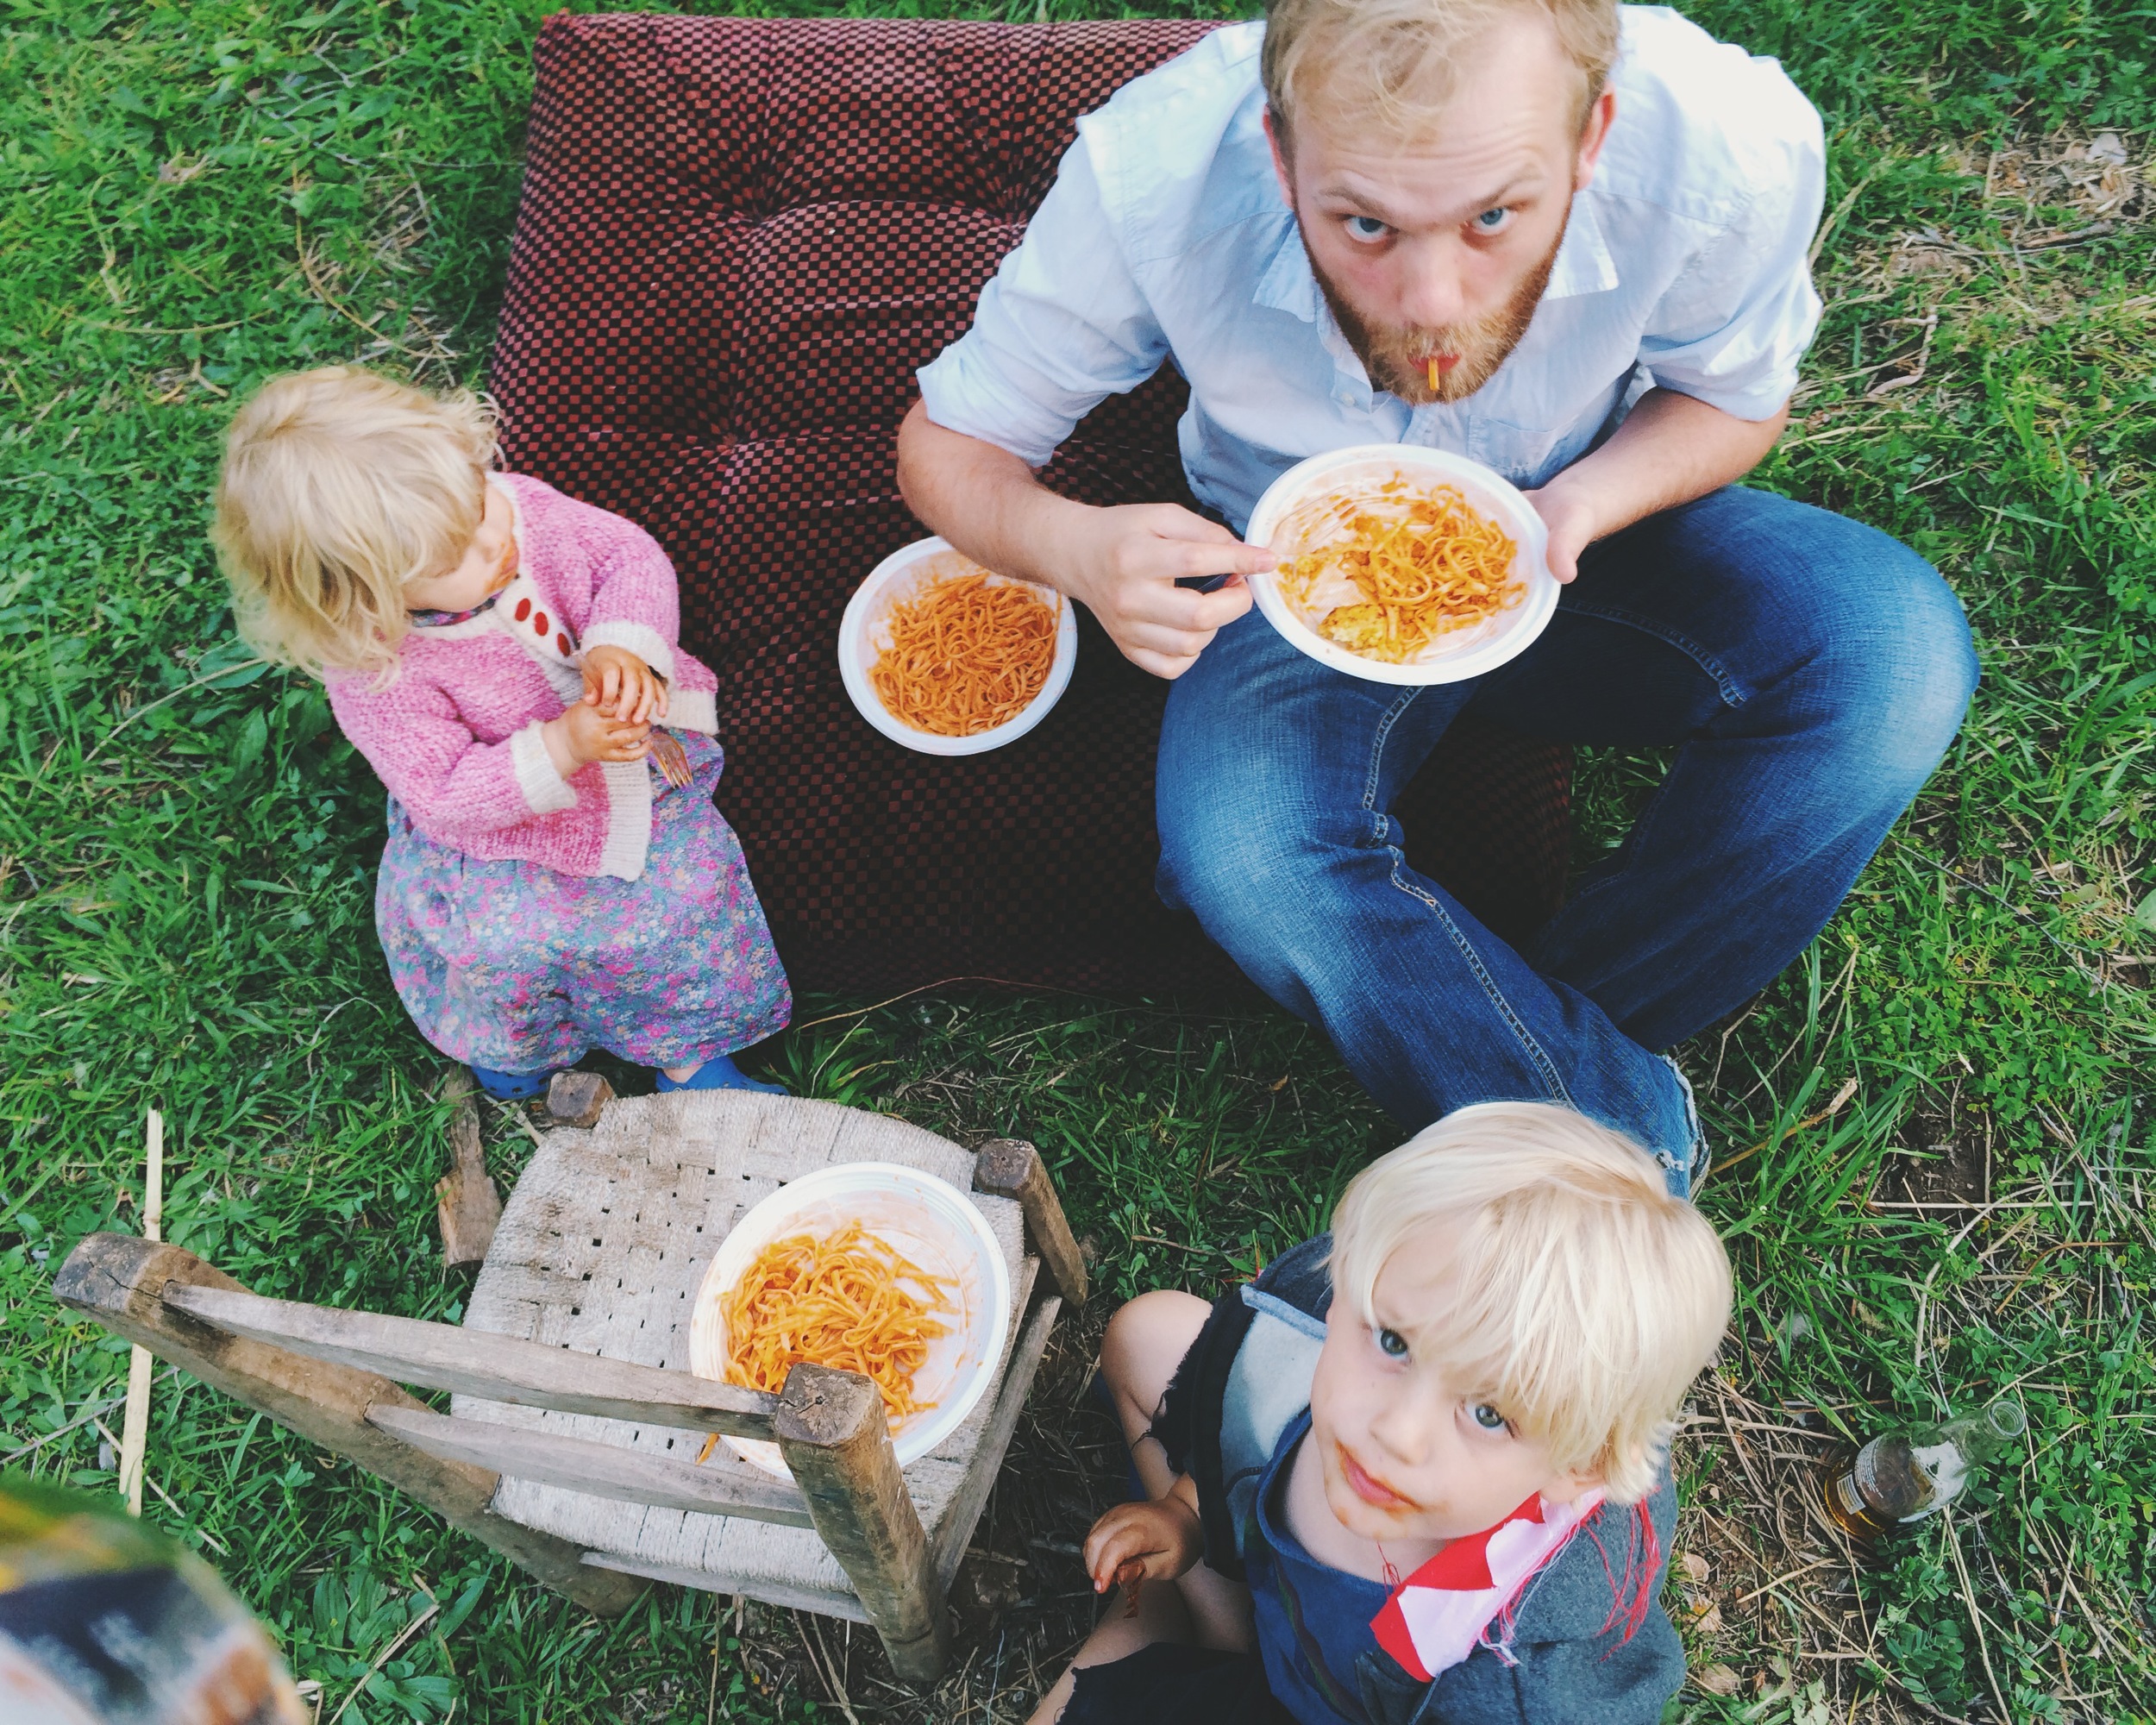
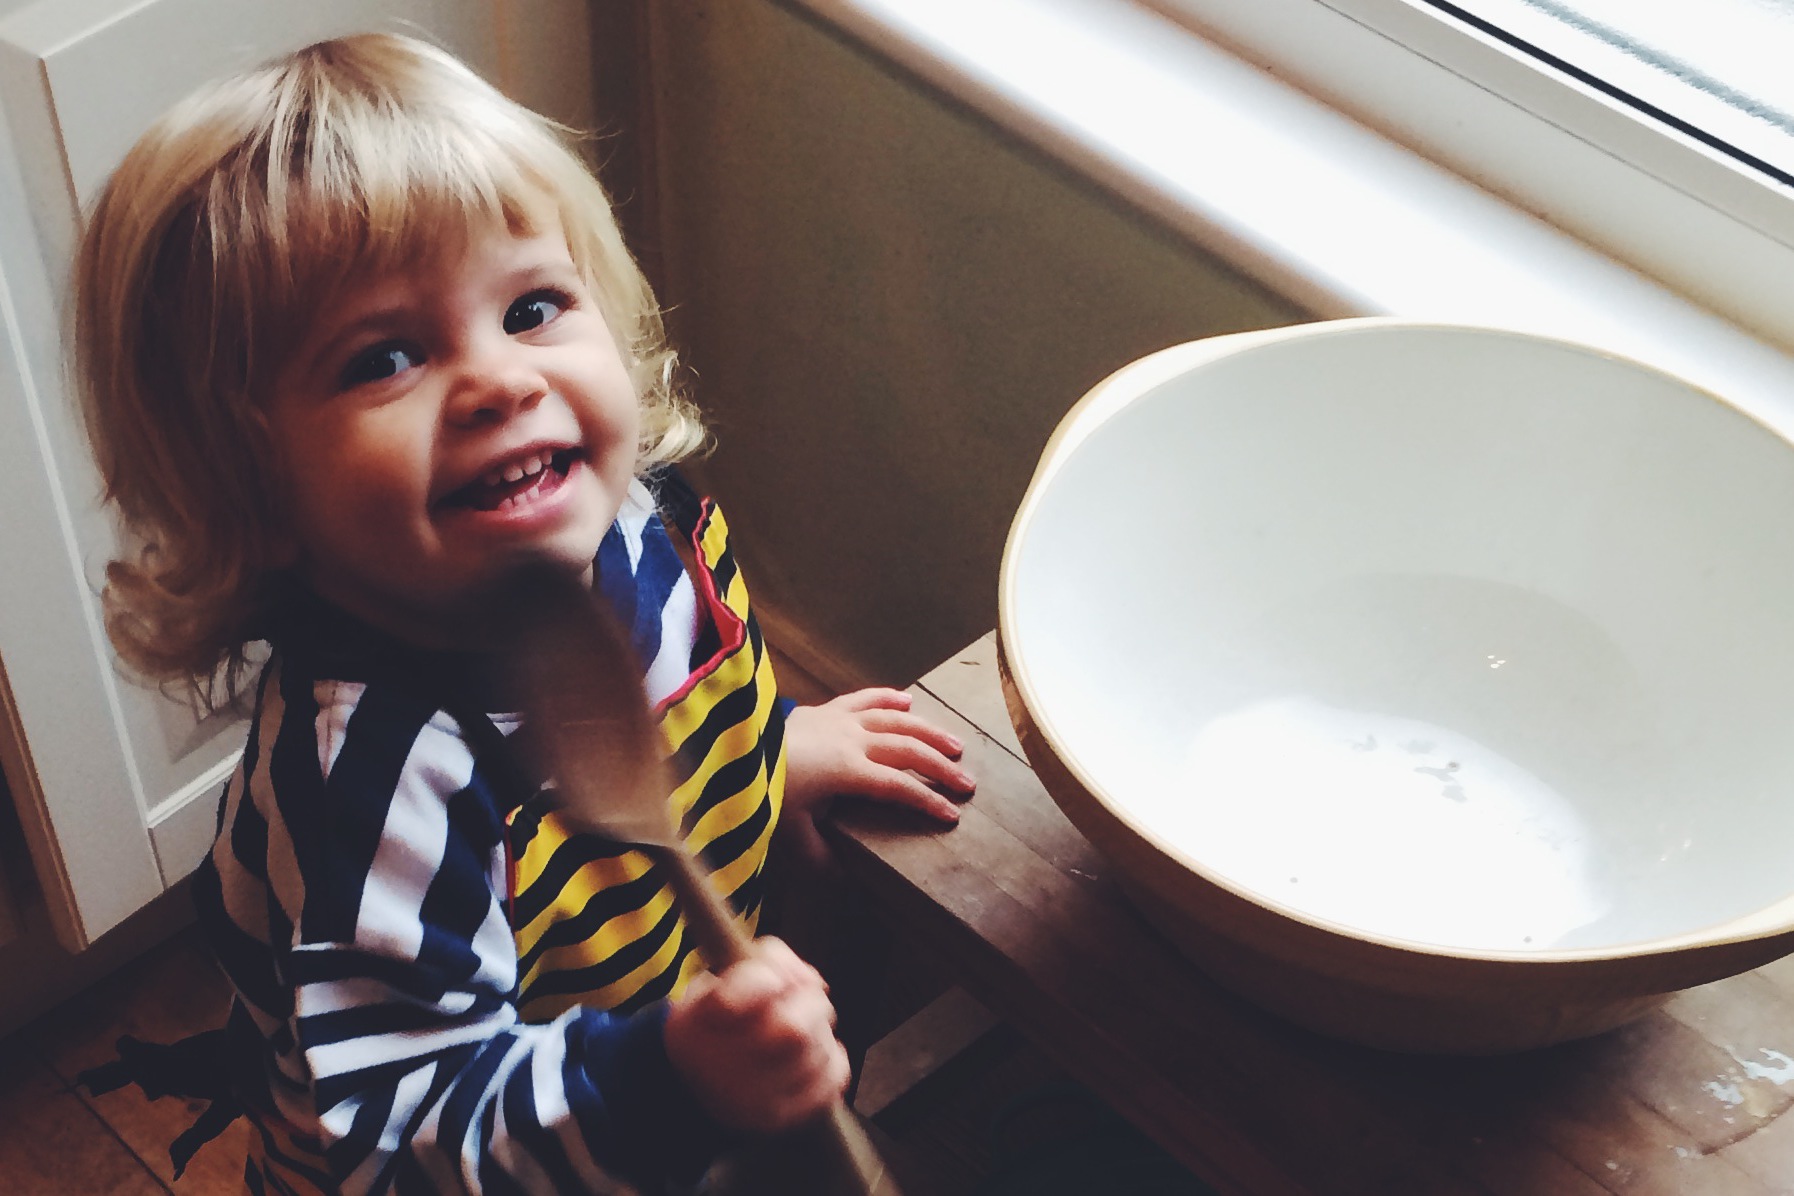
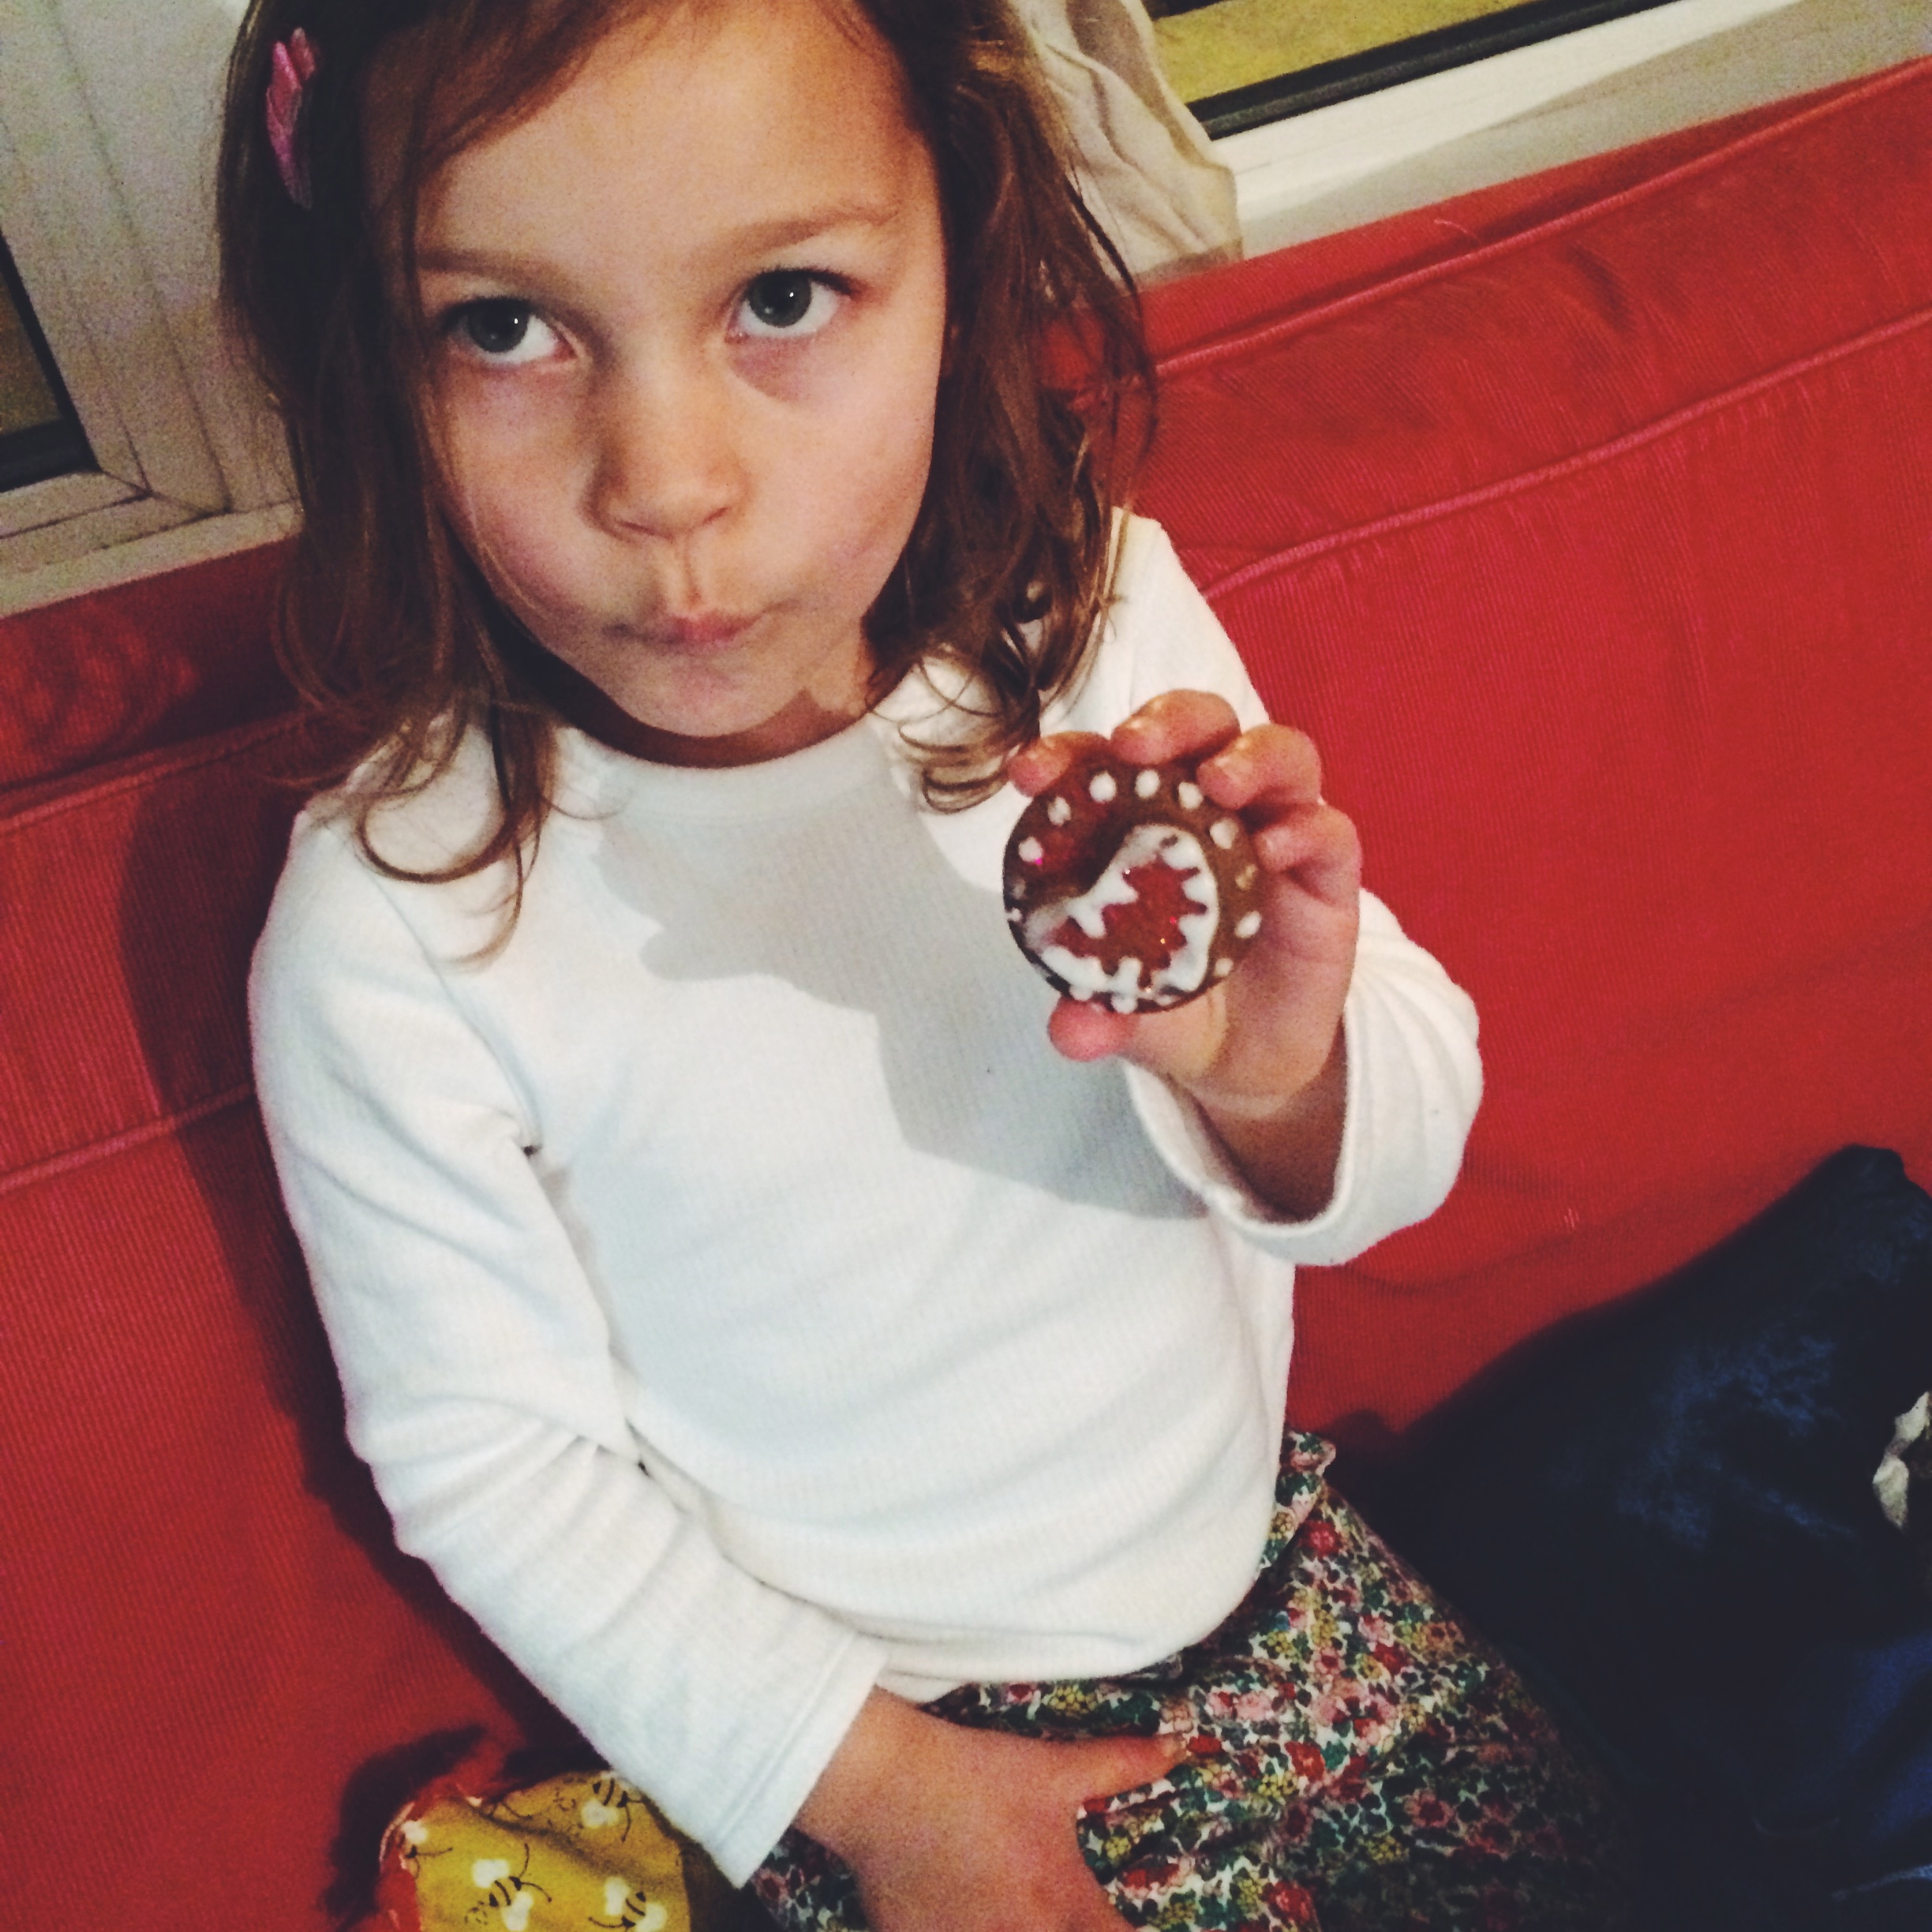
Indy showing off our yummy goat's whey pancakes