For the lovers...
/
Happy Valentine's Day all you beautiful folk out there! Whether you are spending it wallowing in bouquets and love letters, or out looking for someone to kiss, or home doing not much at all (or home baking like a maniac, then rewarding yourself with steak and chips, like me...) it is, at the very least, a fantastic excuse to make something ridiculously delicious, ridiculously pink and very heart shaped. So here's a recipe.
These are basically croissant-doughnut love children. I can't use the word C**nut because it's been mega-TMed, so I'll call these Cronies. Because they're smaller than the original, and also because the urban dictionary defines Cronie as "a follower, not a leader. The opposite of a hustla" and these are definitely little followers of the famous Cronut... An illustrative example given is:
I'm a hustla homie,
you a customer, cronie.
(Jay-Z)
Ok, so now we are all on the same page...
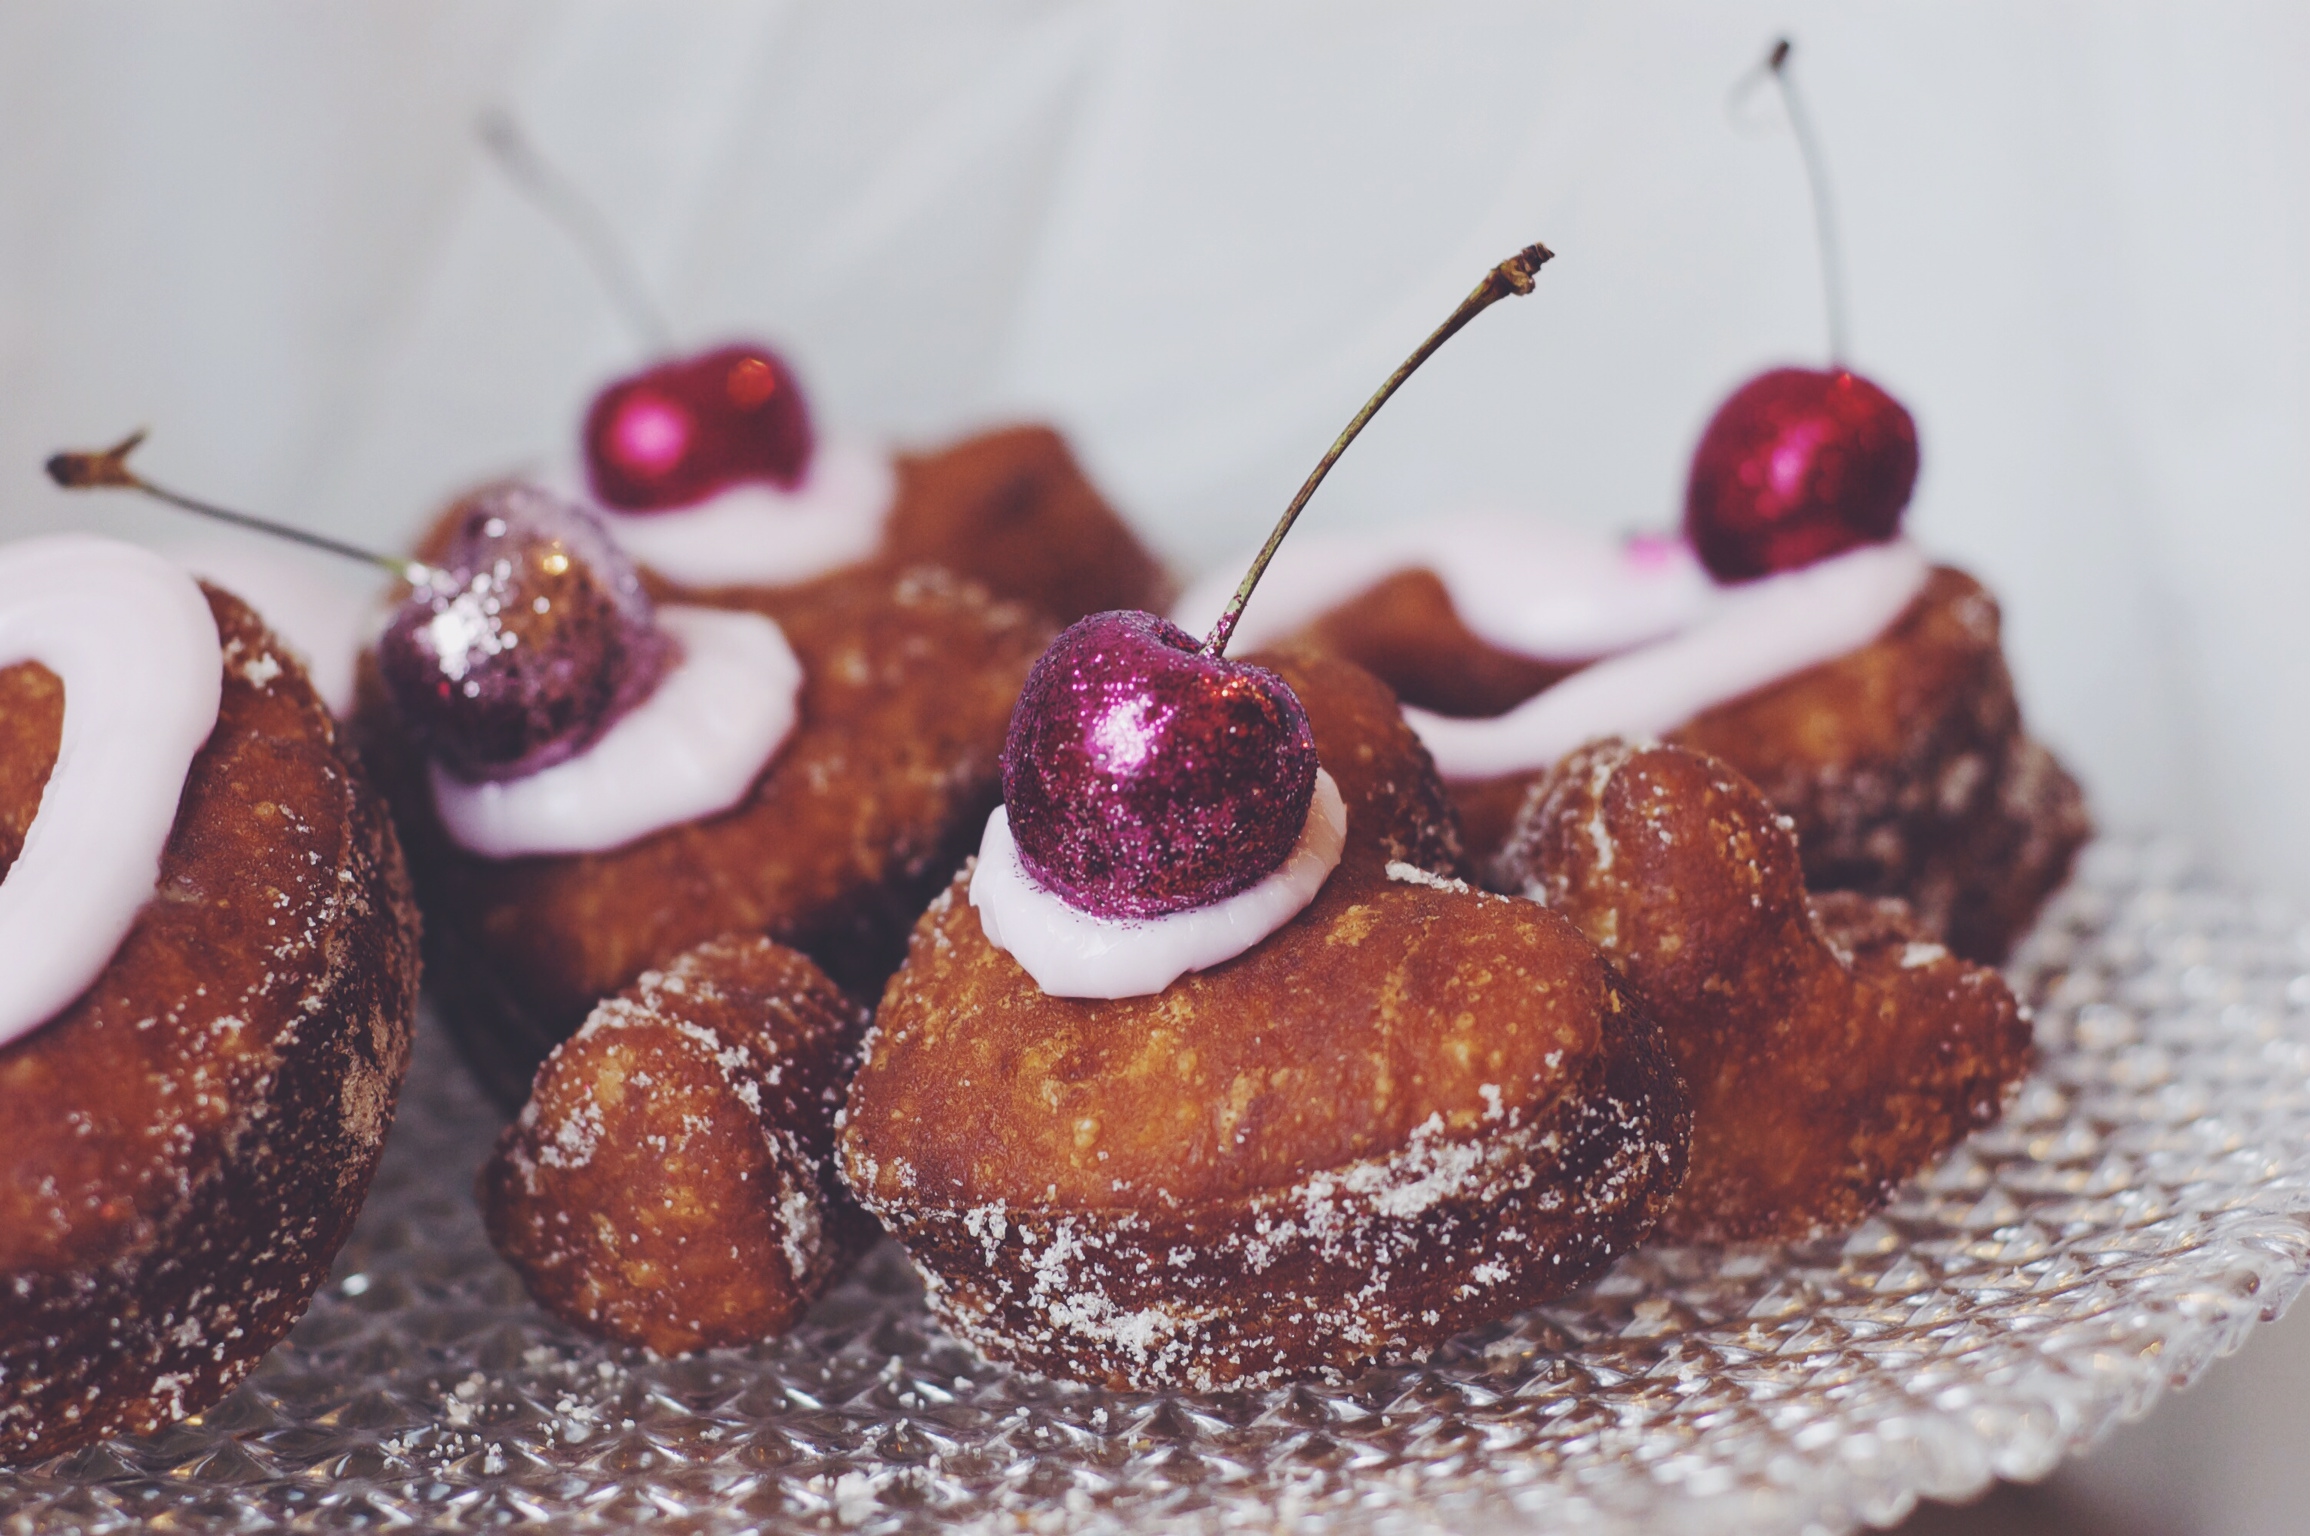
Cherry, Rose & Vanilla Cronies
Recipe adapted from the marvellous Boy Who Bakes
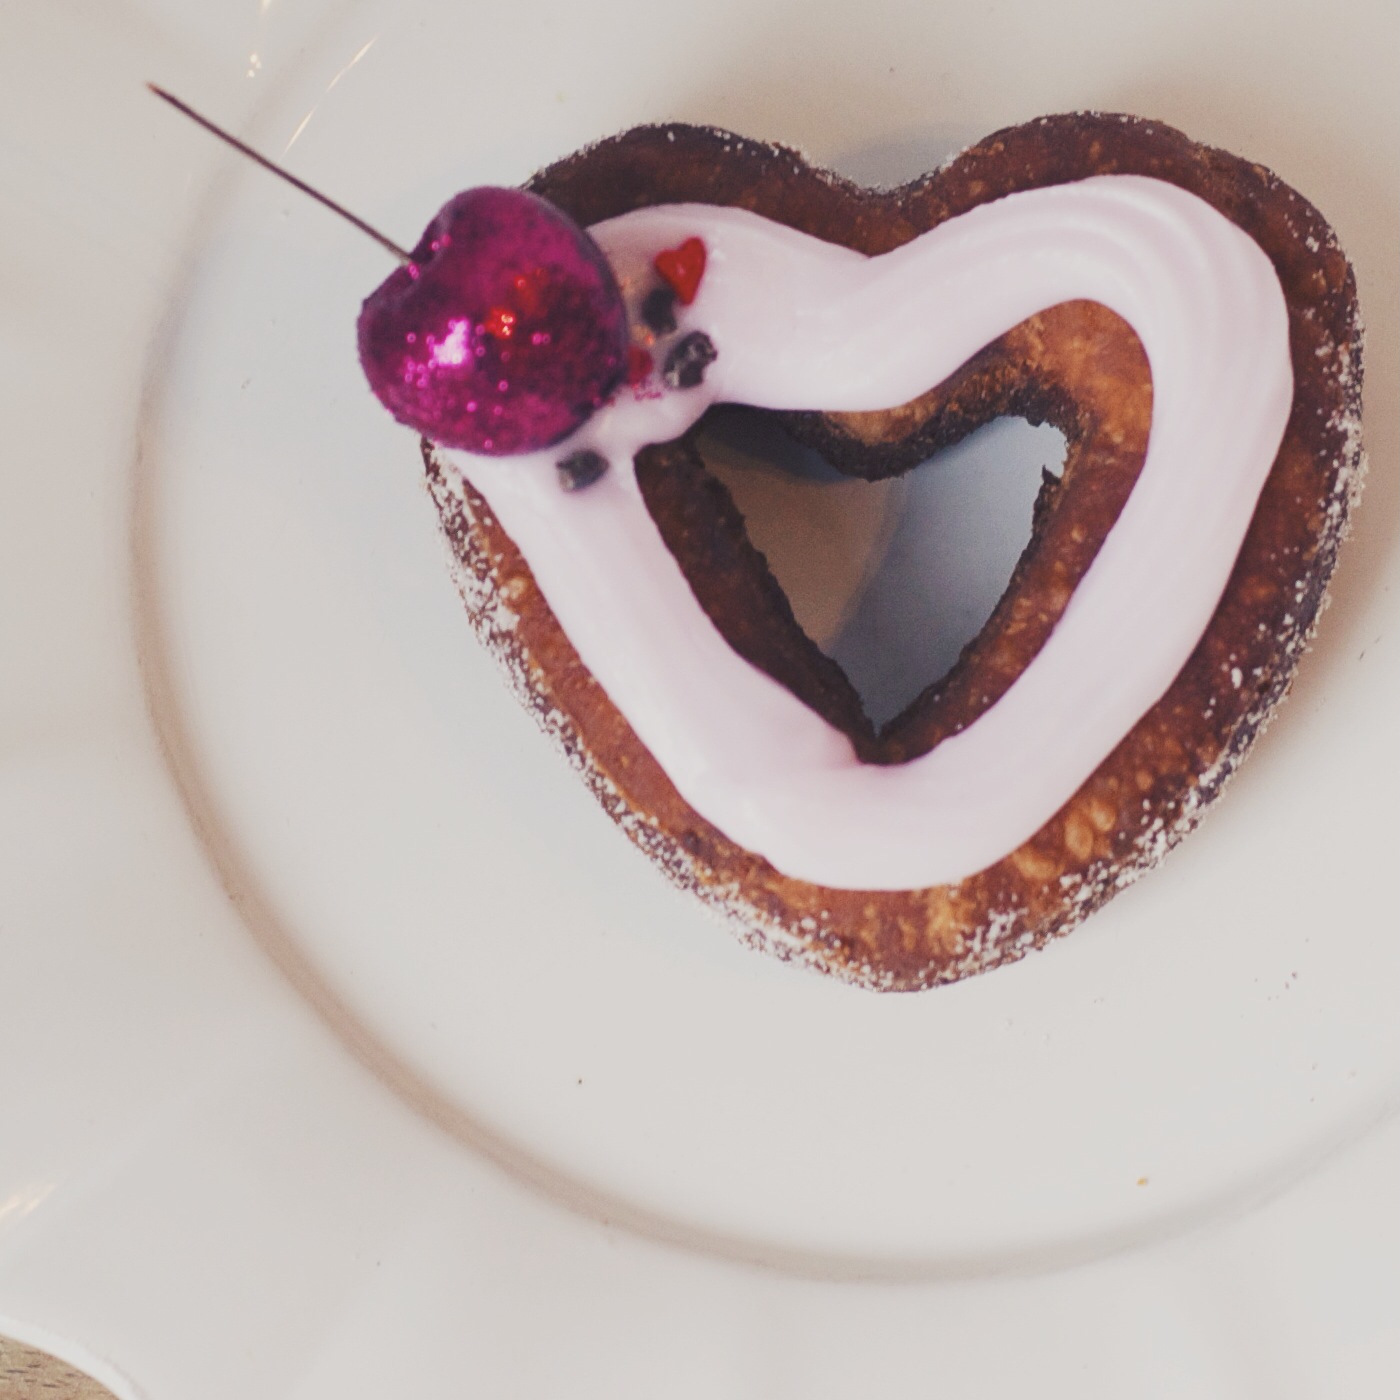
makes about 10 heart shaped cronies
Although these aren't especially difficult to make, they do have many different aspects and take over 24 hours to sort out, so bear that in mind before embarking. If you do set out on the long road to heaven, however, you'll be extremely glad... First up is the dough. This needs to rest in the fridge twice - once overnight - so start the afternoon of the day before you want to eat them!
For the dough:
60ml milk - body temp
65ml water - body temp
6g dry active yeast
125g plain flour
125g strong bread flour
30g caster sugar
.5tsp salt
150g unsalted butter
To fry:
500ml oil - rapeseed or groundnut
Mix together the milk, water and yeast and set aside. In a larger bowl mix the flours, salt and sugar. Cut the butter into chunks about 2cm square, and using a pastry cutter blend them into the flour/sugar mix very briefly - you want to see large 1cm-ish chunks of butter, so don't go making it into breadcrumbs. Once the butter is combined, add the milk/water/yeast mix and combine with a spatula, then knead with your hands briefly to form a ball of dough. It's essential the butter stays cold and chunky throughout, so only the bare minimum of hand-touching please. Titillating, I know... Now pop the ball of dough back in the bowl, cover with cling film and put into the fridge for a few hours - I'd say minimum 4. At this stage, if you can, make all the other bits & bobs:
to sugar:
50g caster sugar
1/4 tsp rose extract
(or you can use rose sugar if you have a jar)
cinnamon
to ice:
icing sugar
maraschino cherry syrup
cherries
edible glitter
pasteurised egg white
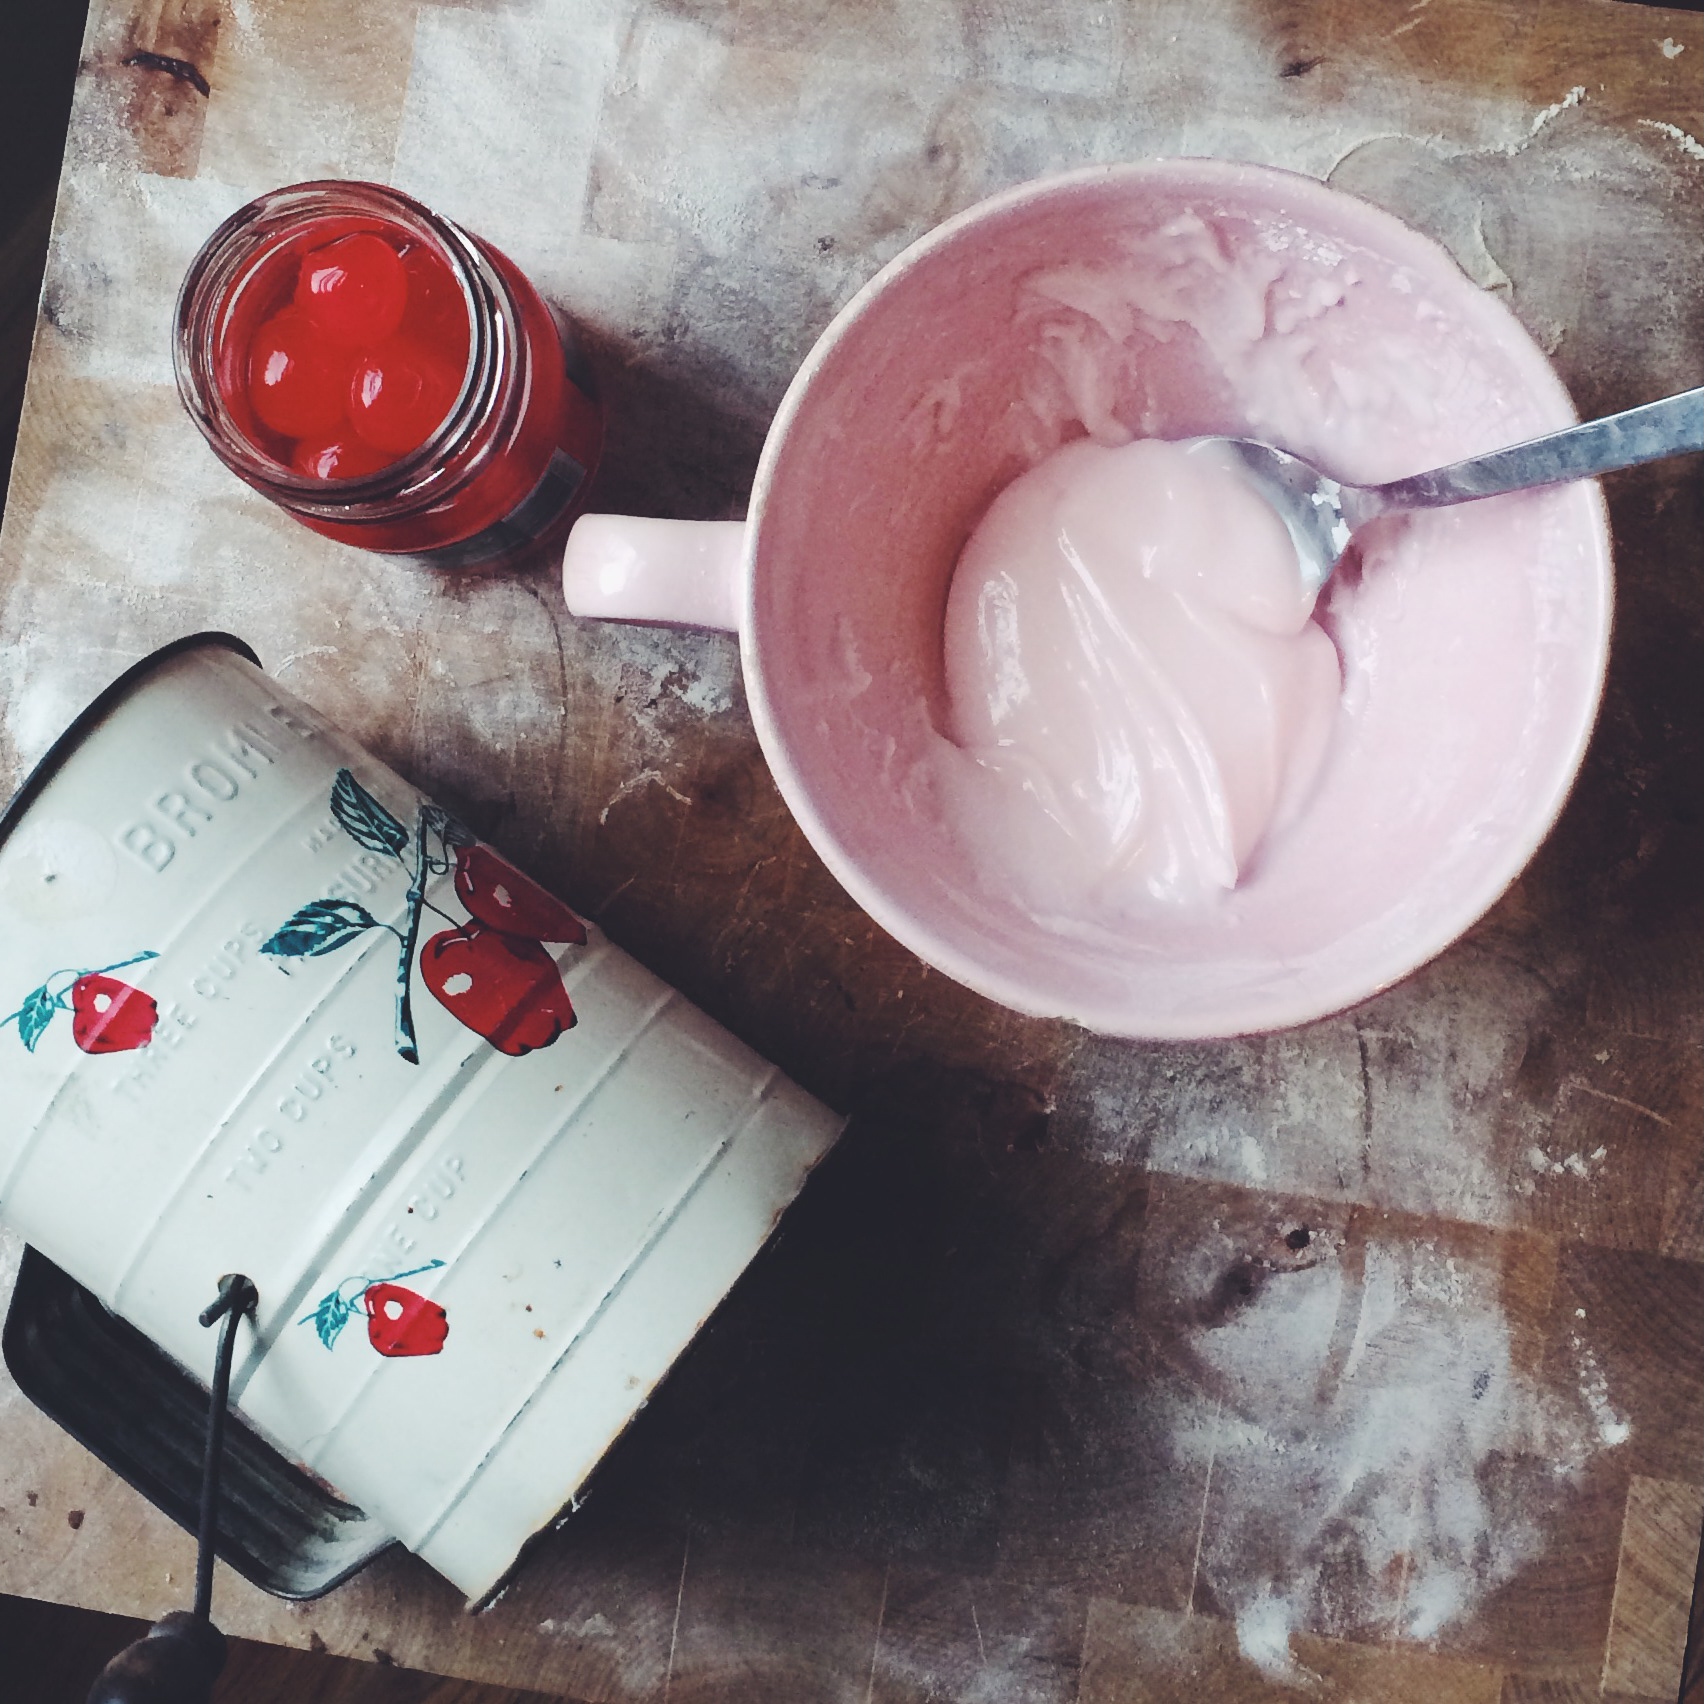
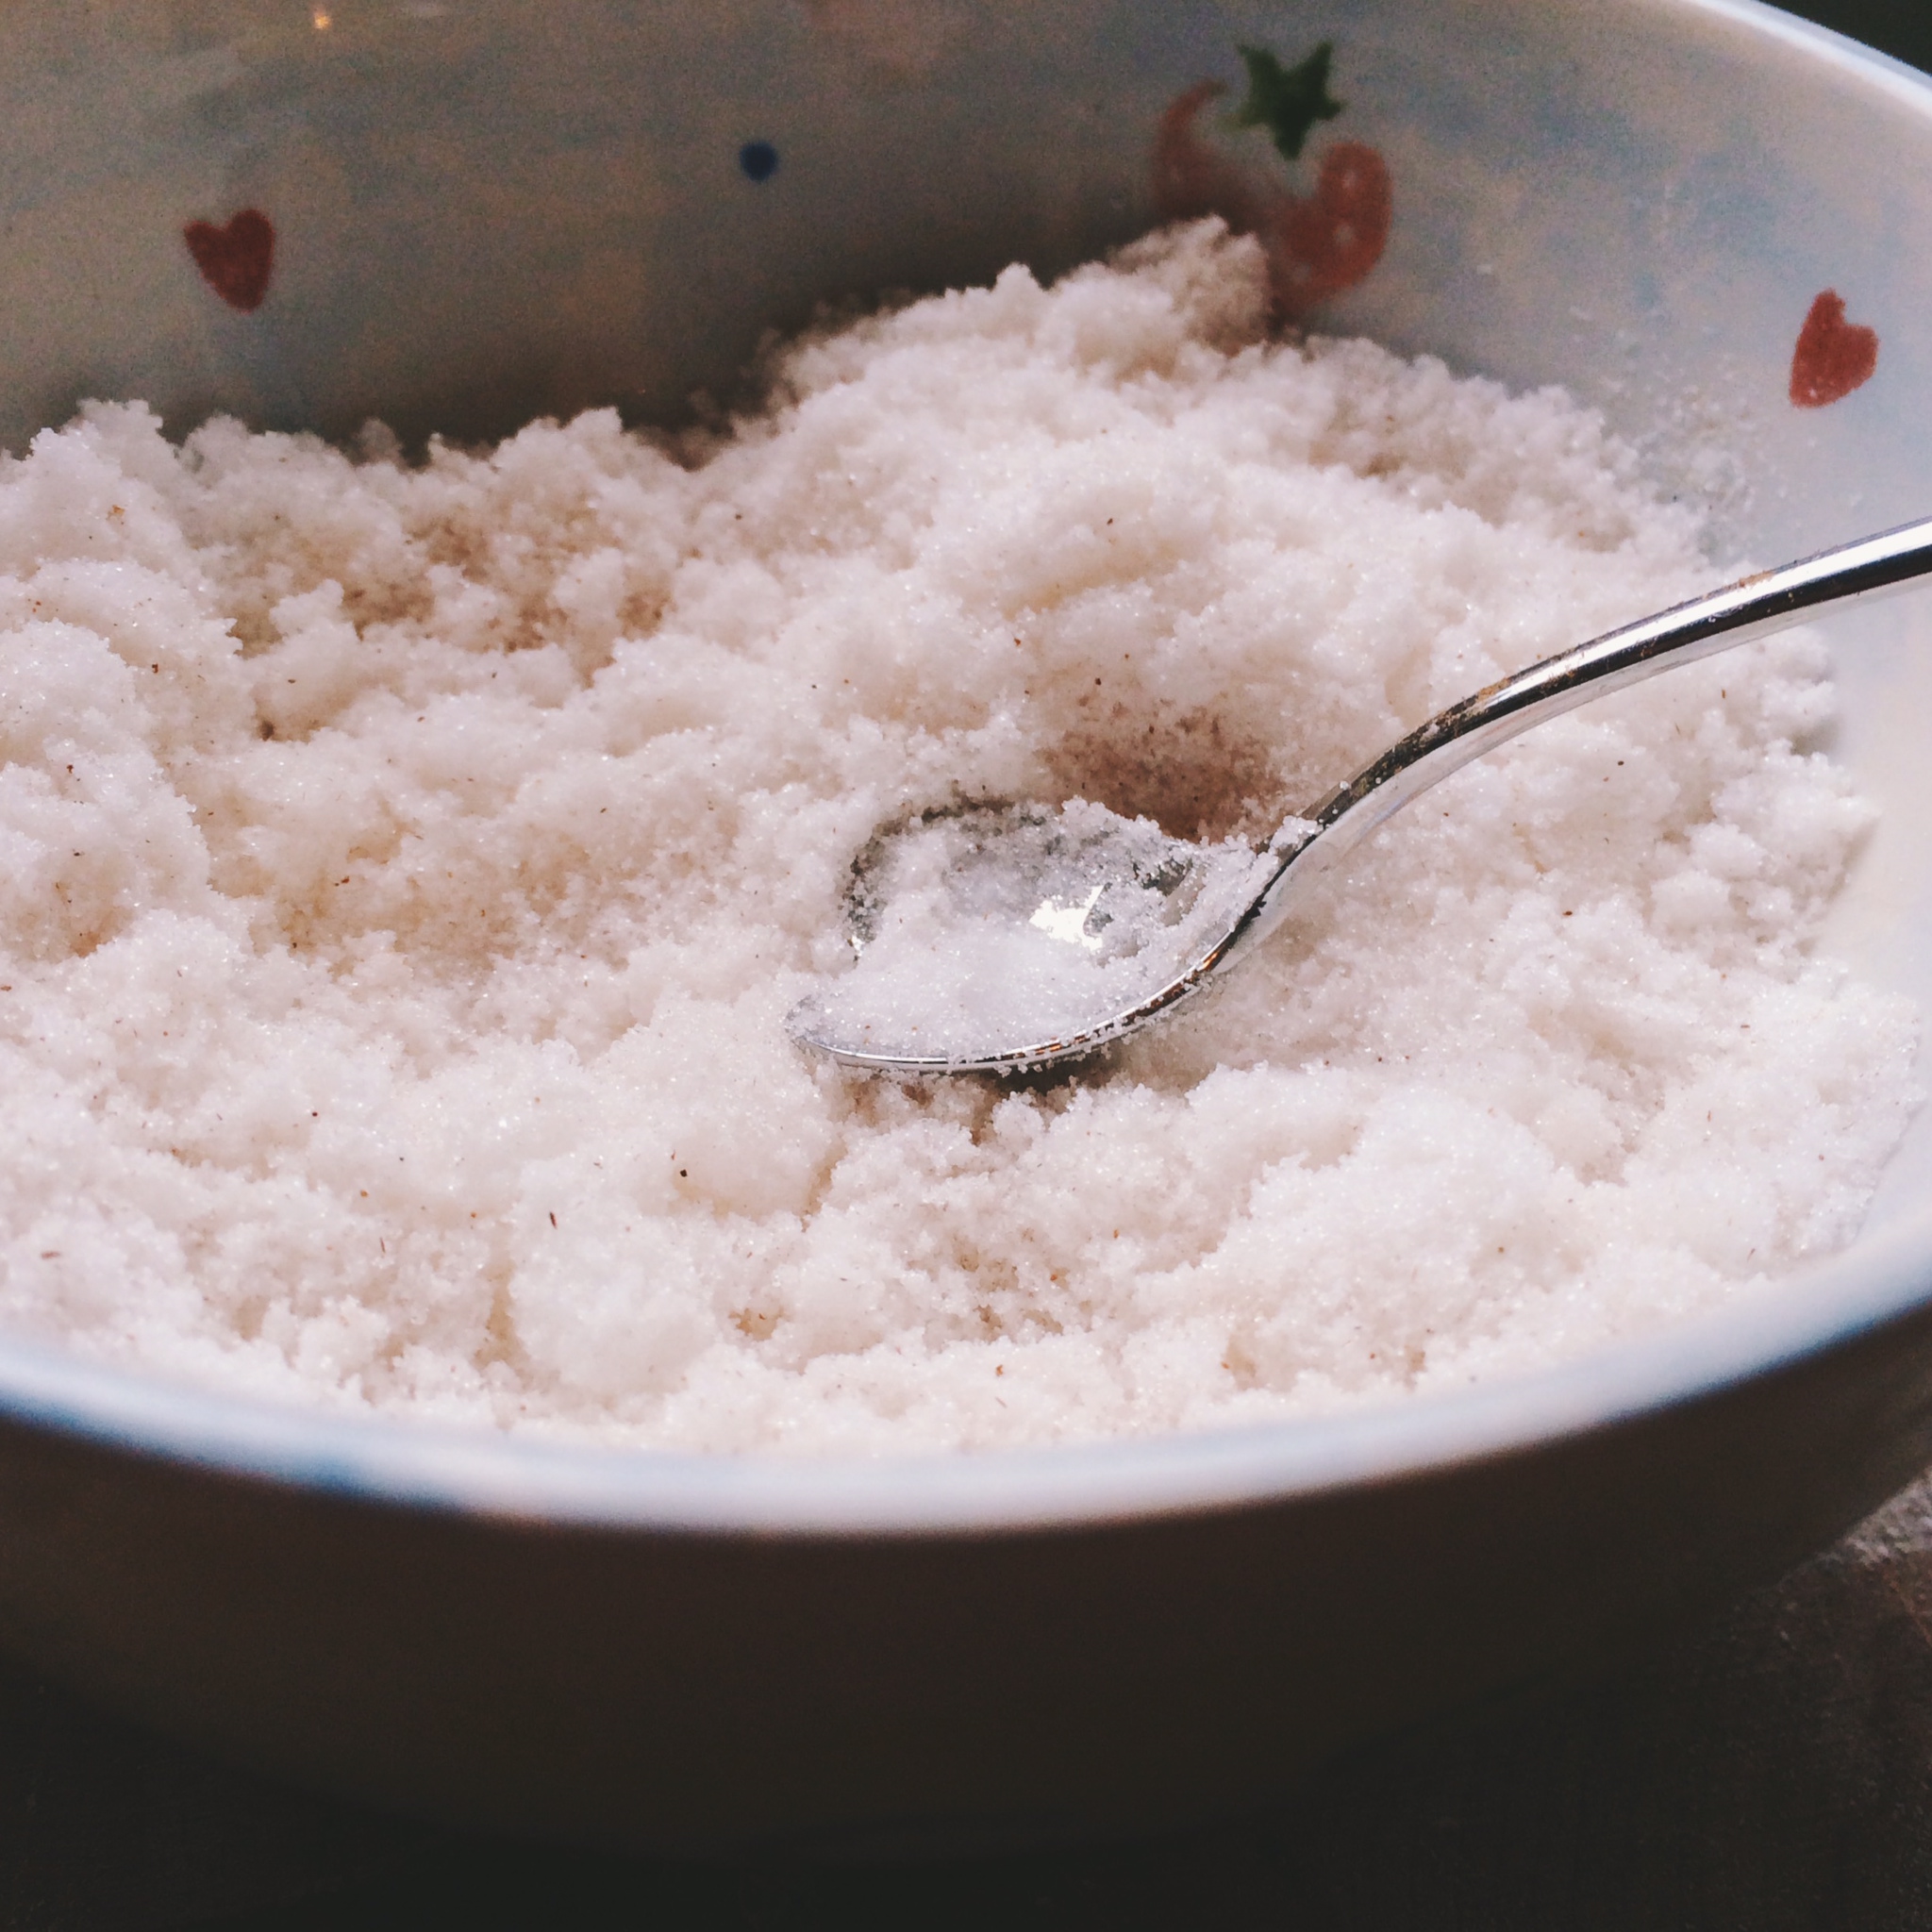
Mix the sugar and rose extract in a bowl. You could also use rose sugar if you have some, or rosewater, just add to taste - you want it to be pretty dry, so only add a little at a time. Finish with a dash of cinnamon, again to taste. I find one large shake is good. In a separate bowl mix a tablespoon of syrup from a jar of maraschino/cocktail cherries with a tablespoon of water, then add enough icing sugar (sifted) to form a thick paste, a similar consistency to toothpaste is ideal. If you want you can also add a tiny bit of pink gel colour. Tip onto a square of cling film and roll at each end, making it airtight. Keep this in an airtight container until you need it.
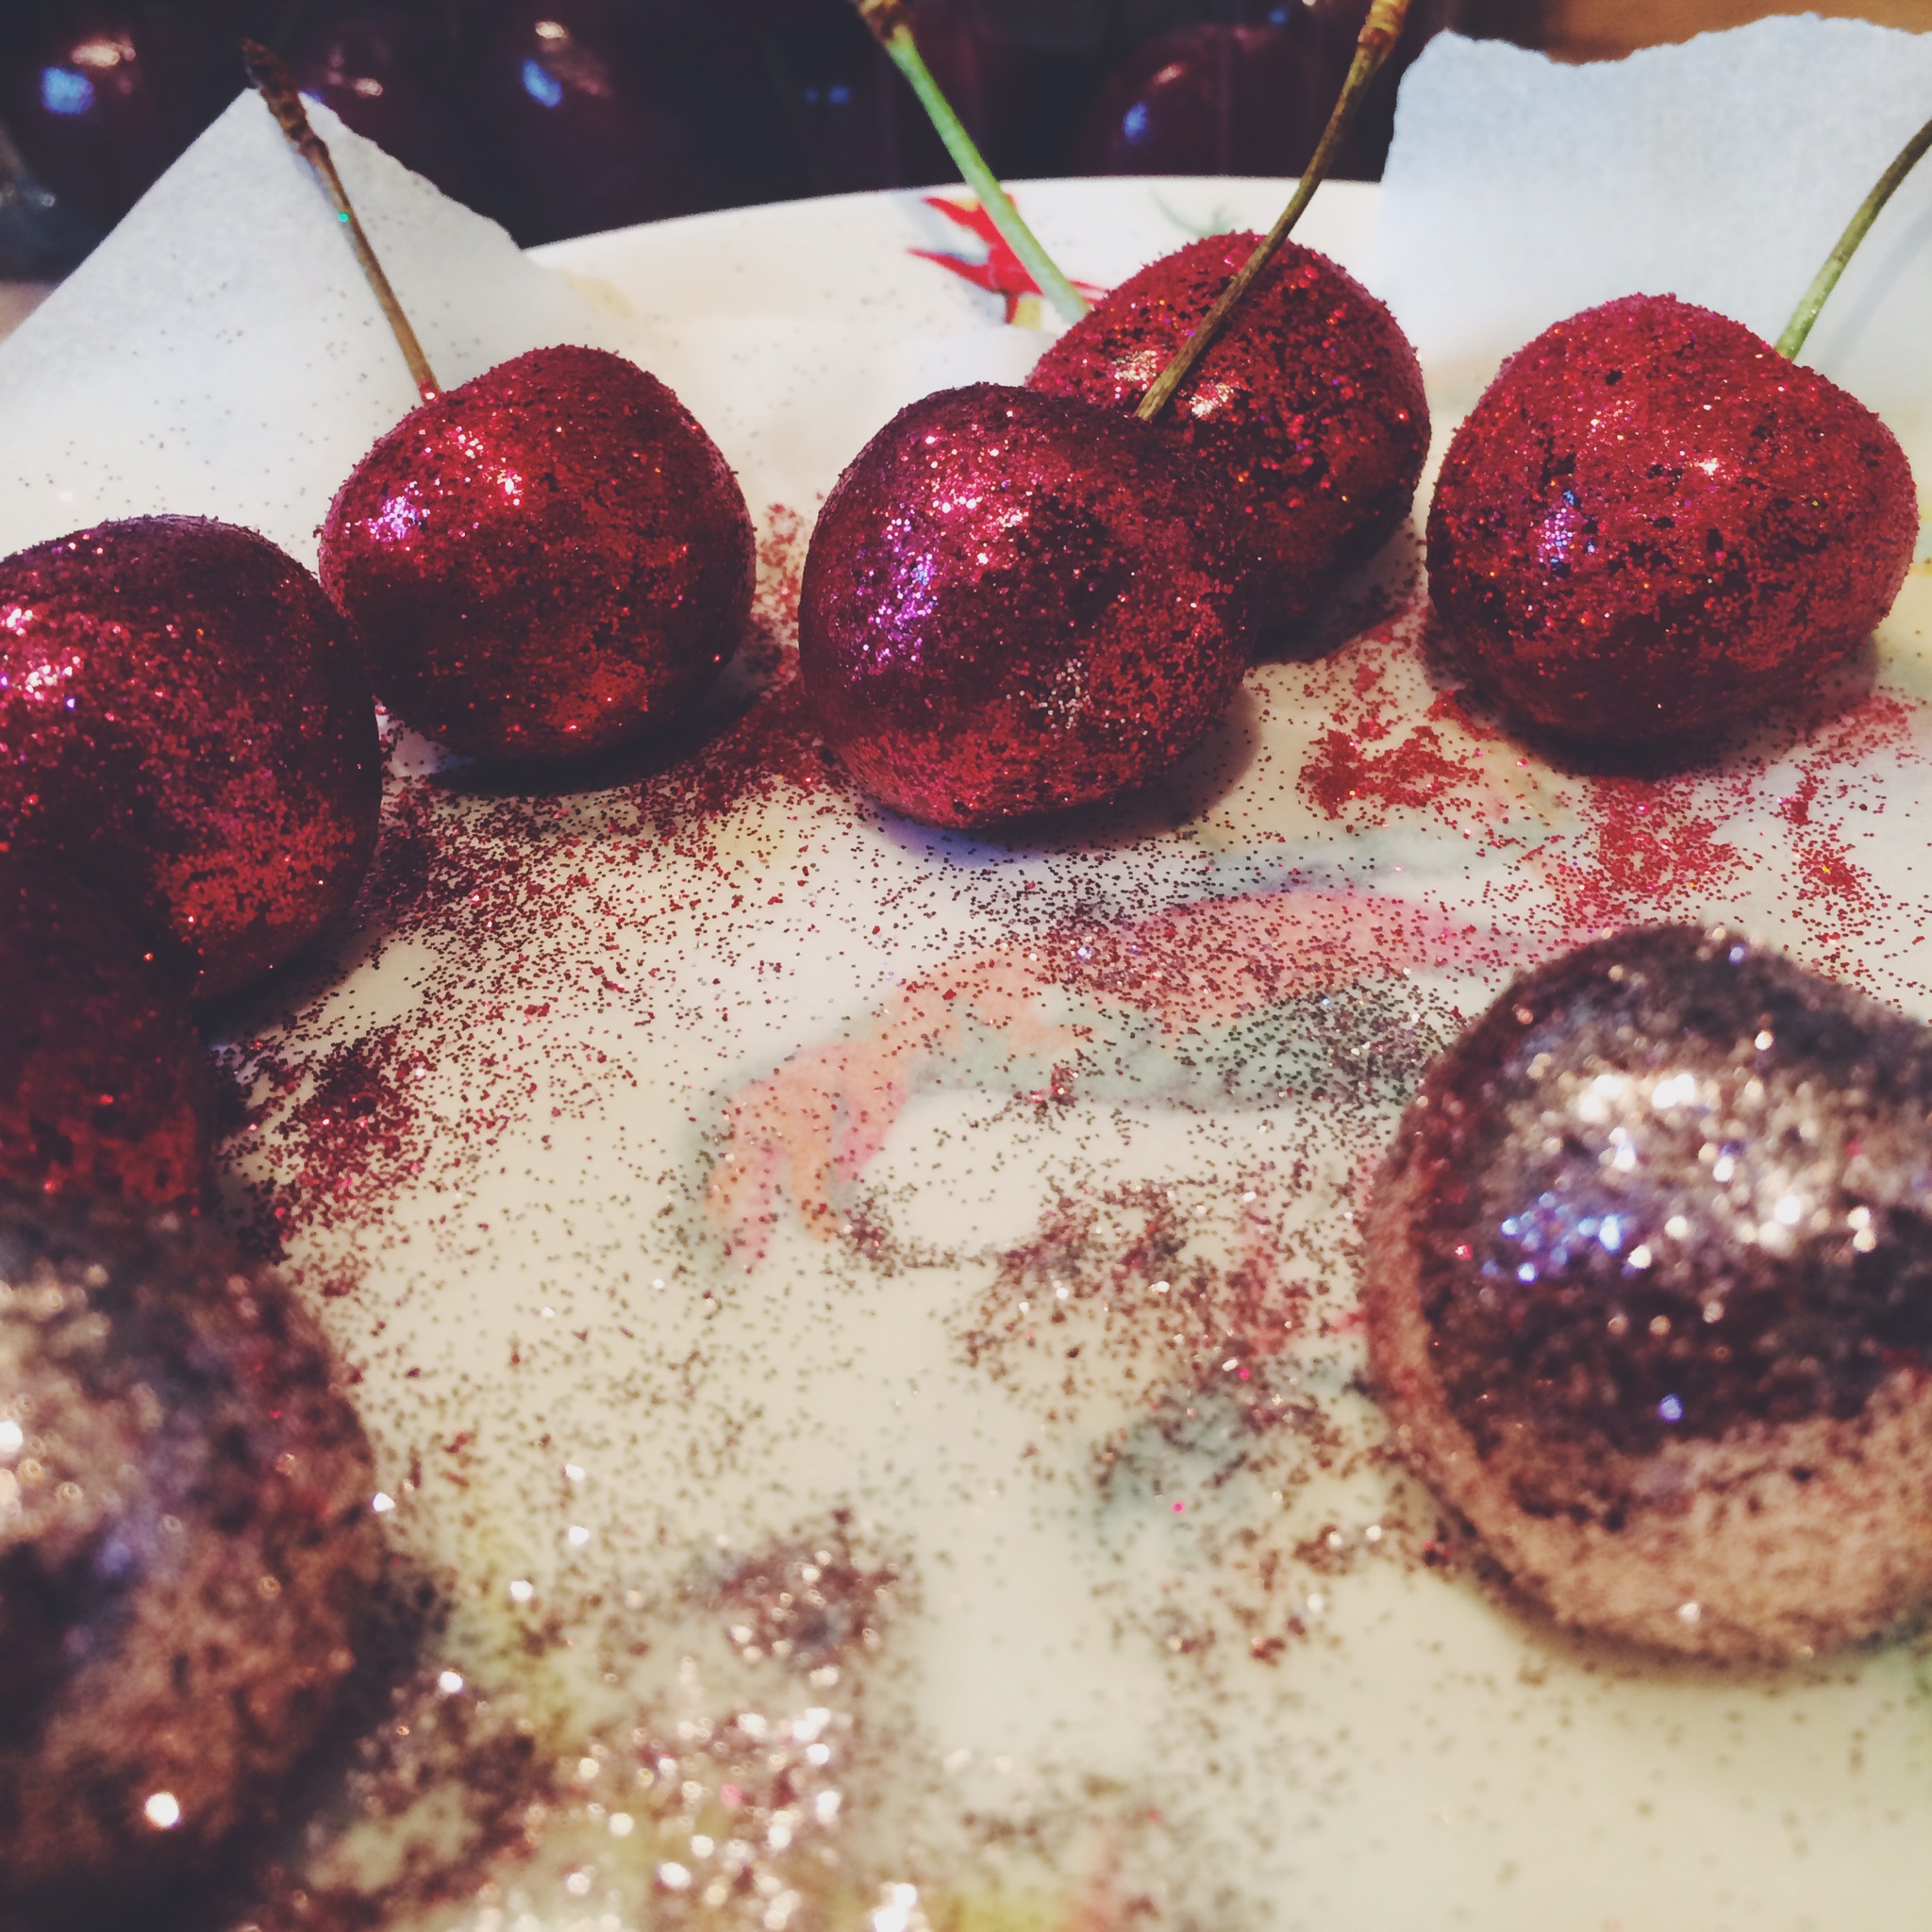
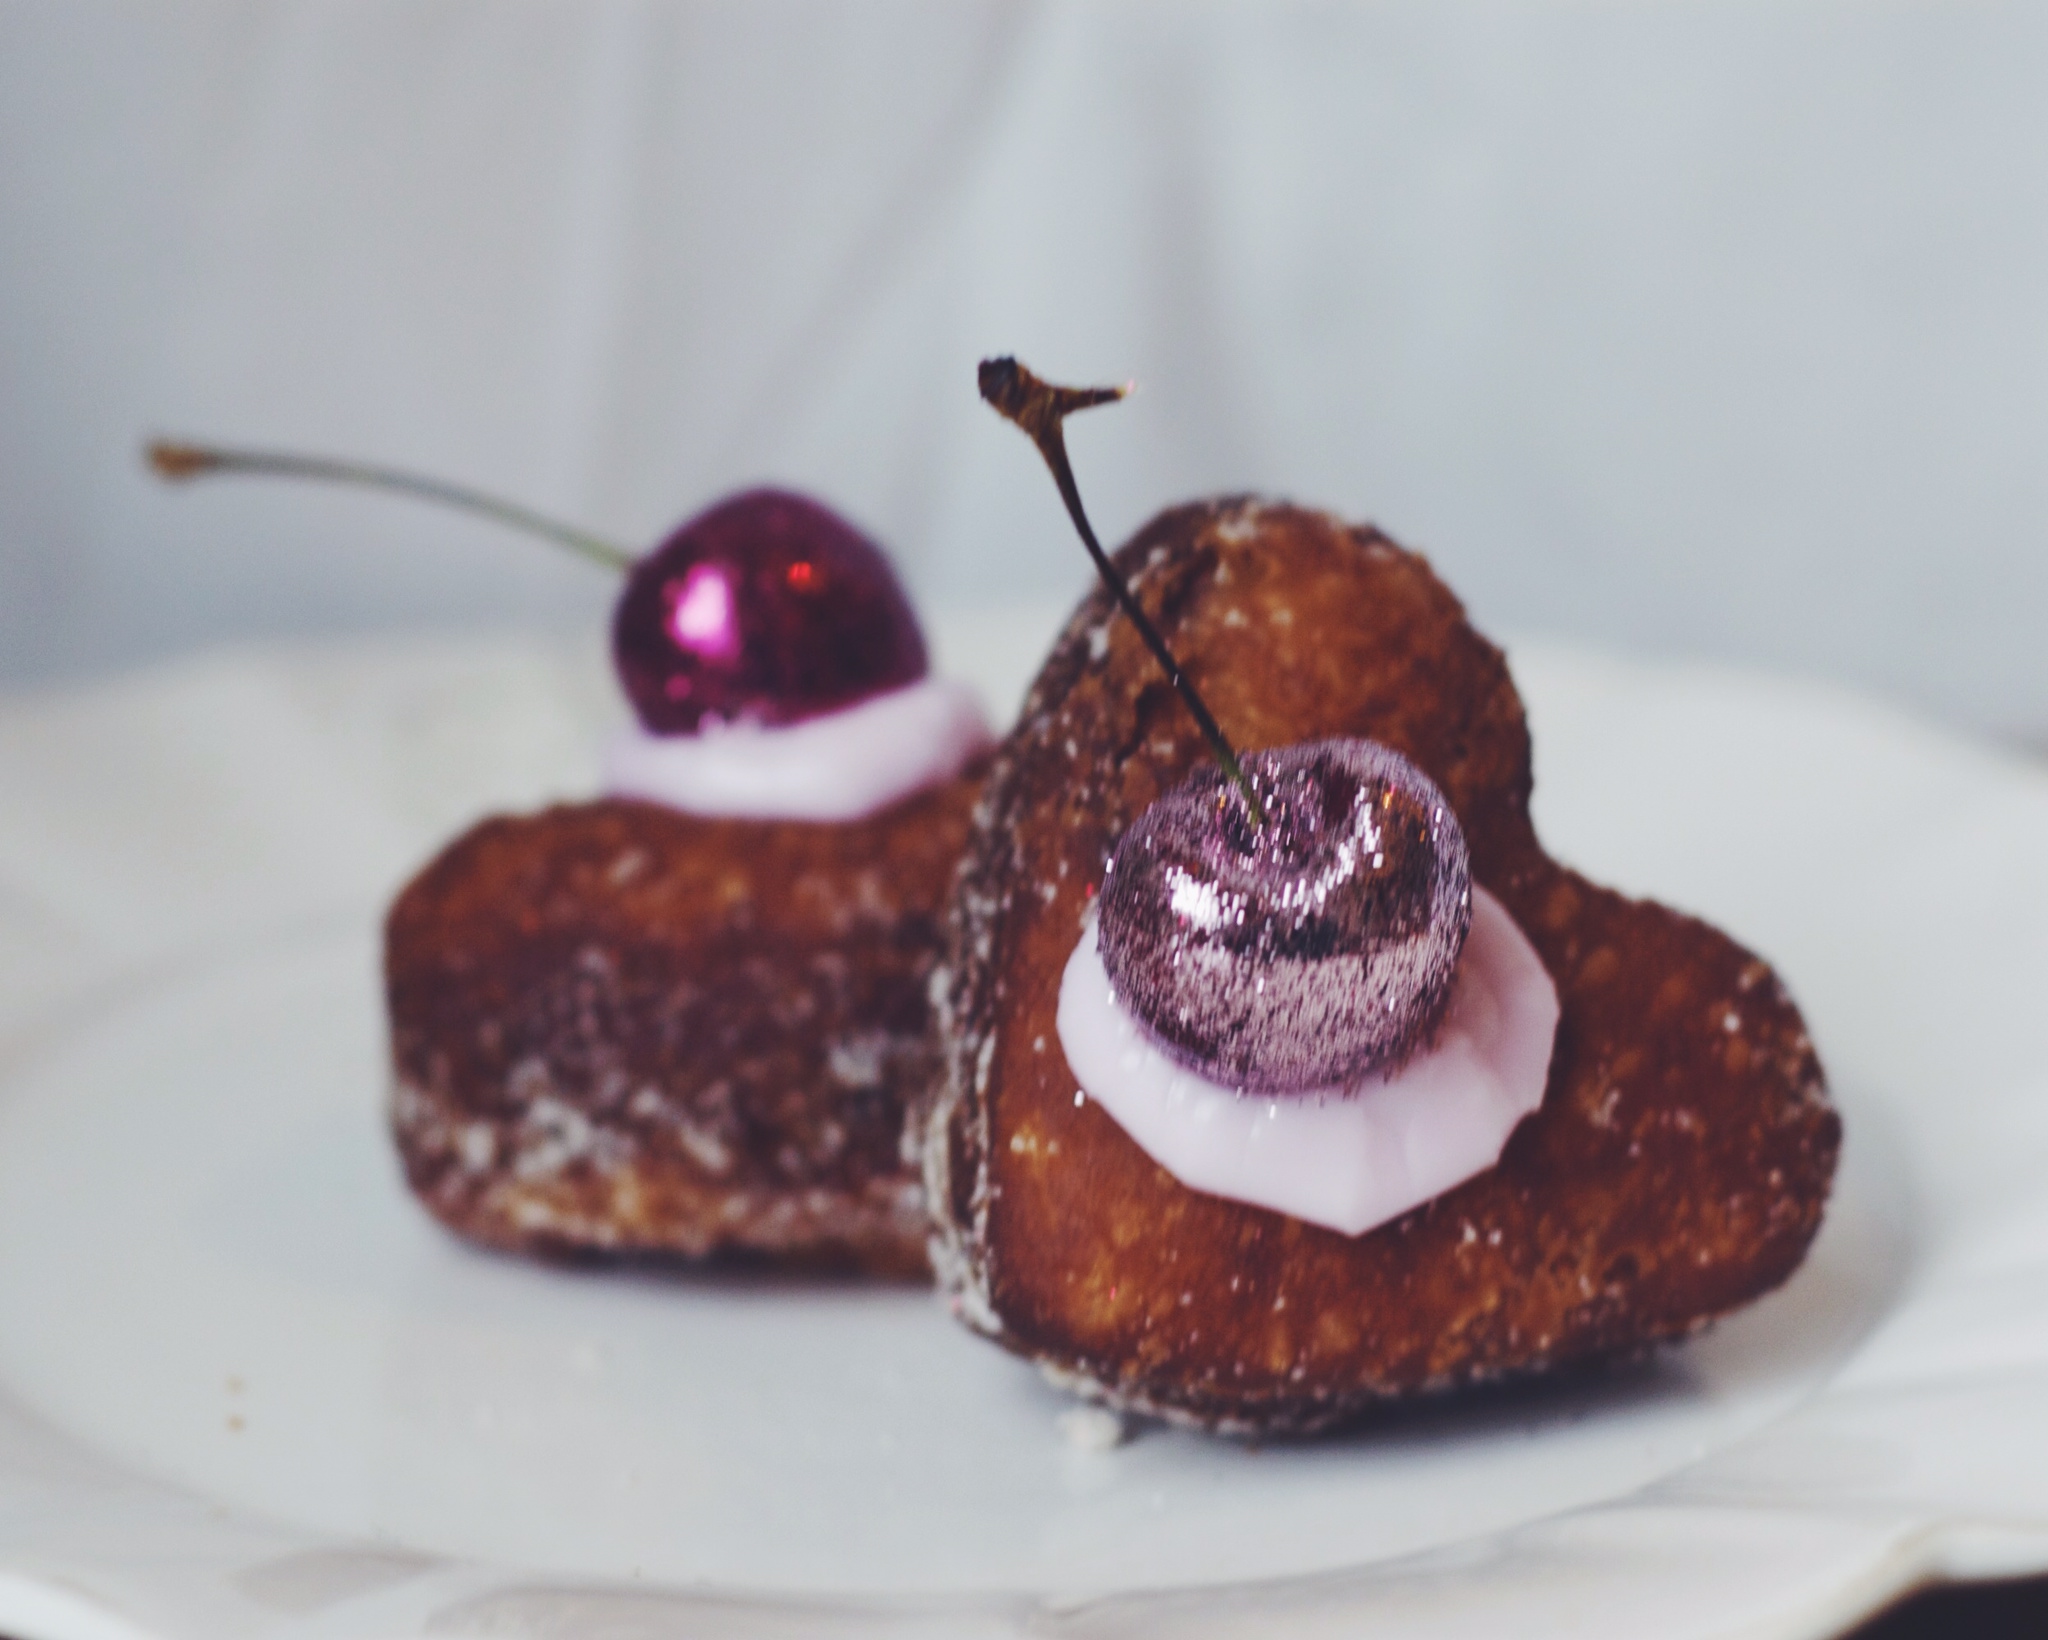
If you want to make glittery cherries to top your cronies, use a paintbrush to brush the cherries with pasteurised egg white and then a dry brush to add edible glitter. You can also use edible glaze or an icing sugar/water solution in place of the pasteurised egg white but I find them less effective and messier.

to fill:
250ml full fat milk
1 vanilla pod
3 egg yolks
60g caster sugar
25g plain flour
Now for the yummy vanilla creme patissiere filling. Scrape the vanilla pod into the milk in a small saucepan, then add the pod itself. In a bowl whisk the egg yolks and sugar until pale and creamy, then add the flour and mix until smooth. Heat the milk to just under the boil (it will start to steam a bit and small bubbles will form around the edge). Slowly pour half the milk into the egg/sugar mix, whisking throughout, then slowly add the rest. Return the whole lot to the pan and bring to the boil, whisking continuously. Keep at the boil for one minute, whisking the whole time, then remove to a clean bowl, scoop out the pod and cover the surface with greaseproof paper (pressed onto the surface of the custard, to prevent a skin from forming). Leave to cool at room temp, then pop into the fridge until you need it.
Before heading to your bed, remove the dough from the fridge and roll it out on a floured surface into a rectangle approx 20cm x 40cm. Then fold the short edges towards each other, as though you are folding a letter to post. Turn the dough 90 degrees and roll it out again. Repeat this process until the dough has been turned a total of three times, then return to the fridge, wrapped in cling film, overnight.

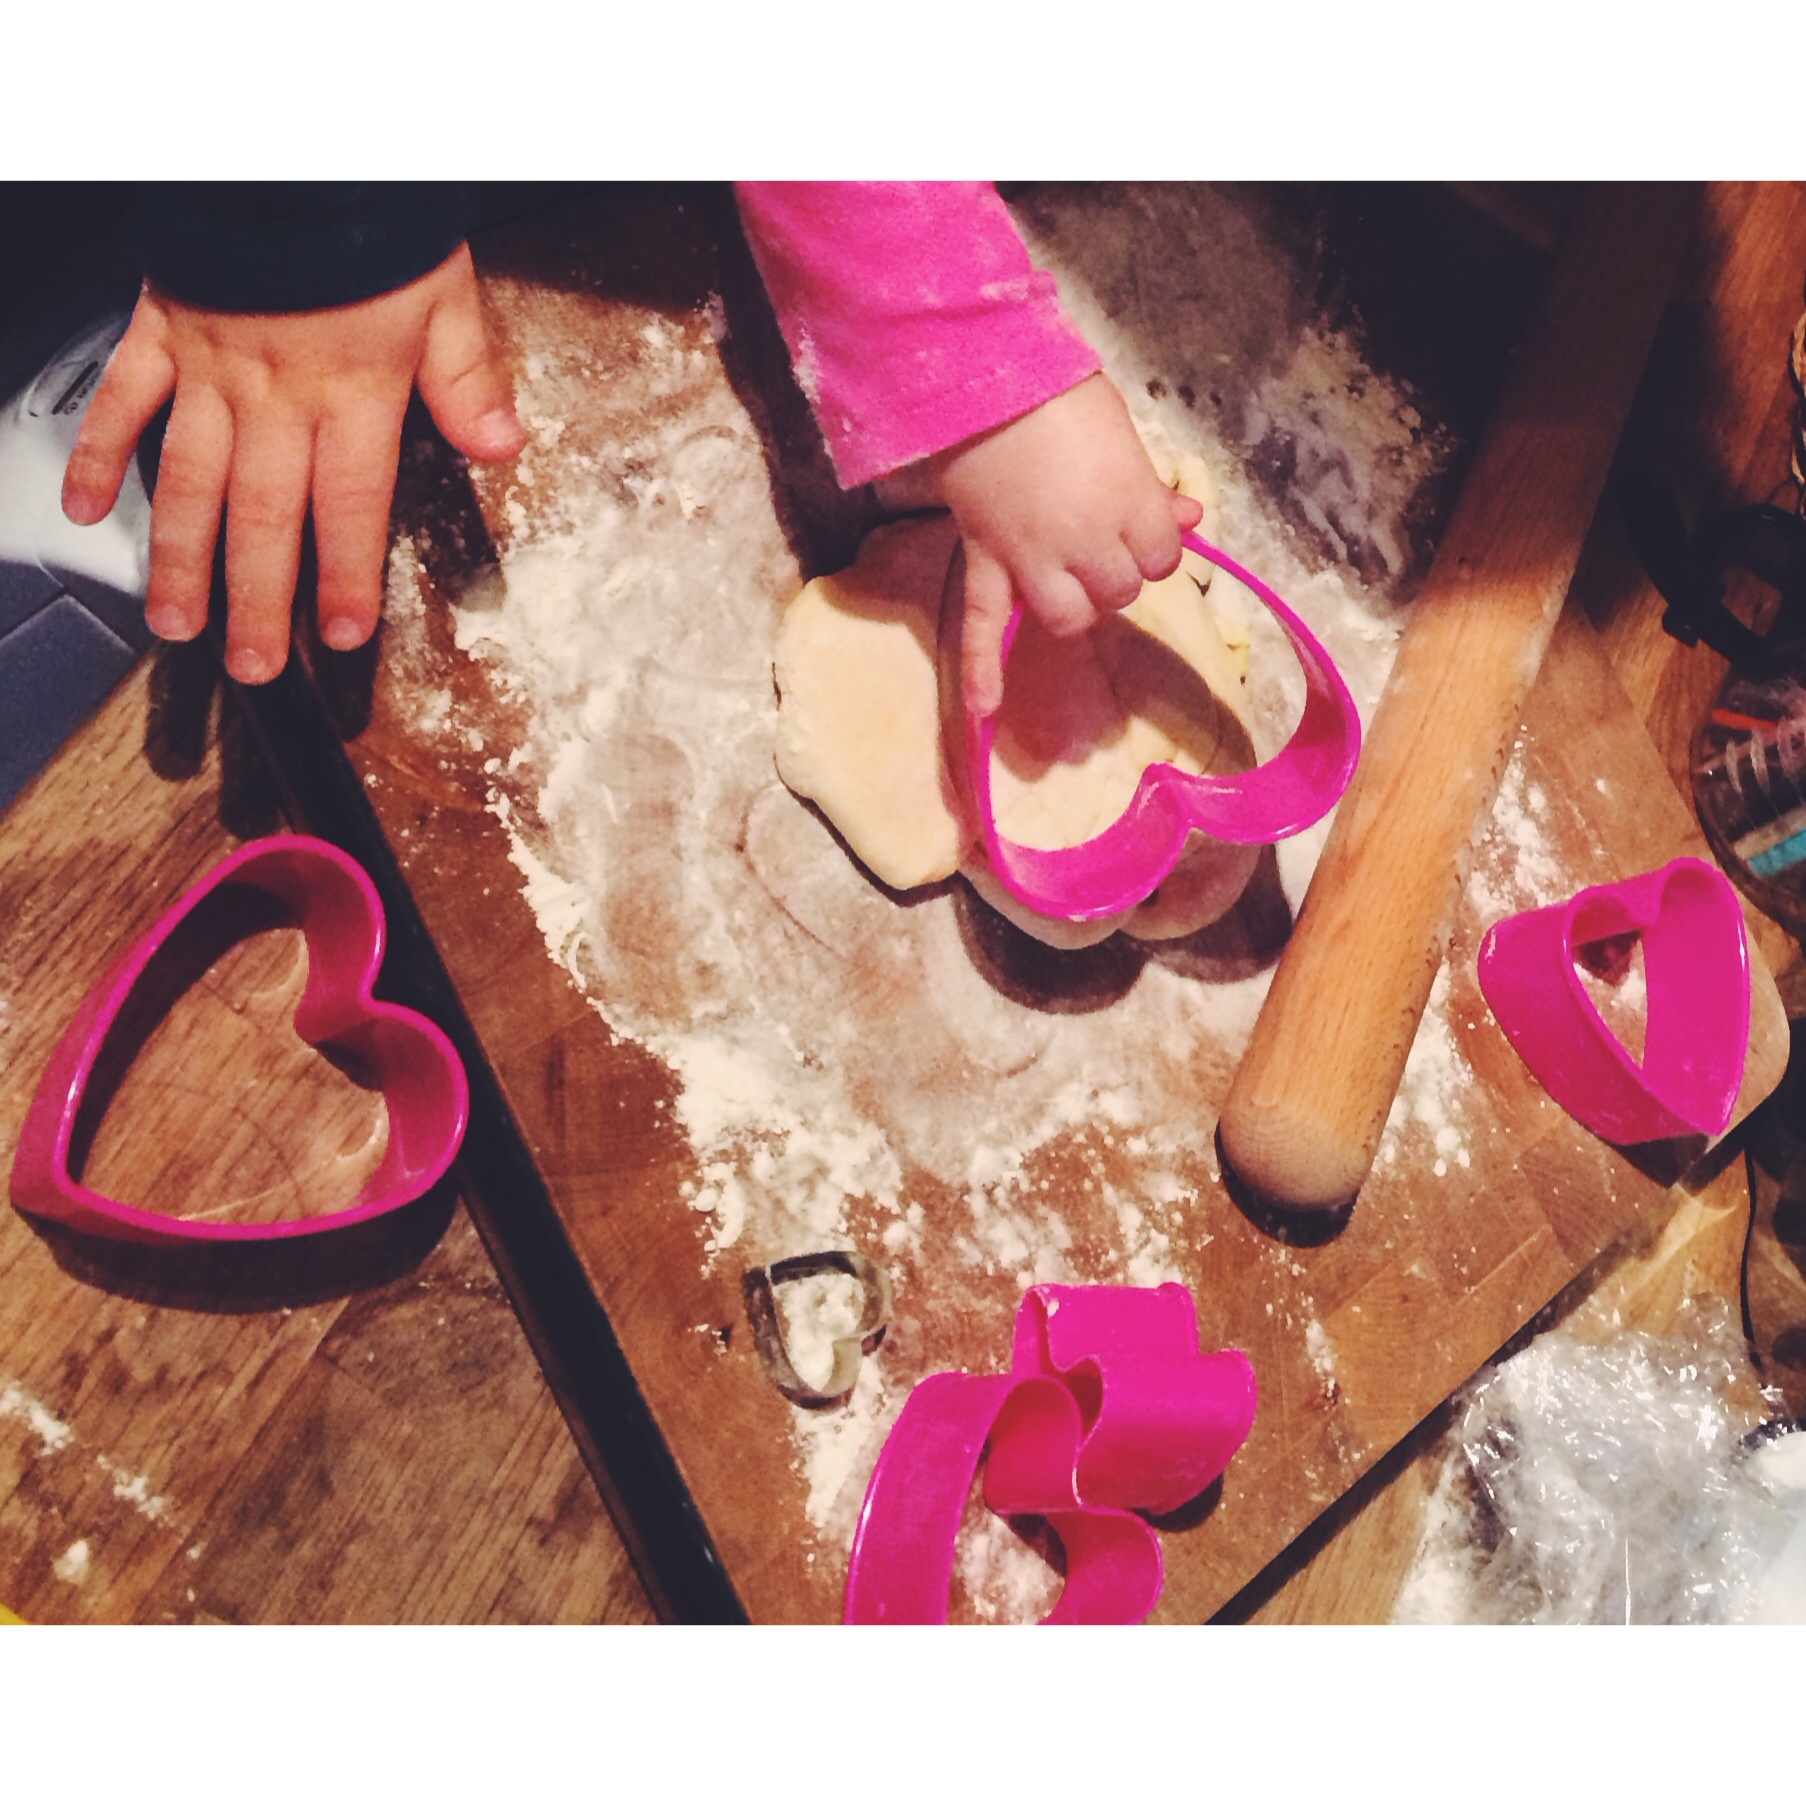
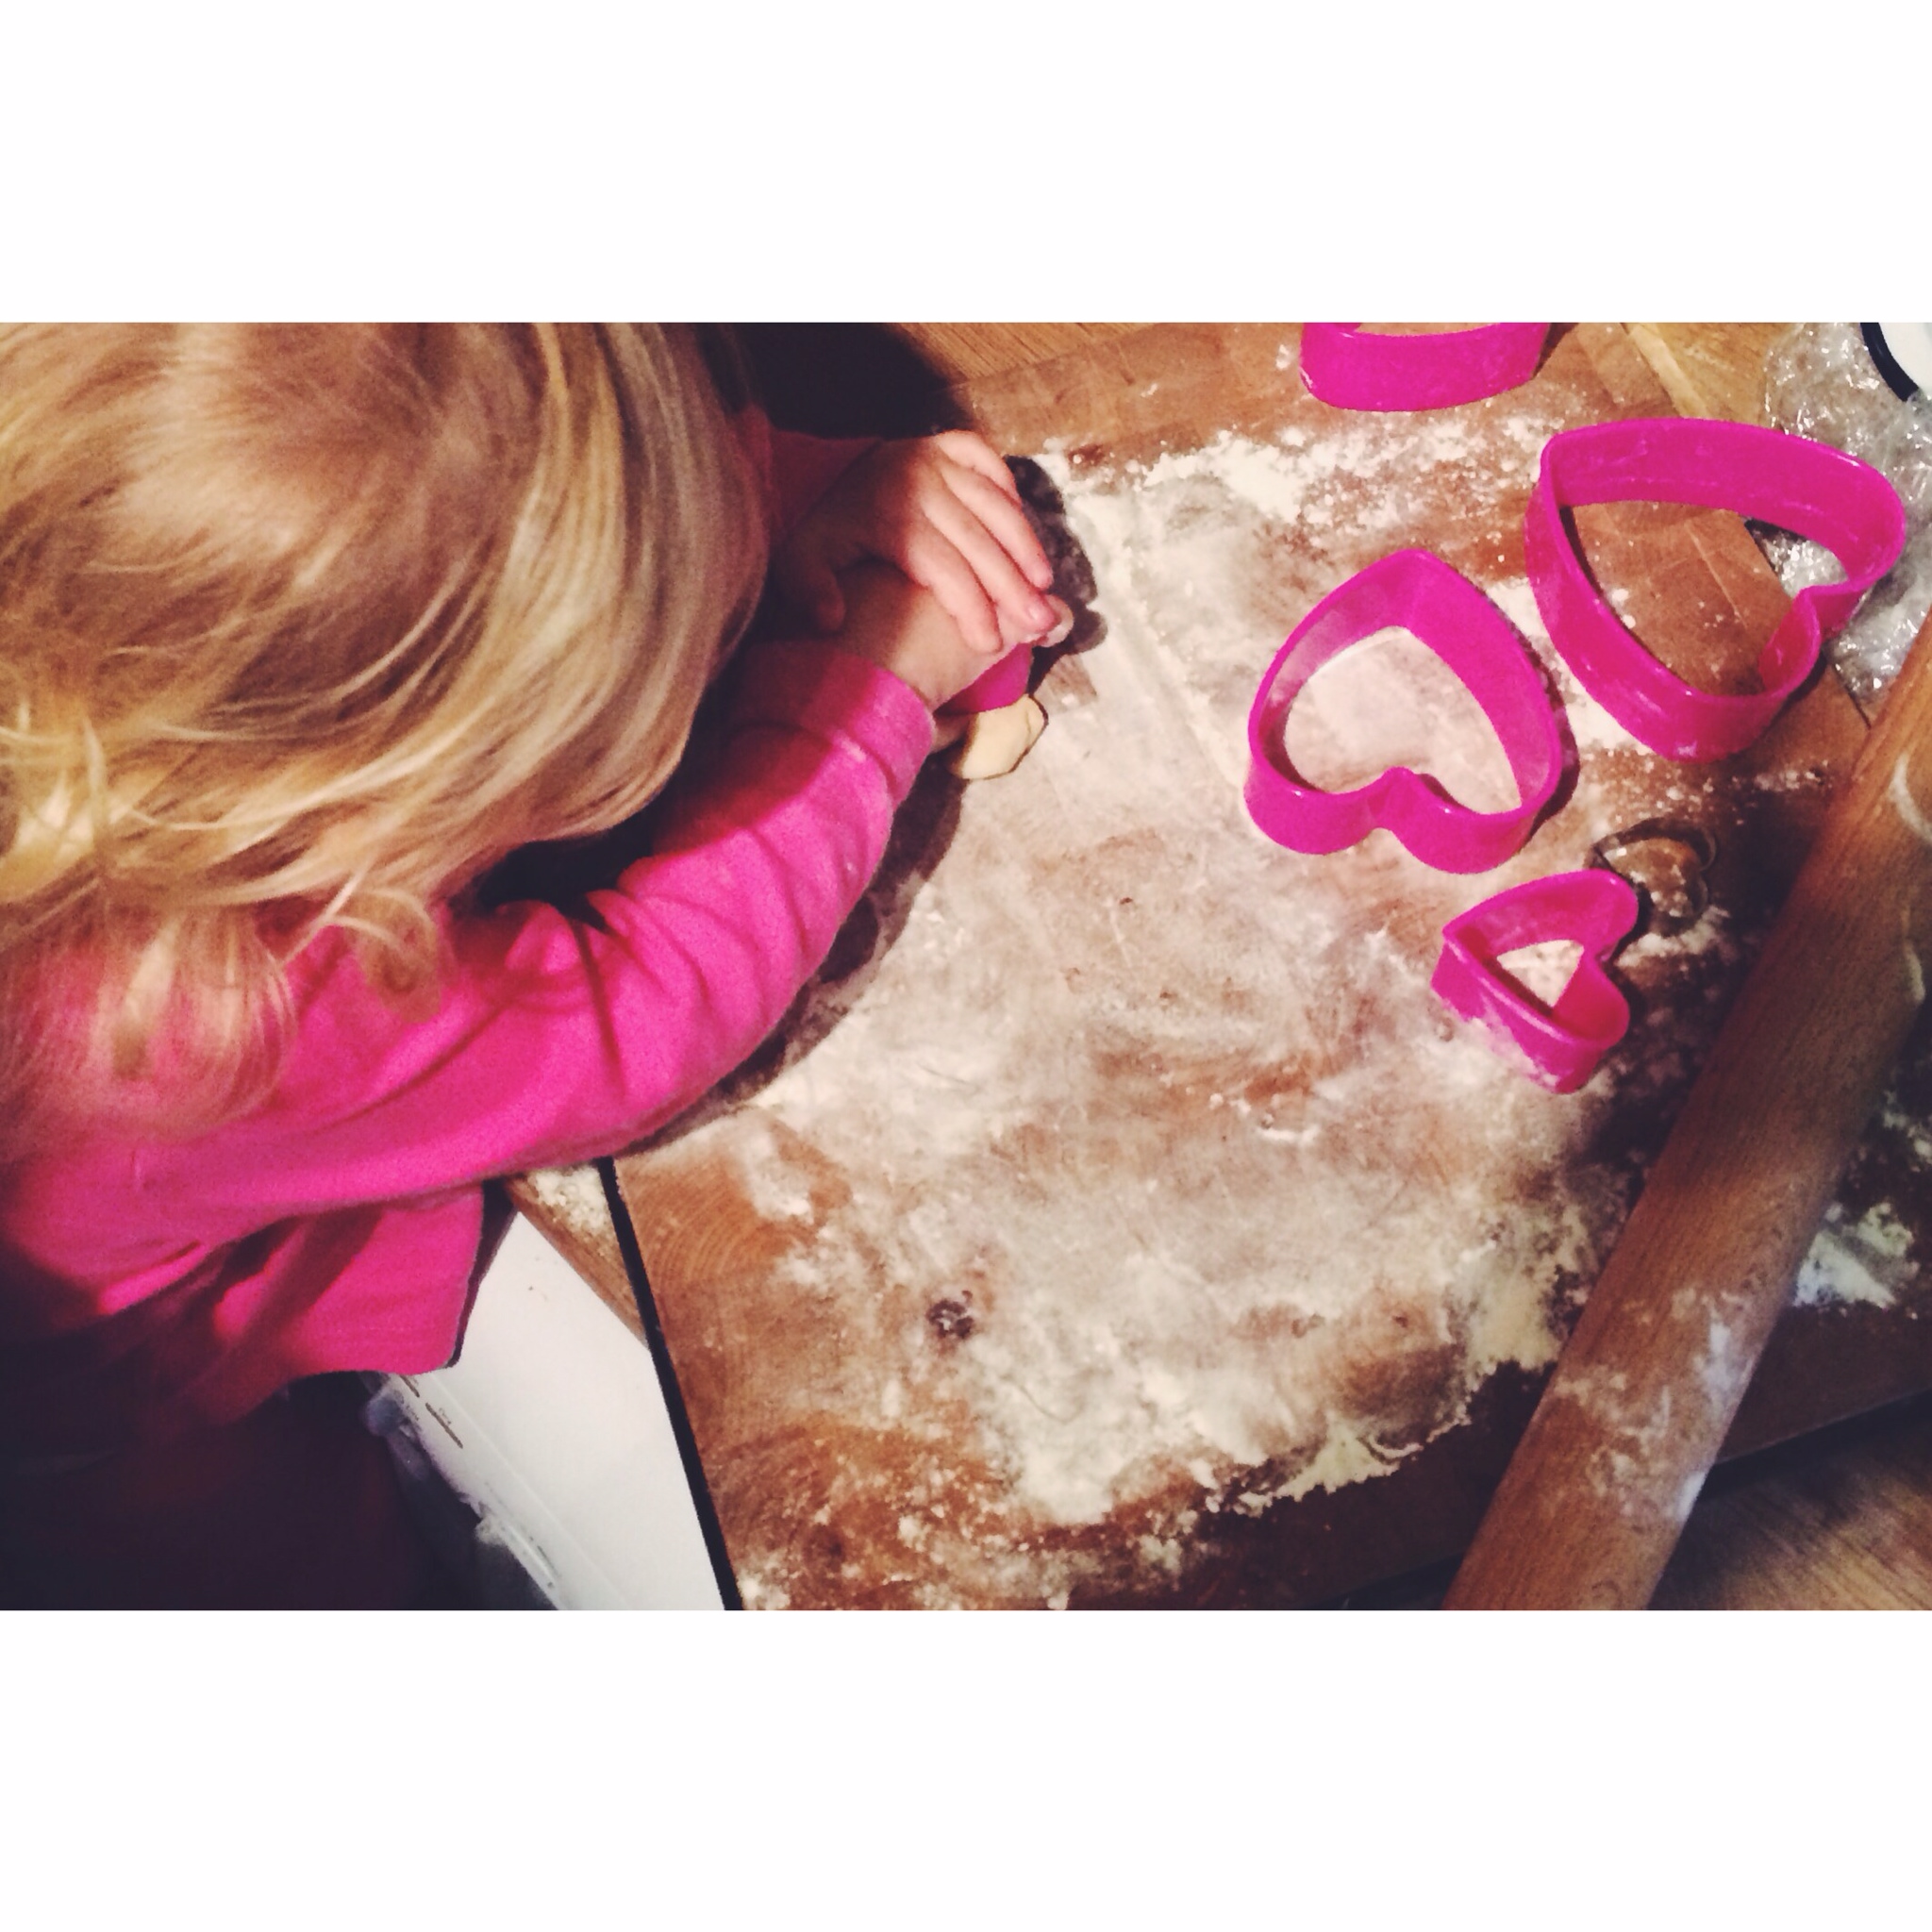
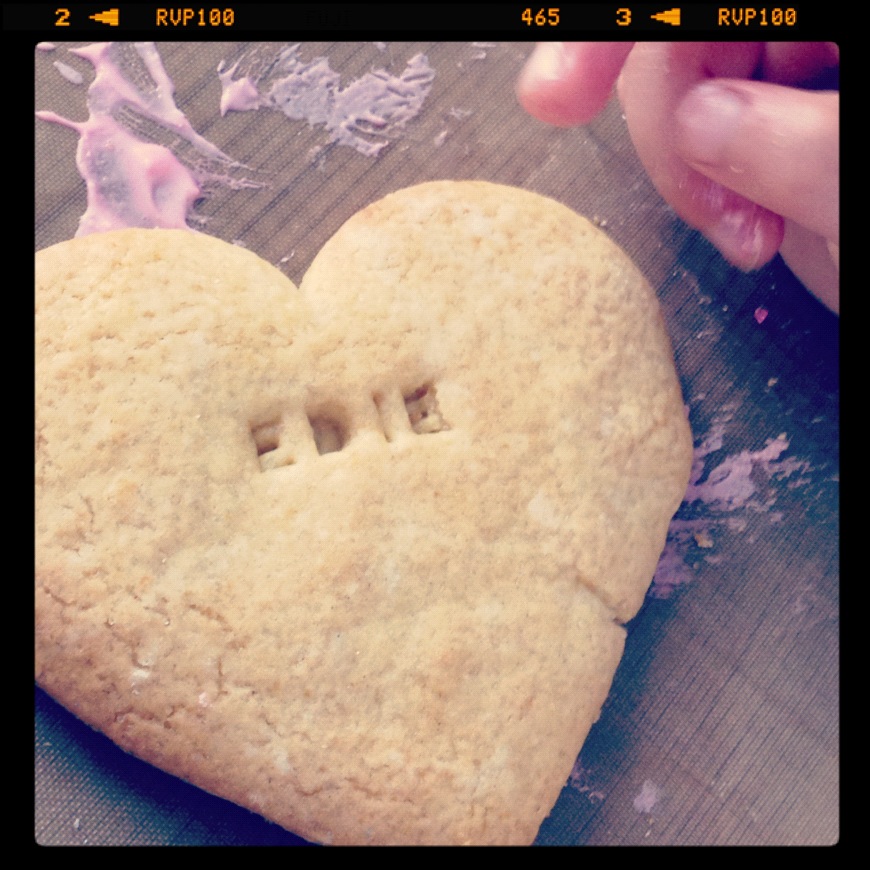
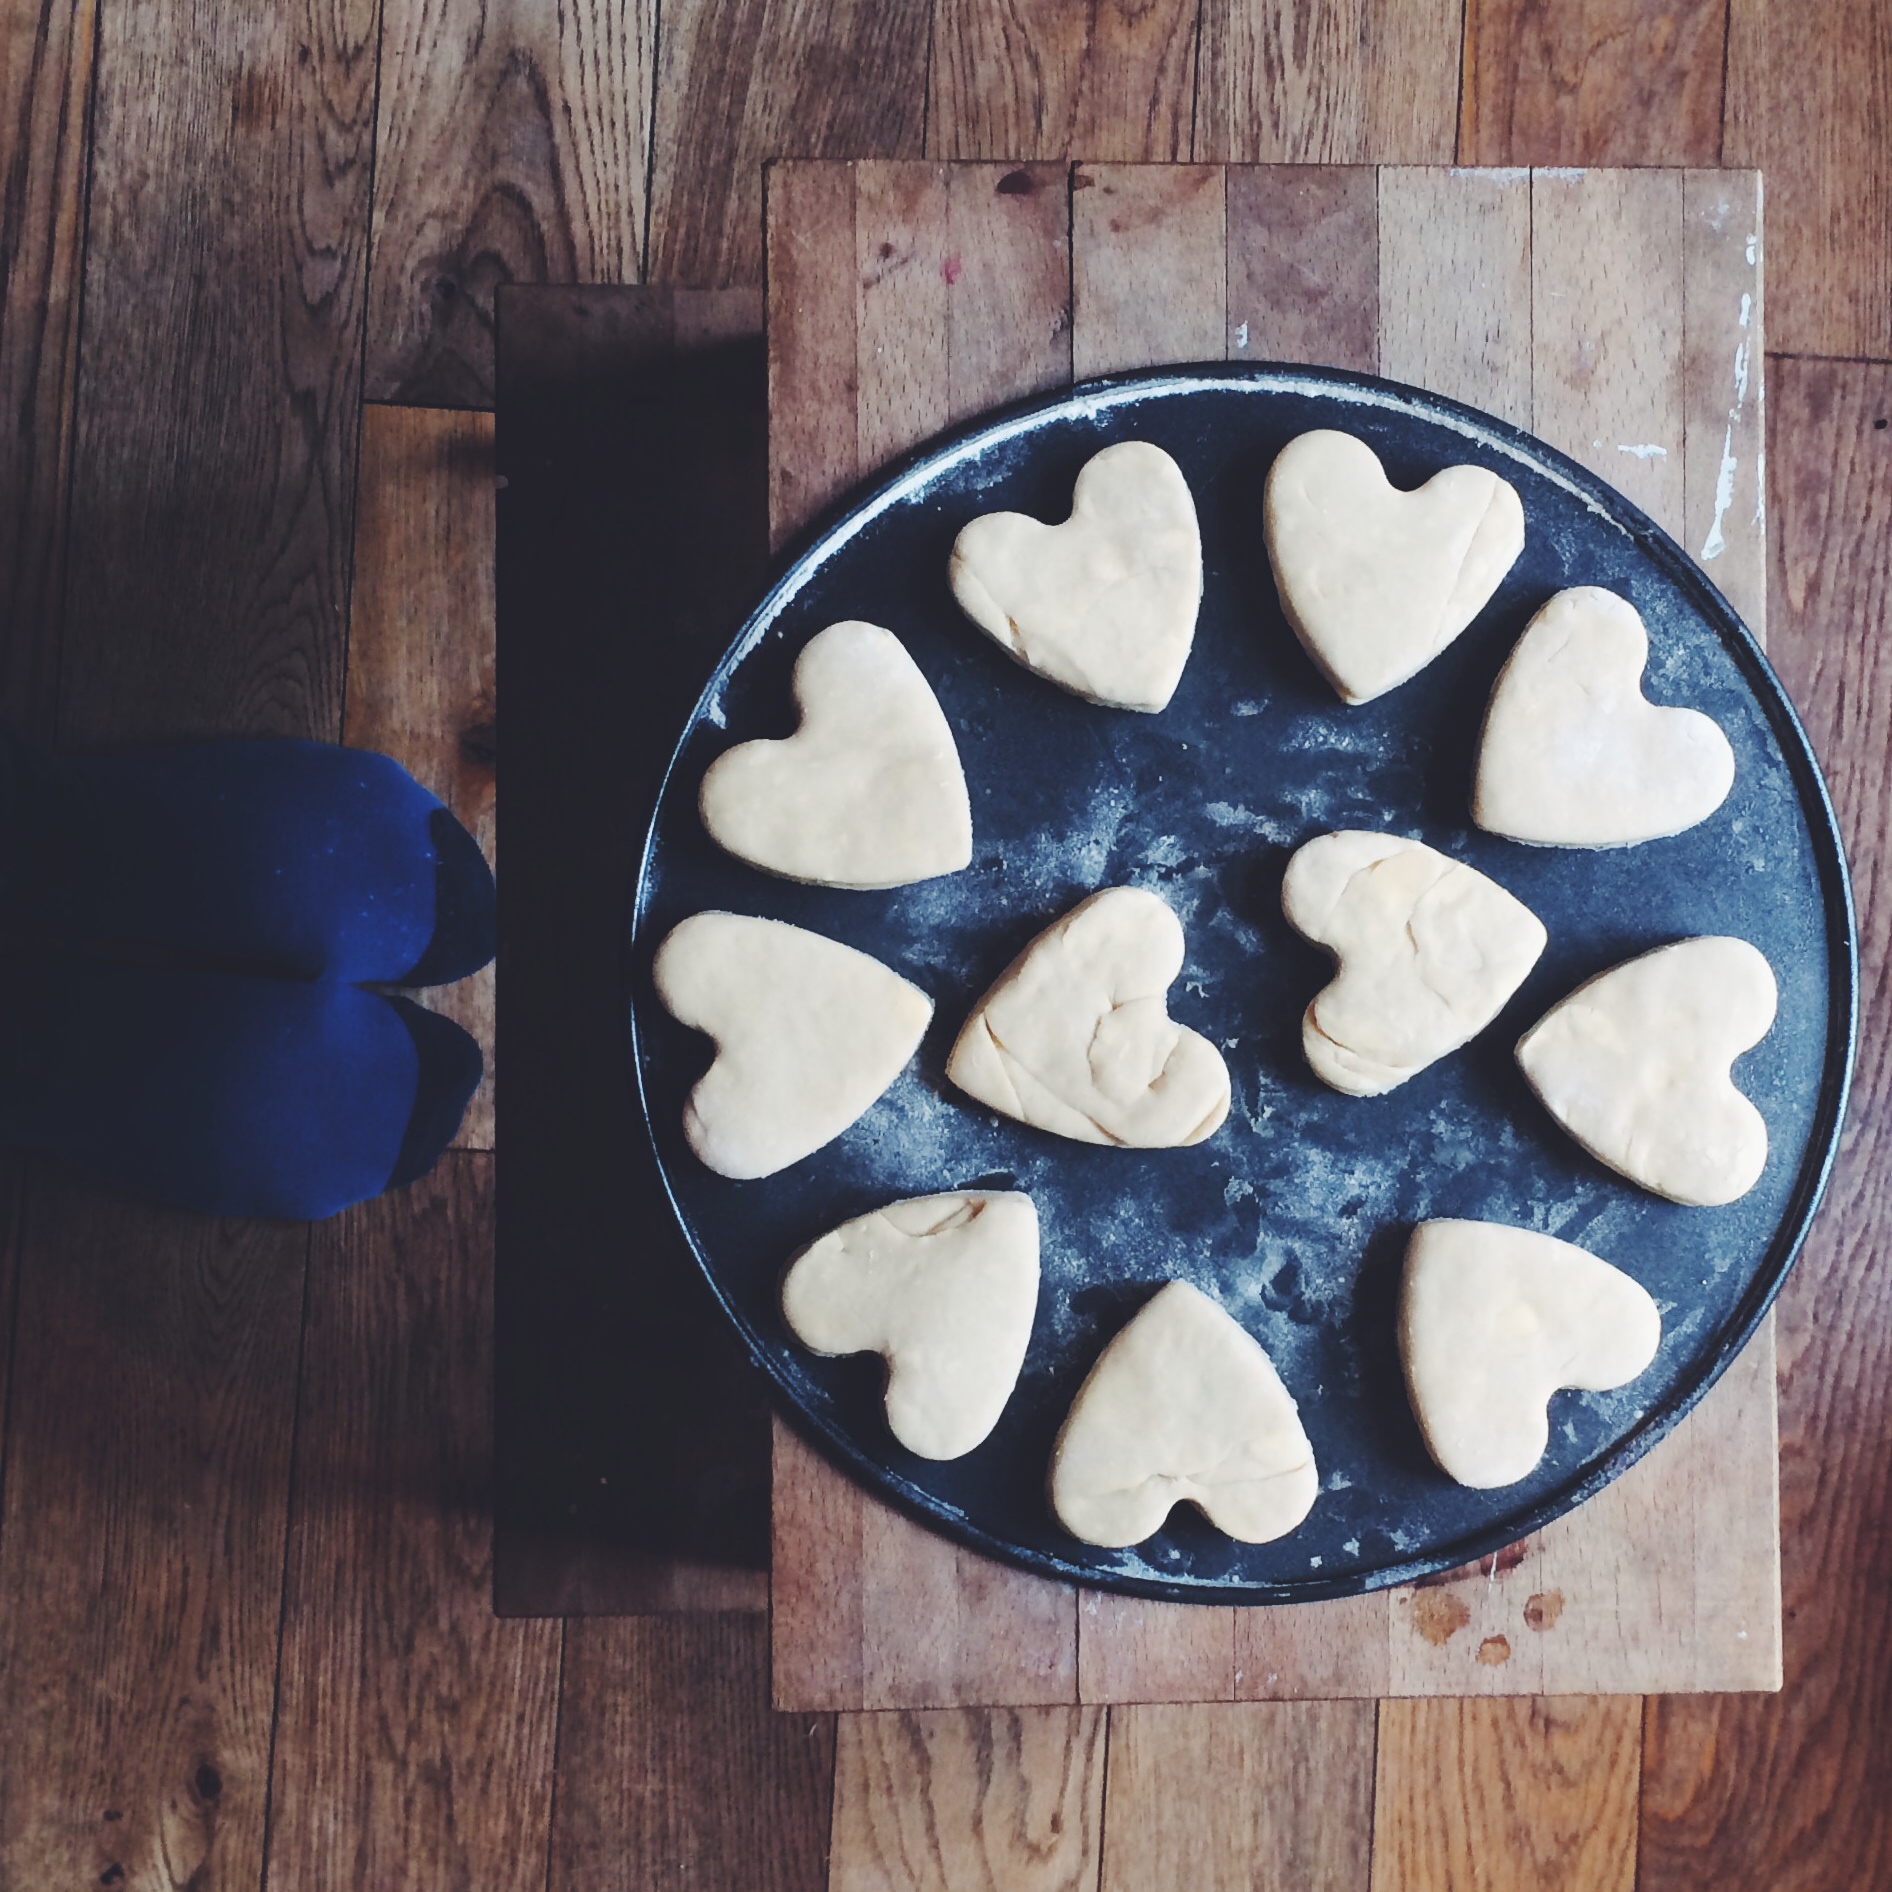
Wake up! It's time to roll out your dough! On a floured surface, to approx 1cm thick. Then use your cutter of choice to cut the little cronies out, and place them on an oiled and floured baking tray to prove. You can squidge up and re-roll the dough, but don't expect as flawless results and don't let it get too warm from handling. Usually these messier looking ones are the tastiest, so it's worth it.
The proving process takes however long it takes - it all depends on how warm your kitchen is. If it's very cold, you can try popping them into the oven at 30 degrees but keep a close eye. Mine take anywhere from 25 mins to 45 mins to puff up - you can check by giving them a gentle prod. You don't want them to have too much or too little give. Over-proving will give you big heavy lumps, so be vigilant and keep practicing.
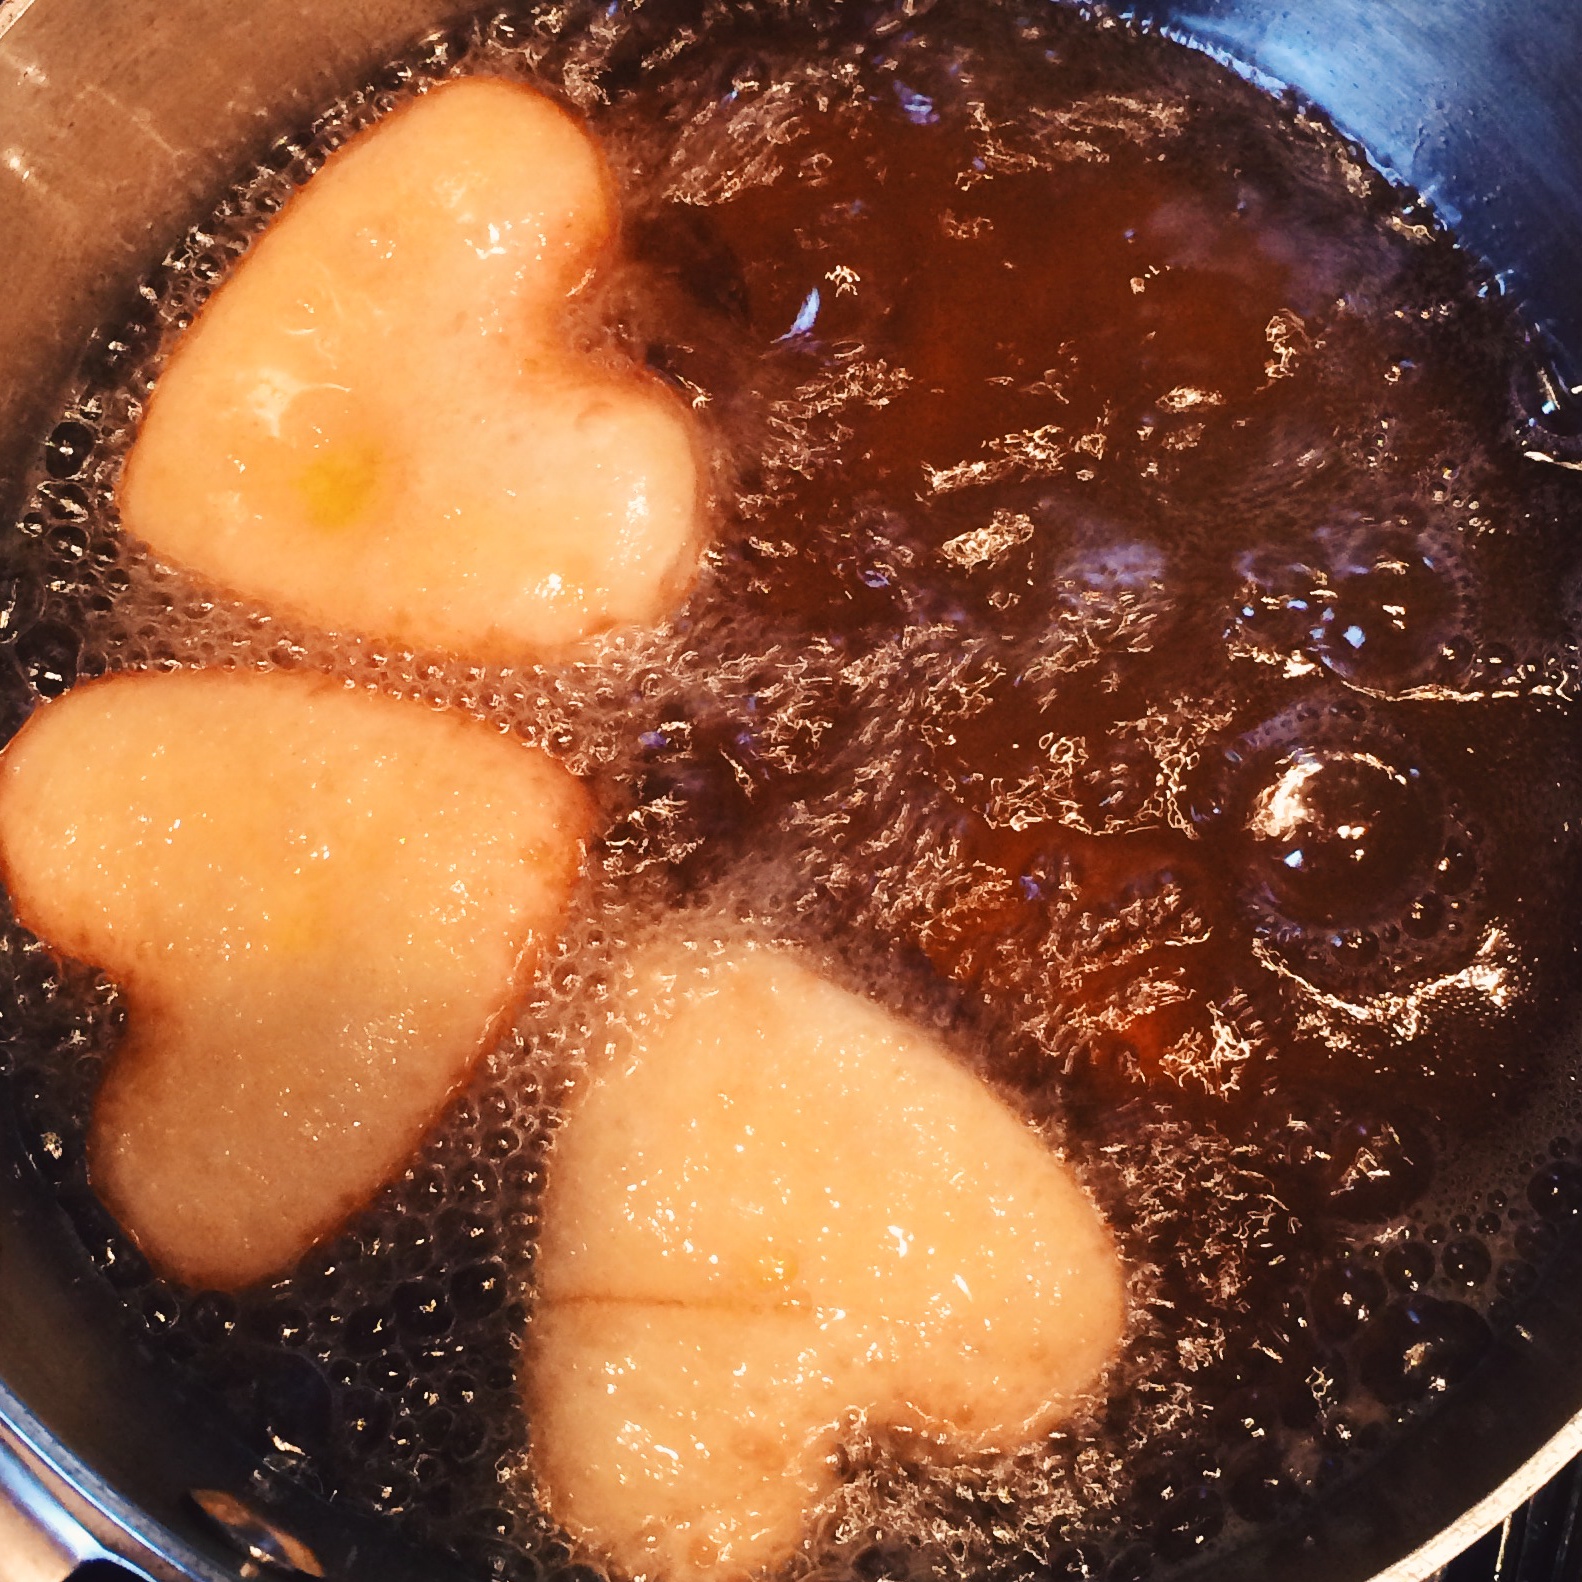
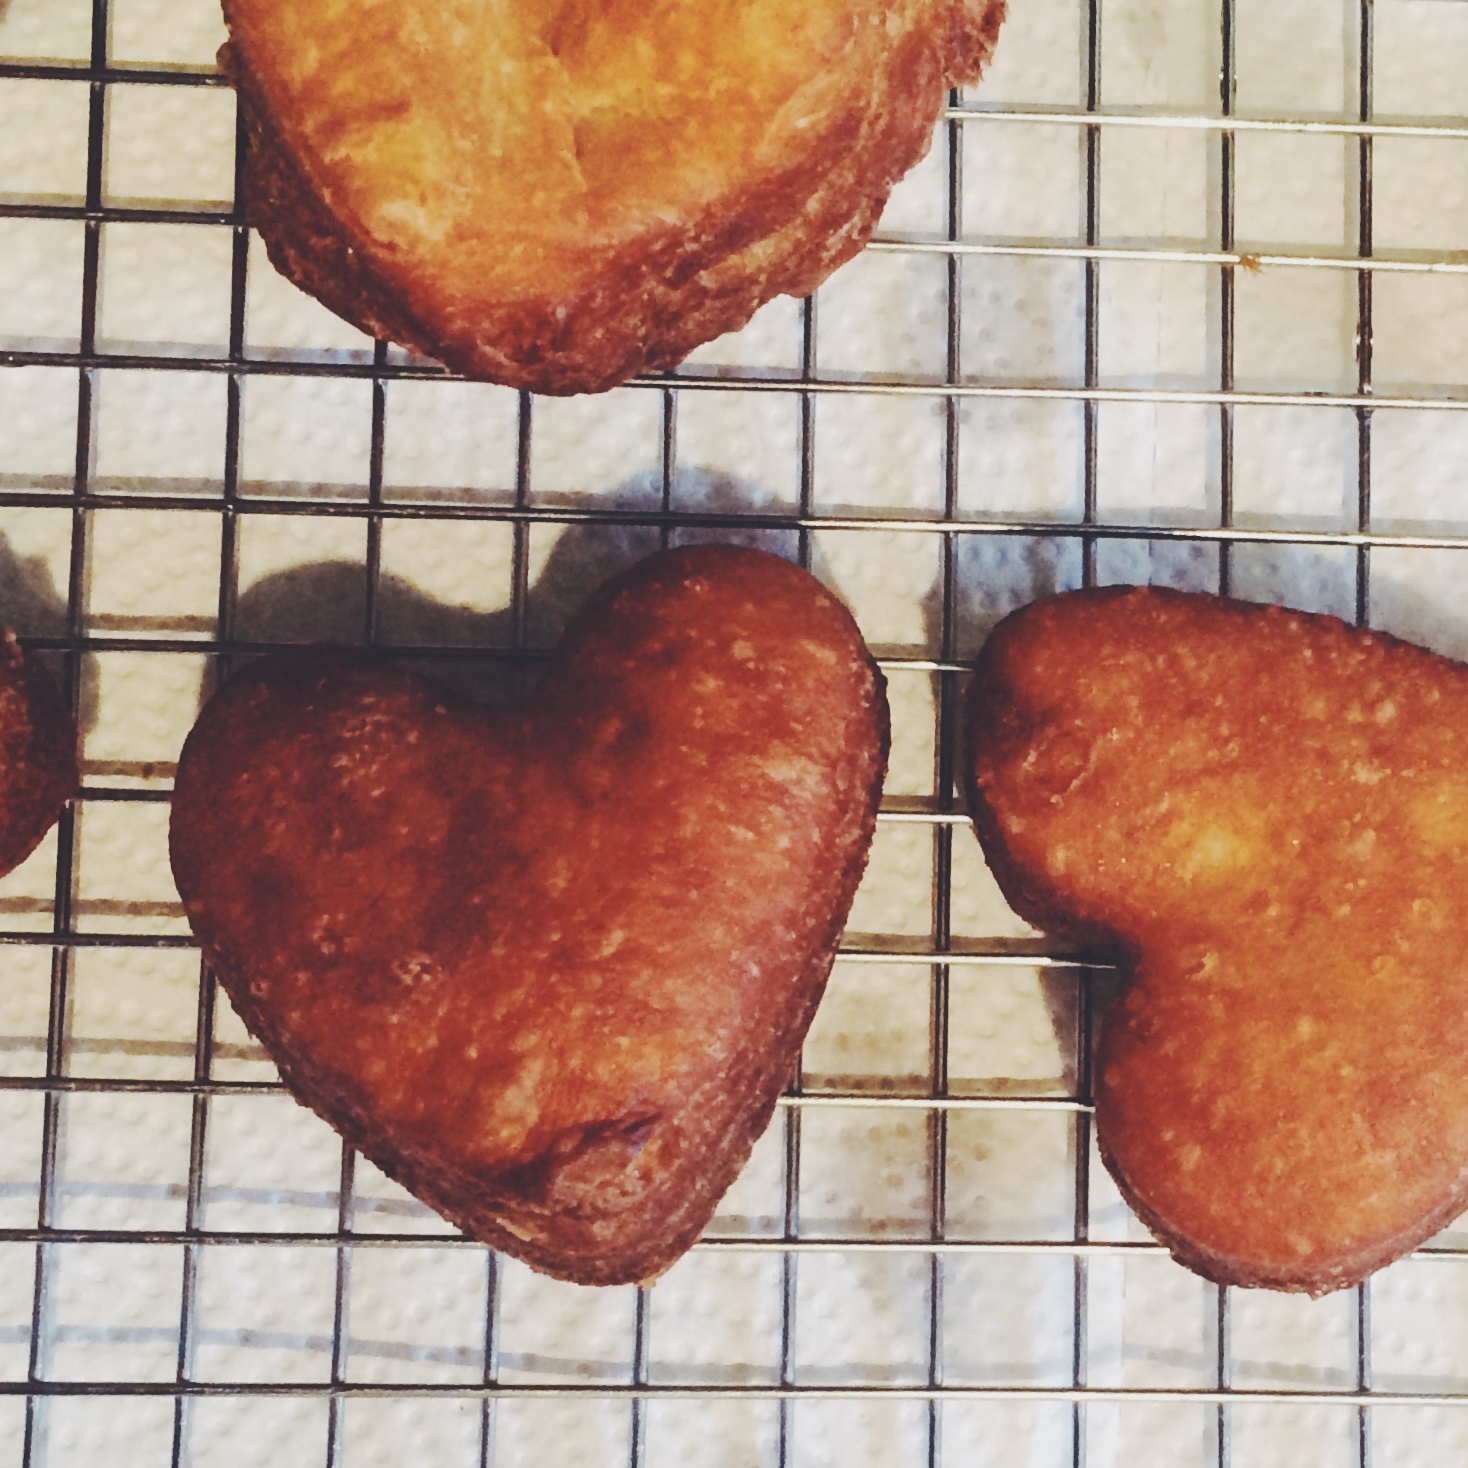
Heat your oil in a deep saucepan until it reaches 170C. It's pretty essential to use a thermometer as the oil can rapidly become too hot and burn the cronies, or cool down so much that it makes them greasy. Around 160-180C is optimum. Add two or three at a time and cook until golden brown, about a minute and a half per side. Remove to drain on racks with kitchen paper beneath to catch the grease.
As soon as they are cool enough to handle, roll the edges of the cronies in the rose sugar. I find a wide paintbrush helps to get this neat and even. Then leave to cool completely.

Once absolutely, definitely cool, use a food syringe to fill the cronies with your delicious vanilla custard. I usually make a hole right in the middle top, as this will then be covered by your cherry icing. Pop your icing into a piping bag and pop a thick swirl on each. It dries super fast so be ready to add your sparkly cherries, or any other topping, asap after piping. And....enjoy! But make sure you eat them same day, they aren't too happy after a night alone in some tupperware.
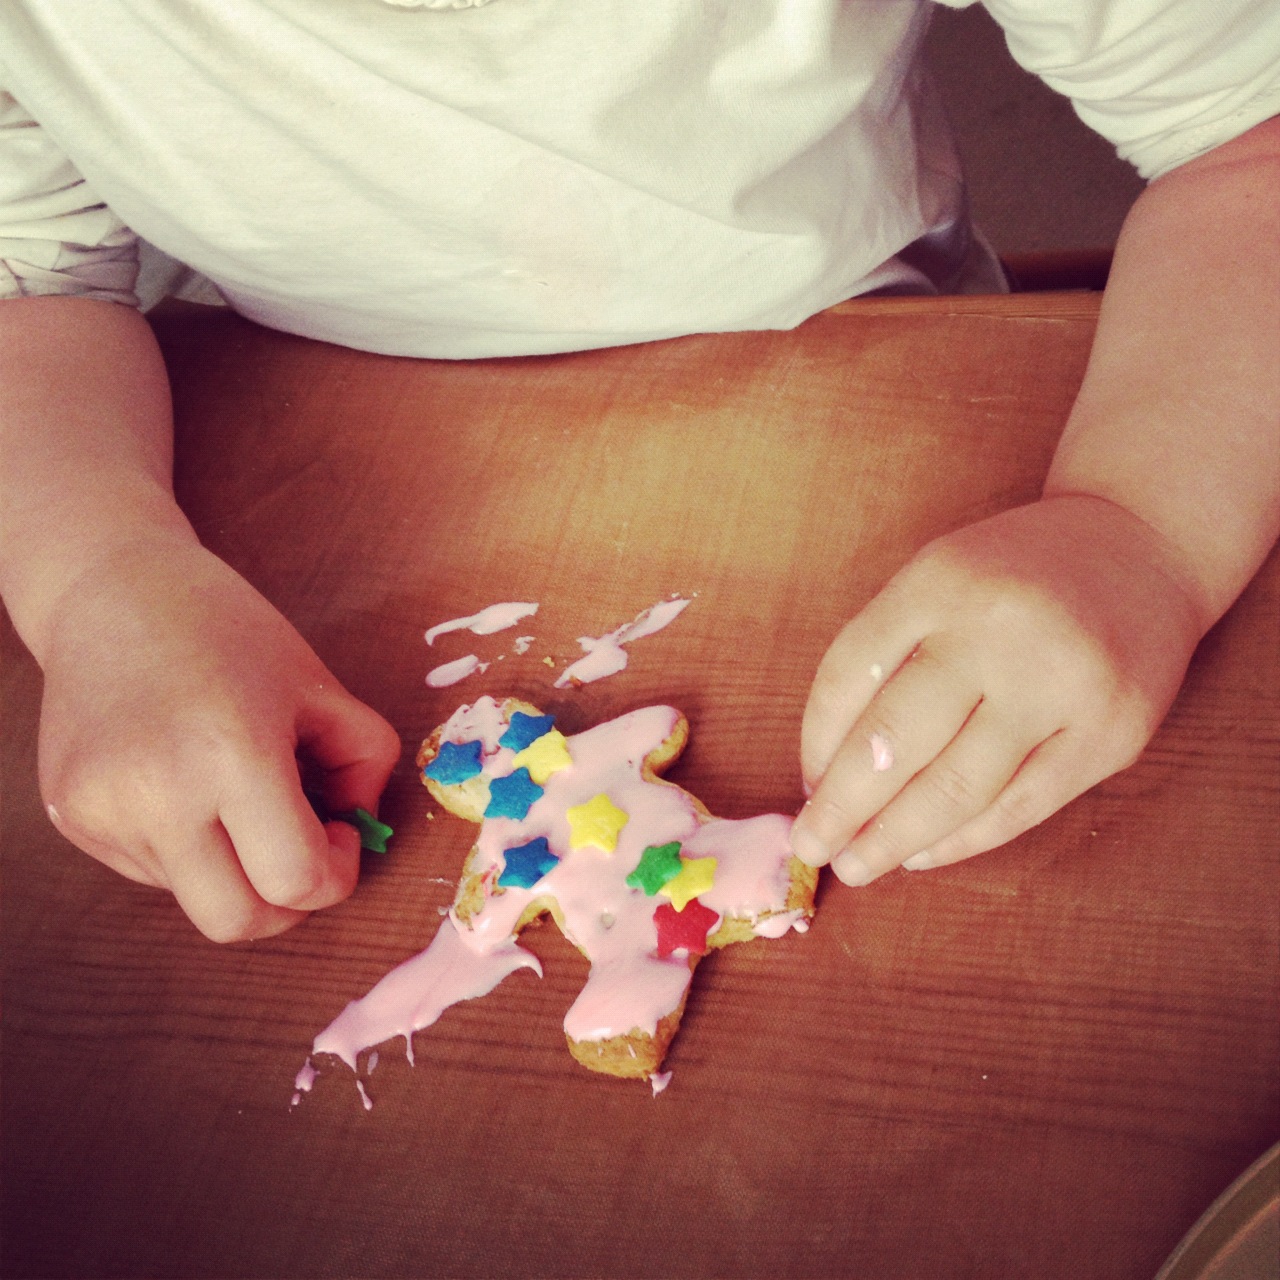
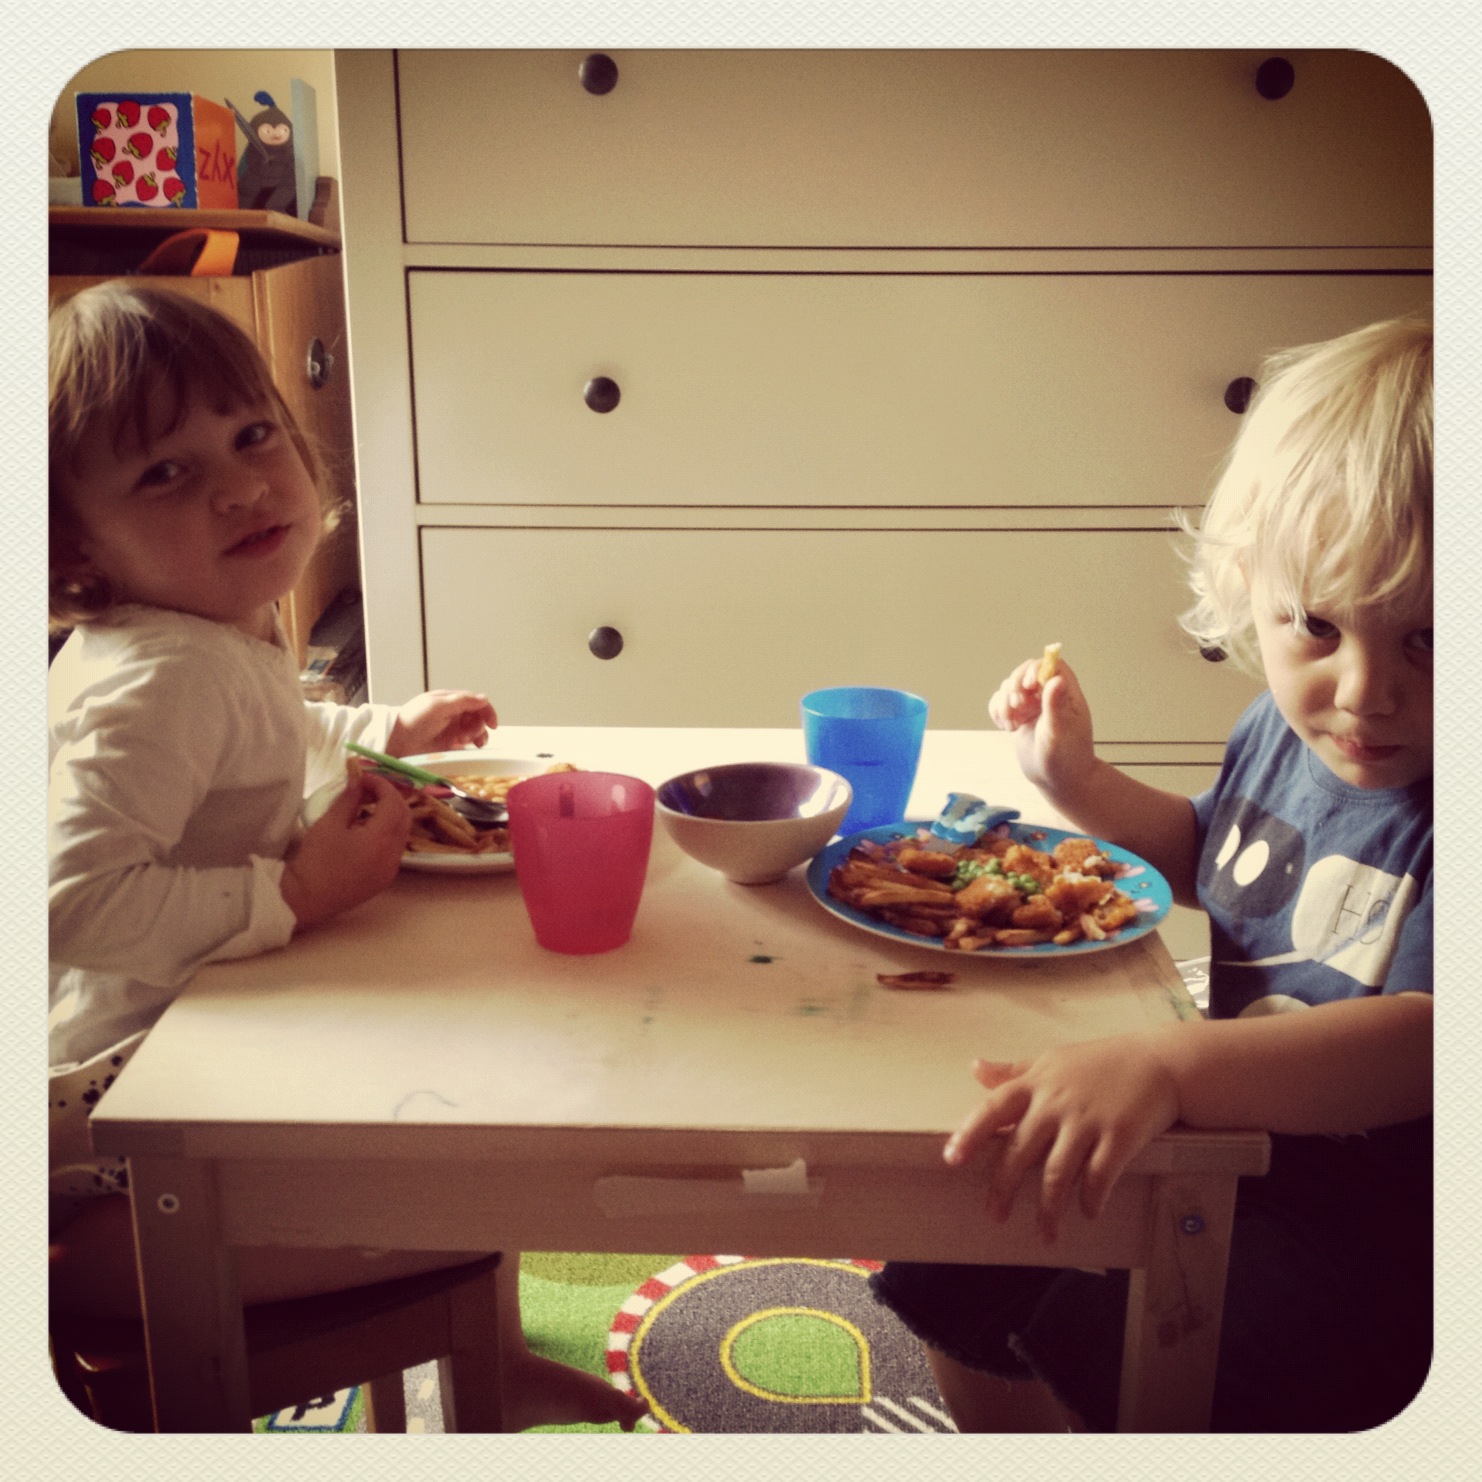
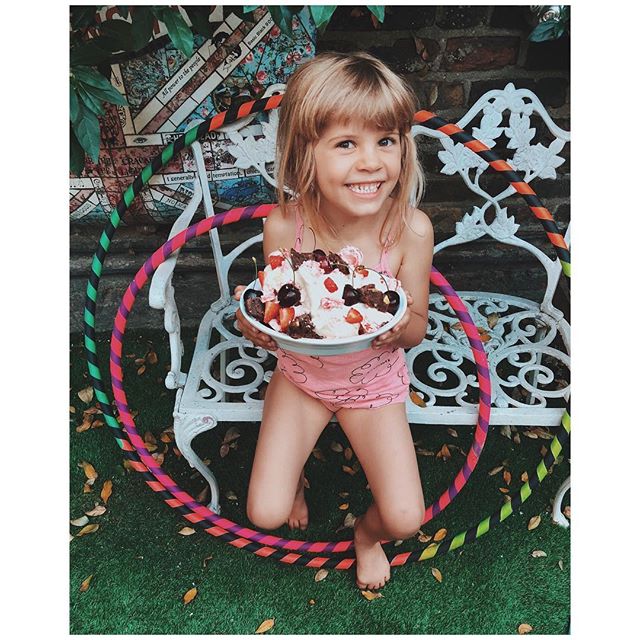
If you're not aiming for perfection, this is absolutely something the littles can get involved in, especially the cutting out and icing. And the eating, of course...