Eating the dream

I am now an official full time baker (!!), and the baking me - Cake of Dreams - has been very busy this past month. Here are some of my latest bakes. Now I'm feeling hungry, fantastic...

L-R from top...1. Red velvet supreme with black chocolate marshmallow frosting, for Gus... 2. Strawberry & Lavender buttermilk cake...3.  Chocolate donuts and Lemon cronuts for brunch....4. Cronuts are now my new favourite foodstuff...5. Lemon meringue & vanilla fruit tarts...5. Birthday cake for Roman & Claudia...6. Violet meringues...7. Red velvet supreme for Katie...8. Chocolate fudge with salted caramel buttercream...9. Top view of Gus's cake. 

My Cake of Dreams website is still being finished, but I'm taking orders at hello@cakeofdreams.co.uk


strawberry milkshake cake

My lovely friend Jennie is always so patient and generous with her time when it comes to helping me out with little sewing projects (and teaching me how to make amazing quilts! Well, her quilts are amazing. And so are her classes - bookable here) that when she offered to spend her actual birthday helping me to prep a quilt for Pablo I thought it would only be right to make her a big old cake...

IMG_5342.JPG

Jennie is one of the more colourful folk I know (literally - she was dyeing her hair turquoise as we sewed) and made a special request for no chocolate, so I was excited to have an excuse to hunt out a suitably colourful cake. As usual, Sweetapolita did not disappoint and I went with an adaptation of her Strawberry Layer Cake with Whipped Strawberry Frosting

350g Granulated Sugar
85g Strawberry flavoured gelatin crystals (don't be a moron like me and get block jelly. I had to send husband on a last minute urgent errand to buy crystals and all he could find were raspberry vegetarian jelly crystals, which worked perfectly, just fyi...)
227g unsalted butter, softened
4 large eggs
300g cake flour (this is not widely available in the UK - see tips on how to make your own here)
1 tbsp baking powder
3/4 tsp salt
240ml whole milk
1 tbsp pure vanilla extract
60ml strawberry puree (blend a handful of slightly defrosted frozen strawberries)

Preheat oven to 170C. Line 3x6in round cake tins with parchment and flour, tapping out any excess. Ensure strawberry puree is not icy, then combine with milk and vanilla. In a mixer, cream the butter with the sugar and jelly crystals until light and fluffy. I usually cream the butter a minute or two on its own first to make sure it's soft enough, or this can take ages... Sift the remaining dry ingredients together. 

Add eggs to the creamed butter and sugar one at a time and mix well after each addition. Use a spatula to scrape down the sides of the bowl so that everything is combined. Next alternate adding your dry ingredients and strawberry milk mixture, starting and ending with the dry. Mix well between additions but be careful to only mix until combined, not over mix. At this stage I also added a couple of drops of Americolor Neon Pink gel colour to give the cake an extra pink kick. 

Divide the mix between three pans. I thoroughly recommend weighing the batter so that this is as exact as possible. Bake in preheated oven approximately 30 minutes - my oven is pretty hot, but I recommend carefully (and speedily) checking the cakes with a skewer after 25 mins and keeping an eye on them every 5 mins beyond that. 

When the cakes are done, leave them in the tins 10 mins before transferring to racks to cool completely. Then make the icing!

250g unsalted butter, softened and in cubes
330g icing sugar
10ml milk
1 tsp pure vanilla extract
30ml strawberry puree (as above - it can be cold but make sure it isn't icy)

Whip the butter for 8 minutes at medium speed with an electric mixer. Add sifted icing sugar slowly with the milk and vanilla and mix on slow 1 min and then on high for 6 more. Then add the strawberry puree, and a drop of pink gel colour (optional - and you can of course add more than a drop! Just be aware that the colour does add a slightly yucky taste, and that it MUST be gel colour or you will be adding too much liquid). 

Stack the cakes and ice generously between layers before doing a very thin crumb coat to cover the whole cake. Pop the cake in the fridge for 30 mins before removing and applying a thick final coat of icing. 

The cake was DELICIOUS, really moist and tasted just like those naughty strawberry milkshakes I'd get at the seaside as a kid. It also looked pretty spectacular in all its pinkness. Definitely one to make again. Two large slices was probably a bit much but I needed to keep my strength up for cutting all those quilt squares...

kiss me cake

Just had a major weekend of parties, I think I may now have more prosecco running through my veins than anything else. Despite the hours of sleep I can never recover, and the sense of impending doom that accompanies most of my 30-something hangovers, it's always worth it for the chance of a long, rambling catch up with beloved old friends. Had to make little cakes for them too of course, and as I've been dying to make some meringues I thought I'd make this my excuse. 

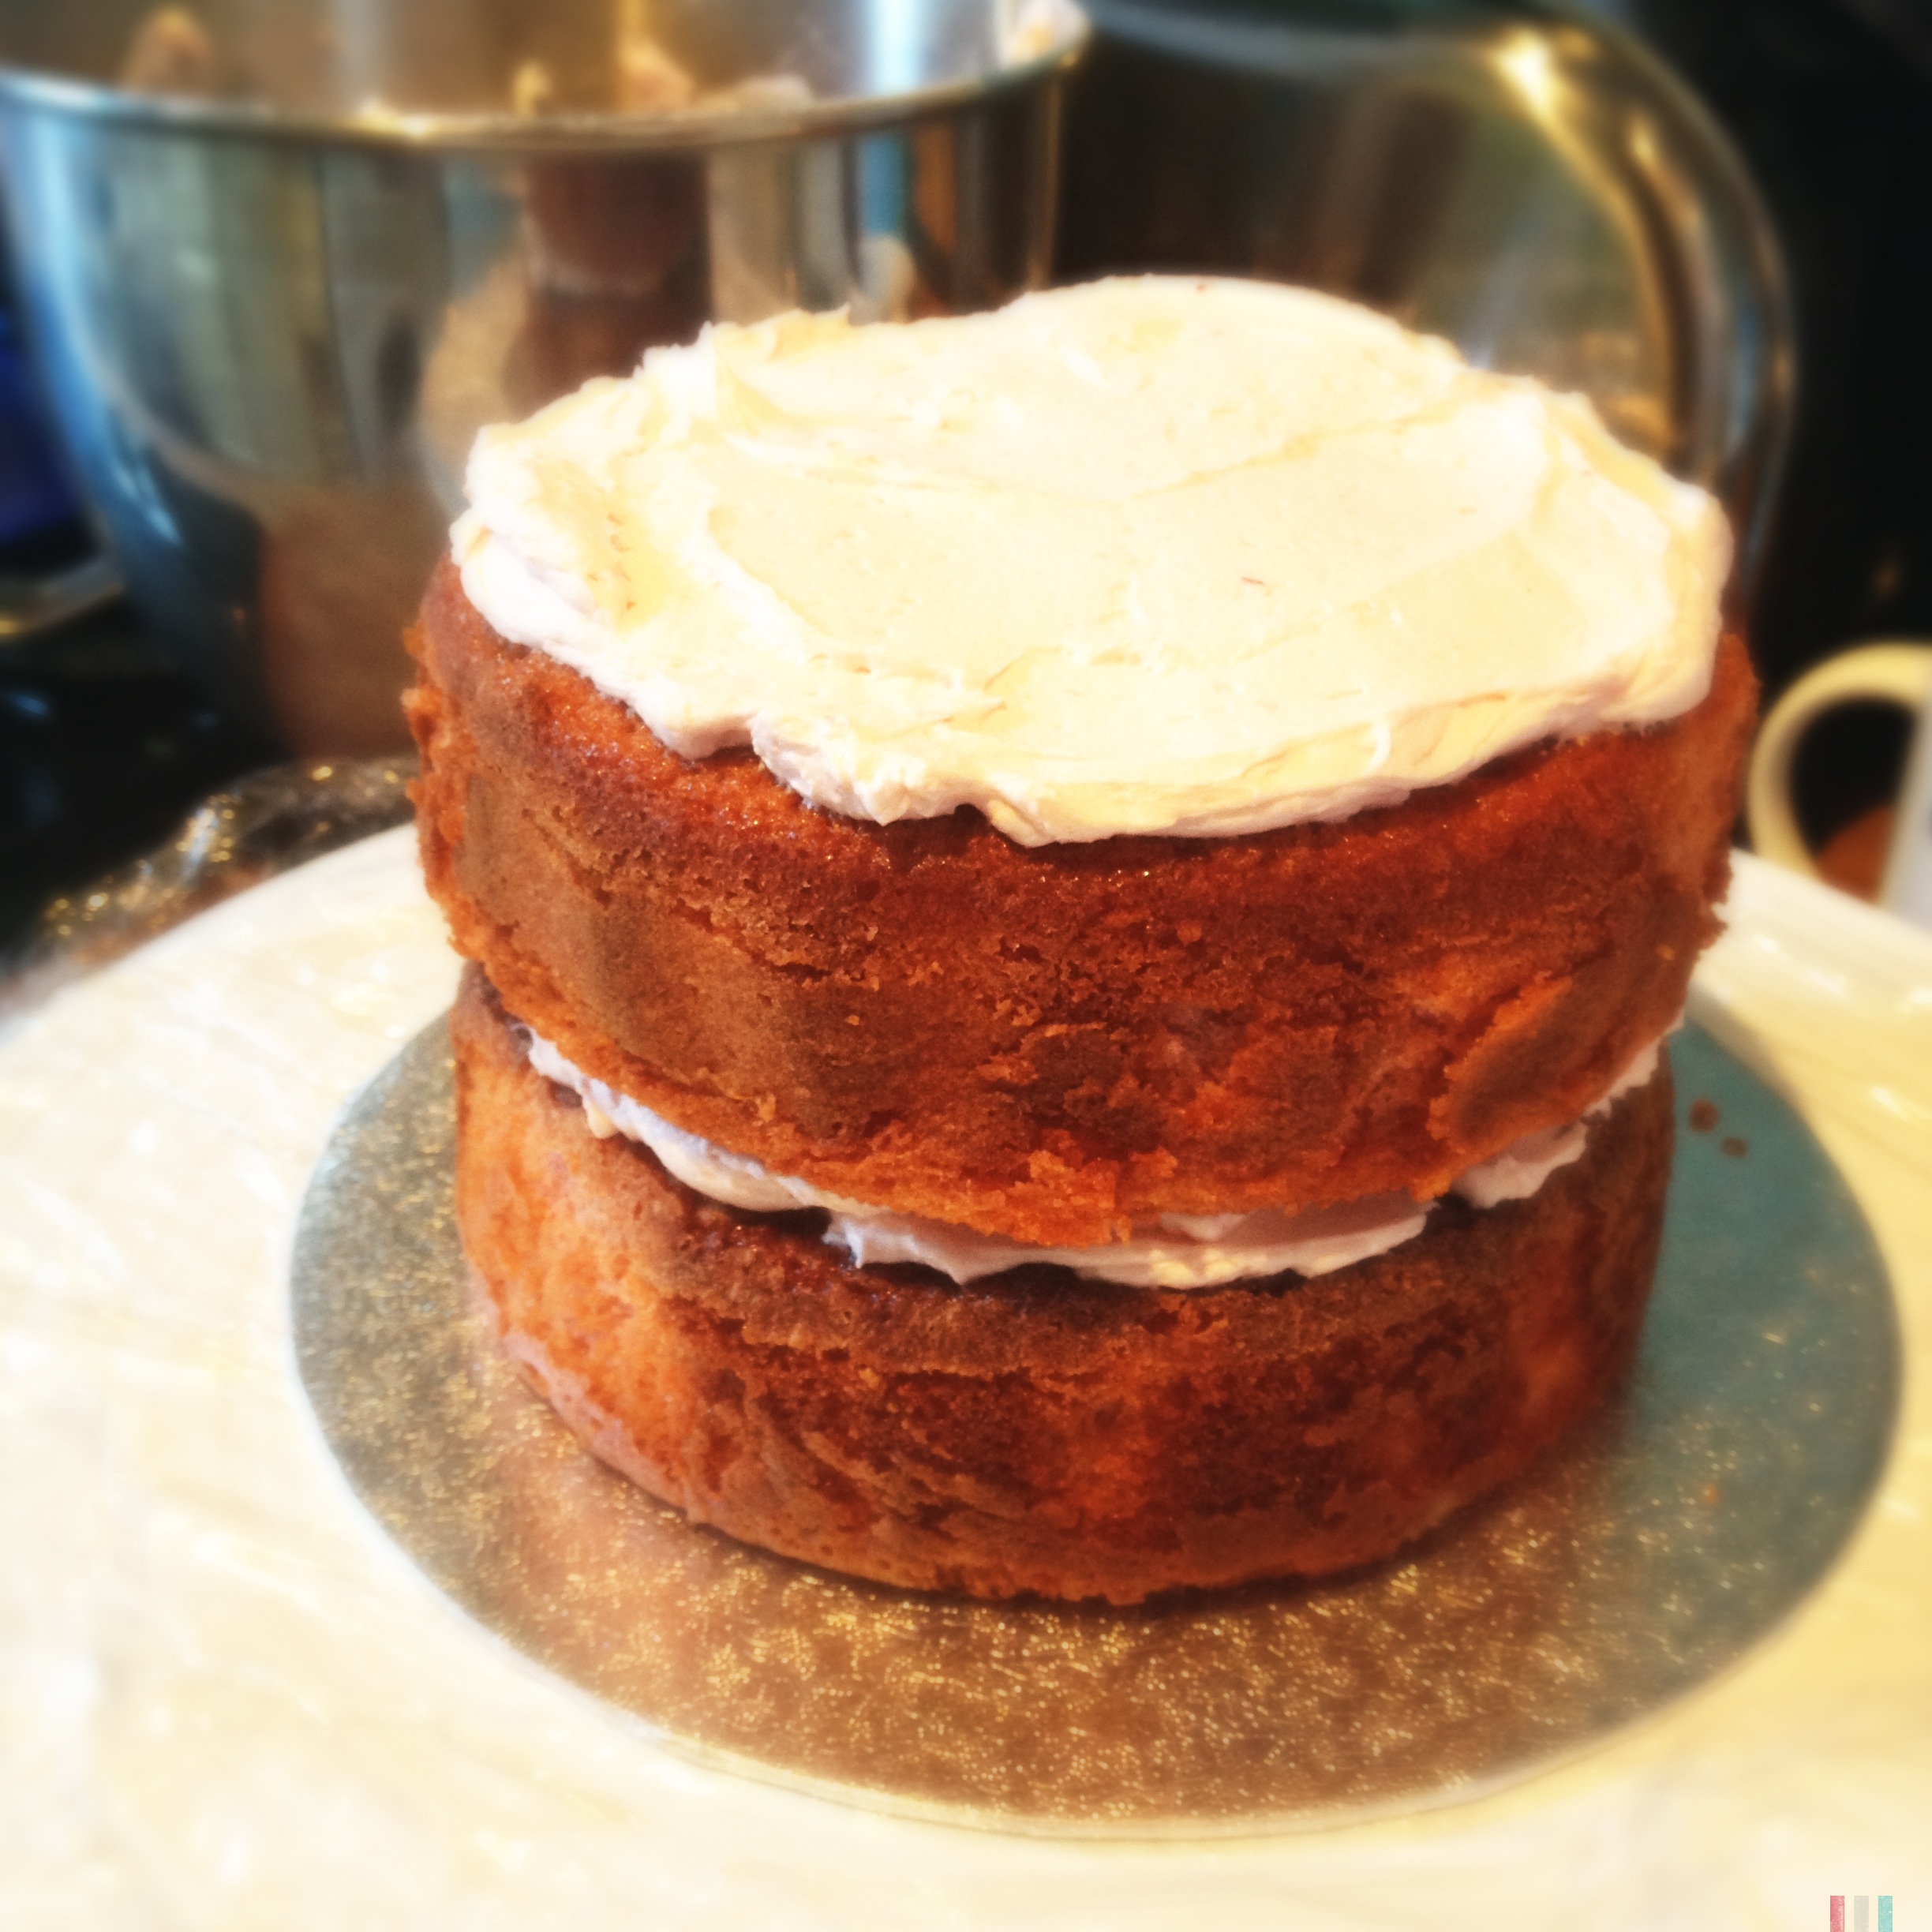
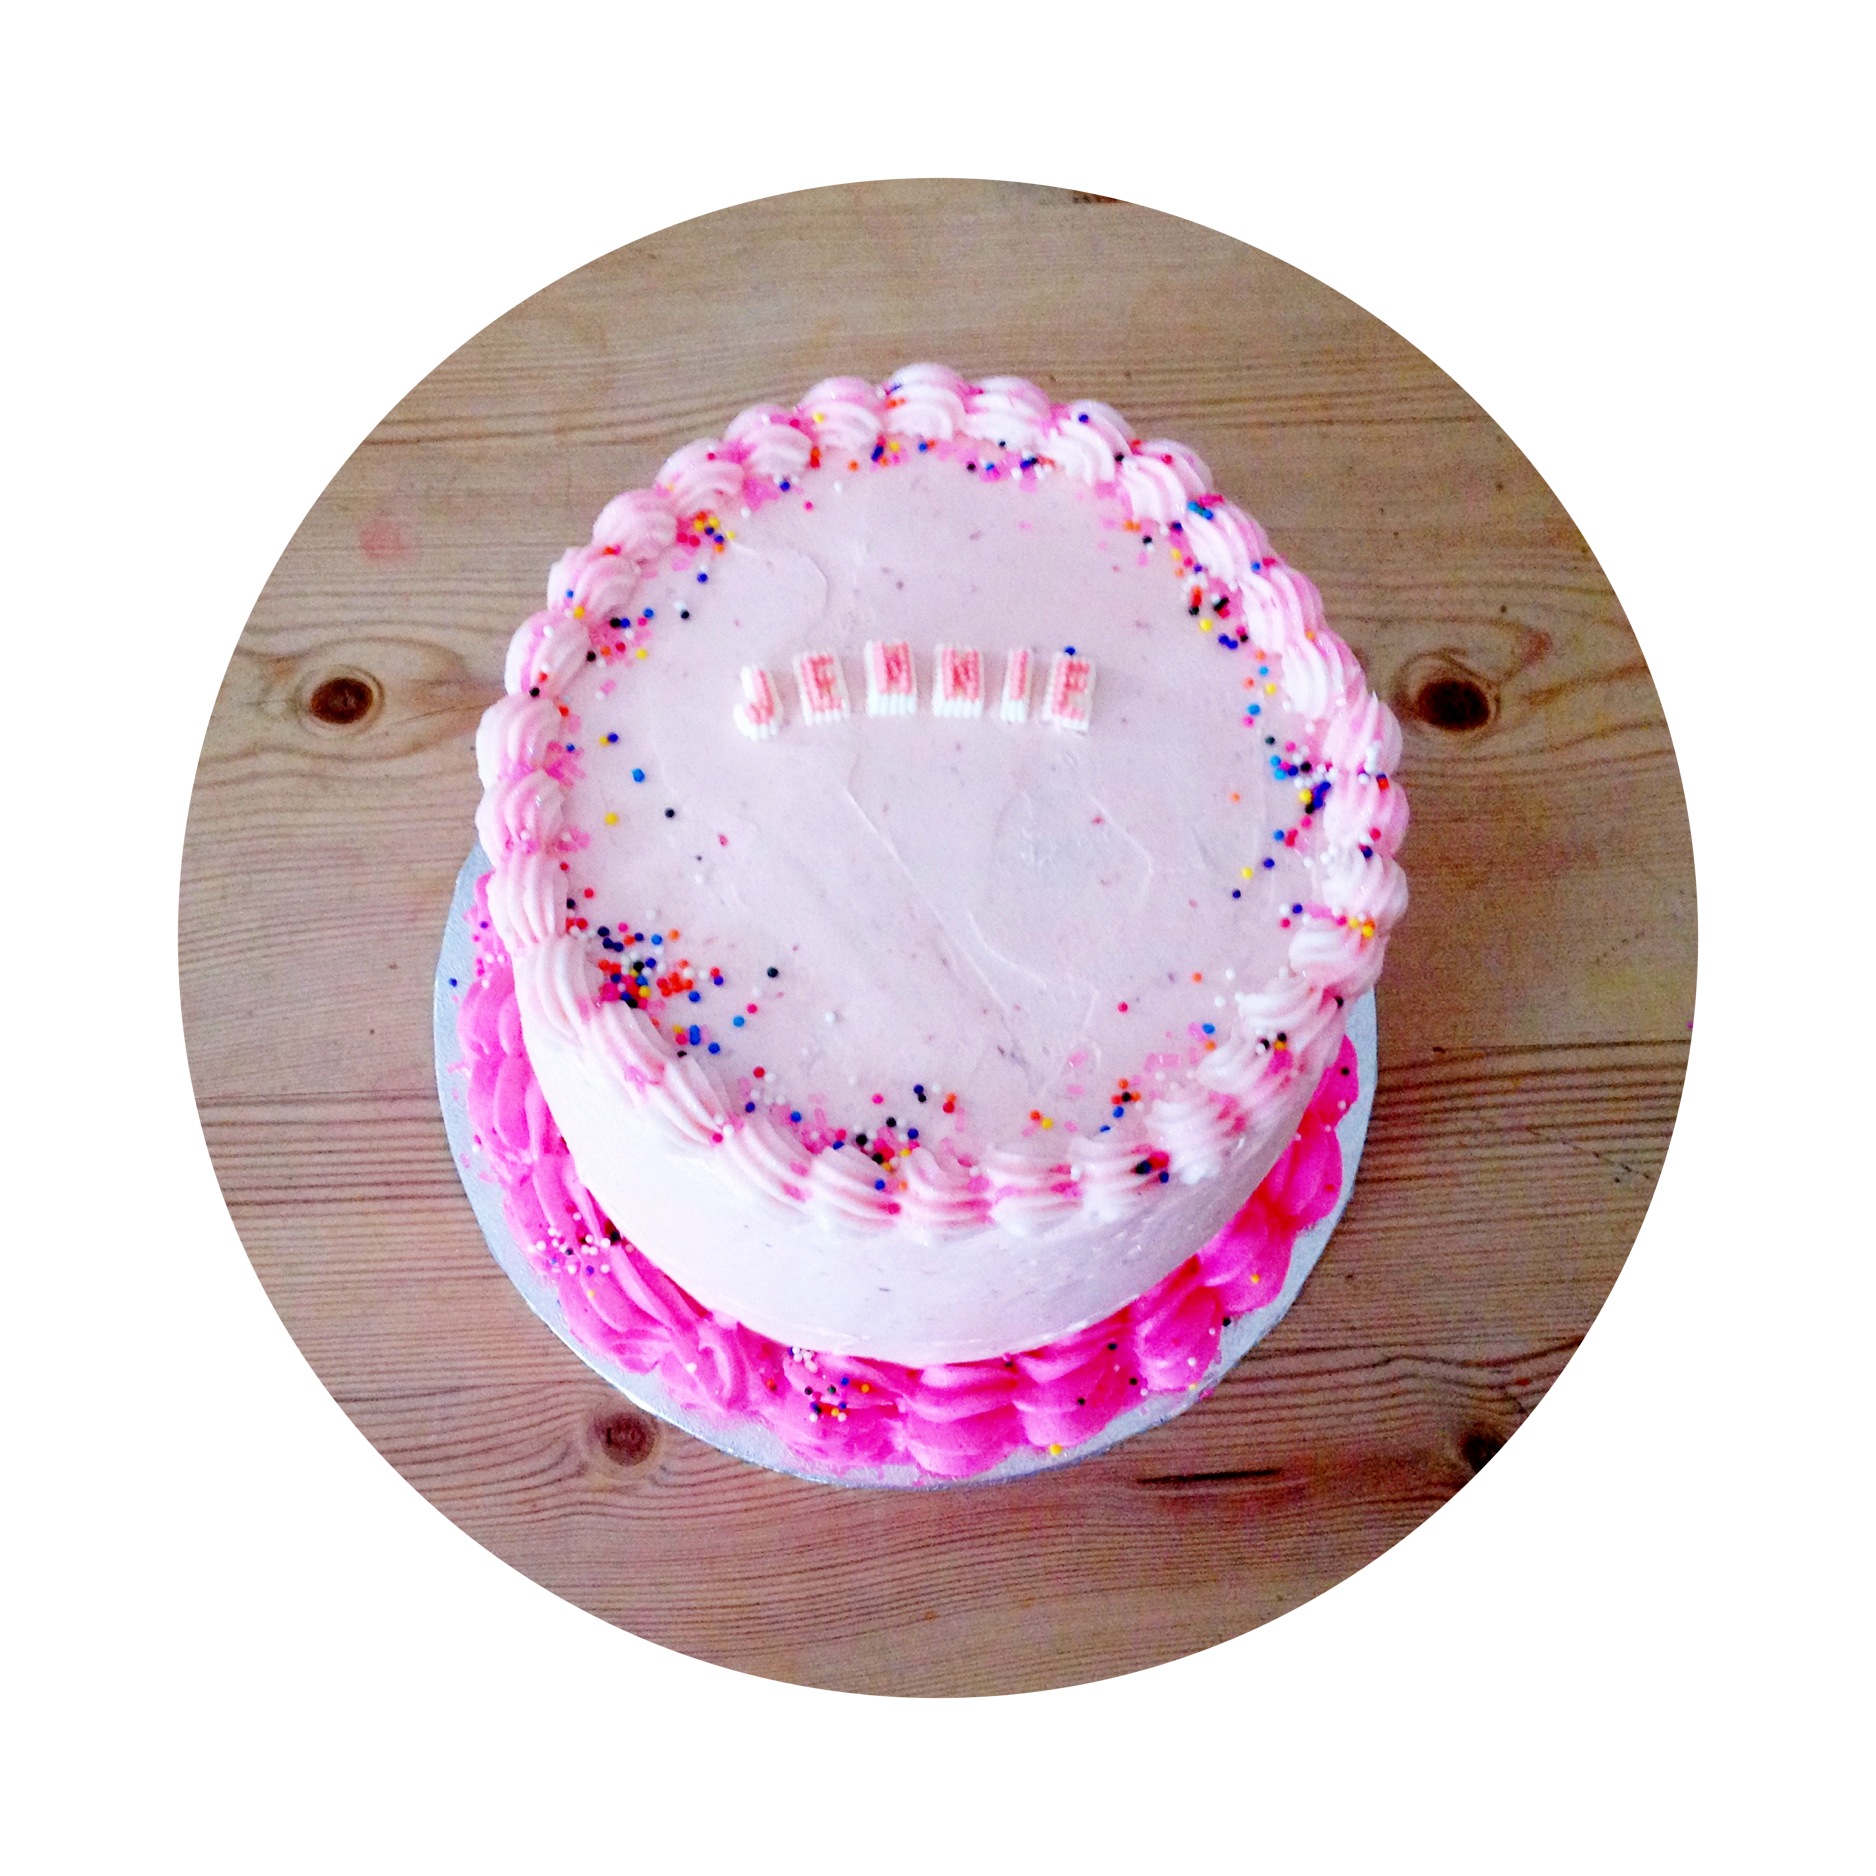
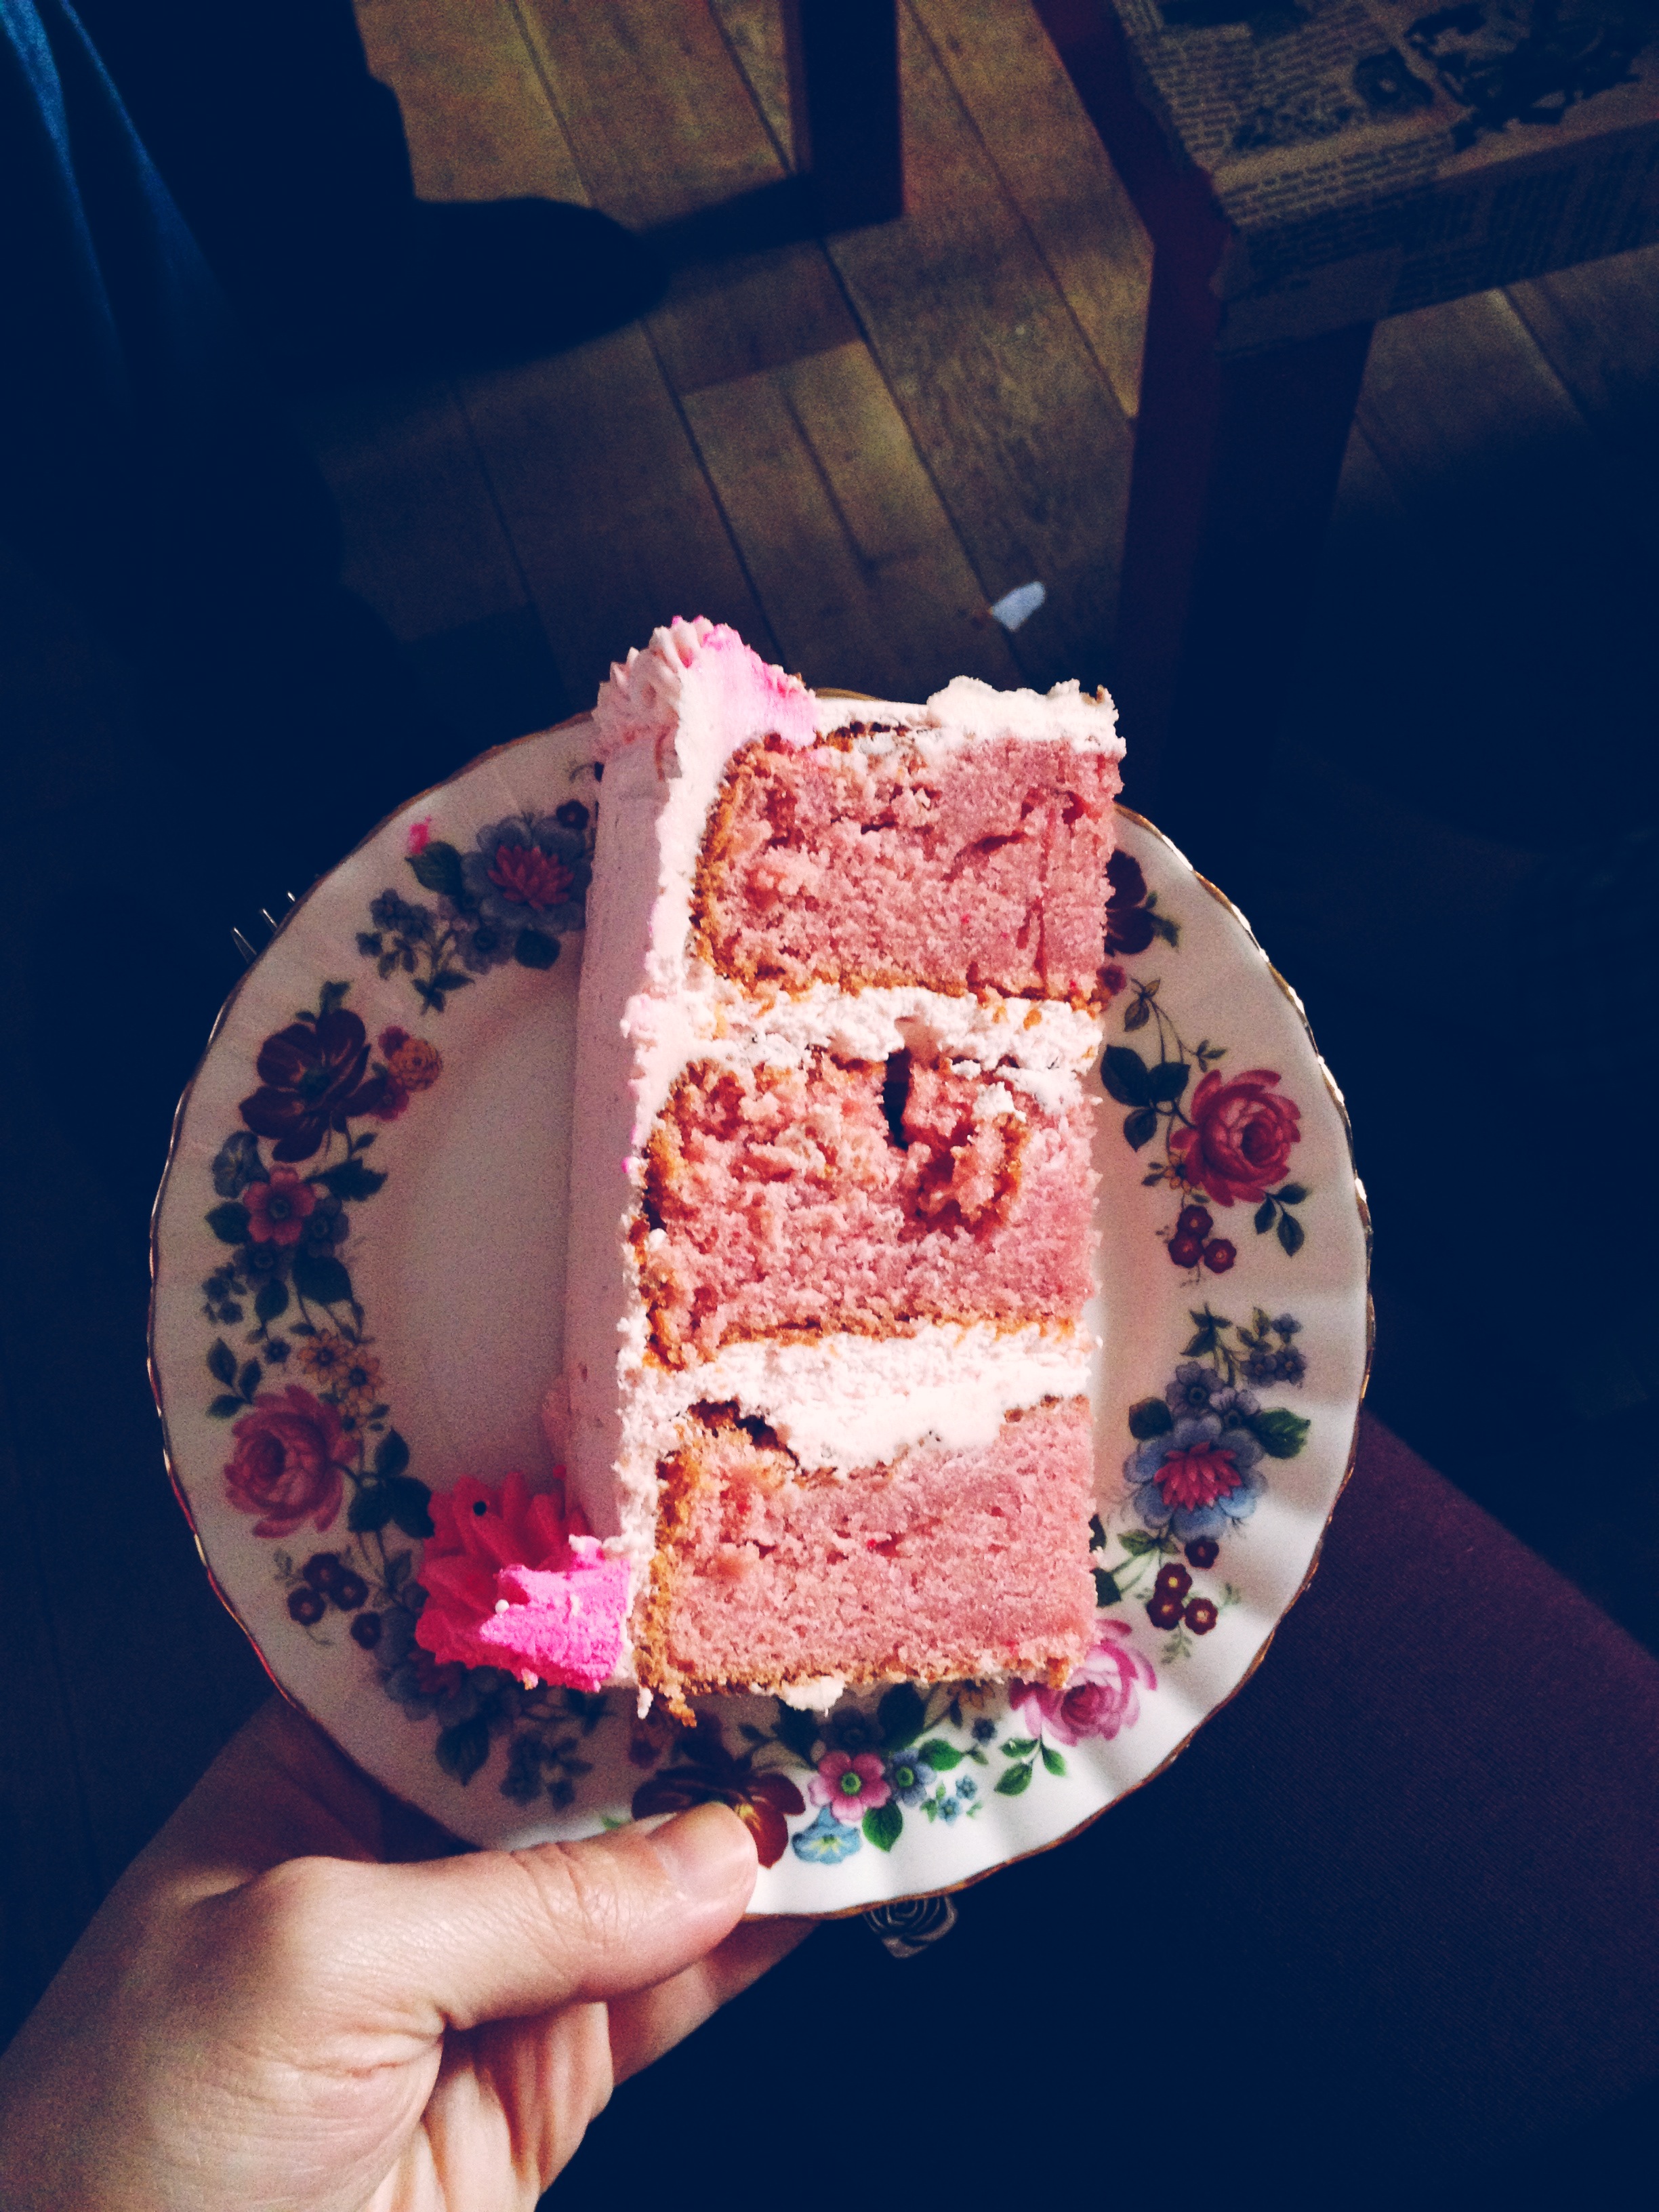
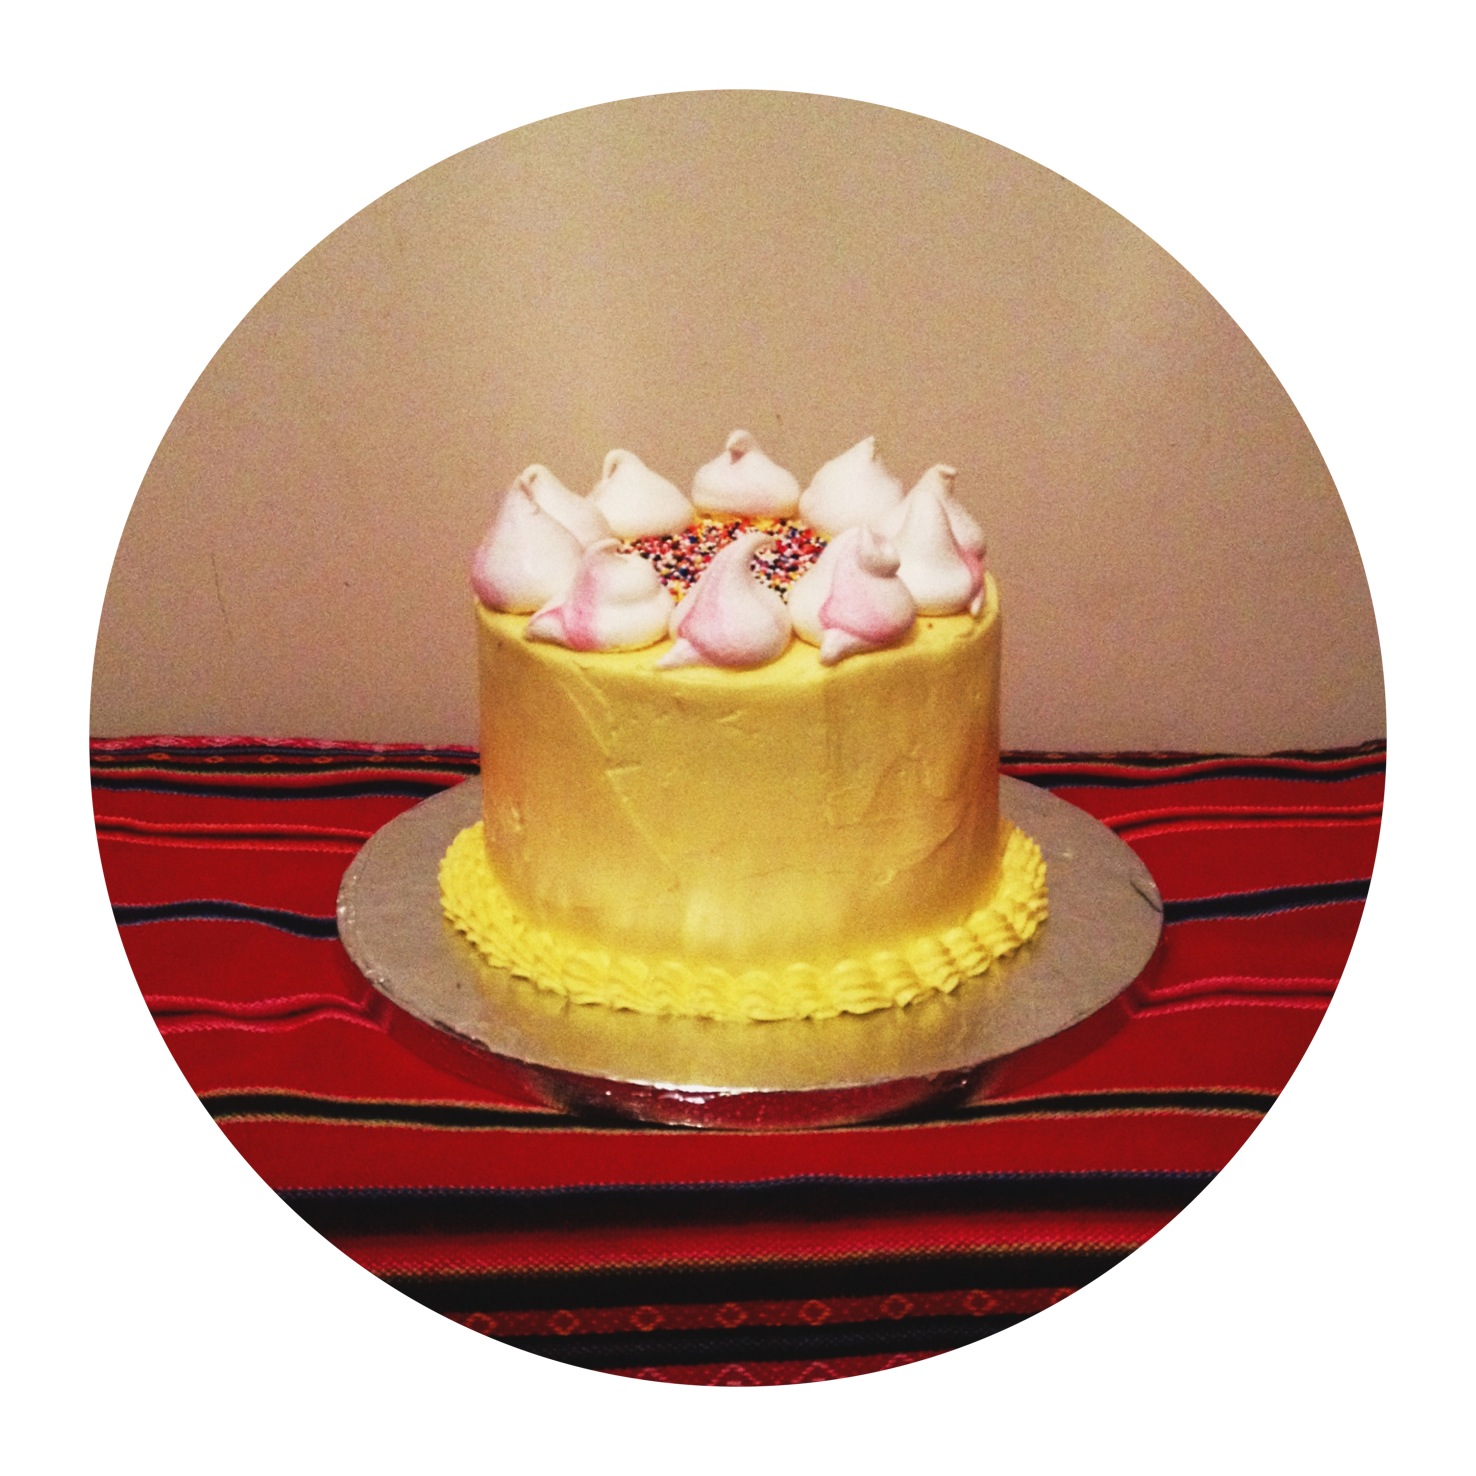
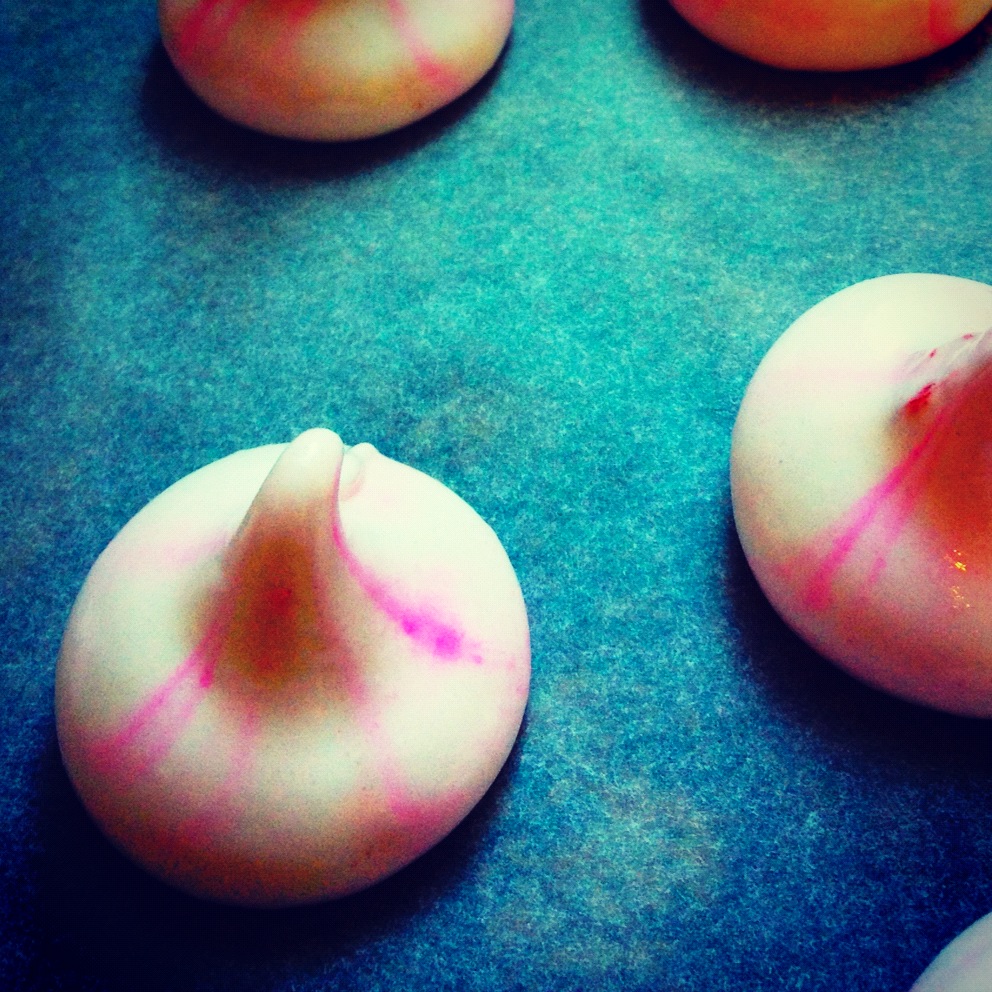
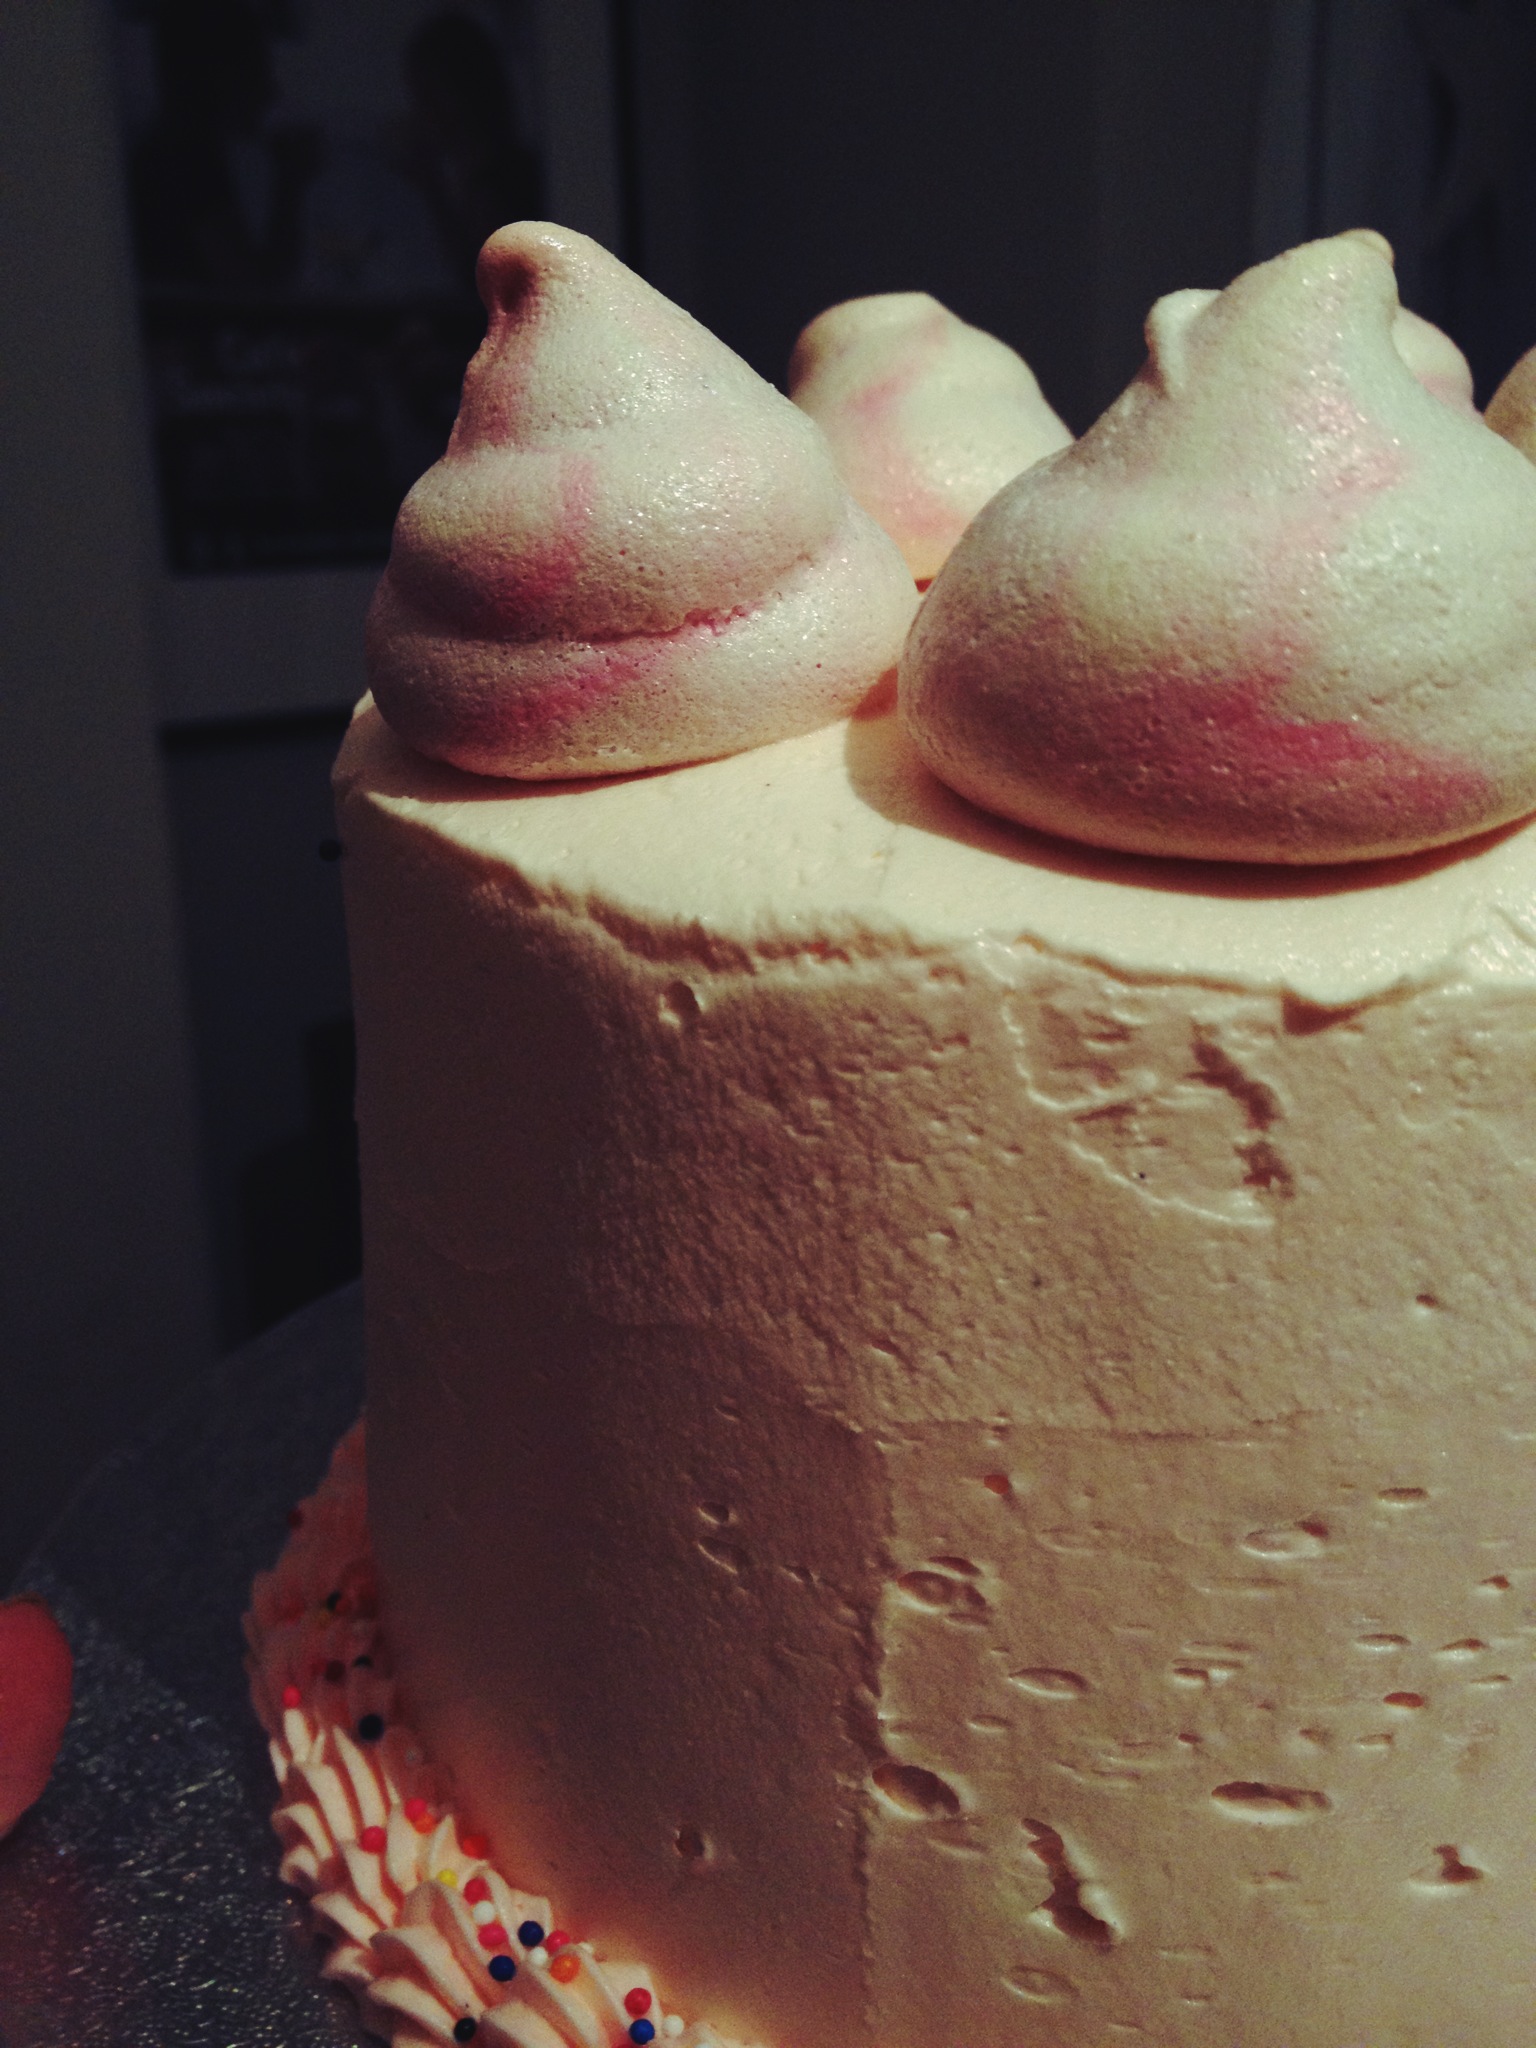
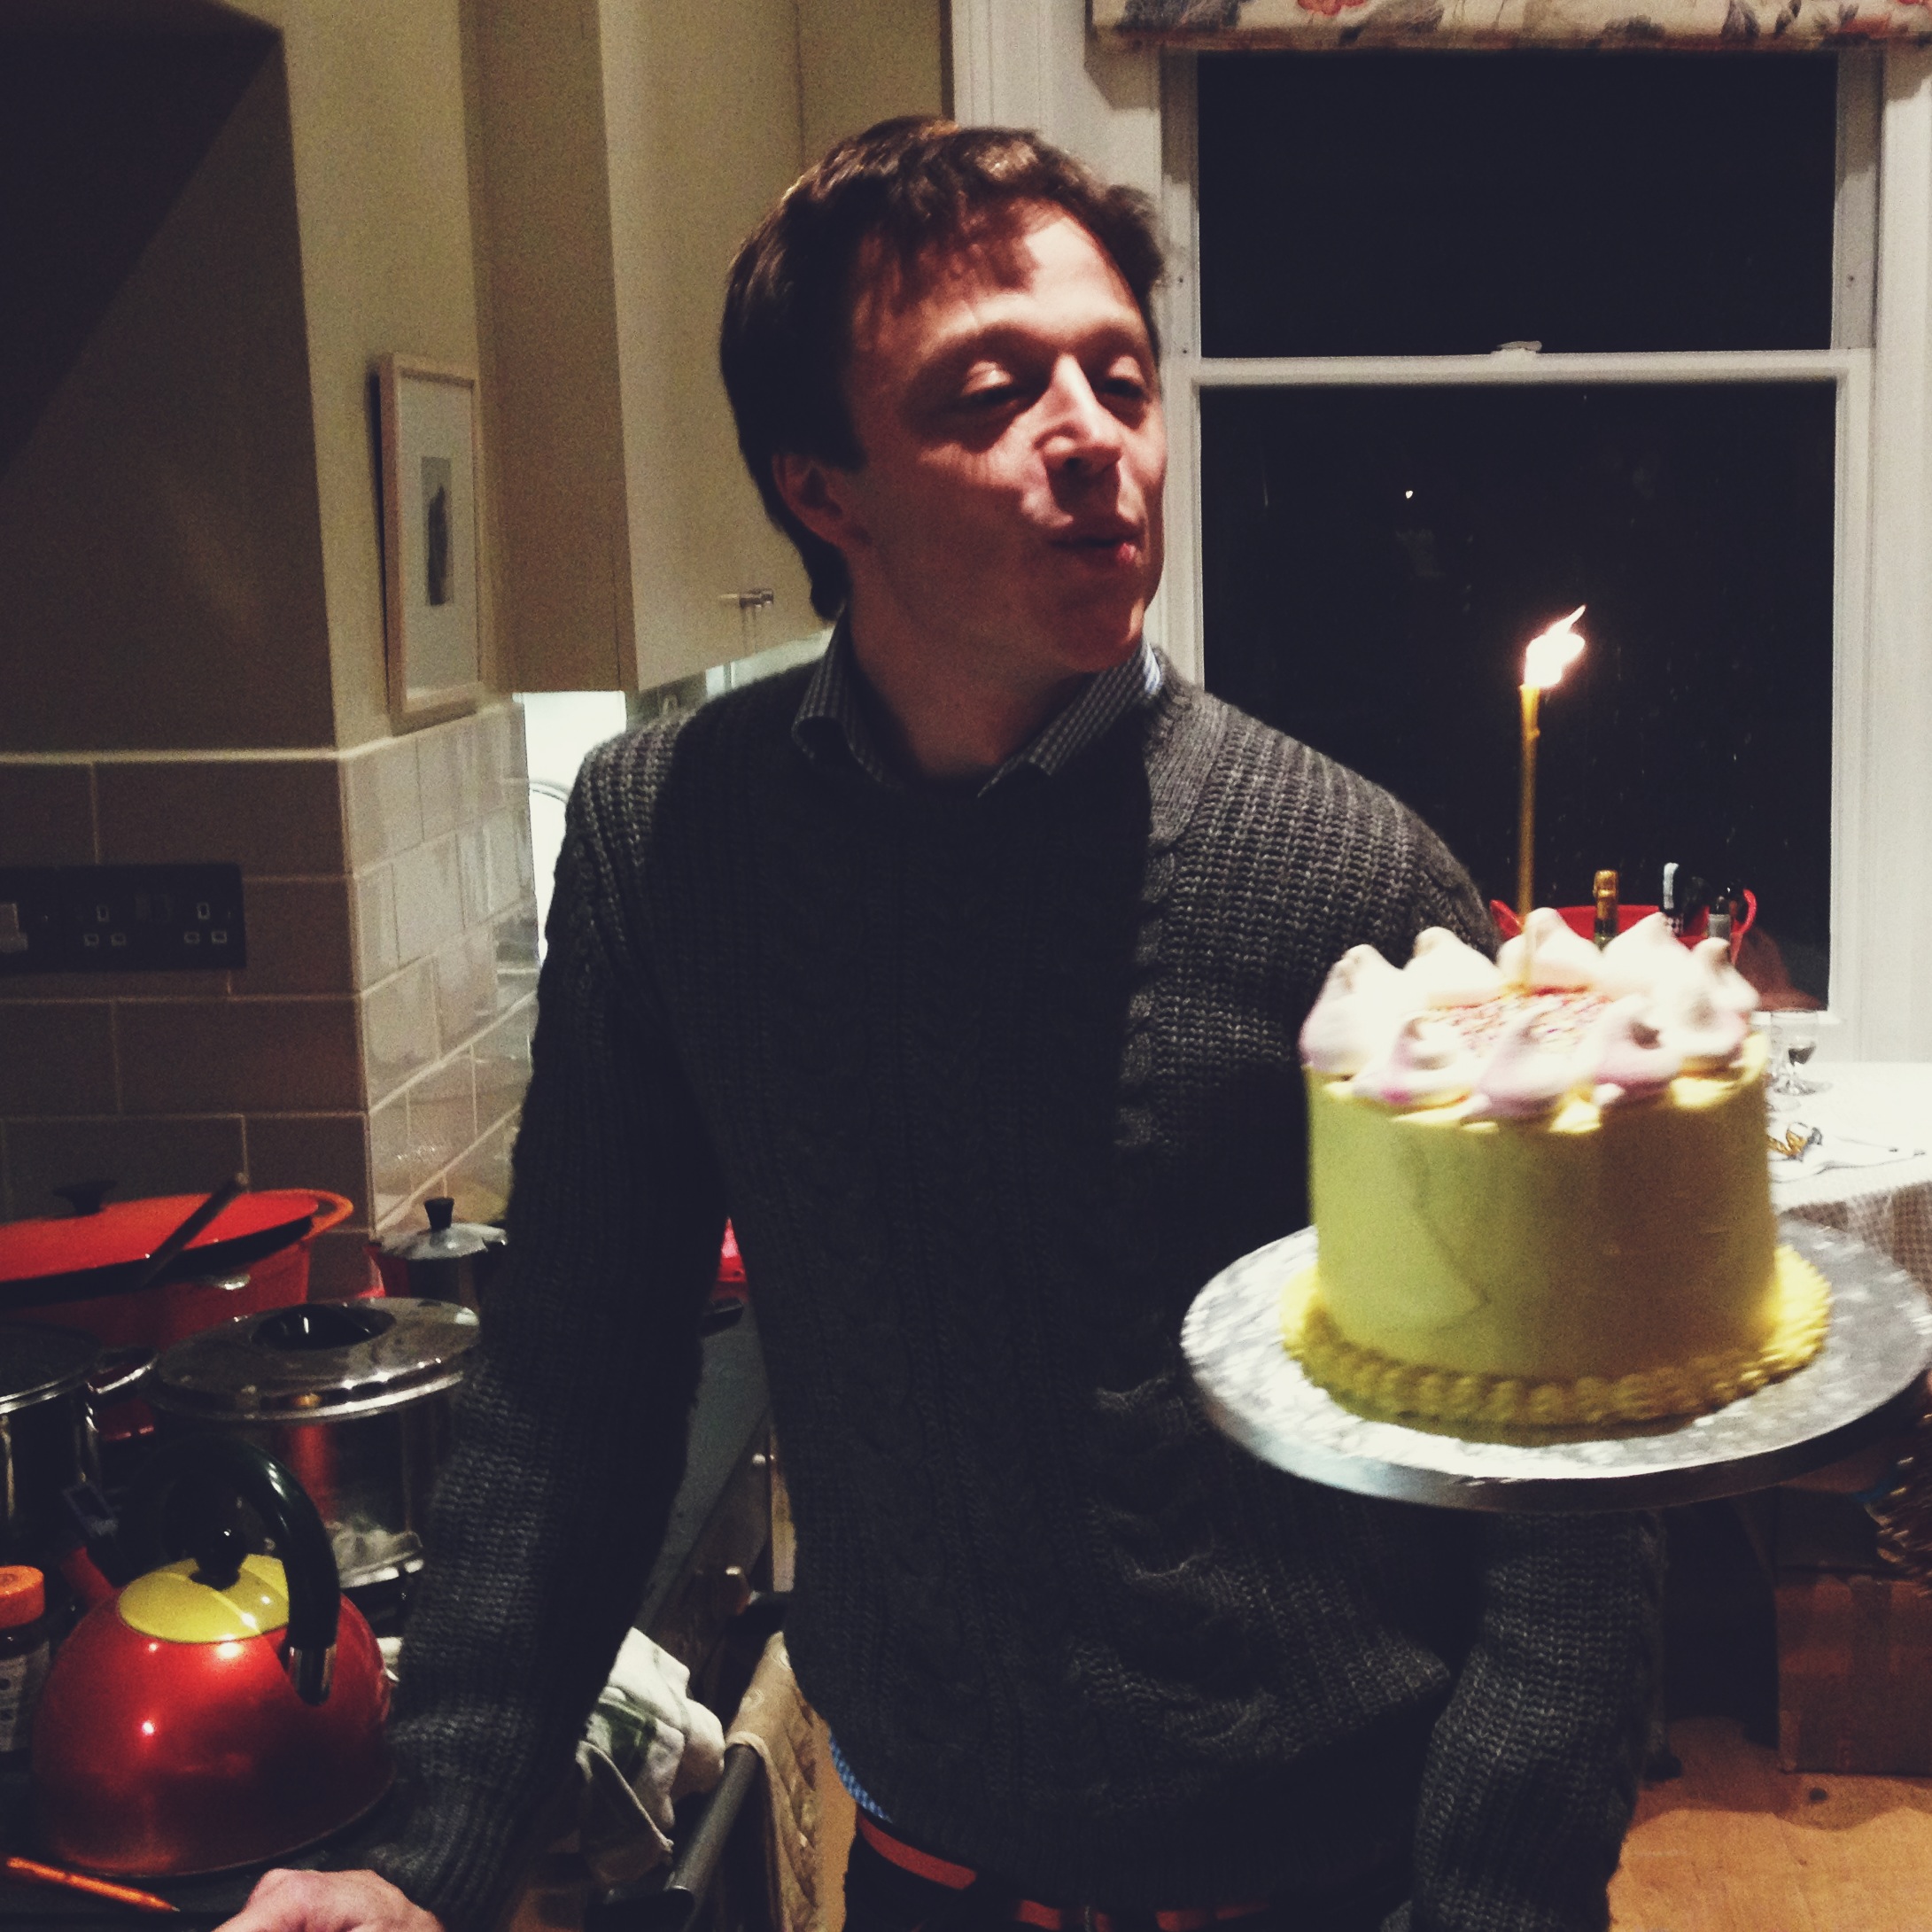
Both cakes were 6" versions of this recipe (1 x that recipe made both these 6" 3-layer cakes), though I made Chris's yellow cake funfetti inside and Liz's pink one was three layers of different pink. The meringues were strawberry and black pepper from this recipe by the amazing Meringue Girls:

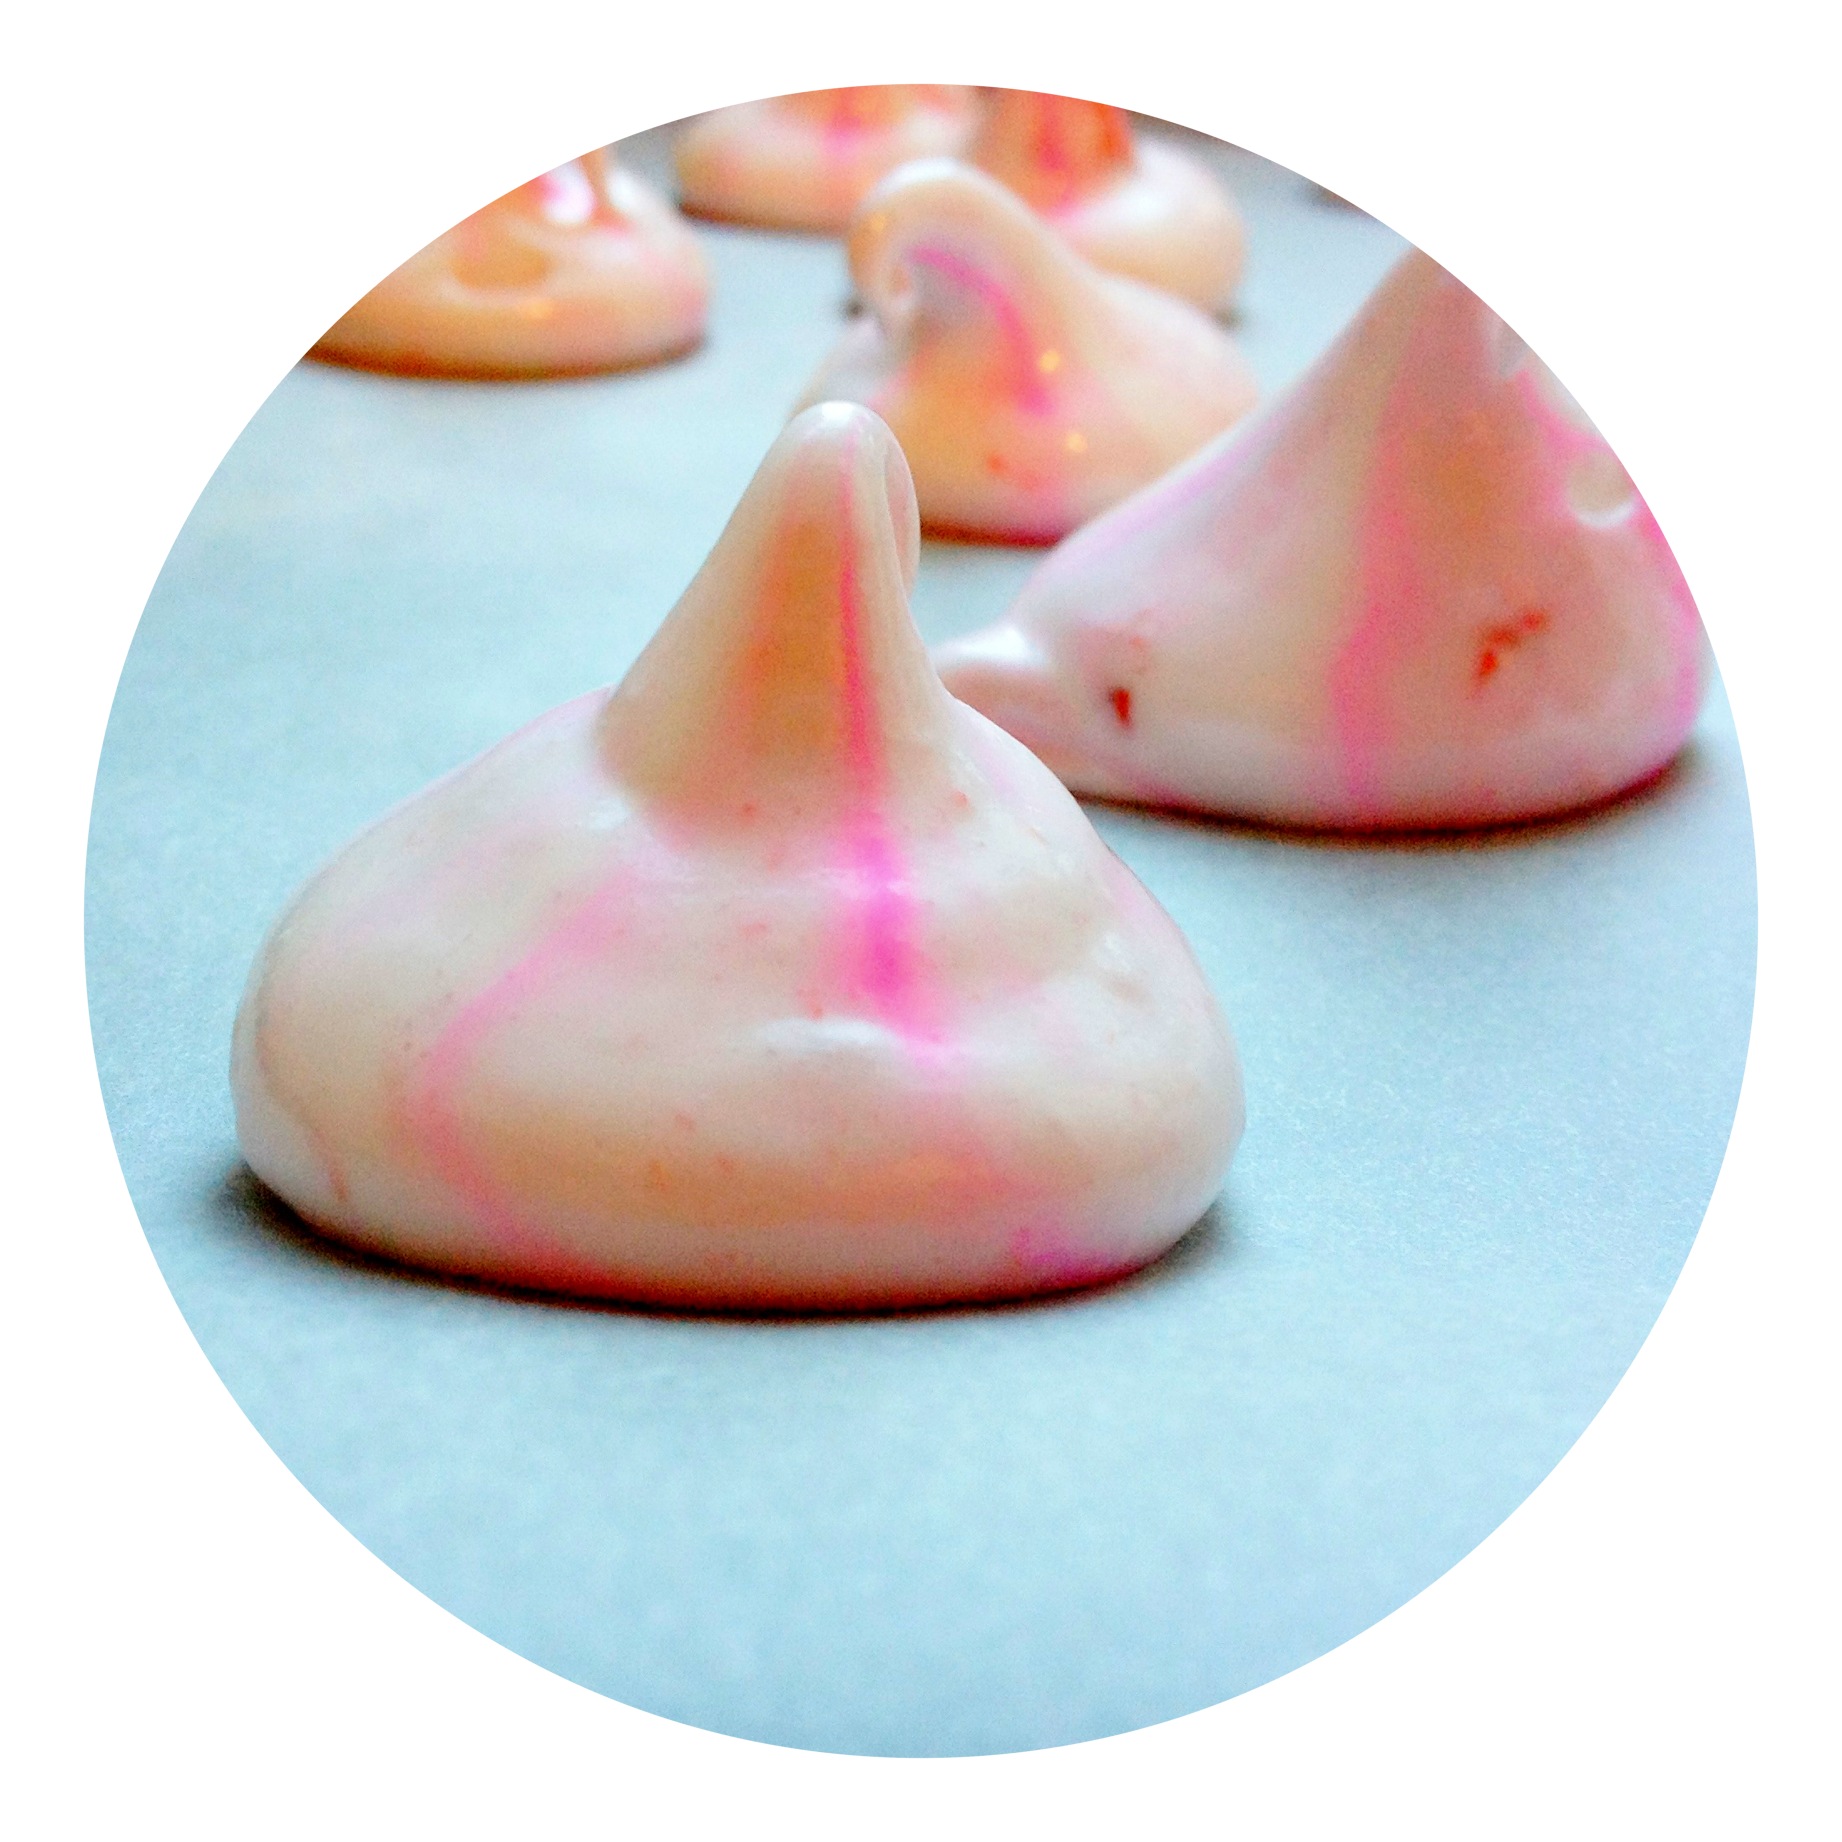
Strawberry & Black Pepper Meringue Kisses

150g egg whites
300g caster sugar
1/4 teaspoon cream of tartar
50g frozen strawberries
1/4 teaspoon coarse ground black pepper

This recipe makes about 50 (I still have a whole tub of them and have eaten LOADS, but also hoping they'll double for toadstools around the gingerbread house I may never get round to making...) so you can definitely attempt less. Also I played around with different sizes, which is fine if you are keeping an eye on them whilst cooking.

Make the strawberry coulis by heating the strawberries with a pinch of sugar until they break down, then whizz them into a paste and cool.

Heat oven to 200C. Line a deep baking tray with greaseproof paper and heat the 300g caster sugar until the edges start to melt. This is apparently to help the sugar to dissolve into the egg whites. I am pretty sure I overheated my sugar because the edges were melted solid and I had to chuck them away. Still, it was only about 50g sugar and I just replaced it straight from the packet and all was FINE! Turn the oven down to 100C.

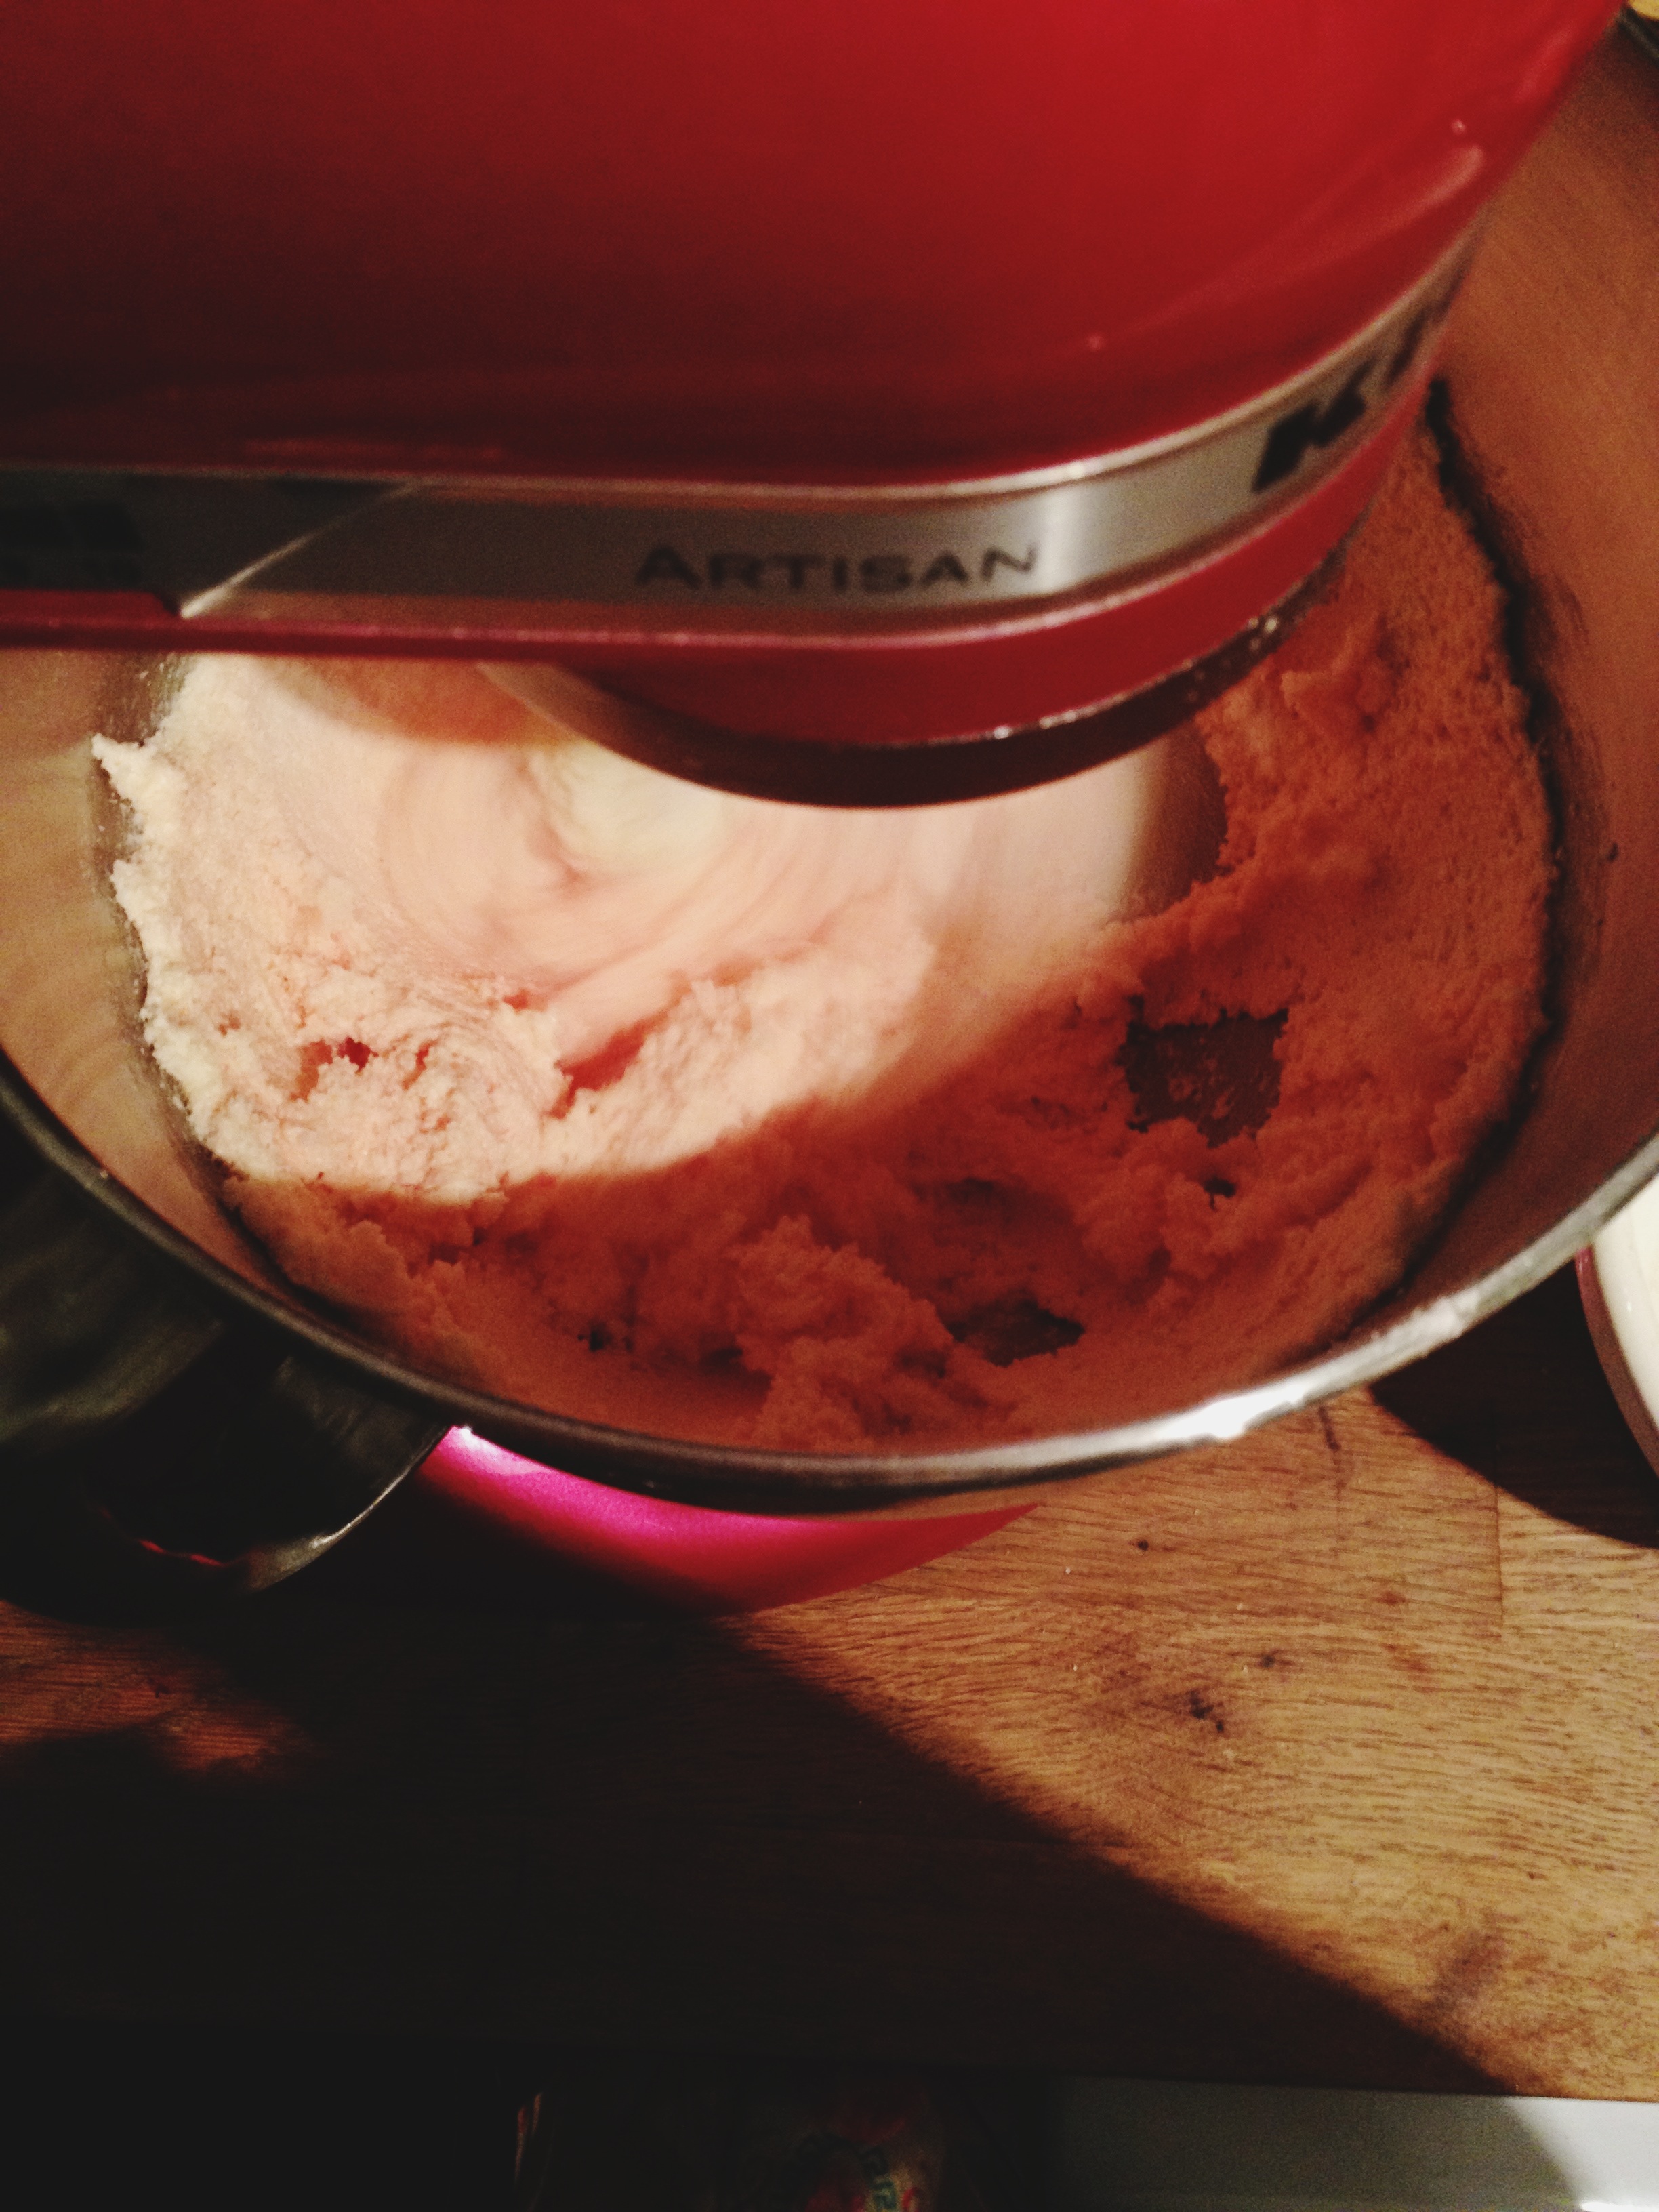
Wipe your mixing bowl & whisk attachment dry with lemon juice & paper towel to remove any possible grease, then add egg whites. Whisk slowly at first, allowing bubbles to form, then turn up the speed and whisk until you have medium peaks of fluffy meringue. At this point start adding the sugar spoon by spoon and continue whisking until you have a stiff, glossy meringue - about 5 minutes. Stir through the coulis and add black pepper to taste. I hardly added any black pepper and the taste was pretty strong, just as a heads up... 

ready to pipe!

ready to pipe!

Turn a disposable icing bag inside out and paint some lines in red, pink - or, in my case, electric pink - up the side. Turn back the right way out (awkward!) and fill with yummy meringue. Cut a hole approx 1/2in in diameter and pipe meringue kisses onto a lined baking sheet. Mine came out great, but in hindsight I could have put a bit more into my stripes as some were very feint, so don't be shy with the gel colours. 

Bake 30-40 minutes at 100C. To ensure they stay a bit mallowy in the middle, be sure to take them out as soon as they lift cleanly from the baking sheet. 

I thought these were so easy to make, lots of fun and make fantastic cake toppers. Definitely going to experiment with more colours and flavours... in the imaginary universe where I have infinite spare time. 

(yes, they do look like nipples)