kiss me cake

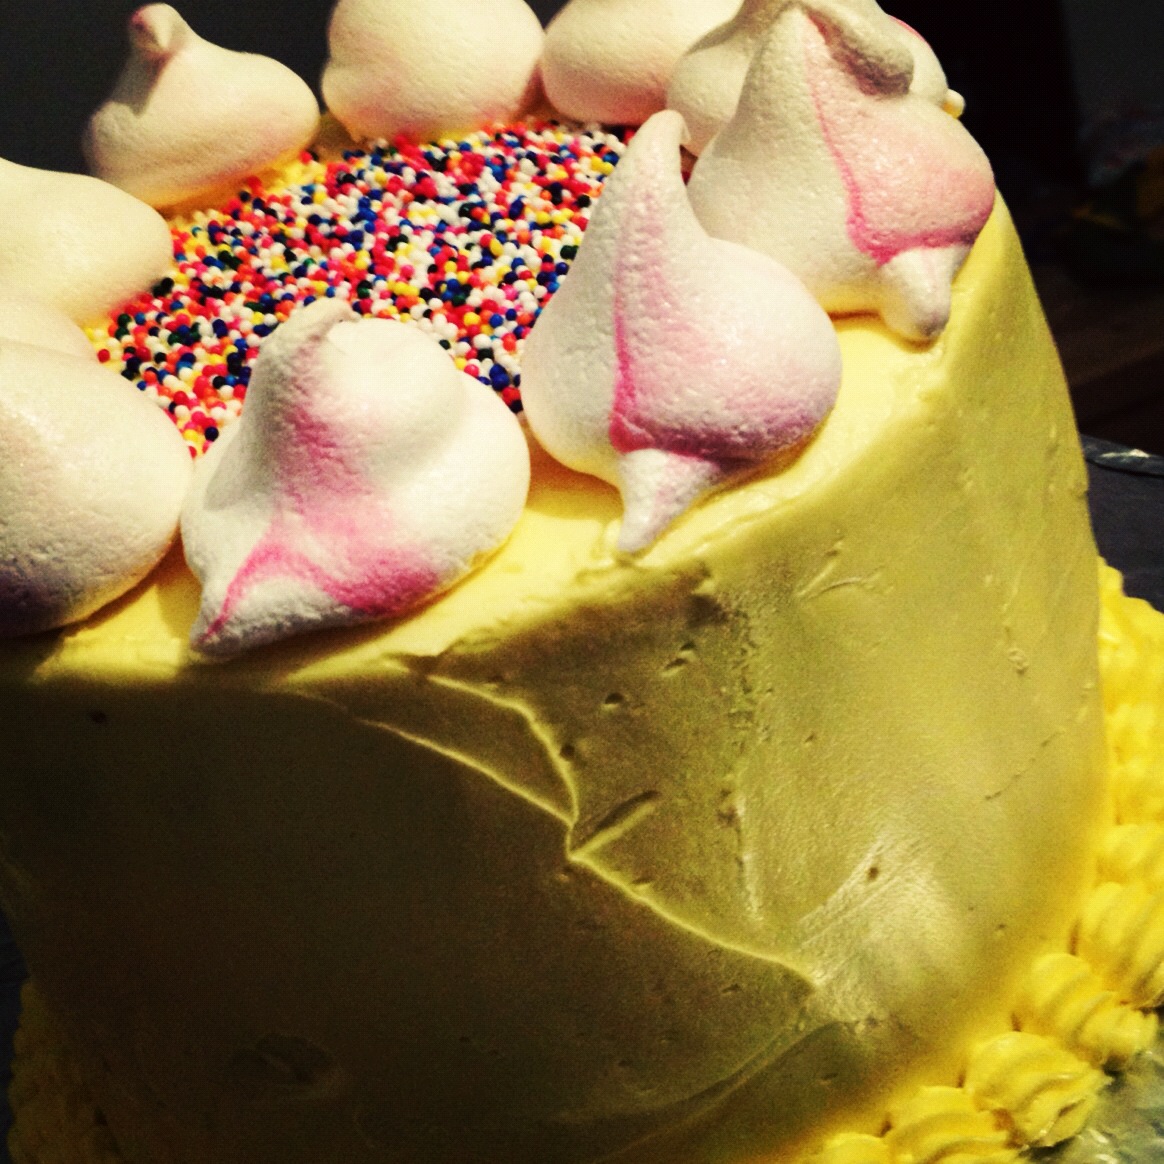
Just had a major weekend of parties, I think I may now have more prosecco running through my veins than anything else. Despite the hours of sleep I can never recover, and the sense of impending doom that accompanies most of my 30-something hangovers, it's always worth it for the chance of a long, rambling catch up with beloved old friends. Had to make little cakes for them too of course, and as I've been dying to make some meringues I thought I'd make this my excuse. 

Both cakes were 6" versions of this recipe (1 x that recipe made both these 6" 3-layer cakes), though I made Chris's yellow cake funfetti inside and Liz's pink one was three layers of different pink. The meringues were strawberry and black pepper from this recipe by the amazing Meringue Girls:

Strawberry & Black Pepper Meringue Kisses

150g egg whites
300g caster sugar
1/4 teaspoon cream of tartar
50g frozen strawberries
1/4 teaspoon coarse ground black pepper

This recipe makes about 50 (I still have a whole tub of them and have eaten LOADS, but also hoping they'll double for toadstools around the gingerbread house I may never get round to making...) so you can definitely attempt less. Also I played around with different sizes, which is fine if you are keeping an eye on them whilst cooking.

Make the strawberry coulis by heating the strawberries with a pinch of sugar until they break down, then whizz them into a paste and cool.

Heat oven to 200C. Line a deep baking tray with greaseproof paper and heat the 300g caster sugar until the edges start to melt. This is apparently to help the sugar to dissolve into the egg whites. I am pretty sure I overheated my sugar because the edges were melted solid and I had to chuck them away. Still, it was only about 50g sugar and I just replaced it straight from the packet and all was FINE! Turn the oven down to 100C.

Wipe your mixing bowl & whisk attachment dry with lemon juice & paper towel to remove any possible grease, then add egg whites. Whisk slowly at first, allowing bubbles to form, then turn up the speed and whisk until you have medium peaks of fluffy meringue. At this point start adding the sugar spoon by spoon and continue whisking until you have a stiff, glossy meringue - about 5 minutes. Stir through the coulis and add black pepper to taste. I hardly added any black pepper and the taste was pretty strong, just as a heads up... 

ready to pipe!

ready to pipe!

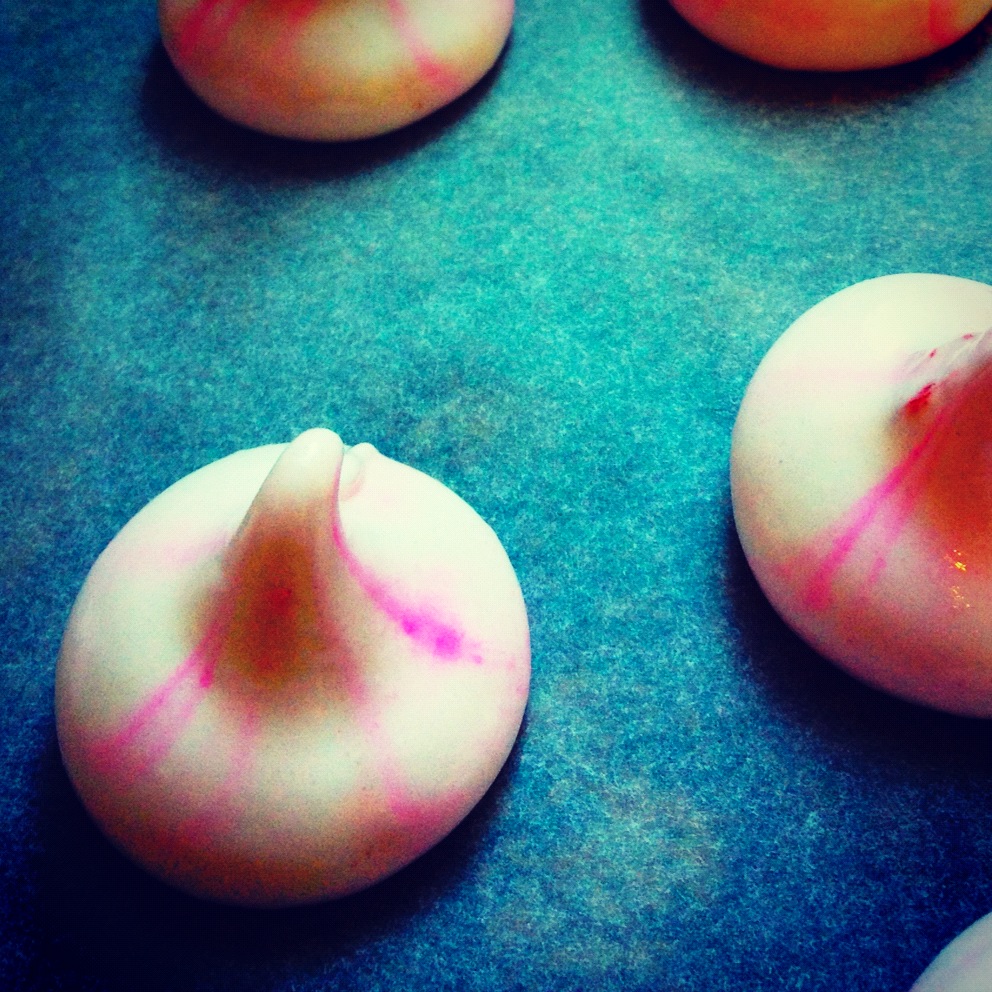
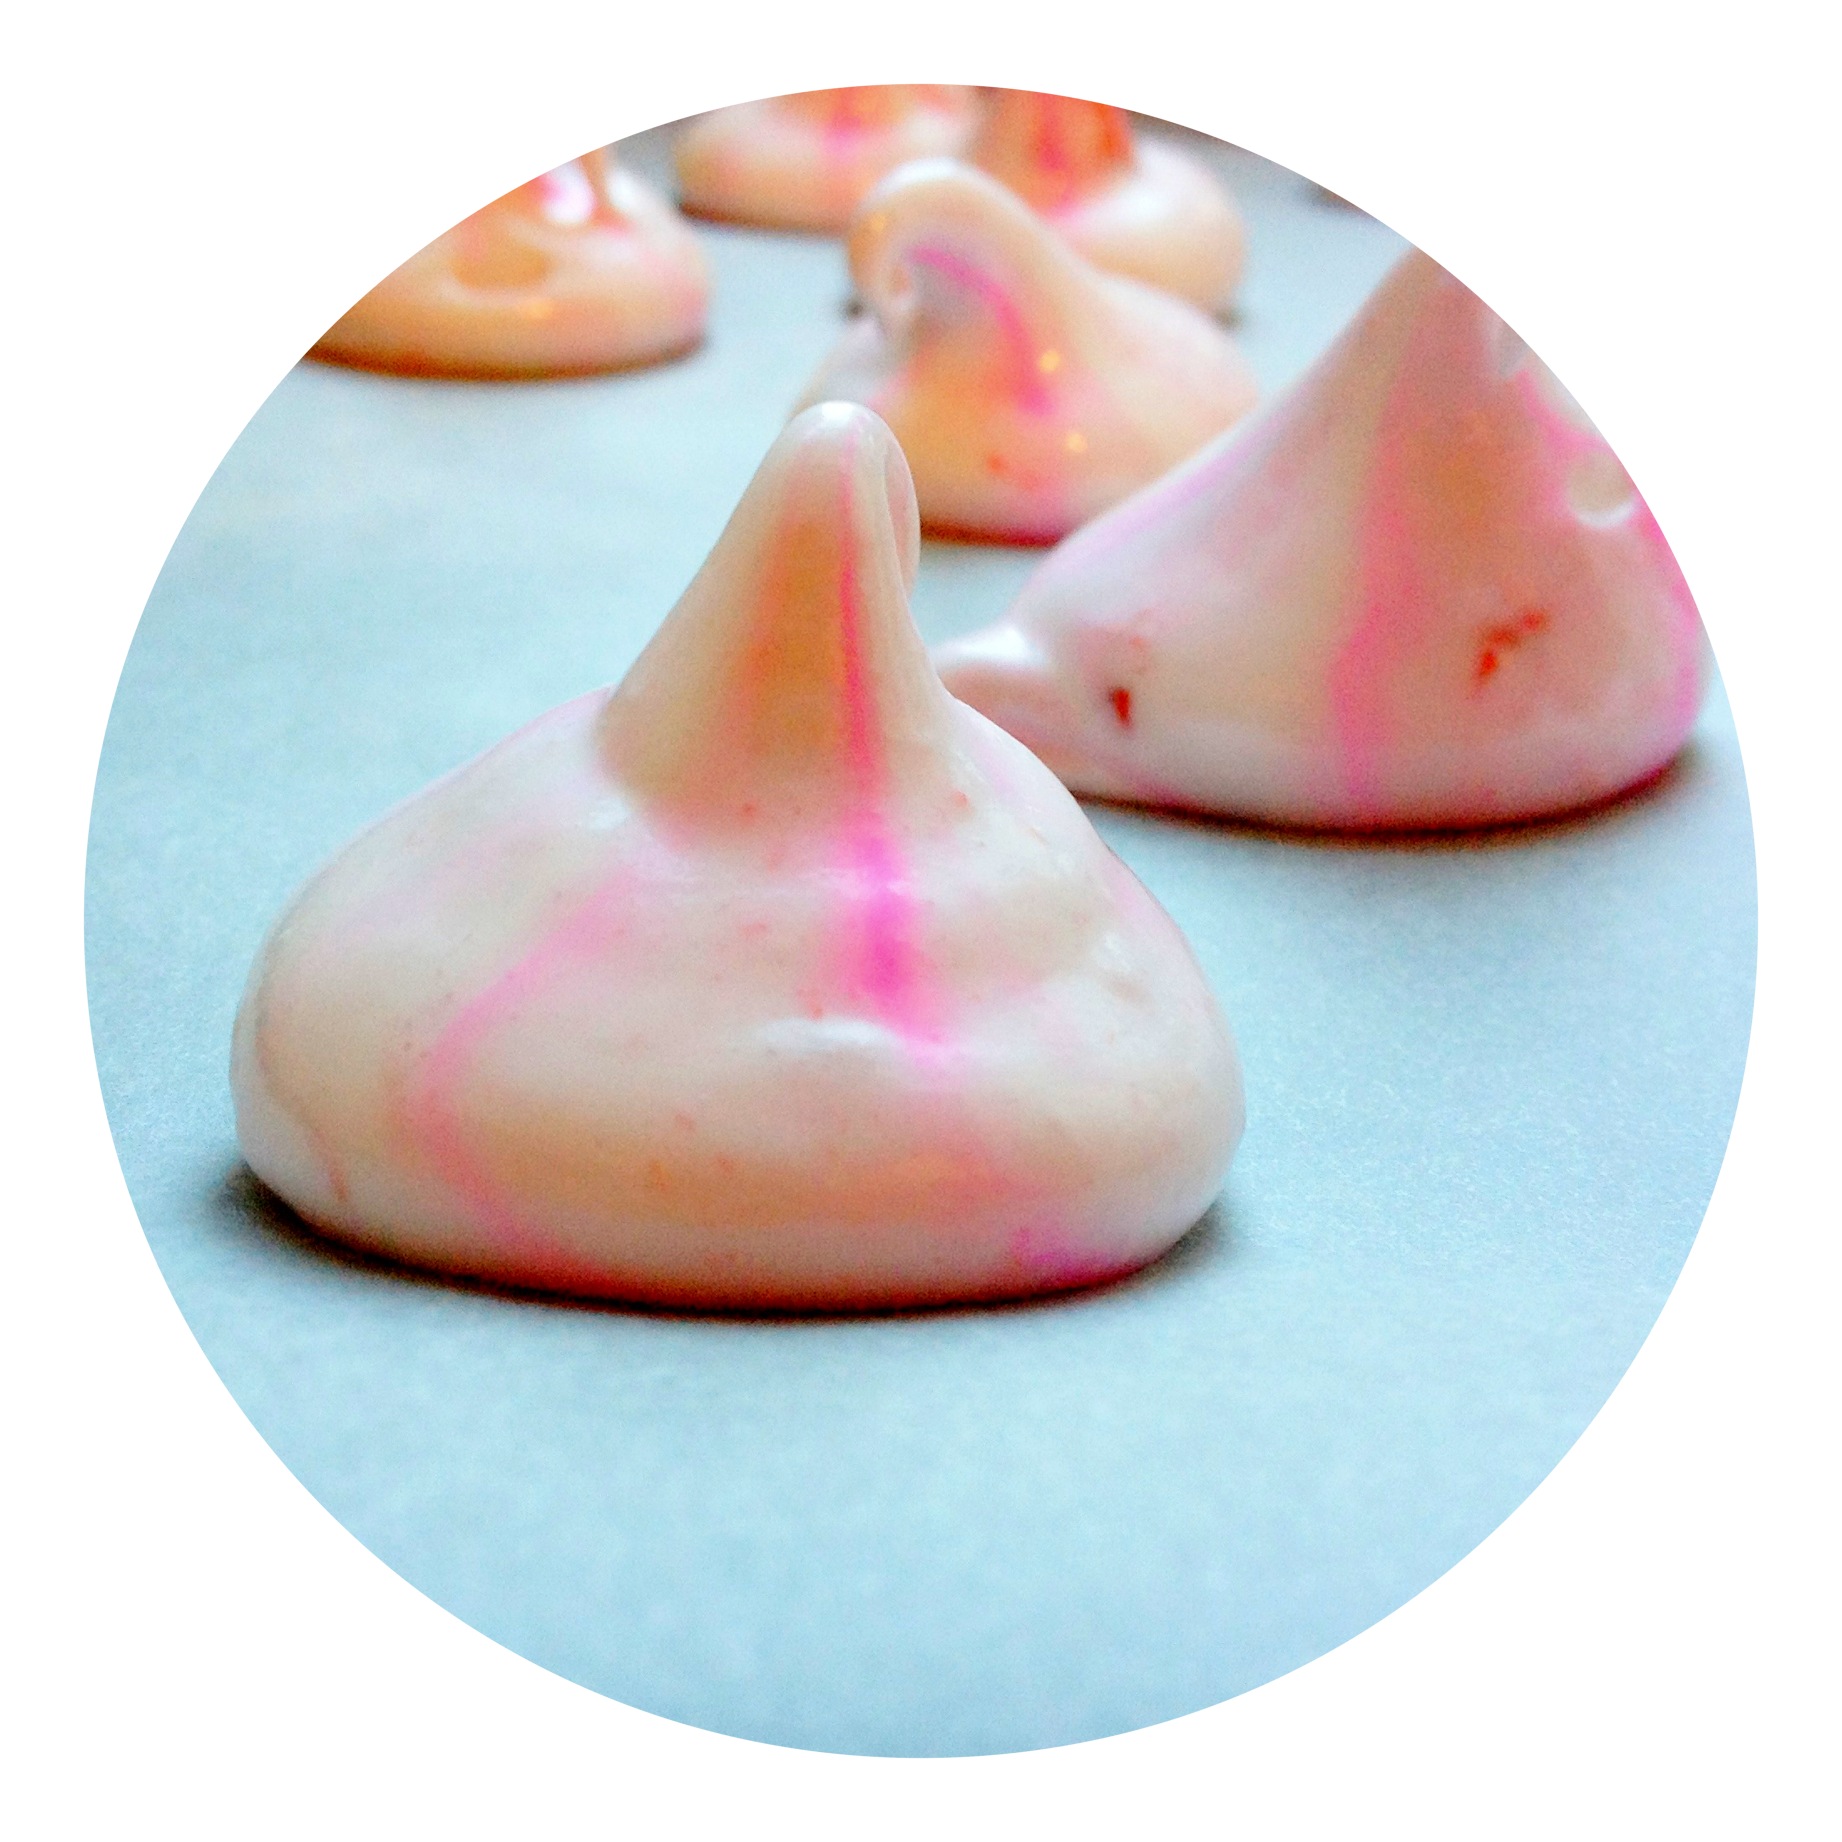
Turn a disposable icing bag inside out and paint some lines in red, pink - or, in my case, electric pink - up the side. Turn back the right way out (awkward!) and fill with yummy meringue. Cut a hole approx 1/2in in diameter and pipe meringue kisses onto a lined baking sheet. Mine came out great, but in hindsight I could have put a bit more into my stripes as some were very feint, so don't be shy with the gel colours. 

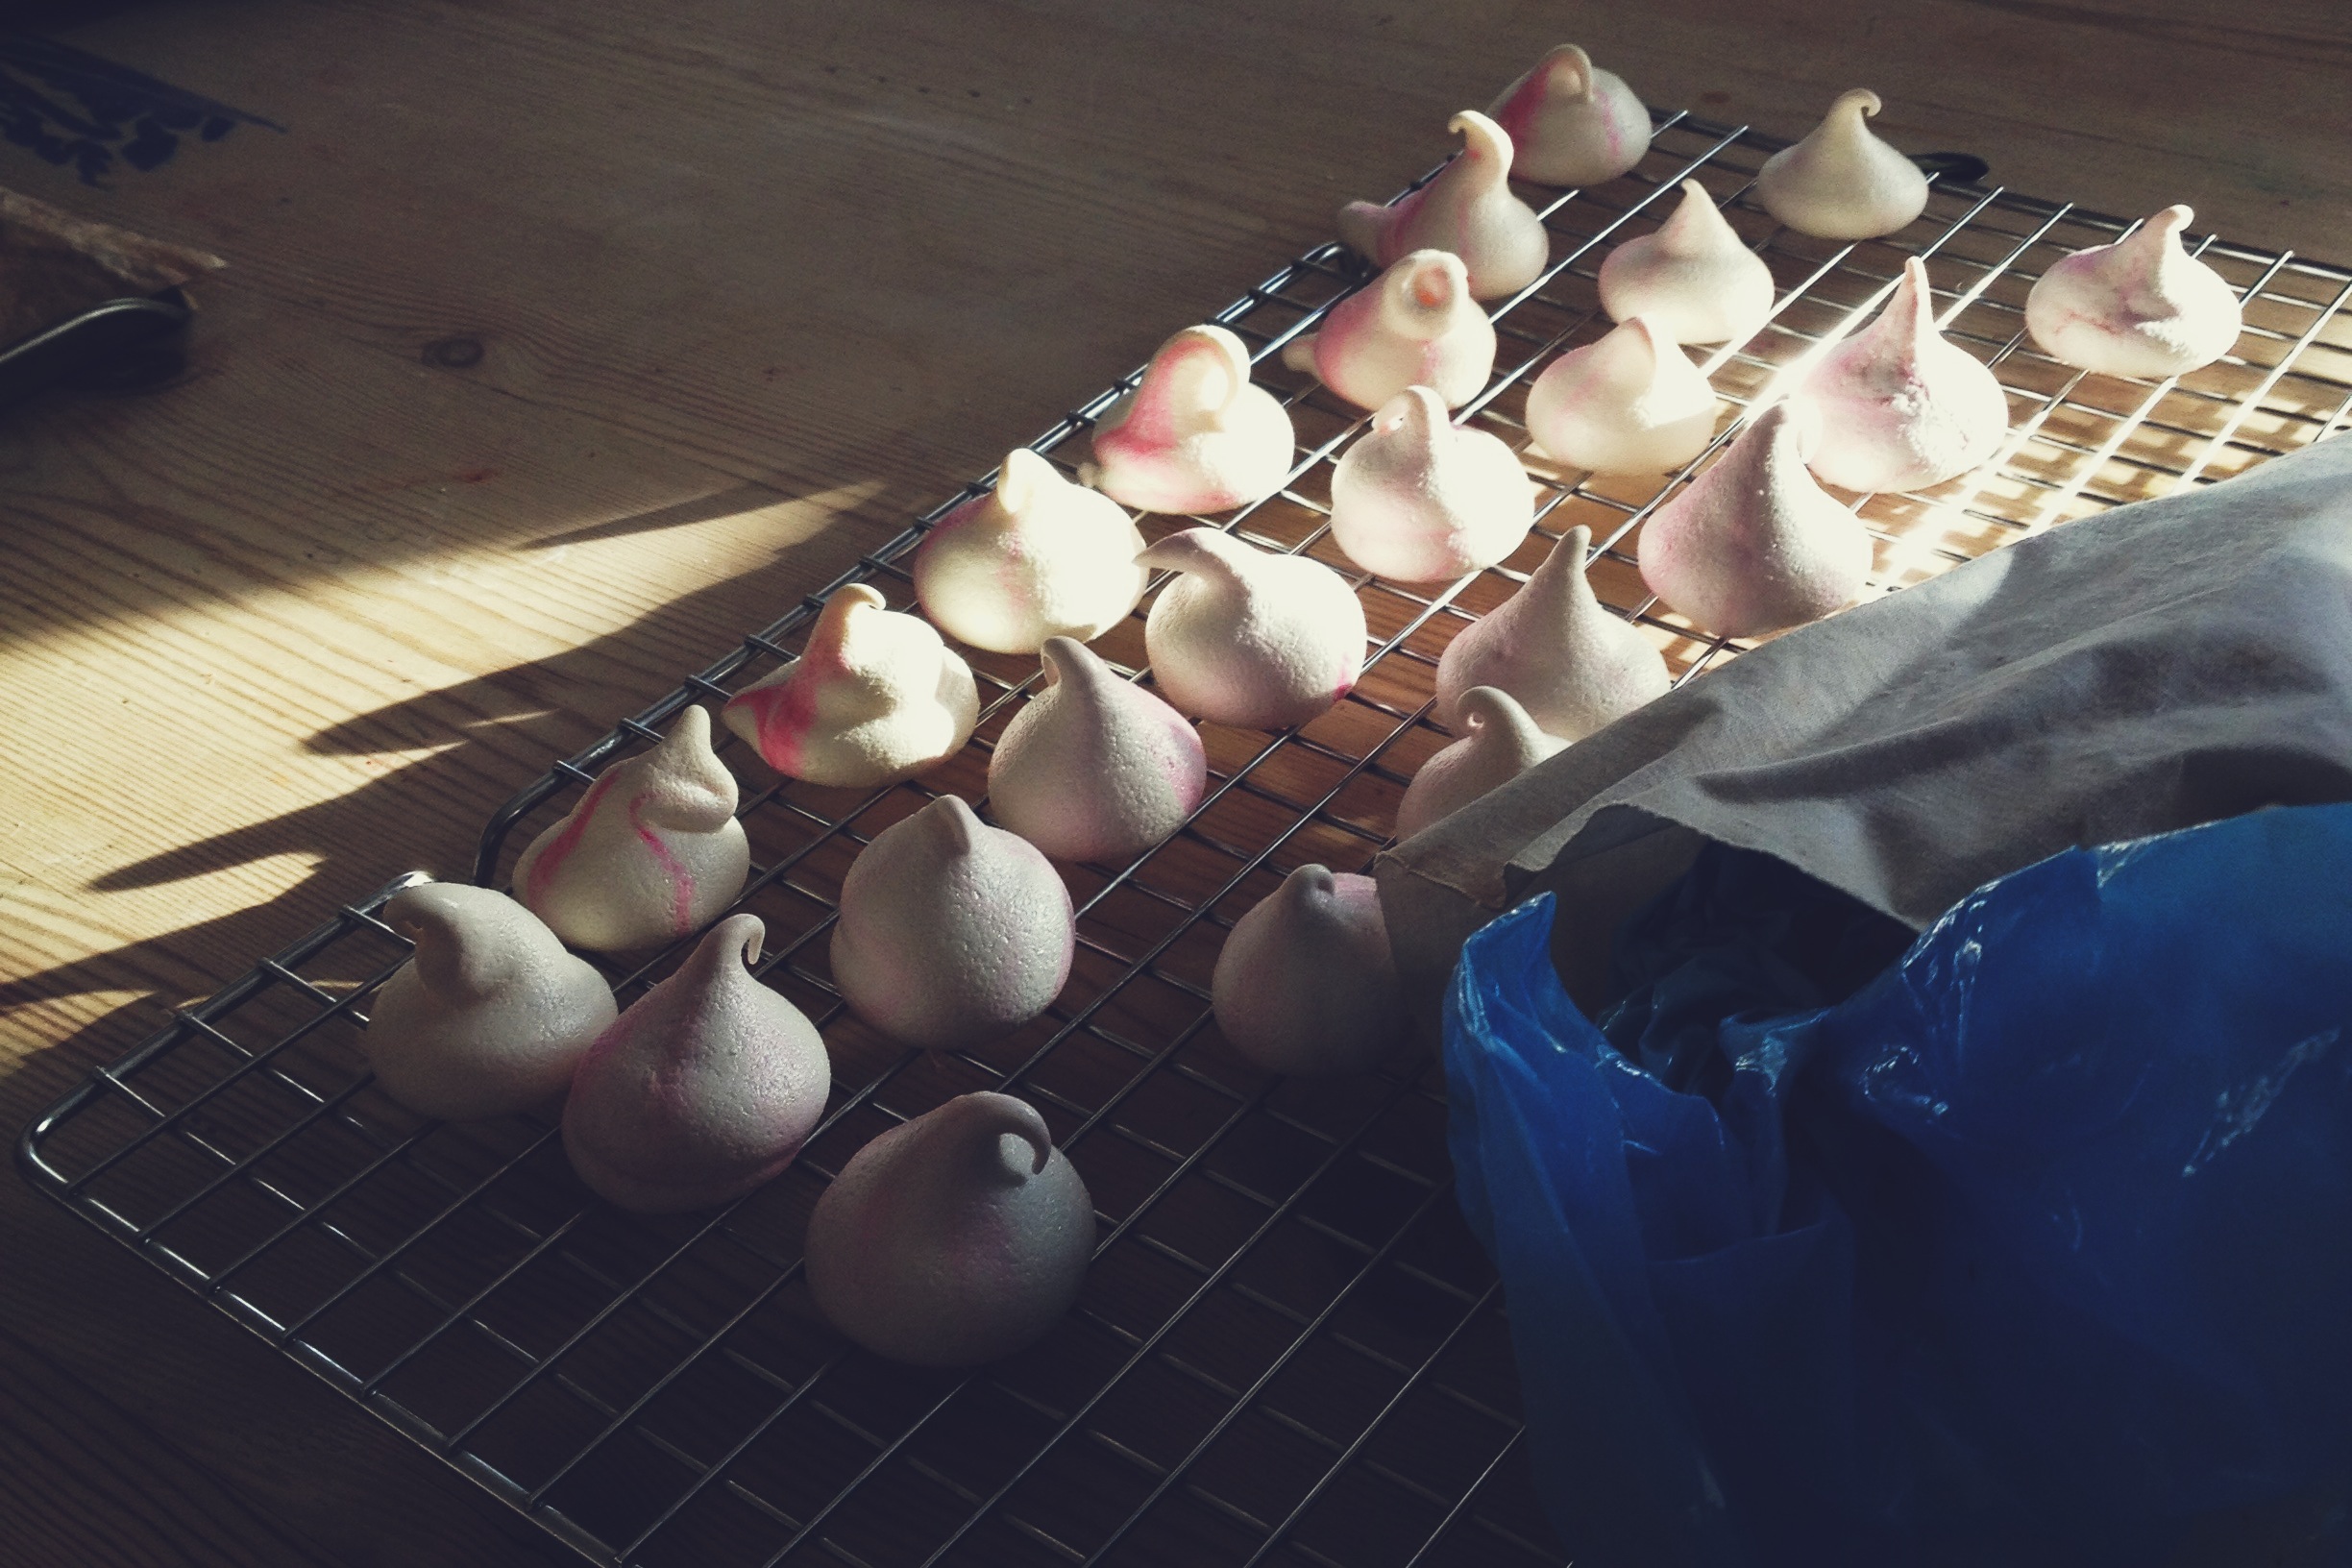
Bake 30-40 minutes at 100C. To ensure they stay a bit mallowy in the middle, be sure to take them out as soon as they lift cleanly from the baking sheet. 

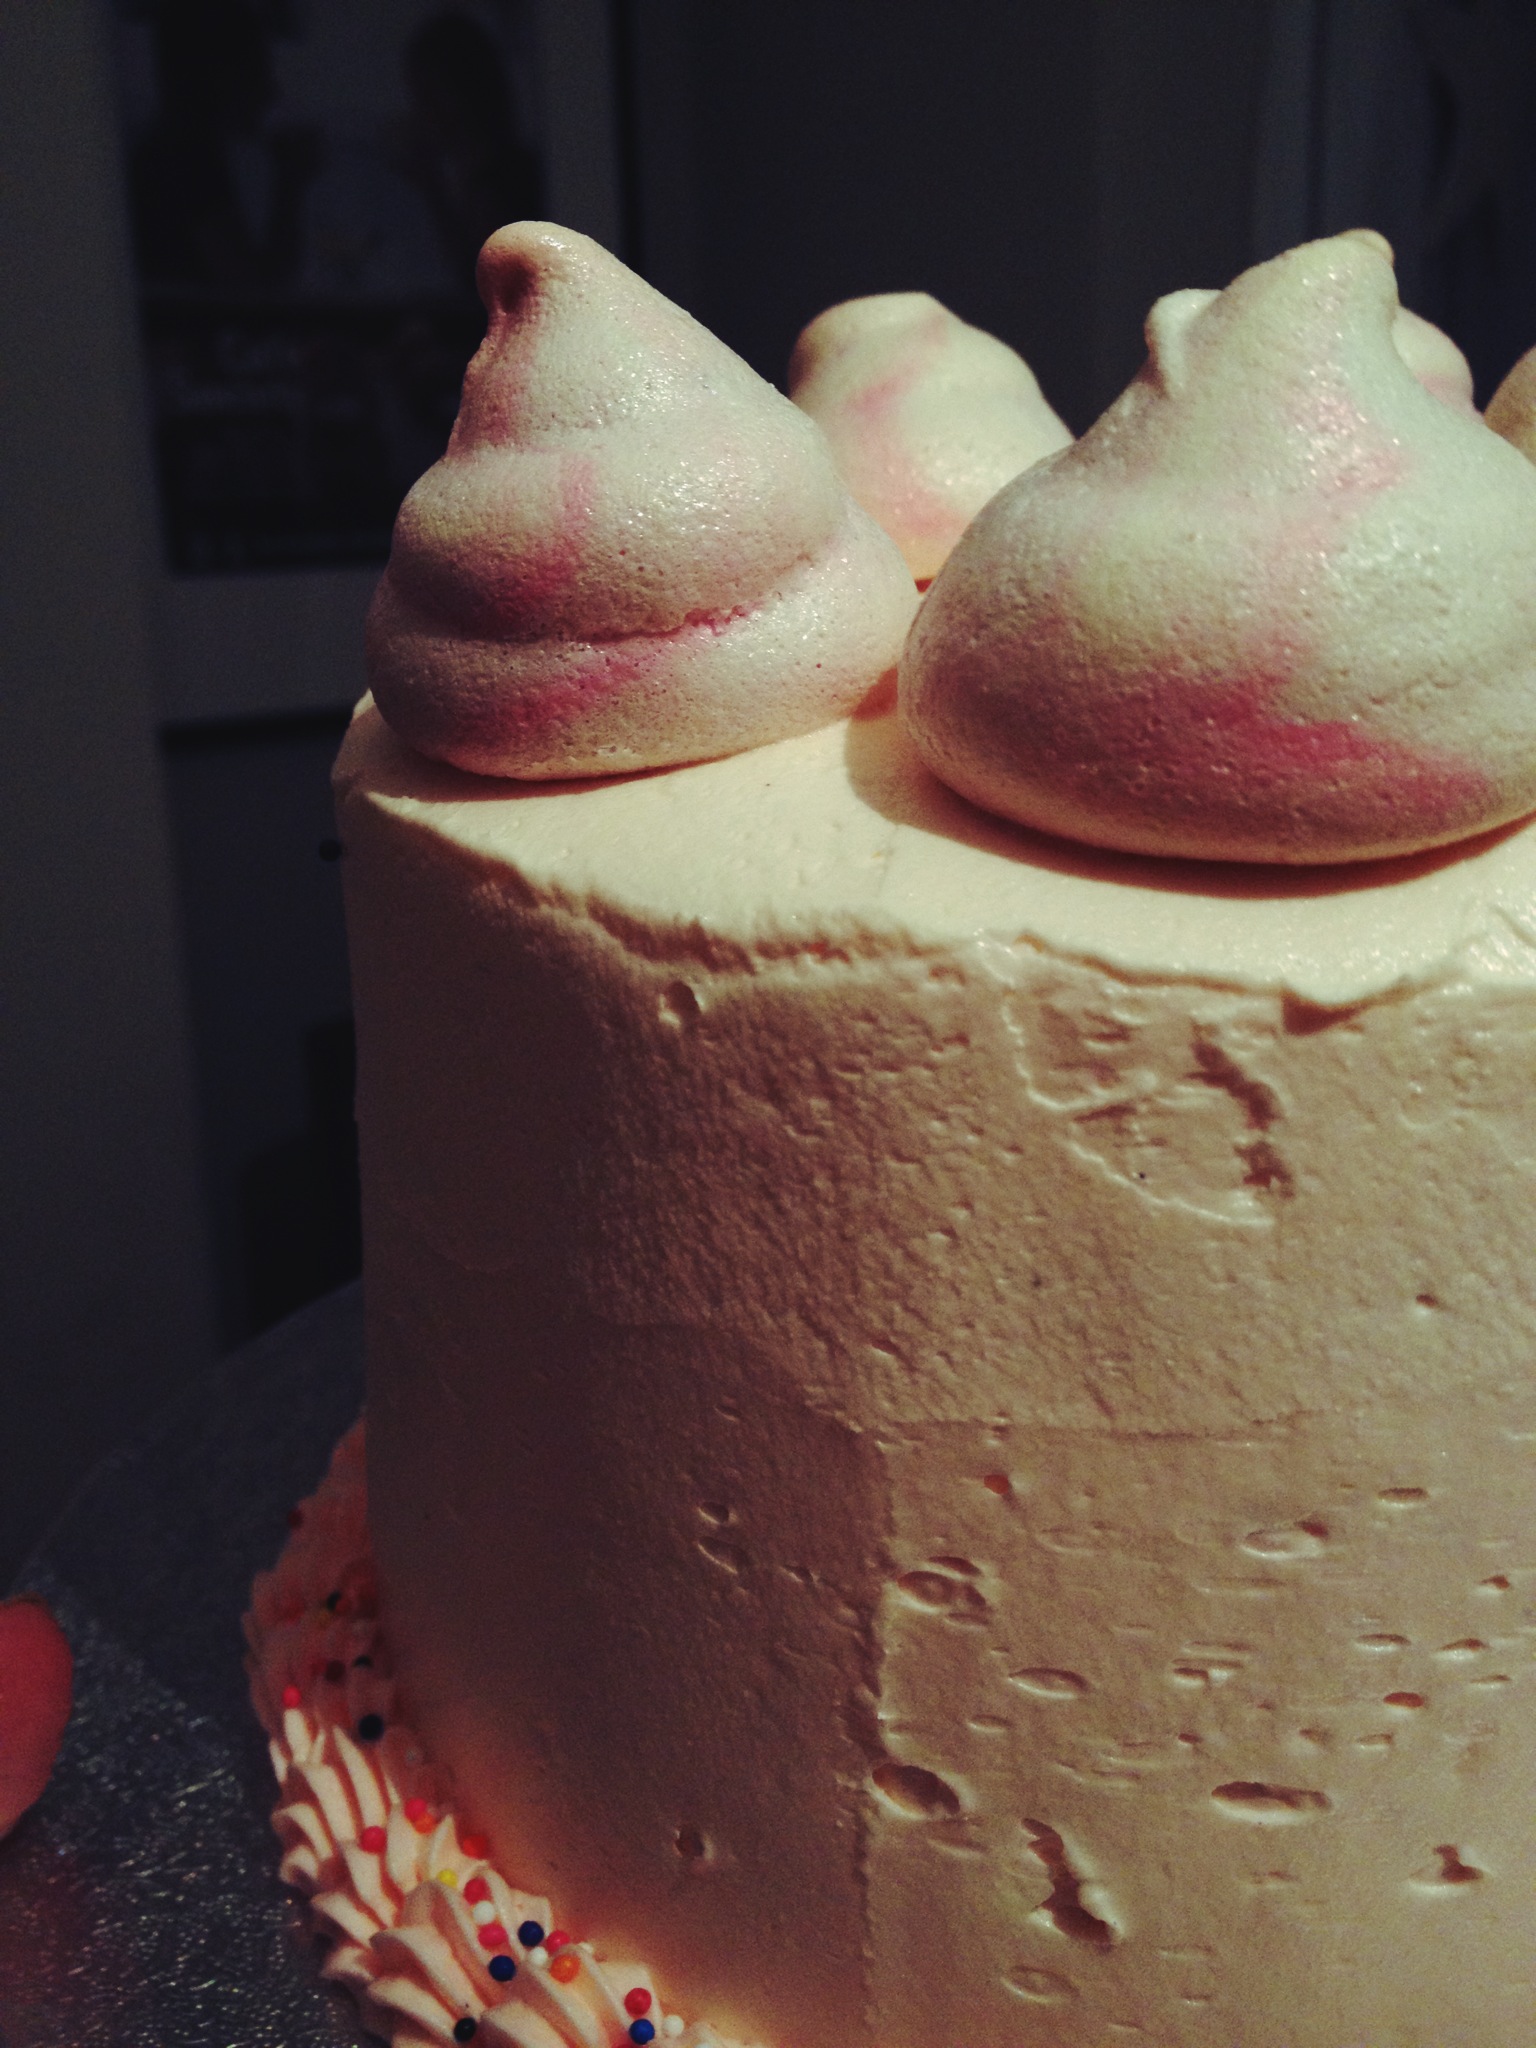
I thought these were so easy to make, lots of fun and make fantastic cake toppers. Definitely going to experiment with more colours and flavours... in the imaginary universe where I have infinite spare time. 

(yes, they do look like nipples)

thanks oh thanks oh thanks

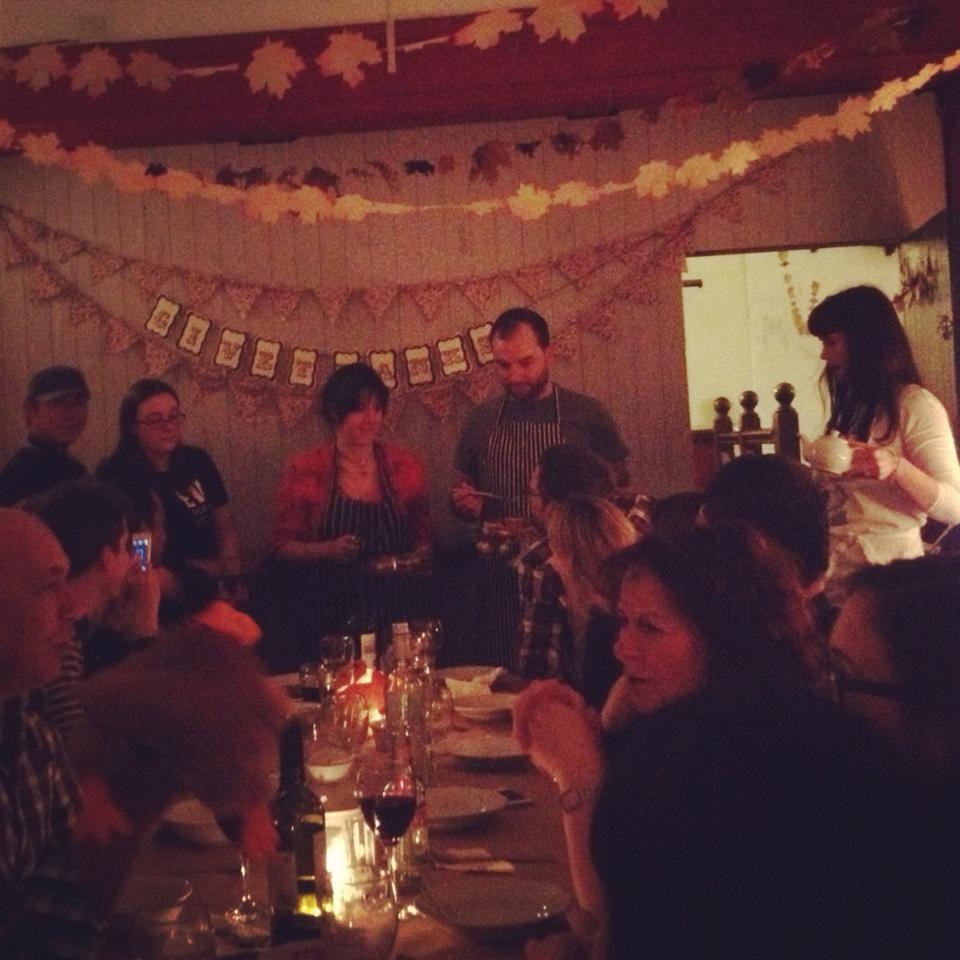
Yes, I'm English and live in London... but I'm also in love with food, and I grew up in the States. Therefore I love Thanksgiving! It is a big, wonderful excuse to gather together with friends, force yourself to feel grateful for things, and eat stuff that is not at all savoury enough to be served as a main course.  My brother Xander or I often host a big get together, but this year I was asked to do a Thanksgiving pop up at the local pub by friends who run the E17 Pop Up Project. Kind of scary but a chance to learn some new cooking skills and get a bit of catering experience. I roped Xander in to help, and his wife Zara for decorating back-up, and we set about prepping Thanksgiving for FORTY TWO!

Thanks-Pop-Up-2012.jpg

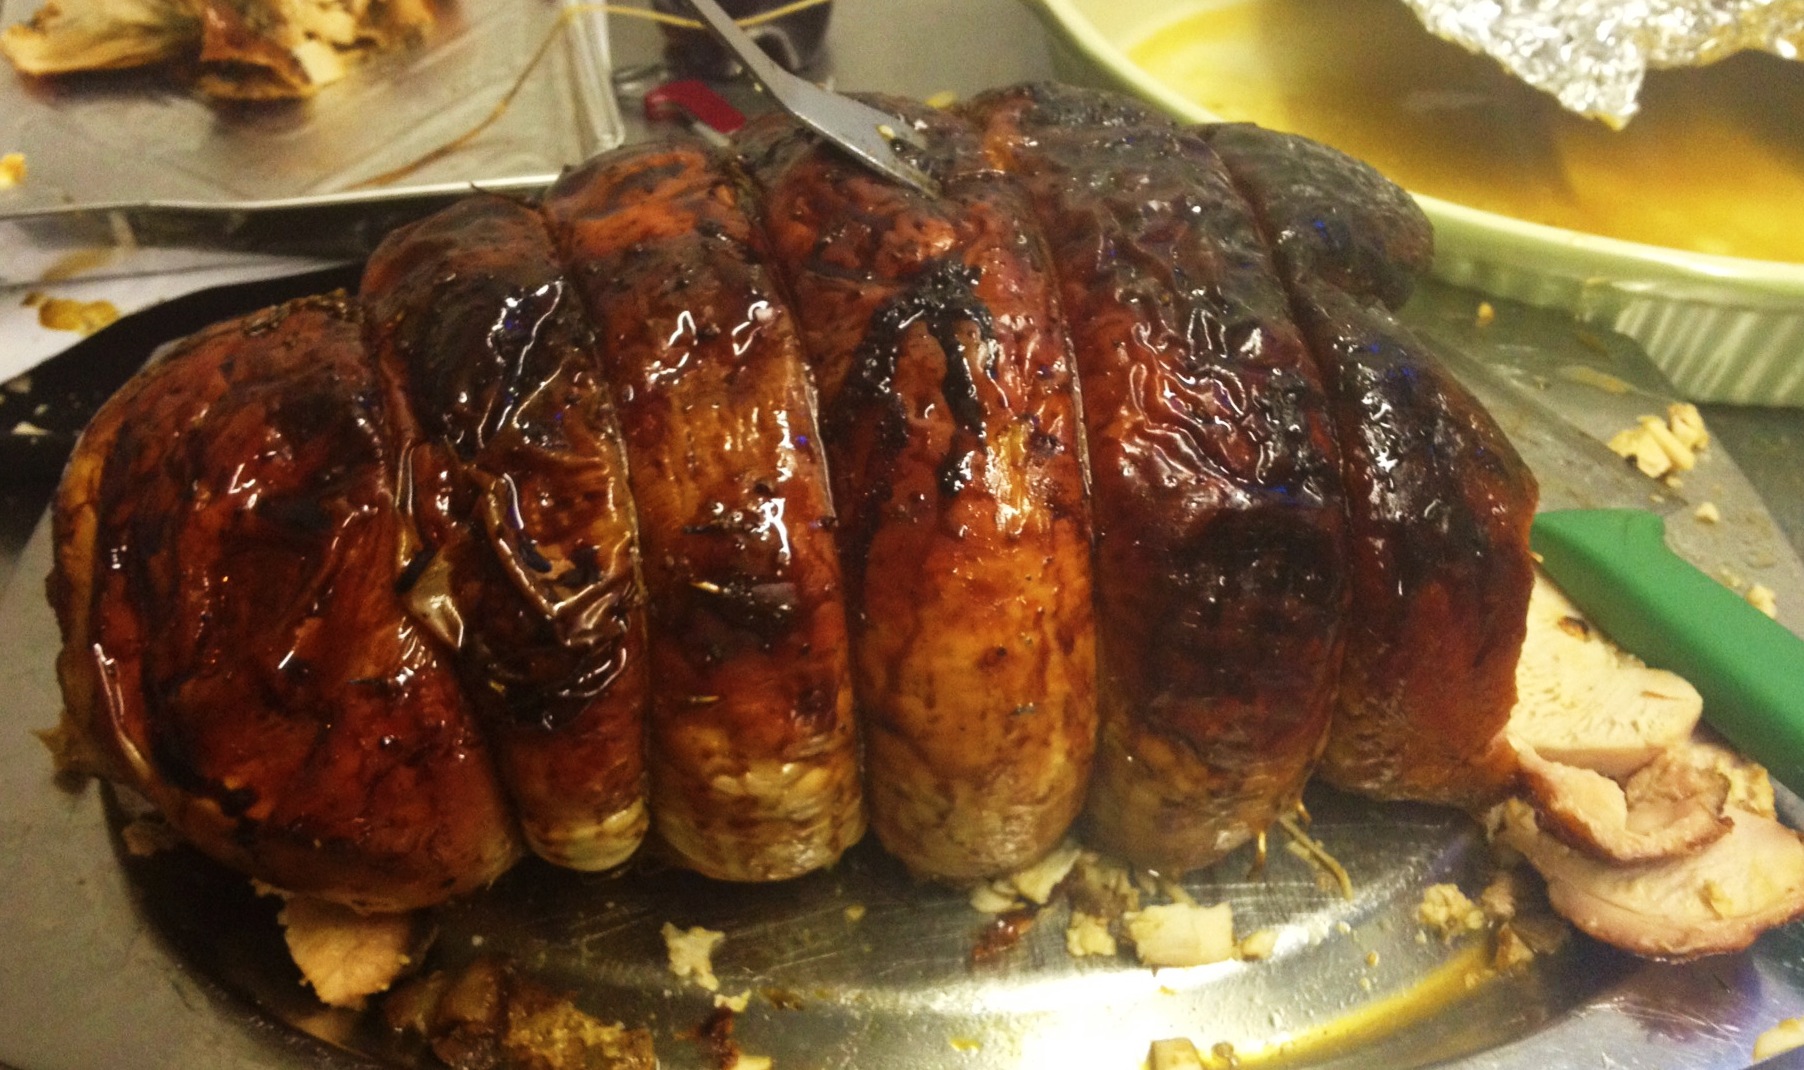
I have never been particularly keen on cooking turkey. They are MASSIVE! They take up entire ovens and never seem to cook properly and often end up dry and are regularly a huge disappointment. I had to find a way not to disappoint my 42 paying customers, though, and after extensive turkey research I found the most amazing recipe. I will never cook turkey another way again. It came out absolutely perfect, moist and scrumptious - and I don't even like turkey, as a general rule. Just in time for Christmas I've copied it out below. Seriously it's nuts how good - and easy - this is...

Malt-Beer-Brined Turkey with Malt Glaze

original recipe from bonappetit.com

Glaze
160ml barley malt syrup (can substitute black treacle or molasses)
60ml malt vinegar
6 fresh sage sprigs
4 fresh thyme sprigs
1/2 teaspoon ground black pepper
2 tbsp unsalted butter

Brine
4.5 litres water
400g coarse sea salt
3 x 340ml bottles/cans of stout 
1.5 cups barley malt syrup (can substitute black treacle or molasses)
thyme

This recipe will give you enough for a 14-16lb turkey/8-10 servings. Multiplying it for more was simple. Also we prepared two giant turkey crowns, not a whole turkey, but I can't see it making much difference.

Brining the turkey helps to infuse juiciness - there is a full on technical explanation of the whys here - and is crucial to the success of this recipe. I am never not brining a turkey again! You need to  brine the turkey for about 16-18 hours so start the day before. Pour the water into a non-reactive pot. Add the salt and stir to dissolve, then add the beer and malt syrup. The original recipe calls for you to then place two oven bags (one inside the other) into a large bowl, rinse the turkey inside and out, place in the bags (in the bowl) breast side down and pour in the brine. We had so much turkey I just brined it in one immense pot. Either way, chill the turkey in the brine for the aforementioned 16-18 hours. I chucked in some thyme sprigs for kicks, as I rather over-bought it. After brining dry the turkey and, if possible, return to the fridge to further air dry for an hour or so. 

Brining the night away

Brining the night away

You can make the glaze in advance too. Bring the malt syrup, vinegar, herbs and pepper to boil in a small saucepan. Stir occasionally. Reduce heat and simmer until the glaze coats the back of a spoon (5ish minutes). Mix in the butter. 

Cook your turkey at 170C for 20 mins/454g plus 20 additional mins. Add a couple of cups of water to the pan and keep topping it up if it dries out. For gravy purposes it is a good idea to add some celery, onion and garlic to roast with the turkey, but actually I didn't get round to it and the gravy was awesome regardless. Leave the turkey to cook for a couple of hours before opening the oven and brushing with the glaze. After that continue to brush with glaze every 20 mins until cooked. Remove the bird an hour before serving (ideally) and cover with foil to rest the meat. For gravy I poured the sauces from the roasting tin into a jug, separated the fat and returned it to the tin on the hob, added a handful of flour and made a roux, then slowly added the reserved juices plus about a bottle of red wine. it was DELICIOUS and took about five minutes... 

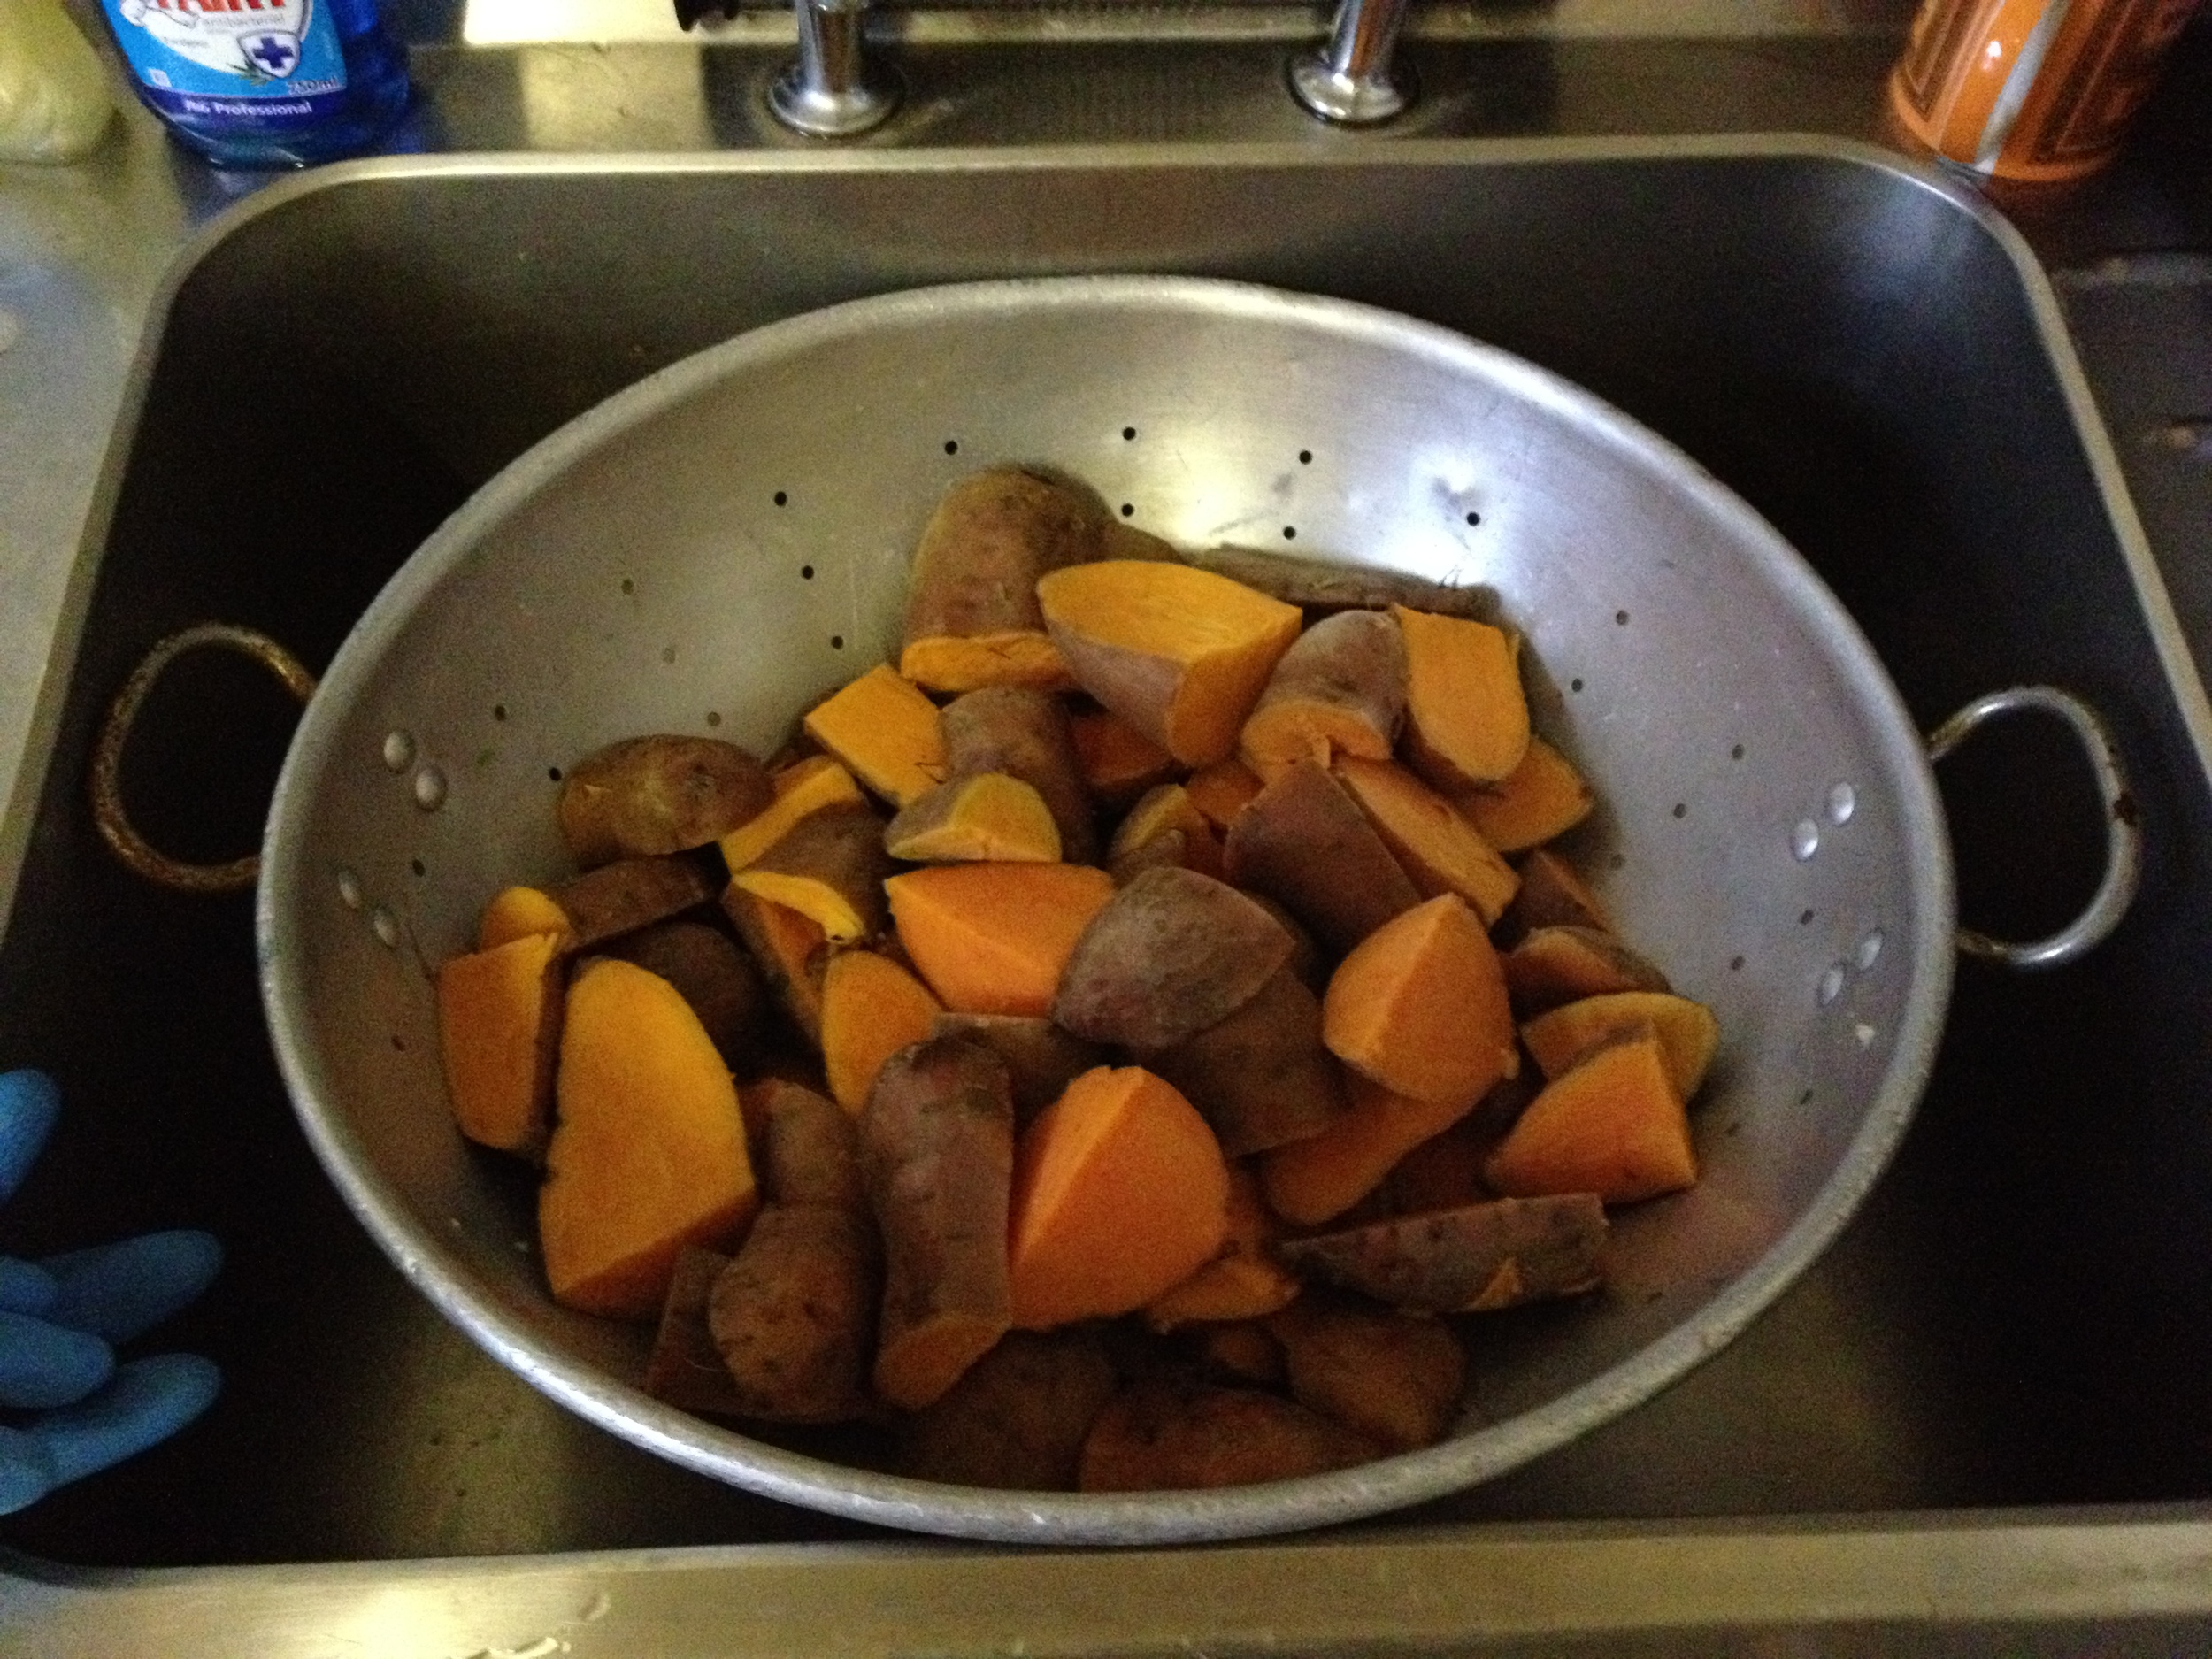
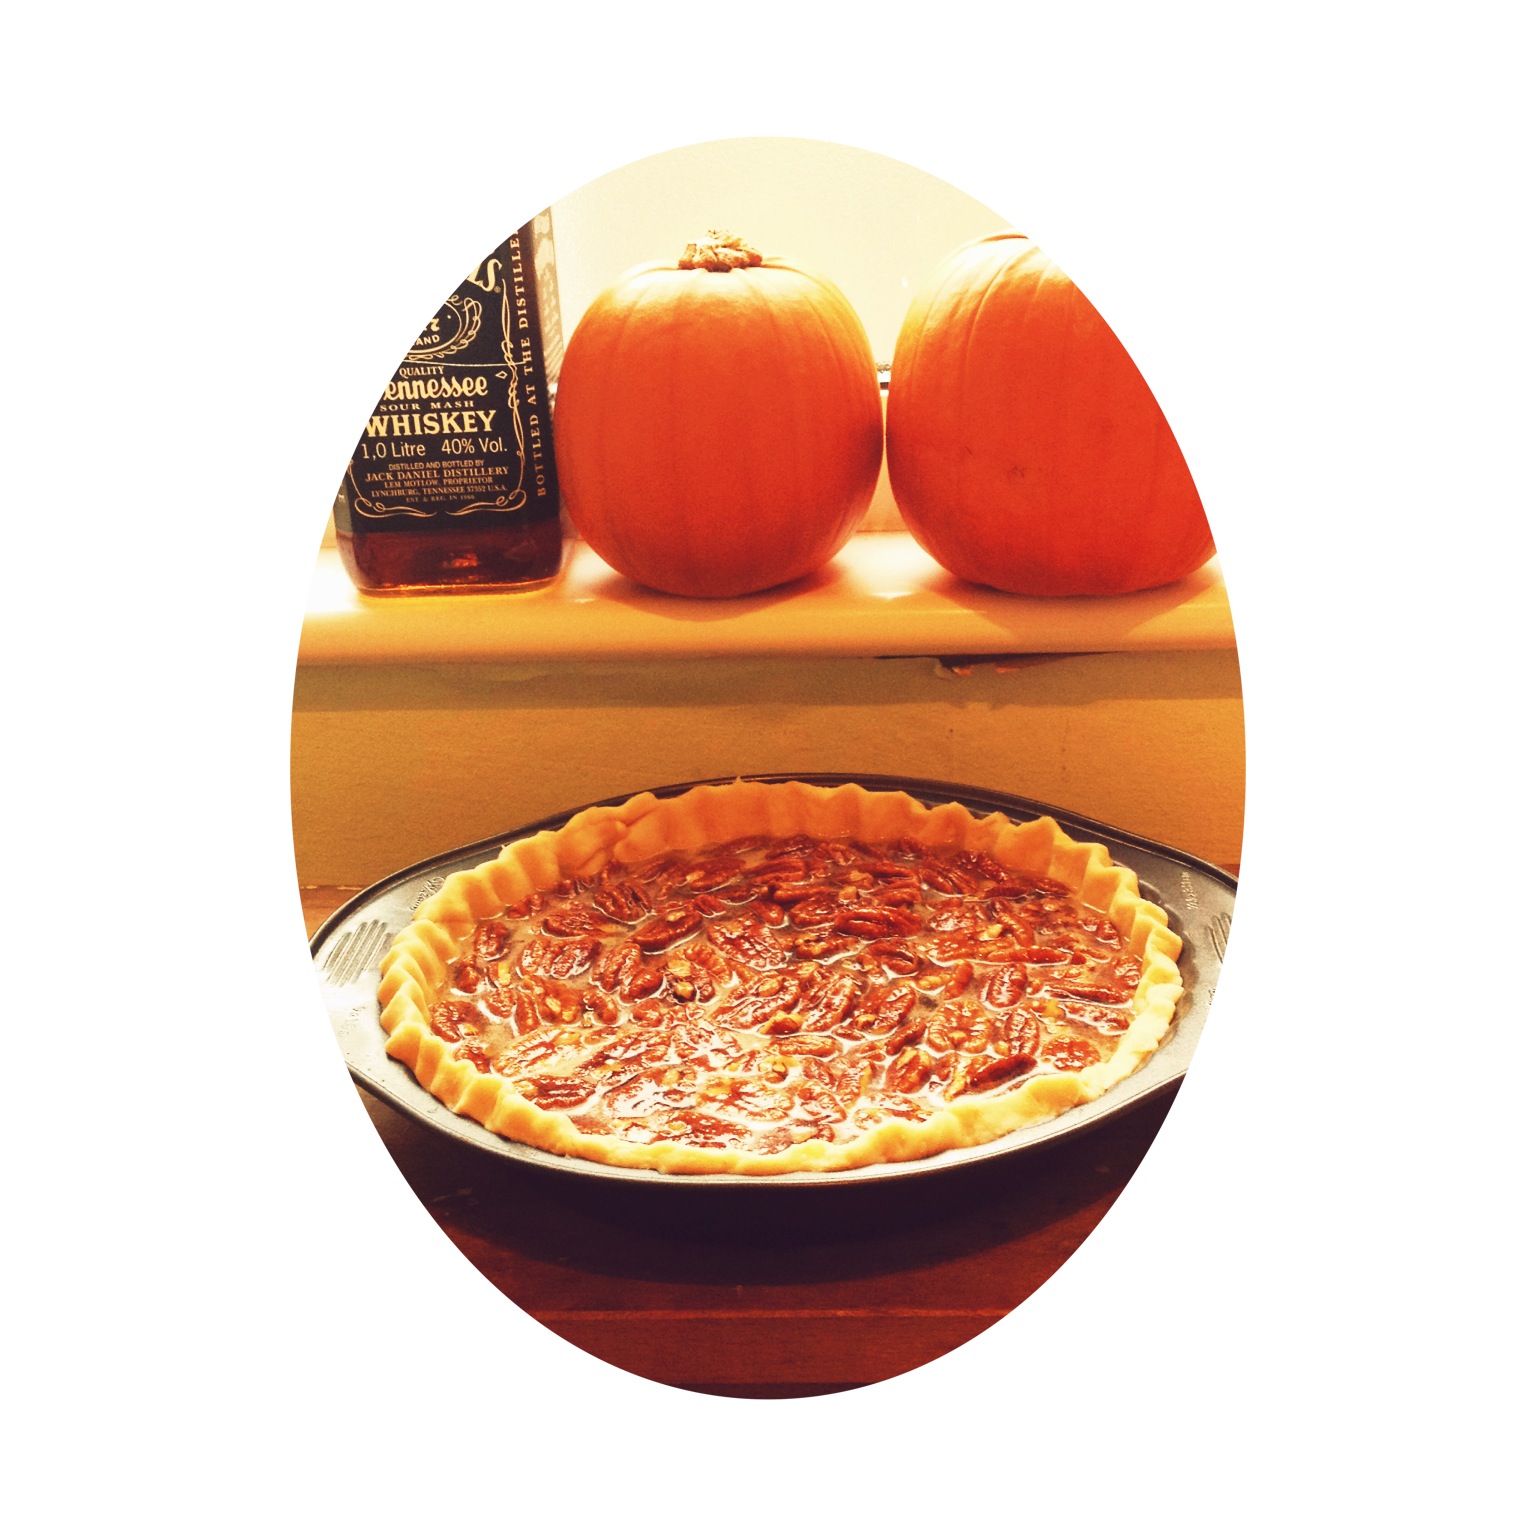
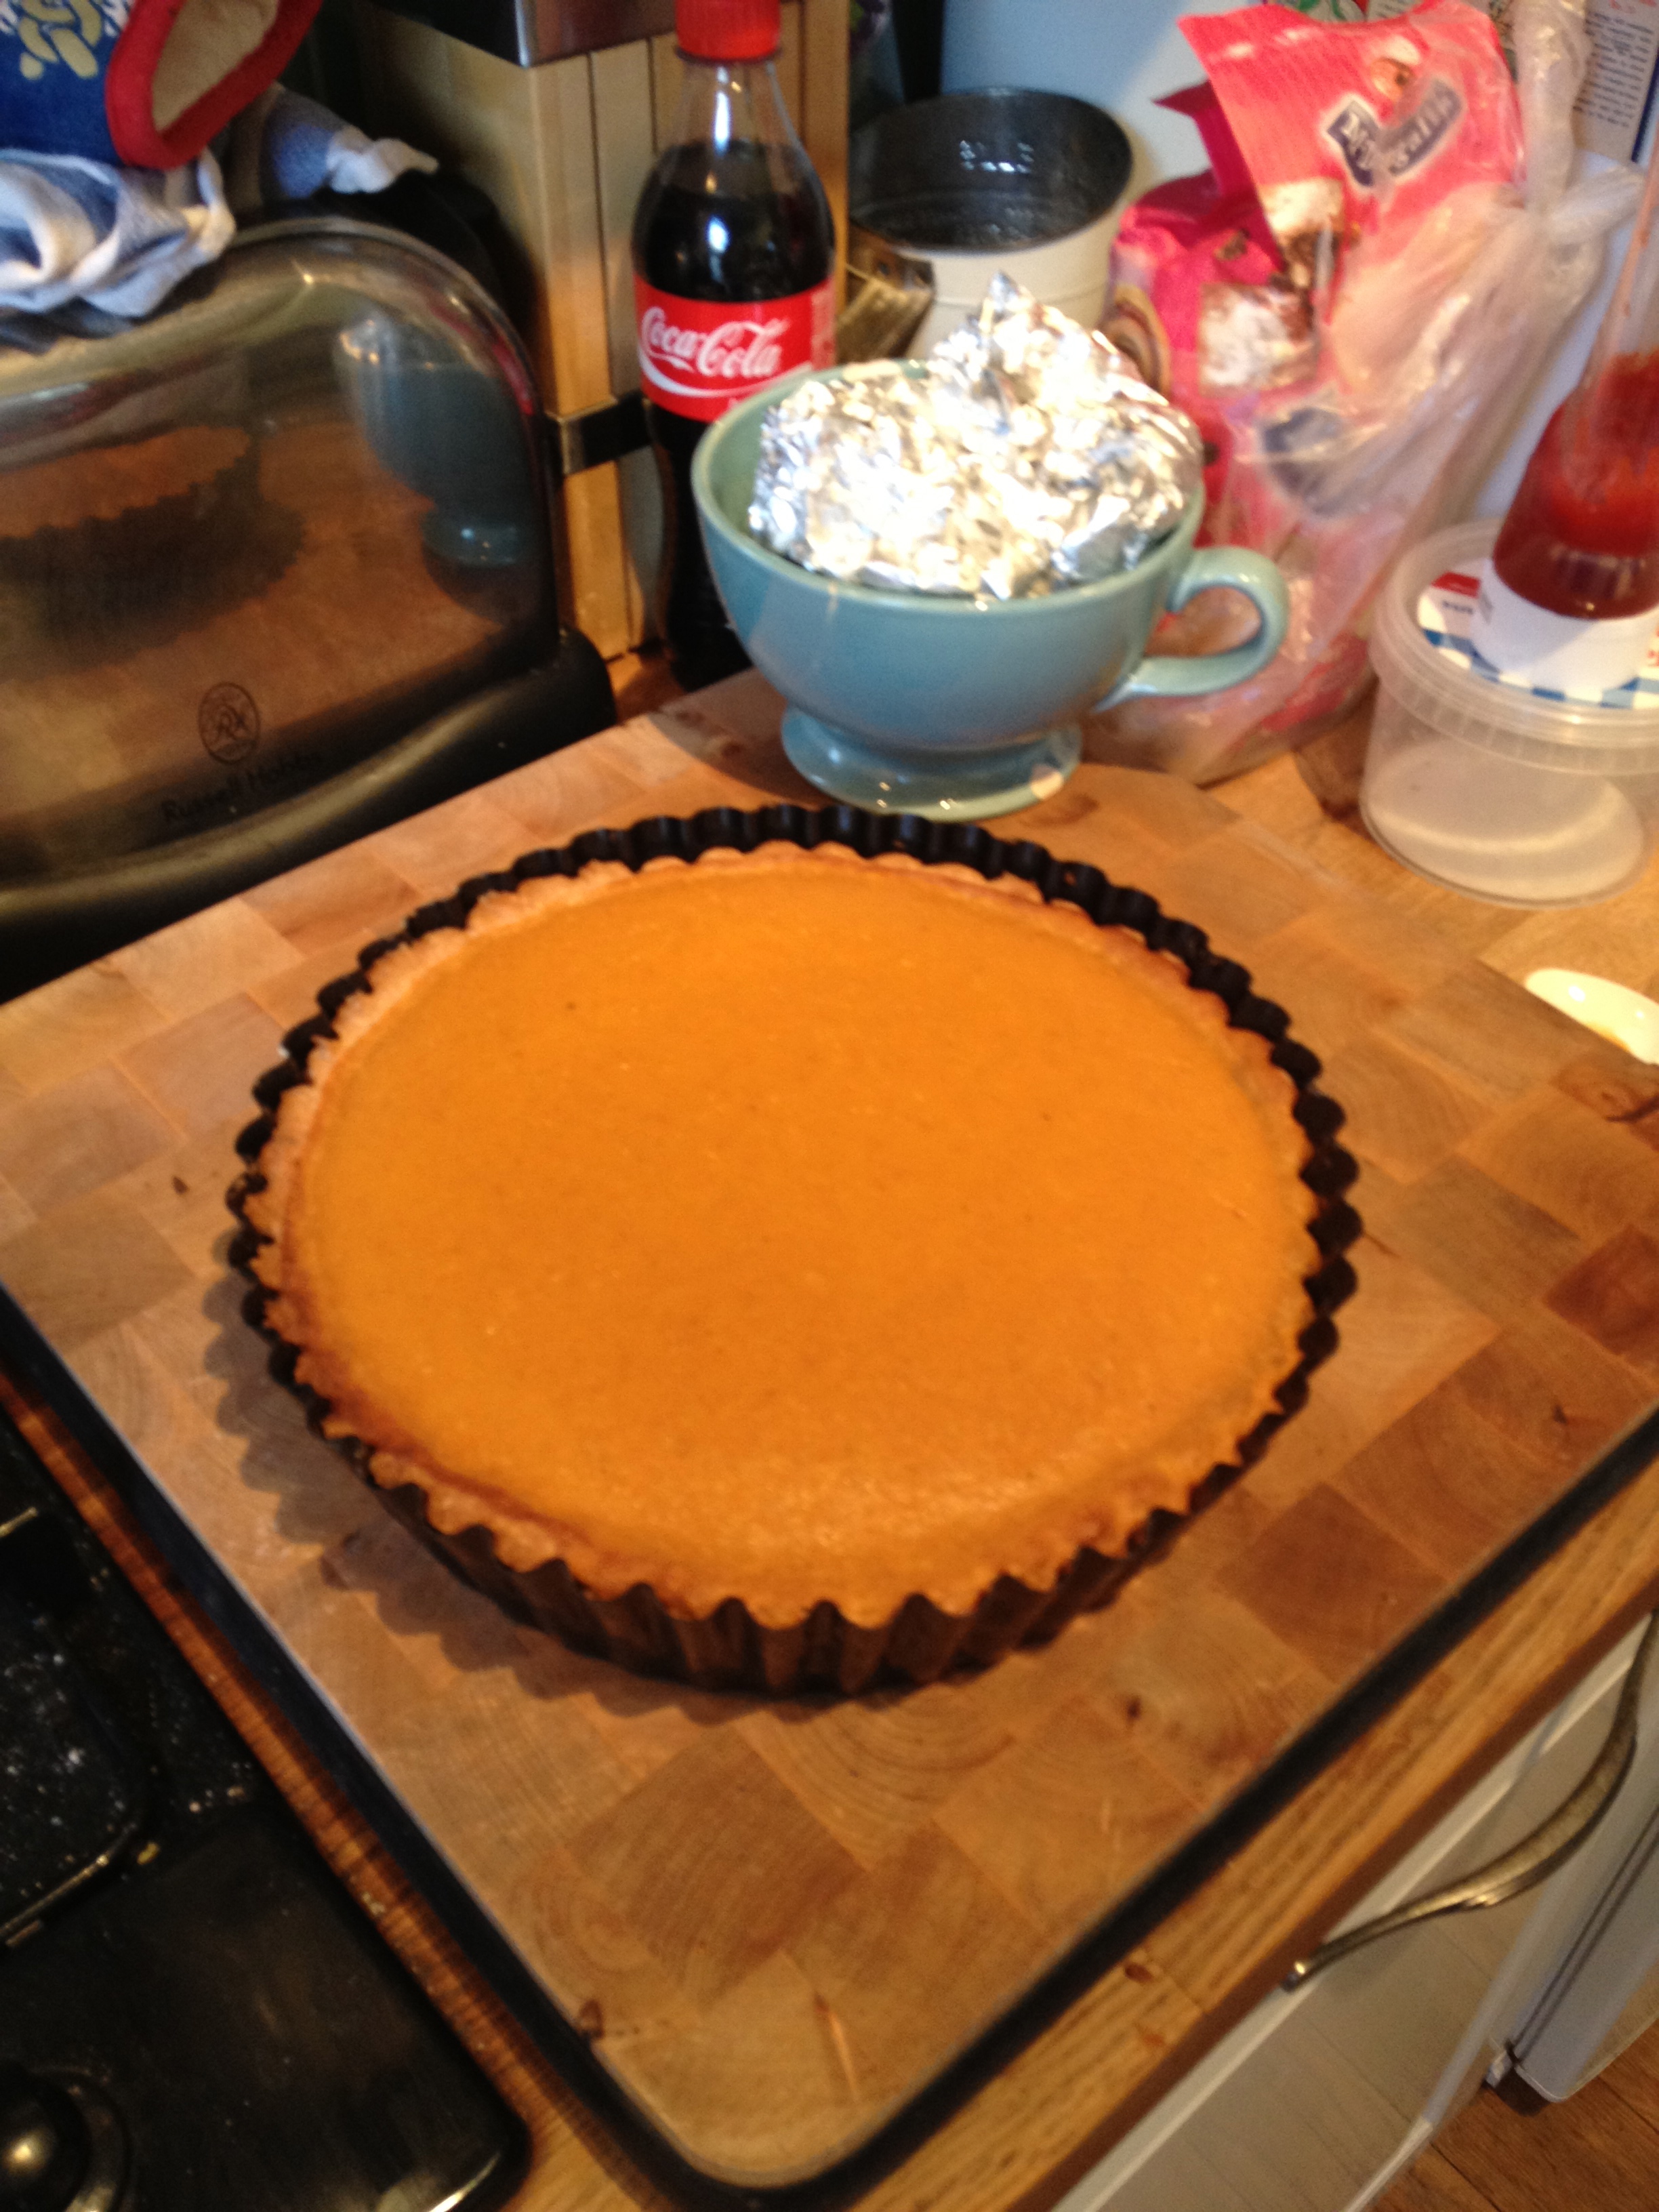
A big shout out to Smitten Kitchen whose faultless recipes I relied upon for sweet potato biscuits (which were un-be-lievable), the best homemade pumpkin pie I've ever tasted, and the best excuse to finally attempt homemade marshmallows - s'more pie. IT WAS EPIC. And it turns out marshmallows are not that difficult to make! An extra shout out to my brother, who lugged big tins of pumpkin and bottles of corn syrup over from a trip to New York so we could be as sickly sweet as we could. 

Now I never want to see another orange food again. Until next November, maybe...

With Jam in

Have been desperate desperate desperate to make some doughnuts for a long time now. I want to make lots, really, in all kinds of flavours and glazed with all kinds of colours and chocolates and sprinkles and... I have proper little daydreams about it. Have recently started following Sidecar Doughnuts on Instagram which is killing me a little bit, too. Talk about living the (doughnut) dream!

I had to nick this from their Pinterest to show you how beautiful their doughnuts look... I hope they don't mind!

I had to nick this from their Pinterest to show you how beautiful their doughnuts look... I hope they don't mind!

So I was dying for an excuse to make some doughnuts of my very own, and finally got one (isn) when we were invited to a Halloween bash by Pablo's best bud Edie. I have about 10 recipes I'm eager to test, and I started with Richard Bertinet's little beignet style ones (except I totally cheated and used the Kitchenaid - sorry Richard! I still need to buy a dough scraper, in my defence...)

IMG_1331.JPG

Doughnuts 

250ml full fat milk
15g fresh yeast (I actually used 14g dried yeast as had no fresh, and it was fine
500g strong bread flour
60g unsalted butter at room temperature
40g caster sugar
10g salt
2 large eggs
500ml groundnut oil for frying
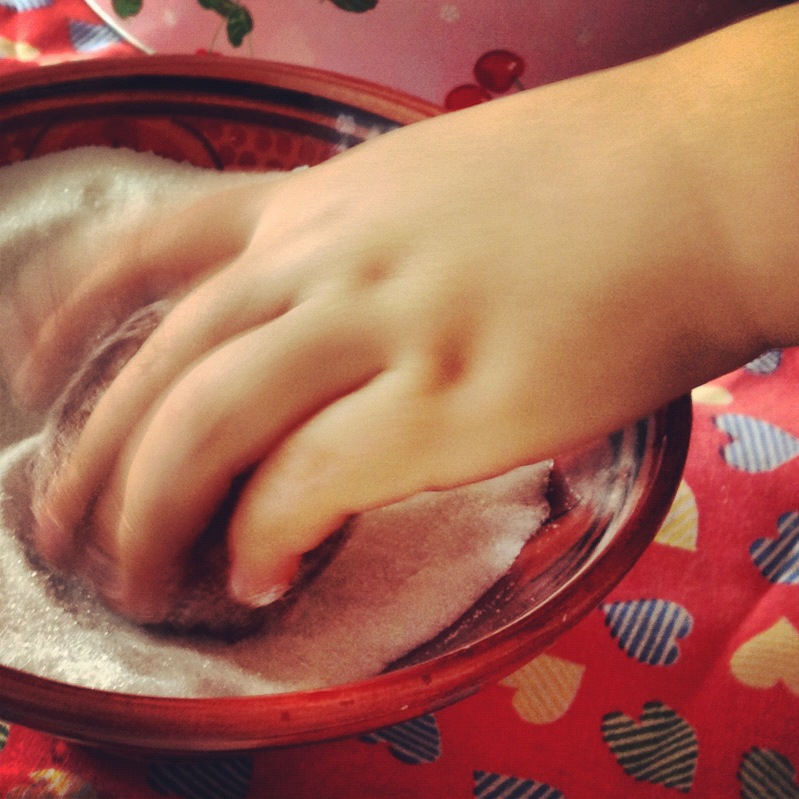
caster sugar for dusting
filling (jam, creme patissiere etc) - optional

Heat the milk until it is "body temperature" - neither warm nor cold - in a saucepan. Mix the yeast into the flour by hand (if it is fresh yeast, rub it in as you would making a crumble), then rub in the butter (I had cut mine into little cubey shardy bits). Add the sugar and salt, then the eggs and the milk. 

If you are working the dough by hand, you need to follow Richard's method - which involves lots of stretching and lifting the dough until it comes together. Do not add more flour even though it seems super sticky! If using a mixer with a dough hook (like me) pop it on a medium speed for approx 6 or 7 minutes, until the dough comes together in a smooth, elastic lump. Shape the dough into a ball.

Rest the dough for 1 hour in a lightly floured bowl with a damp tea towel or some cling film over the top. Preferably pop it somewhere warm, but I know we don't all have agas and airing cupboards (I have neither) - don't panic, it will still rise. It may take a bit longer than an hour somewhere not-so-warm, so keep an eye on it - you want it to double in size. 

Tip the dough out onto a lightly floured surface.

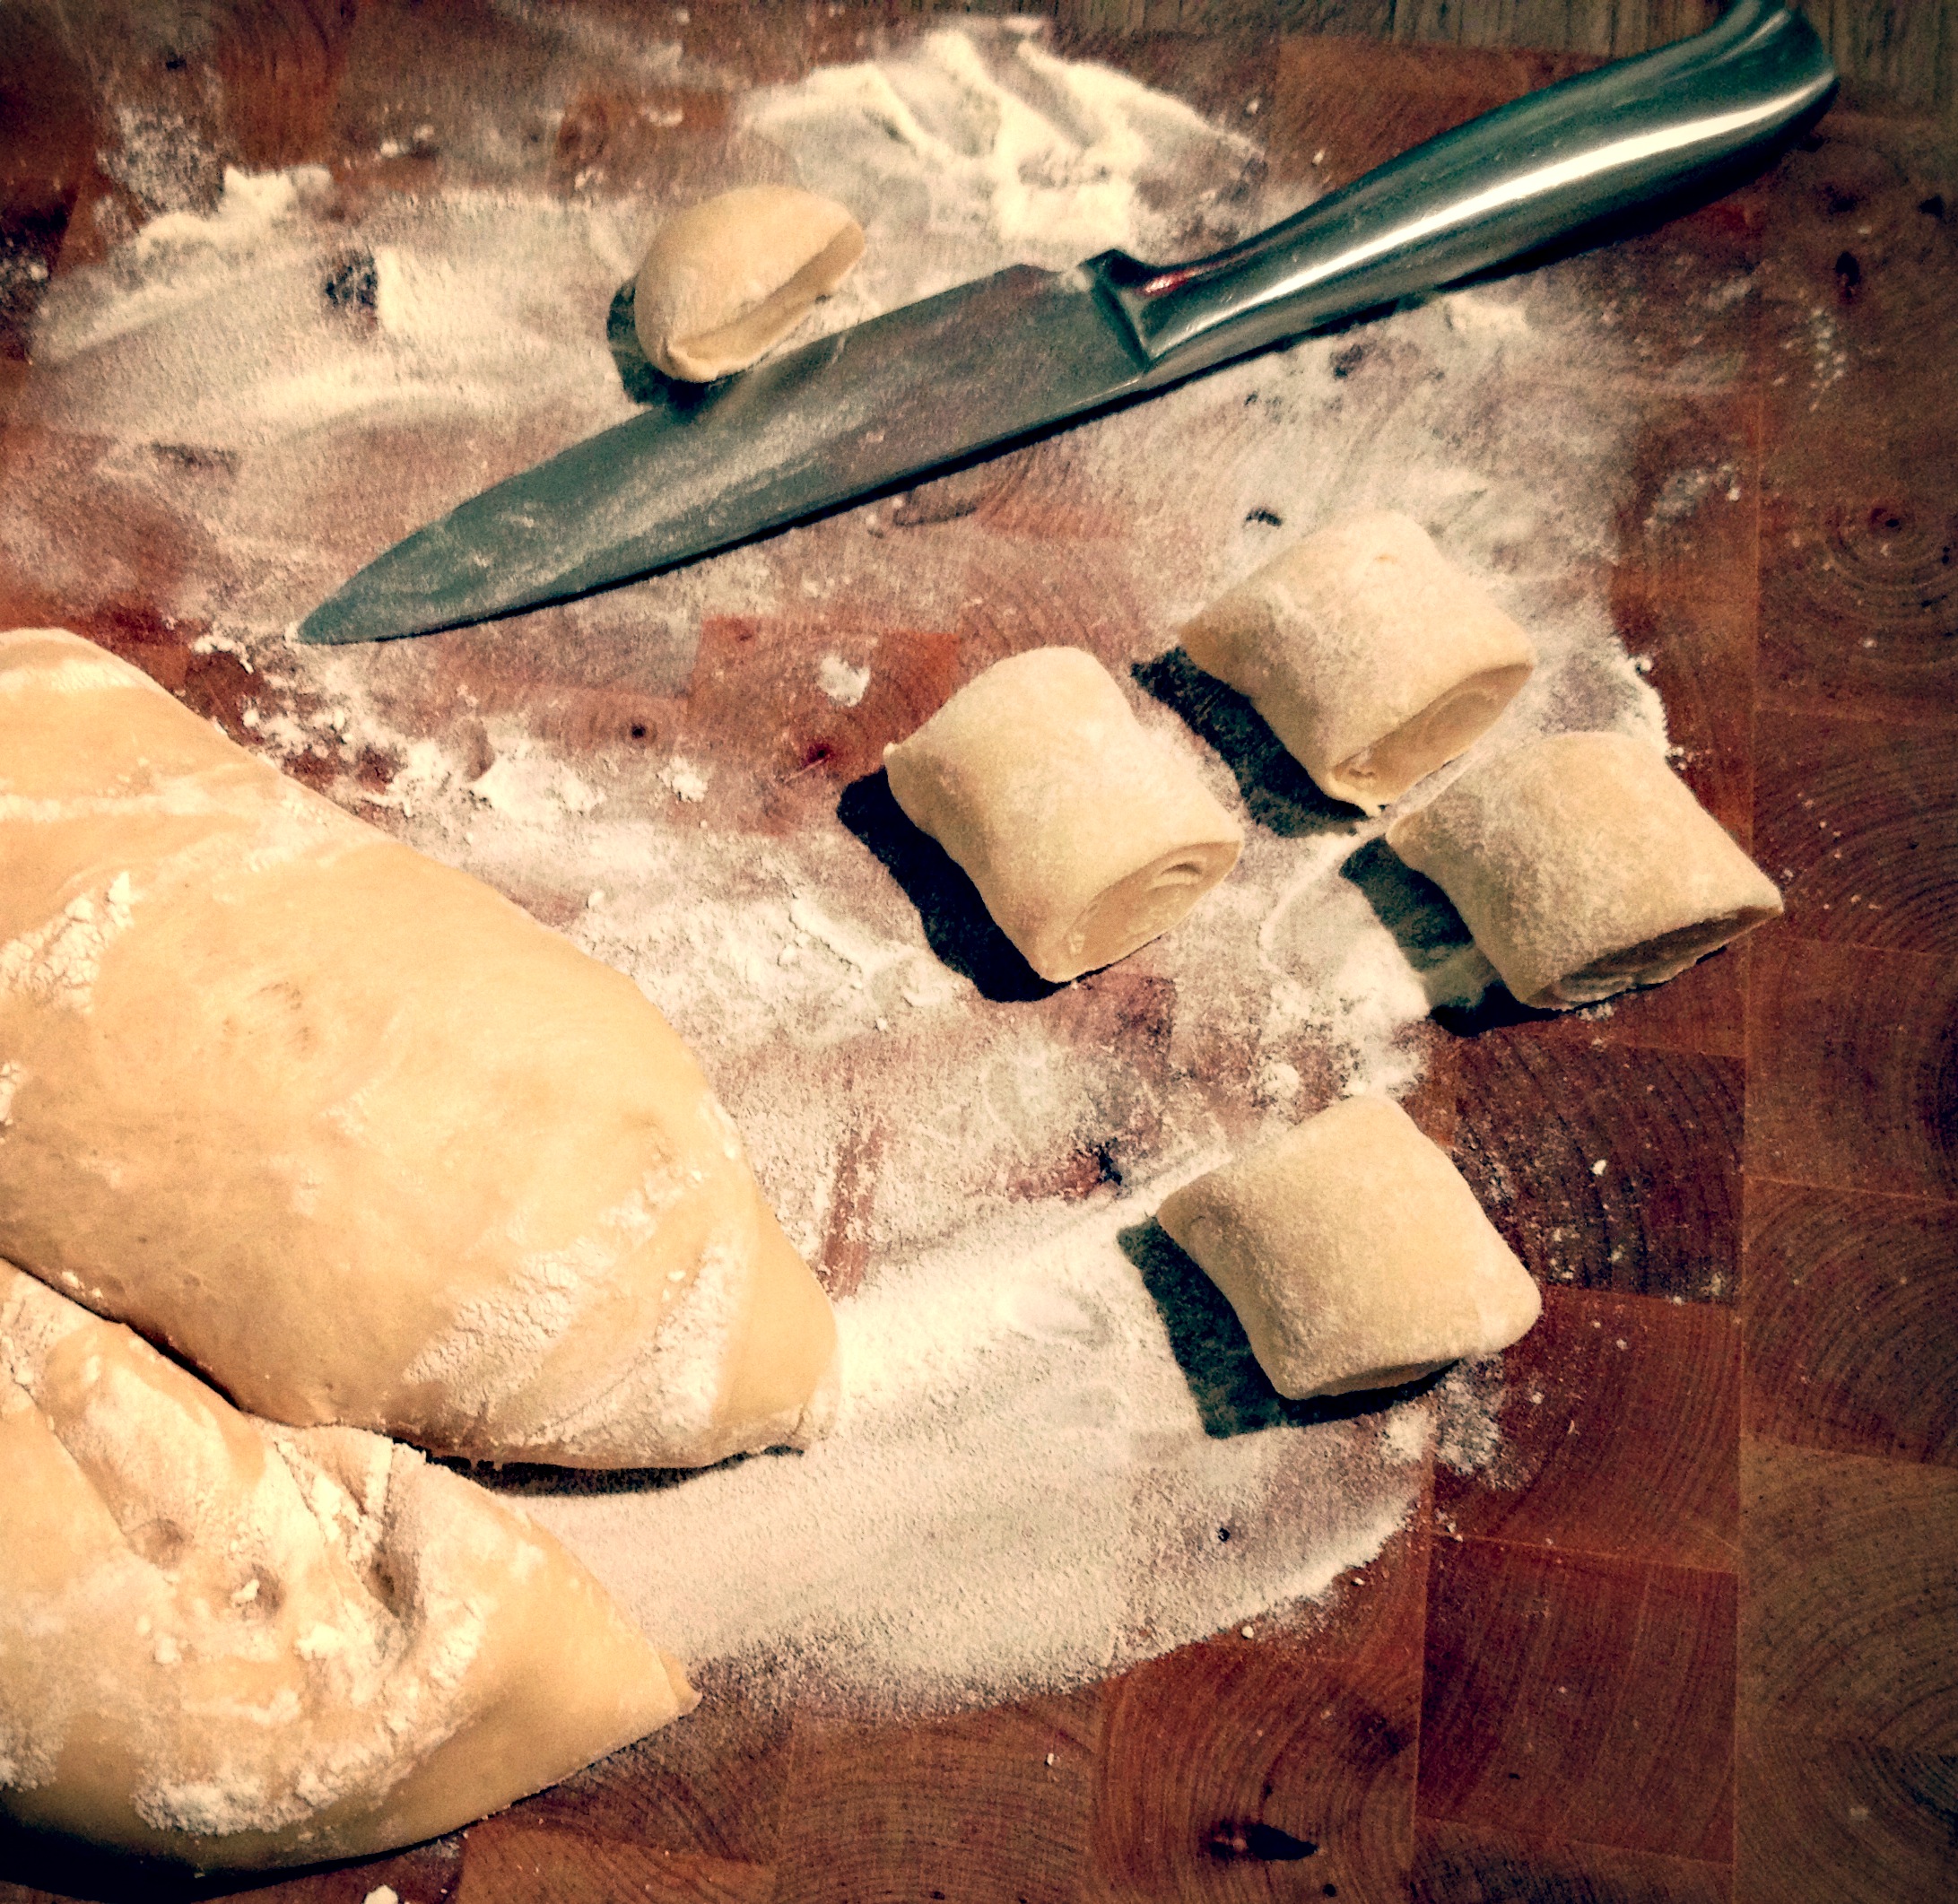
Divide the dough into three. With each piece, flatten with the heel of your hand into a rough oval shape. Fold one side into the middle and use the heel of your palm again to press it down and seal. Repeat with the other side, then fold the whole thing lengthways into a long sausage shape, sealing the long edge. Cut this shape into 30g pieces (I weighed them! They don't have to be bang on 30g, of course, just thereabouts). Work each piece into a ball by folding the edges into the centre and pressing down well, rotating the ball of dough in your hand as your go. Do this a few times, then roll the ball in your hand to to smooth the sealed edge. Pop them on a lightly oiled, lightly floured baking tray under a damp tea towel and leave to prove for 45ish mins. They balls should about double in size. 

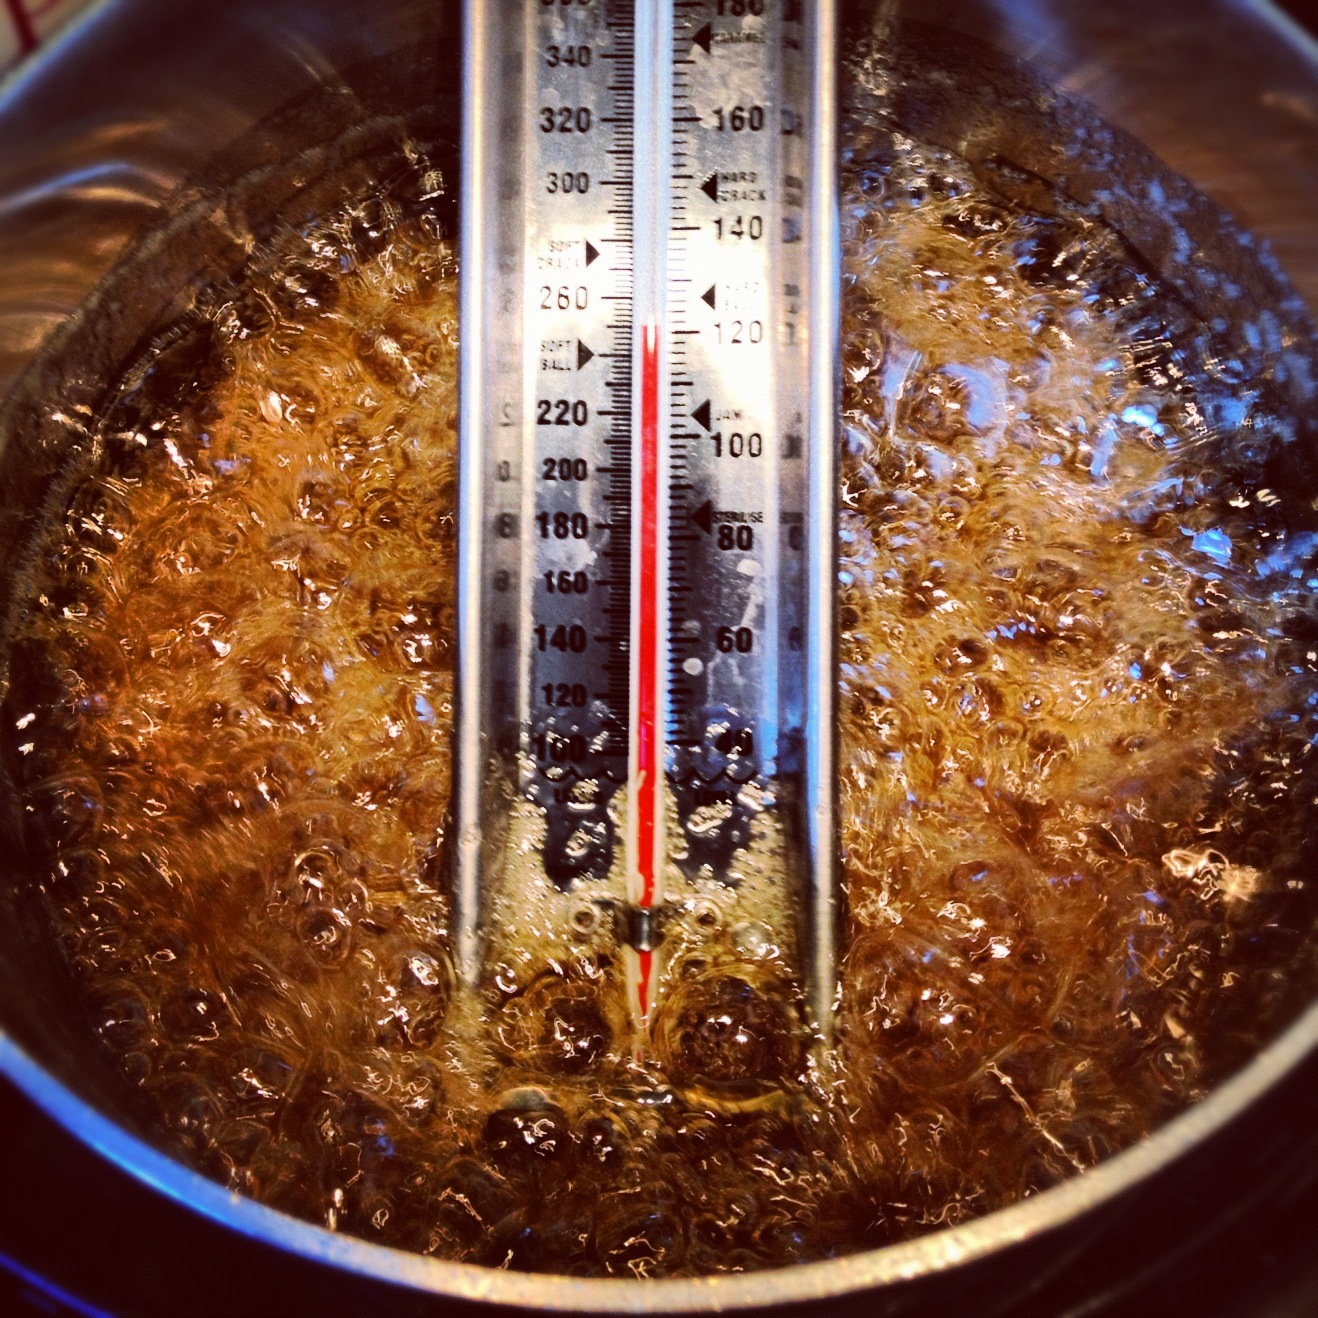
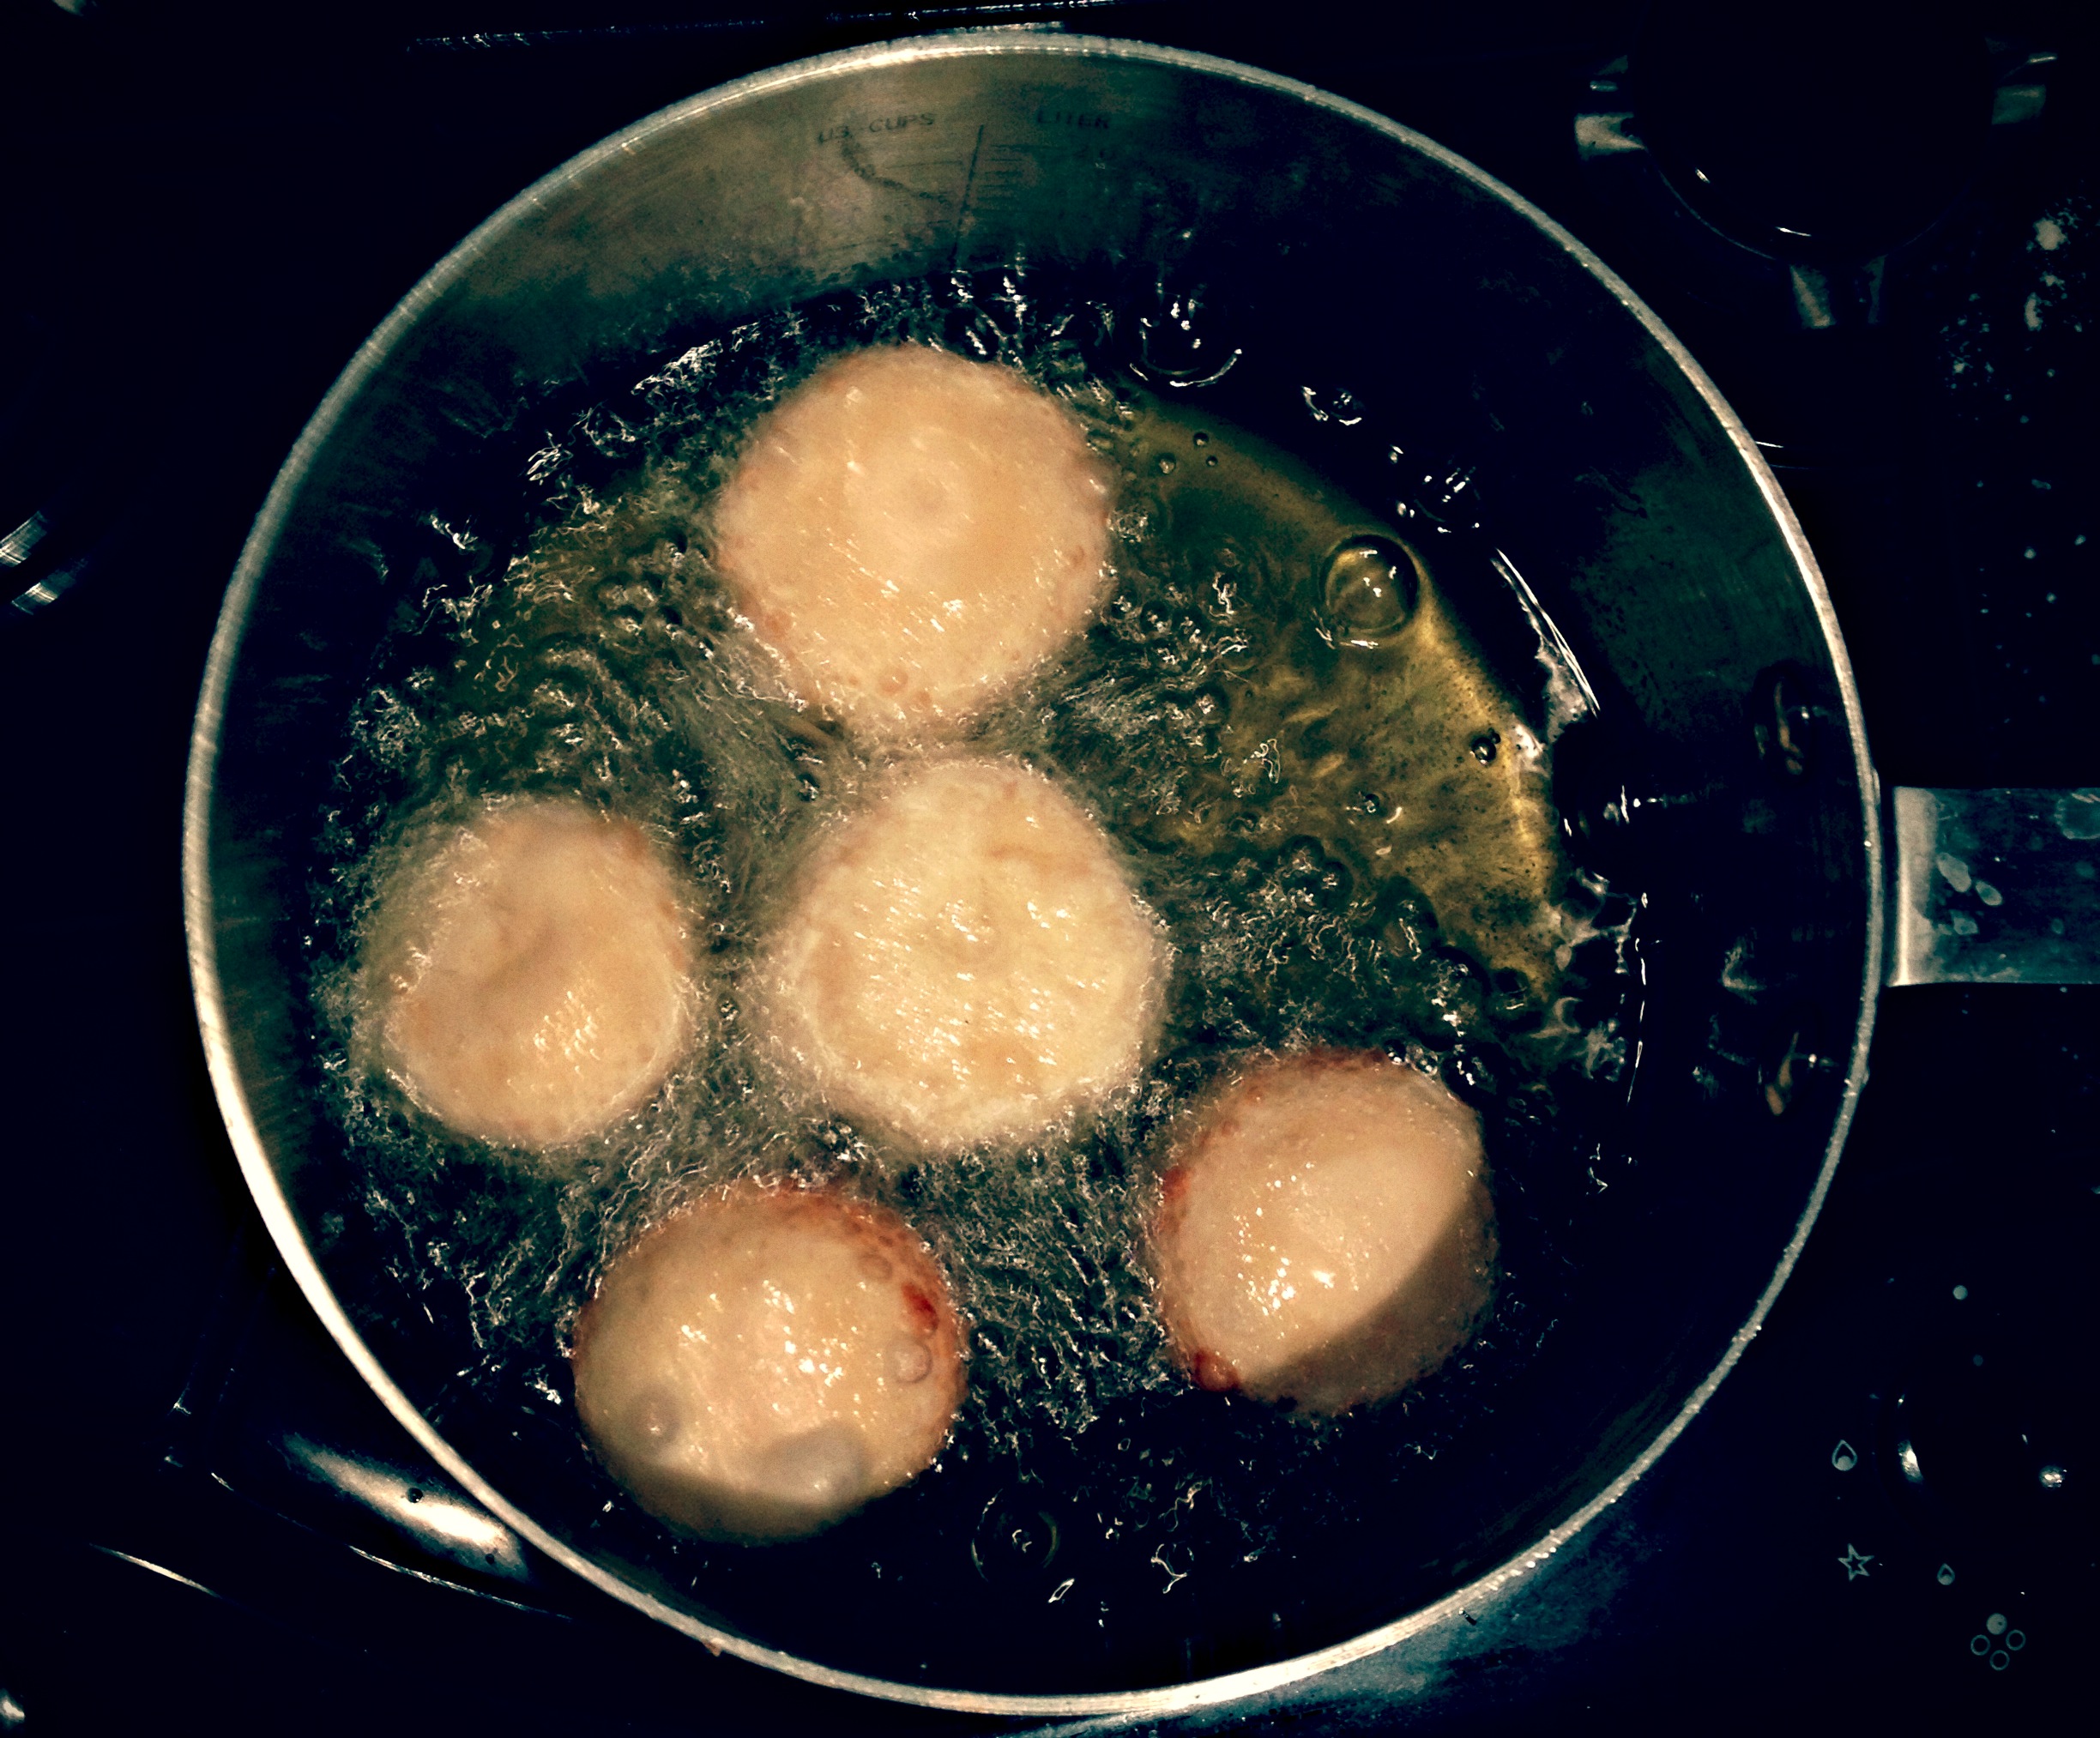
Heat your oil to deep-fry stage in a 20cm saucepan (about 180C - if you have a thermometer use it! Richard said it would take about 15 mins to get this hot on a medium heat, but after 10 minutes mine was smokingly, screamingly way too hot and I had to turn it off to give it a minute to calm down. Whoops!) Be very careful lowering the dough balls into the oil on a slotted spoon. Obviously the oil is dangerously hot so avoid getting any closer than you have to! Pop about 5 doughnuts in at a time. After 30-45 seconds, turn them over to fry the other side (you can tell by the colour when they are ready). Then remove and leave to cool on some kitchen paper...or a muslin, if you have no kitchen paper but an abundance of baby muslins! 

"EAT ME!" ok...
"EAT ME!" ok...
IMG_1288.JPG

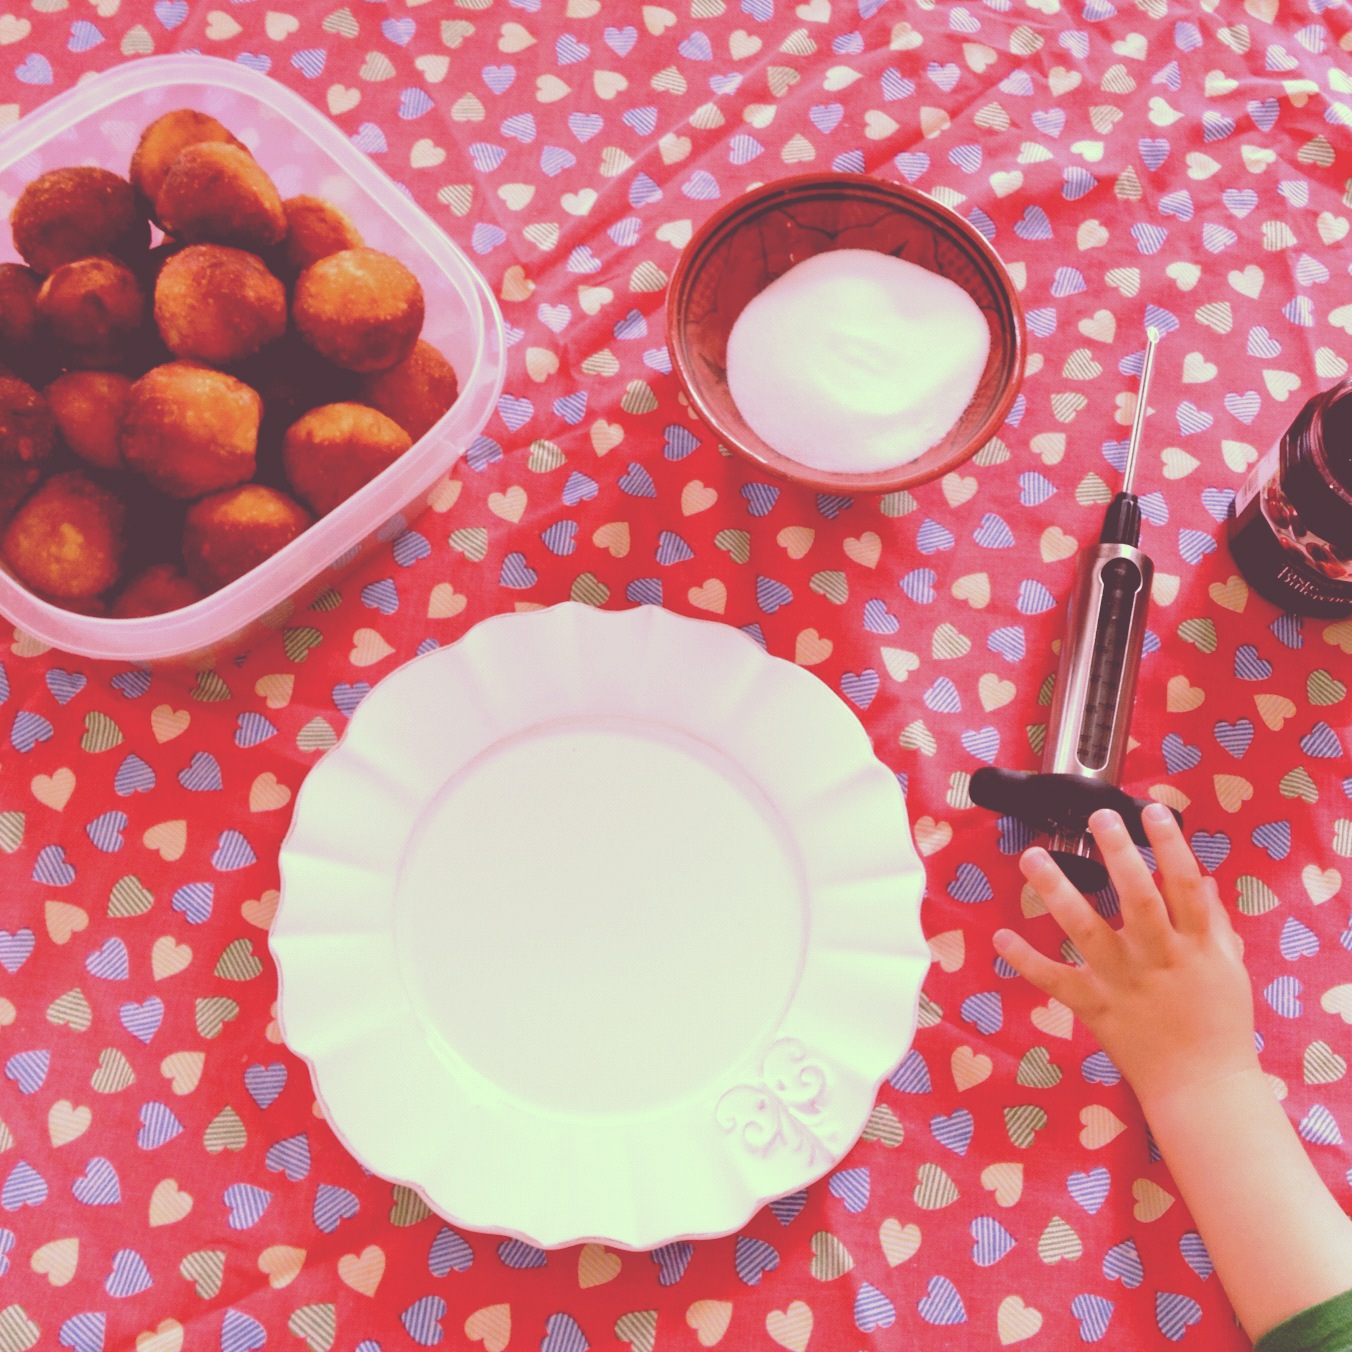
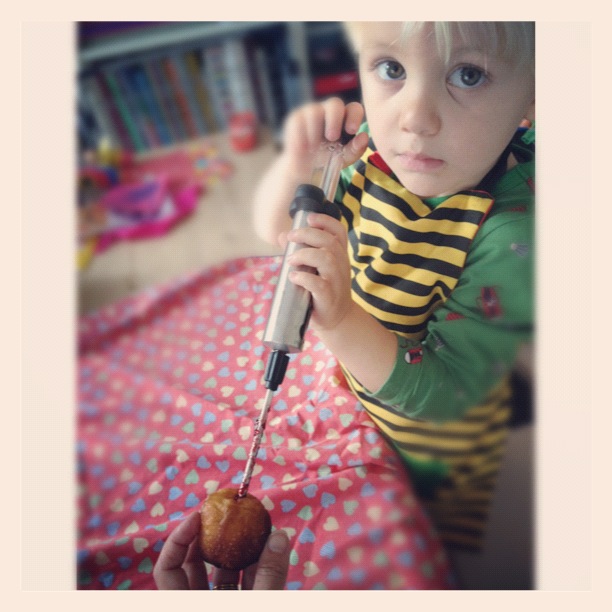
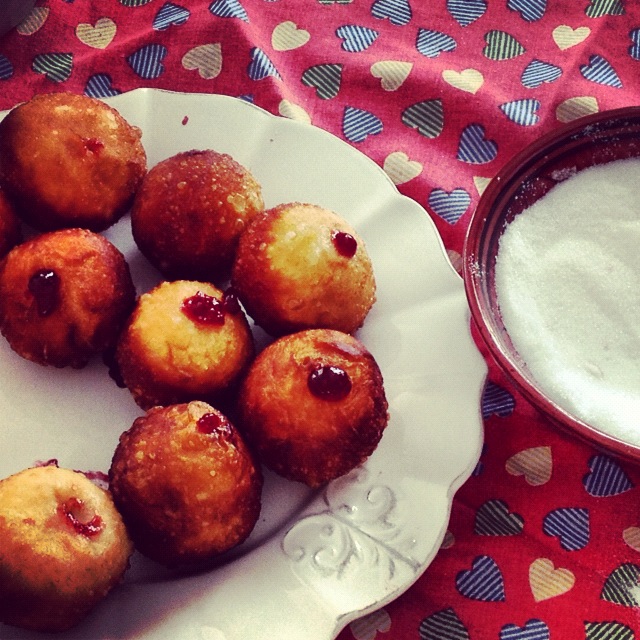
Because they were for a Halloween party I conjured up all kinds of ambitions to fill them with coloured creme patissiere or make some home made jam, but typically ran out of time and had to buy a jar of jam. A tiny bit of foresight and an Amazon Prime membership meant I had this badass instrument ready to help me out with the next step. But in theory a piping bag and nozzle would do the job.  Pablo was an ace little helper and it was actually a really fun project for him - especially the tasting bit. We might have consumed a few in various states of jam-filled-ness...

The verdict in the end was that they were DELICIOUS. And very easy to make. Only trouble is now I can't stop eating them...

paint. scoot. stew.

IMG_9706.JPG

The morning was all about a pirate ship mural - complete with glittering sharks and whales of course. We managed a brief bit of outdoors before the rains descended again and it was time to do some serious cosy cooking. We've just signed back up with Abel and Cole for weekly veggie boxes which is forcing me to be a bit more creative with our meals or risk a fridge full of neglected kale and radishes (ok there might still be a few neglected radishes about...) What does one do with a kilo of cavolo nero? THIS: top tip for a delicious dinner full of a squillion veggies and tasty enough even for a three year old boy who distrusts any foods that stray to far from beige is the following recipe from the flawless River Cafe. I'm sad to say I've only managed to eat at the restaurant once - and my god it was delicious, but it's all the way in Hammersmith! - but I've spent countless hours dribbling into their various recipe books, which are filled with basically EVERYTHING you never knew you wanted RIGHT NOW. Their Winter Minestrone is wholesome and chunky and just what you needed. Promise. This recipe pretends to be for 5 but we are 2.5 and a baby and we polished it off in one sitting. 

IMG_9709.JPG

winter (autumn?) minestrone

2 tbsp olive oil
2 medium carrots, roughly chopped
1 large red onion, coarsely chopped
1 head celery, coarsely chopped & keeping the leaves
1 whole head garlic, cloves peeled
1 kg swiss chard, leaves shredded & stalks roughly chopped
large handful fresh parsley, chopped
400g tin peeled plum tomatoes, chopped roughly
1 kg cavolo nero, stalks removed and leaves shredded (you can substitute savoy cabbage)
410g can cannellini beans, drained and rinsed
approx 700g boiling stock - chicken or veg
a few sprigs of winter herbs, chopped (I used thyme)
freshly grated parmesan
olive oil to drizzle

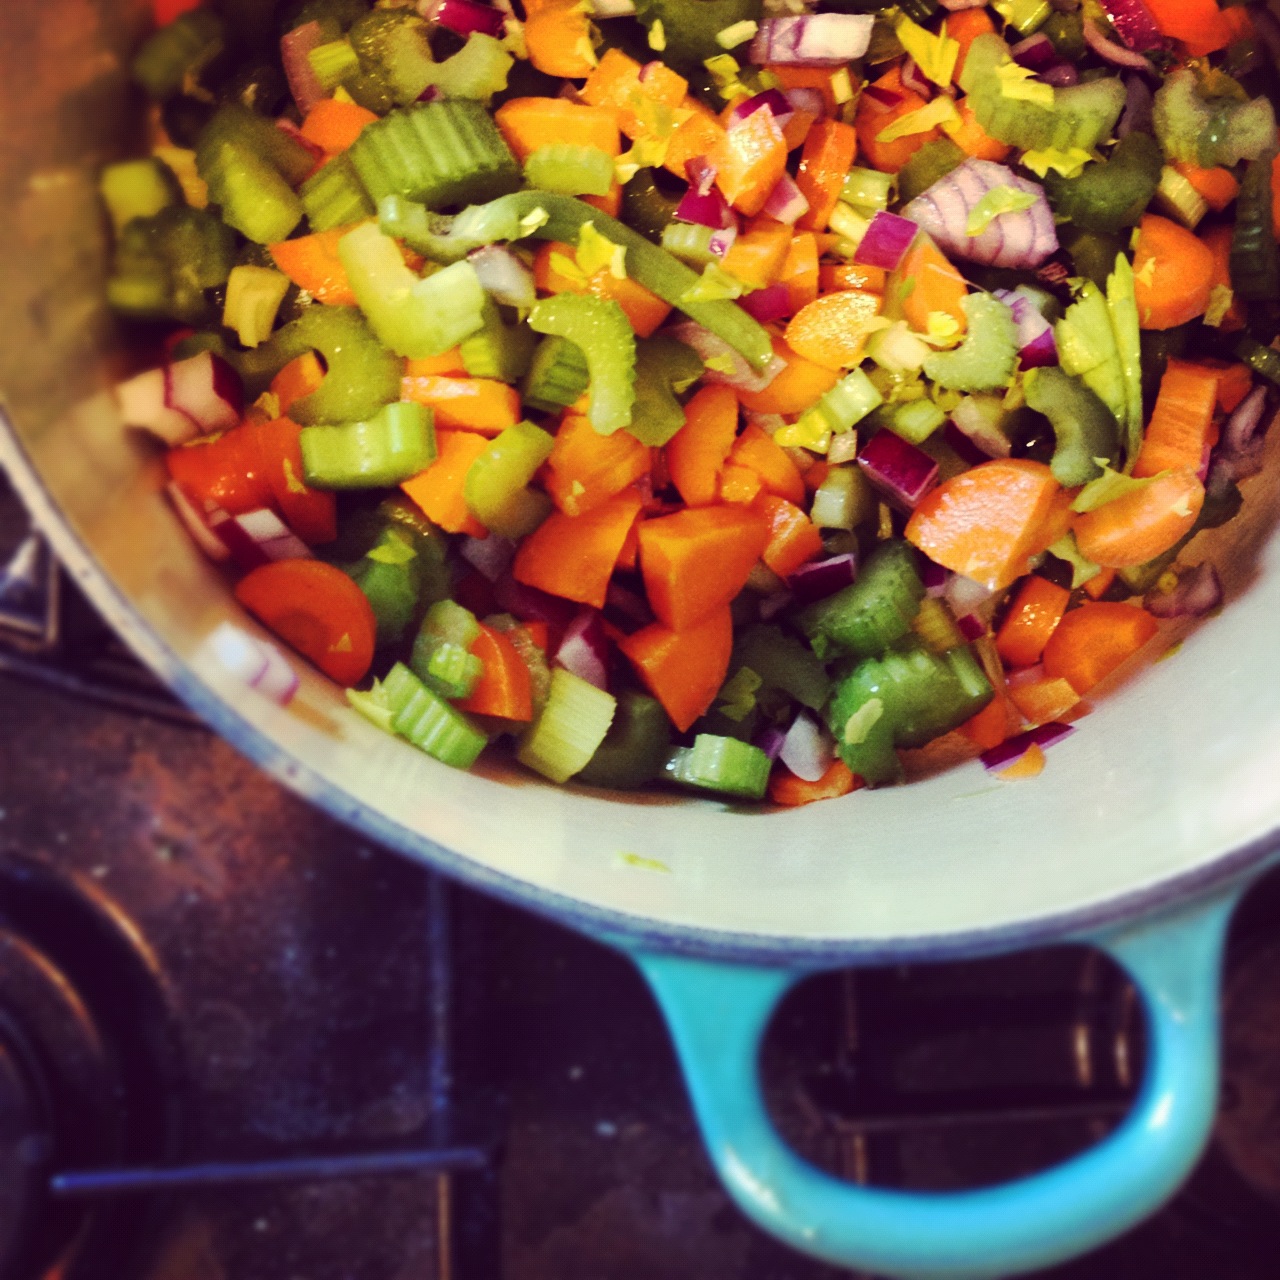
Heat the olive oil in a large heavy saucepan - Le Creuset or similar is ideal if you have one. Slowly fry the carrots, onion and celery until soft and dark. This takes absolutely ages - I'm pretty sure I had these going for almost an hour, stirring very occasionally, and they caramelise a bit eventually which is what you want. Add the garlic, chard stalks and half the parsley and stir in tomatoes. Simmer for 10ish mins until reduced. 

Add half the cavolo nero, half the chard leaves, 3/4 the beans and the stock, which should be already boiling. Bring to the boil, then reduce and simmer 30 mins. Resist the urge to add more stock unless you really need it - the soup should be super thick. Add the remaining chard and cavolo nero and blanch briefly to keep them as bright green as possible.

Puree the remaining beans in a blender with a bit of cooking liquid and stir in with the rest of the herbs. Serve hot with lots of grated parmesan and a drizzle of oil. DIVINE.

happy autumn!​

happy autumn!​

eating rainbows

The most delicious one year old in all the land was celebrating her very first birthday, and I got to make the cake! Holly isn't a super fluffy pink girl, but I thought I'd indulge and make a mega-pink cake regardless, because I'd been wanting to for AGES, and I was certain Holly wouldn't mind at all. The word "ombre" has been annoying me everywhere lately, so I thought I'd be bang on trend and copy this beautiful cake and this beautiful cake (I just realised both of those are from February - once again I have failed to be bang on trend...) 

I was going for neon...​

I was going for neon...​

Holly's birthday cake

The recipe I used is this one and I have to say I've been looking for a really all-American white birthday cake recipe forEVER, and this ticks all the boxes. I've reproduced it below, doubled for the purposes of this cake, and with conversions for the UK. I've also altered it for use with plain flour (cake flour isn't available over here, anyone know why?!)

440g plain flour 
8 teaspoons baking powder
1 1/2 teaspoon salt
8 egg whites (i bought a carton of liquid egg white and used 240g)
675g caster sugar
340g butter (room temperature)
1 pint/473ml milk
2 teaspoons vanilla extract
2 teaspoons almond extract

Heat oven to 170C, line four 9in round pans (I only have one so I had to do four rounds in the oven! Fun.)

Measure the sifted flour, baking powder and salt. Then sift together three times. Beat the egg whites until they are foamy, then gradually add half a cup of the sugar until soft peaks form. 

Cream the butter and once it's definitely creamy add the remaining sugar and cream them together until light and fluffy (this can take a while.) Alternate adding the dry mixture and the milk a little bit at a time, beating until smooth in between each addition. Mix in the almond and vanilla and then beat in the meringue until all is well combined. 

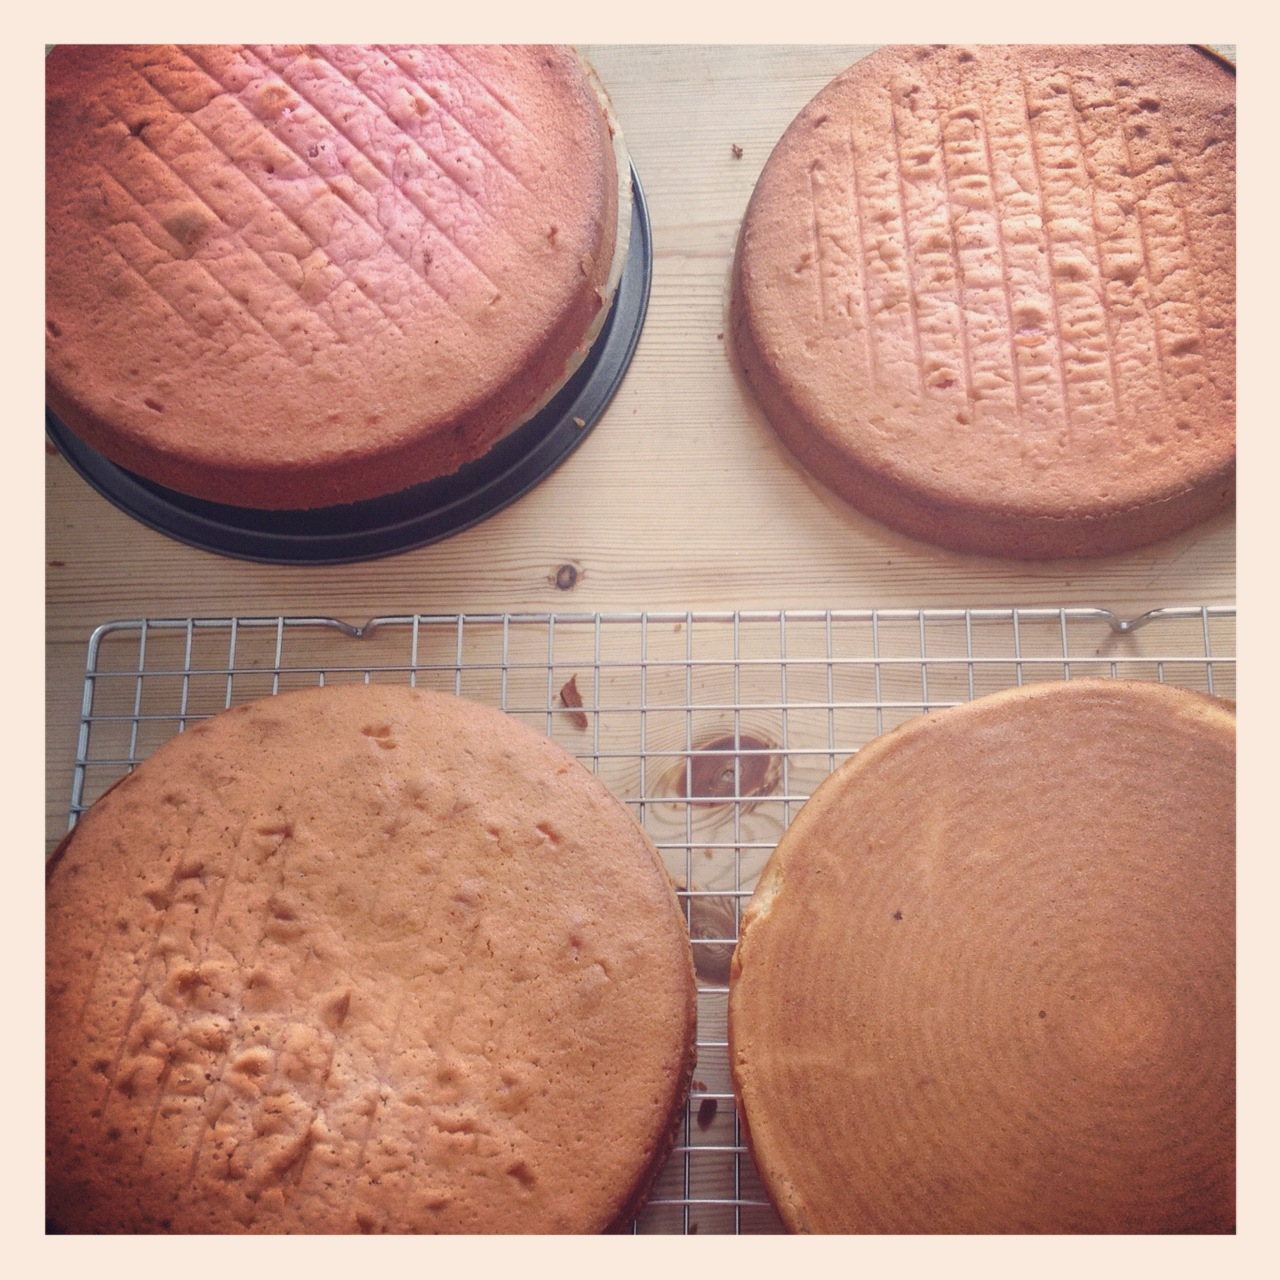
Weigh your mix and then use the scales to split it evenly between 4 bowls. Add varying degrees of gel food colour and mix each thoroughly (I used Americolor Electric Pink). Pour each different colour into a different tin and bake 30-35 minutes. Leave to cool in tin for 10 mins before transferring to a wire rack and cooling completely. 

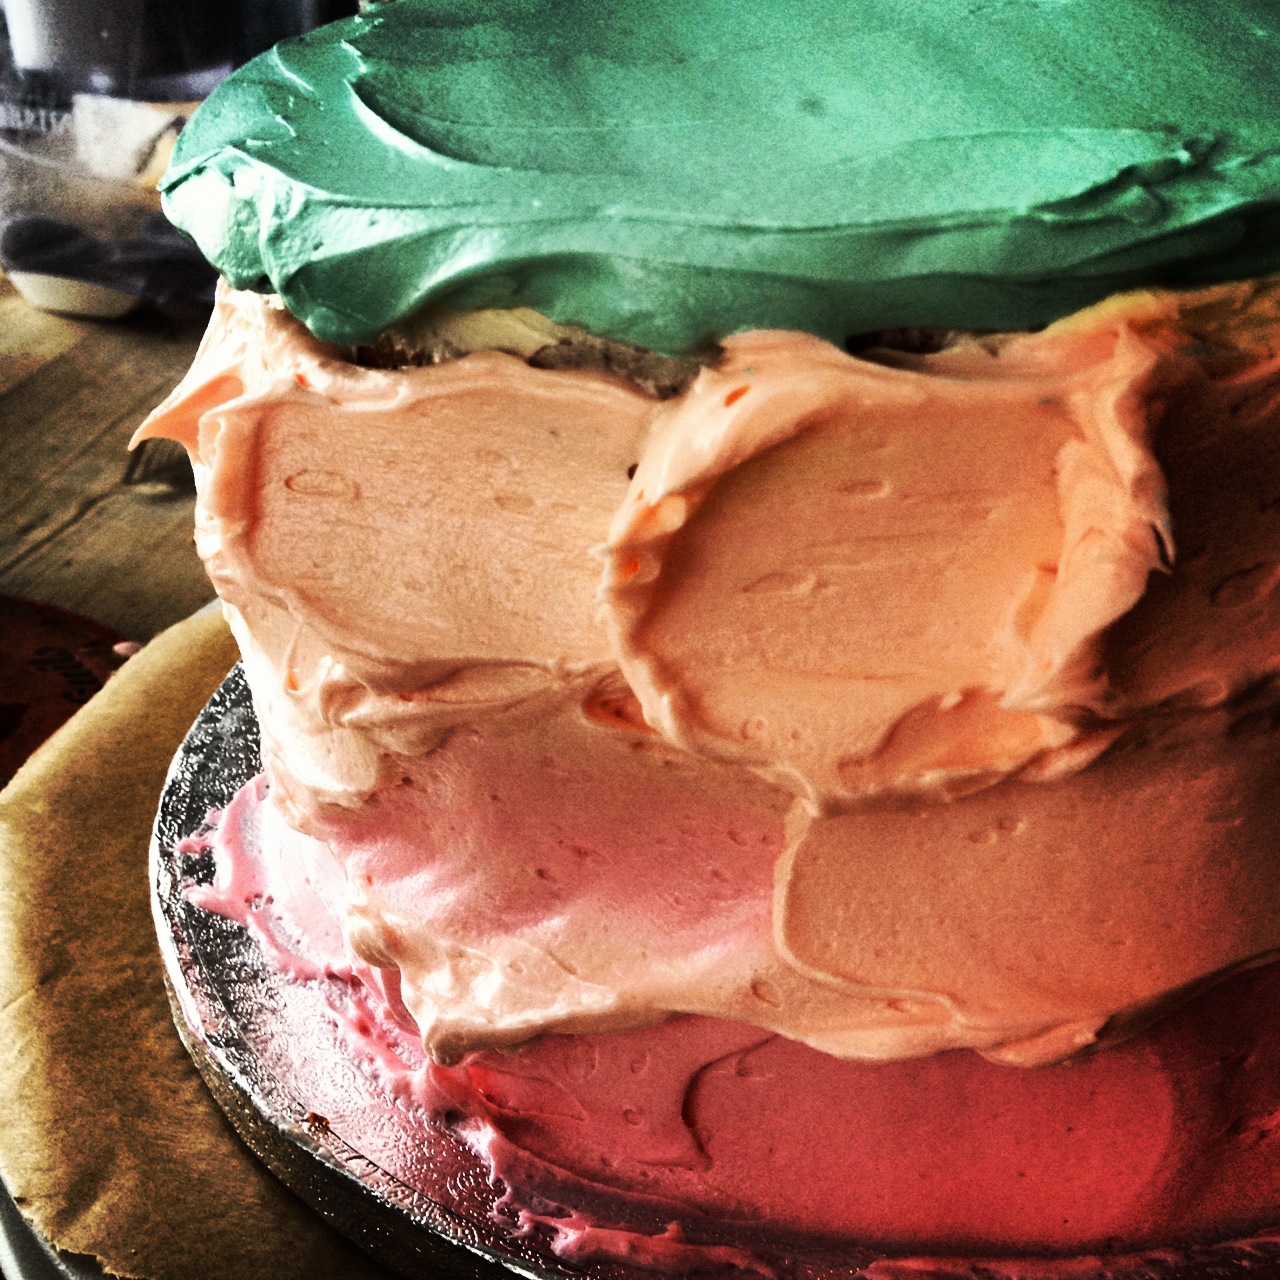
Once the cakes are completely cool you can begin to ice. I wanted a reliable, yummy buttercream so used Sweetapolita's whipped vanilla frosting - it's super easy and delicious and perfect for birthday cakes. The link above gives you exactly the right amount for this four layer cake. Once made I iced the cake between layers with a little vanilla frosting and a little raspberry jam, to offset the almond in the cake. Then I stacked and crumb-coated the cake and sat it in the fridge for an hour or so.  

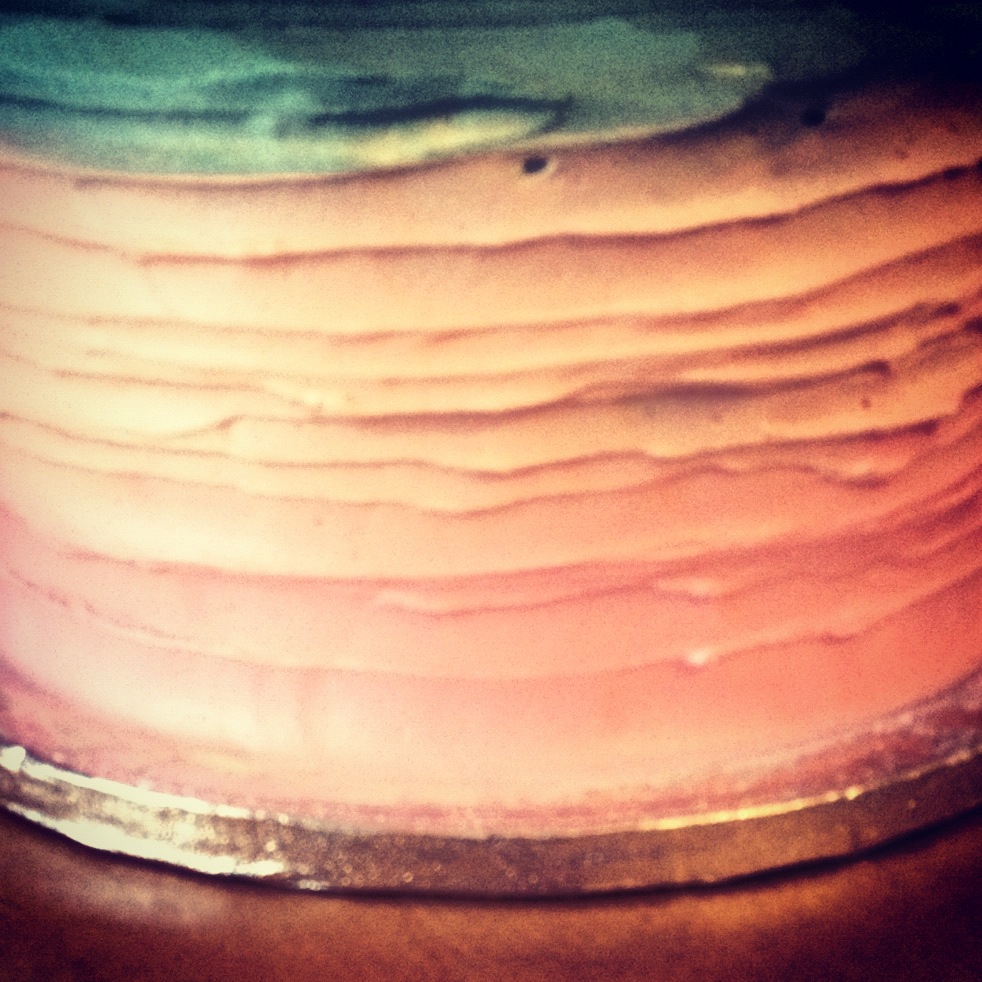
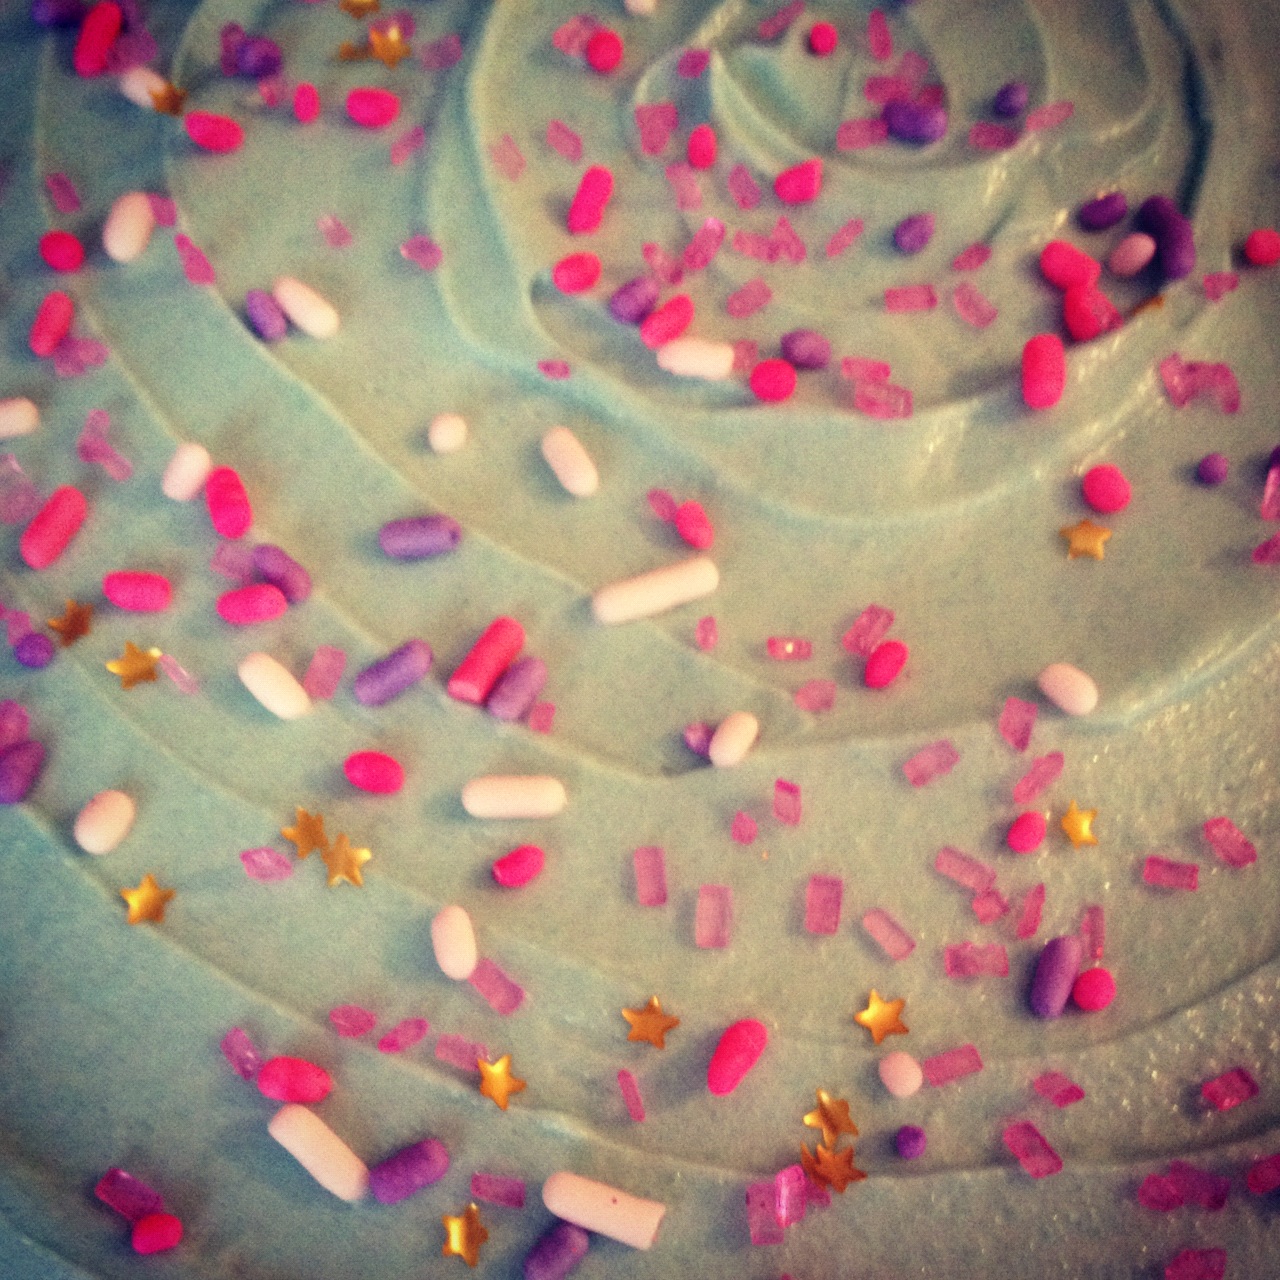
To do the rainbow swirly icing I split the icing into three bowls and mixed each with different colour gel icing (Americolor Electric Pink and Electric Blue, I think, but barely any of each). I started with the top of the cake, smoothing it so that the icing hung over the sides a little, then I very roughly added rows in different colours to the sides. Once the icing was on, I vaguely followed these instructions from Apt 2B Baking Co to swirl the icing upwards using the end of the palette knife and the cake turntable. Topped with some garish sprinkles and edible gold stars it was pretty much PERFECT! 

We had to miss the party and zip off on holiday to Wales, but I hear Holly ate the entire cake, and loved it.

IMG_7750.JPG

I'll eat you up I love you so

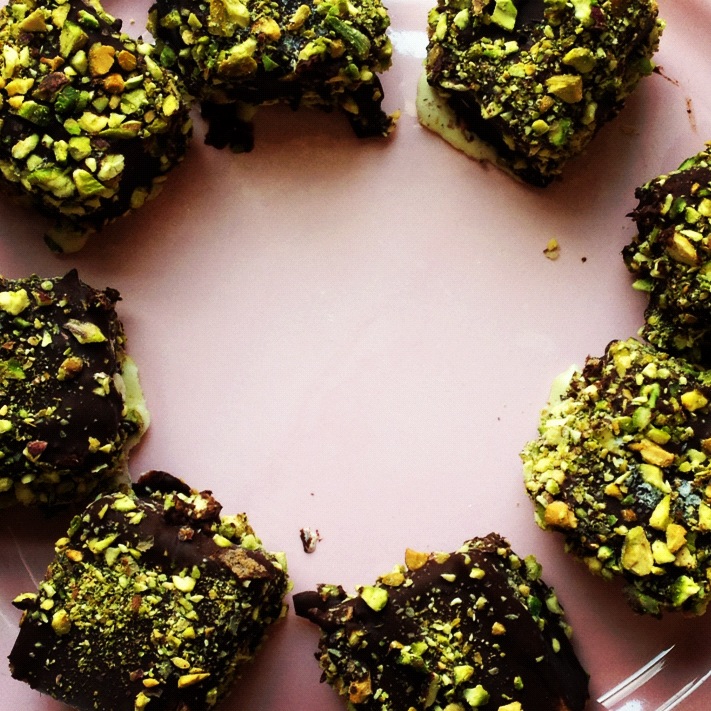
Chocolate Pistachio Ice Cream Sandwiches

I don't think I"m a glutton, but one of my favourite things is eating, for pleasure as opposed to fuel. With two smalleys circling and squawking at me every three and a half seconds these days, good food's presence in my life has dwindled. Exhausted evenings are too often cheese-on-toast-y; meals are scraped together in a hurry as a solution to low blood sugar and its associated whinging; things best dipped in ketchup play far too hefty a role... The ultimate treat has become a good excuse to devote some precious energy to preparing something truly tasty, and a stretch of varyingly child-free time in which to do so, preferably on a Sunday soundtracked by Cerys Matthews and Jarvis Cocker (Heaven). So YAY our lovely friends Leo & Leonie said they'd pop over for Sunday lunch and provide such an excuse. Since it's (supposedly) summer and I'd spent the past two days at my mum's devouring THIS pistachio ice cream (one of the most gorgeous things on this earth, promise), I opted for a twist on a recipe I'd seen on Pinterest that week for chocolate fudge brownie ice cream sandwiches! The below is a variation on that recipe from Good Life Eats.

For the Brownies
113g unsalted butter
225g granulated sugar
2 tablespoons cocoa, plus a bit extra for the pan
2 large eggs
1 teaspoon proper vanilla extract 
85g plain flour
pinch o' salt

For the Ice Cream Sandwiches
1 litre ice cream - I went with 500ml vanilla and 500ml pistachio but you could go with anything as long as it's lovely, quality ice cream - slightly softened
300g proper dark chocolate - I used Green & Blacks 70%
1 tablespoon(ish) butter
couple of handfuls of pistachios, chopped
wooden popsicle or kebab sticks

Pablo assists in breaking up the dark choc yumminess​ (and eats a whole load when I'm not looking...)

Pablo assists in breaking up the dark choc yumminess​ (and eats a whole load when I'm not looking...)

First of all, PLEASE start the night before. There is all kinds of thawing and refreezing to be done, and the beauty is that you can get the whole lot prepared nicely in advance of guests arriving, so you don't have to spend half an hour sweating, drinking and trying to hold a conversation whilst you add the finishing touches to something mid-course. 

Start with the brownies. Preheat the oven to 170 C and grease & paper a 13x9in pan. Rub the parchment with butter and then dust with cocoa powder. Shake off any excess powder.

In a mixer with paddle attachment cream butter, sugar and 2 tbsp cocoa, then add eggs one at a time, giving a good little mix after each. Next add the vanilla. Turn the mixer to low and add the flour and salt. Mix until just combined and then spread in the pan. Bake 10-15 mins, until top is shiny, and allow to cool completely.

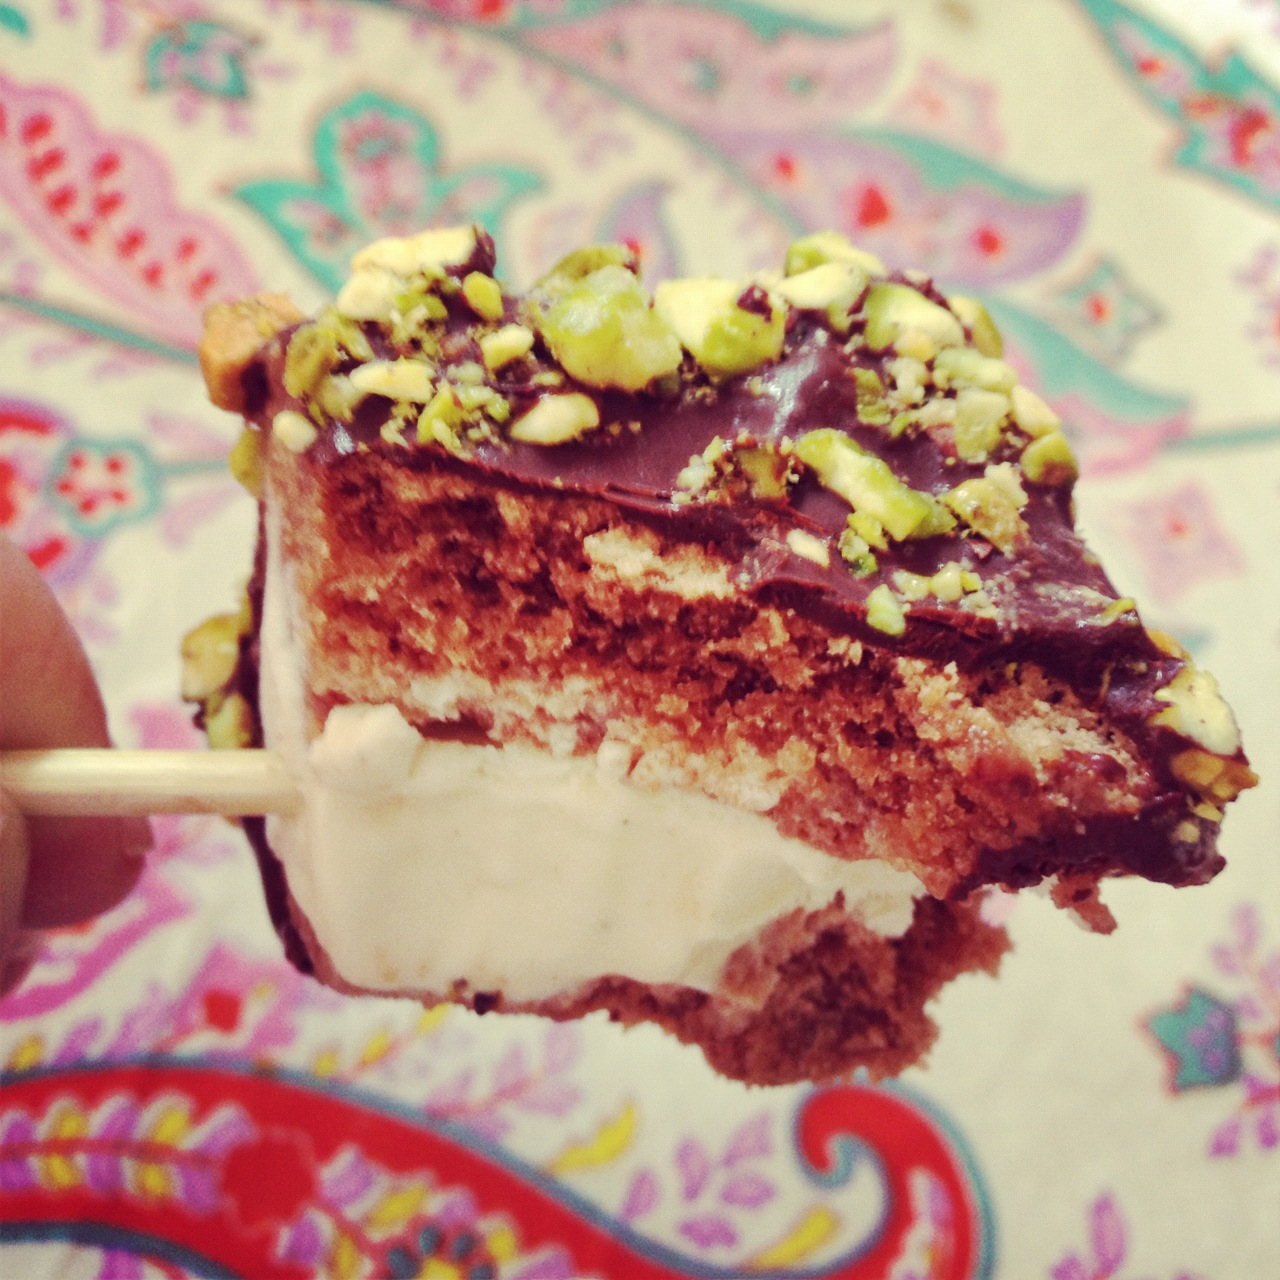
Once totally cool, cut the brownie in half and spread one half with the ice cream. I mixed it up so some would be pure vanilla, some pure pistachio and some half and half (these were the best). Top with the other brownie half, wrap in greaseproof paper and cling film and freeze for minimum 4 hours (in my case, overnight). 

This is what you get after all that refreezing. My brownies were decidedly un-fudgy - they were more like chocolate cake - but this worked perfectly taste-wise. You could definitely substitute a favourite brownie recipe though!

This is what you get after all that refreezing. My brownies were decidedly un-fudgy - they were more like chocolate cake - but this worked perfectly taste-wise. You could definitely substitute a favourite brownie recipe though!

In the morn, remove the brownie/ice cream blocks and cut into smaller pieces. Insert popsicle sticks and re-freeze. This was the moment I realised I had absolutely no popsicle sticks in the house, so used wooden kebab sticks instead, which was absolutely fine. 

Melt the chocolate and butter in a bowl over a pan of simmering water. I deviated a bit from the original recipe here, which called for melting choc chips with oil in a microwave, because we don't have a microwave and I preferred the idea of butter. Therefore my measurements here were guesswork, but you could play around with amounts of butter added. Only crucial thing is not to get any water into the choc/butter mix (not even a drop!) as that will spoil the texture. 

Dip each sandwich in the chocolate mix and sprinkle all over with chopped pistachios, then place on parchment and re-freeze until ready to serve. YOU WILL NOT BE DISAPPOINTED!

I still dream of these...