The Dough Nuts Rainbow Gnocchi mayhem
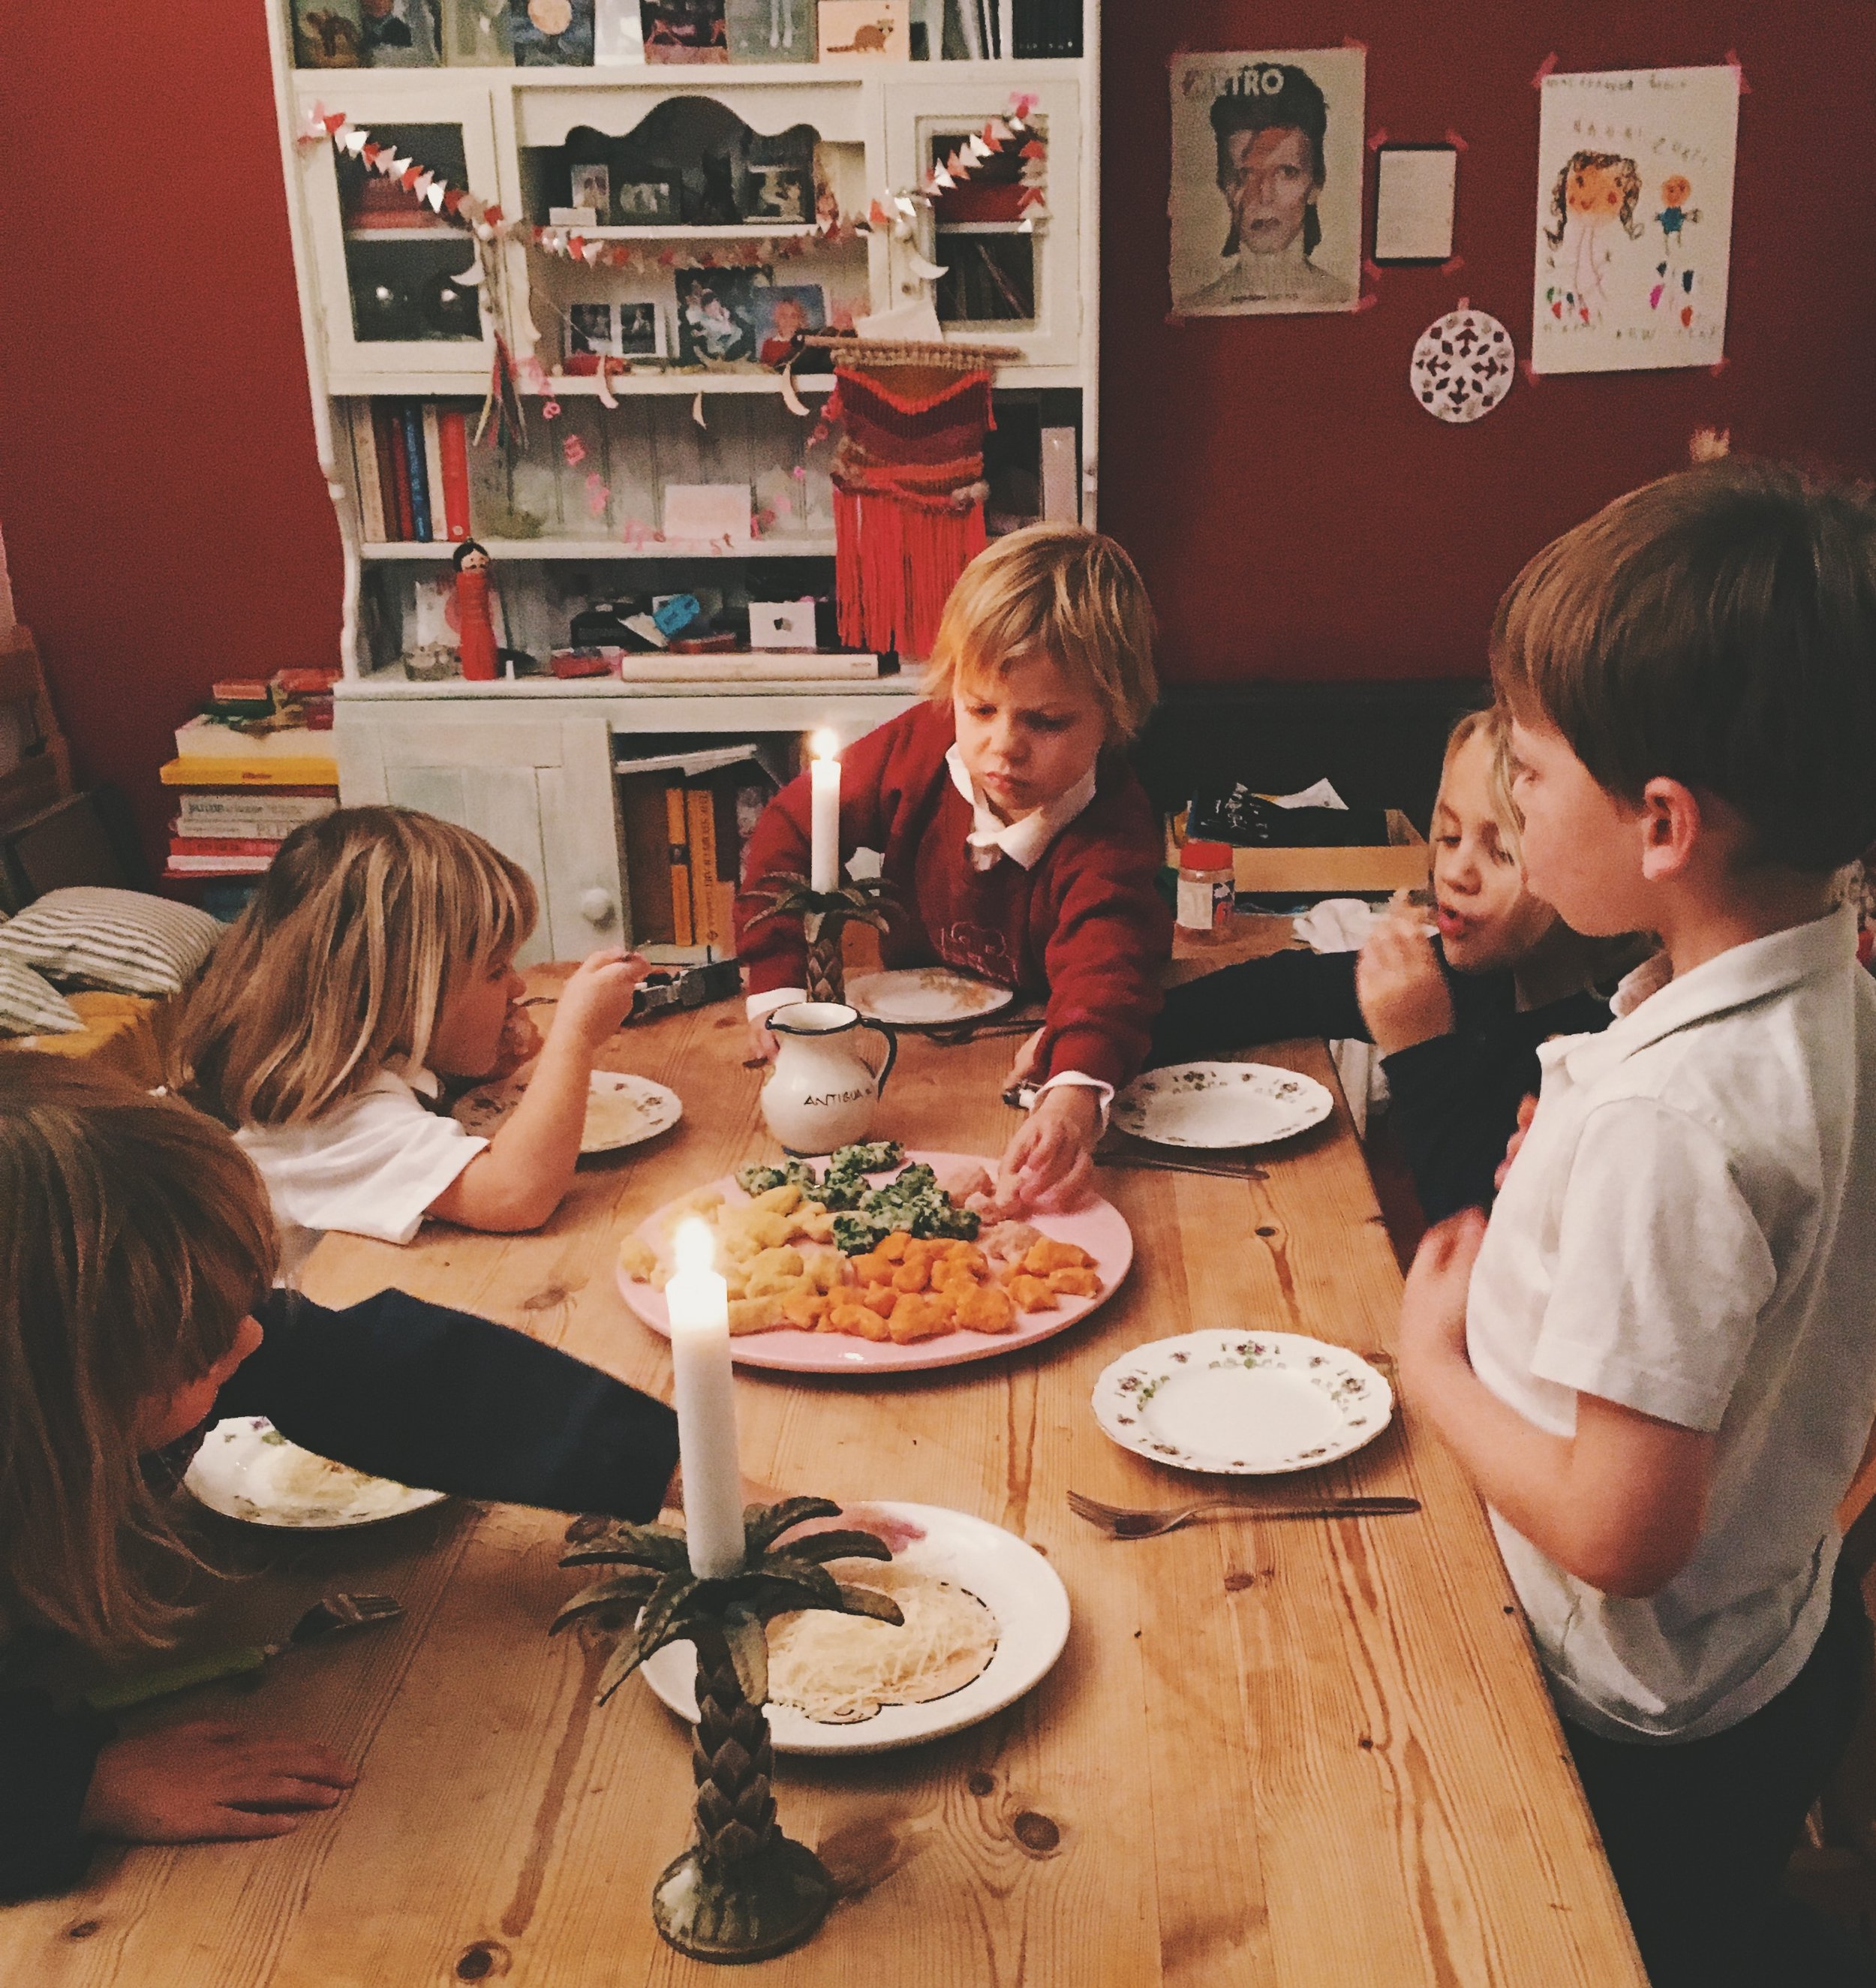
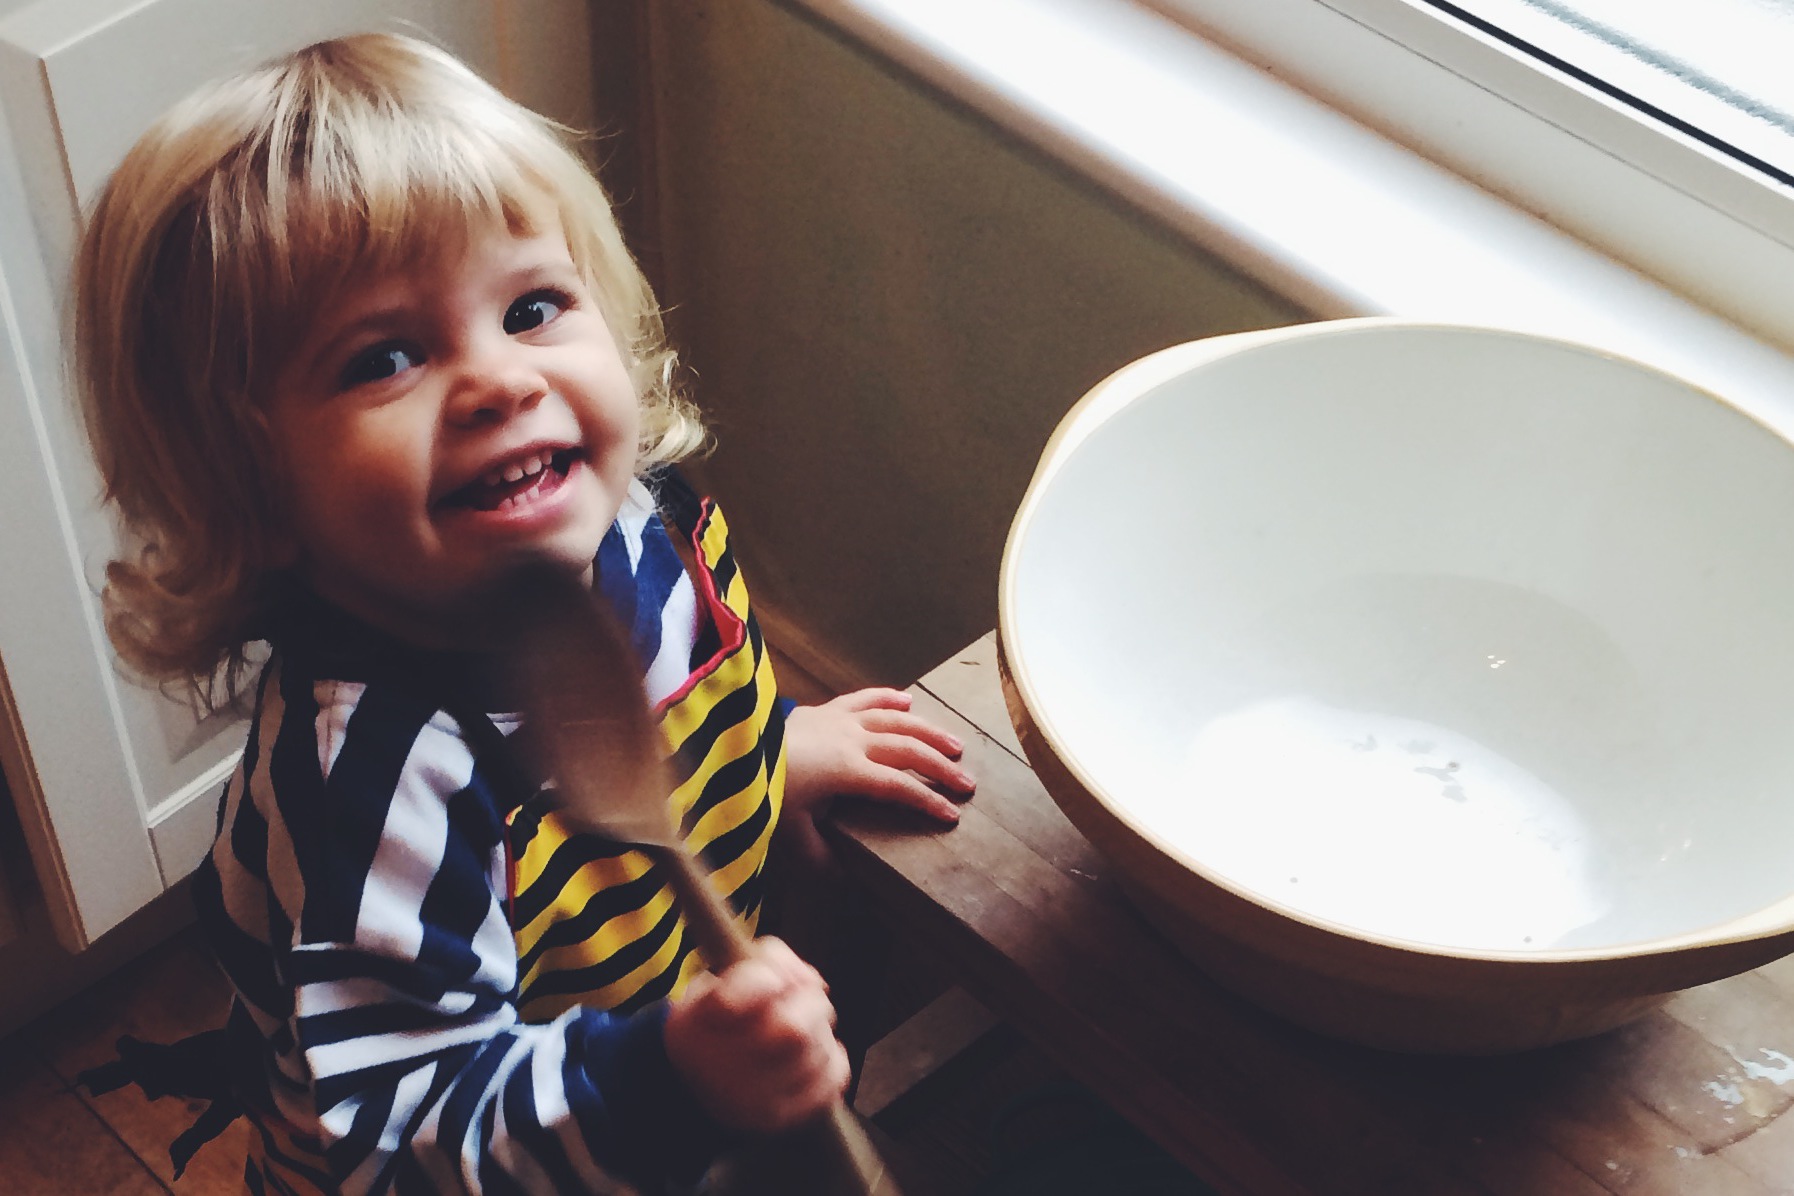
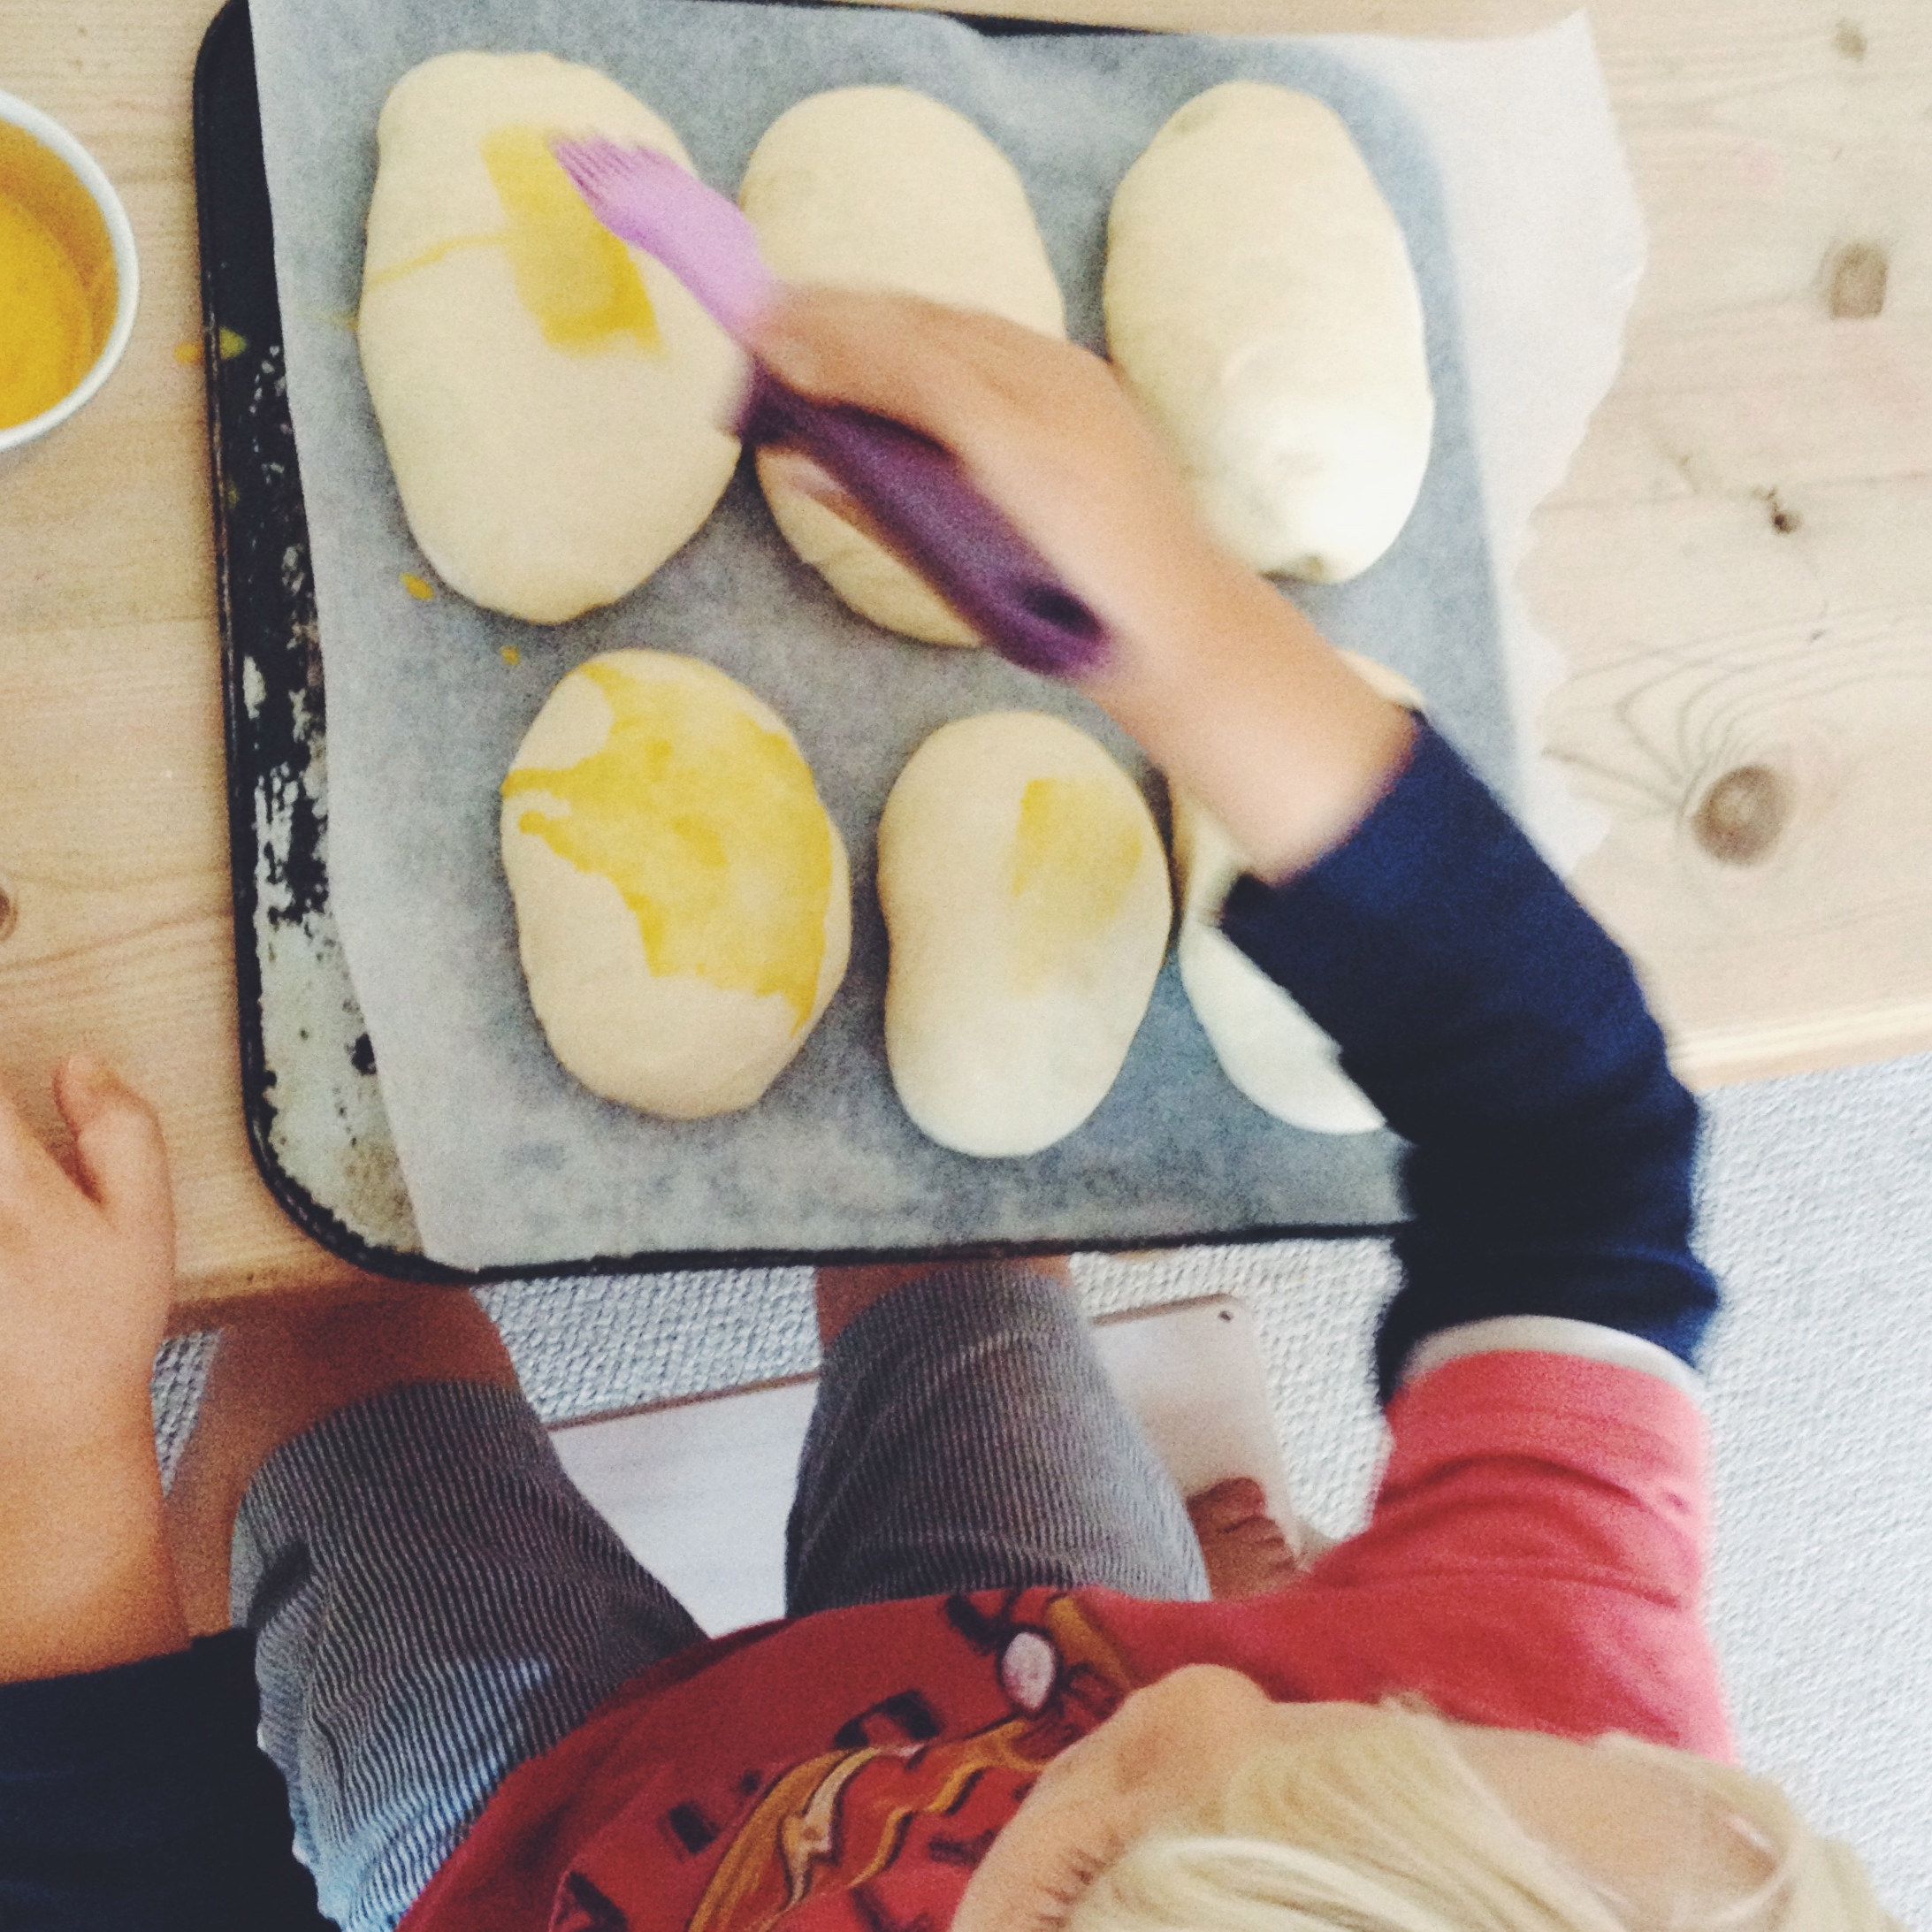
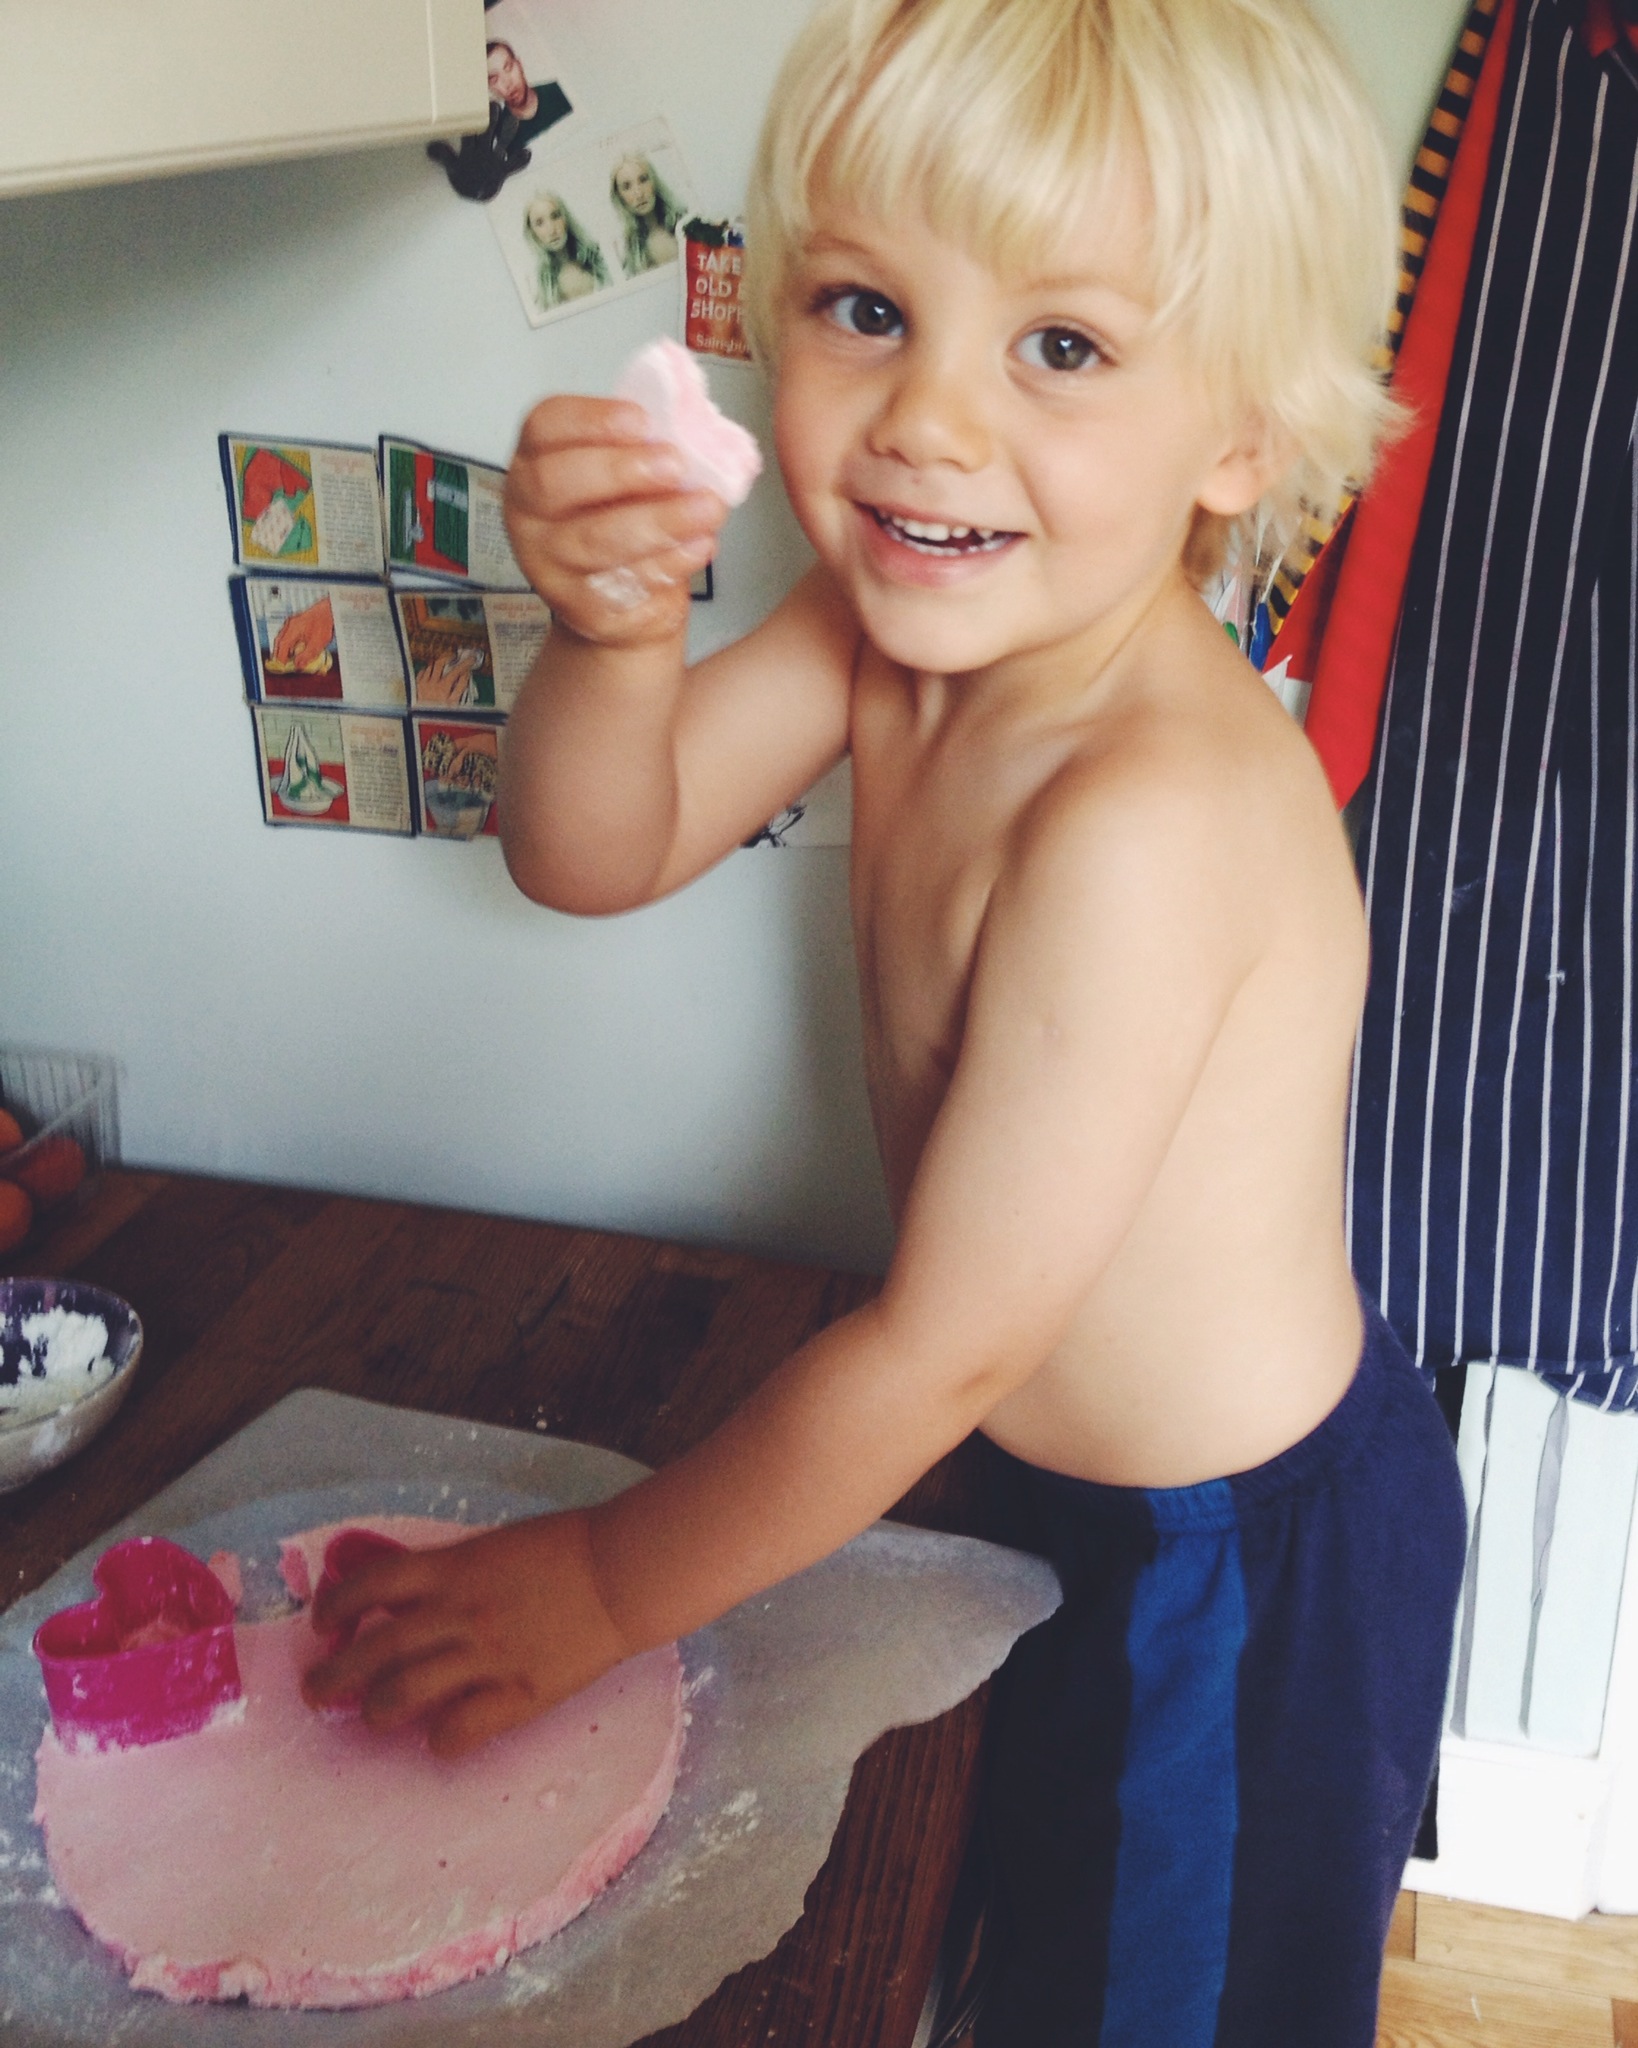
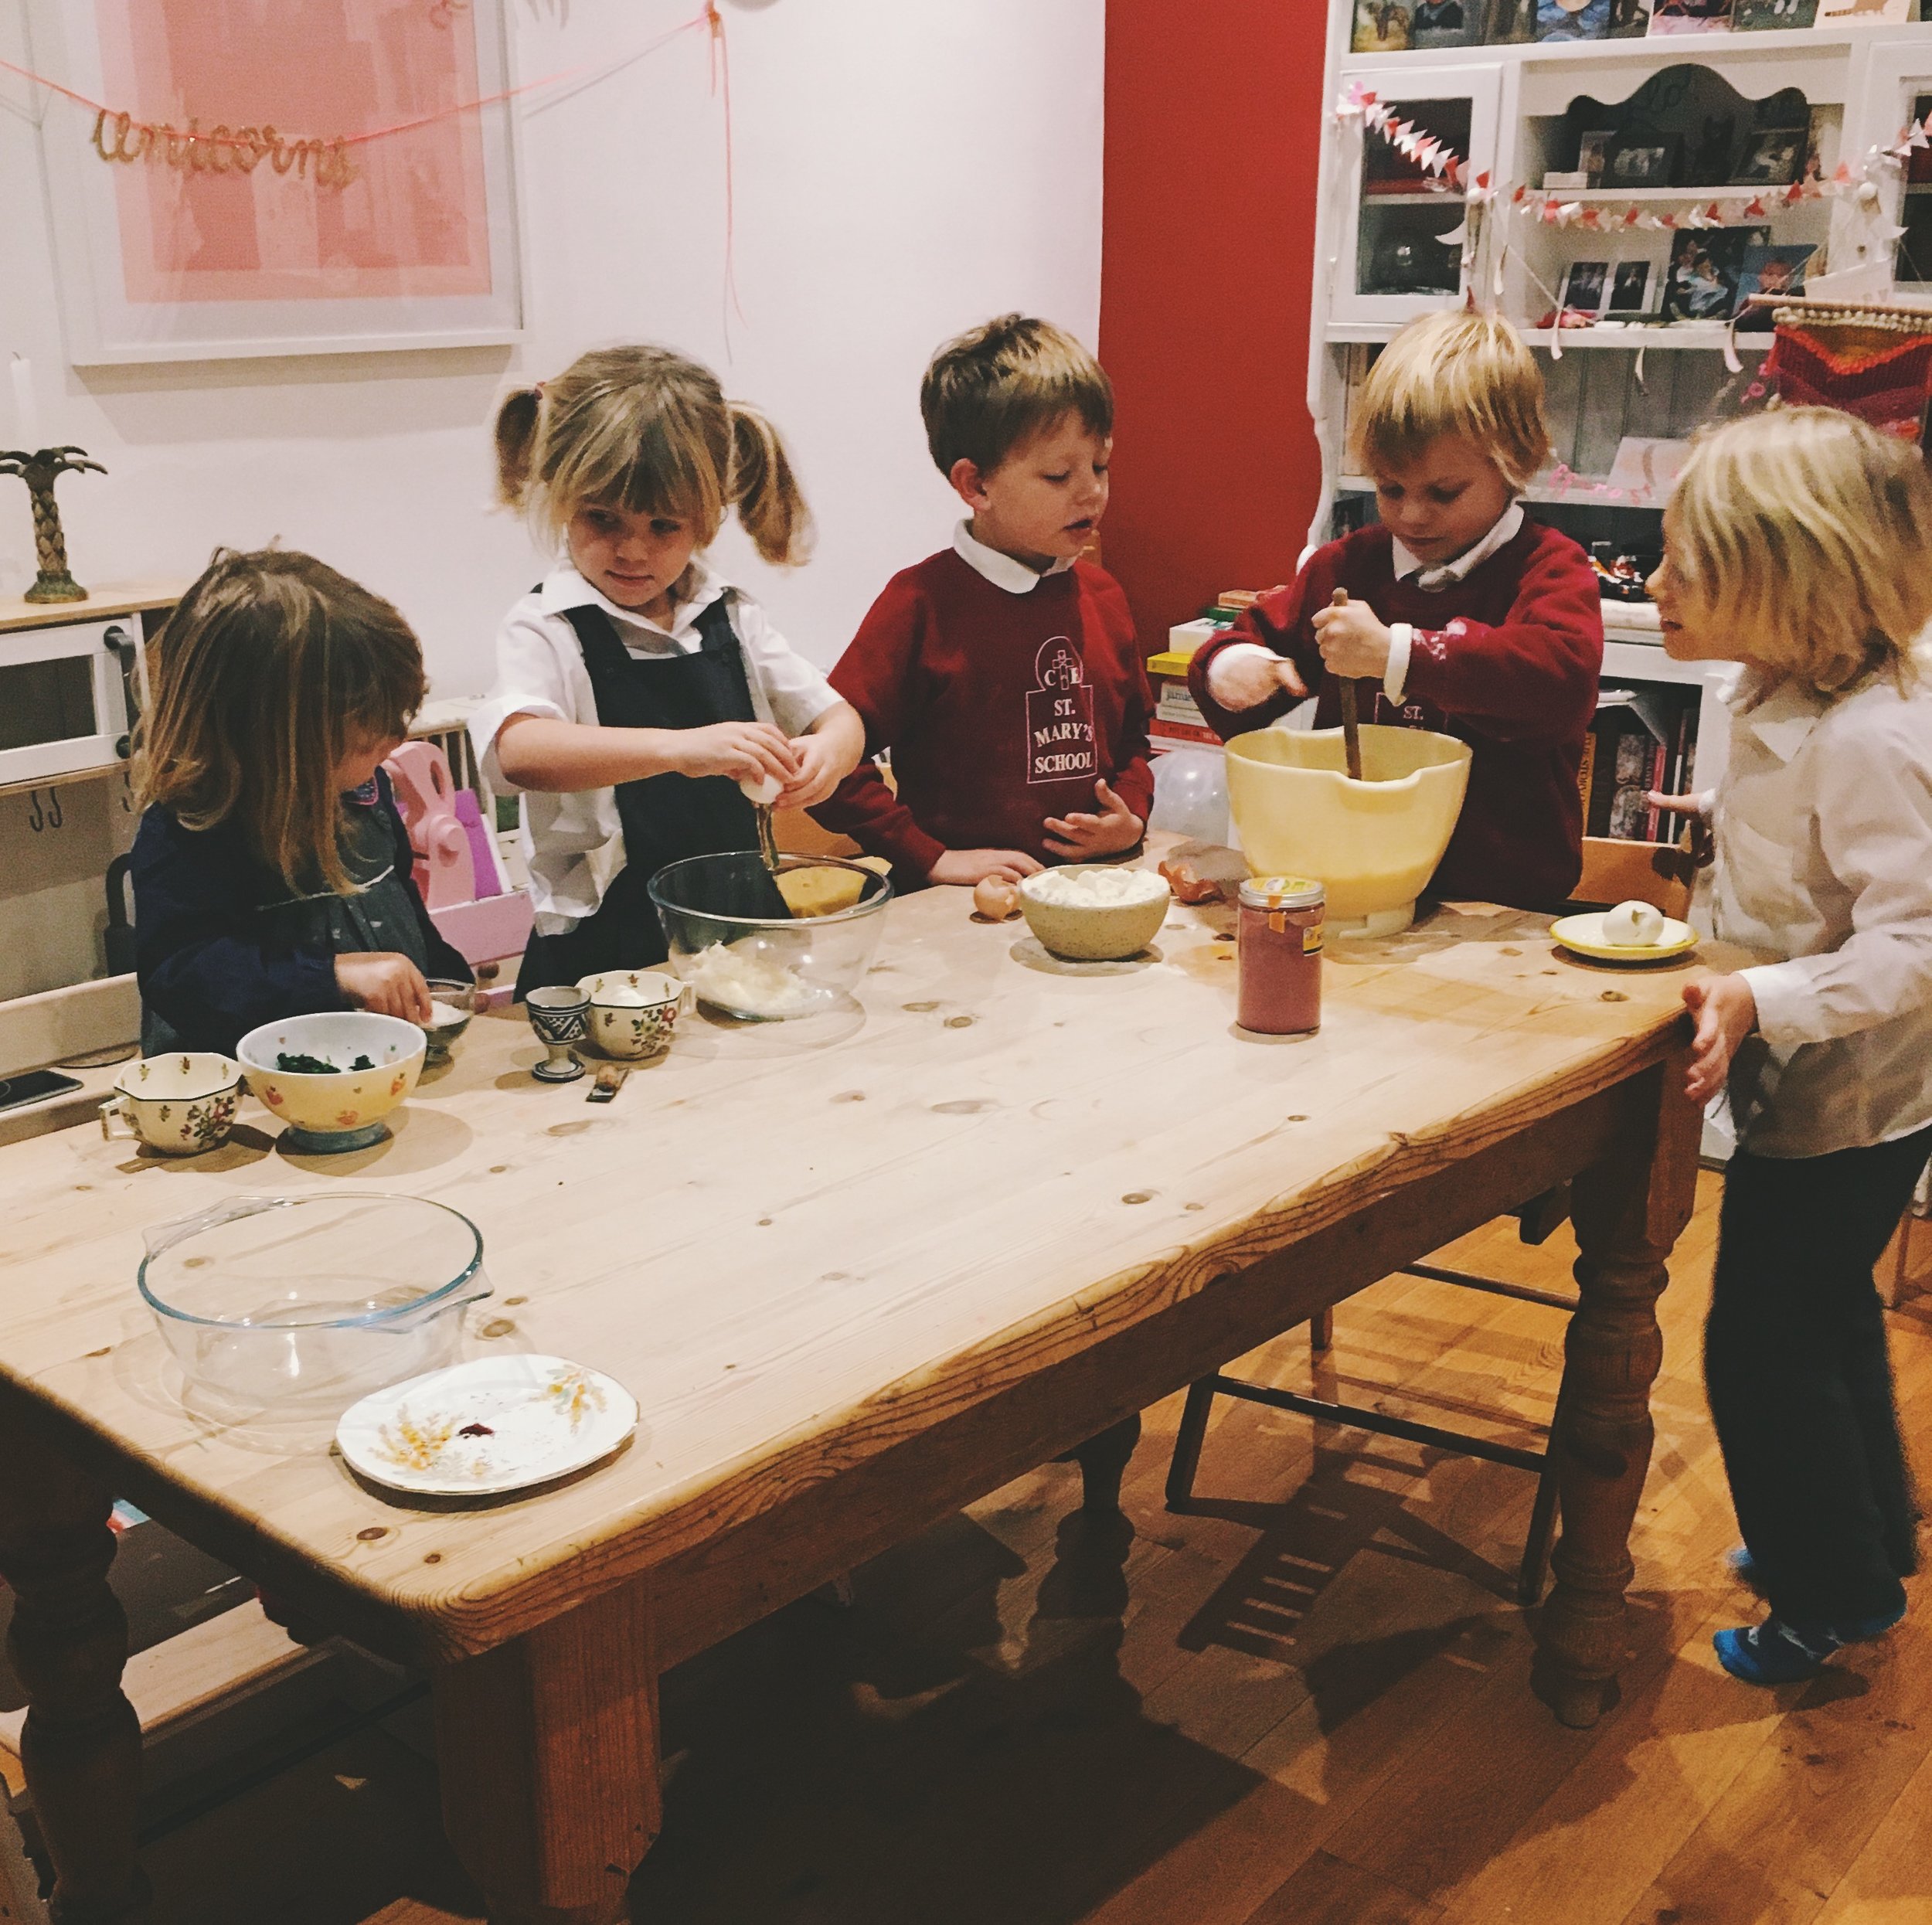
/It's been a hundred years since the last recipe post, sort of because winter, sort of because cakes... and much bigger children whose days are spent at school and whose evenings are mostly for sluggishly dragging themselves about looking exhausted and shovelling snacks into their mouths before passing out. No more golden mid-morning hours spent recipe testing with bright eyed assistants. But I miss it and it's important and once they get going they love it, so I'm taking a stand and bringing it back. My stand has been encouraged by magical Hattie Garlick, equally keen to come up with recipes and ways to engage children with food and meals, and encourage some genuine healthy meal enjoyment without being a total pain in the ass, resorting to bribery, ending up in tears etc. We don't want to buy expensive, aggressively marketed soulless snacks. We don't want to spend our evenings silently weeping as we scrape uneaten dishes into the compost. Back in the day children were a valuable extra pair of hands in the kitchen, and food preparation would be something they inevitably helped with and earned respect for. It encourages a connection to what's on the plate, an understanding of what ingredients do and why they're involved, and gives children the power to experiment and exert some control over their own supper. Glistening with all these grand ideas, we decided to drag five slightly-tired children together on a rainy afternoon in the midst of dry January and order them to whip us up some supper. On the menu...

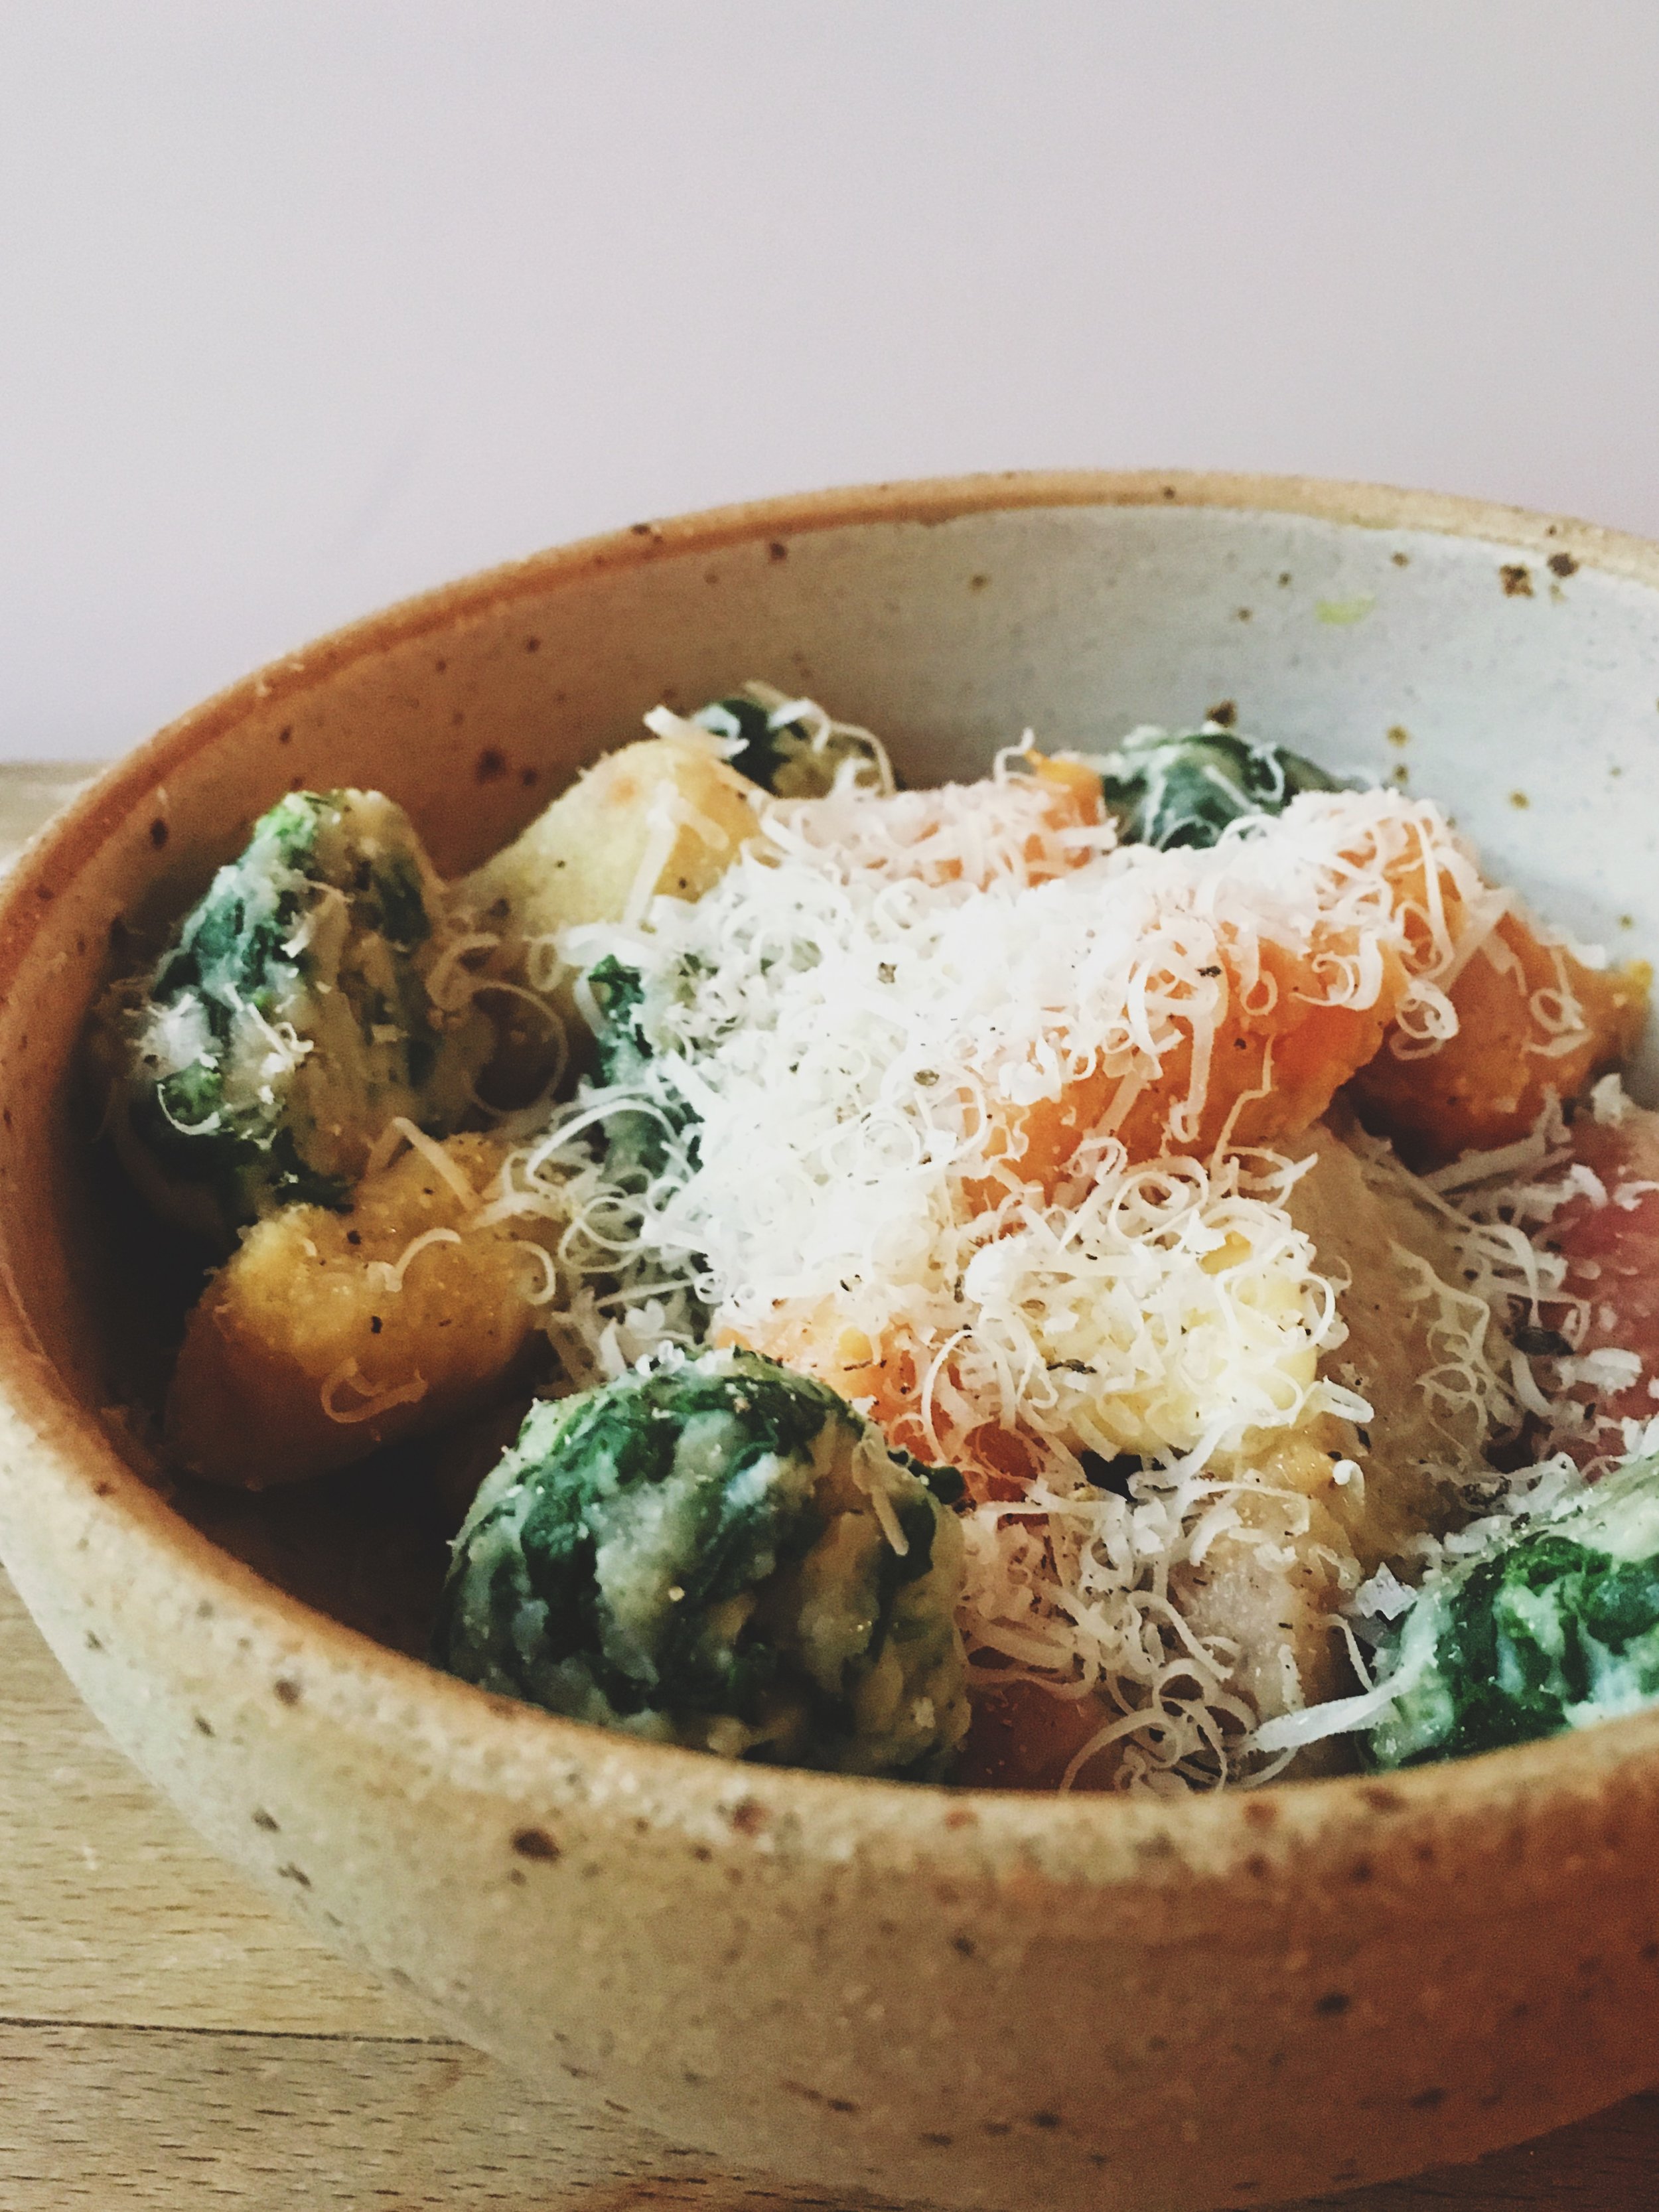
Rainbow Gnocchi
this amount makes enough for 4 small servings of the red (beetroot), yellow (saffron) and green (spinach) gnocchi. You can either multiply the amounts to make different colours/flavours (it freezes well and cooks easily from frozen, so making lots is a good idea) or divide your dough before adding the flavours/colours. Recipe for the orange (sweet potato) gnocchi is below.
150g ricotta
85g organic pasta flour
2 eggs
100g parmesan
for the flavours:
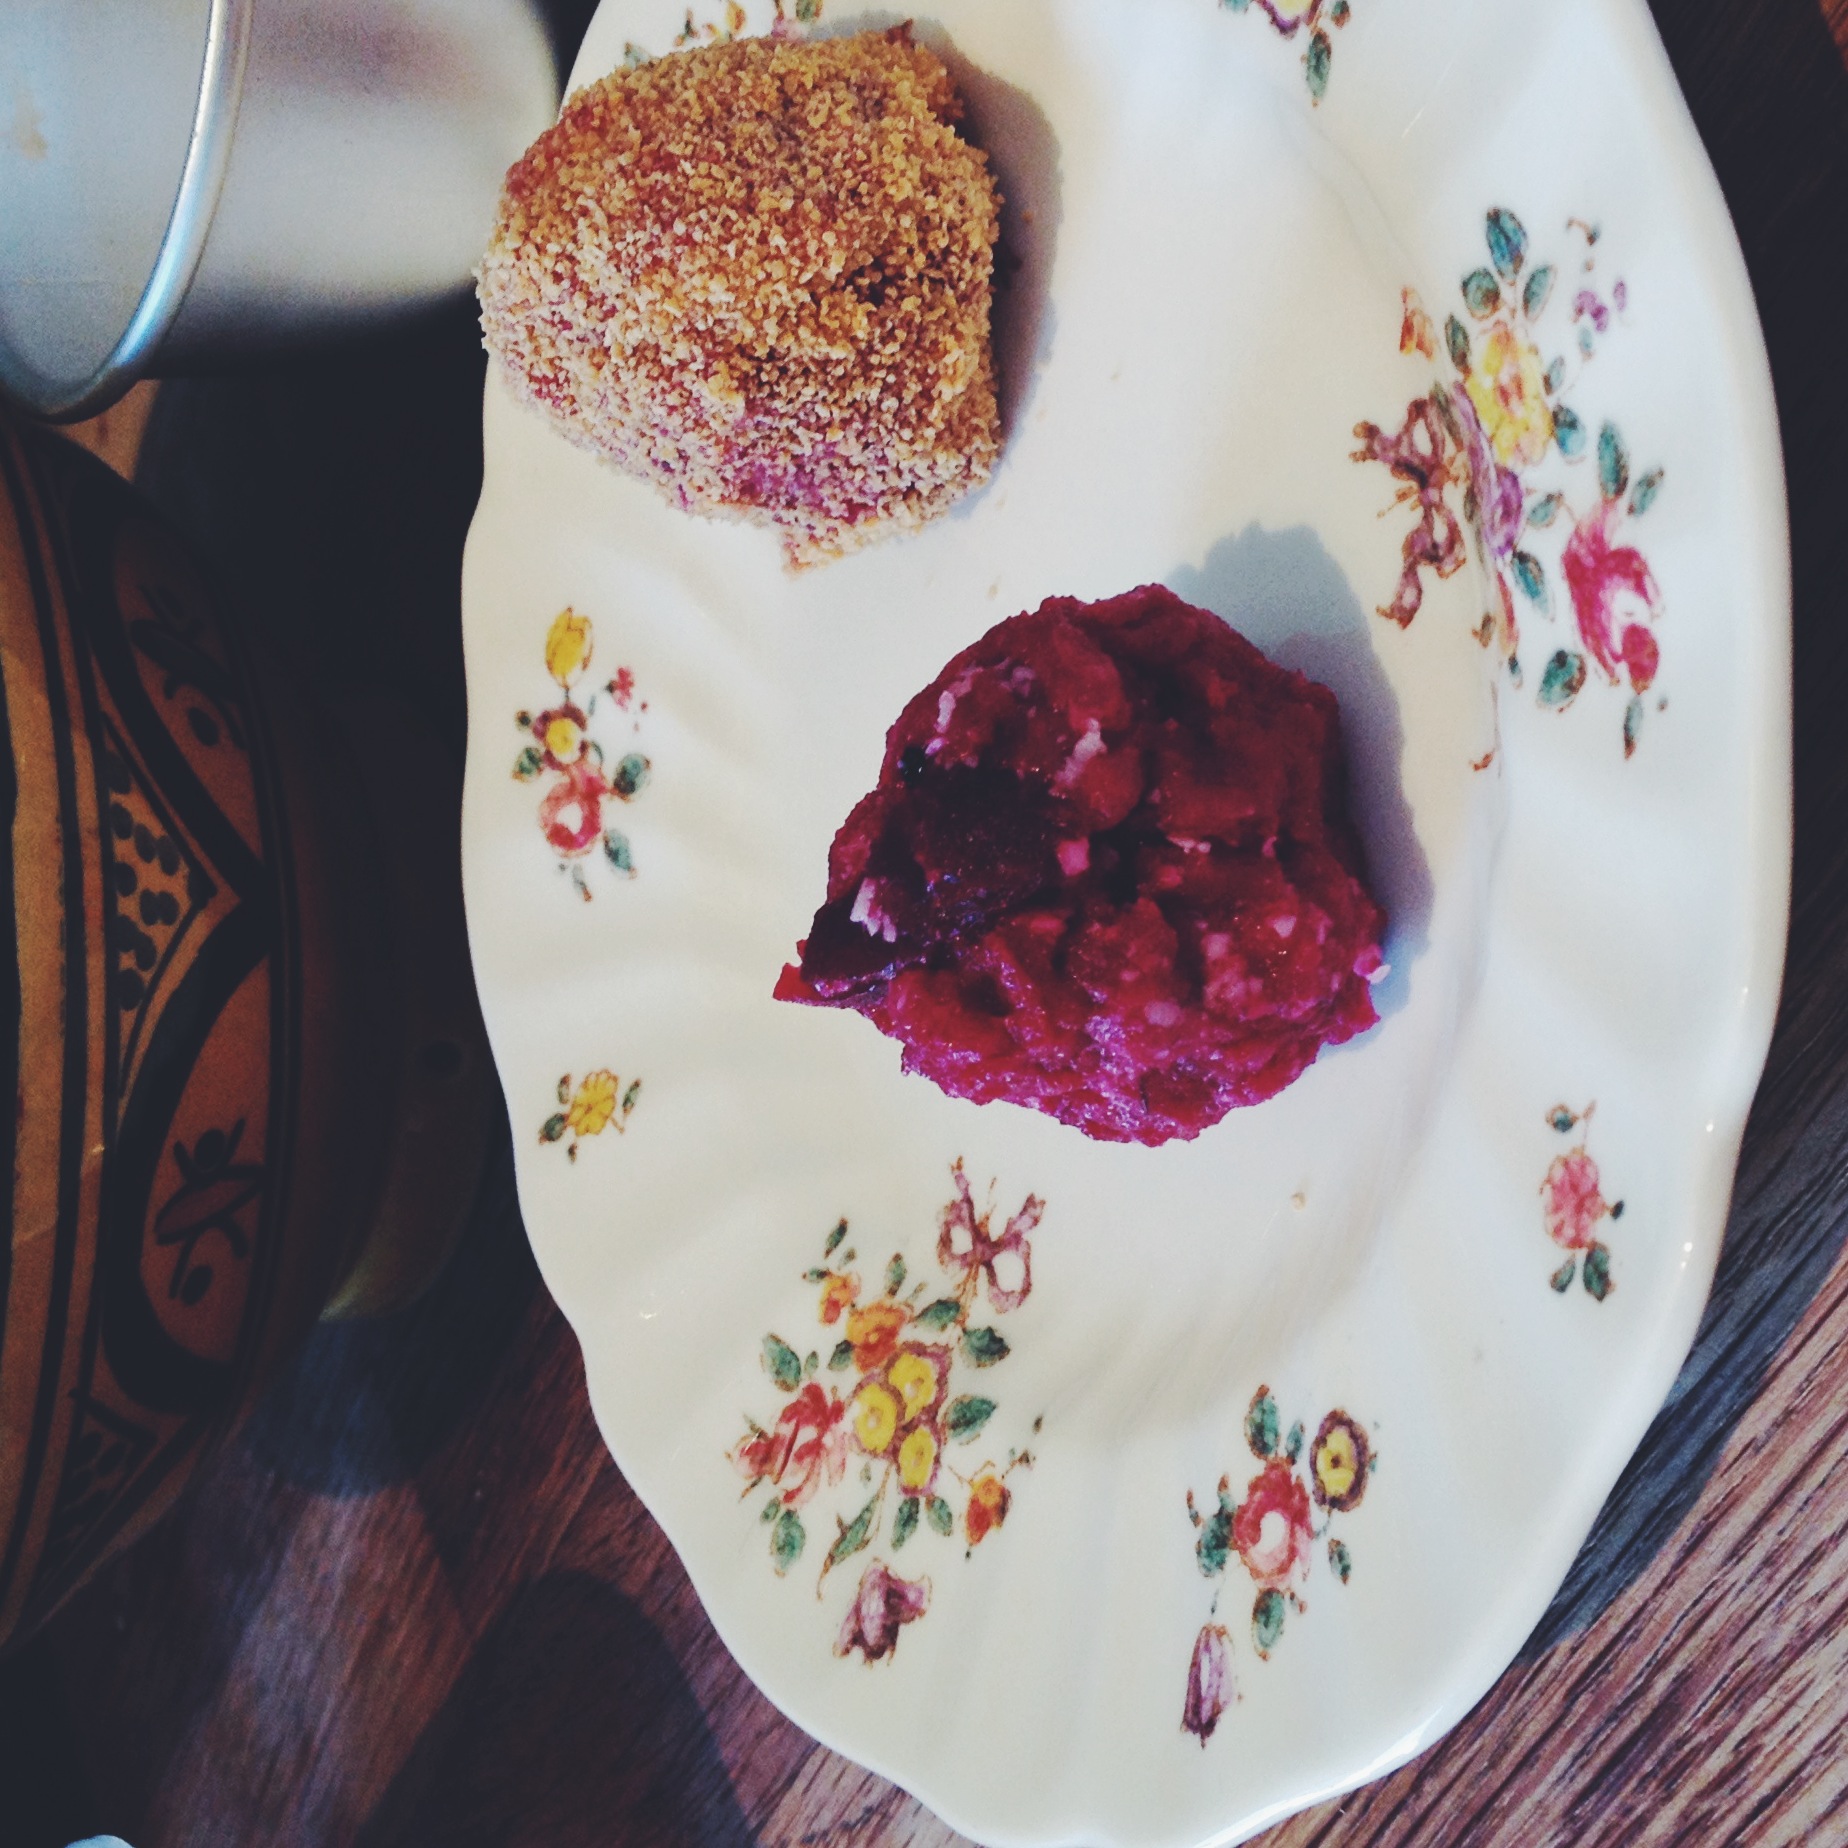
powdered beetroot
garlic paste
100g spinach (per 150 ricotta)
saffron
butter and parmesan to serve
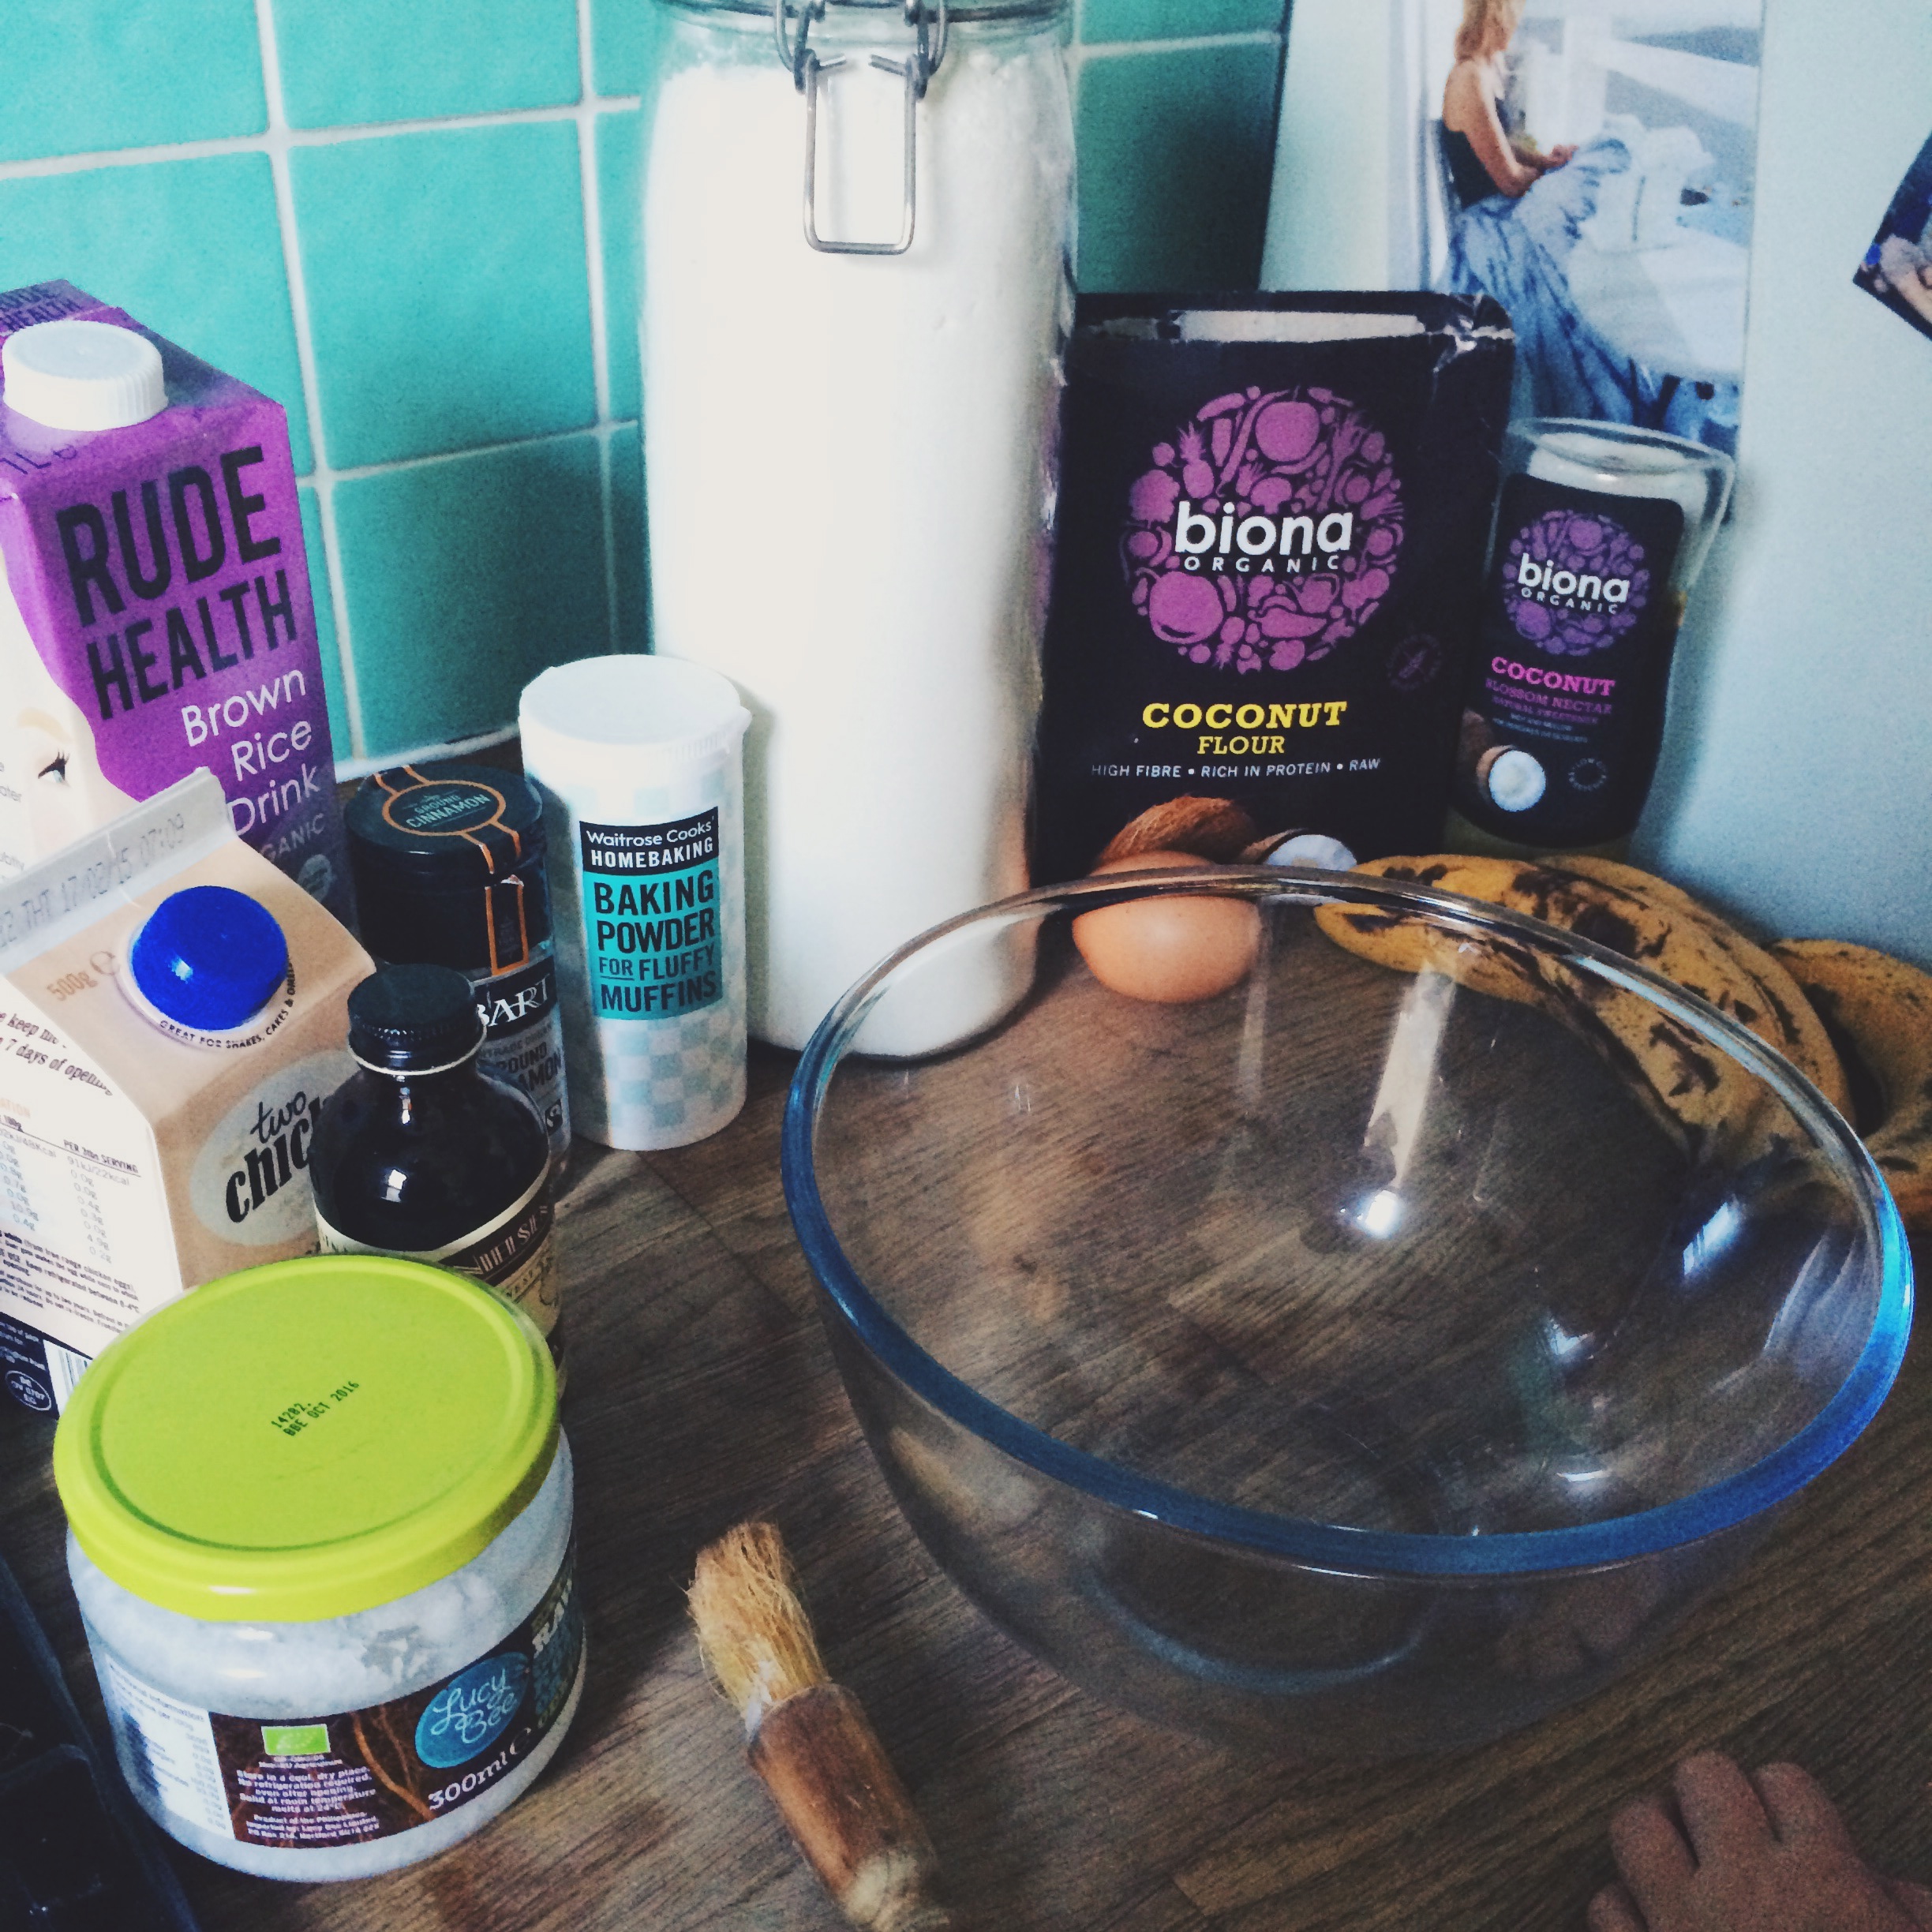
for the sweet potato gnocchi (serves 4):
500g sweet potato - baked, skin on, in the oven until soft. Scrape out flesh and discard skins.
50g ricotta cheese
80g pasta flour
dash of cinnamon
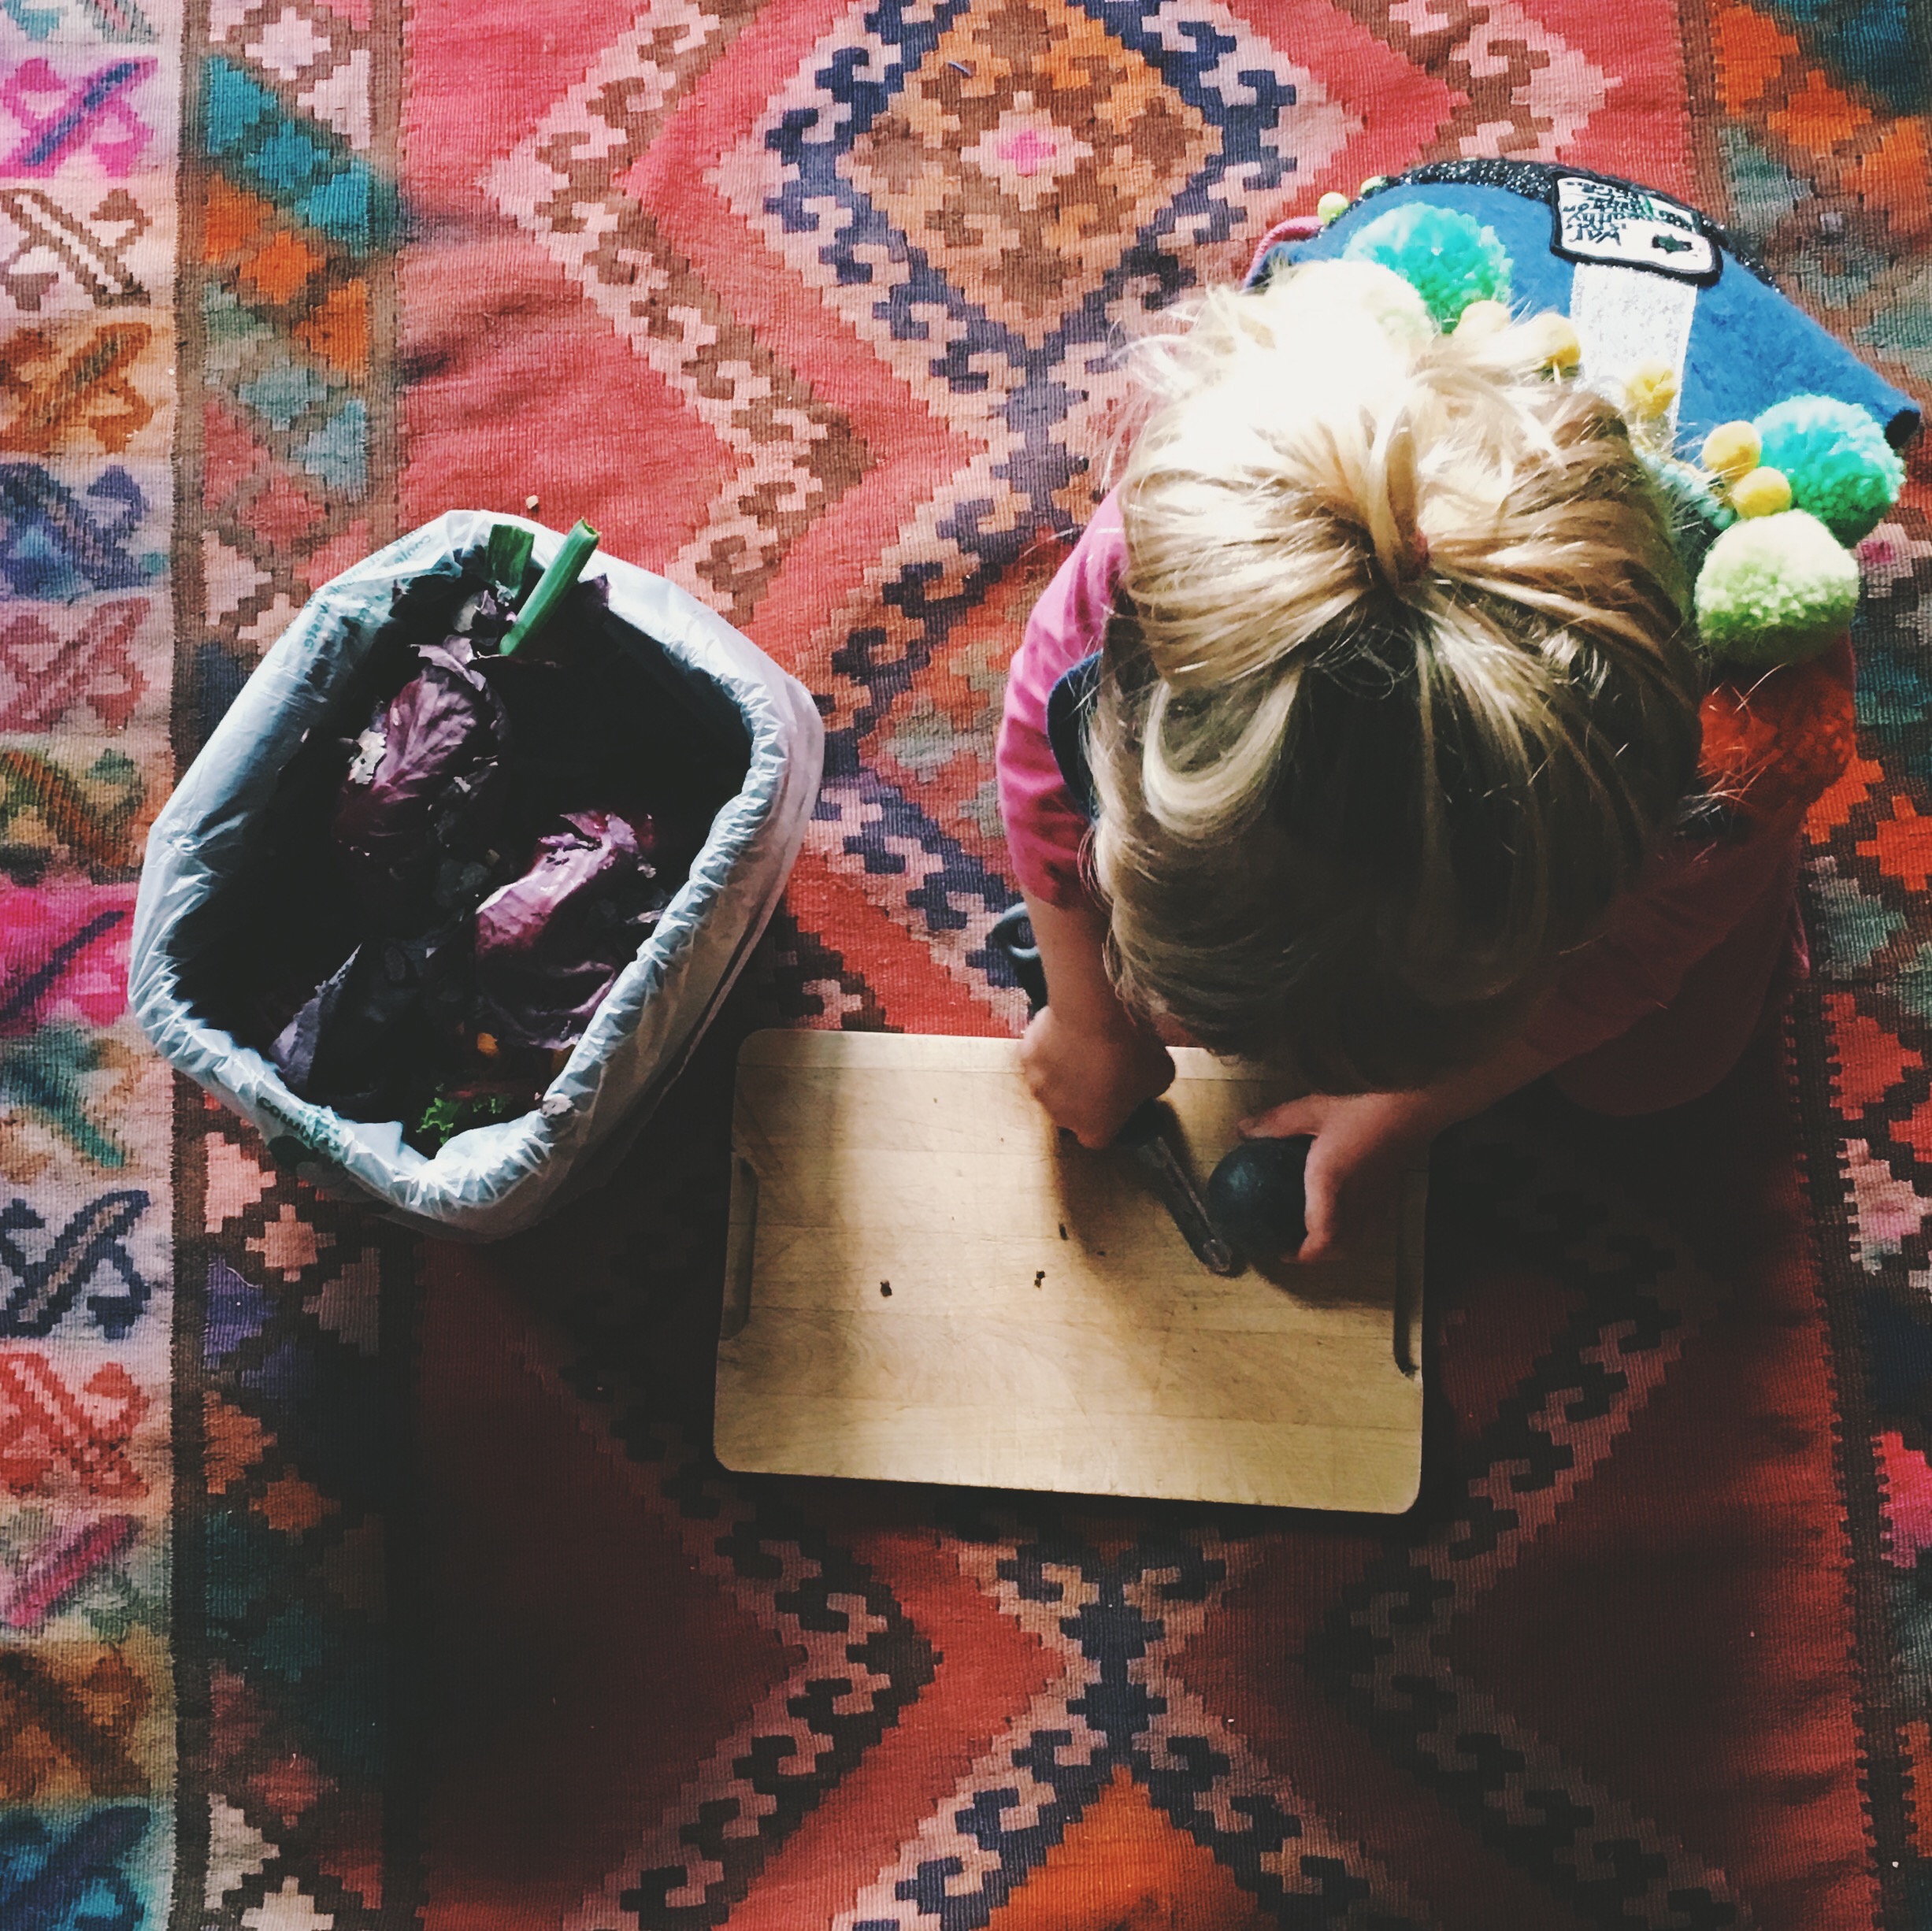
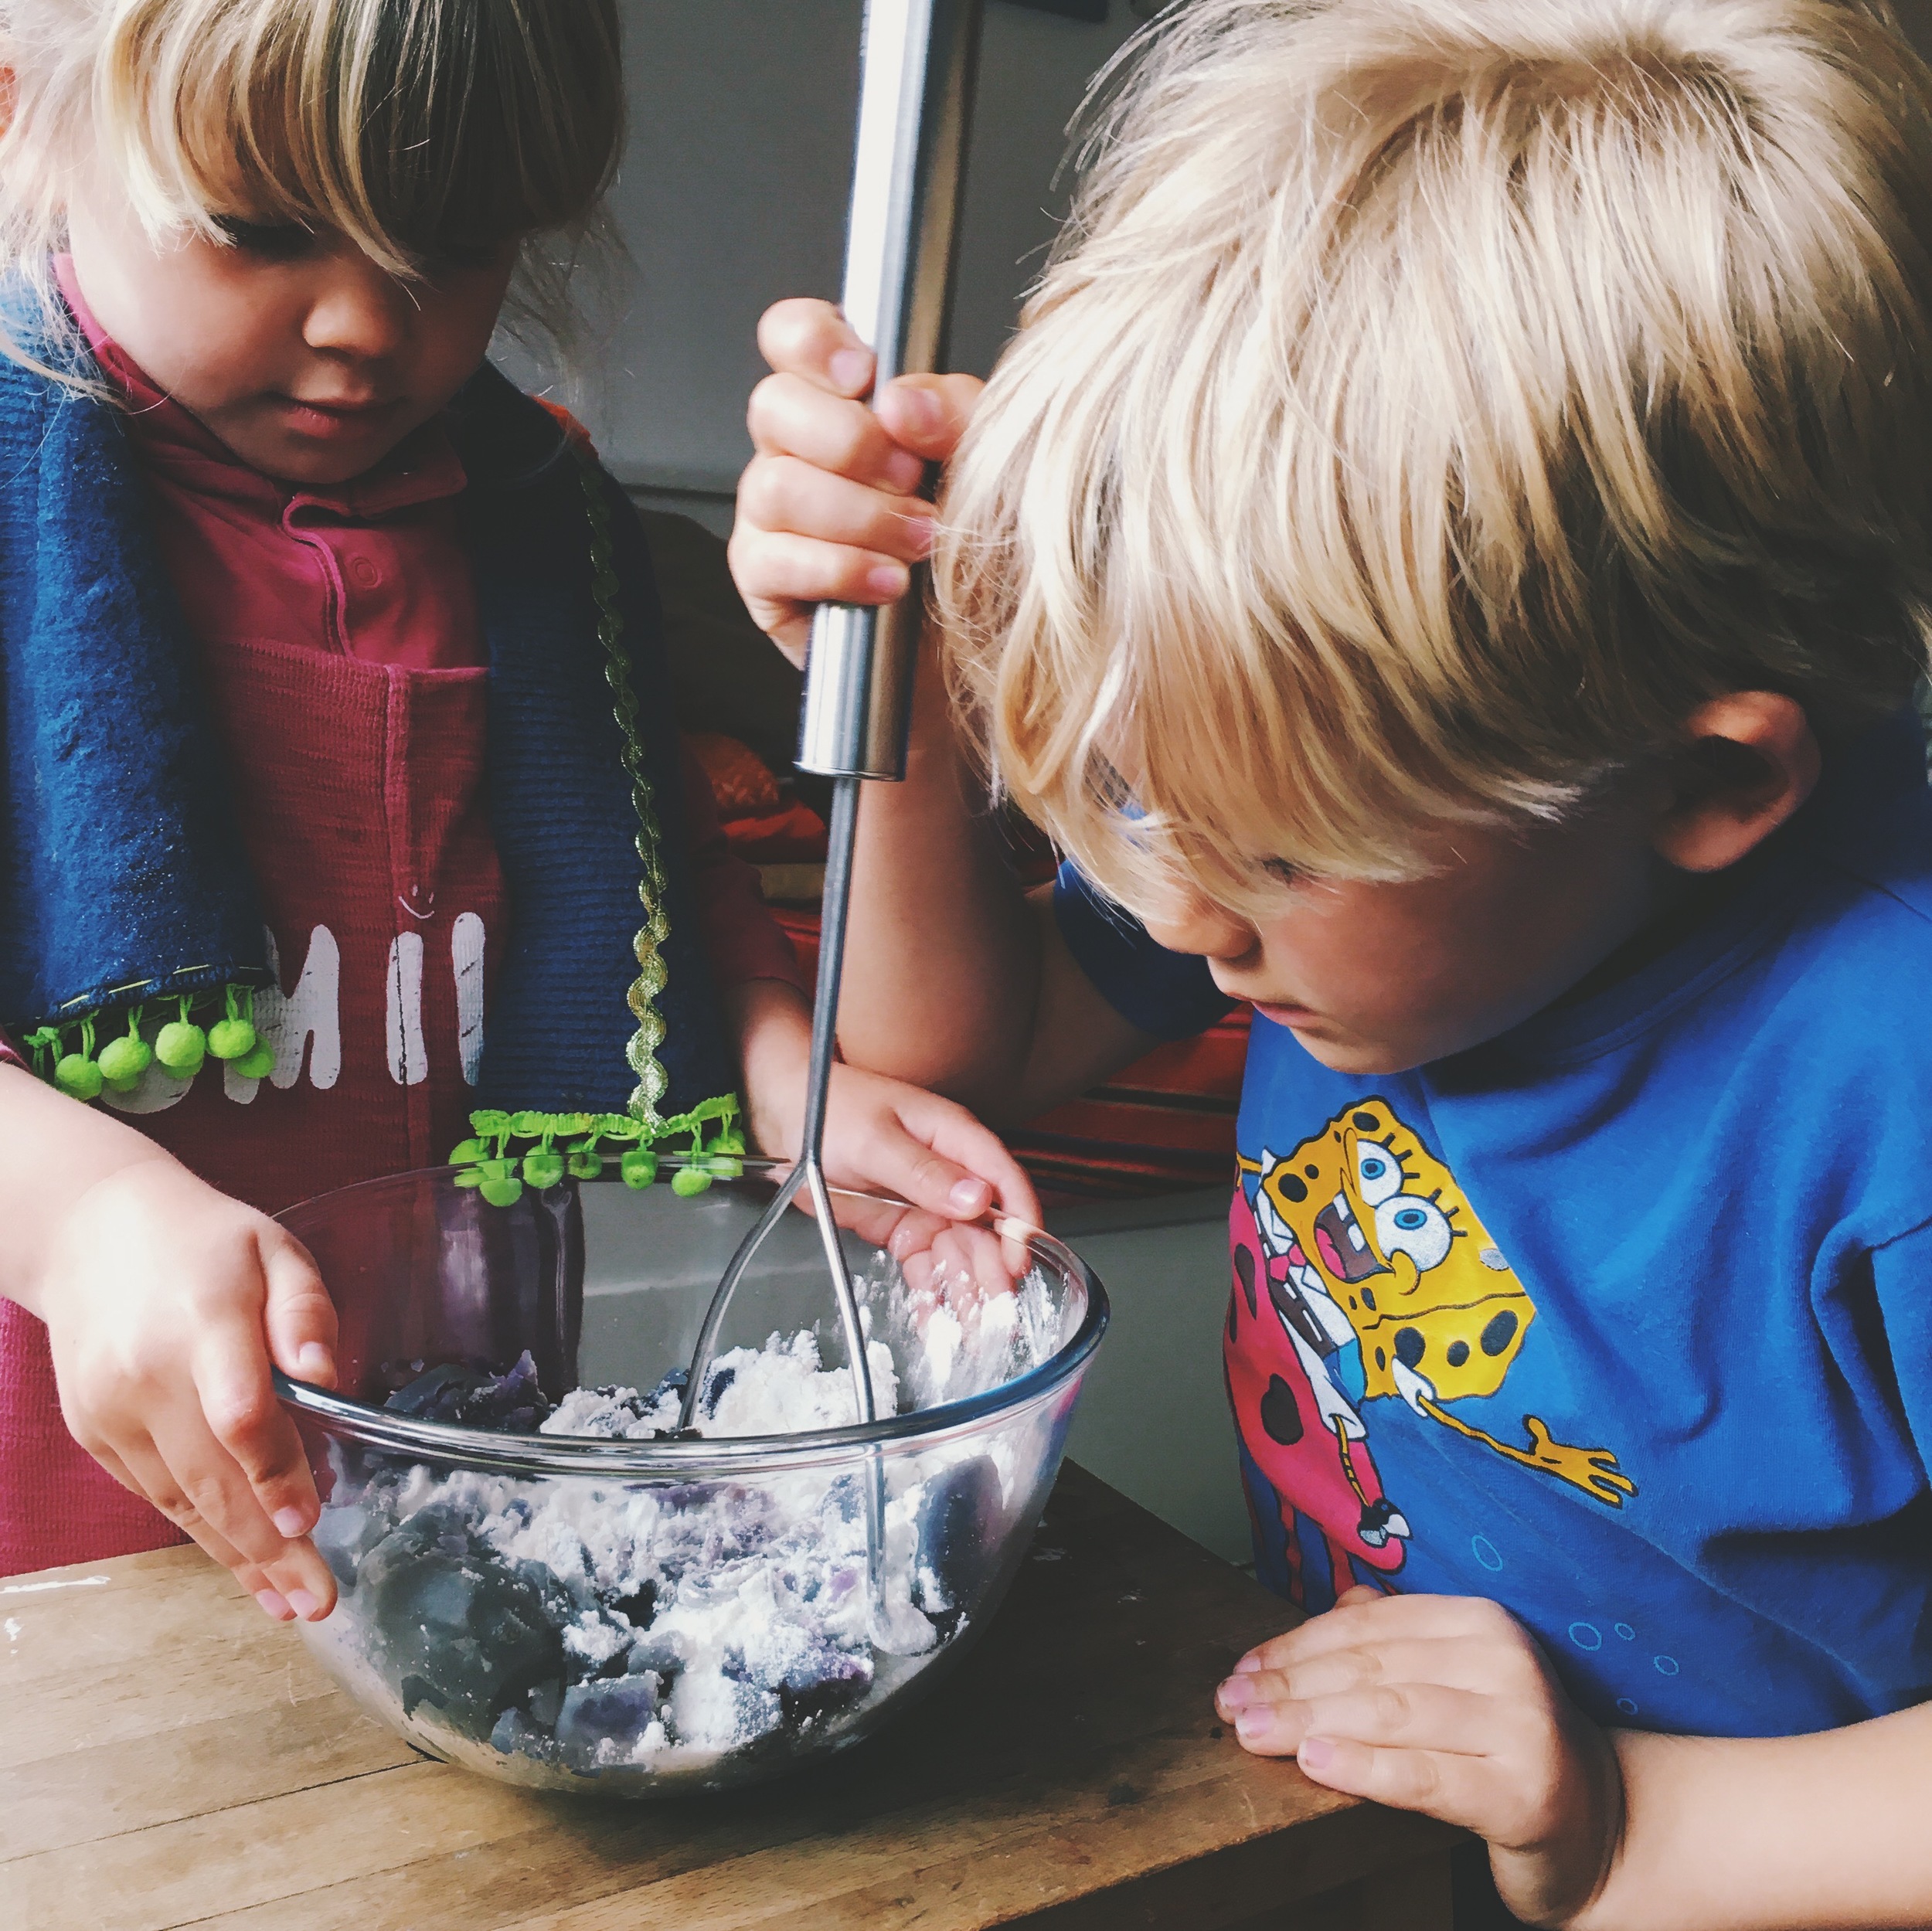
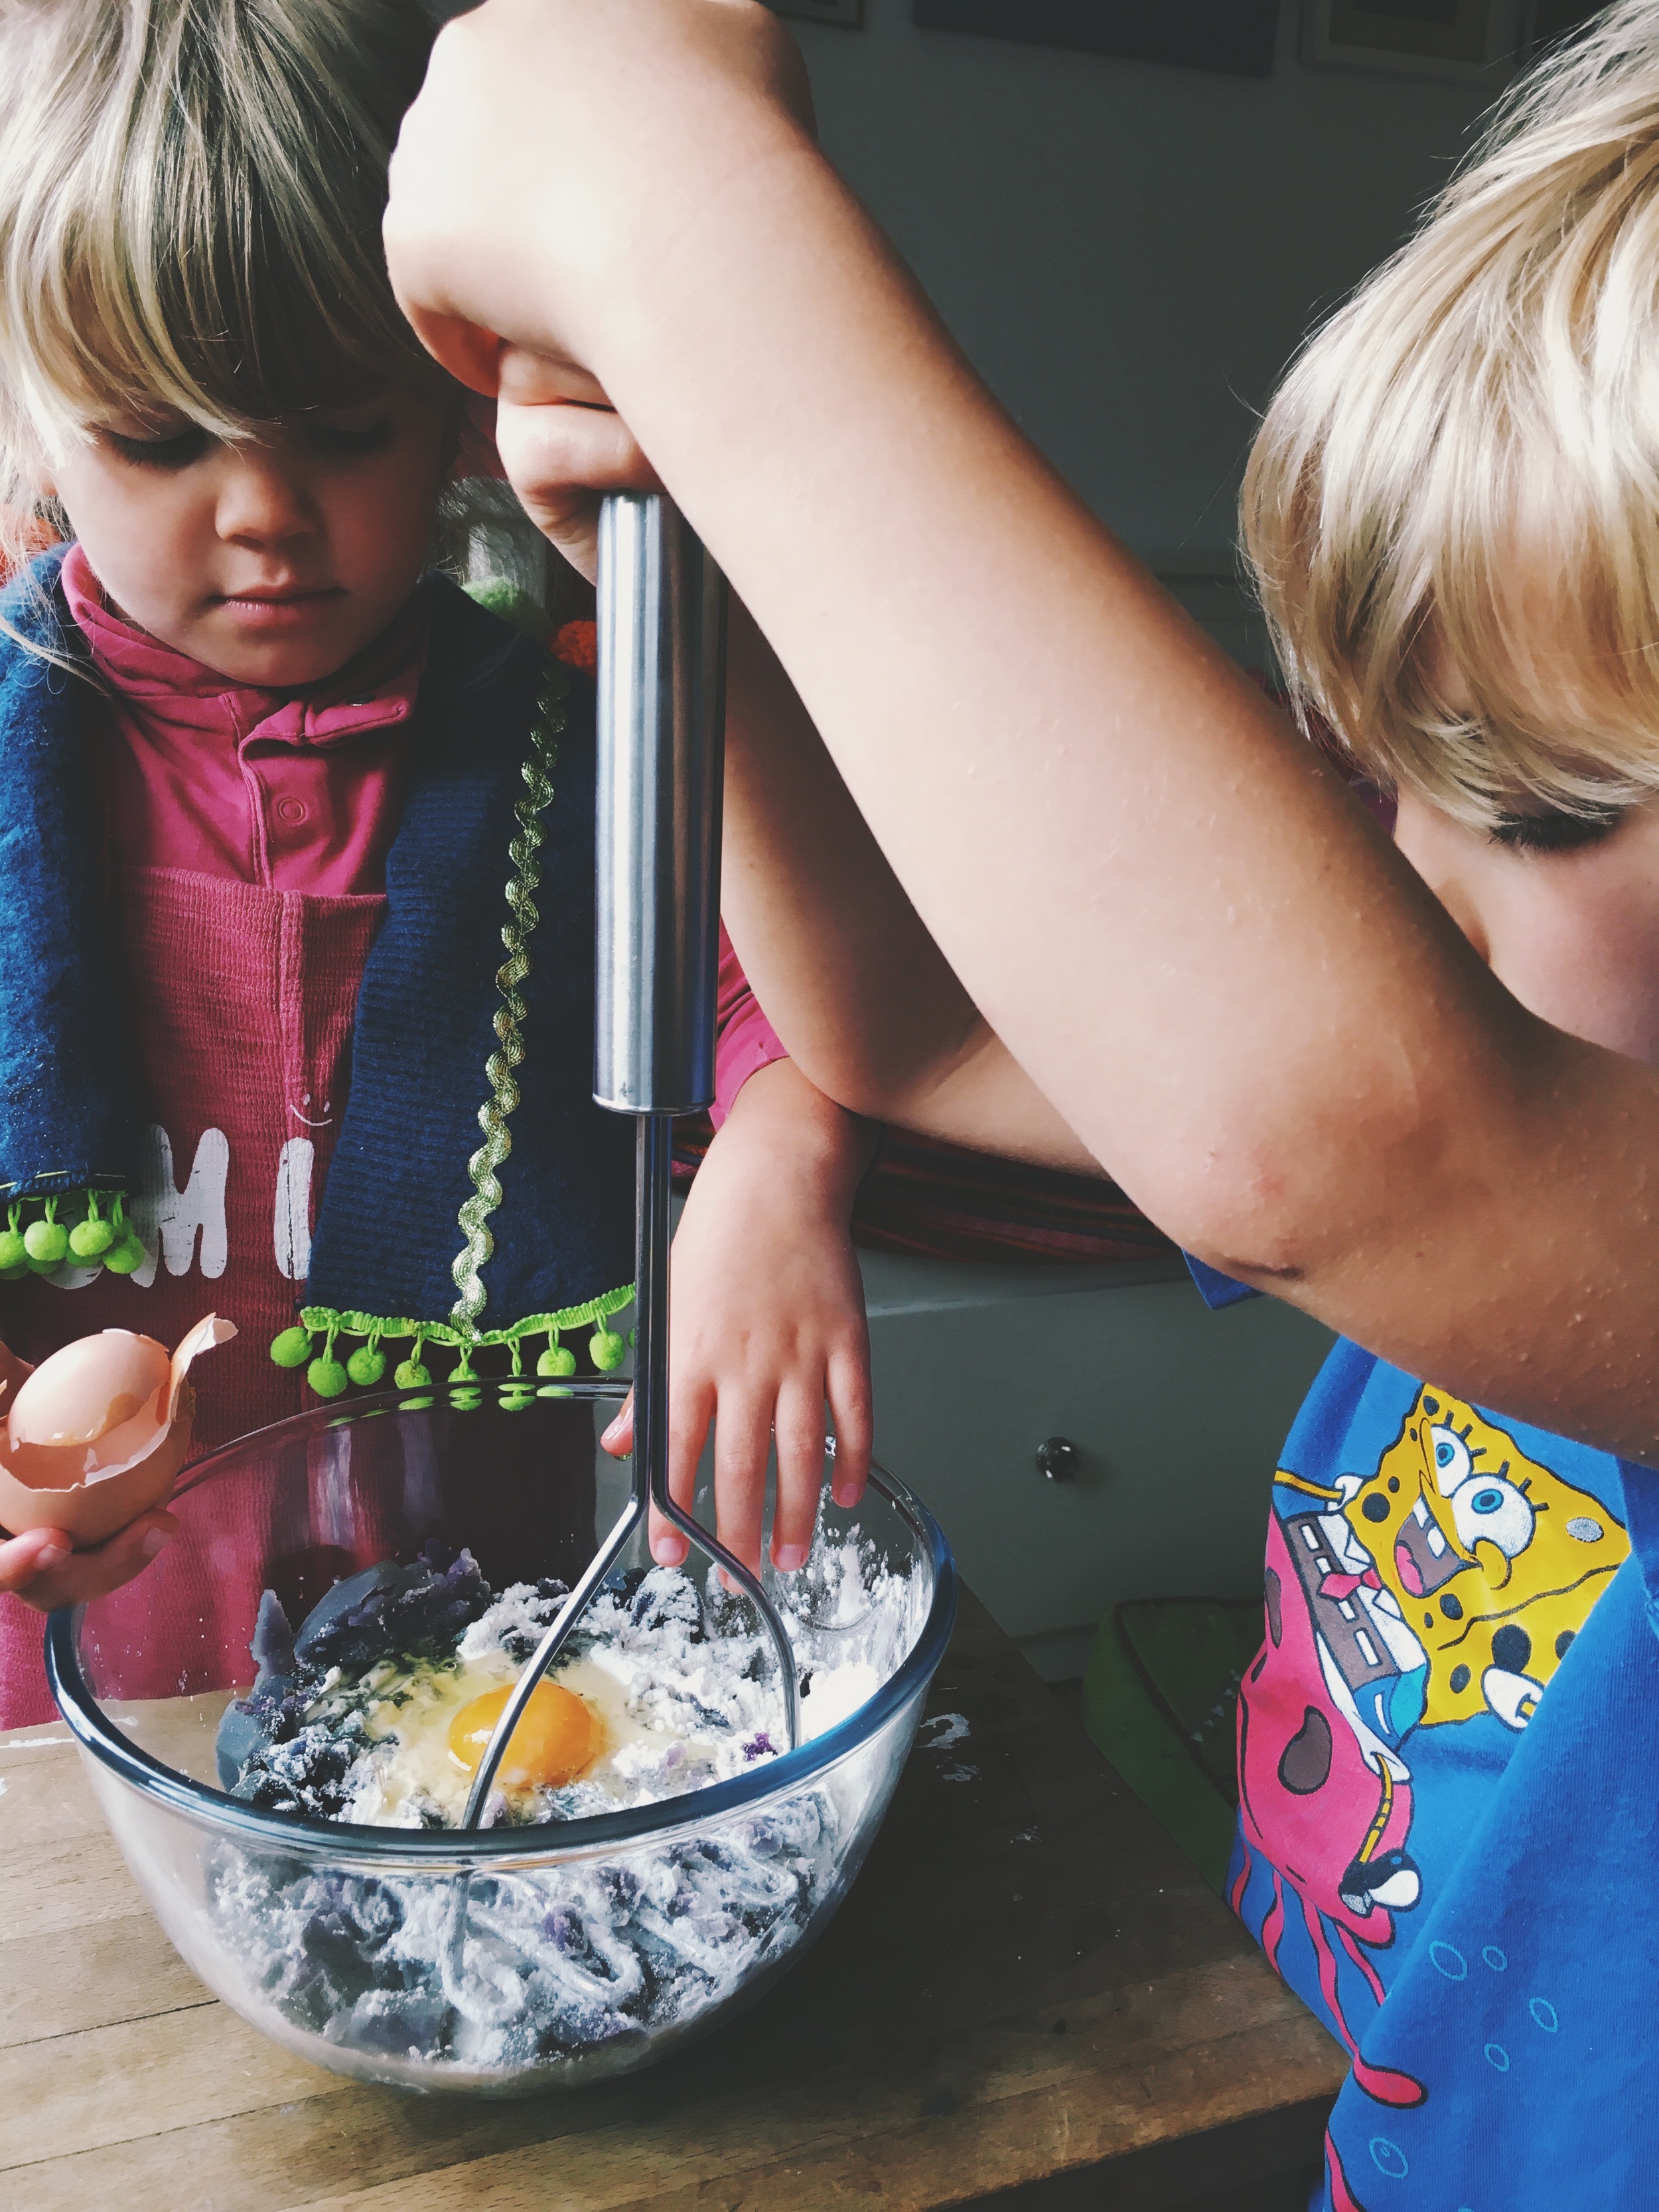
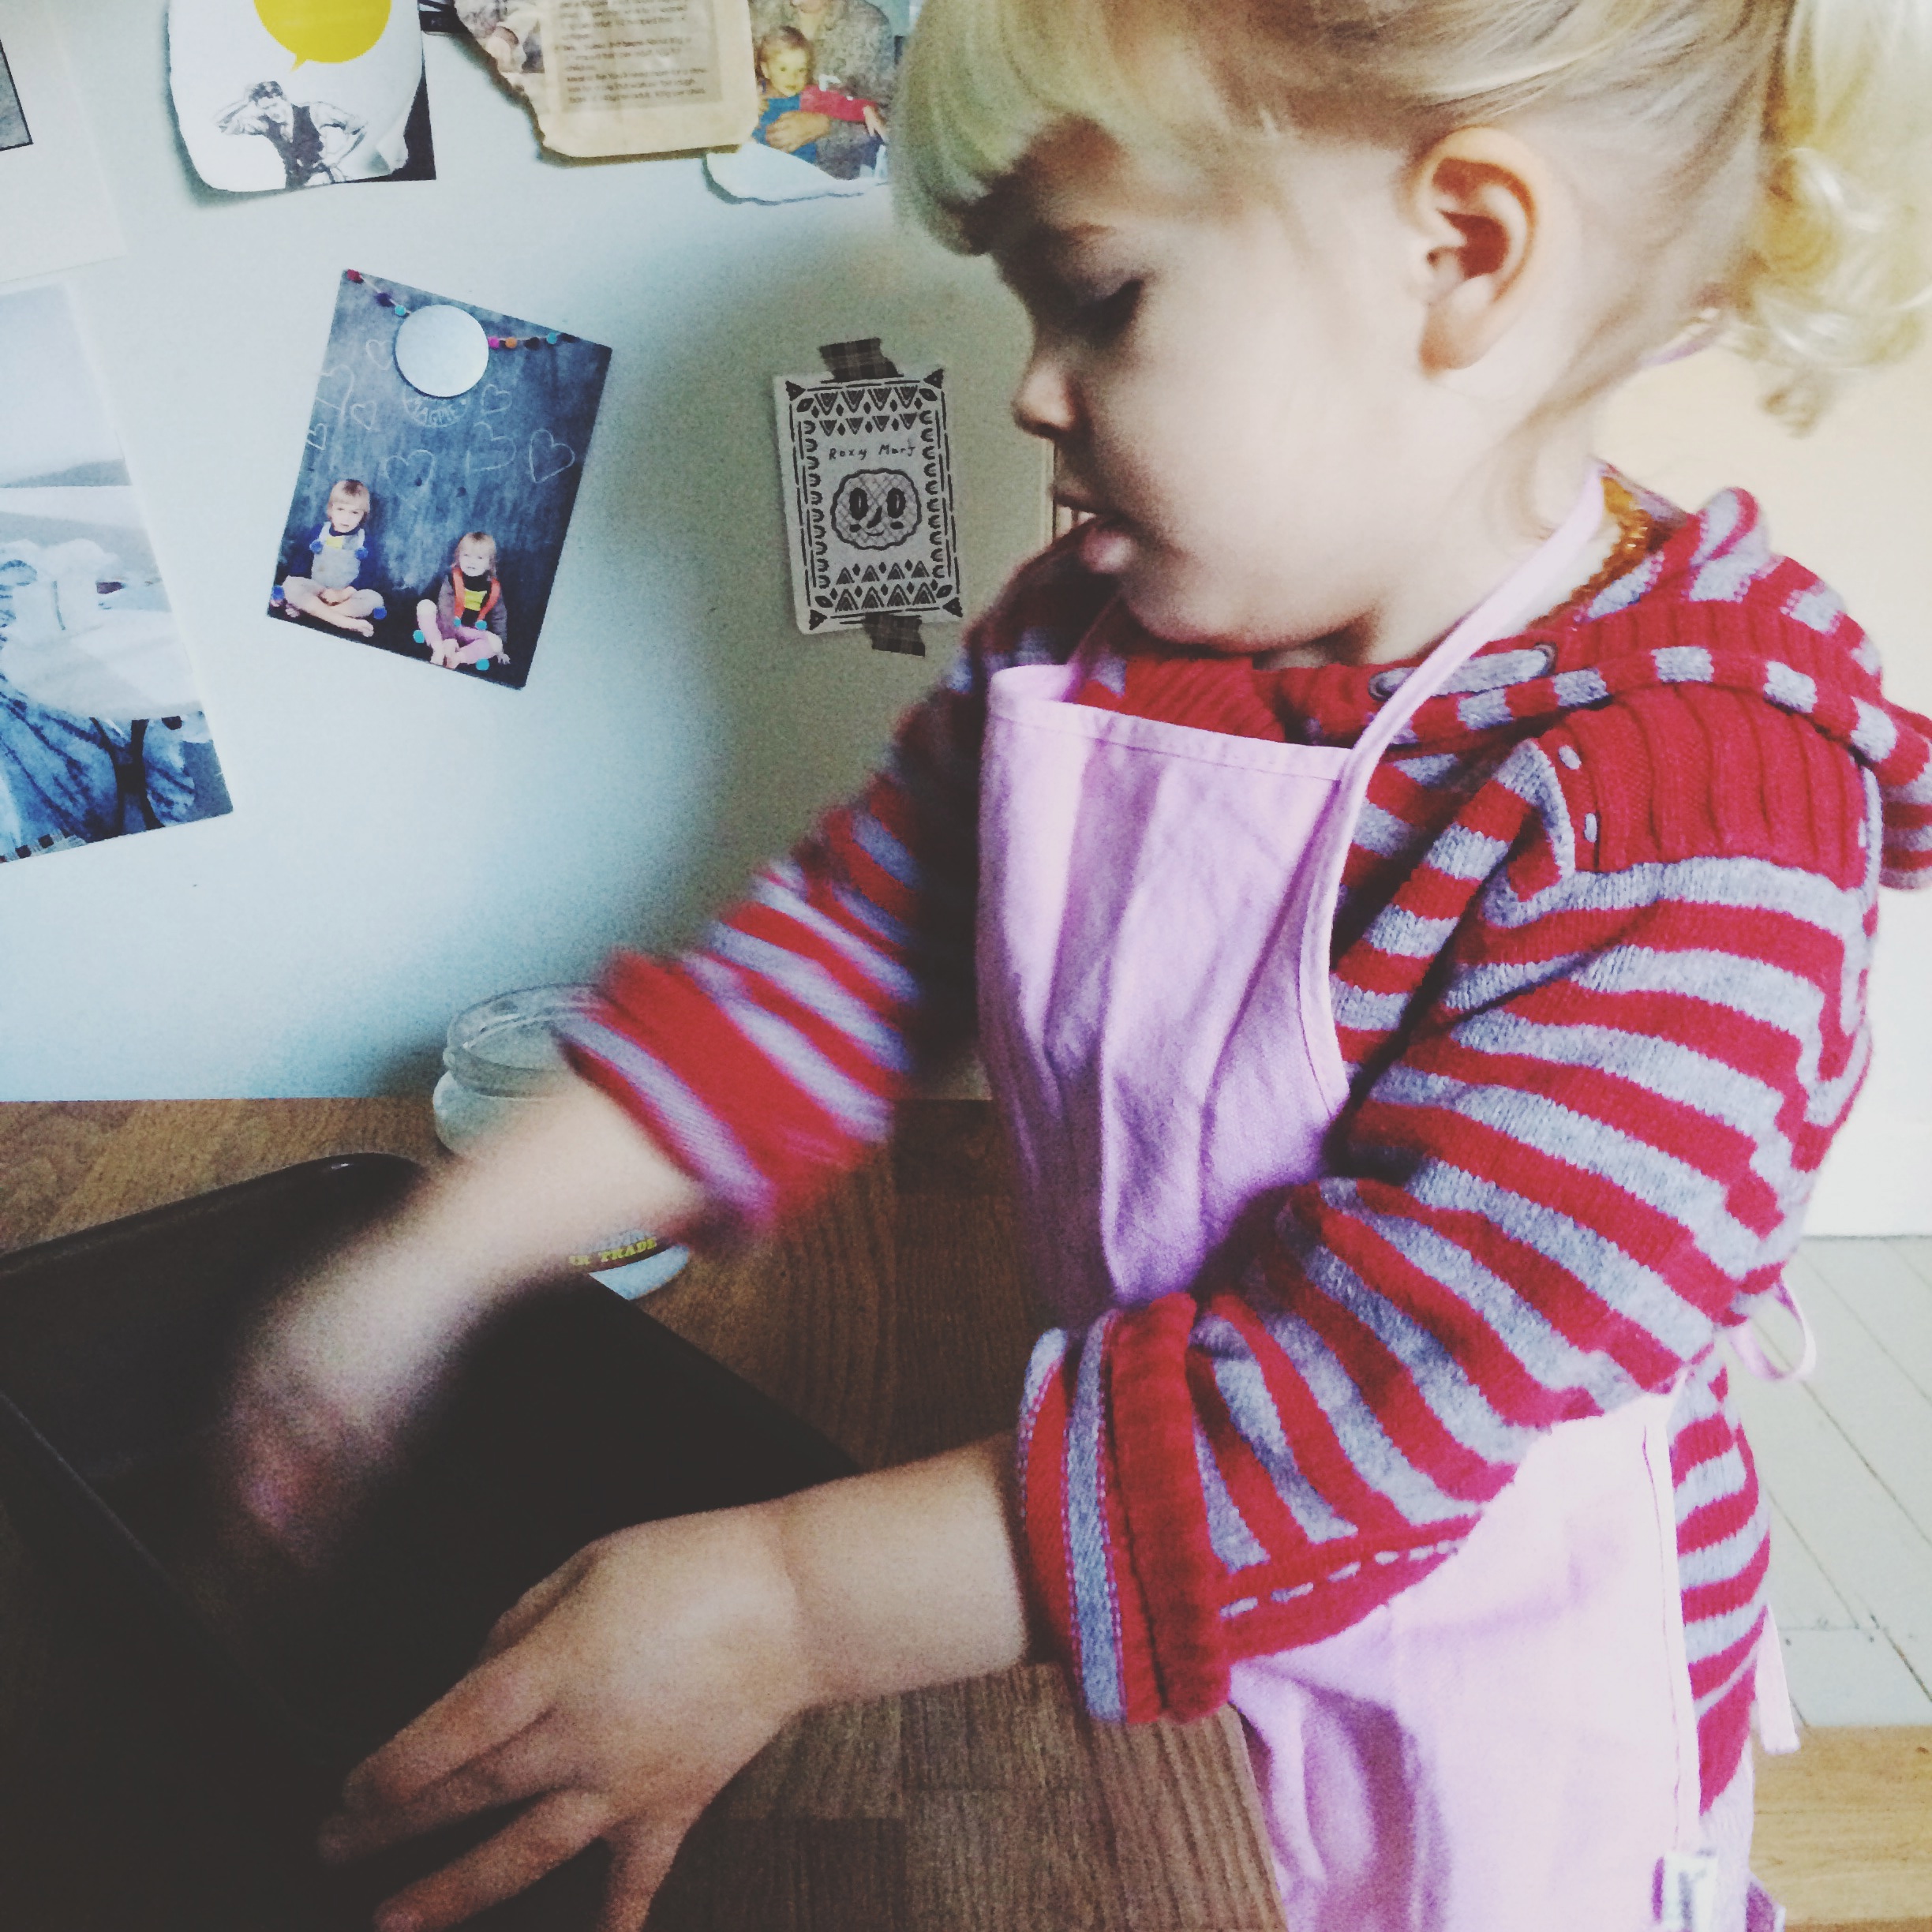
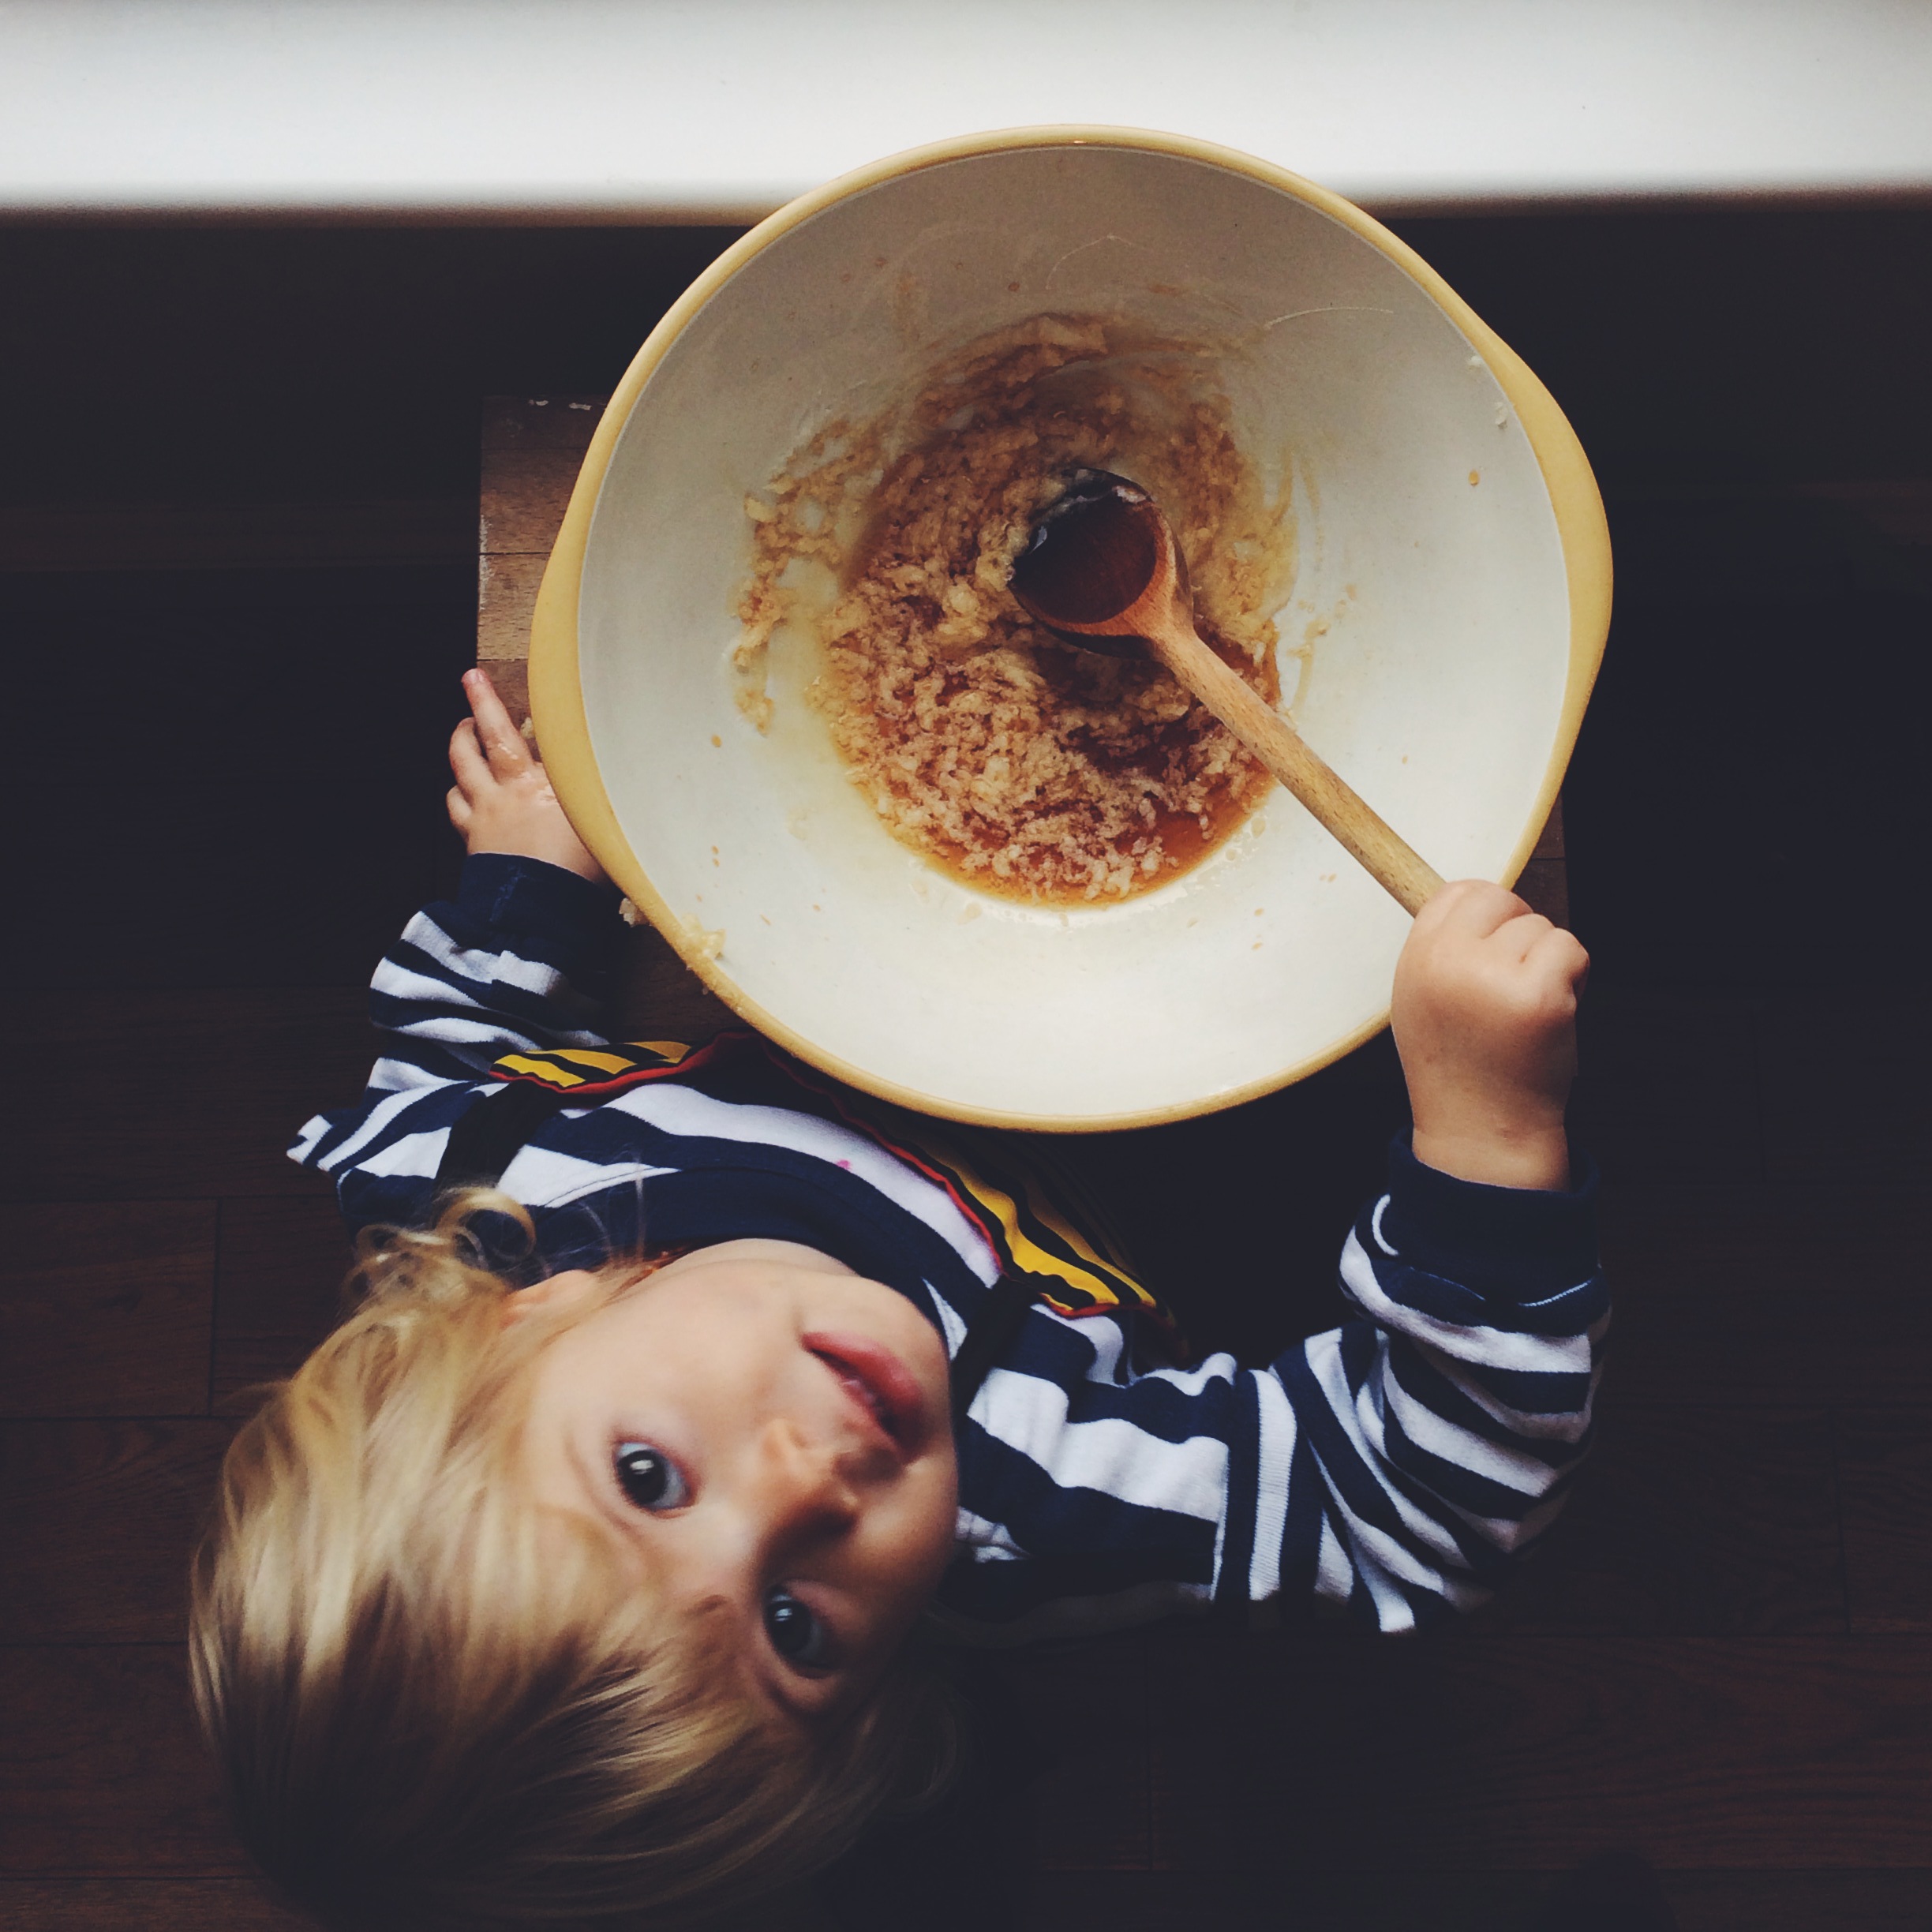
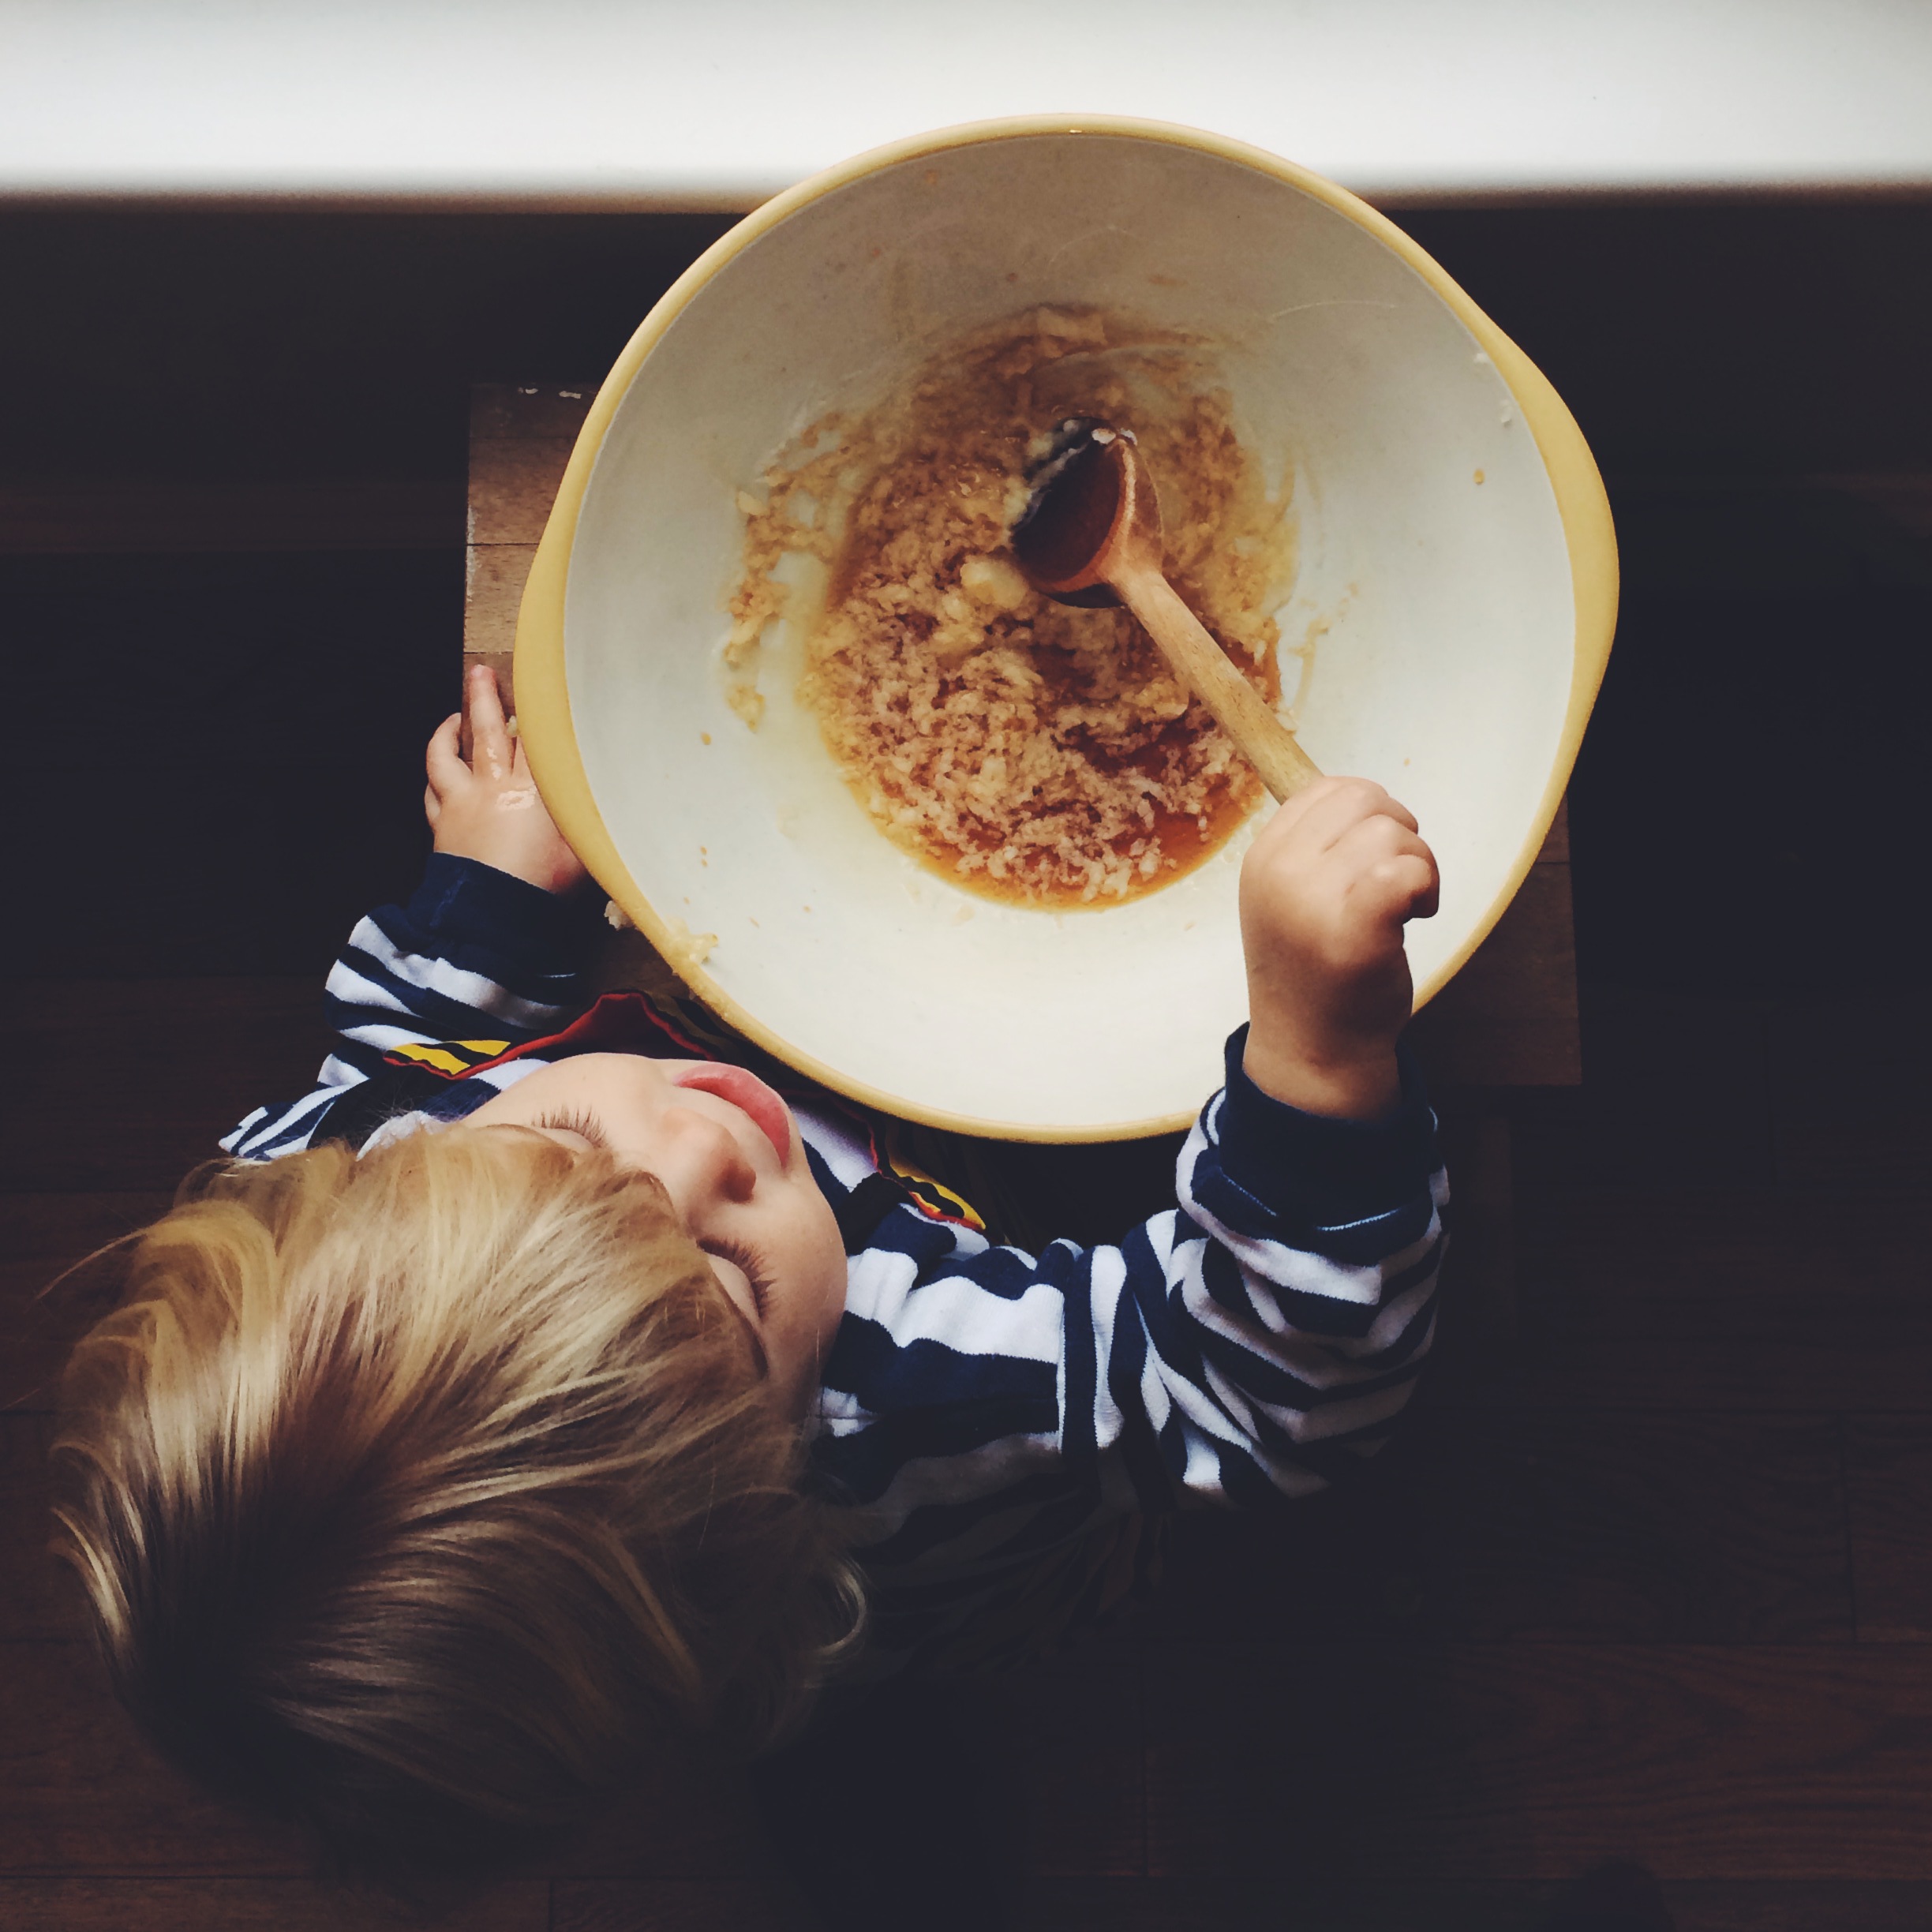
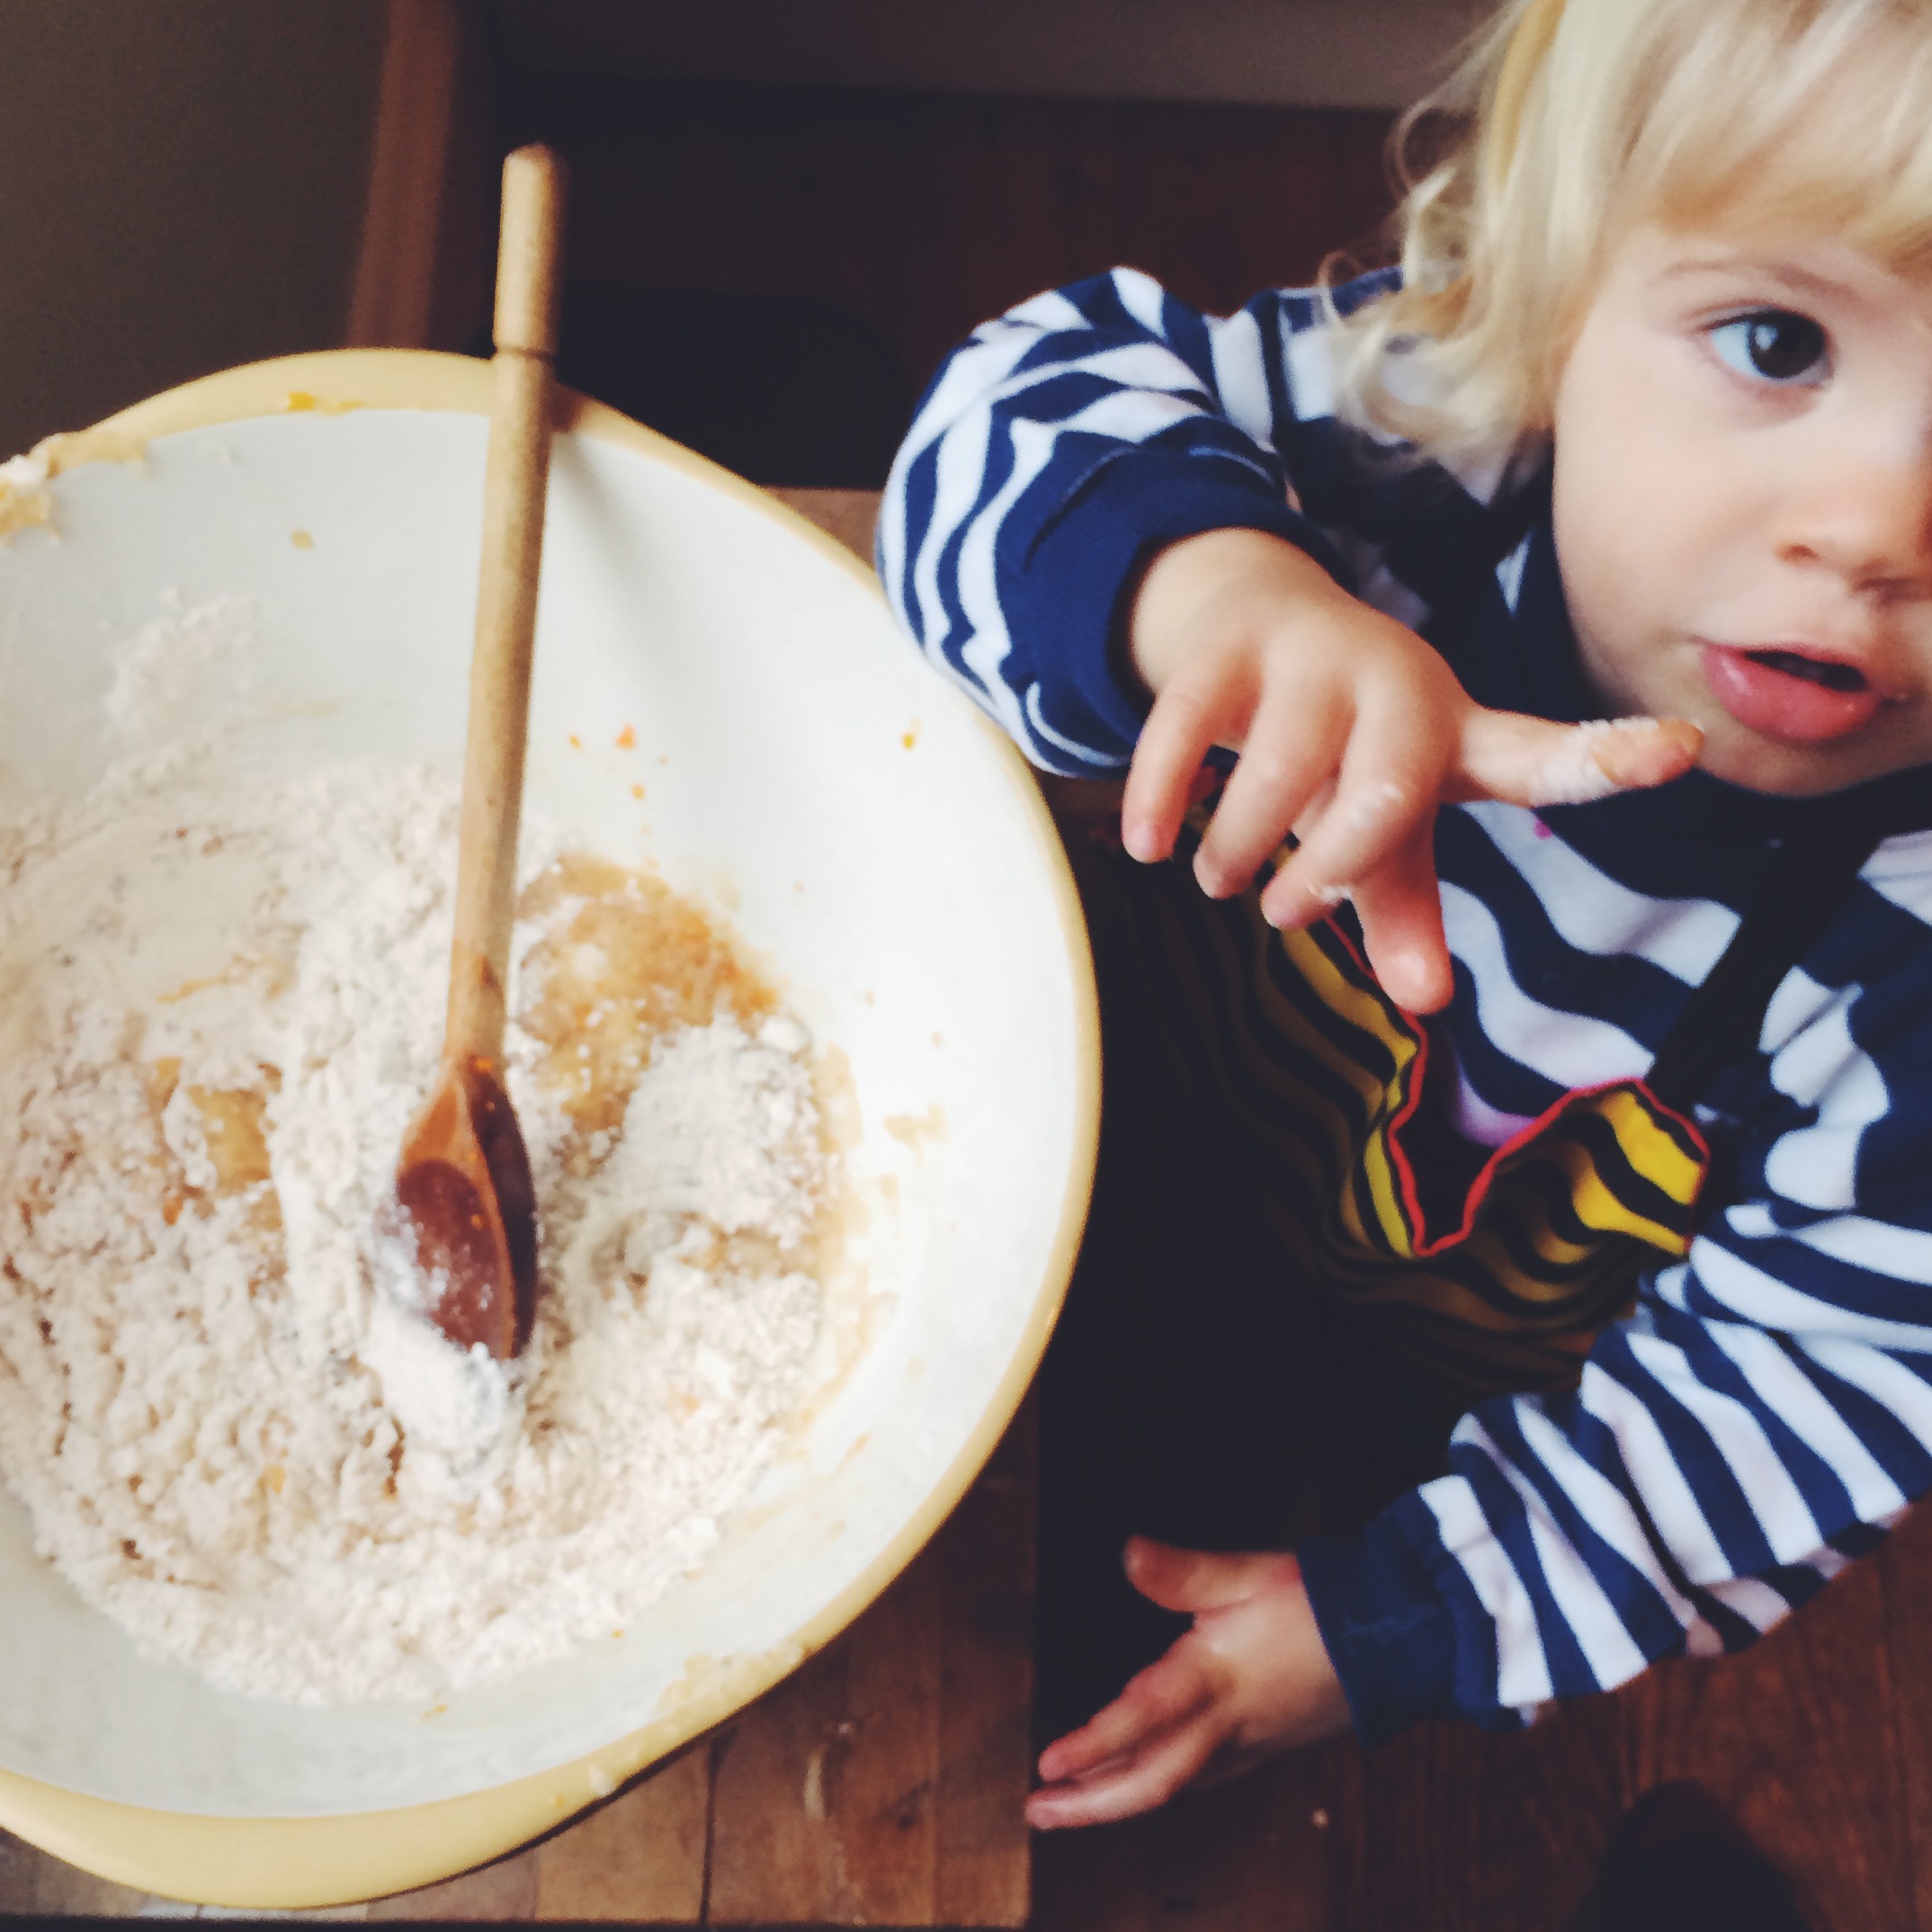
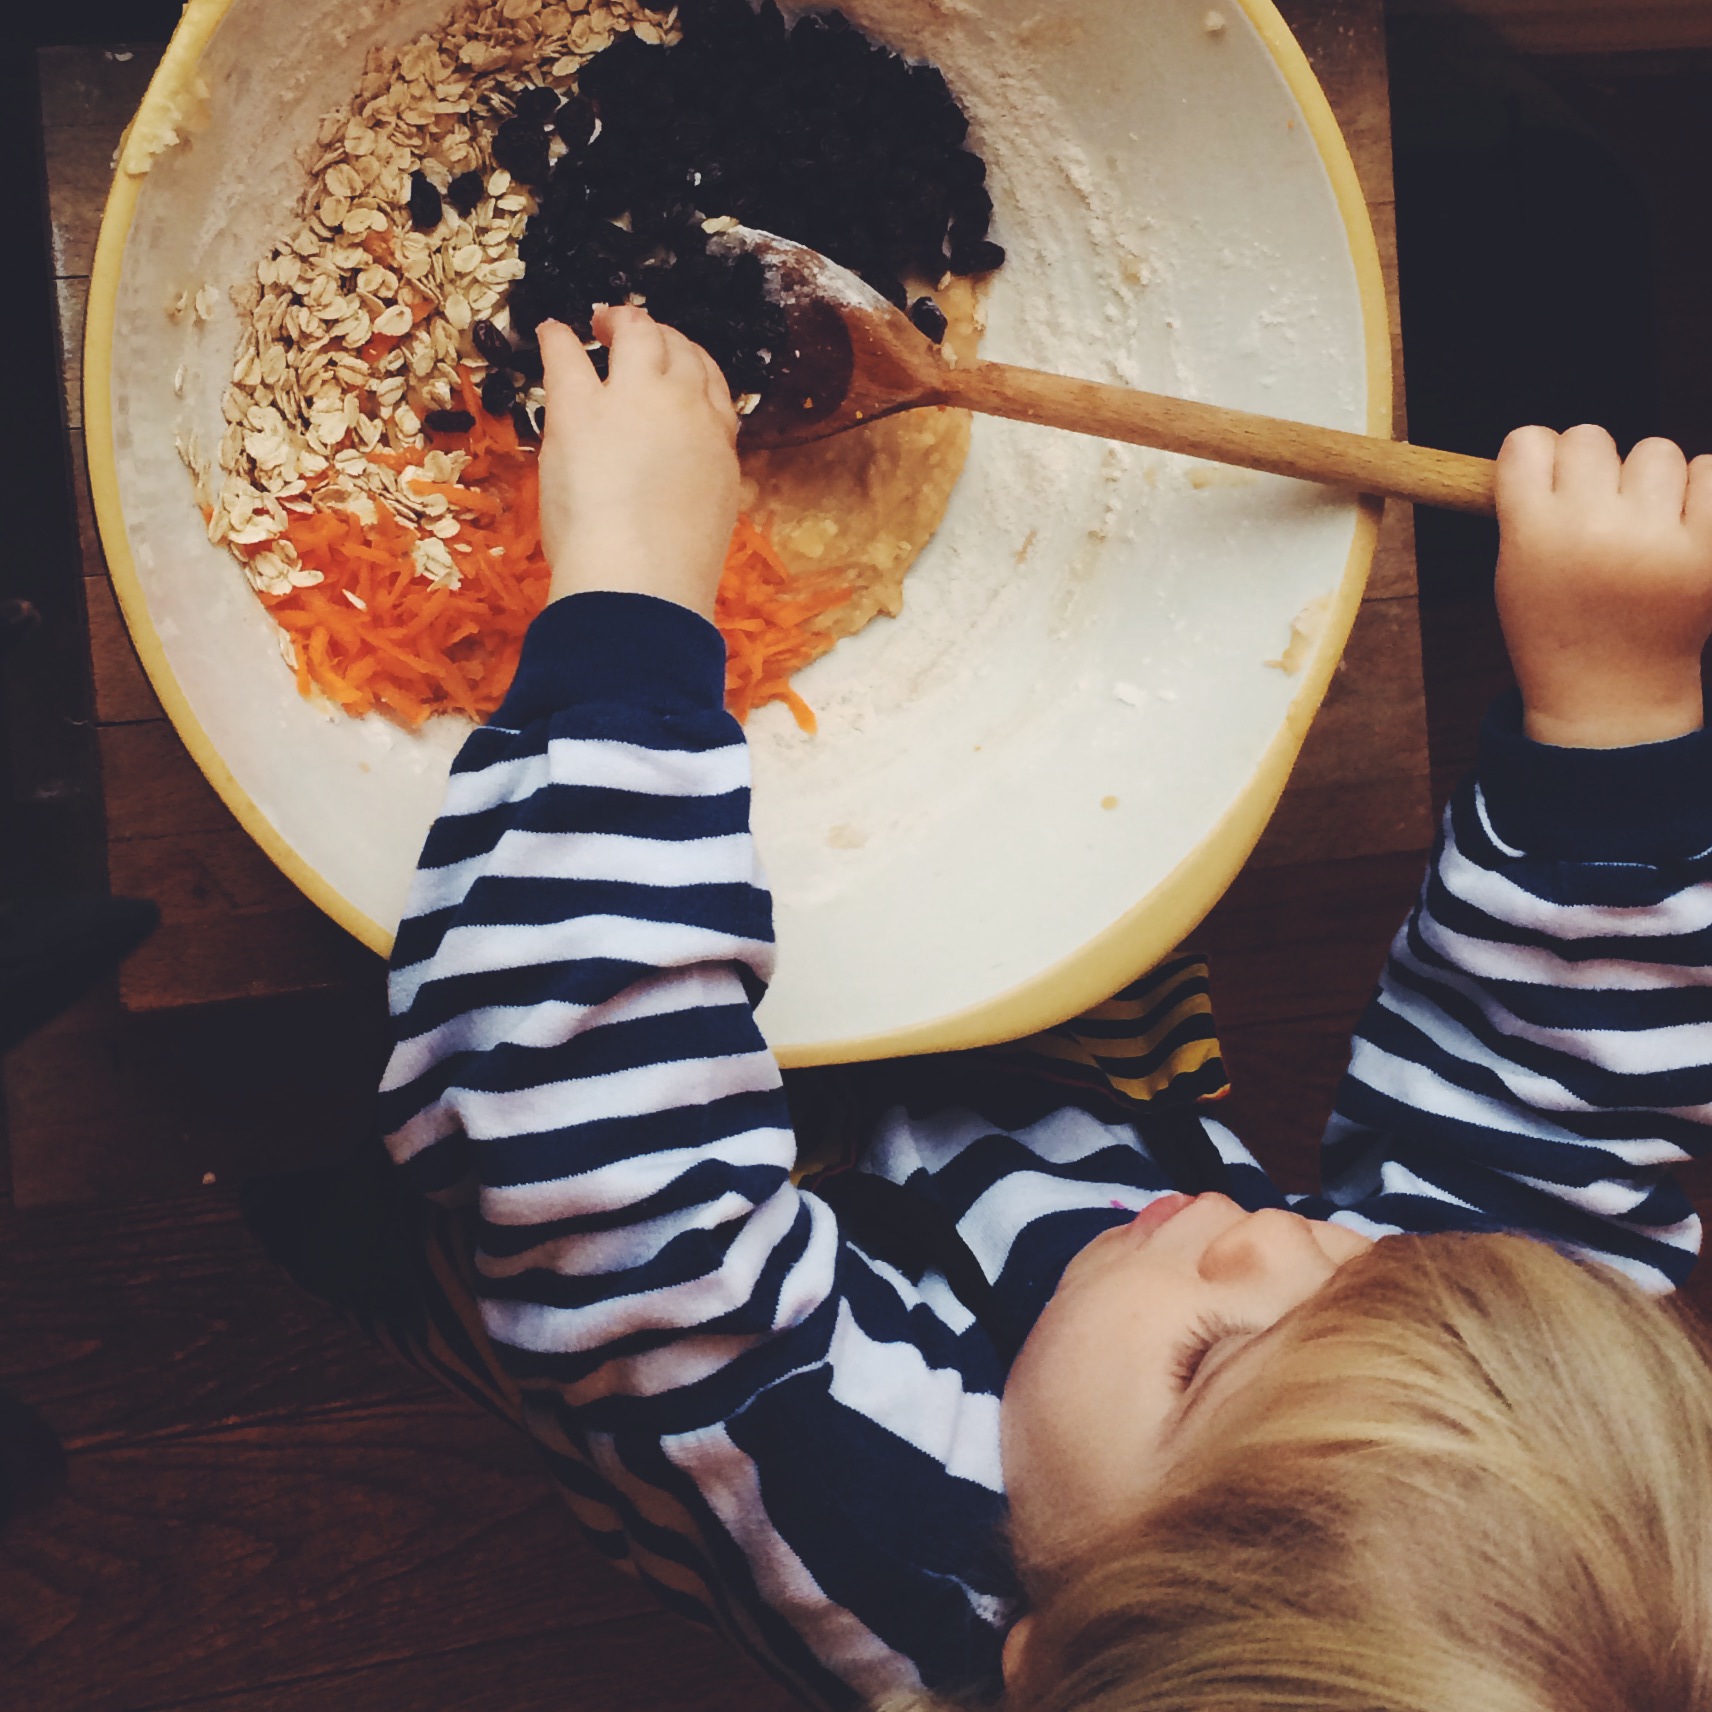
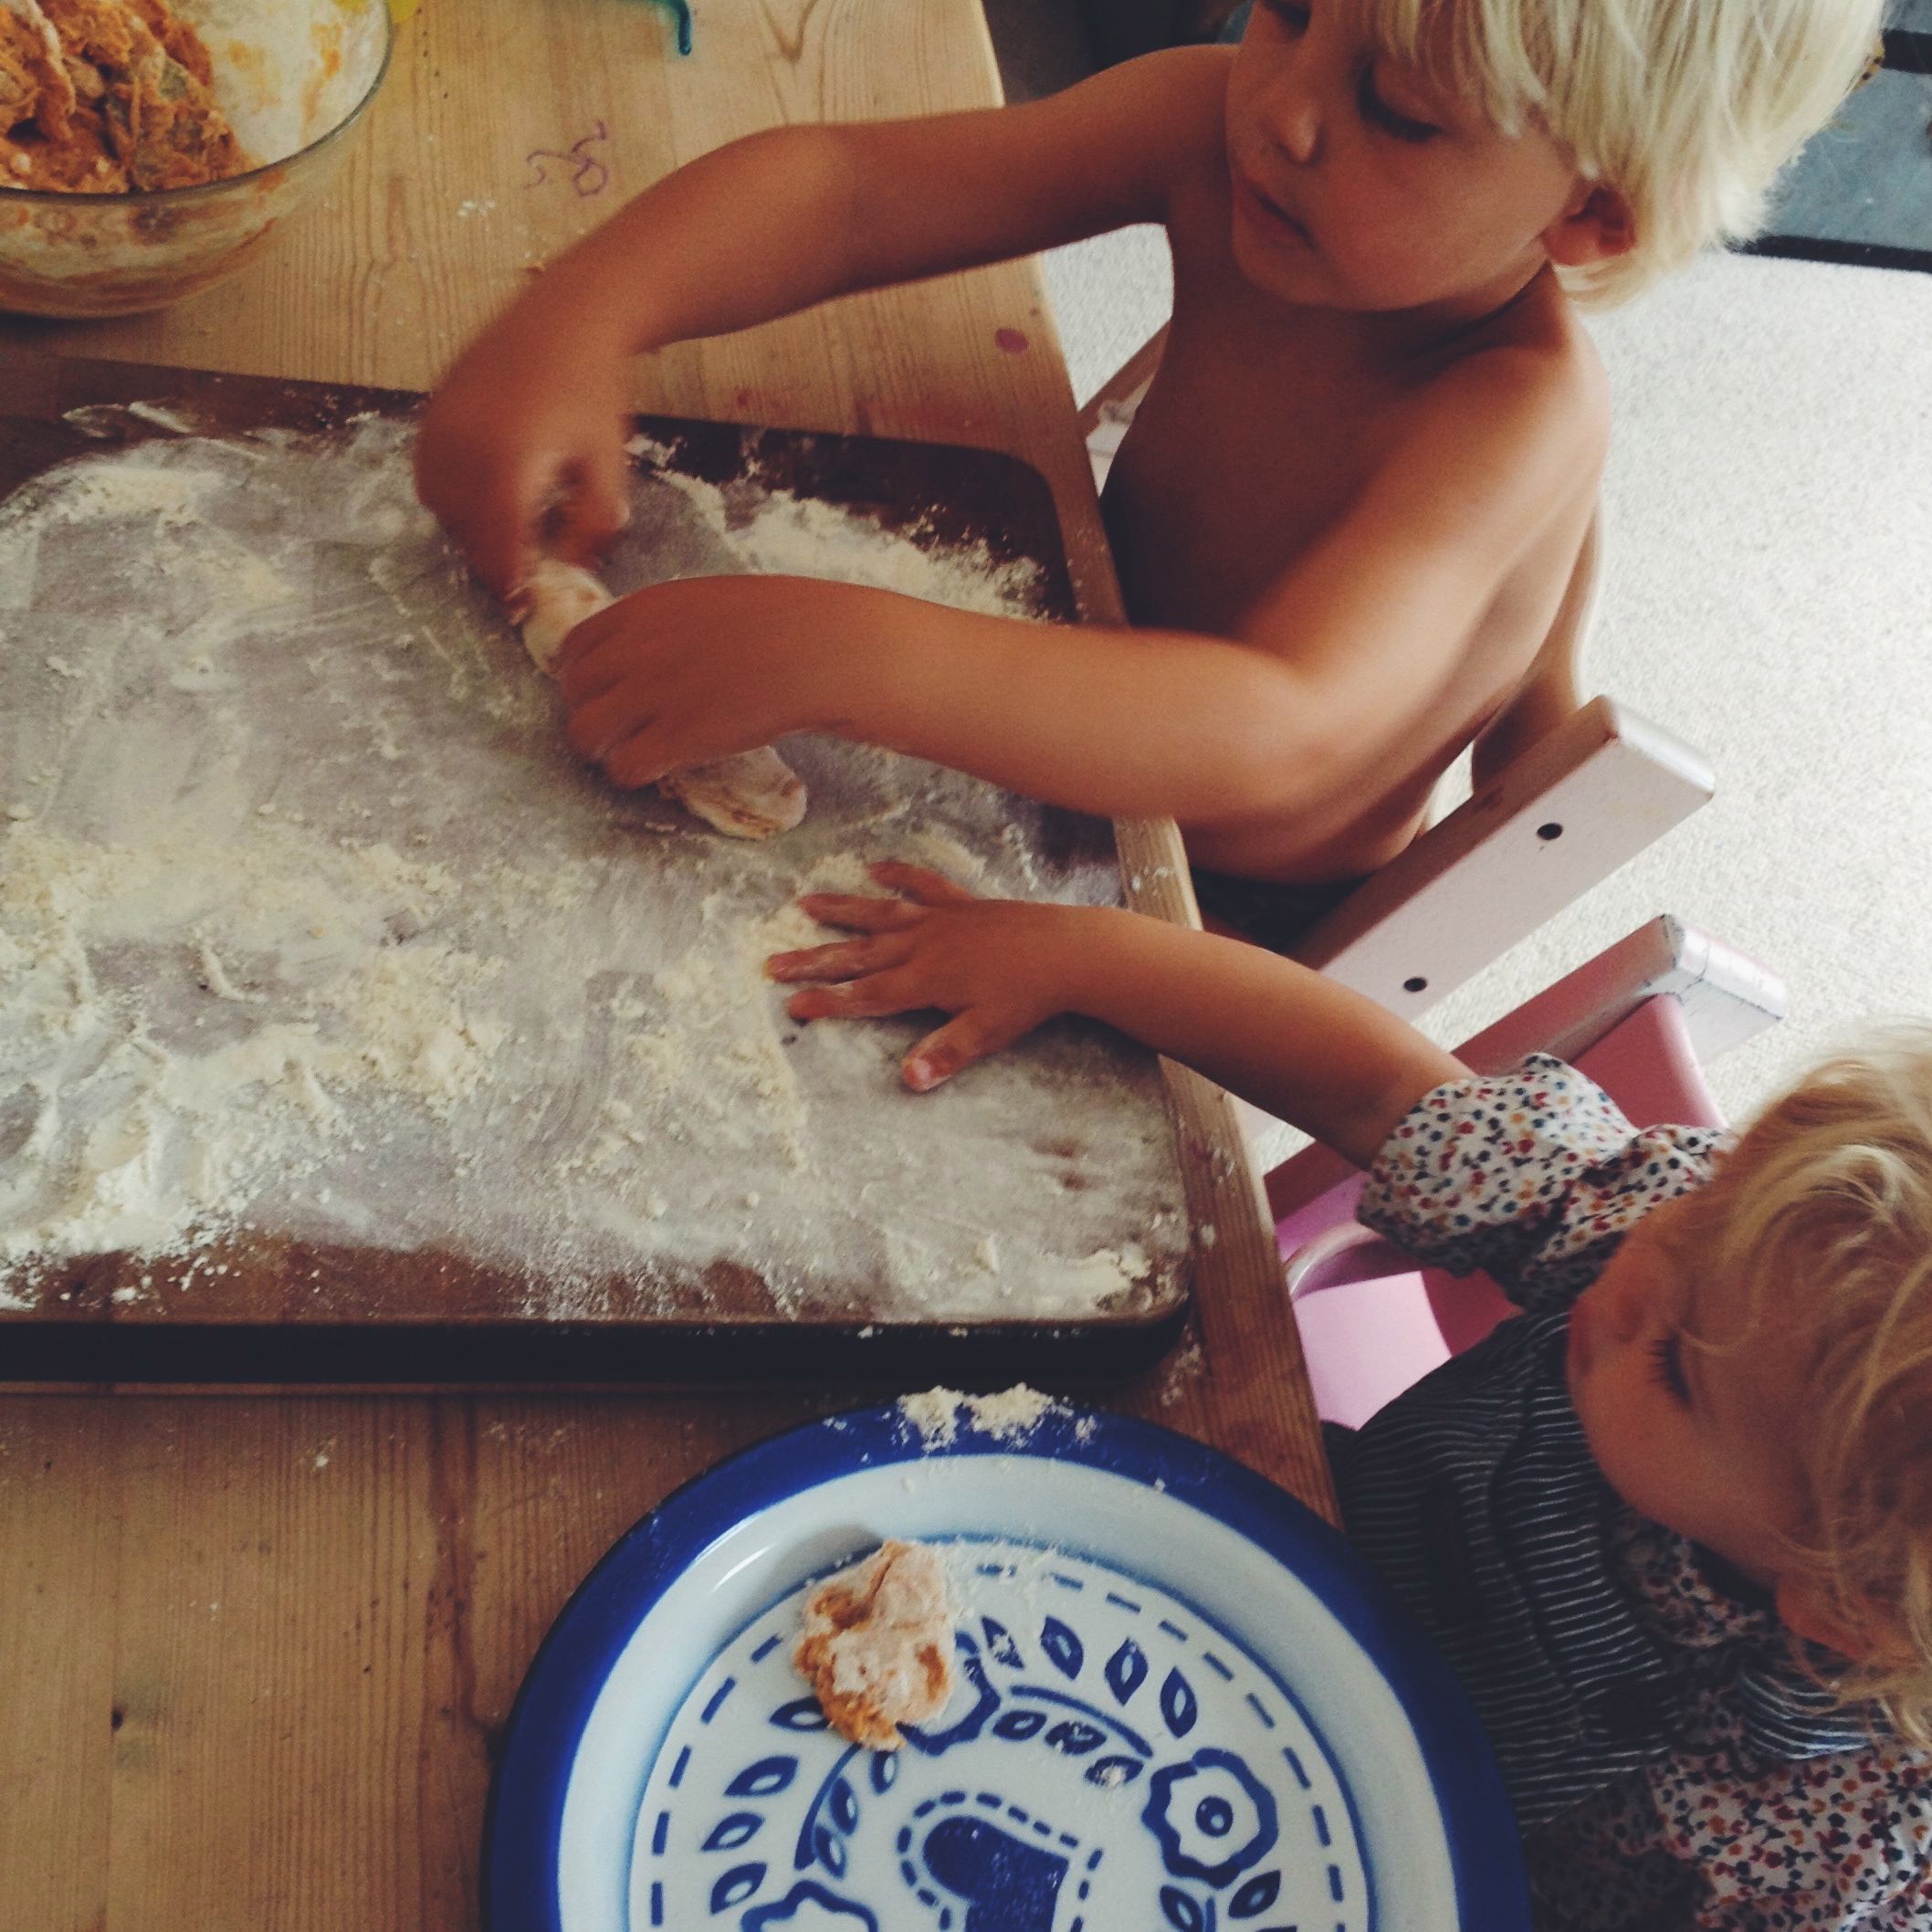
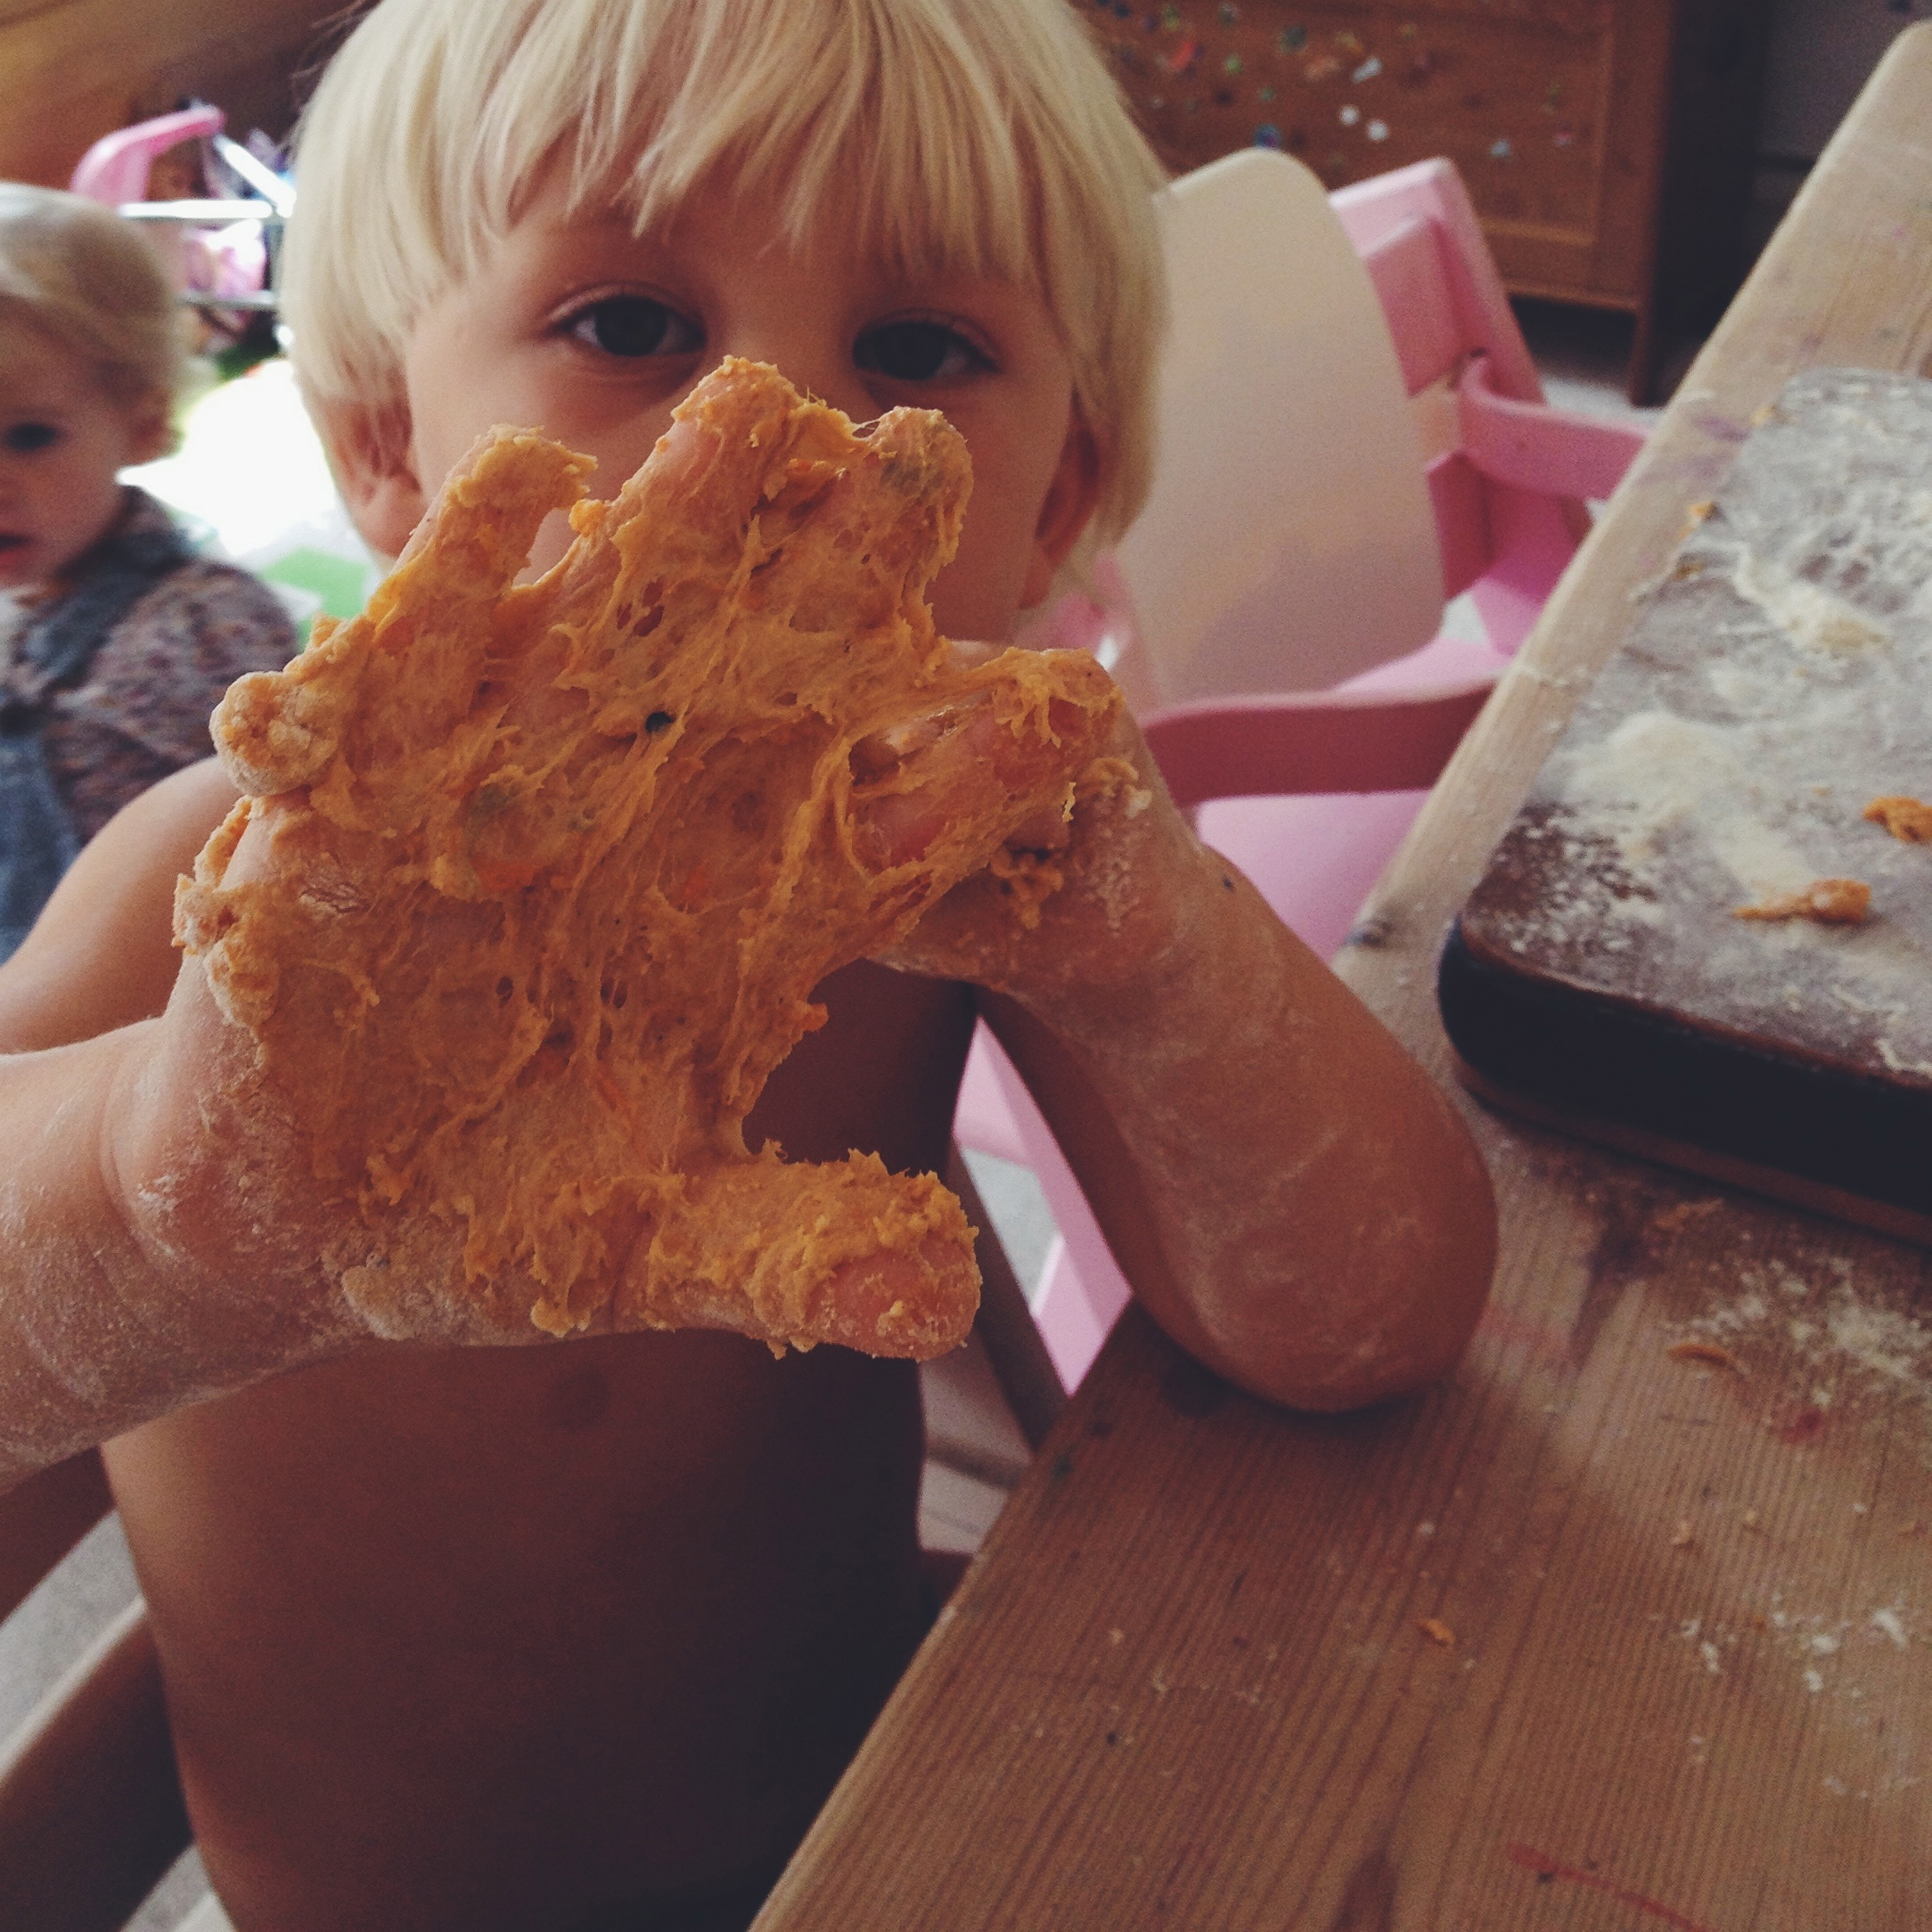
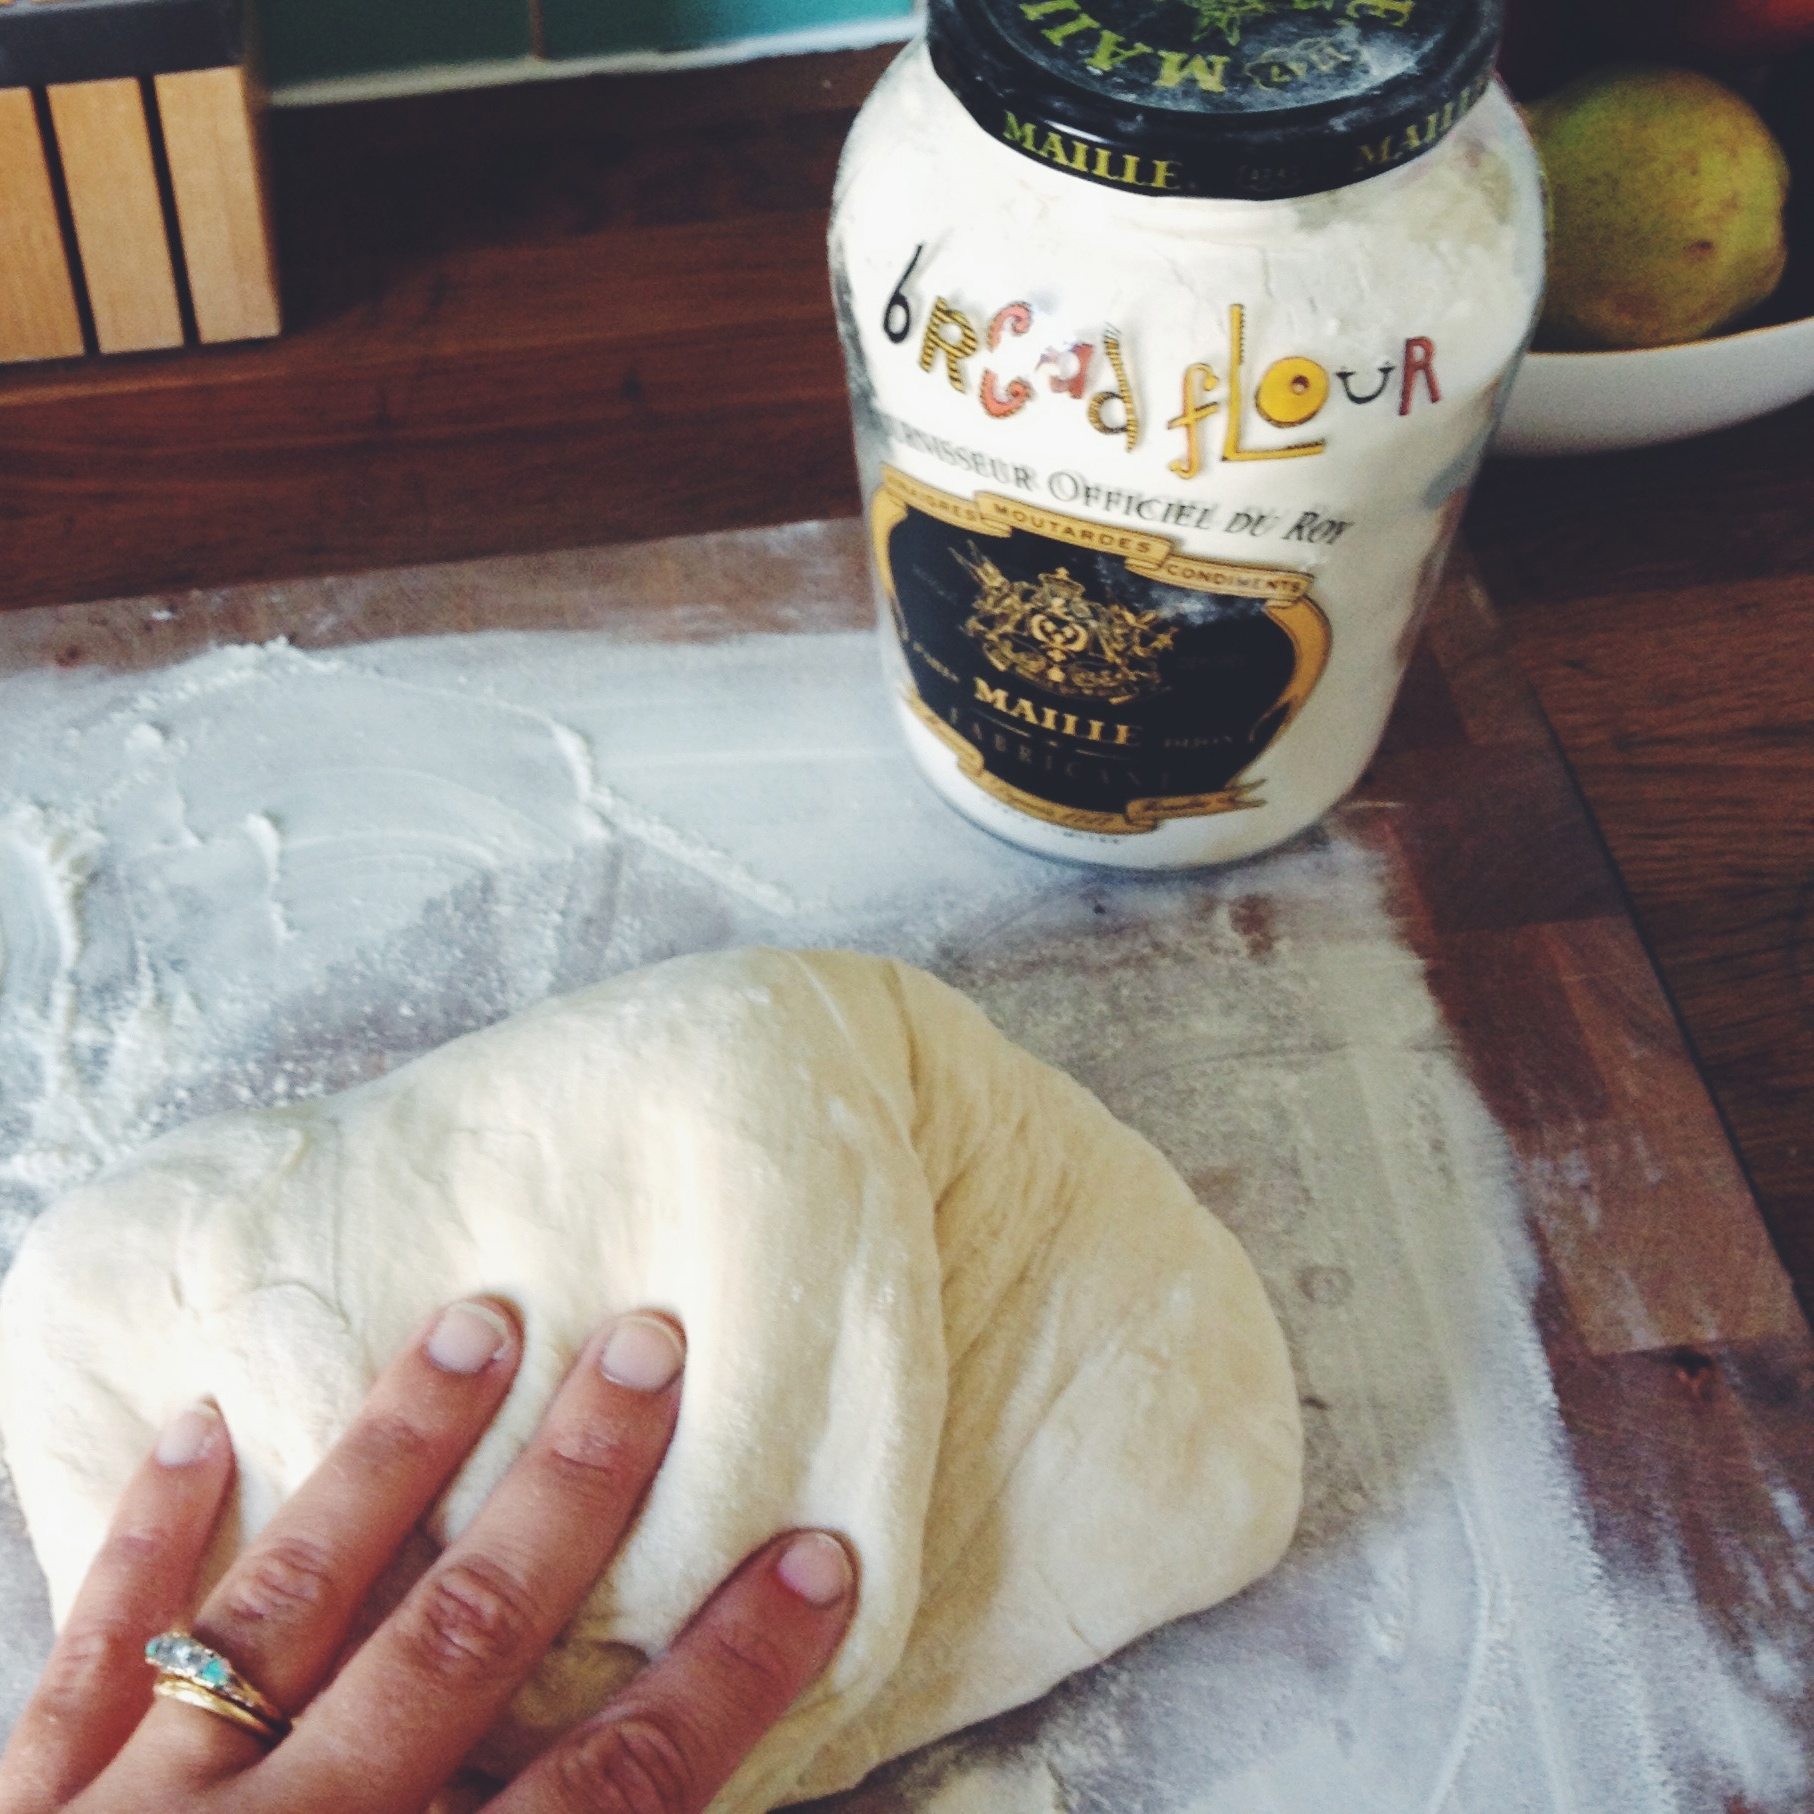
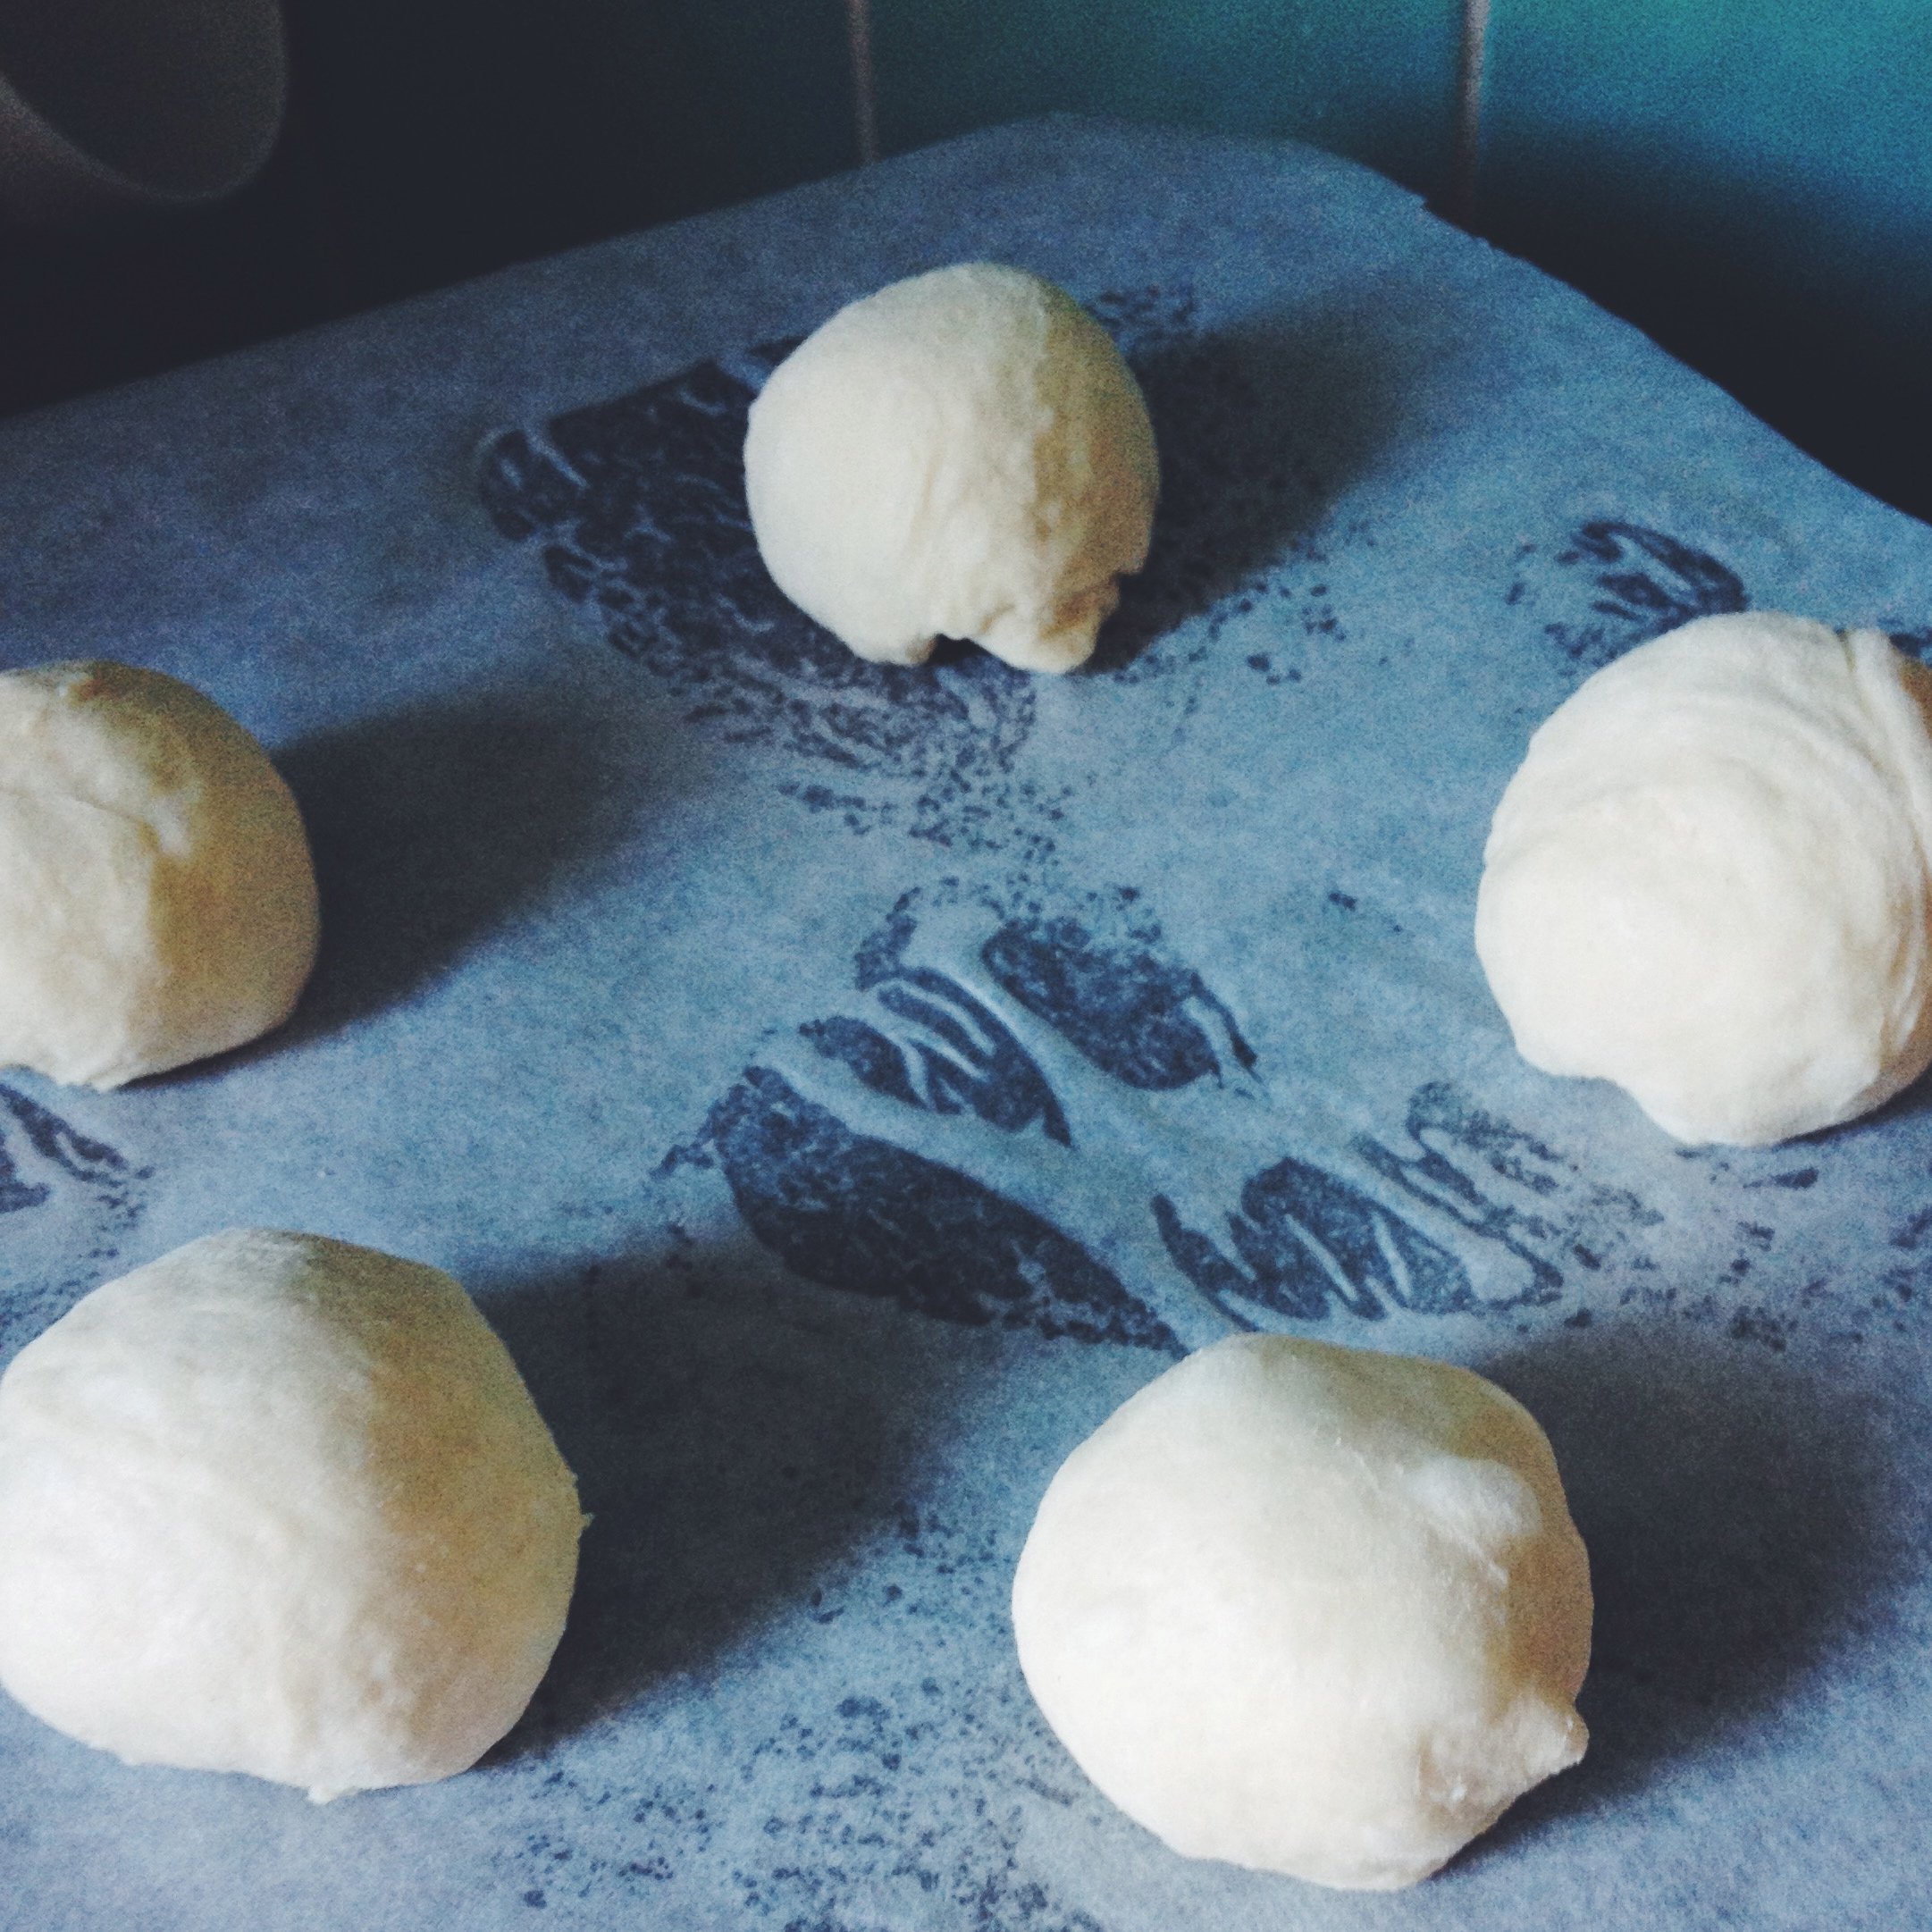
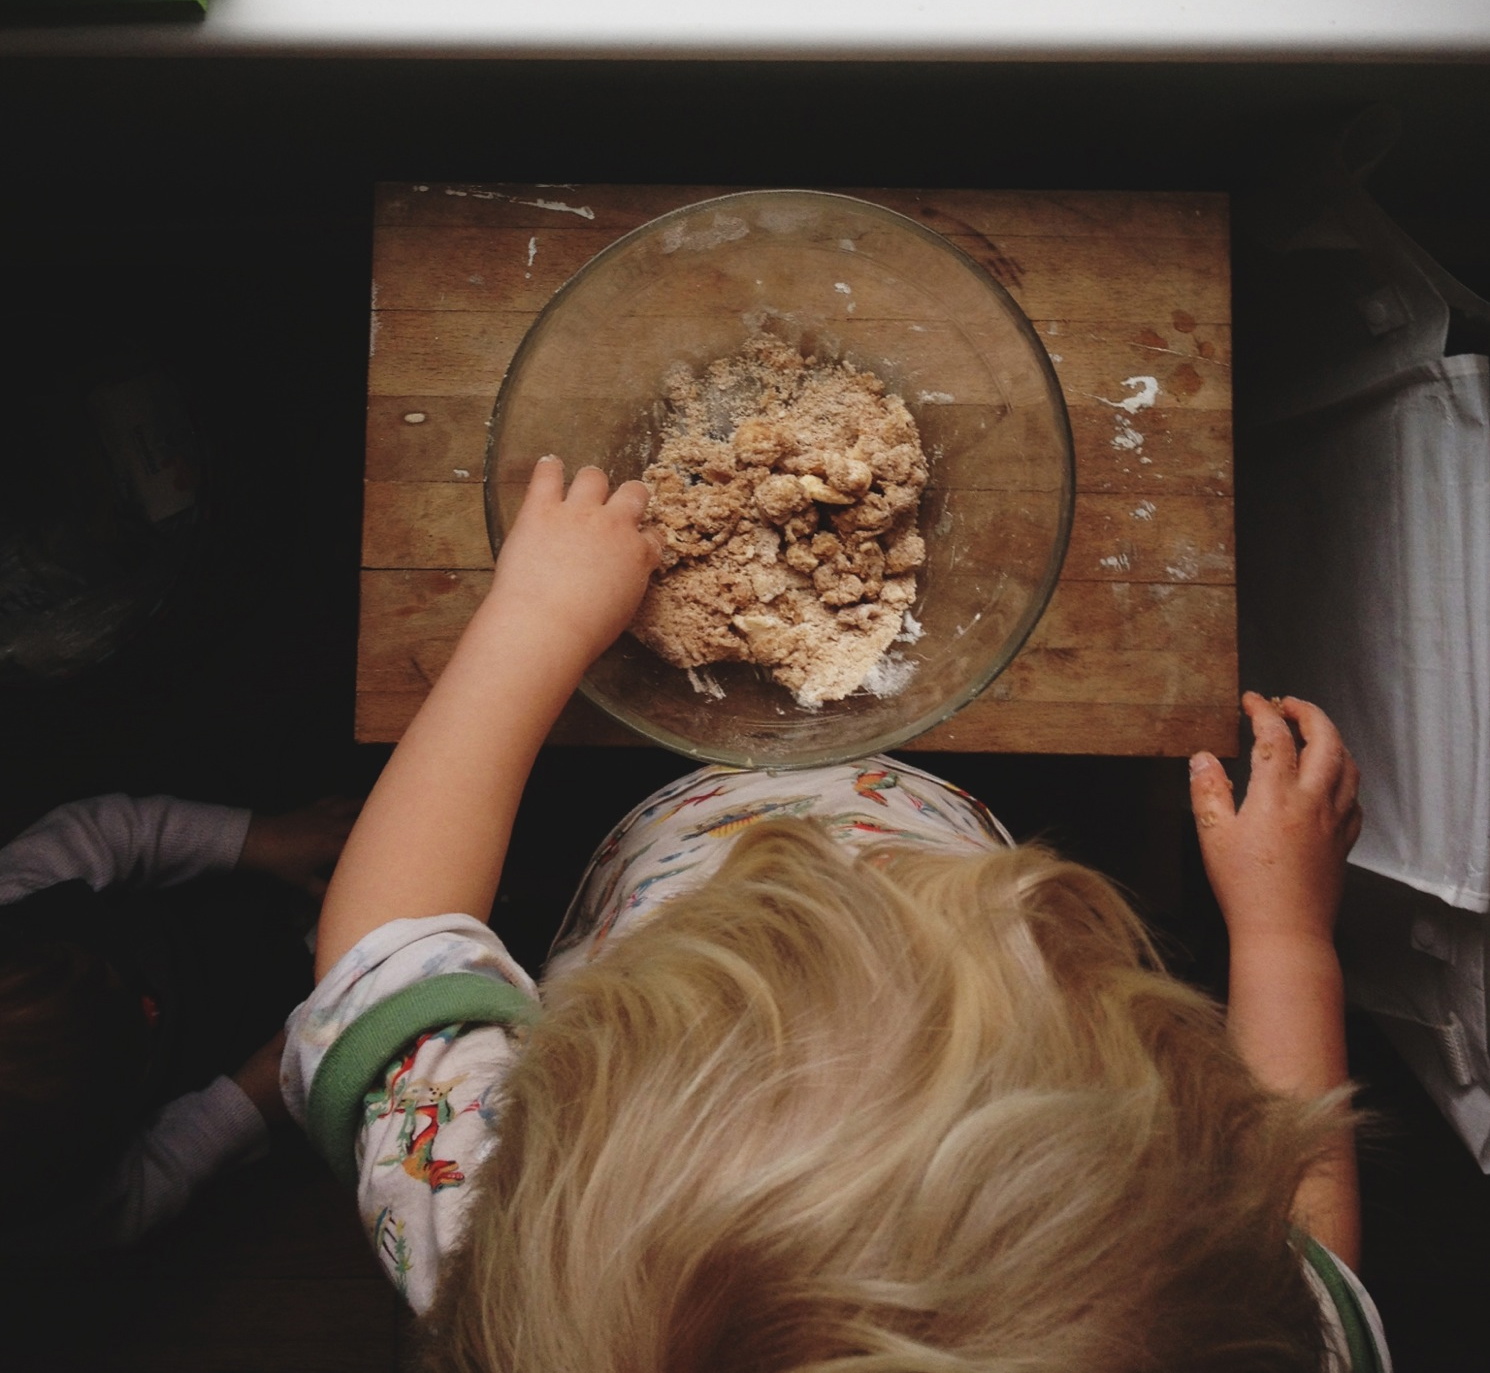
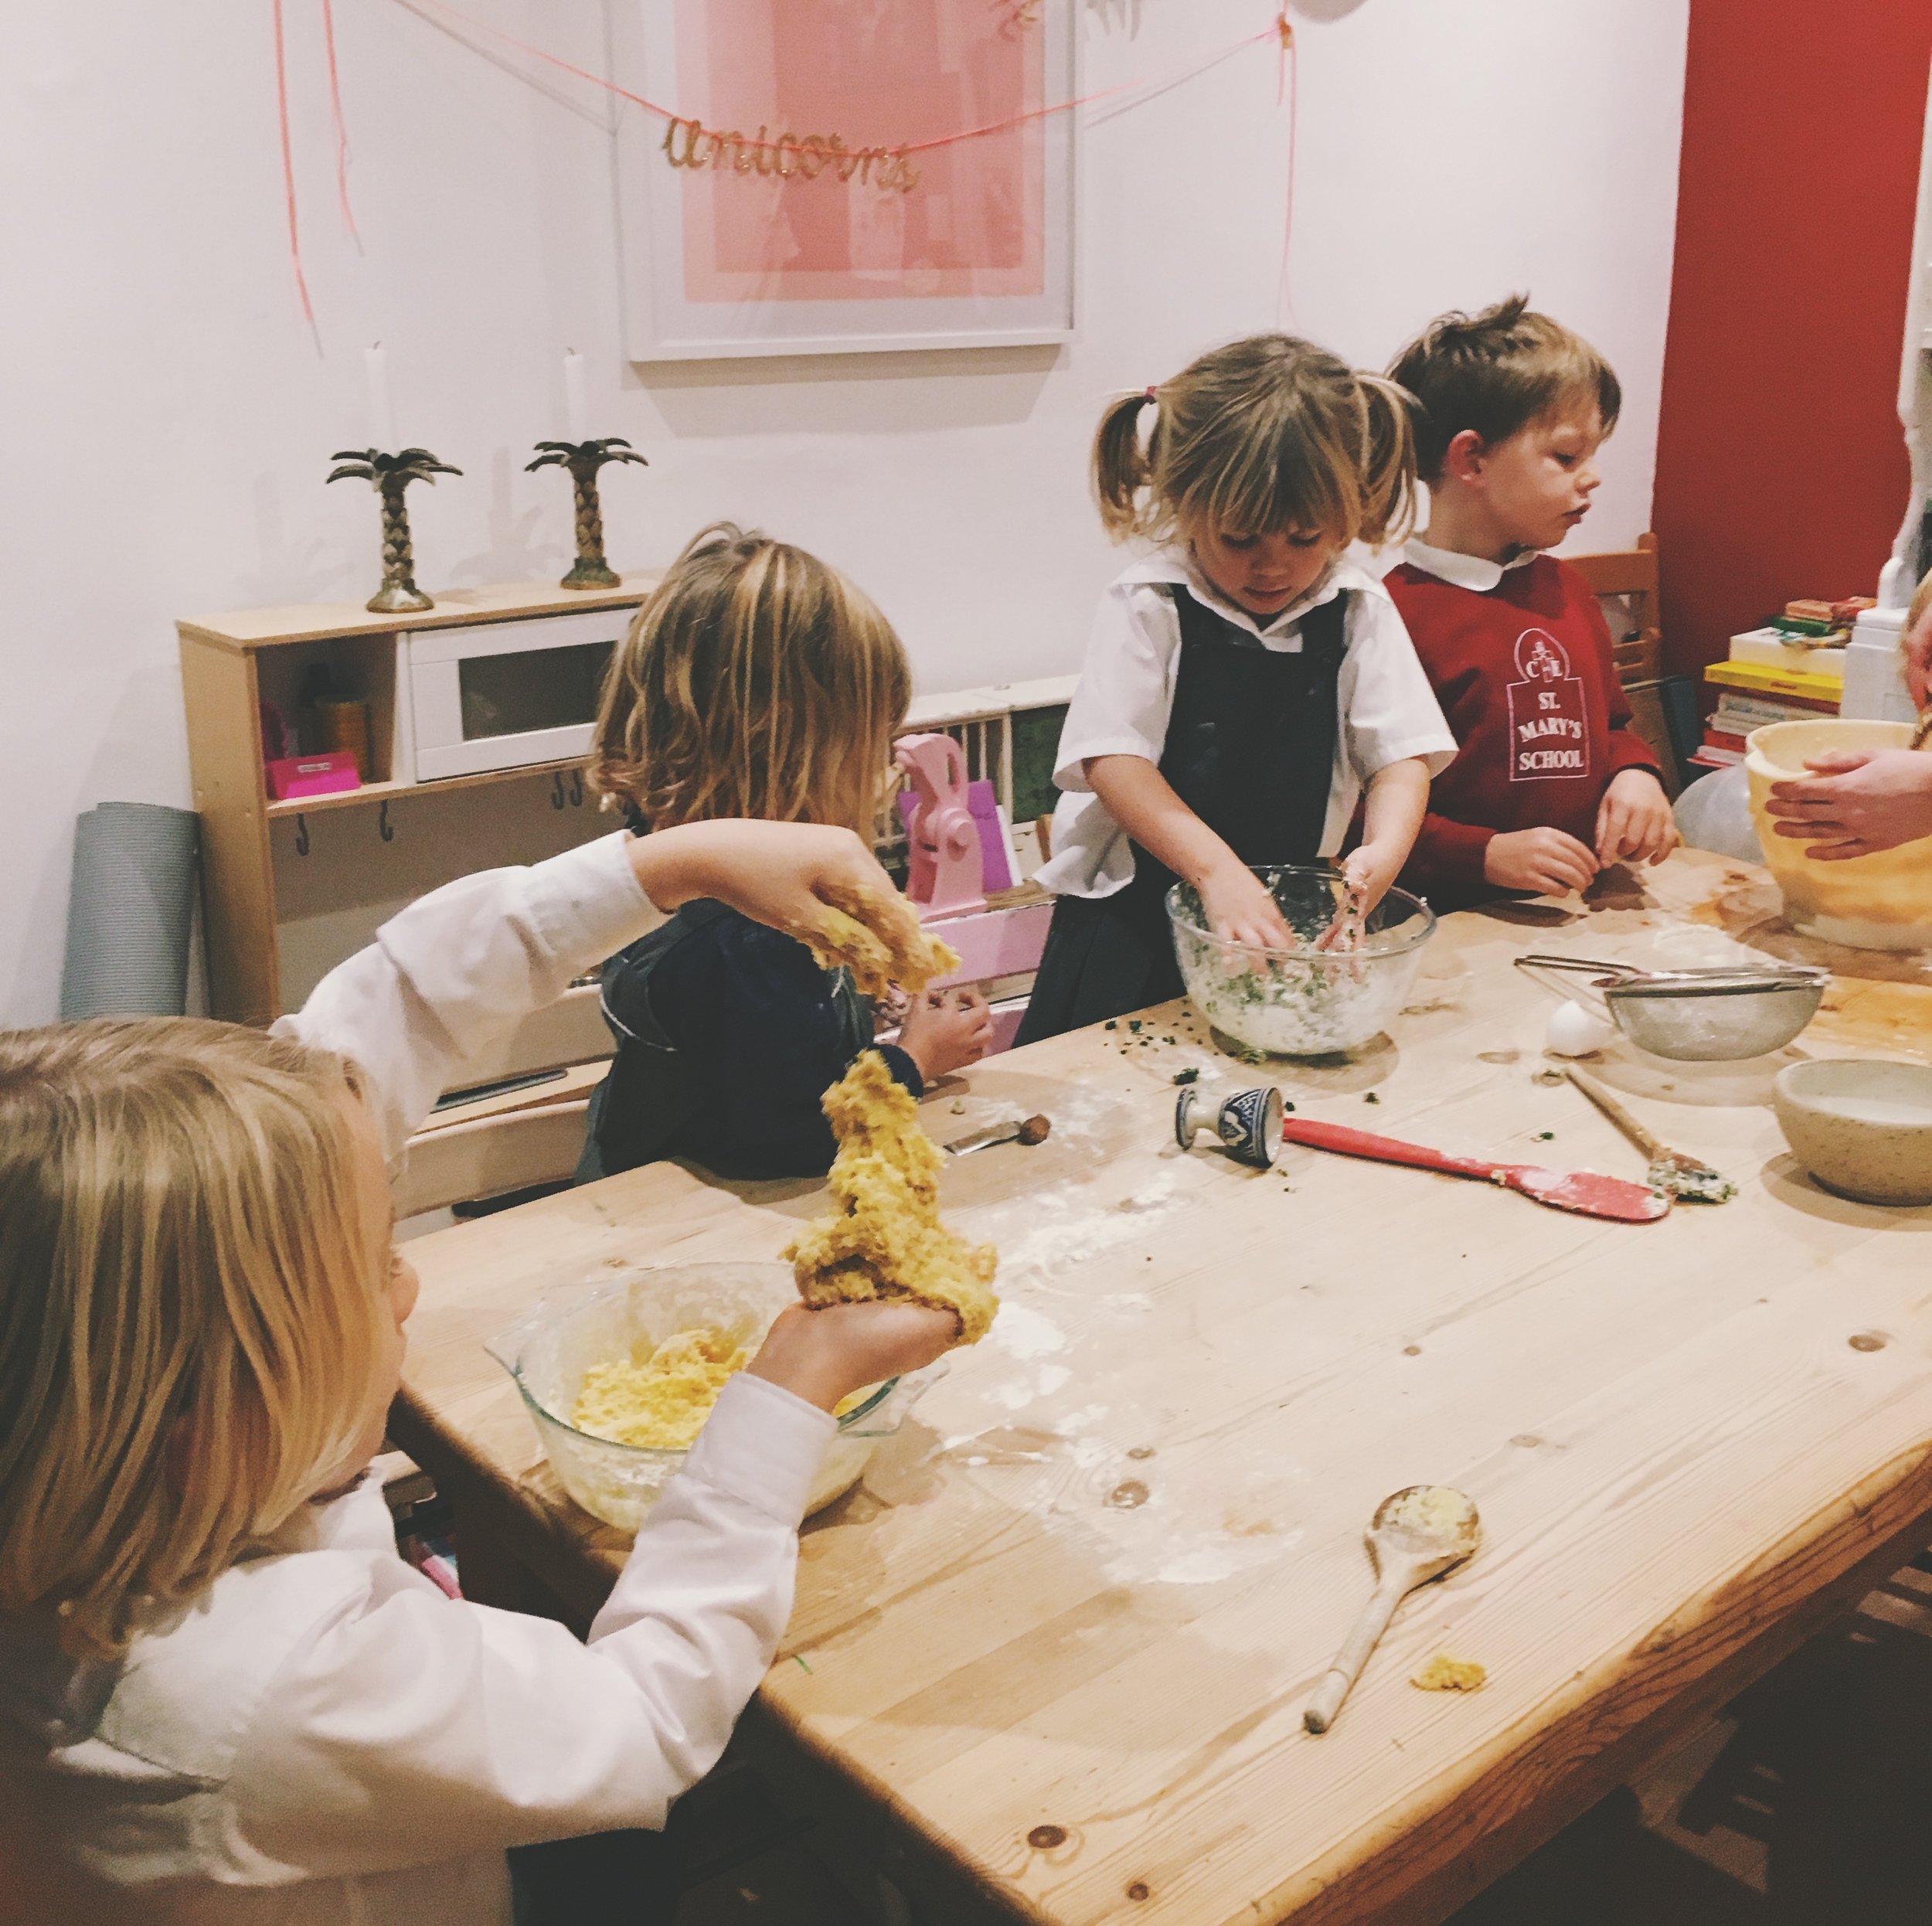
For both the regular and sweet potato gnocchi, mix your ingredients together in a big bowl to make a dough. This is why gnocchi is so great for kids - it couldn't be much simpler. Bigger kids can flex their maths muscles and help with weighing out the ingredients, and smaller ones can add and mix and mash. Kids are great at breaking eggs (accurately, for the most part...kind of) and love to measure things. Once you have your dough vaguely mixed, split it into portions for adding flavour (set the sweet potato dough aside - it's done for now). We gave each child a bowl of dough, with the smallest two on a team, and a dough colour each. Pre-wilt the spinach by placing it in a colander and pouring over boiling water, then squeeze out as much liquid as possible and chop - or have a small person chop. Add to one portion of dough with a little squeezy garlic and a pinch of salt and pepper. Mix well and form into a ball. For the beetroot powder we added approx a tablespoon (kids in charge!) and for the saffron we dissolved a pinch in a little warm water and mixed it in.
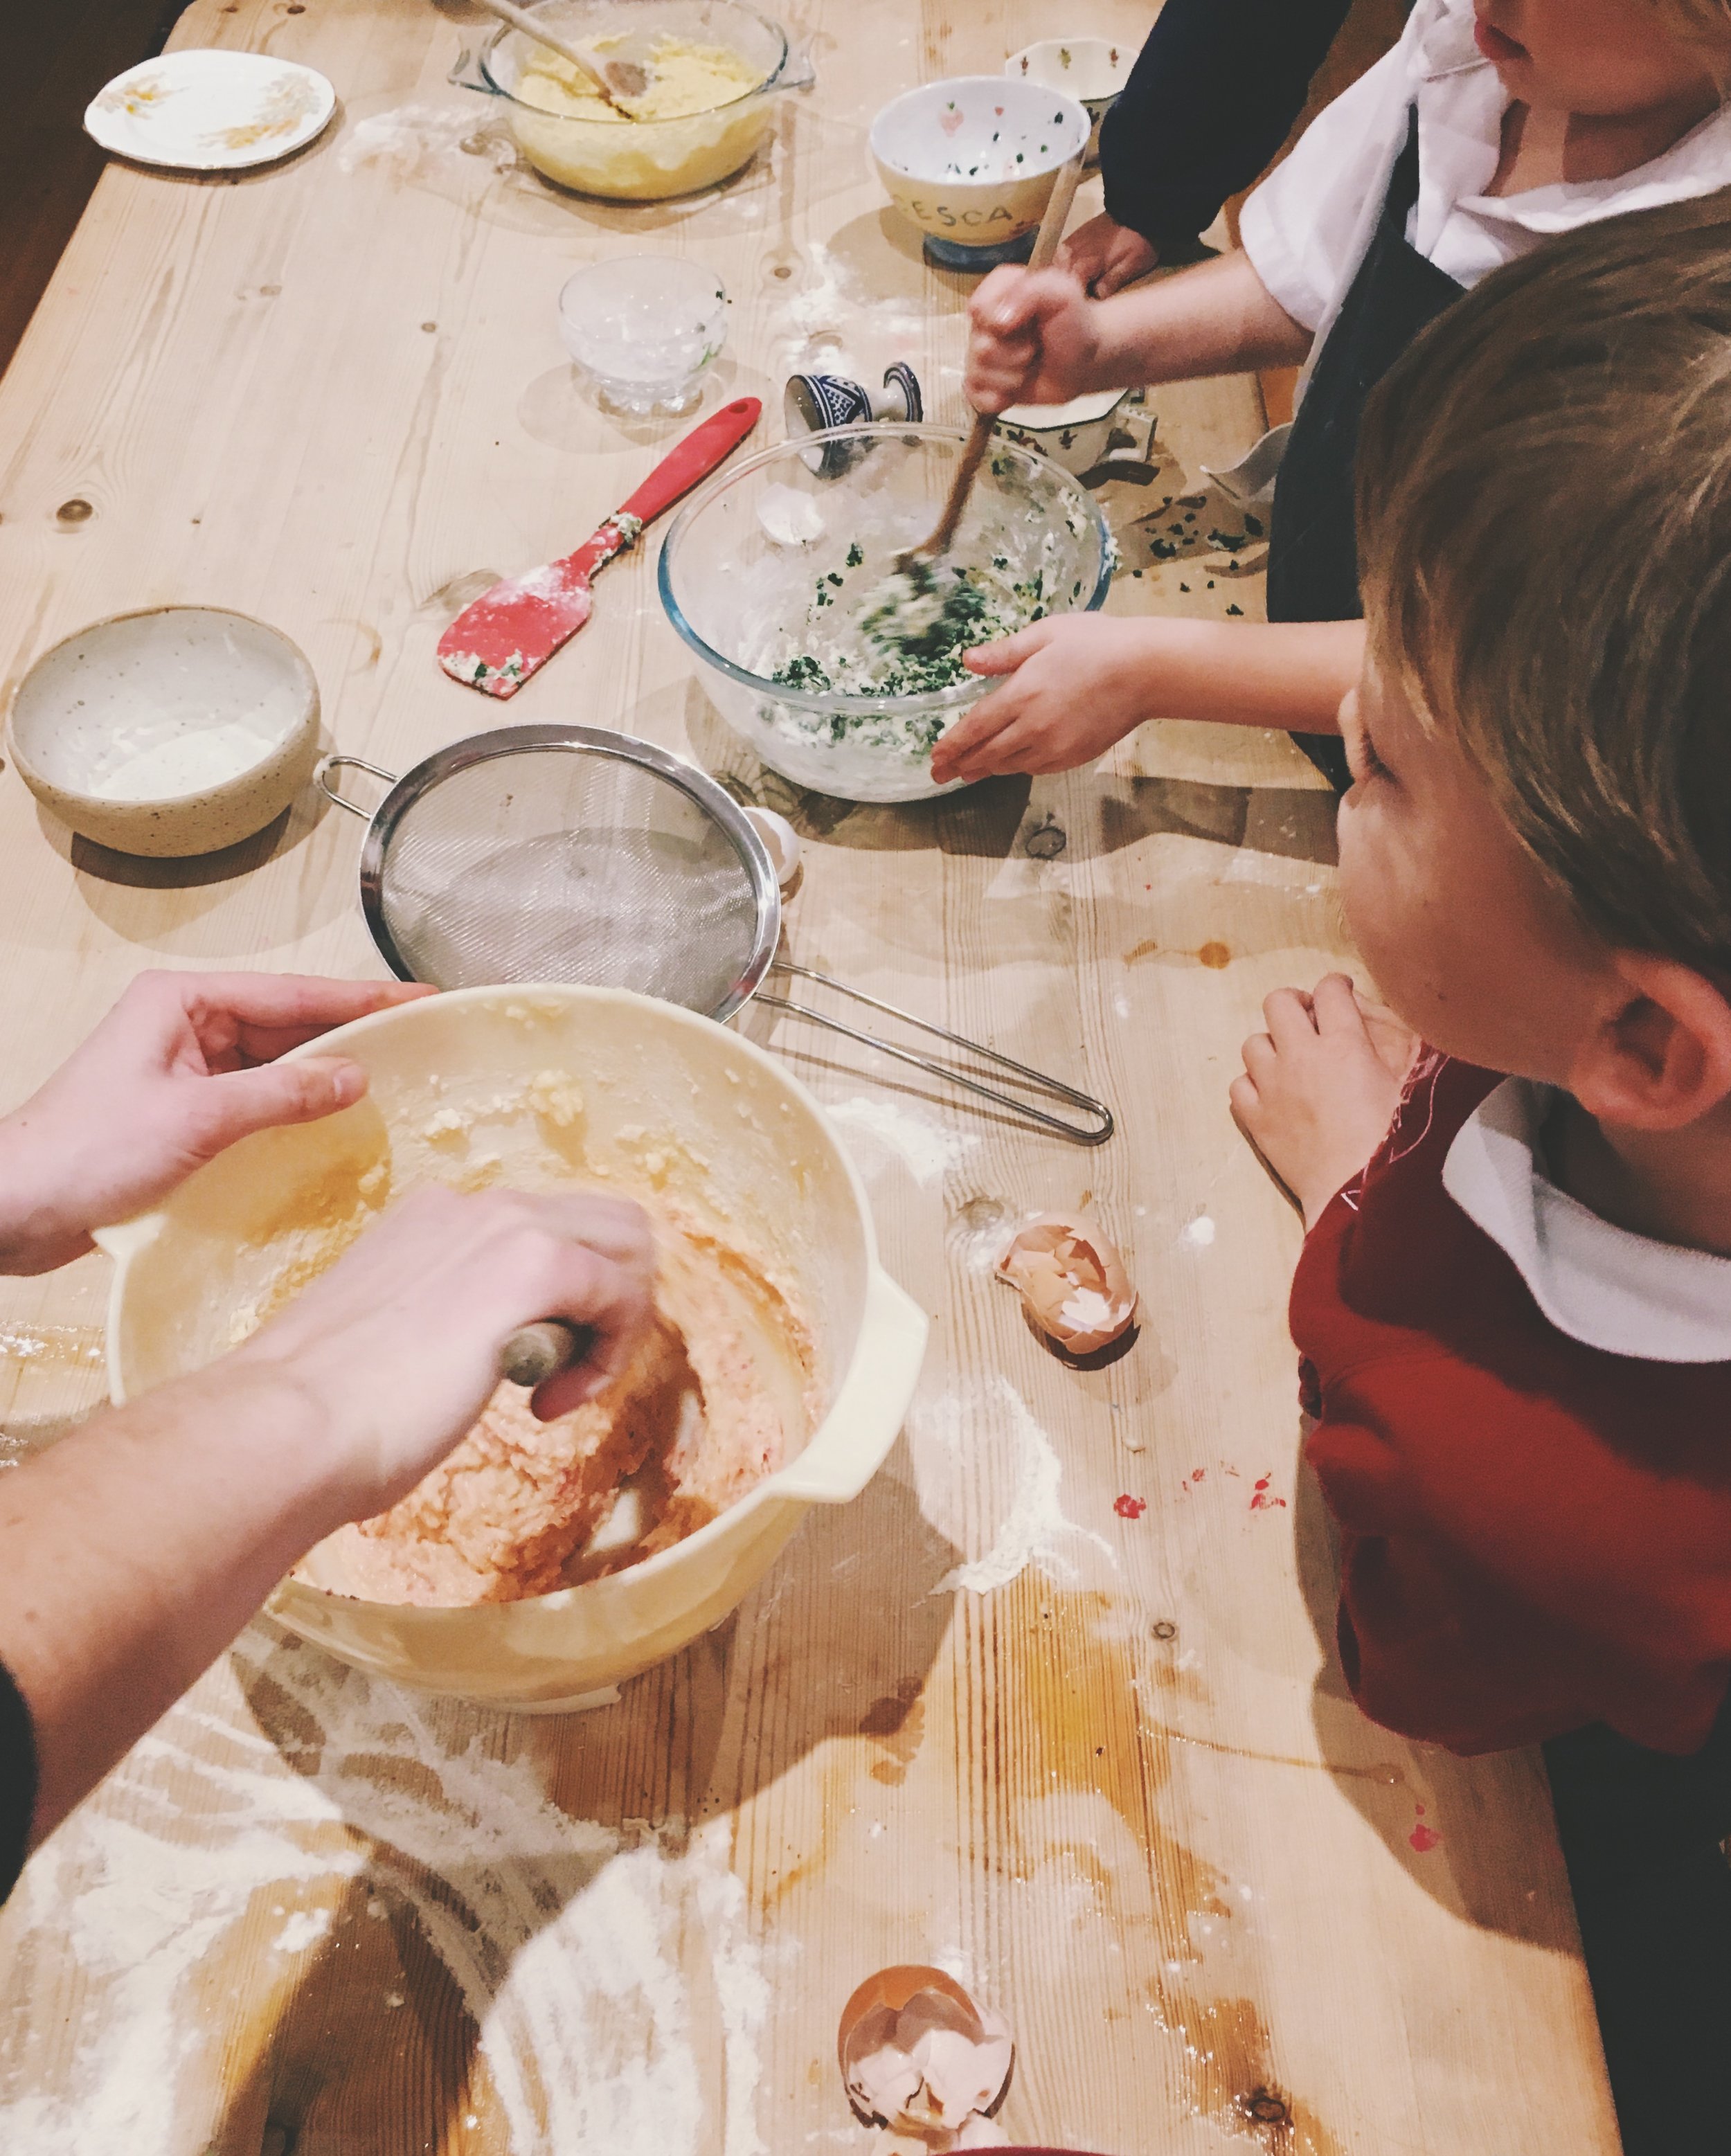
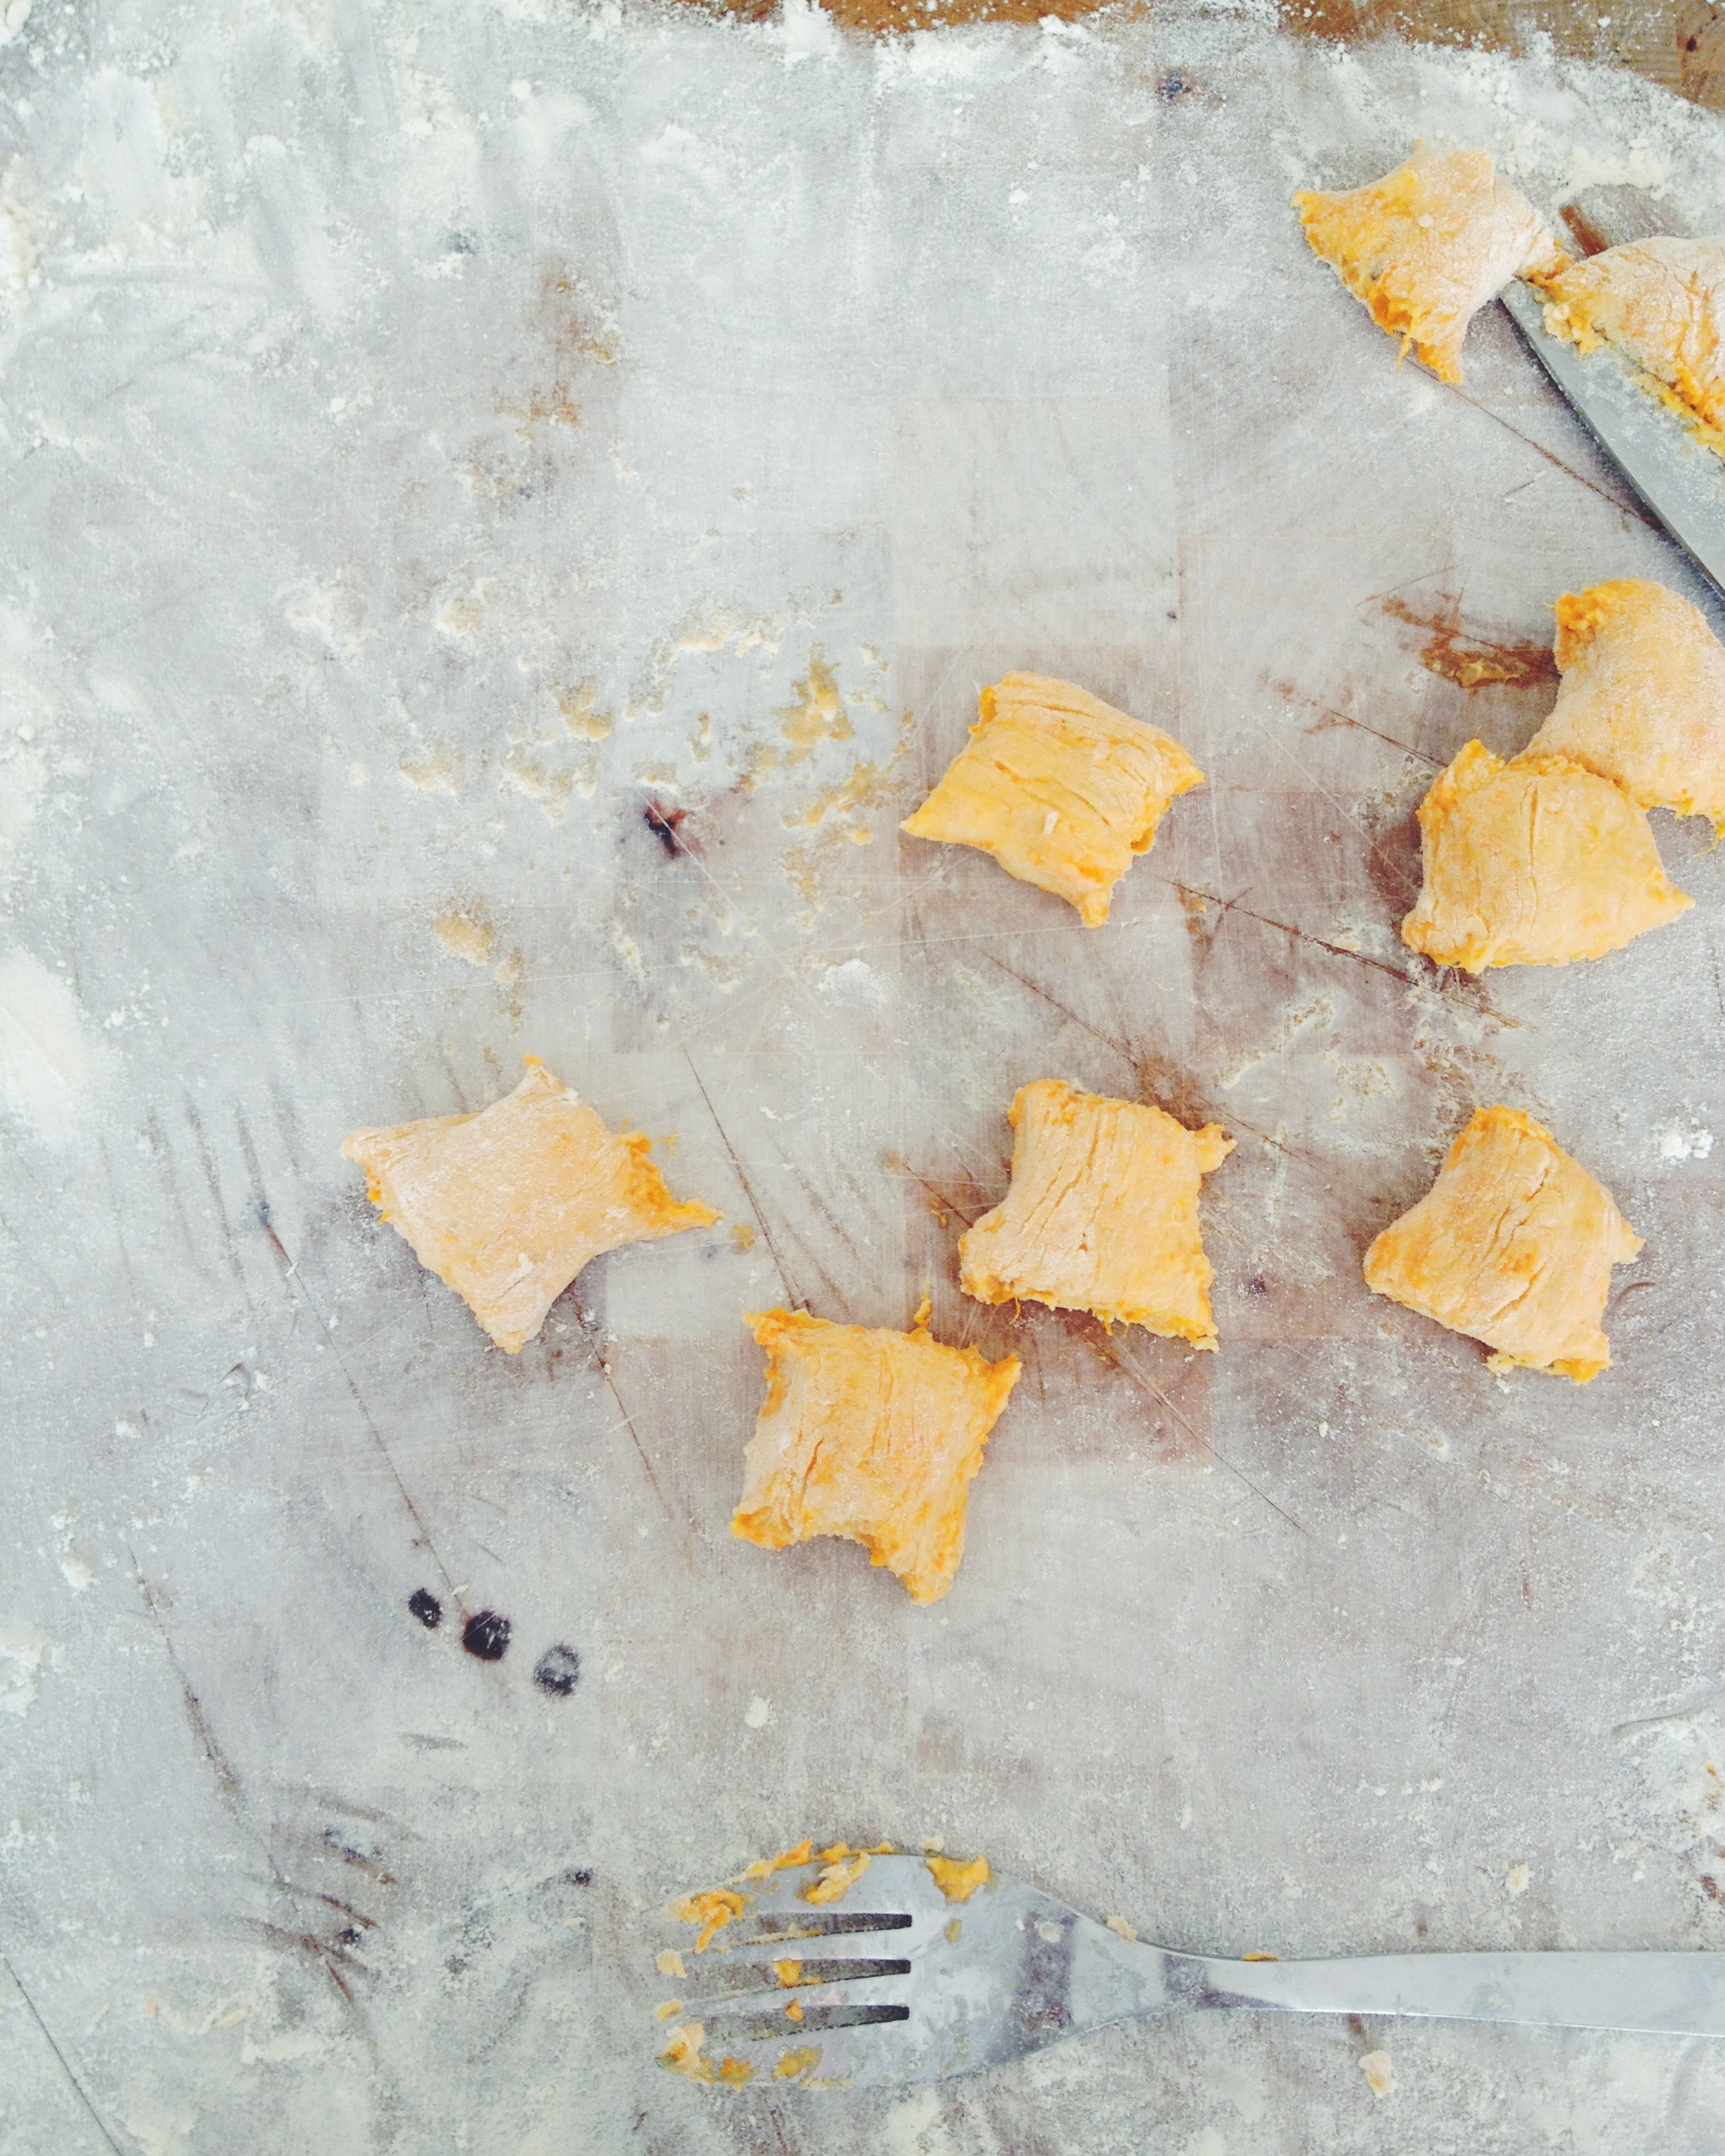
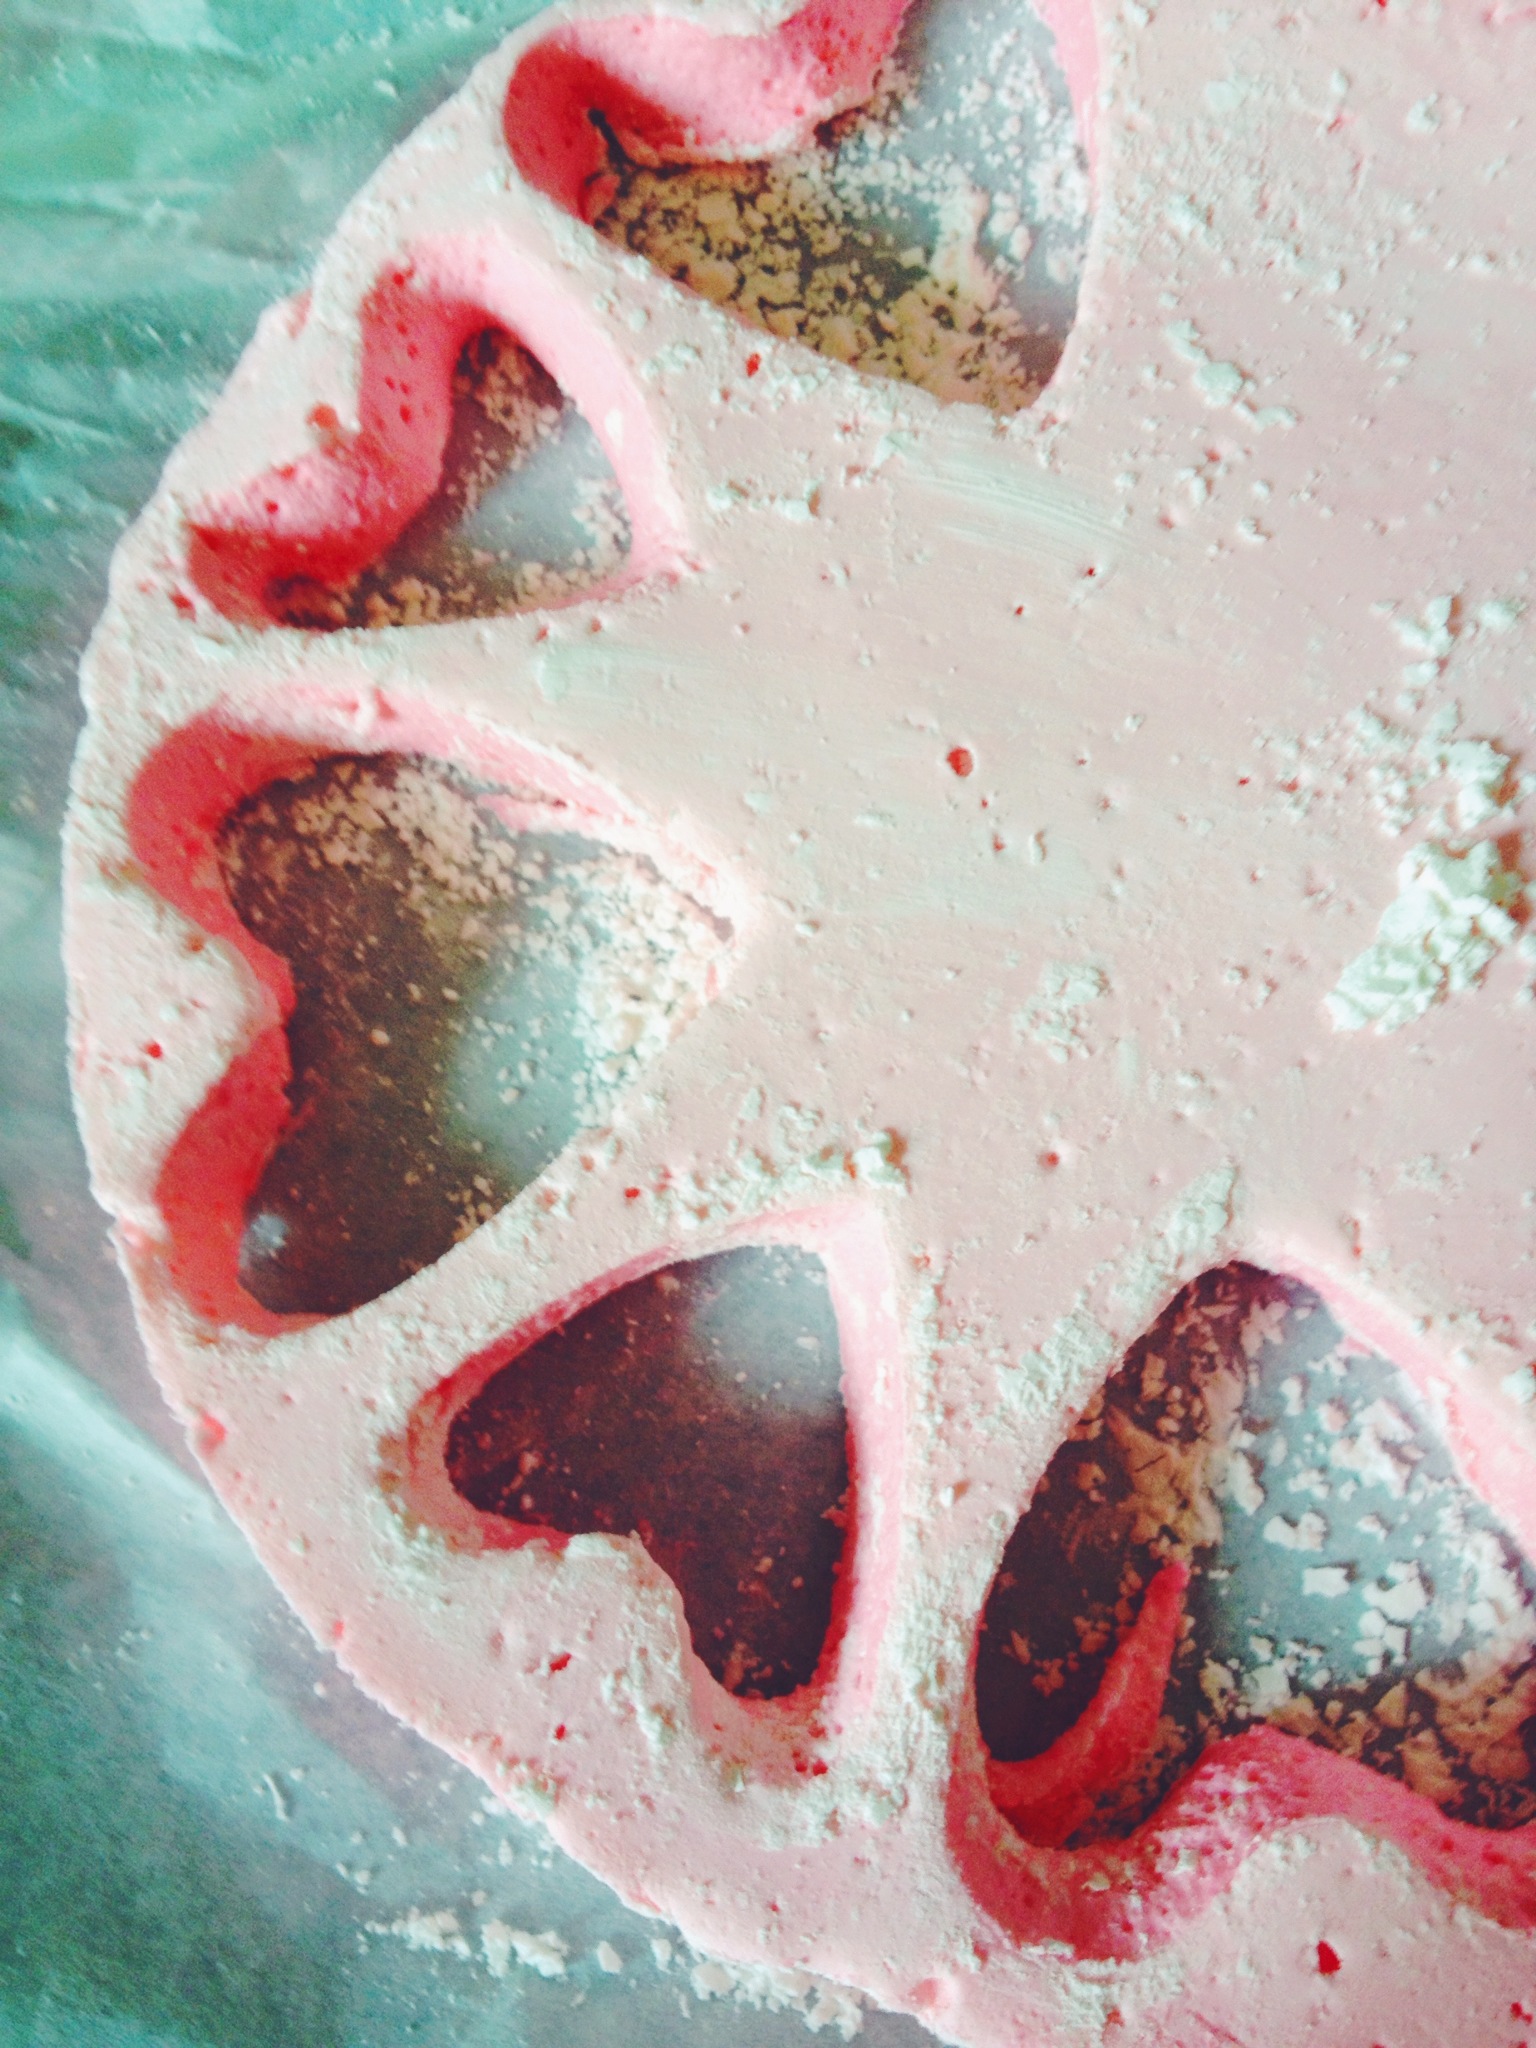
The dough should be not too sticky, and lovely to squash. Add more flour a bit at a time until it feels right. You need a liberal dusting of flour (and tolerance for some fairly epic mess) before asking the kids to roll their balls of dough into long dough snakes. Then dole out some lovely sharp knives for them to cut thumb-sized dough nuggets. With supervision and appropriate sizes, knife wielding children needn't be an issue, and they love being given the responsibility.

Actual real life ragamuffins
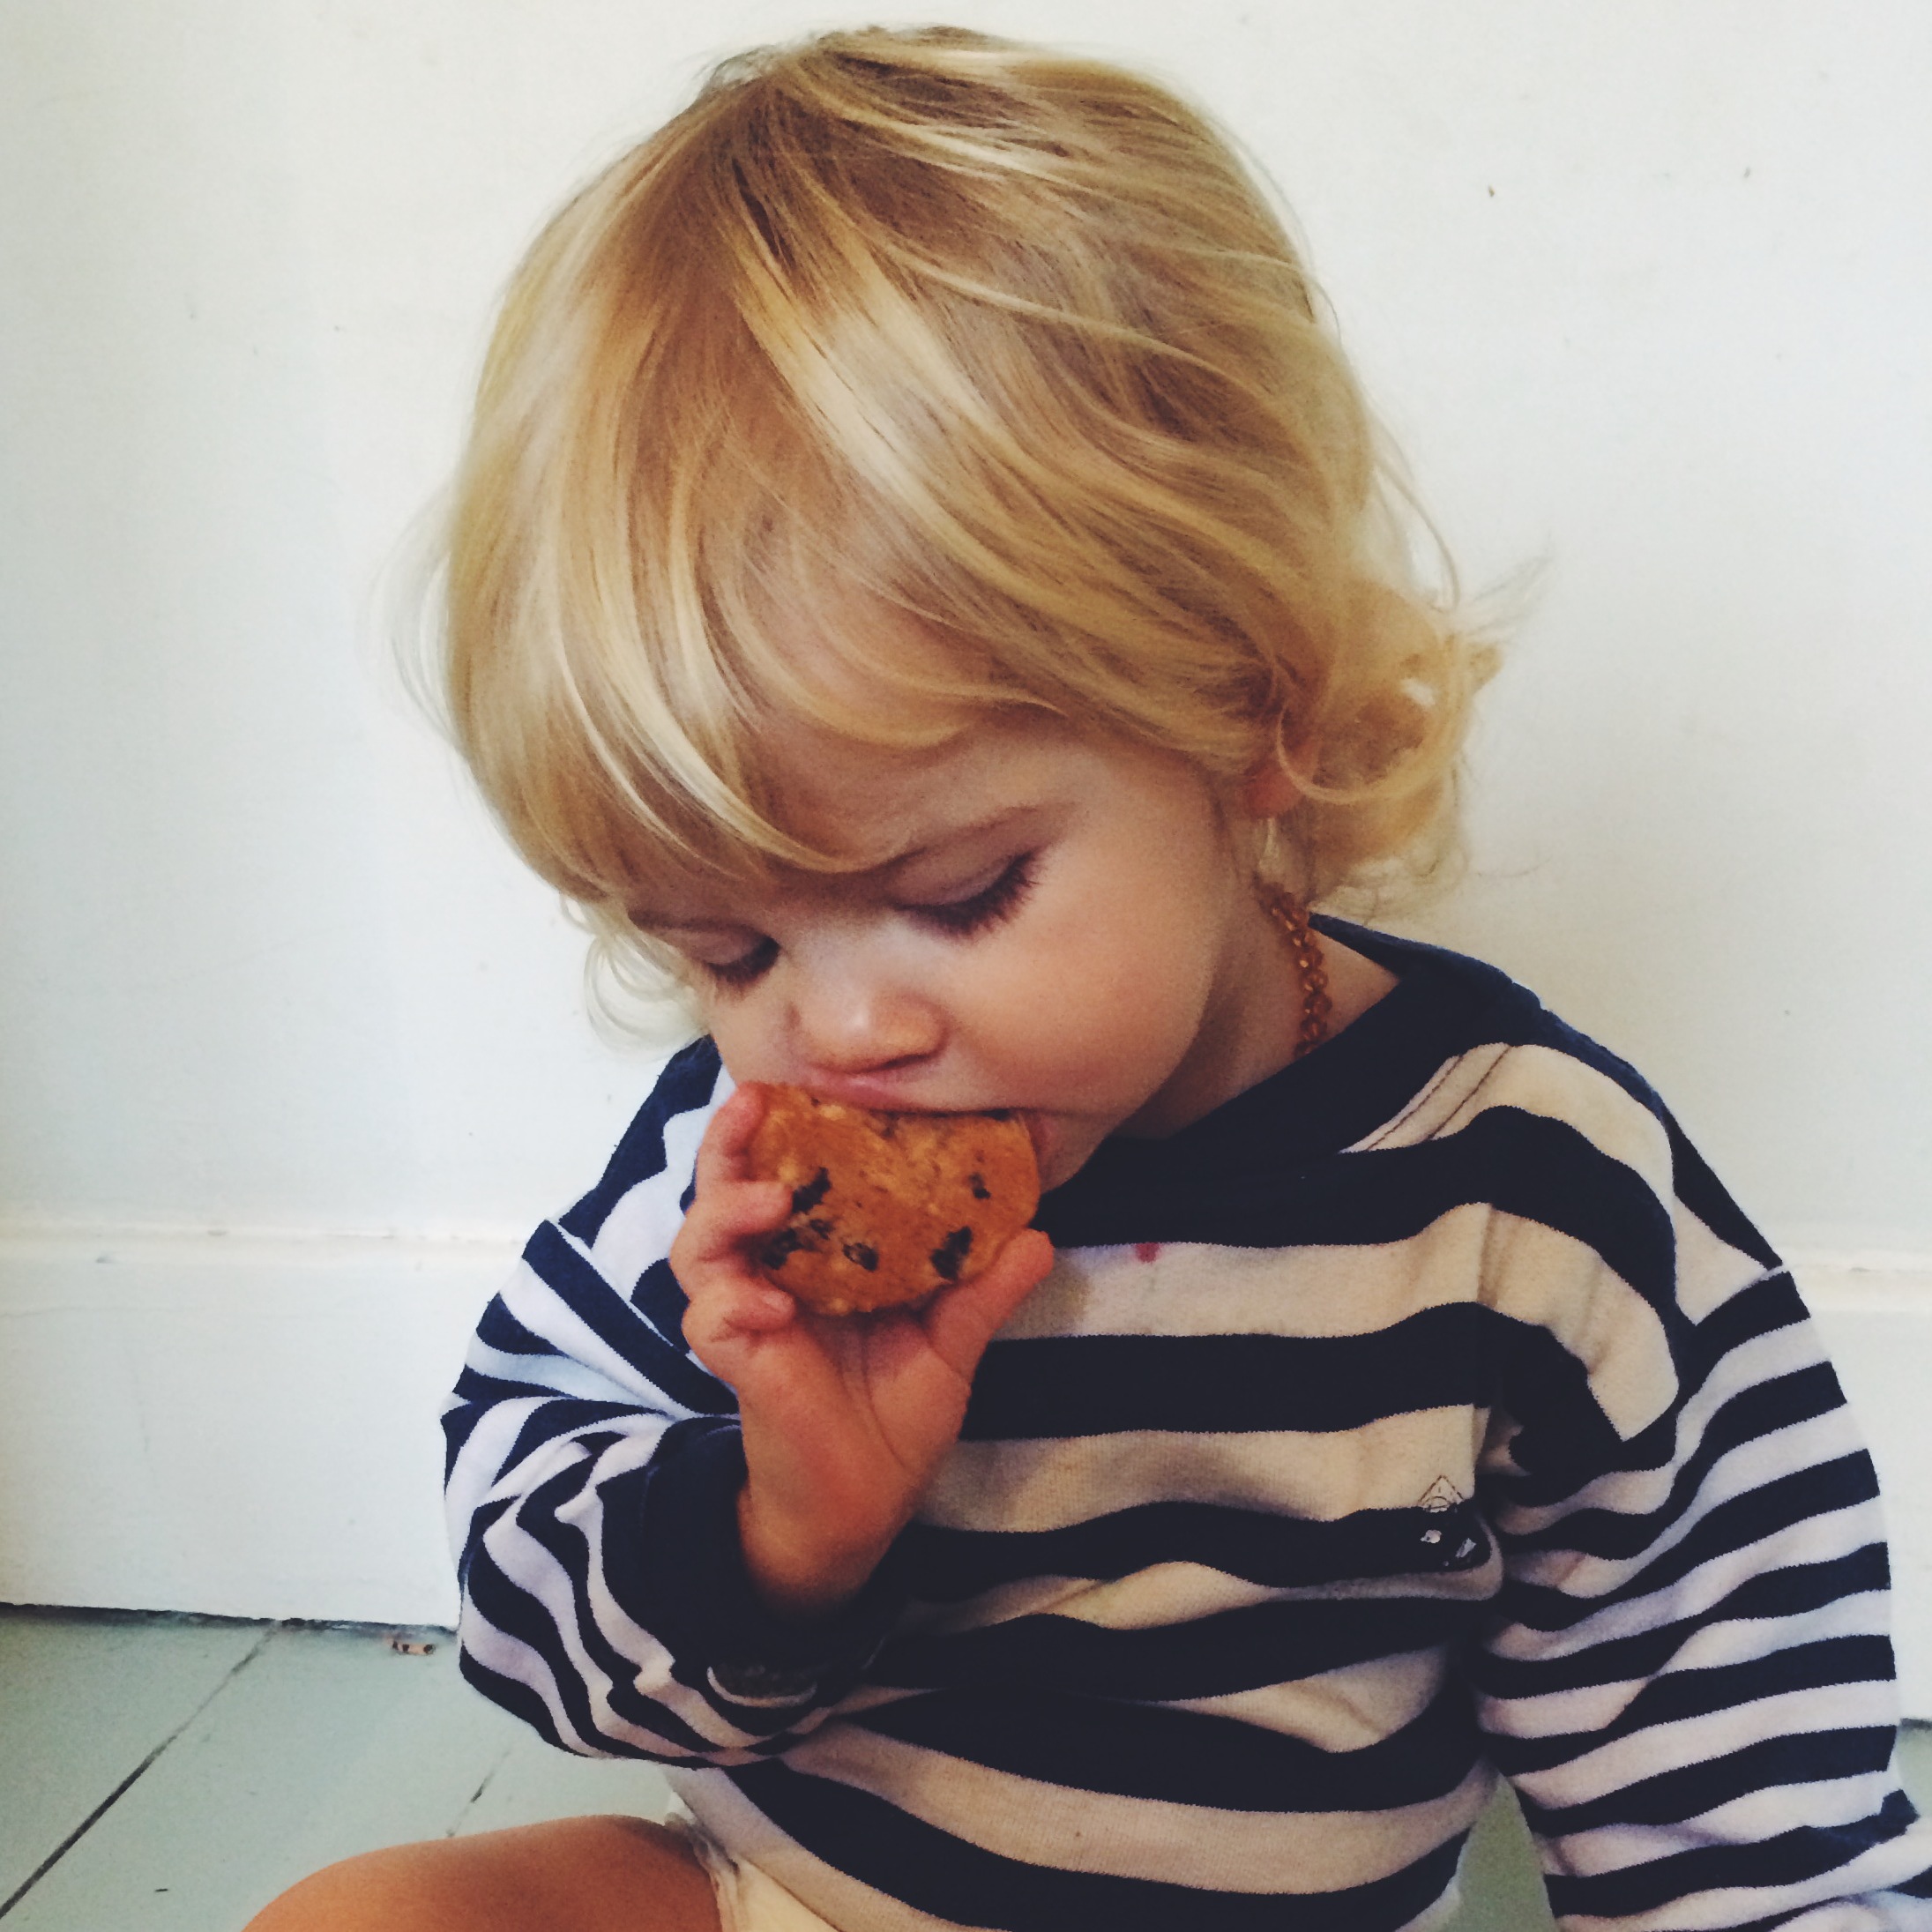
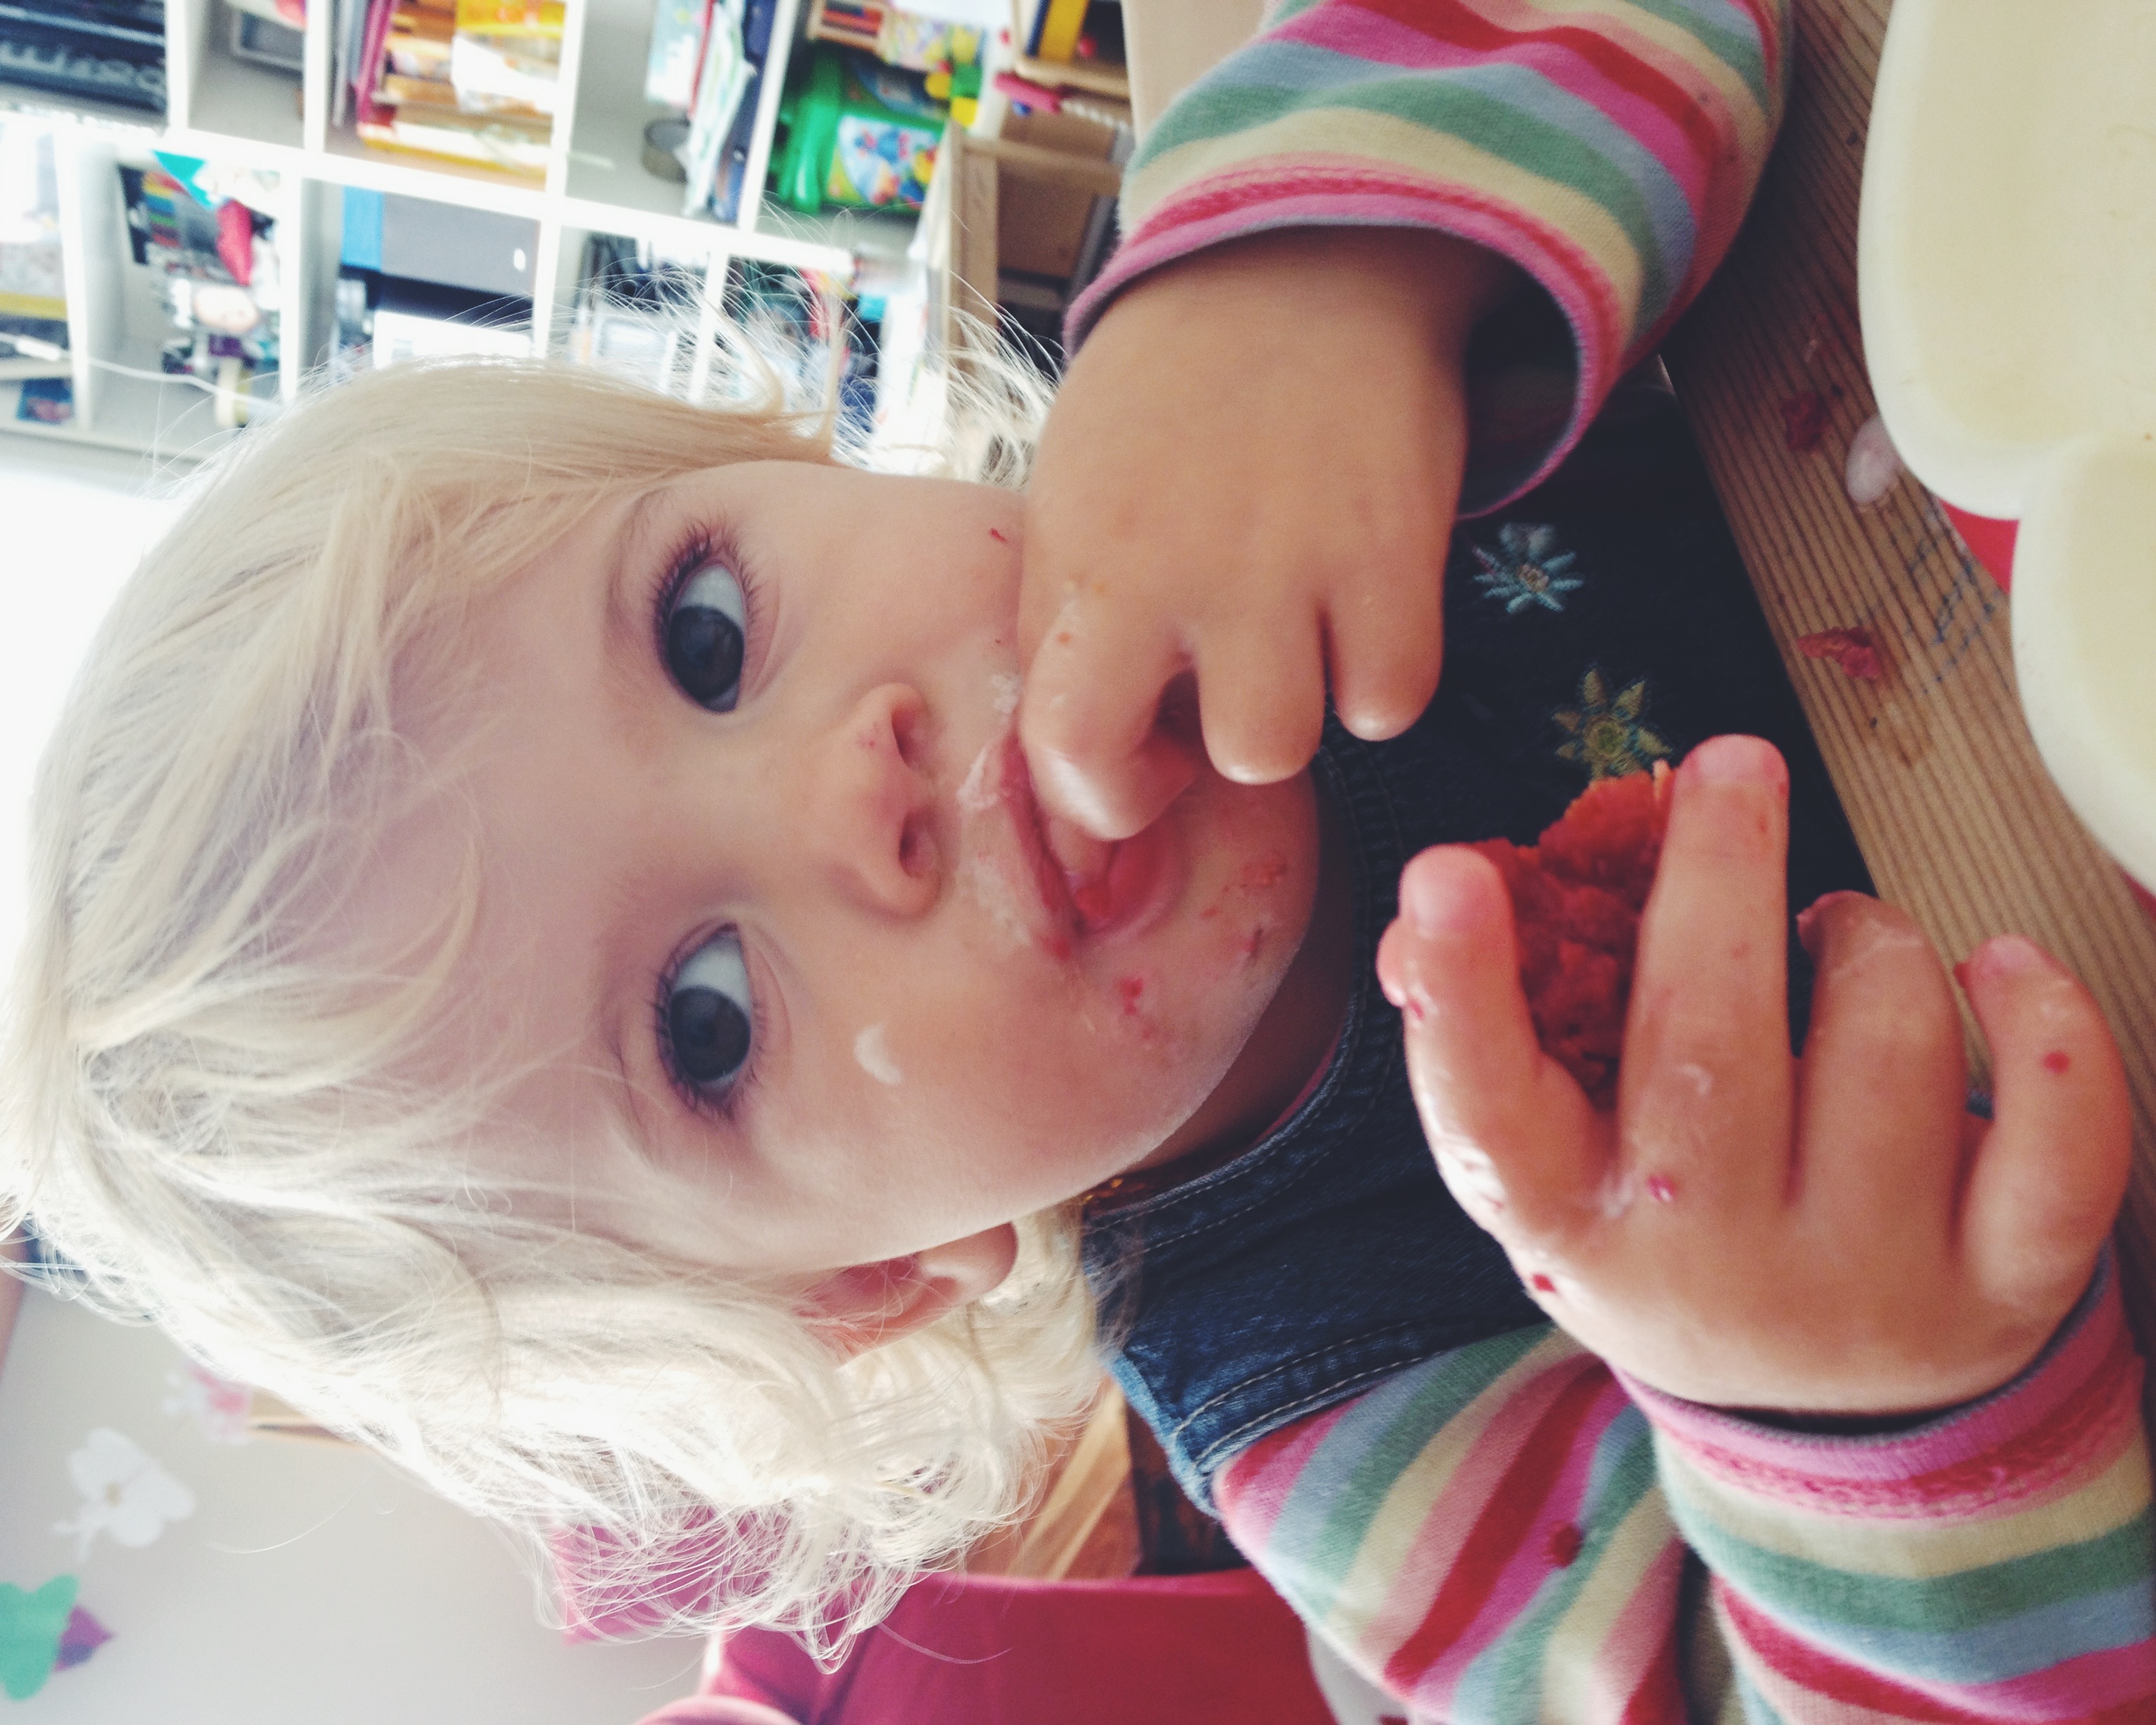
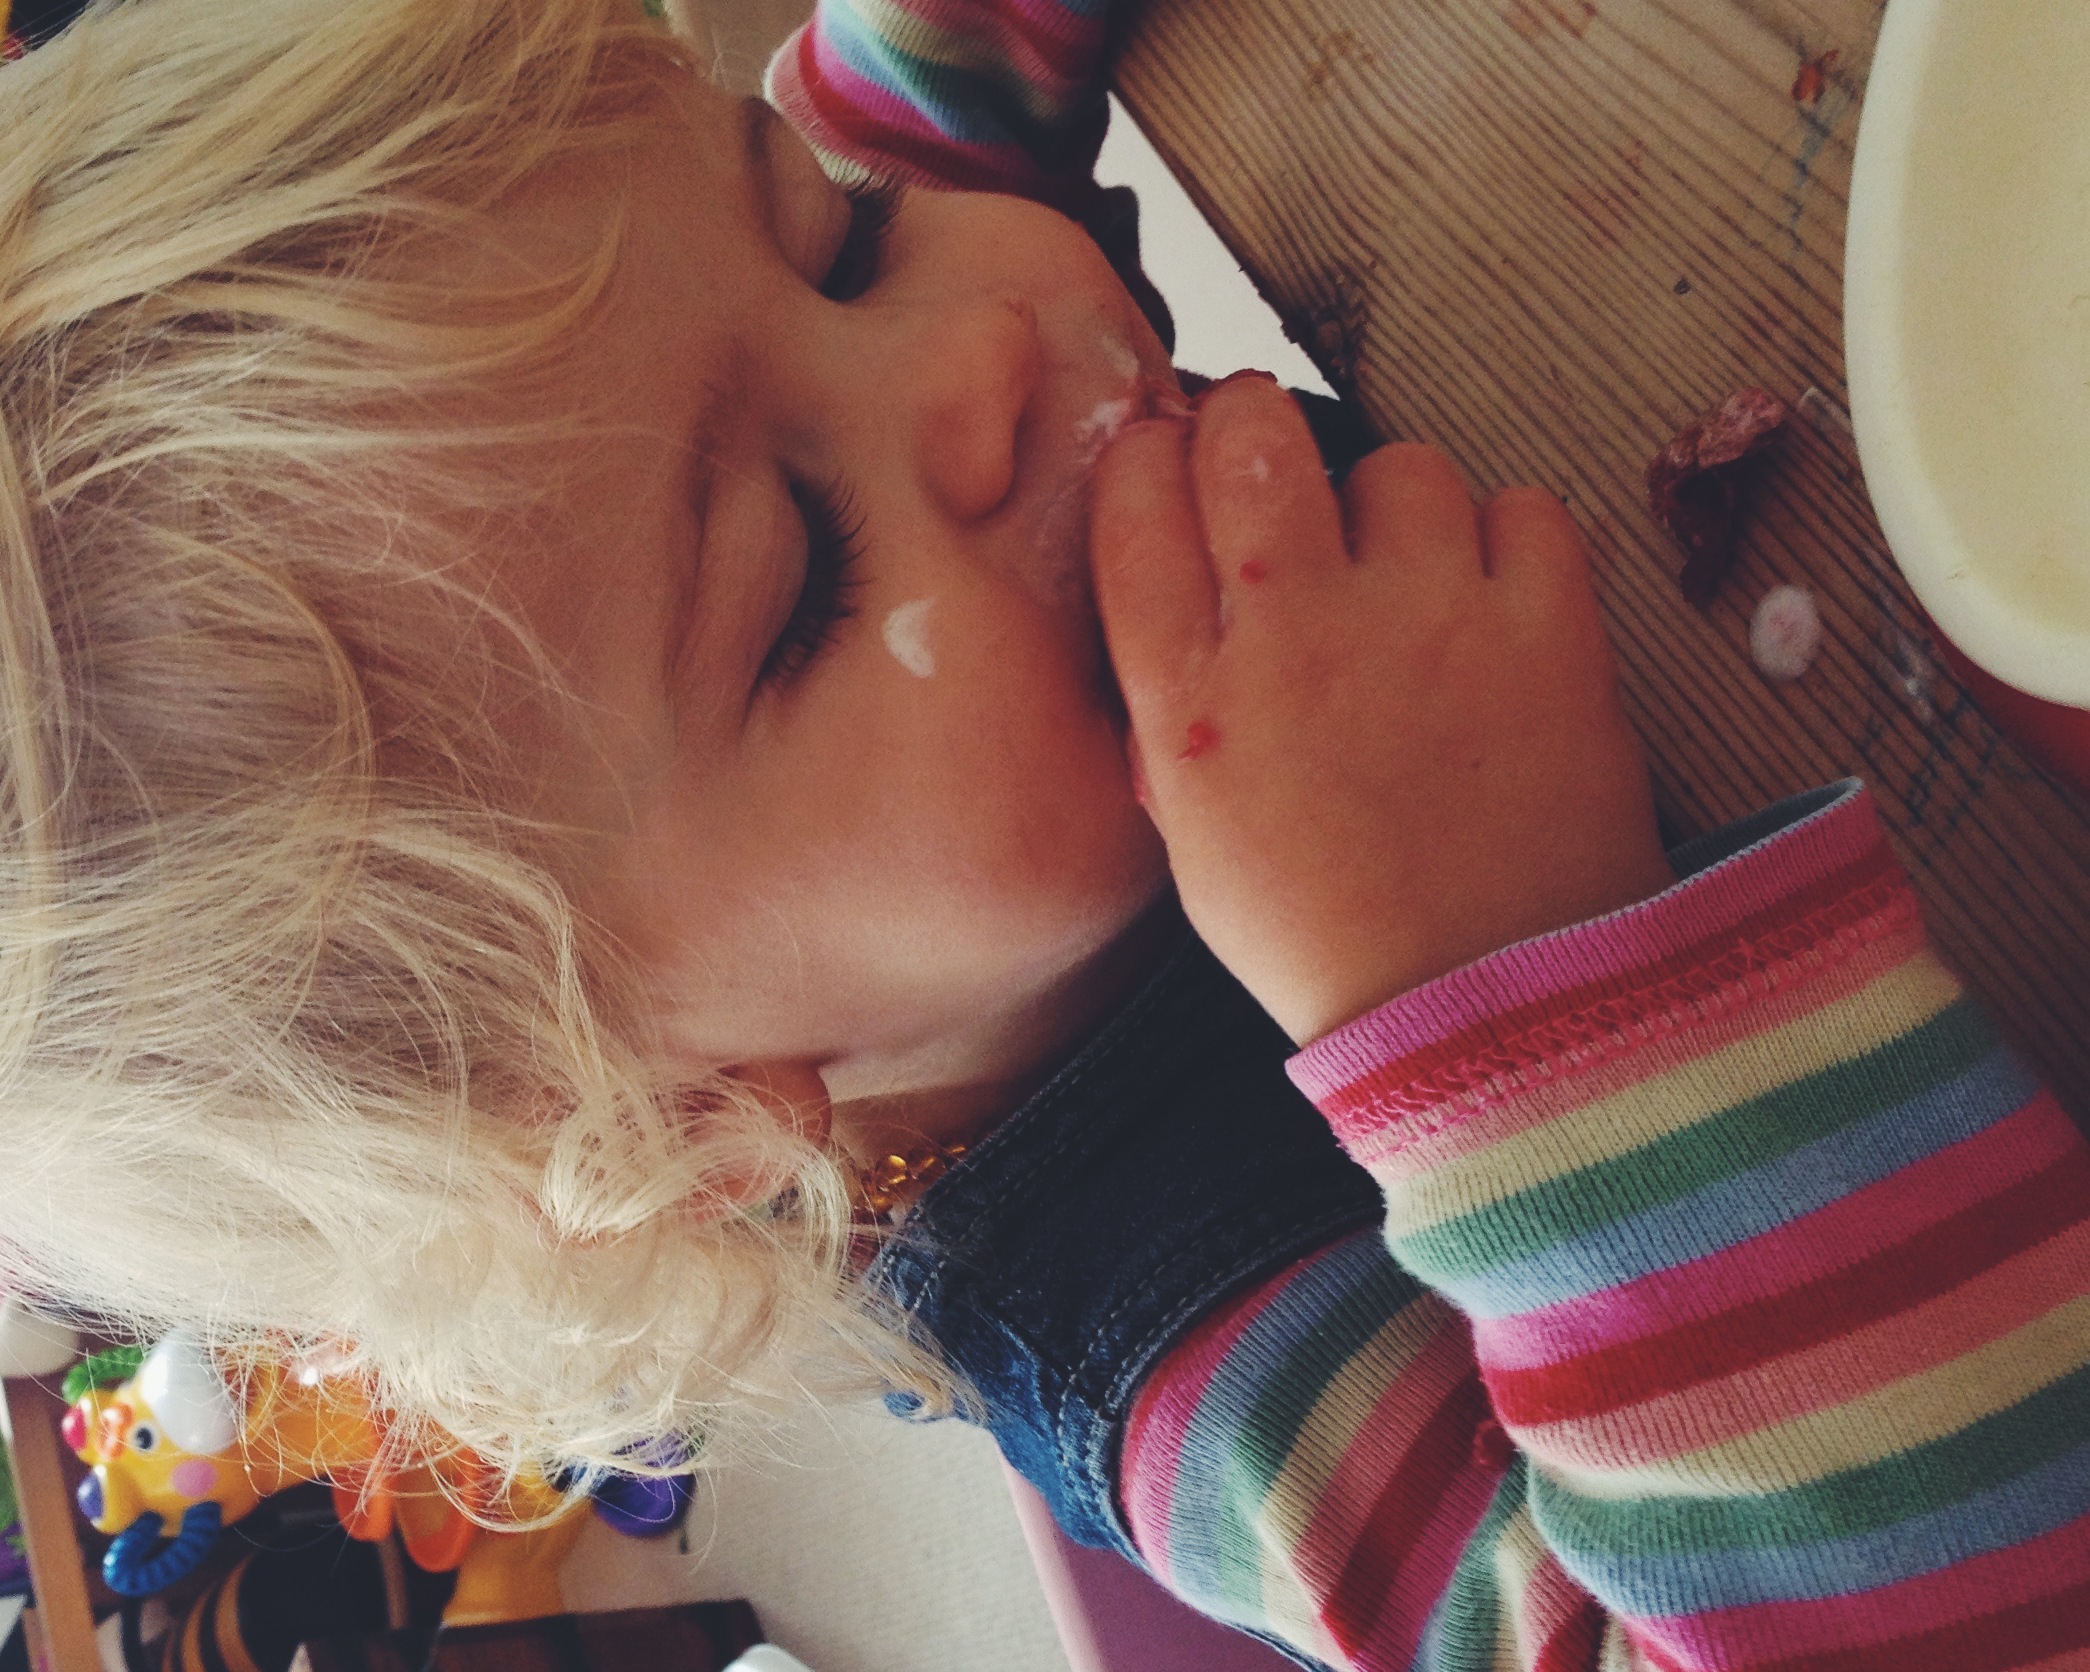
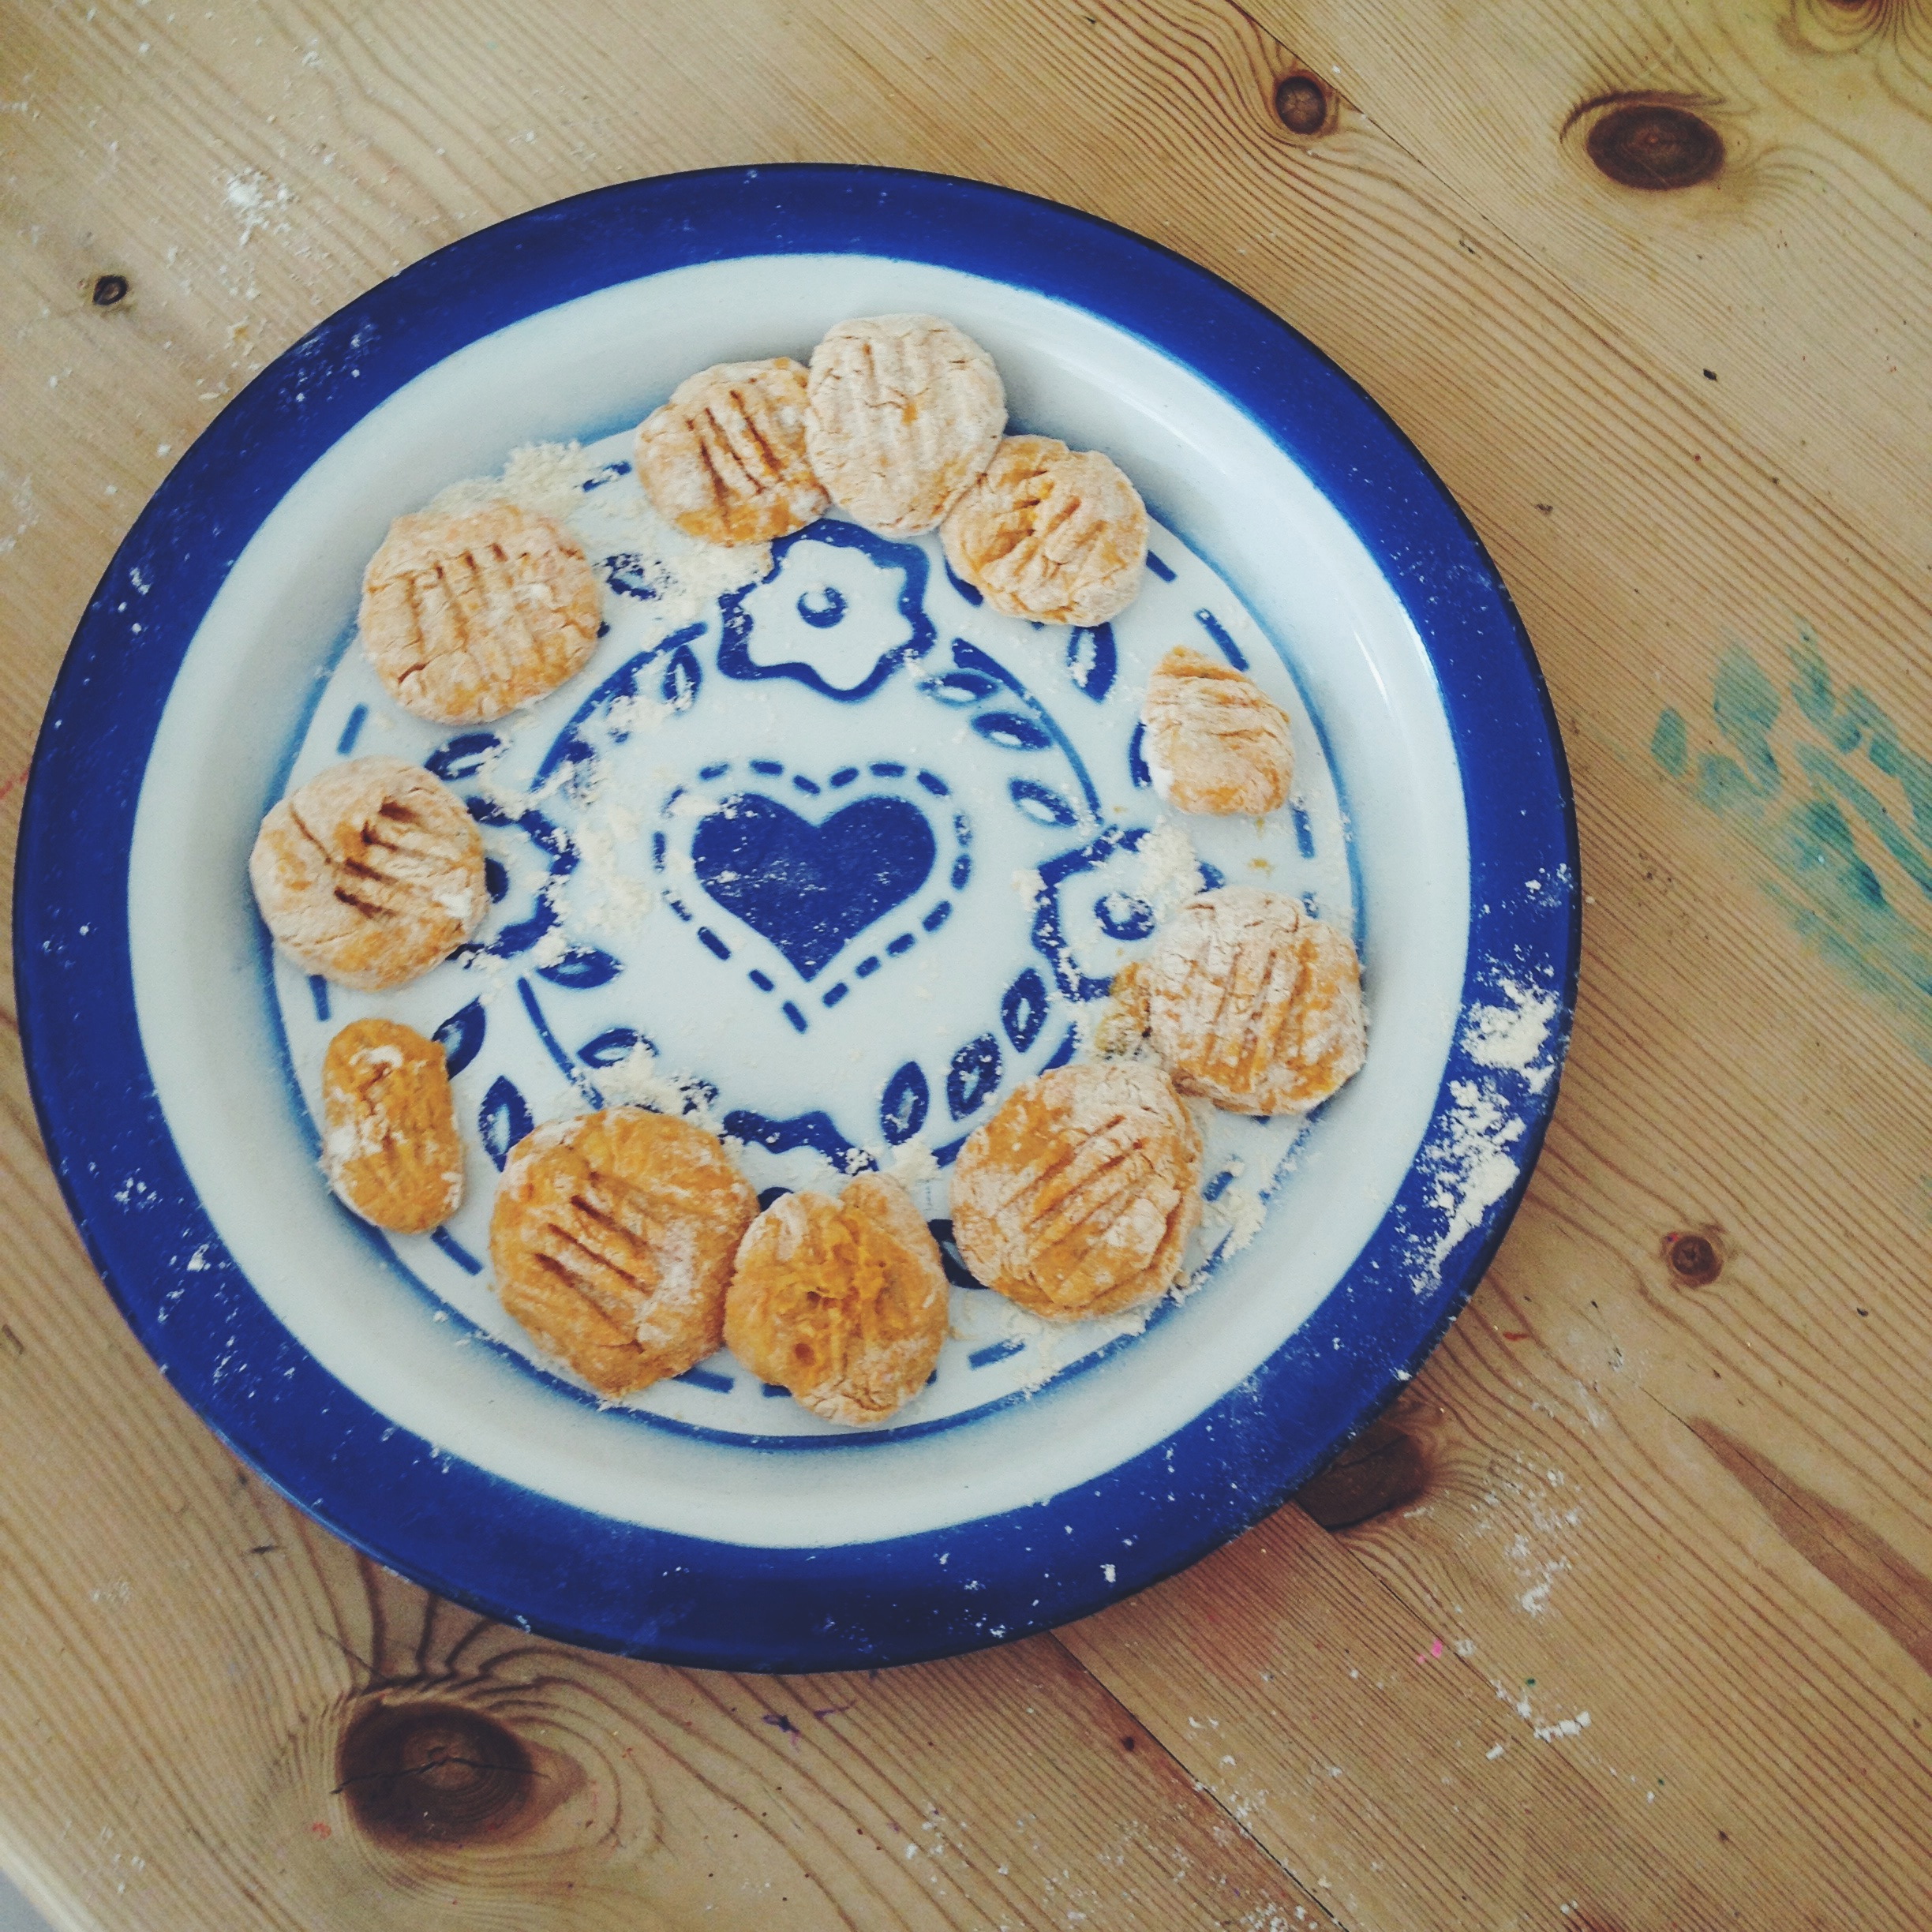
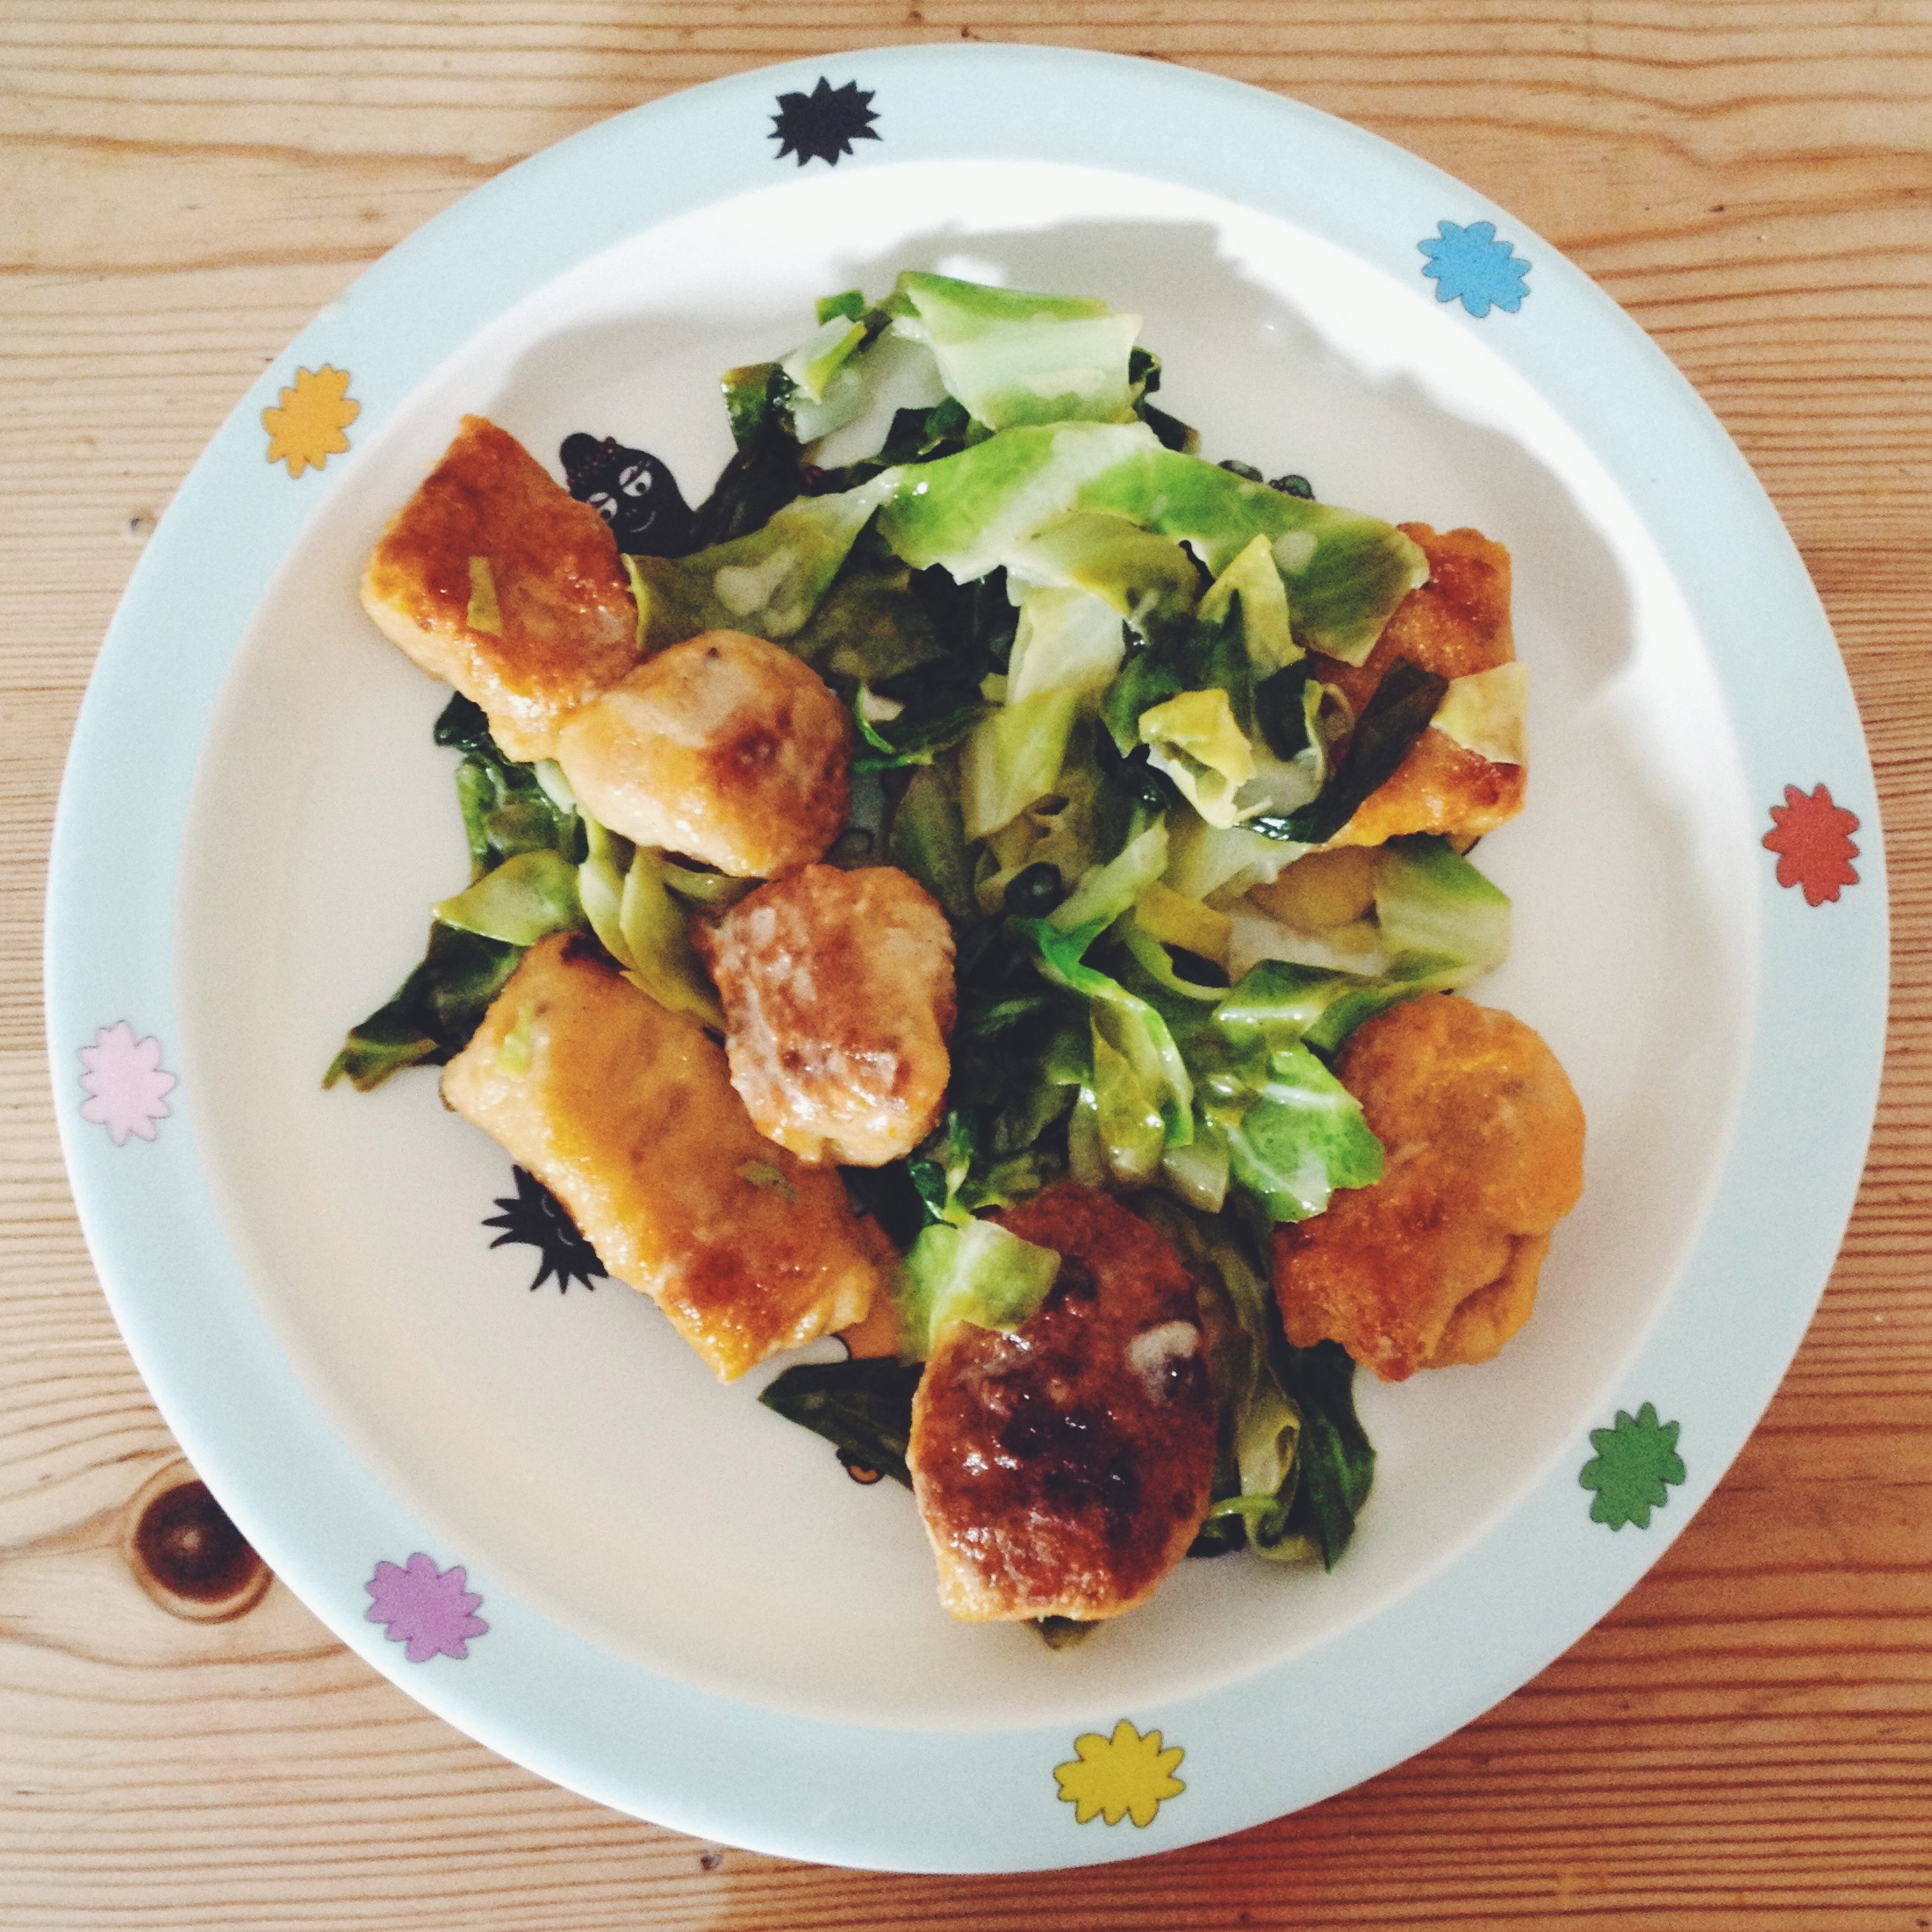
Place your gnocchi nuggets on a plate and keep them in the fridge until ready to cook. I found it helpful to dust them in a little polenta flour to help prevent sticking, as there were so many! With kids in charge they do look a bit bonkers and are not uniform, but this only adds to their charm. Probably. When you are ready to cook, boil a big pot of salted water and pop the gnocchi in ten-ish at a time - don't overcrowd. They are ready when they float to the top, and must be removed with a slotted spoon and placed on a muslin/paper towel for the liquid to drain off. They only take about 2 minutes to cook so you do have to stay close by. As mentioned they cook well straight from the freezer too. To serve melt some butter in a frying pan - for extra yum add some sage leaves or torn pieces of cavolo nero (or both) and fry them briefly. Then add the gnocchi, shake it all about and place in bowls. Top with grated parmesan or pecorino. This was a hit with all our ages, with the absolute top fave flavour being...SPINACH! It is still discussed for its deliciousness.


During the ensuing dinner party we asked the kids what they would like to call their new little cooking club. Although there was huge support for "Wee Wee Bum Bum Poo Poo" they settled on the Dough Nuts, probably hoping that this meant they would get to eat some. And maybe they will... We will be back hopefully fairly regularly with more yummy kid-cook friendly recipes they will actually want to eat, and you will want them to eat. Now I'm off to try and scrape dried gnocchi dough from my table...