sweet potato brownies

spbrownies

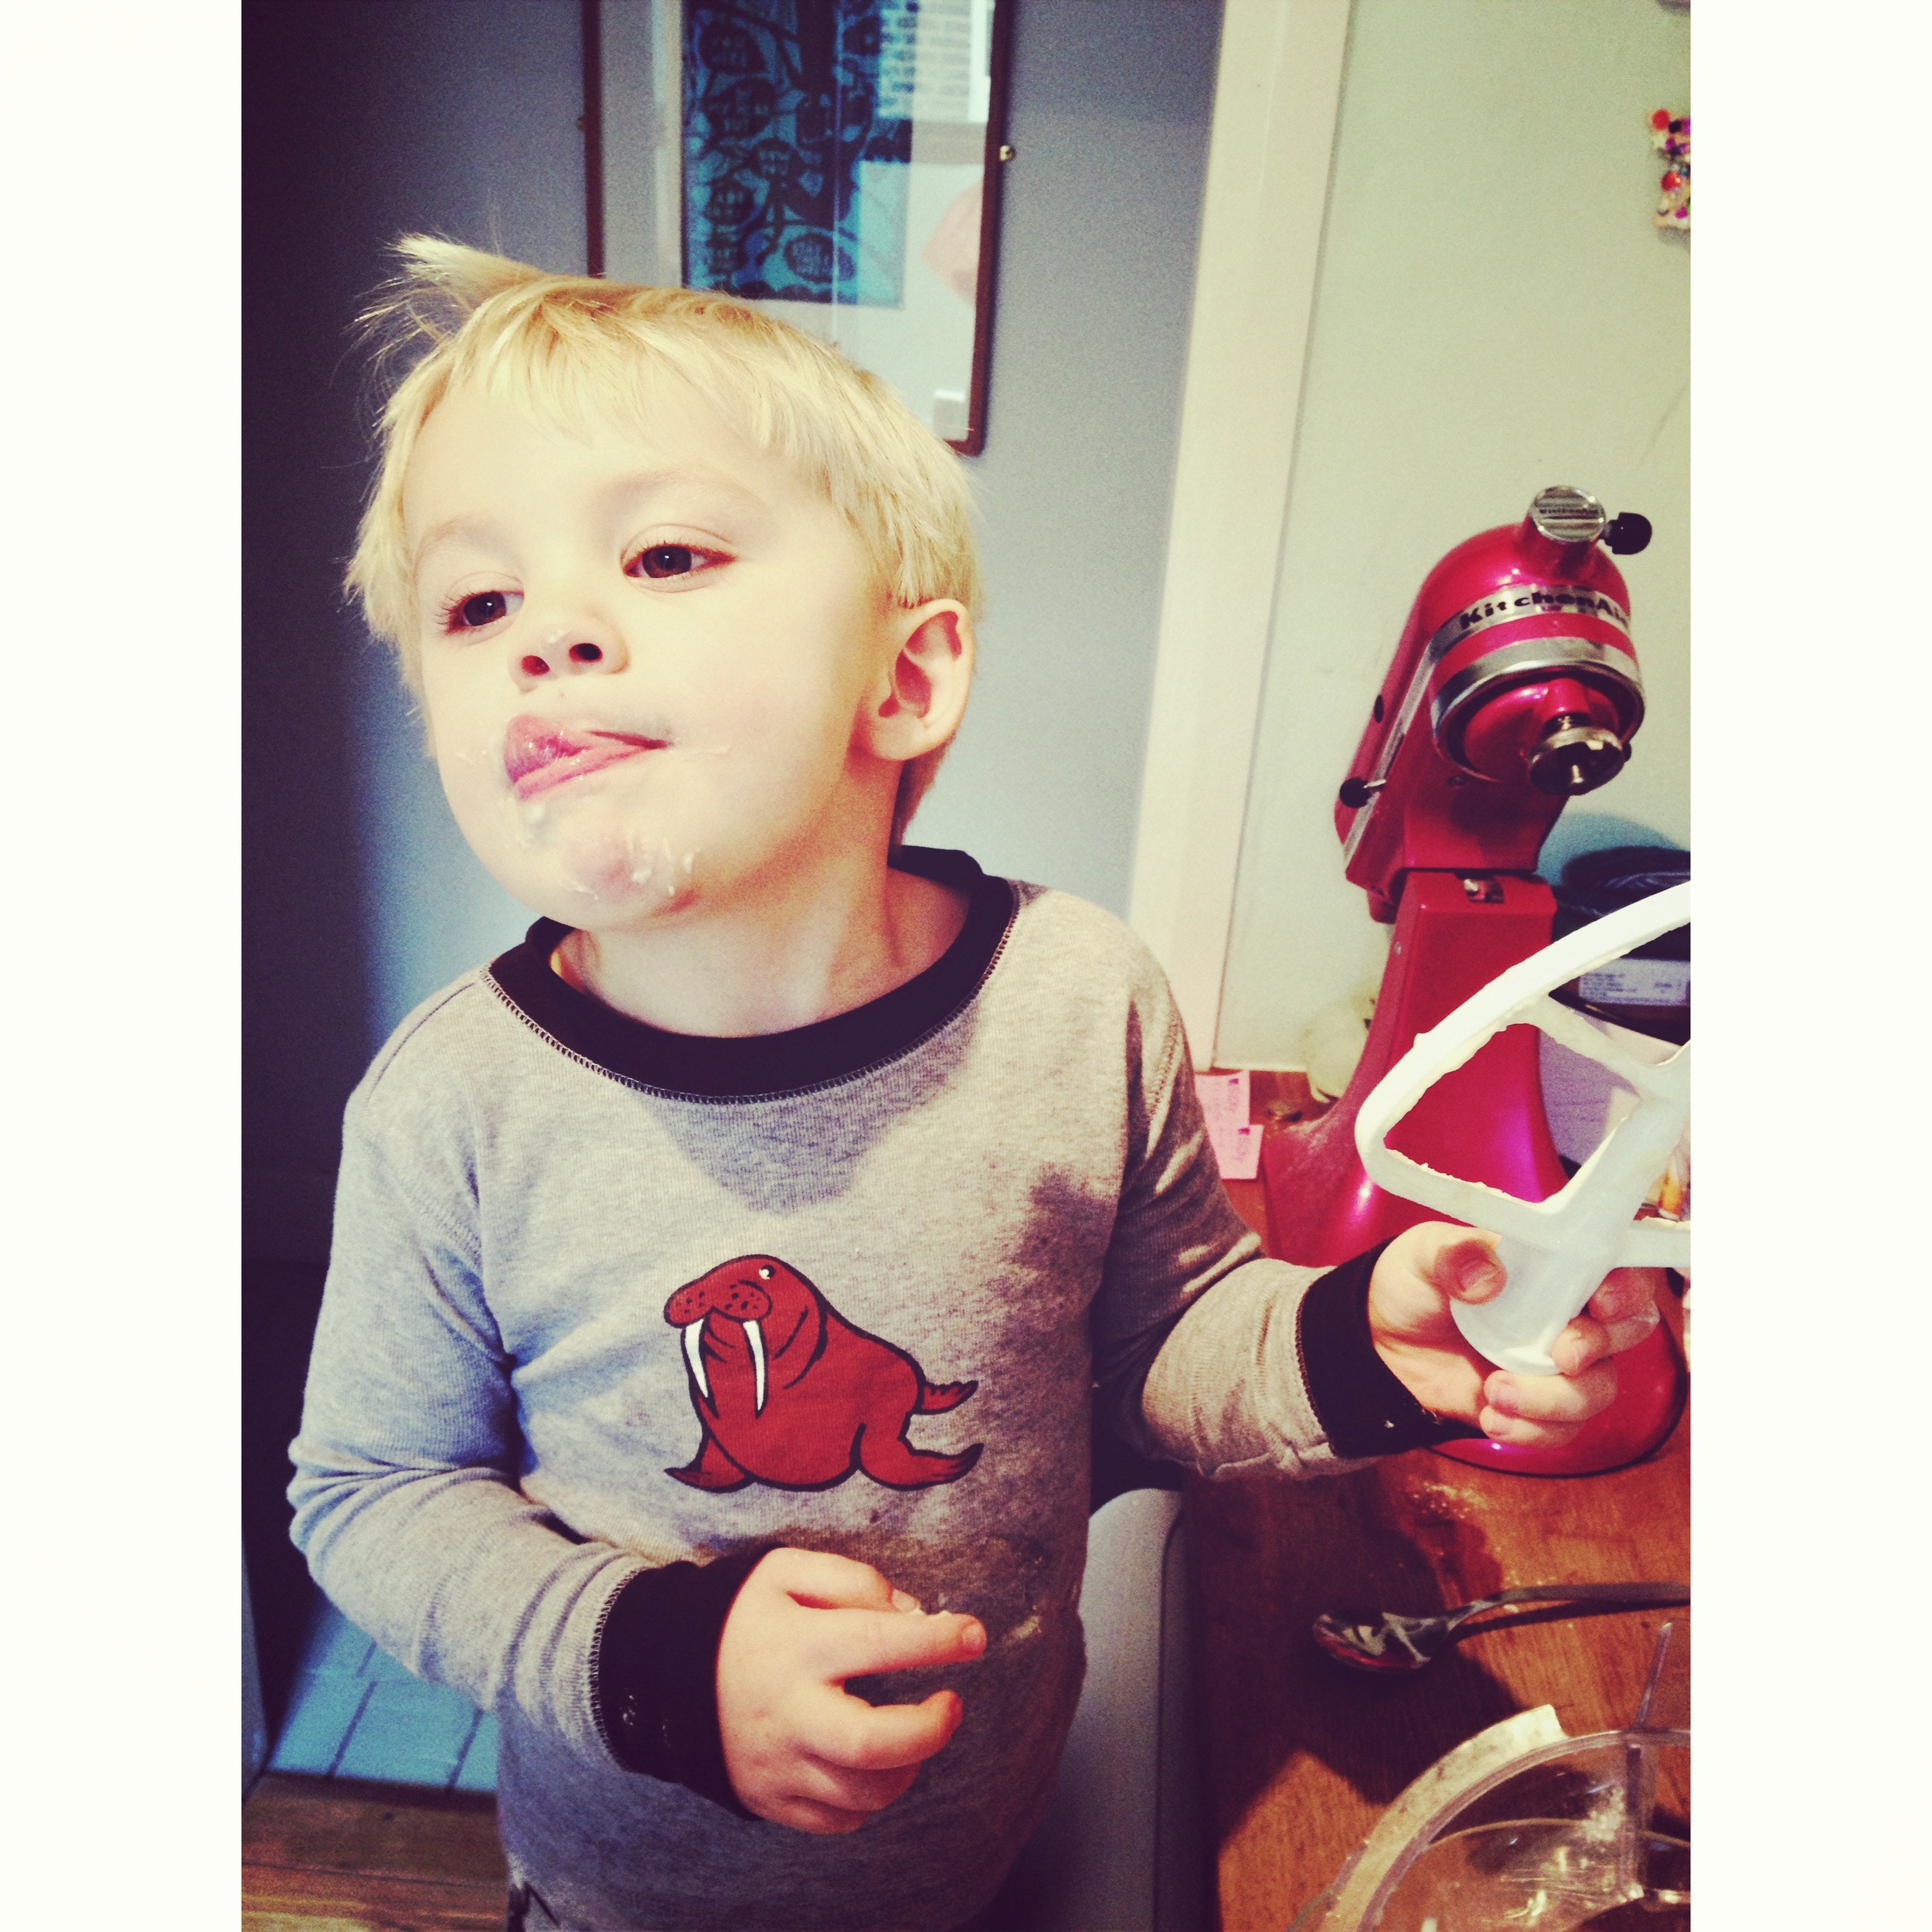
For a few especially frantic, especially sleep-deprived weeks now Pablo has been on school dinners instead of packed lunch. Apart from apparently being pretty "cool" when you're 4, school dinners seem to have this amazing power to send him home at the end of the day starving hungry and with such miserably low blood sugar that I have regularly considered selling him to the nearest circus rather than hear one more second of whinge. Maybe this is because every day seems to be pasta, sweetcorn and jelly? Who knows, but it was evident that I had to man up and start packing a lunchbox again. 

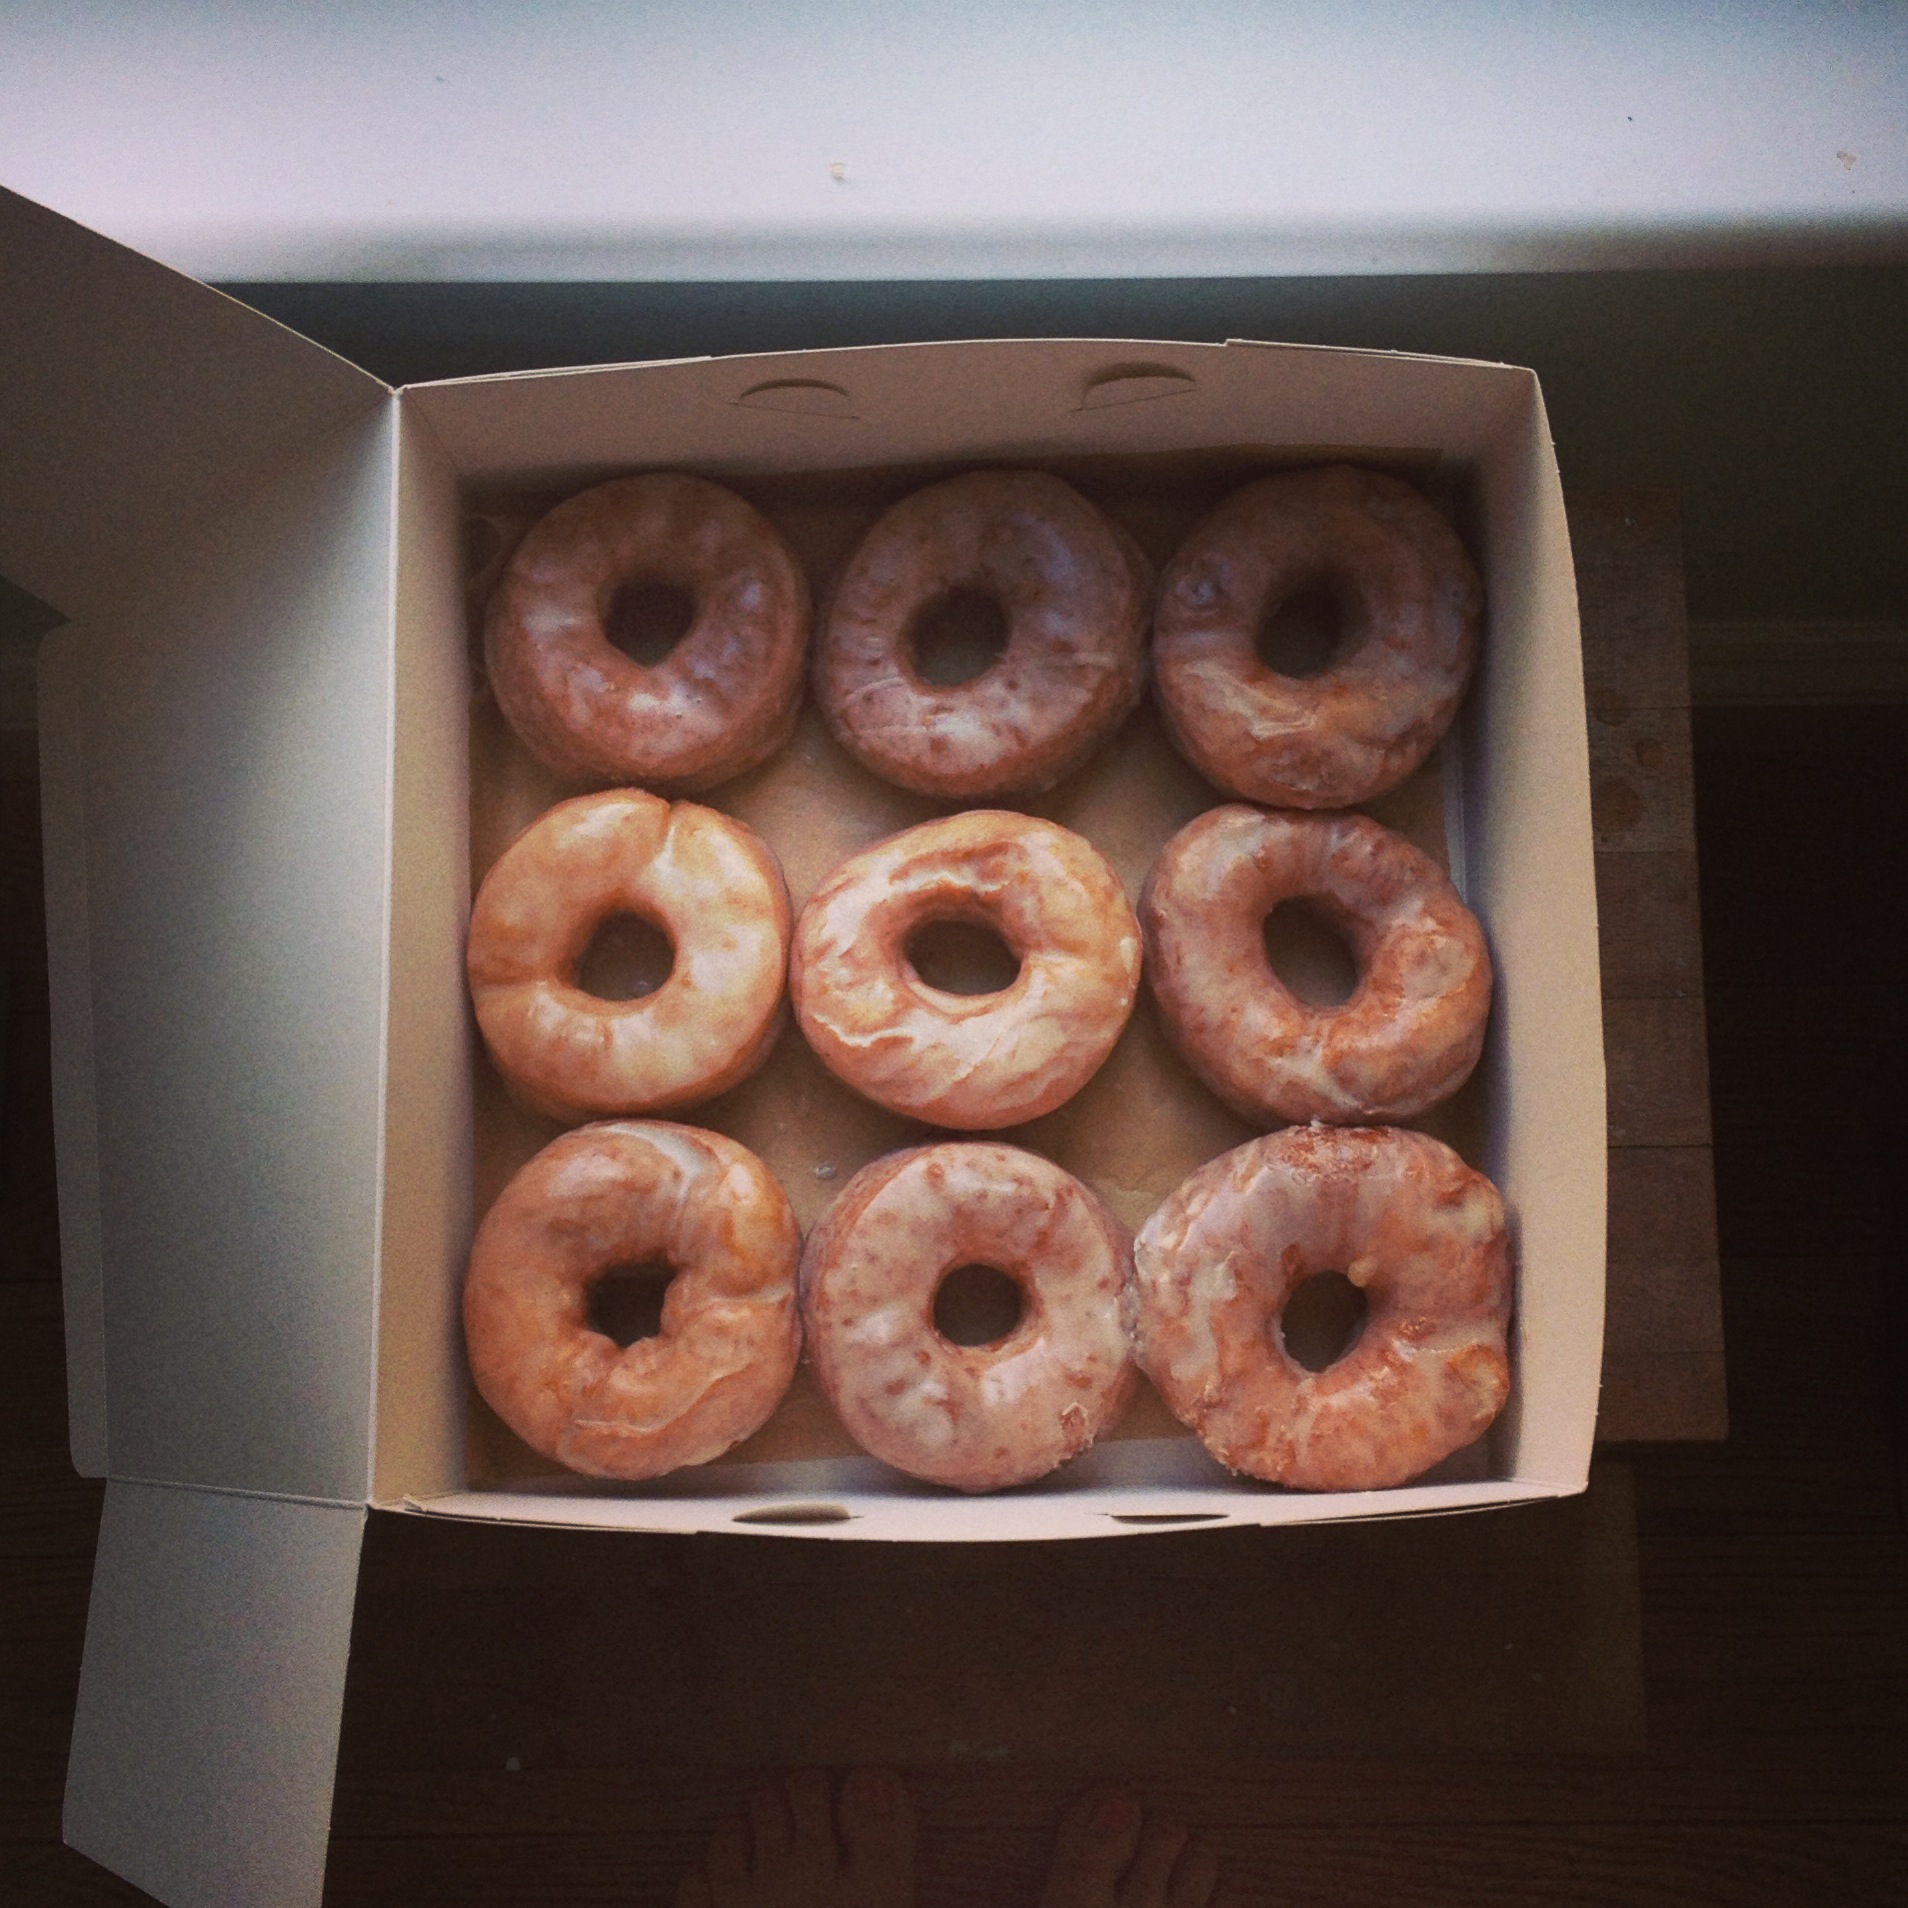
The worst bit about the lunchbox is the snacky bit. I don't like buying the palm-oil-filled overpriced kids' snacks from the supermarket, but I do love to bake…duh…so am always on the lookout for some kind of "healthy" treat that takes as little time as possible to whip up. I adapted this recipe from one by the insanely gorgeous Deliciously Ella, who is a goldmine of adventurous, nutritious ideas. And I promise these are totally yummy, and most importantly Pablo thought they were an actual brownie and felt like he was getting a really serious treat…when they are technically a health food. So, proceed….

spbrownieings

Sweet Potato Brownies

2 medium sweet potatoes
2/3 cup ground almonds
1/2 cup buckwheat flour
14 pitted dates
4 tbsp raw cacao
4 tbsp maple syrup
2 tbsp coconut oil
pinch of salt

Preheat the oven to 180C. Peel the sweet potatoes, cut them into chunks and steam them for about 25 minutes, until they are completely soft. Place them in a food processor with the dates and blend until smooth. 

Add all the remaining ingredients to a bowl and fold in the potato/date goo. Fully line a tin (I went for 10x10 and you wouldn't want any bigger or the brownies will be too thin, unless you double the recipe) with baking parchment and spread in your mix as evenly as possible. 

spbrownieprecook

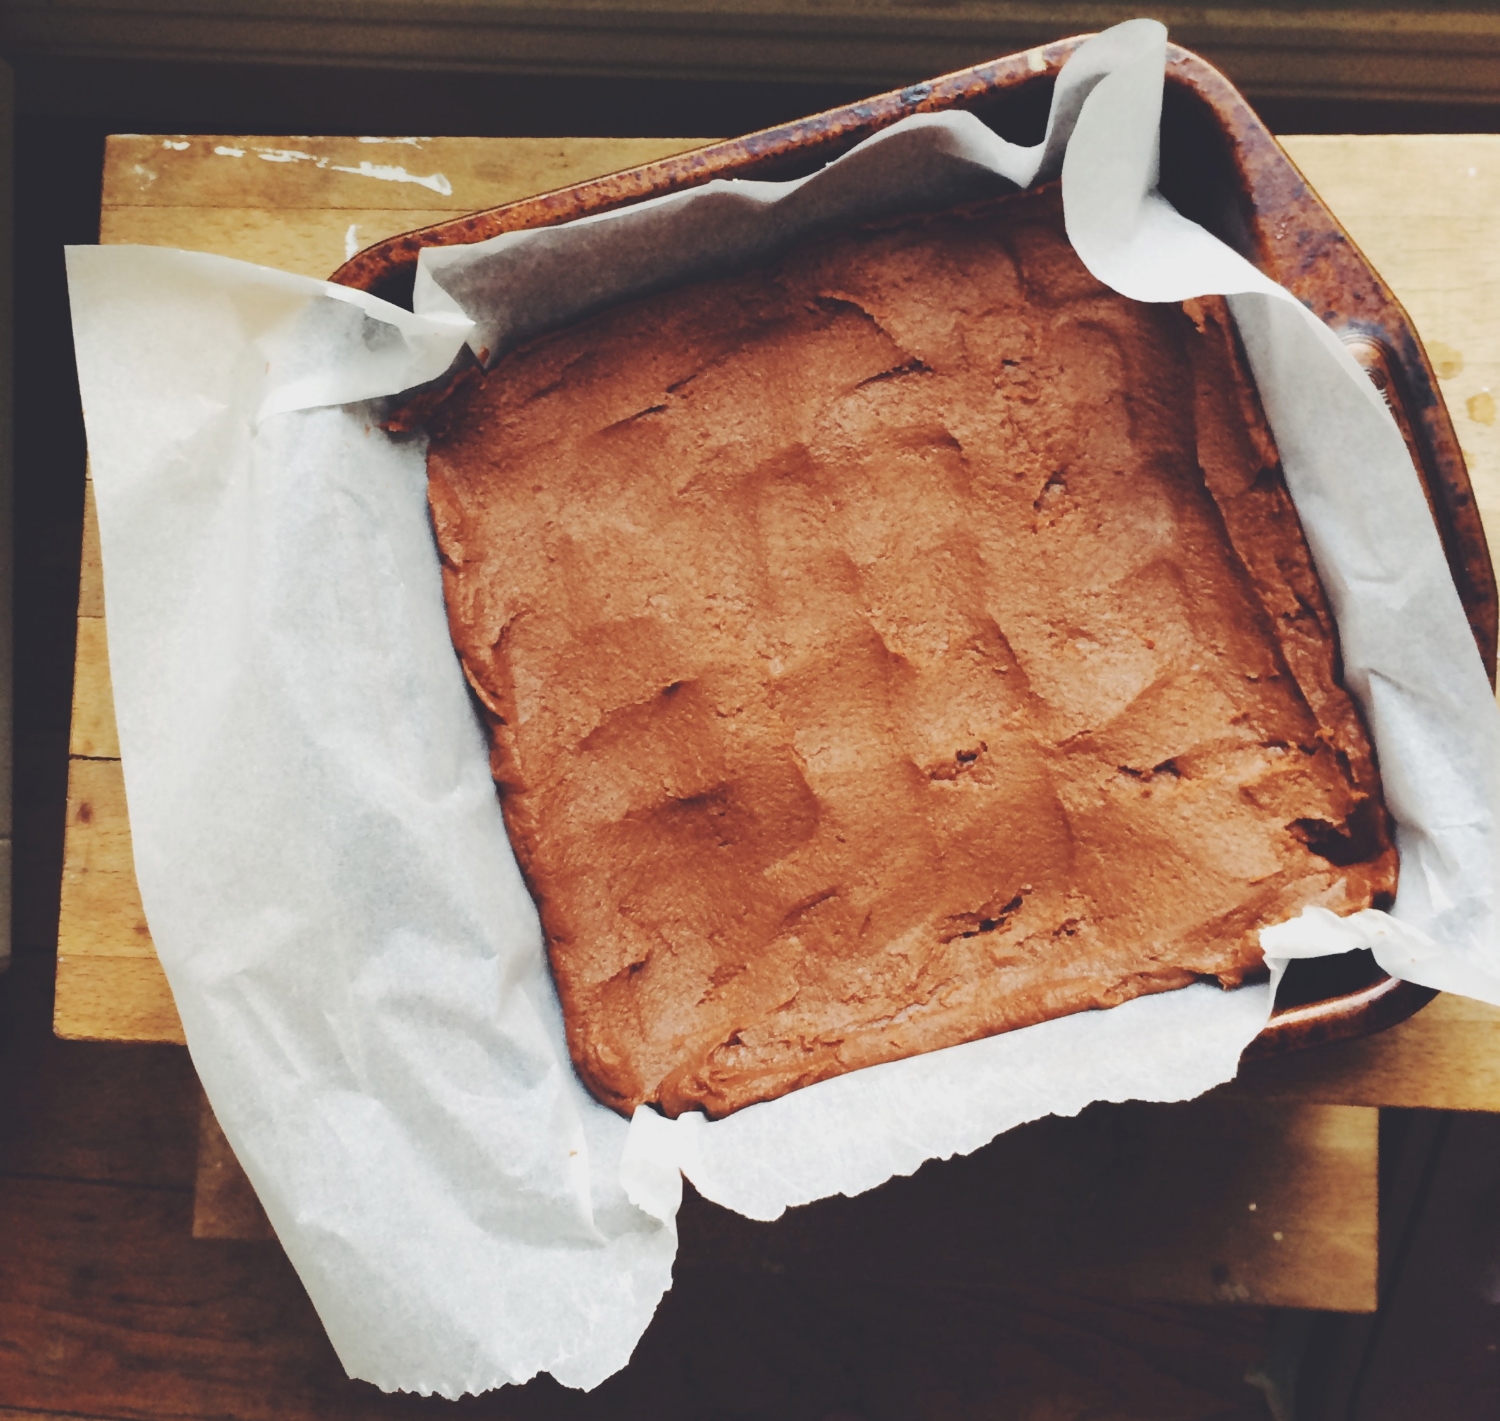
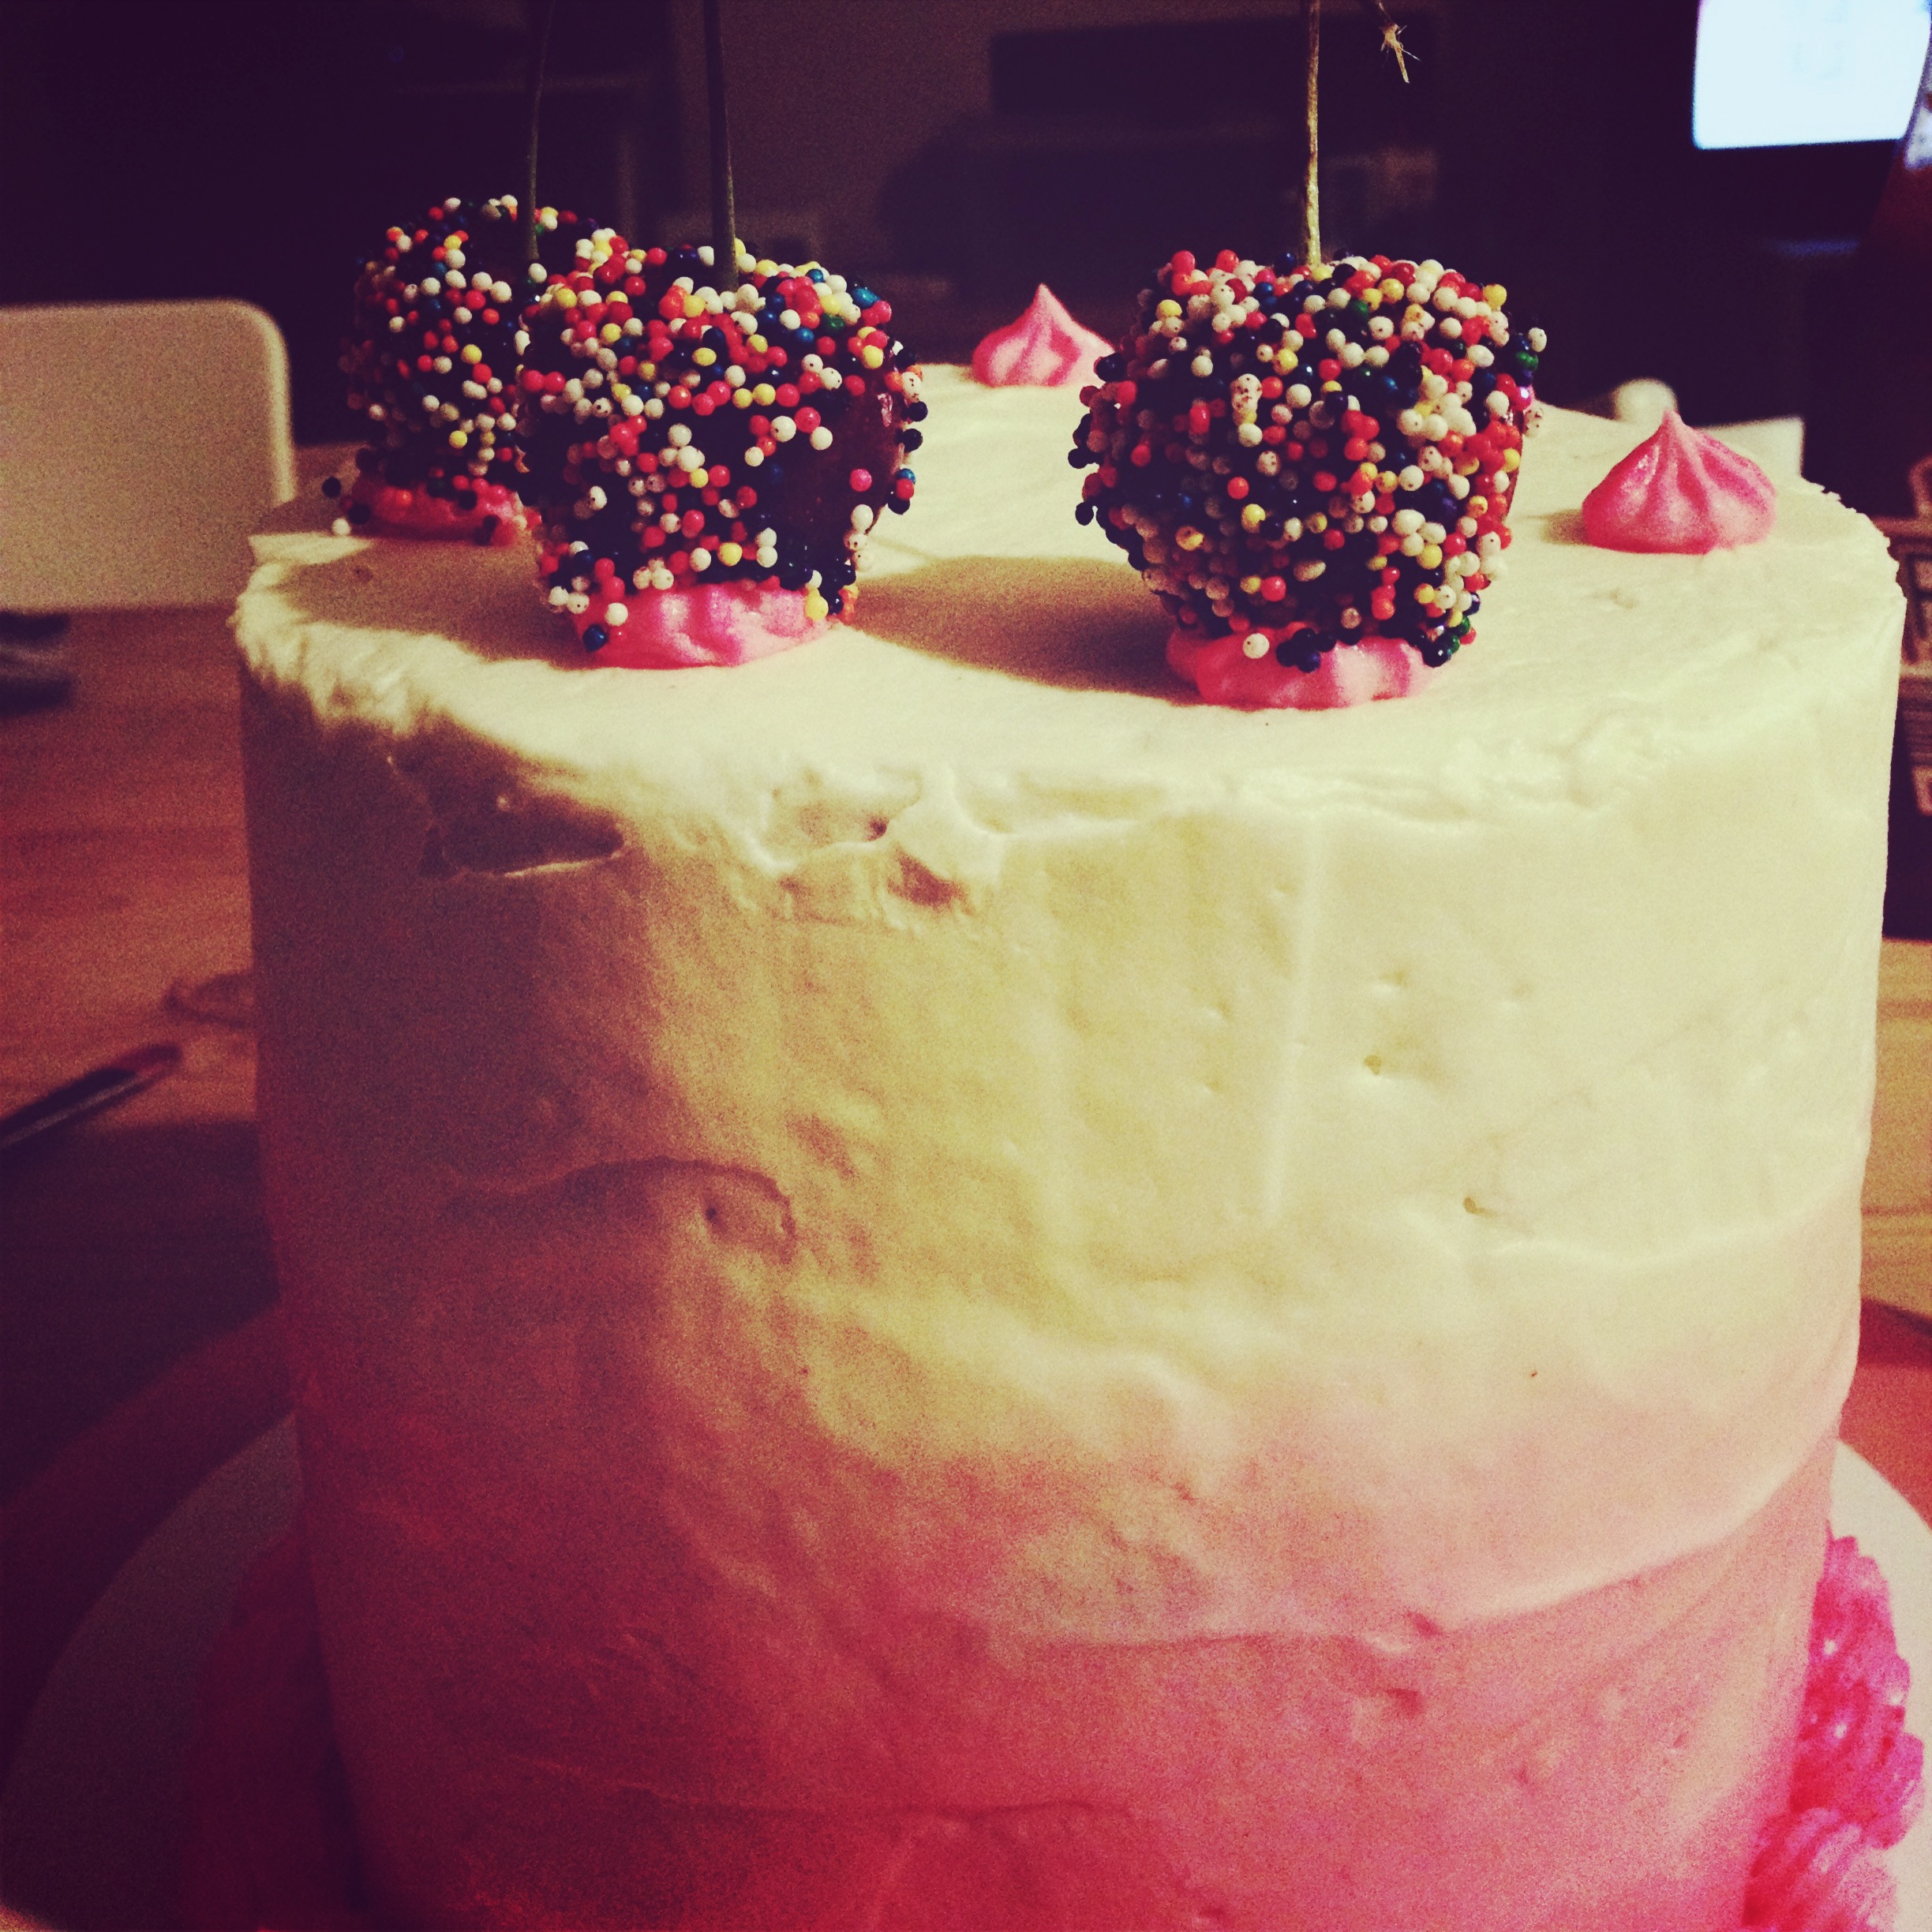
Bake the brownies for about 20 minutes, or until a skewer comes out dry. Let them mostly cool in the tin before removing and chopping them up. For a bit of added glamour I painted them with a dry brush and some edible bronze lustre - this is always a good tip for making brownies more fancy! If you do so, do it before you cut them up or you'll be in a world of stress. 

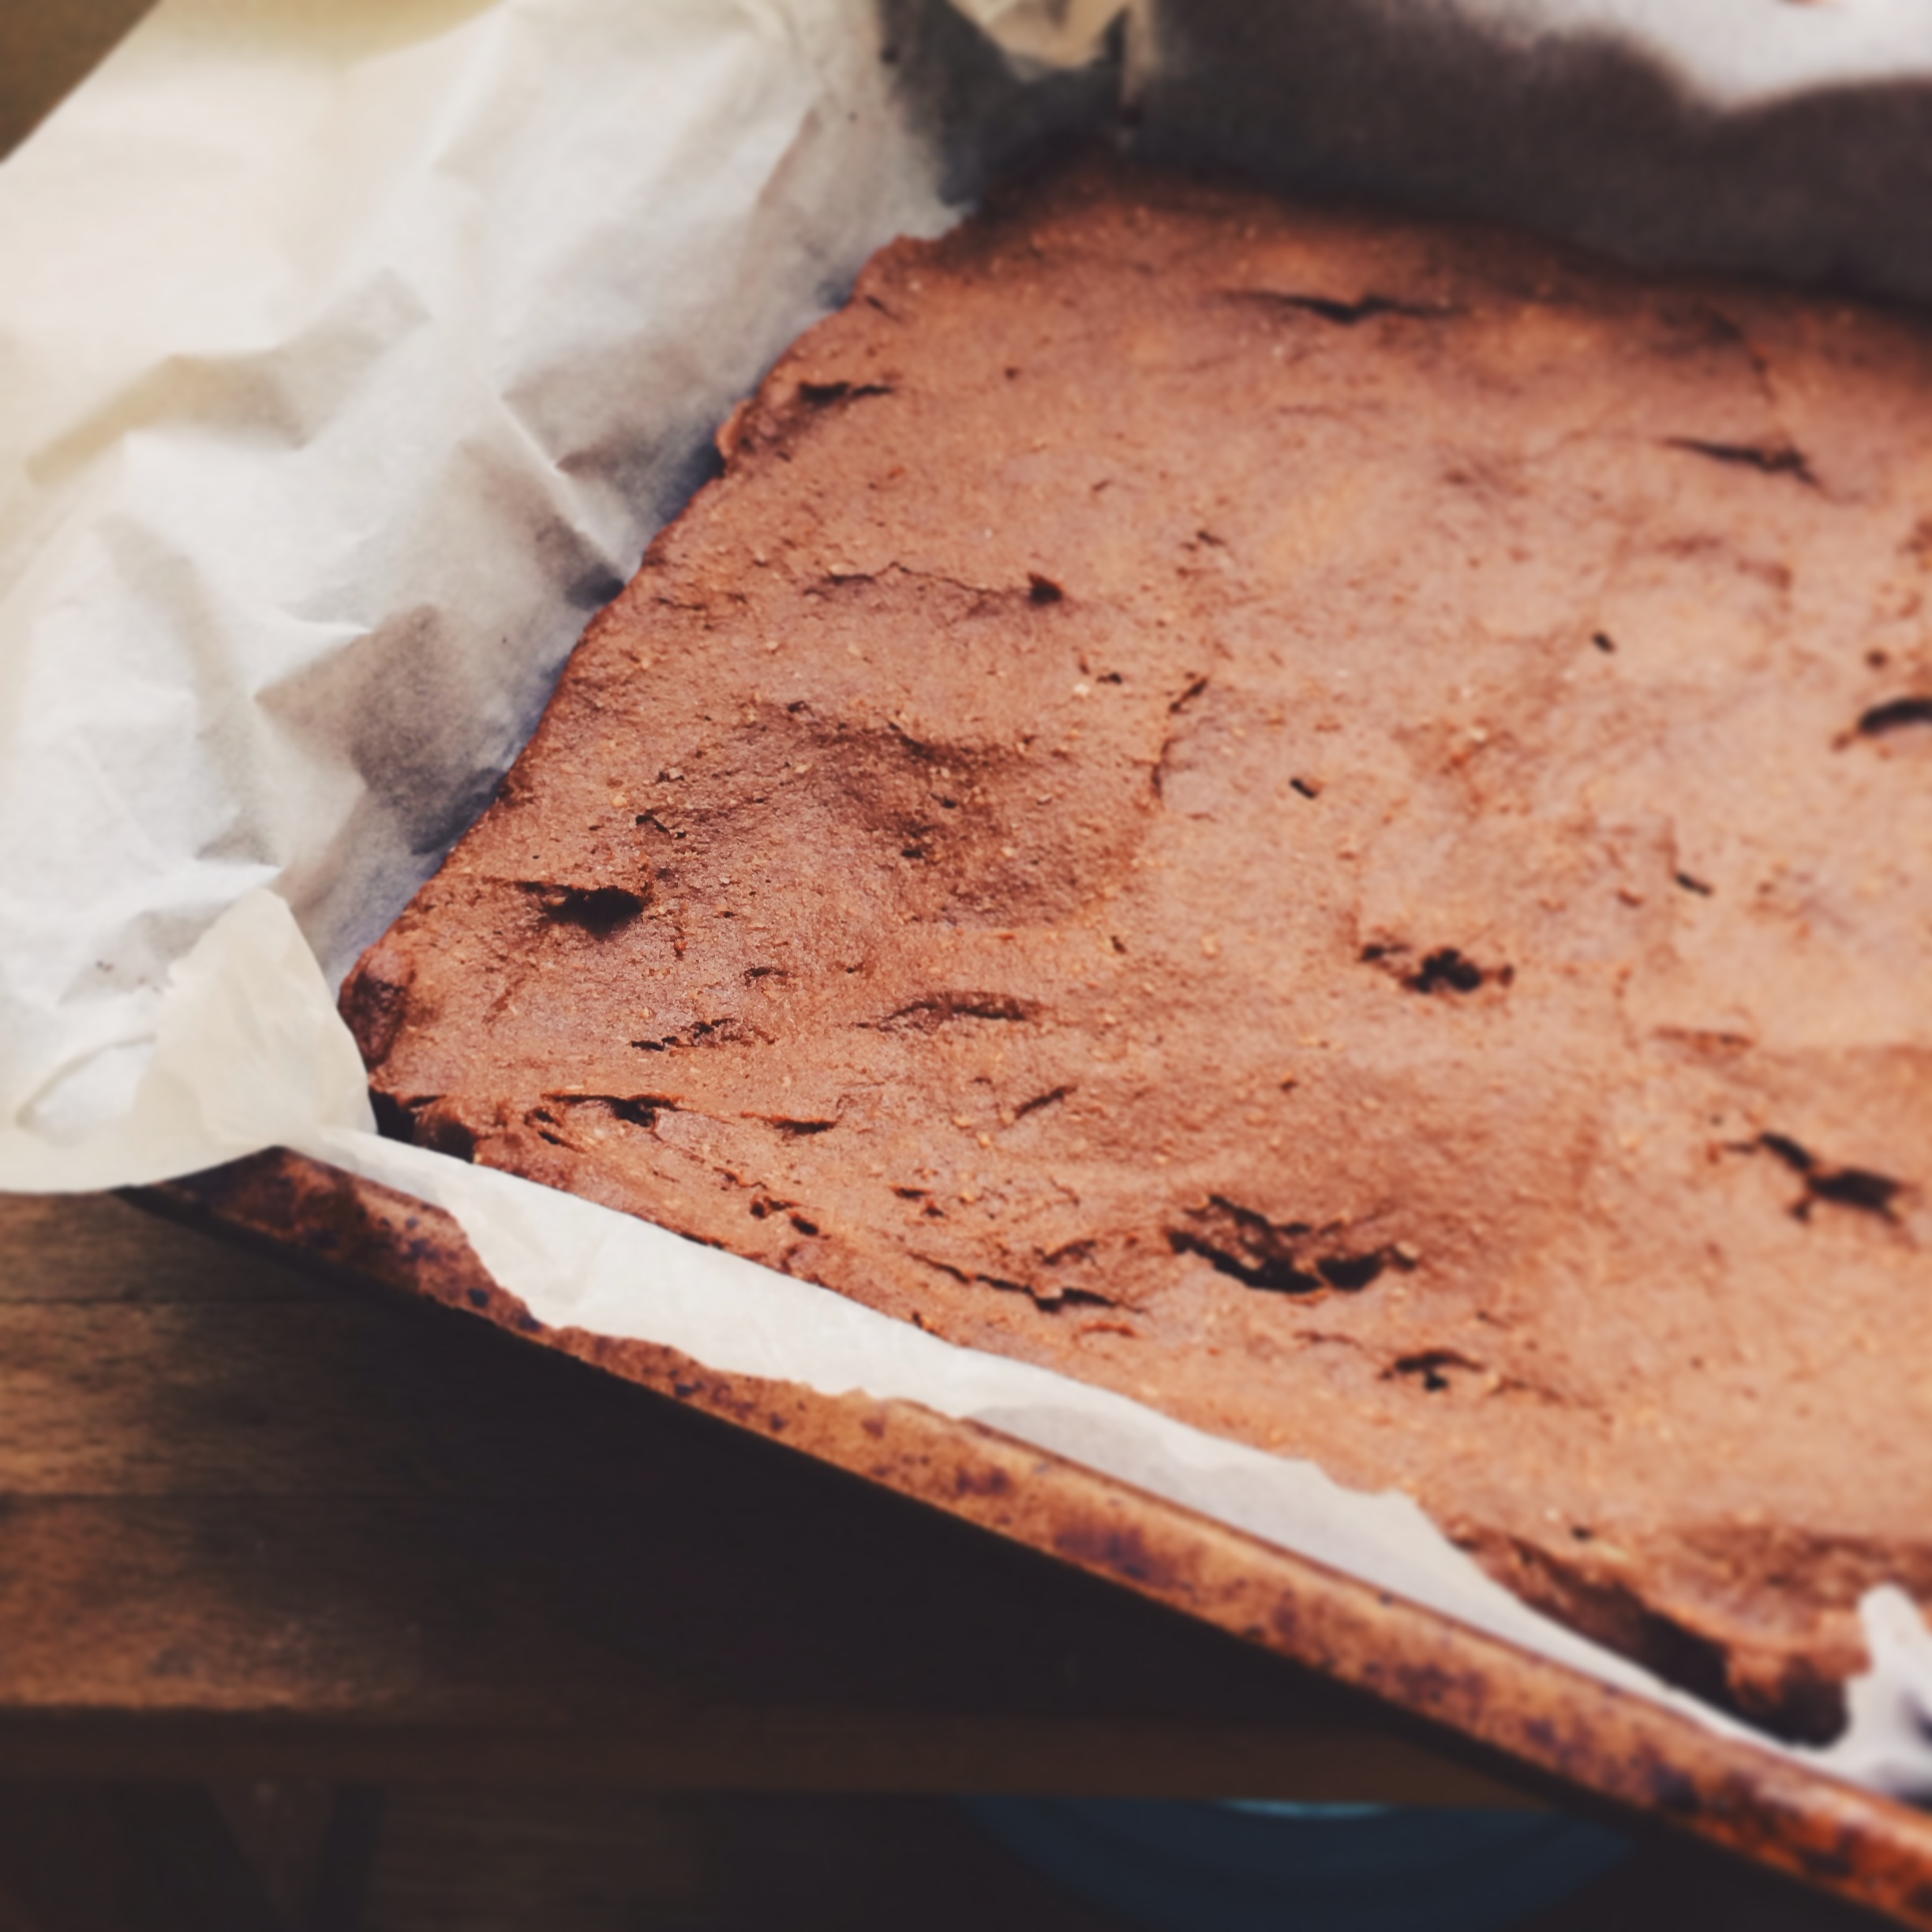
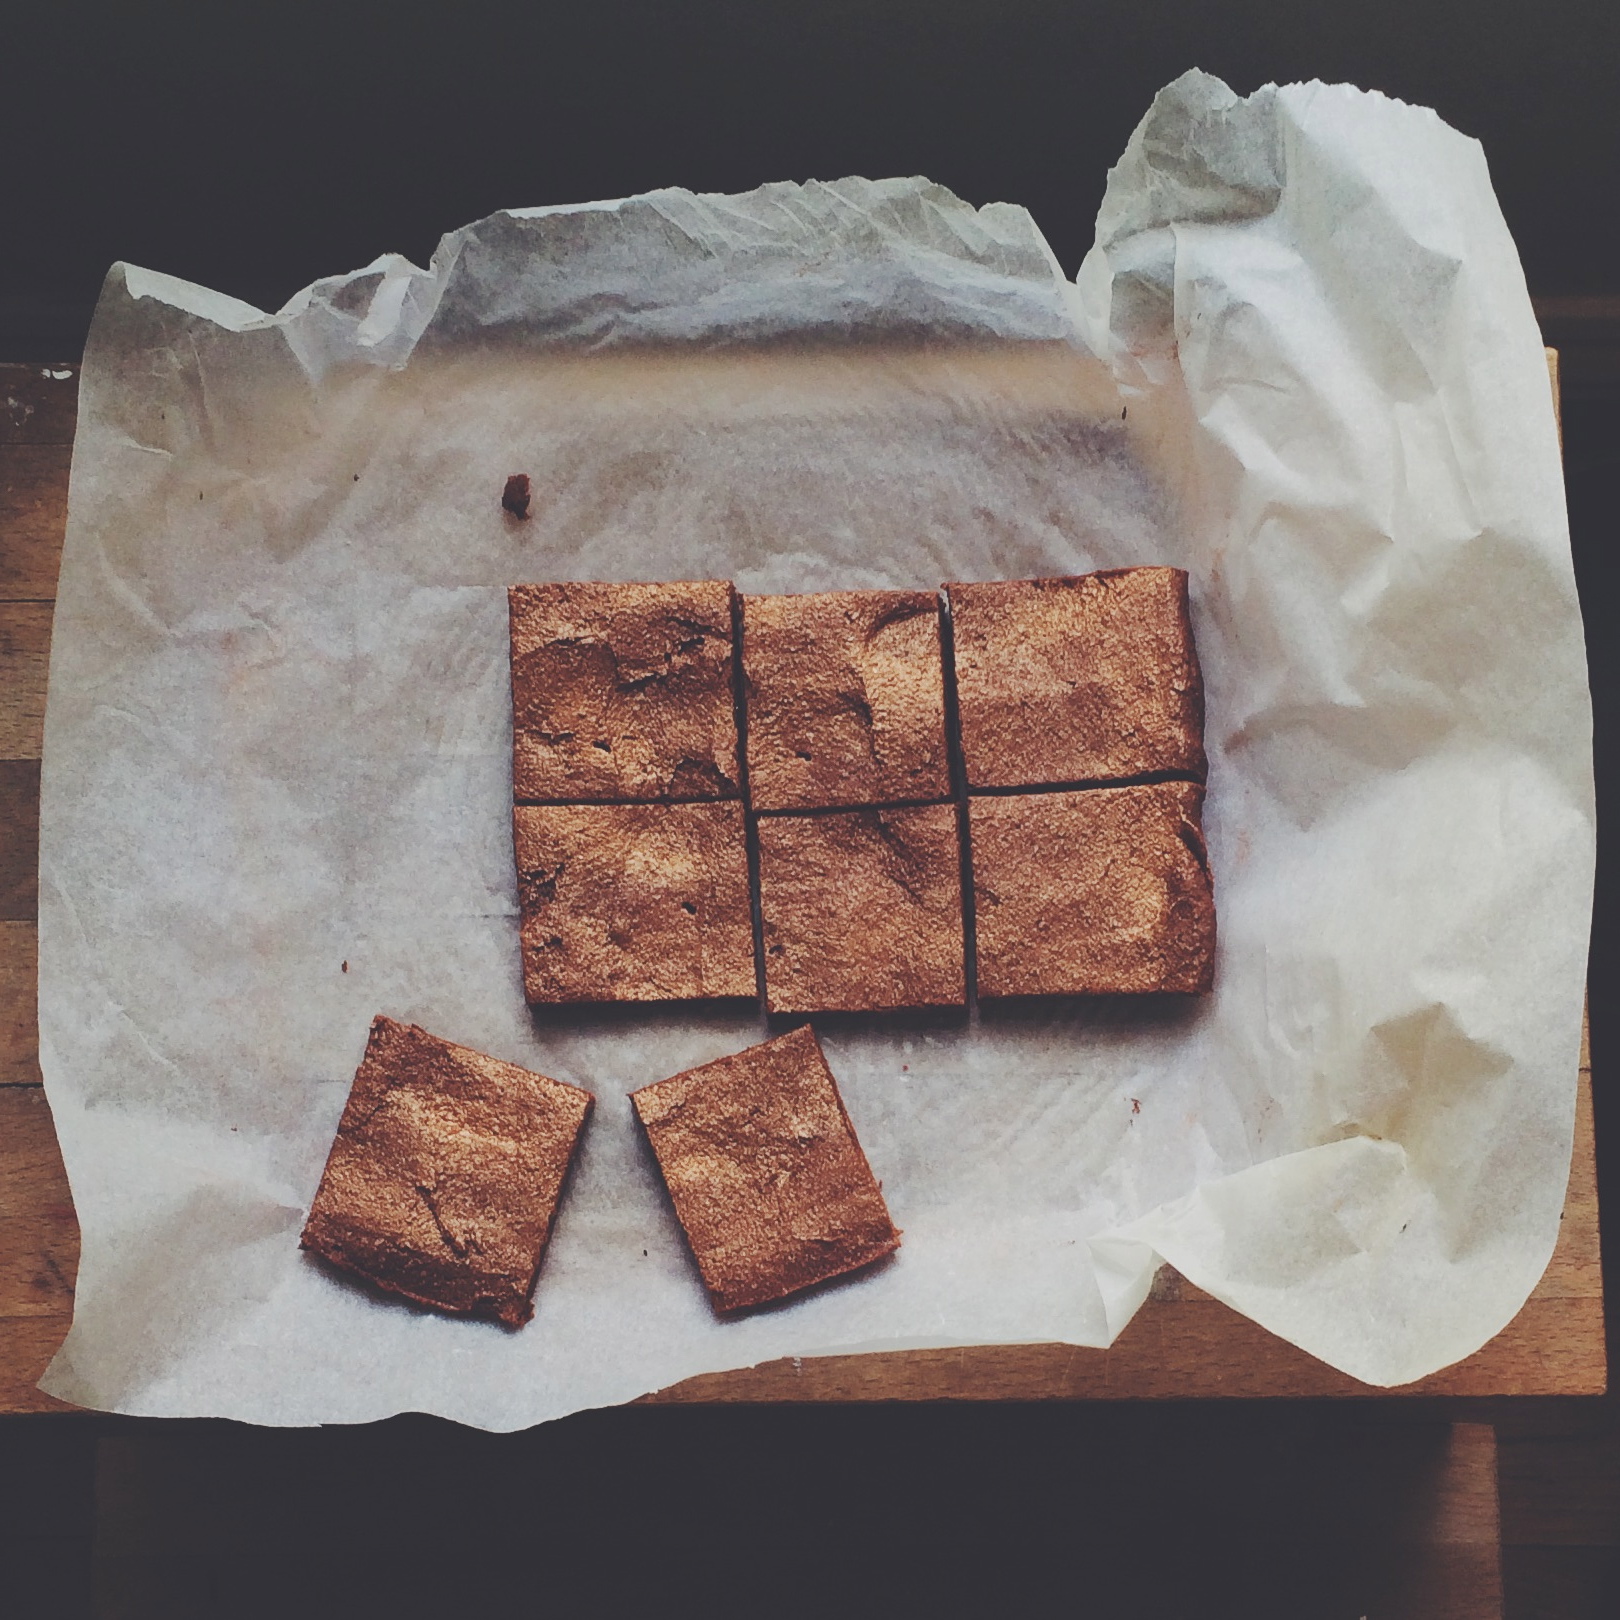
Totally delicious, totally healthy…and also totally vegan, should you need that box ticked too. I might try adding some desiccated coconut next time… already planning a next time...

buns!

Mmm SUMMER. It has actually finished now, apparently, but there is still the odd hero sending bbq smoke out into the late afternoon air to help you remember a time when the weather was reliably not going to flash-hailstorm (in July) and lying in the grass drinking beer seemed like a reasonable plan for an evening out. Anyway, just in case it decides to pay us another visit between now and next June, here's a rad recipe for burger buns. Or hot dog buns. Or whatever kind of bun you need. It is mindbendingly easy, and so delicious that you will never (seriously, never) buy buns again. Ever. The recipe below is a cheat's version of this recipe from Smitten Kitchen, so if you're not in a mad hurry all the time like me, or don't have a Kitchenaid/stand mixer, it's worth checking the original recipe out.

IMG_2358.jpg

Brioche burger buns

3 tbsp warm milk
2 tsp dry active yeast
2.5 tbsp sugar (have made this with both caster and soft brown, both awesome)
2 large eggs
330g strong bread flour (plus more for dusting)
40g plain flour
1.5 tsp salt
36g butter, cool and in cubes (not room temp, but not straight from the fridge)
 

In a large jug, mix 235ml warm water with the warm milk, sugar and yeast. Leave it to stand for 5-10 mins. Beat ONE of the eggs in a cup. (I totally added both eggs the first time I made this, and actually it was fine, but adding just ONE is a much better idea...) In the bowl of a stand mixer fitted with a paddle attachment, mix the flours and salt on low speed. Add tiny cubes or shavings of butter about 10 seconds apart until it is all incorporated and the flour mixture has a texture like breadcrumbs. Switch to a dough hook and add in the yeast/milk mix and the beaten egg. Knead with the dough hook for approximately 8 minutes medium speed, until a dough forms. It is extremely sticky so add a bit more bread flour as you go - as little as you can comfortably get away with, maybe another 100g max - as you would do if you were kneading by hand. Once you have a ball of dough, pop it in a large floured bowl and cover with cling film or a damp tea towel for about an hour (if it's summer - probably closer to two in winter) or until doubled in size. 


Once the dough has risen, tip it out onto a very floured work surface, give it a bit of a punch, and use a big ol' knife (or a dough scraper, if you have one) to chop it into as many pieces as you'd like buns. This recipe makes about 8 very large buns, or 15 small buns, but you can also make long hot dog buns - really, it's up to you, just be aware that obviously the smaller the bun the shorter the cooking time. For burger buns roll and fold the dough into small rounds, then pop onto a baking tray lined with parchment. Cover again with oiled cling film or a damp tea towel for another hour whilst they rise to about double in size. They really do rise a lot - I made hot dog buns that ended up the size of small baguettes. 

Heat the oven to 200C. Beat the remaining egg with one tbsp water and brush your buns with this wash. Pablo did this bit and loved it. You can sprinkle with sesame seeds too at this point (please do, it's ultra delicious). Pop a large tray of shallow water in the bottom of the oven and then put the bun tray in the middle (I did middle and top, and they came out just fine). Bake for approx 10-15 mins depending on bun size (don't open the oven too early or you will cry, but you should be able to see they are done when they are a beautiful golden colour.) Allow to cool on a rack and then devour with home made burgers YUM!

We had a few left over and they kept really well, very moist, for sandwiches the next day, which is another reason they are better than store bought buns. Store in an airtight container.

pink fluffy clouds

I was making a LOVE cake for my lovely friend Lisa's Love-themed birthday party and decided I wanted to put some pink marshmallow hearts on top. You can probably buy these somewhere but it turns out that marshmallows are very easy (and sticky) to make, and quite fun to make with kids. We made pink vanilla hearts but you could go for any flavour or colour or shape, they are super simple. Check out the awesome Marshmallowists for some flavour inspiration... 

the love affair with all things sugary continues...

the love affair with all things sugary continues...

Marshmallows

125g icing sugar (or corn flour) for dusting
400g caster sugar
1 tablespoon golden syrup (you can use corn syrup in the US if you wish)
300ml water
2 tablespoons unflavoured, powdered gelatine (we used Dr Oeteker)
2 egg whites
1 teaspoon good vanilla extract

Dust a dish with icing sugar or corn flour. We used two 8in round tins, because we were making thinner marshmallows, but a 9in square tin would be best. Really dust with loads of icing sugar/corn flour - you may want to line it with parchment first as well, as these things are insanely sticky.  

Heat the caster sugar, golden syrup and 175ml of the water in a saucepan. Ideally use a jam/confectioners thermometer to check the temperature - you want the syrup at 120-130 degrees C. If you don't have a thermometer you can test whether it's ready by whether a small drop of syrup forms a hard ball when dropped into cold water. 

The heating takes 5-10 minutes, so in the meantime prep the gelatine. Place the remaining 125ml water into a heatproof bowl and sprinkle with the gelatine. Heat the bowl over simmering water until the gelatine has completely dissolved. When the syrup is ready, remove from the heat and whisk in the gelatine mixture. Set aside.  

This next bit is super sticky, so try and have some peace to get on with it. I got interrupted by Indy somehow climbing the kitchen stepladder and half falling off again, and little globules of marshmallow flew across my kitchen like ghosts. Fun to clean up...  Whisk the egg whites into soft peaks in a large bowl, then pour in the syrup mixture in a steady, slow stream whilst continuing to whisk, until the whites become stiff. Stir in vanilla (or any other flavours or colours of your choosing). Spread into your prepared tin and refrigerate for about 8 hours. 

Have a bowl of cornflour ready for dusting your hands and the marshmallows as you remove them from the tin. Use cookie cutters or a knife to cut them. We then dipped some of ours in melted dark chocolate and sprinkles for extra yum, and a few got brushed with glitter and made it onto the LOVE cake. My husband is still working his way through the tin of offcuts. They are really delicious and if it wasn't finally summer I wouldn't hesitate to drown some in hot chocolate.  


The finished LOVE cake and the exhausted sleeping suntanned Pablo...

sunday sunday

Ok it was actually Saturday Saturday but after a late night and lots of margaritas vs little sleep it felt like a Sunday... We zoomed over to my brother & sister-in-law's in Stokie for the most delicious totally sugarless (!!) spelt cake** (I promise, it was actually nice - check out my epic portion, which I consumed in its entirety) and chats. I gossiped with Z, Uncle X took Pablo to Clissold Park to  jump in some puddles, and Konch and Indy zonked on the sofa in a heap of teething and hangover. Dreamy (literally, for some of us)... I spent my actual Sunday cancelling exciting tea party plans to snuggle with our still feverish Indy. Those teeth need to HURRY.

*Pablo managed to plant himself in a large muddy puddle so he got to go home dressed like a tiny wizard in Konch's cardigan, which he thought was fantastic.

**Anyone wishing to try the dreamy Lemony Hazelnut & Blueberry Cake, it's recipe is from The Telegraph

Treasures for my troubles

What a week to run out of coffee... both kids have decided to have some kind of ill advised circadian rhythm shift and start rising at 6ish - a full hour and a half earlier than usual. Simultaneously I'm in recovery from the brunch pop up I did on Sunday (think 200 red velvet waffles, endless cauldrons of hot blueberries and bourbon syrup, very very sore feet by the end) and have been lent a lump of new Game of Thrones episodes - which means bed before half past midnight is a thing of the past. As is staying up late for valid, cool reasons...but that's another issue. It's another almost-week before the next delivery of my absolute favourite coffee, so I was powerless to refuse an invitation to join my friend Hannah for a relaxing (with two toddlers - ho ho ho) dose of caffeine at our local cafe. The cafe, Arts & Crusts, exhibits local artists and the lovely gal who served our coffee had her beautiful work up in the window - lovely, quirky embroidered vintage handkerchiefs. I might need to own one and hang it on my wall. Check out Poesie Grenadine

these two were my fave

these two were my fave

IMG_0499.jpg

We made doughnuts...

Sickeningly easy, and luckily we had a BBQ to attend so a good excuse to gift them to someone else before we ate them all... 

If you're hunting for a good recipe for raised doughnuts I highly recommend Lara Ferroni's. Or you can make yummy English jam doughnuts via this post on my blog... 

sew...

I made some more moccs, for little Ivy's first birthday present. I'm getting good at these now, just need to invest in some more exciting leather. I'm also desperate to scrap the tassels and makes some little be-pompom-ed ones. It has to be done. Watch this space... ​

raspberry ripple birthday dreams

My gorgeous husband had his latest birthday on Monday, and we were under strict "no presents" instructions, so Pablo & I conjured up a home made gift of his favourite raspberry ripple ice cream and a hand-crafted card. Then I decided that if we were making ice cream we may as well make an ice cream cake (a first for me!) Our freezer is now full to bursting with raspberry ripple but Konch had a lovely birthday and we all made ourselves feel a bit sick eating too much cake. ​

an apple a day

Pablo's much loved childminder, Lucinda, moved away a year ago and we were very excited when she asked if she could pop down for a visit. Obviously we had to make a cake, but with a miserably poorly baby a trip to the shops was not going to happen. I scoured the cupboards and we had just the right amount of this and that to make this delicious apple cake. It was extremely easy and Pablo helped me lots. Indy did the opposite by tugging on my leg and looking pathetic throughout, but we got there in the end... ​

IMG_6322.JPG

Caramelised Cinnamon Apple Cake

100g butter + 1 tbsp
175g brown muscovado sugar + 1 tbsp
2-3 dessert apples
2 eggs
1 tsp vanilla extract
200g plain flour
1 tsp baking powder
0.5 tsp ground cinnamon
100ml milk
TOPPING:
25g flour
85g demerara sugar + 1 tbsp
0.5 tsp ground cinnamon
50g butter
3 tbsp toasted sliced almonds

recipe adapted from BBC Good Food 

​Heat oven to 160C. Mix the topping first - flour, demerara sugar, cinnamon butter with your fingertips to make sticky breadcrumbs. Pablo did half of this, but once he began threatening to eat hunks of sugary butter from his fingertips I chucked it all in a food processor. Stir in 2 tbsp of the almonds and set aside. 

Cut the apples into 1.5cm-ish squares. Melt the 1 tbsp butter and 1 tbsp sugar in a non stick frying pan and then add the apples and cook for about 5 minutes until everything is brown and gooey and yummy smelling. ​

Make the cake by creaming the butter and sugar until light and fluffy. ​Add the eggs one at a time and mix well, then add the vanilla. Combine the dry ingredients and alternate adding them and the milk until all is well combined. Grease a springform 8in/20cm tin and line with a circle of parchment on the bottom. Spoon in your cake mix and then sprinkle with the topping. Mix your remaining 1 tbsp demerara and almonds together and sprinkle these on top. Bake for 45ish minutes. Cool ten minutes in the tin before removing, then cool on a wire rack until it's time to indulge. ​

latest bake

Three layer red velvet with cream cheese frosting and sprinkle cherries for Gemma... now excuse me whilst I deal with day six of the hangover from her birthday megaparty...