GONE BANANAS

baby, it's extremely cold outside...

baby, it's extremely cold outside...

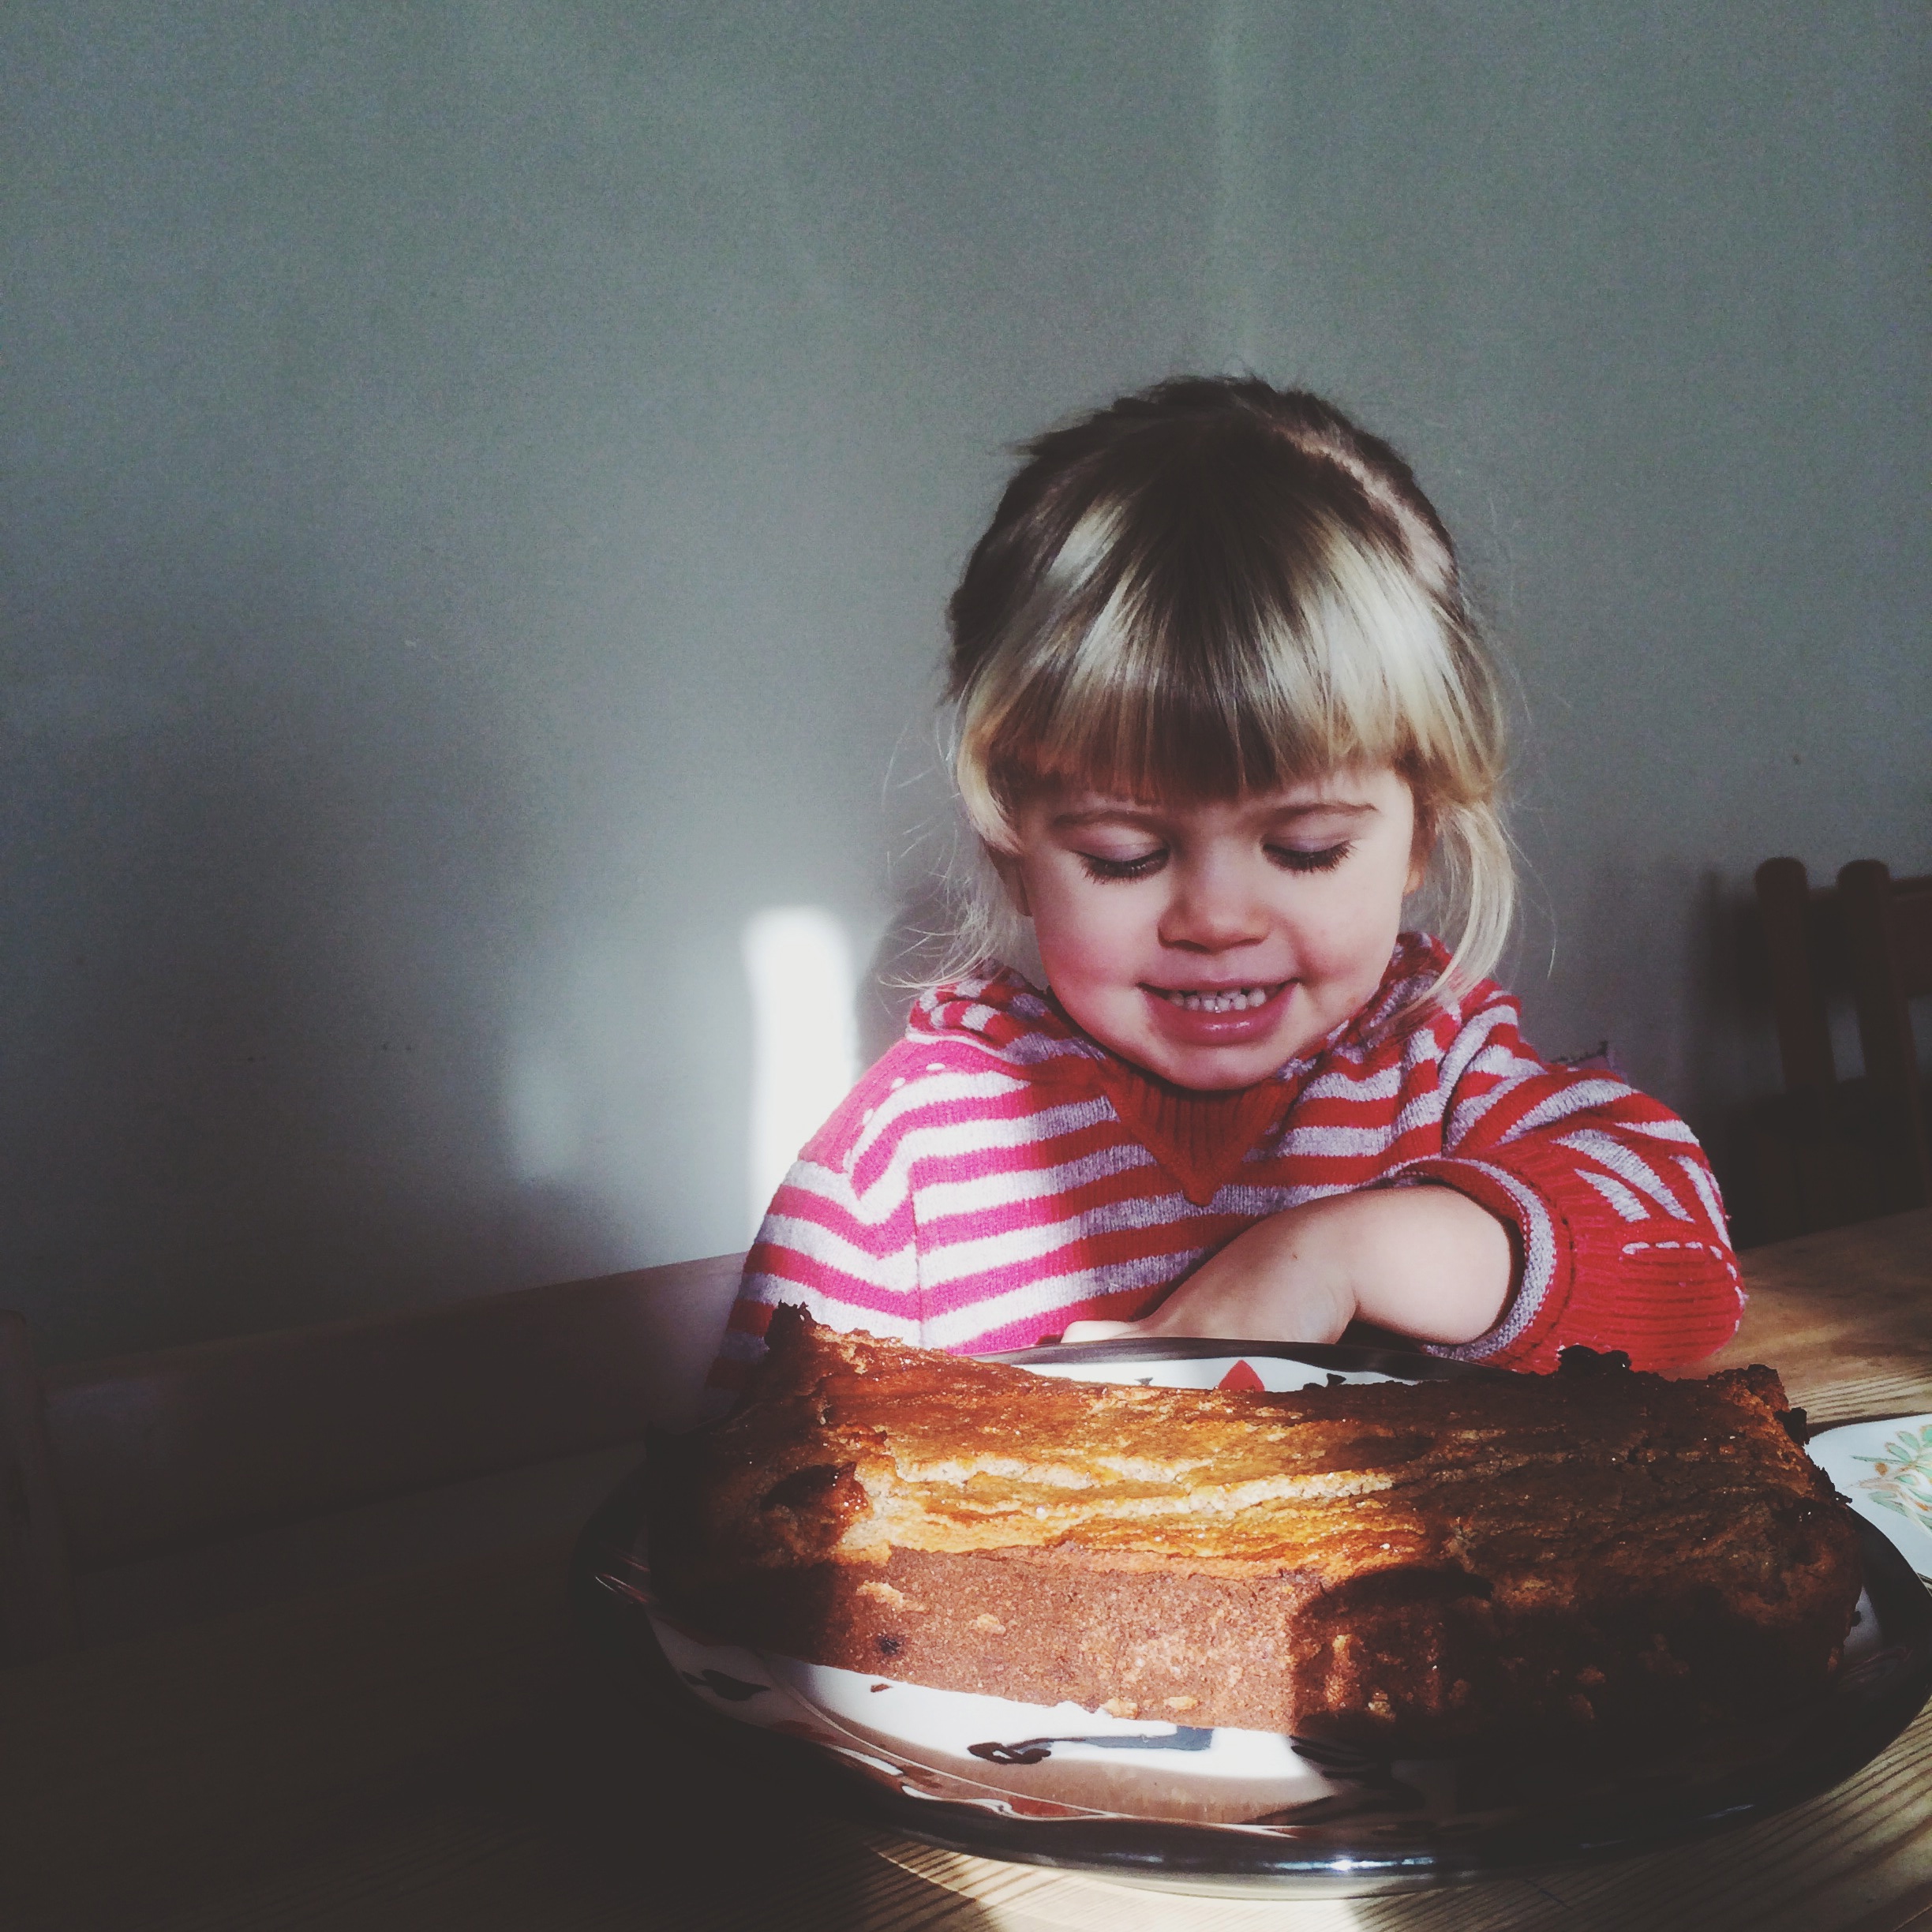
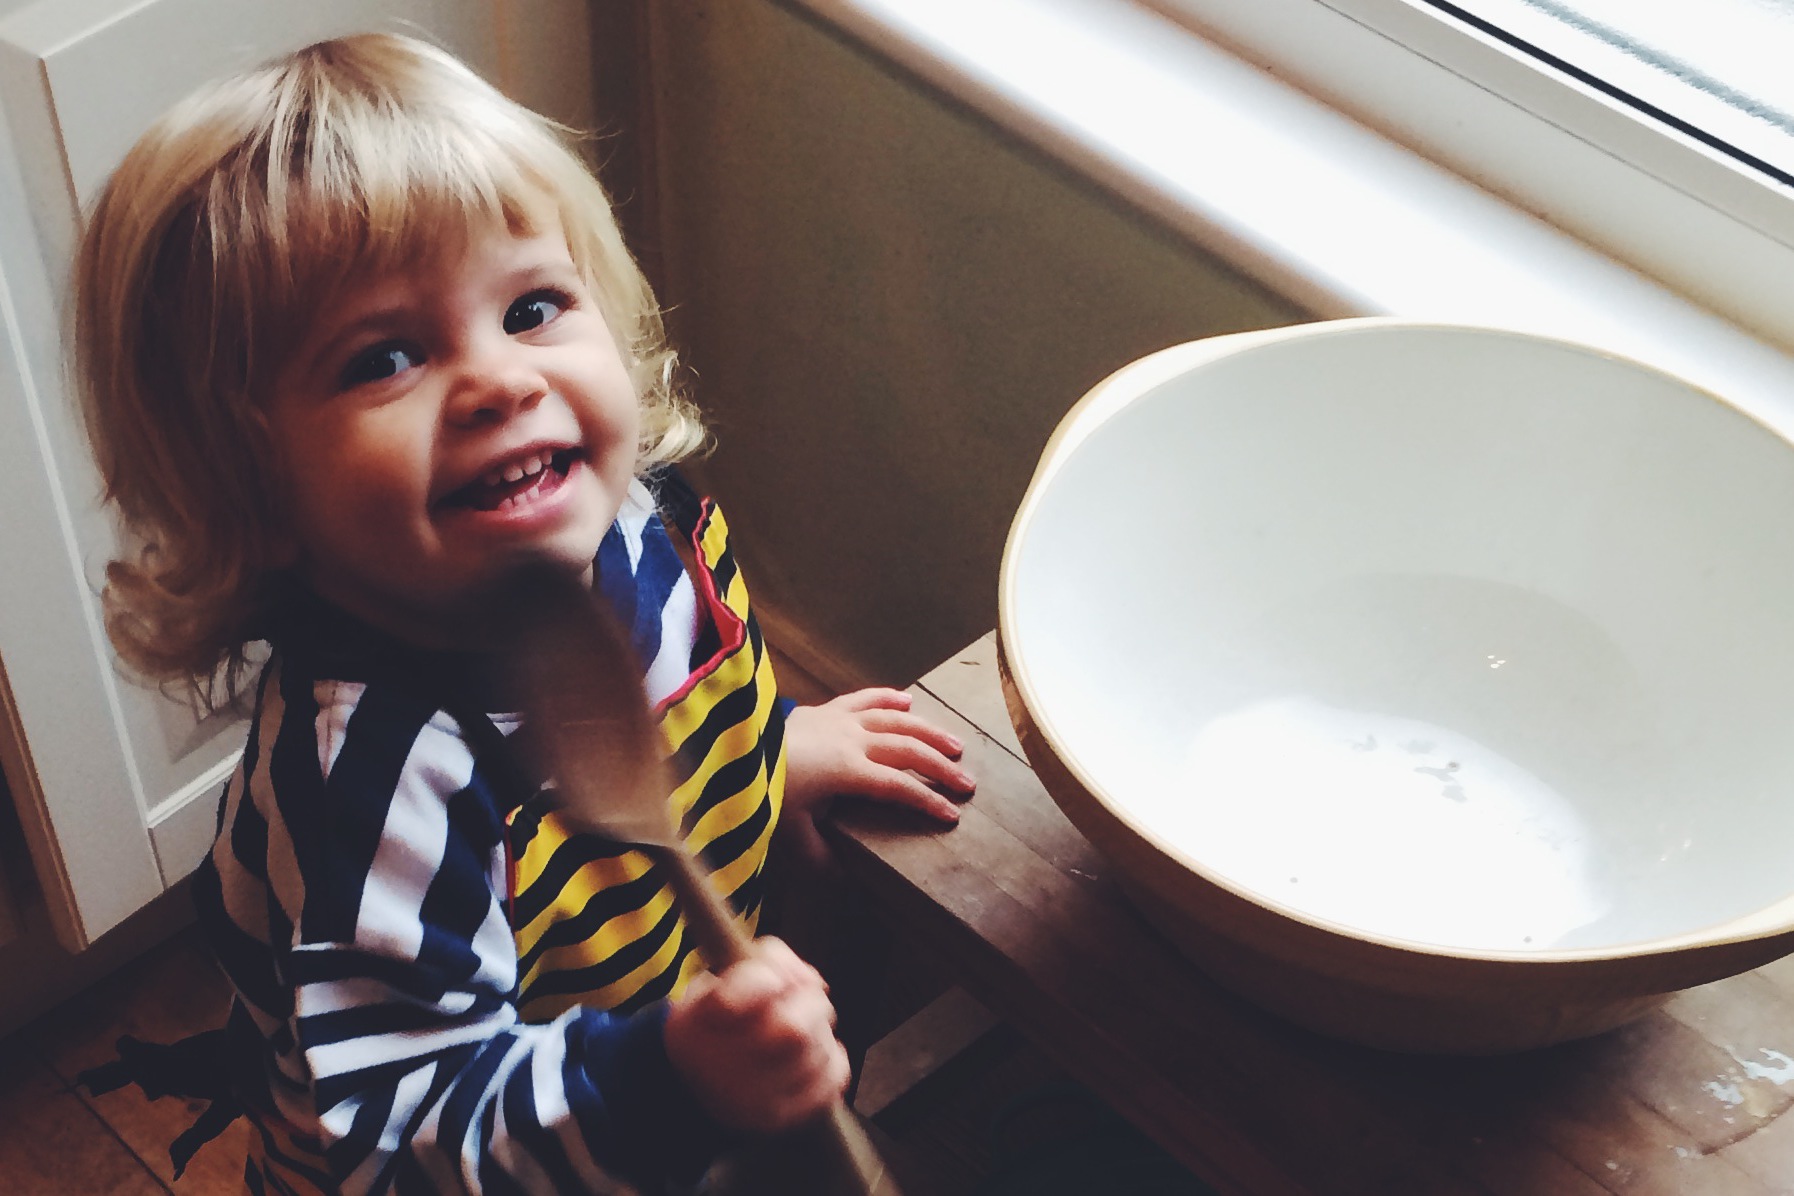
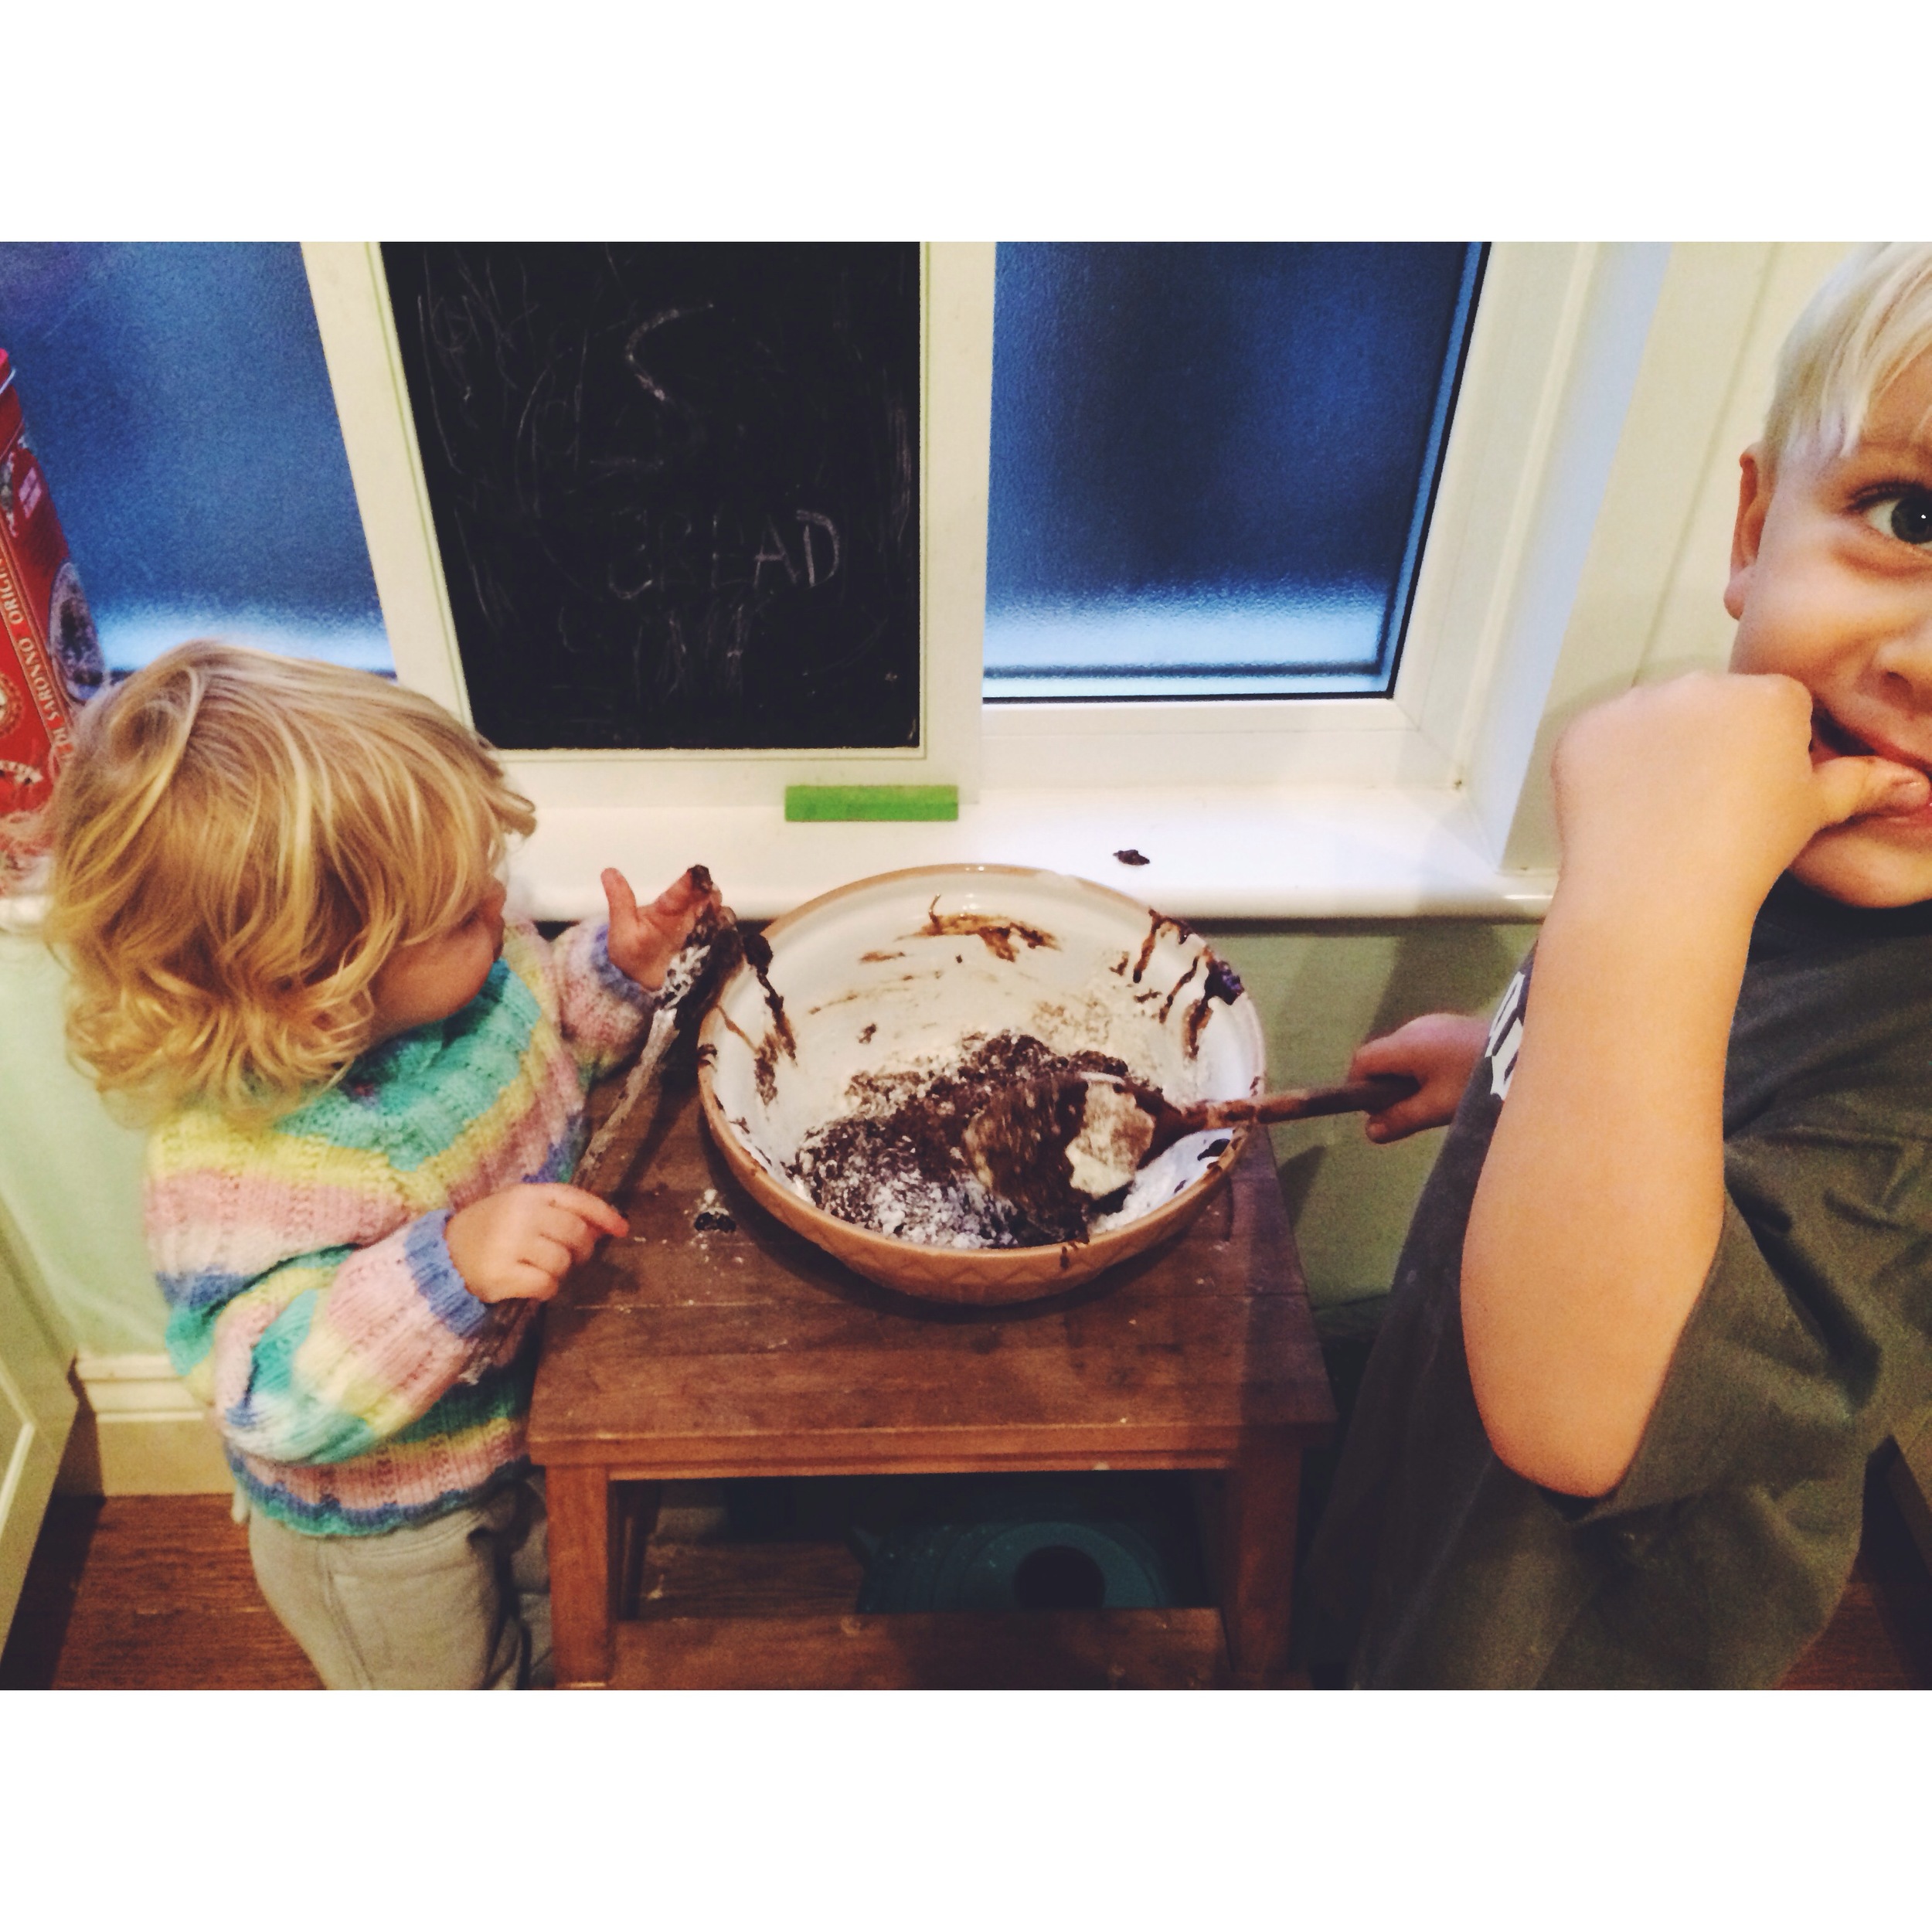
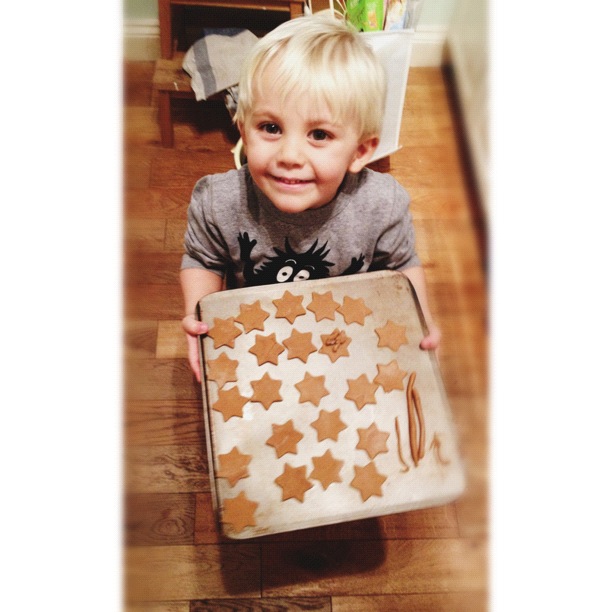
I actually have gone bananas, because *still* rarely a night passes without Indy padding down the hall and squirrelling in next to me, using me as a pillow and wrapping herself around me like a little butterscotchy octopus. Then I can't get back to sleep. And she wriggles the covers off. And in the morning I feel like lying on the floor with a funnel in my mouth whilst someone fills me to the brim with coffee. Or waves a one way ticket to a Mexico in front of my face. It's January, so even the brightest days are mostly dark and frosty and I'm not a fan of long spells of hibernation, I need some sun and air and adventure. So we have been baking a lot to make the house smell of cinnamon and warmth, and keep away from watching too much tv or feeling too blue. 

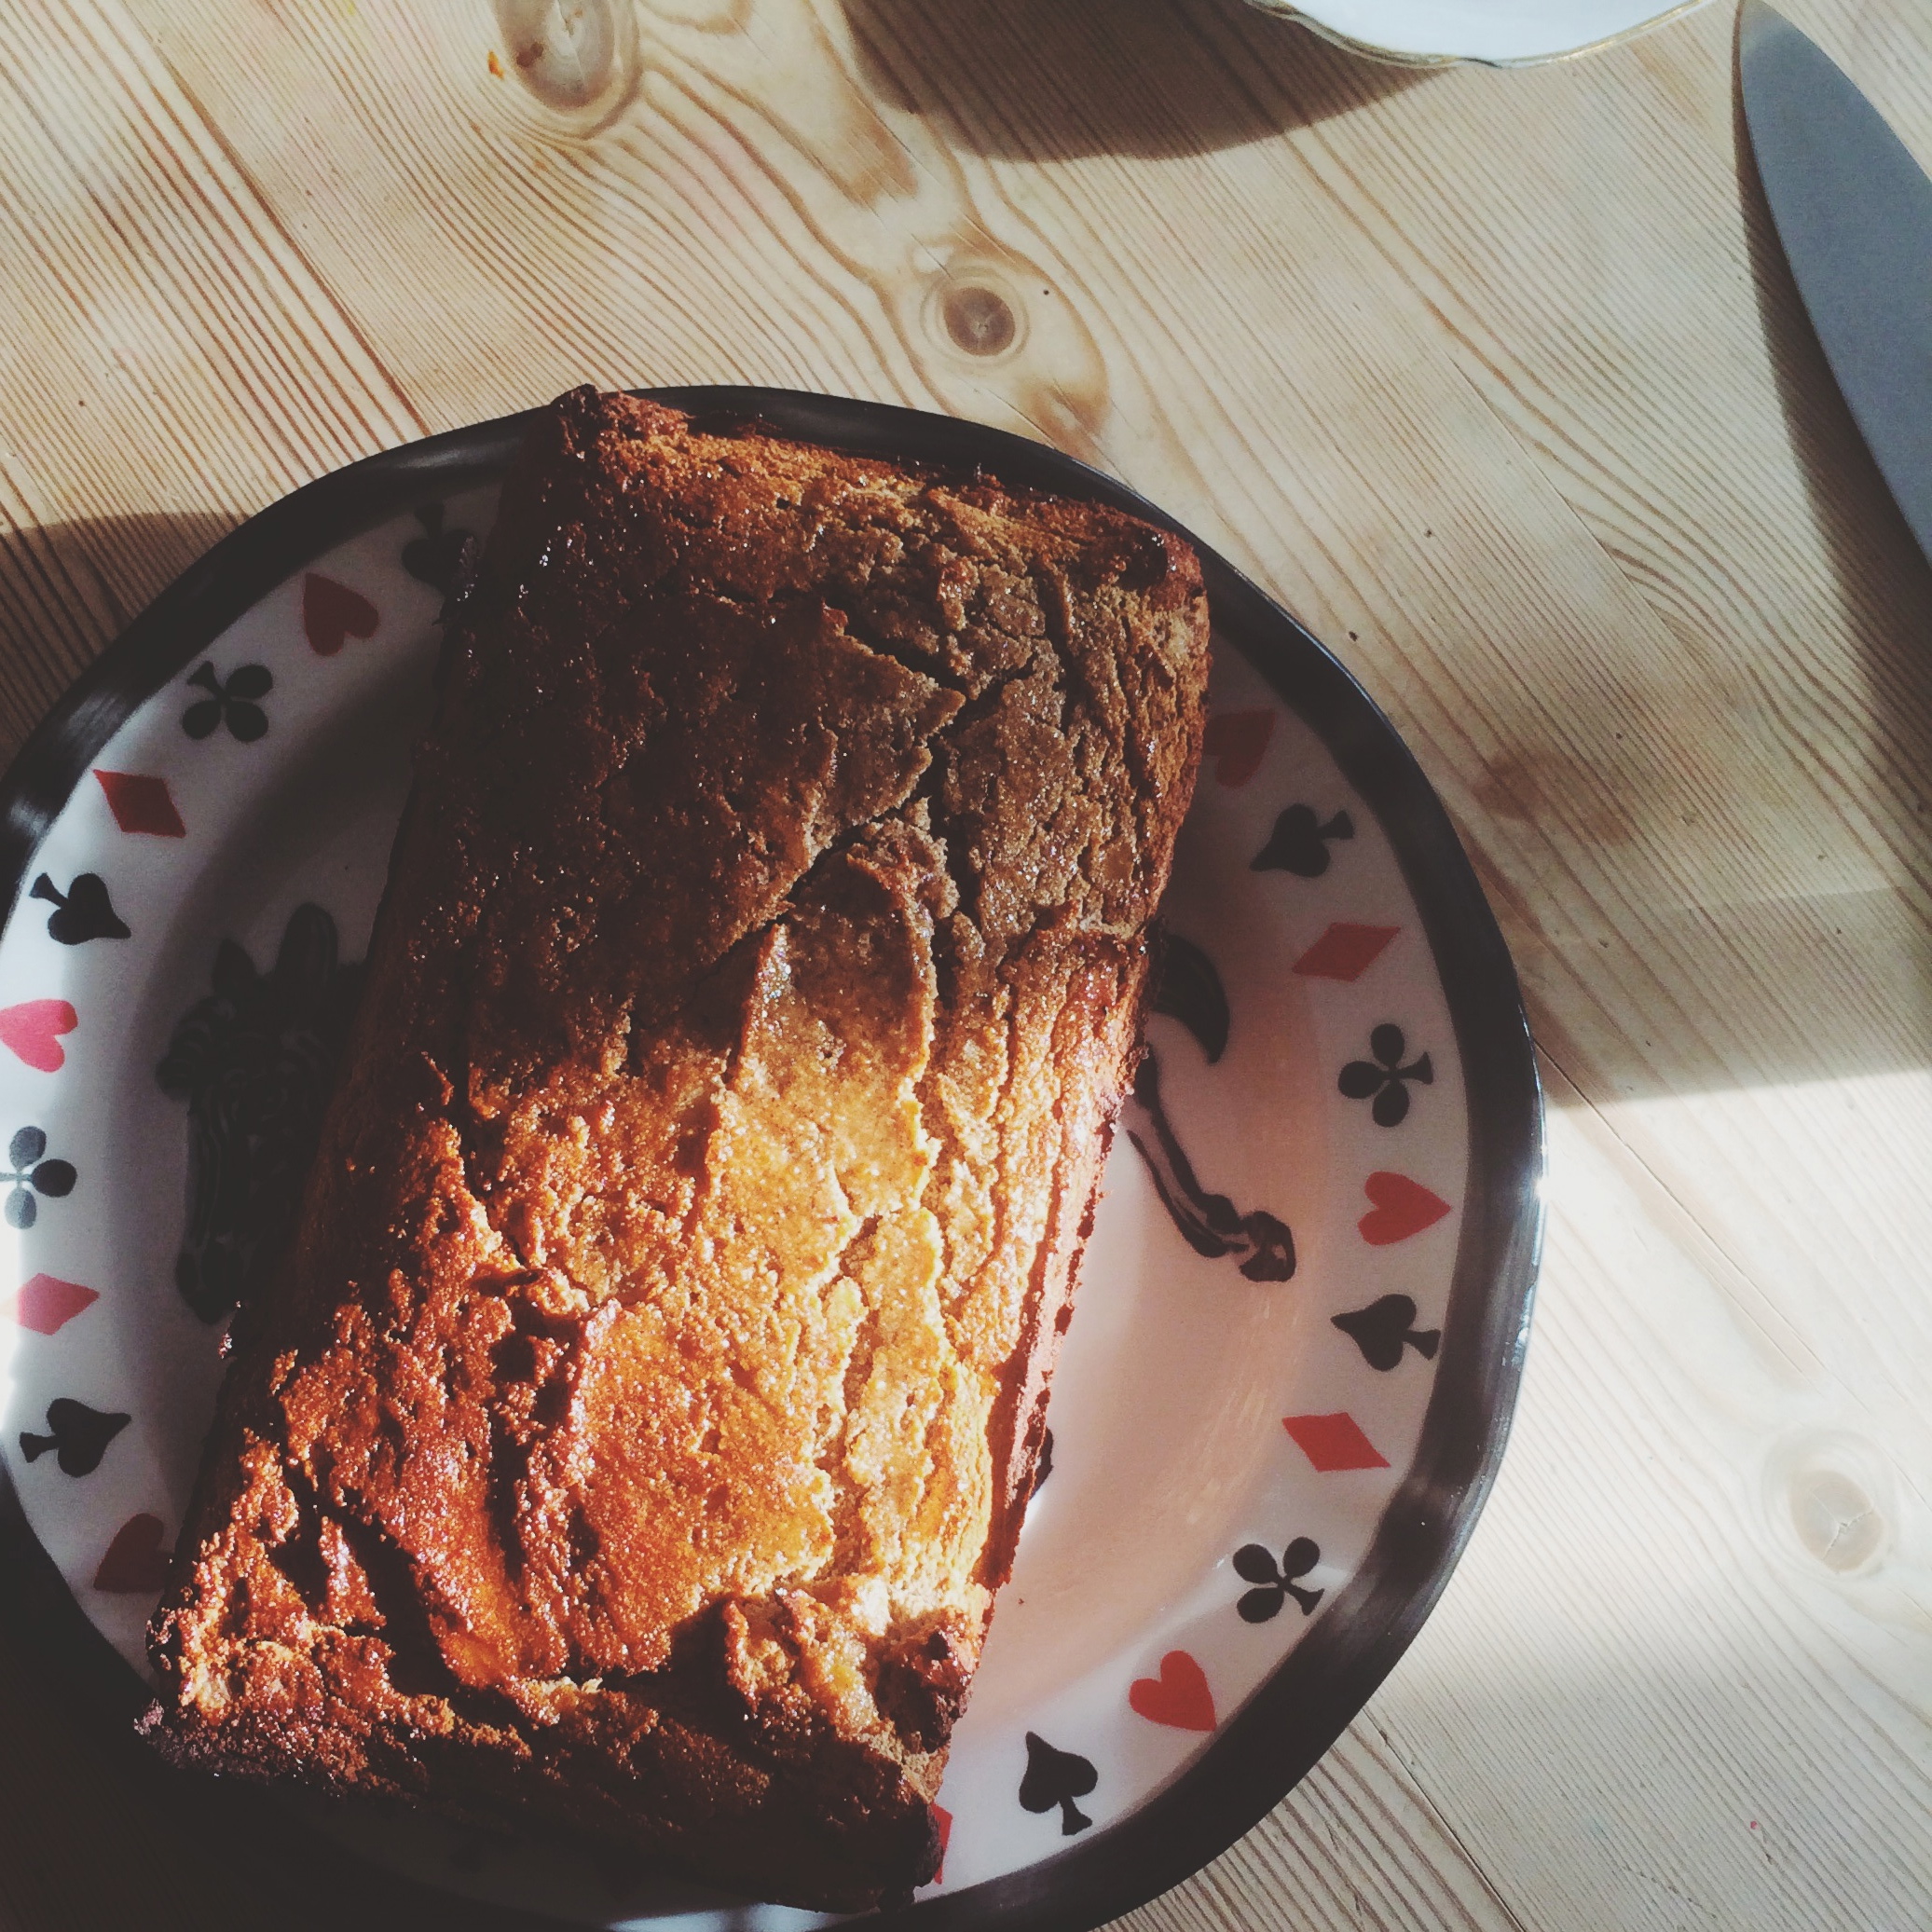
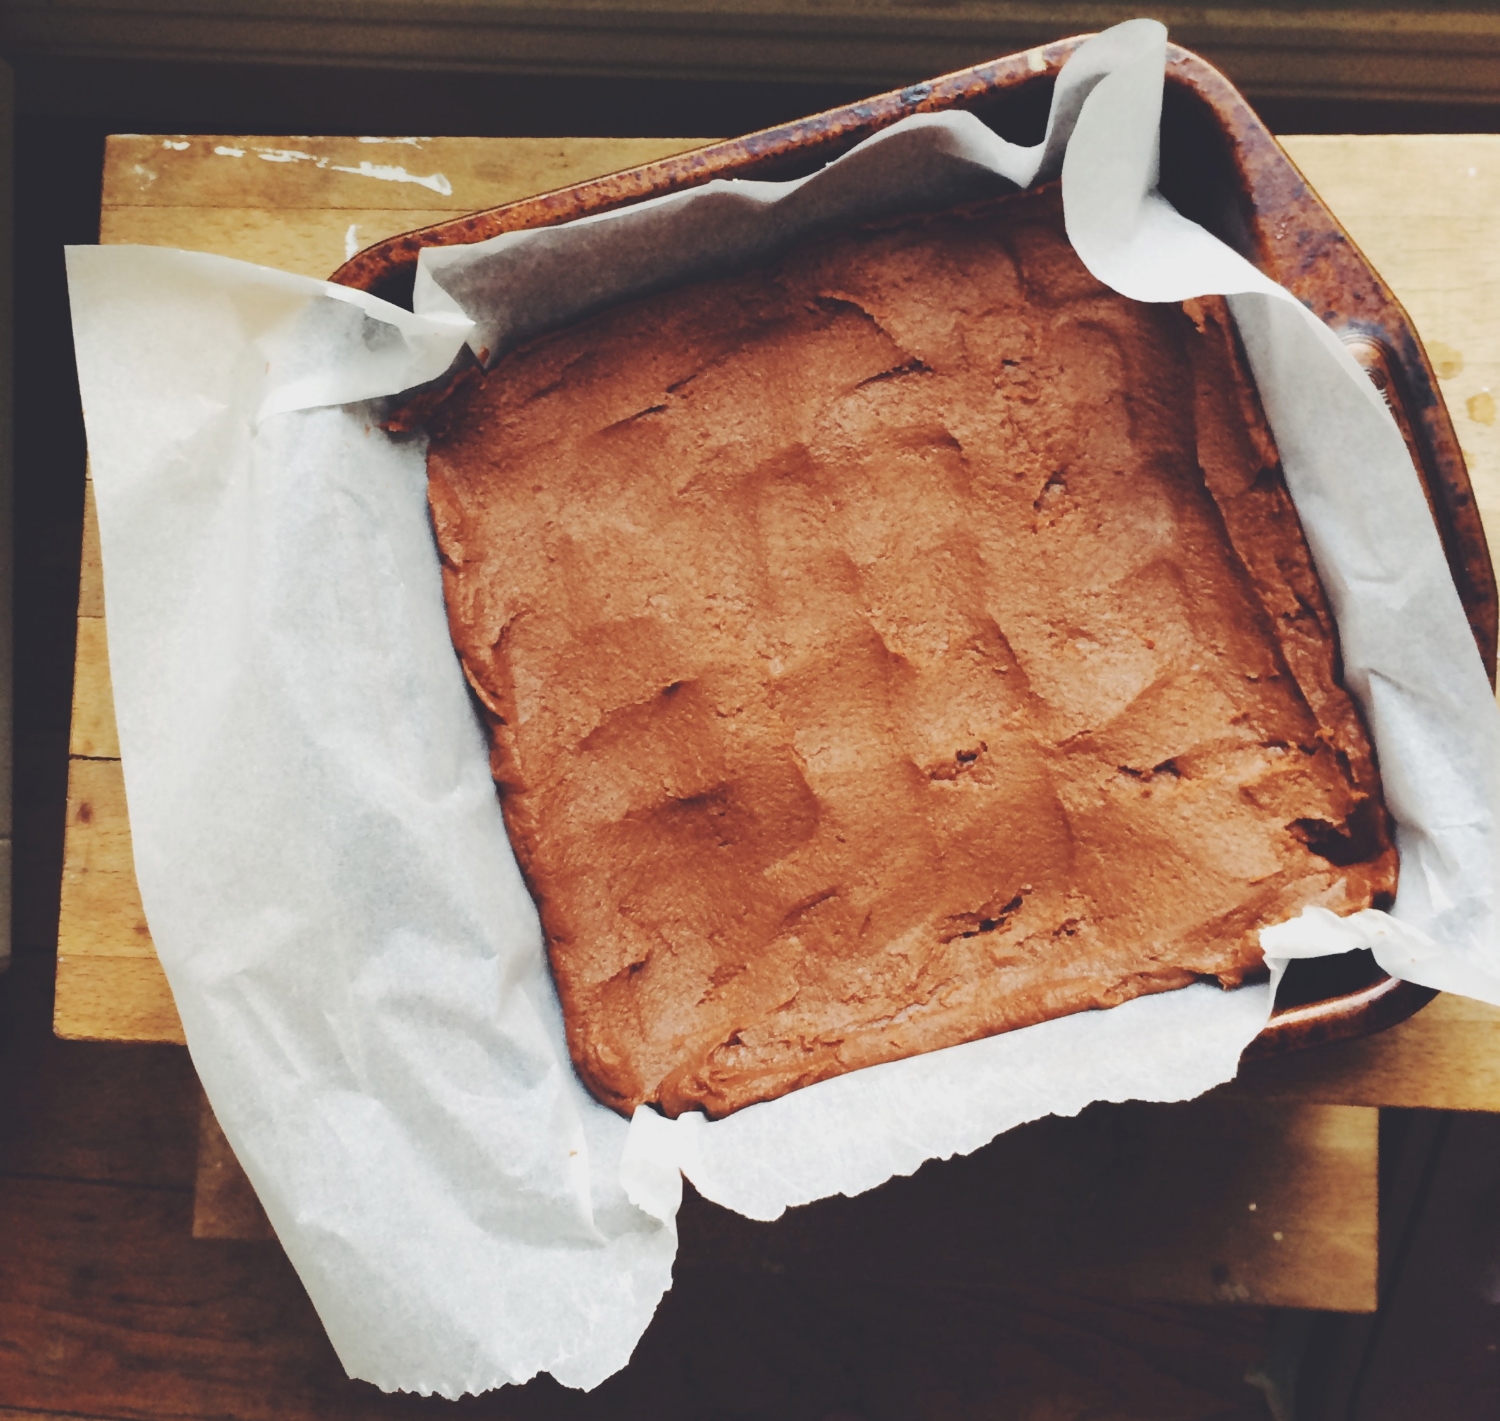
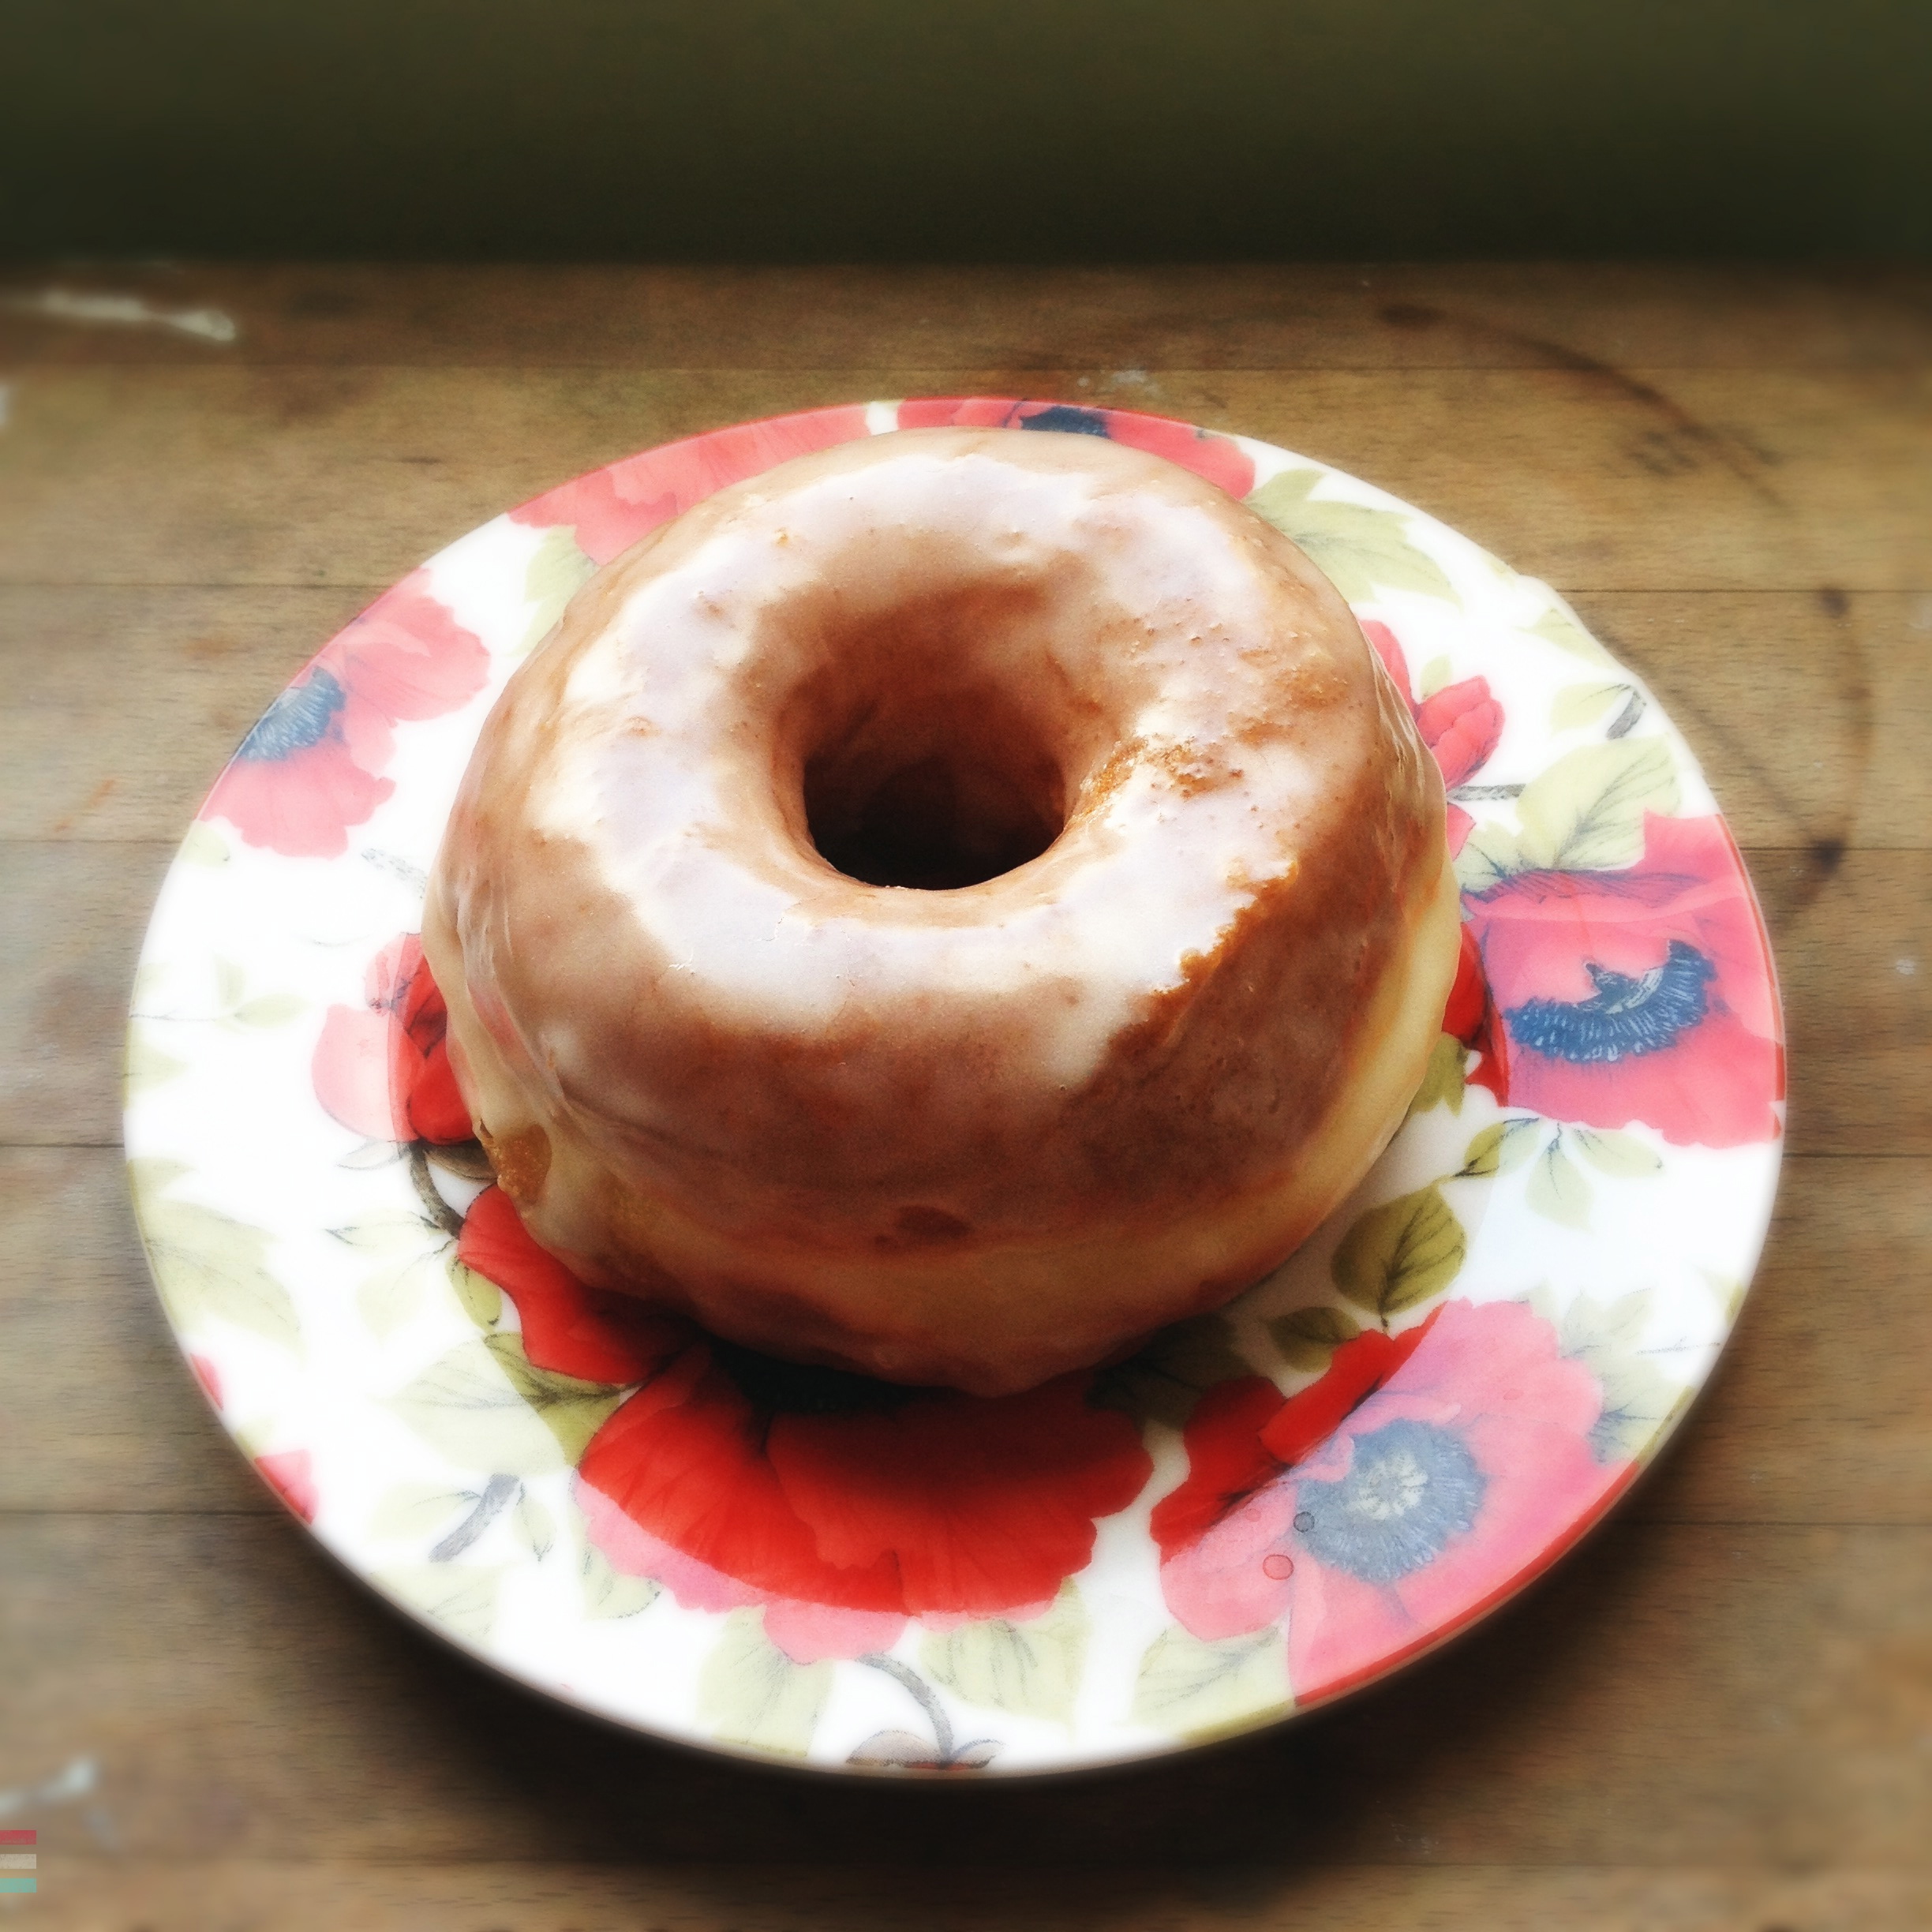
This banana bread is our latest invented recipe and we are all now total addicts. It's delicious straight from the oven or cold or toasted with butter or slathered in almond butter and raspberries for breakfast. We're on a loaf a week at the moment and show no signs of slowing down. But it's totally sugar/gluten/dairy free so we can smugly devour as much as we fancy & get ourselves strong for treeclimbing season at the same time... 

IMG_5046.jpg

Wintertime Banana Bread

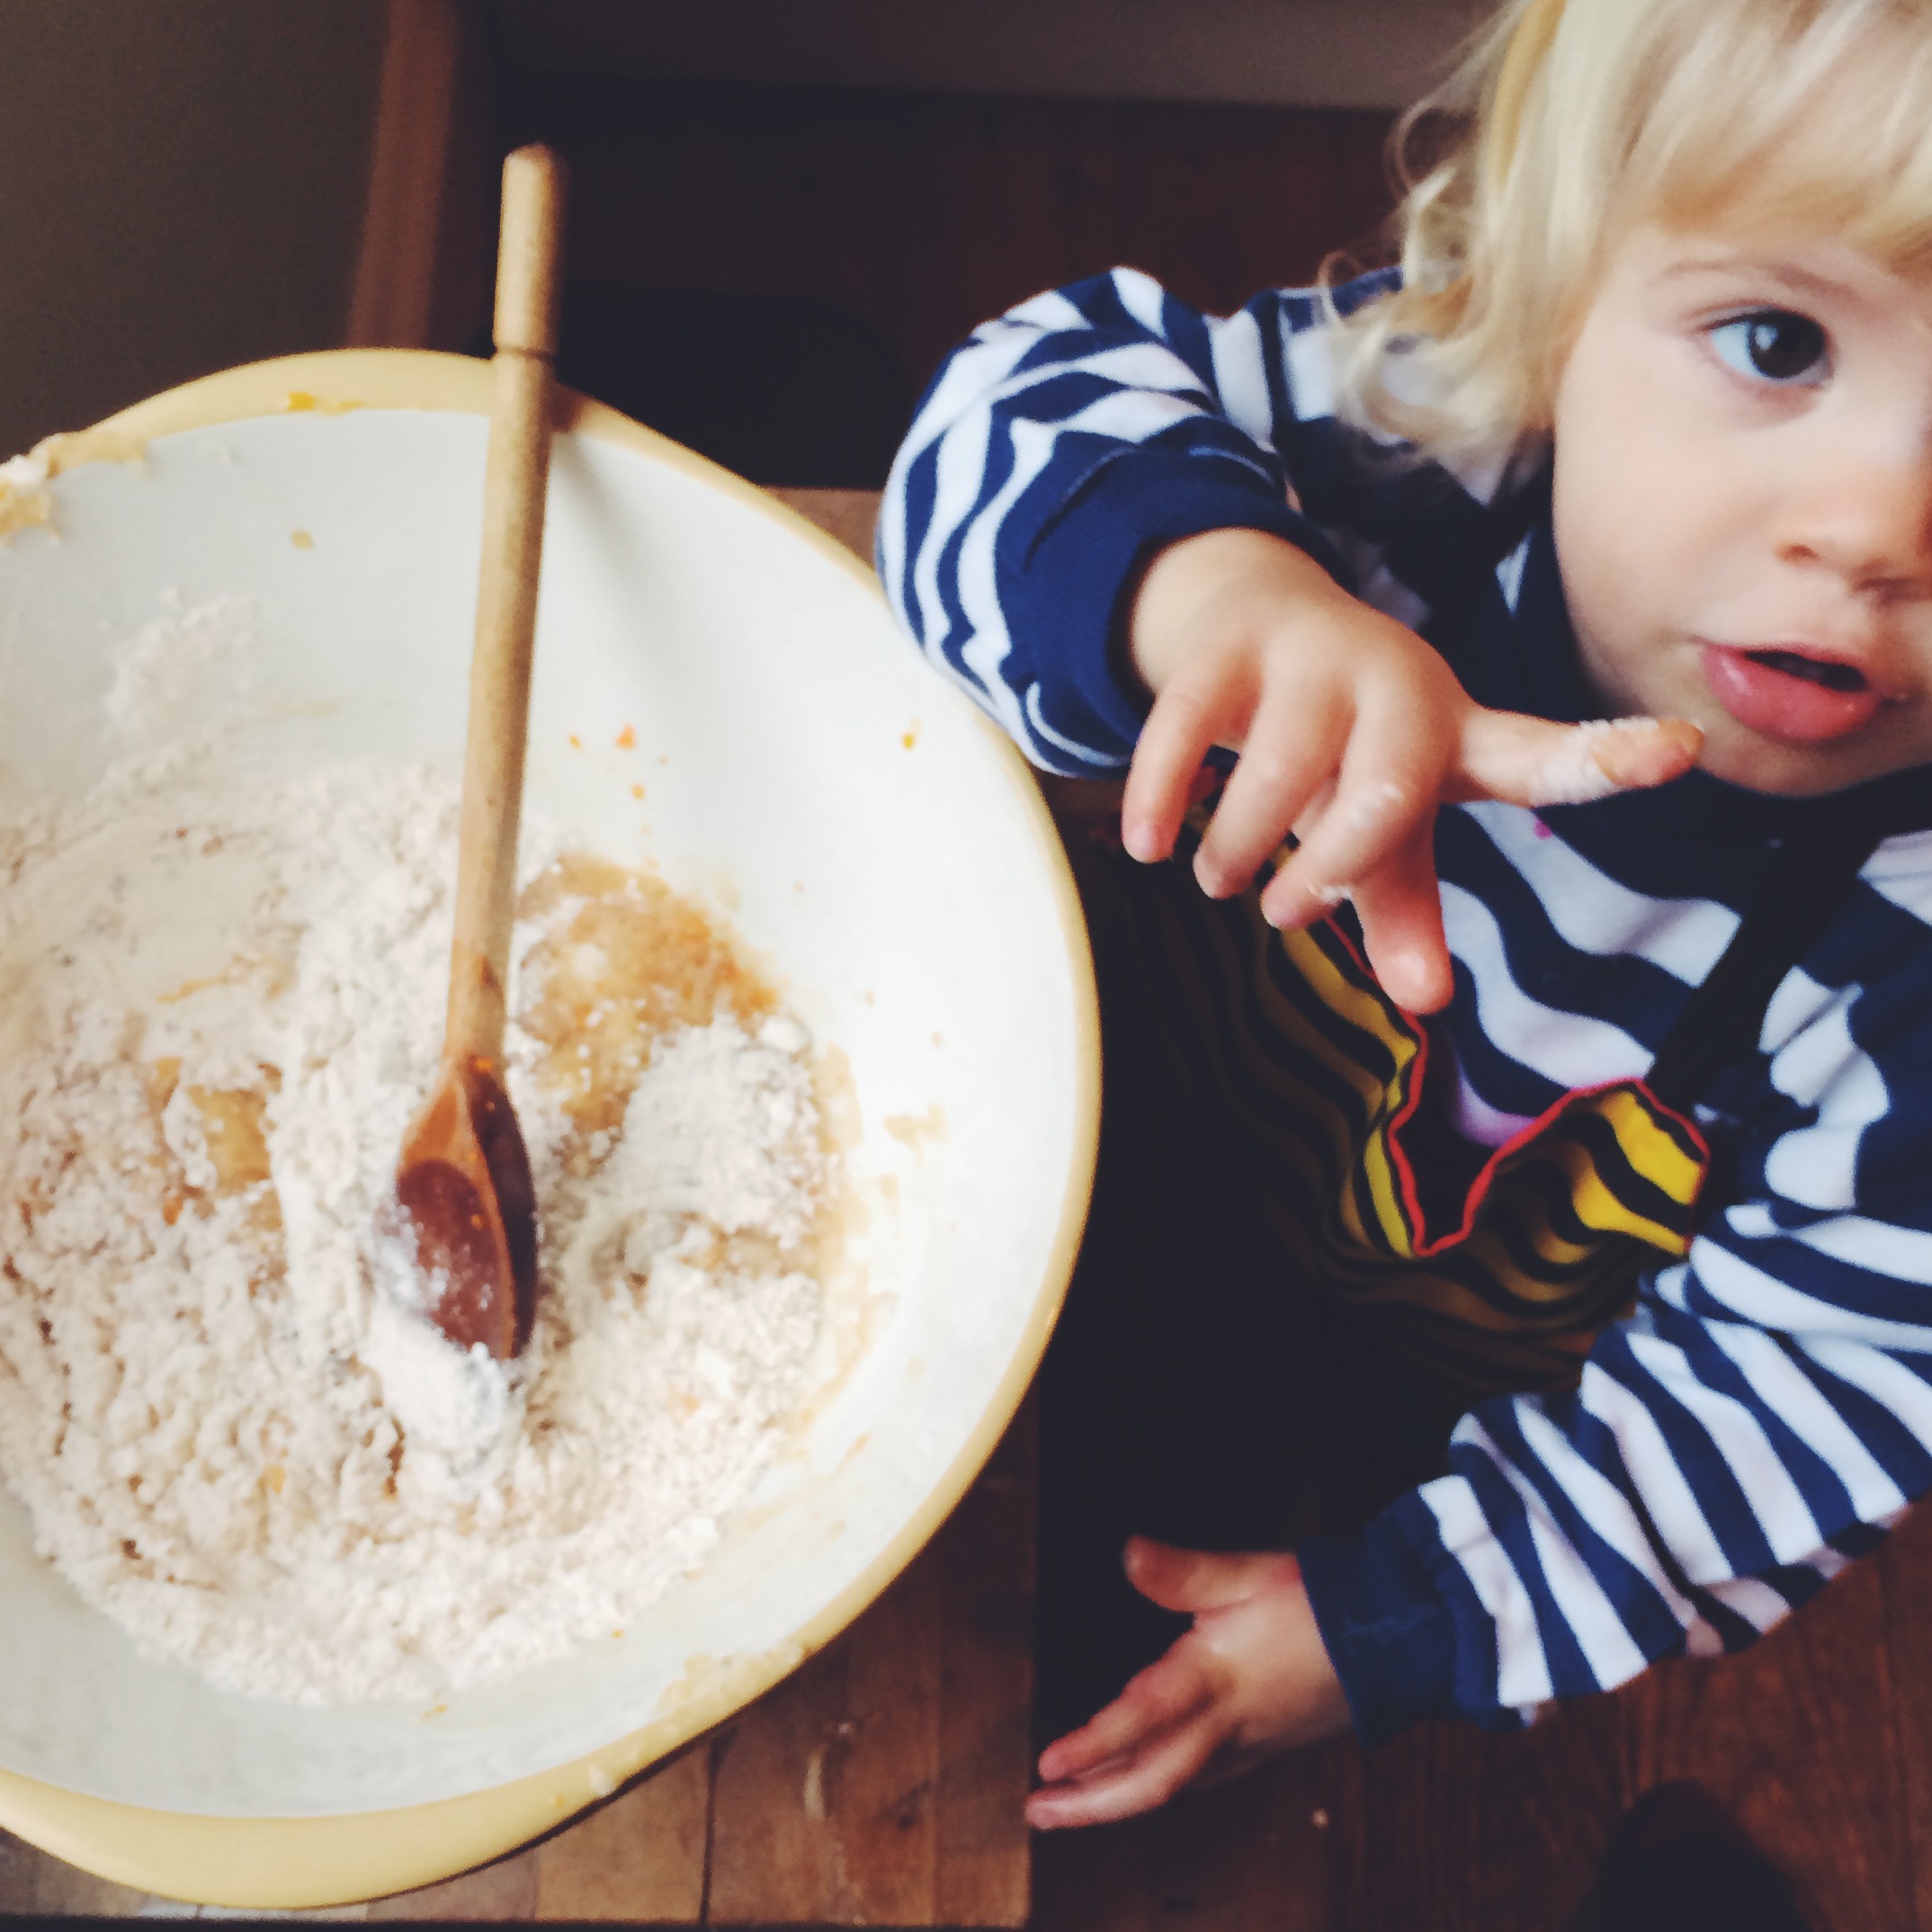
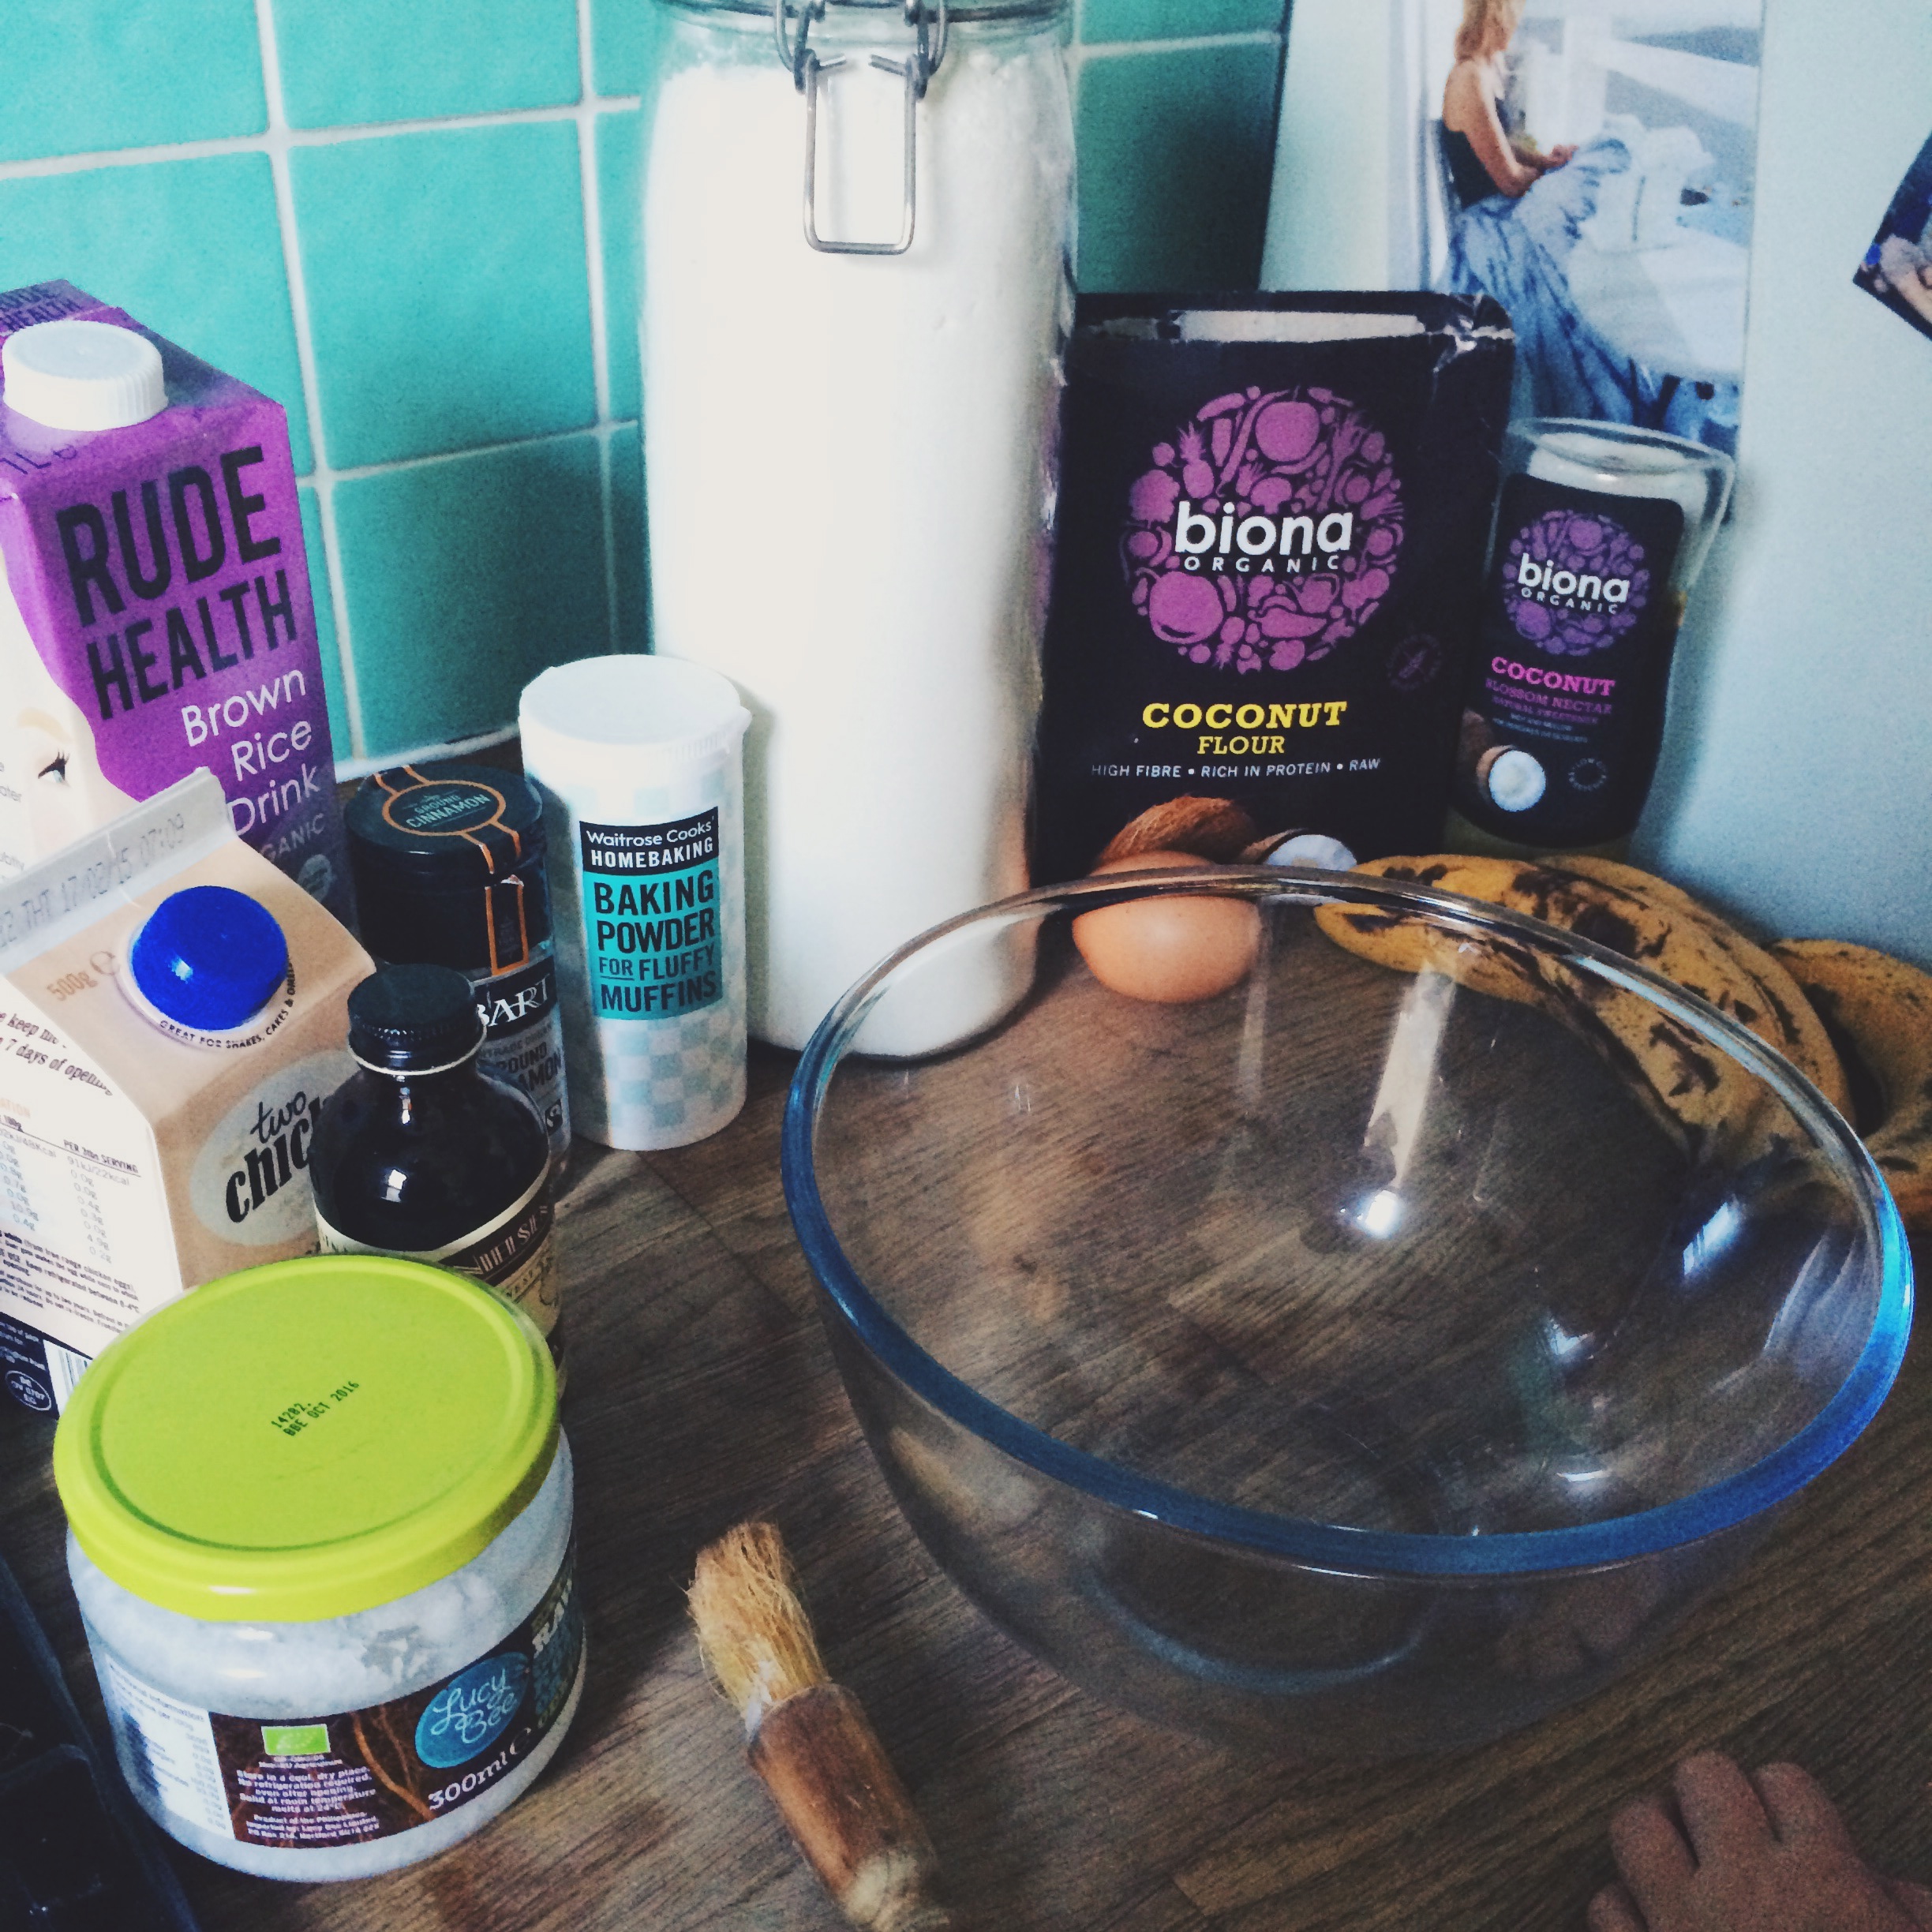
75g Doves Farm Gluten Free Self Raising Flour (I imagine you could substitute buckwheat or rice flour)
50g coconut flour
1 tsp baking powder
2 tsp ground cinnamon
50g melted butter or coconut oil
2 tsp vanilla
1 egg
1 tbsp almond or rice milk (make sure it's unsweetened)
80g egg white (approx 3 large egg whites, but I buy it by the carton)
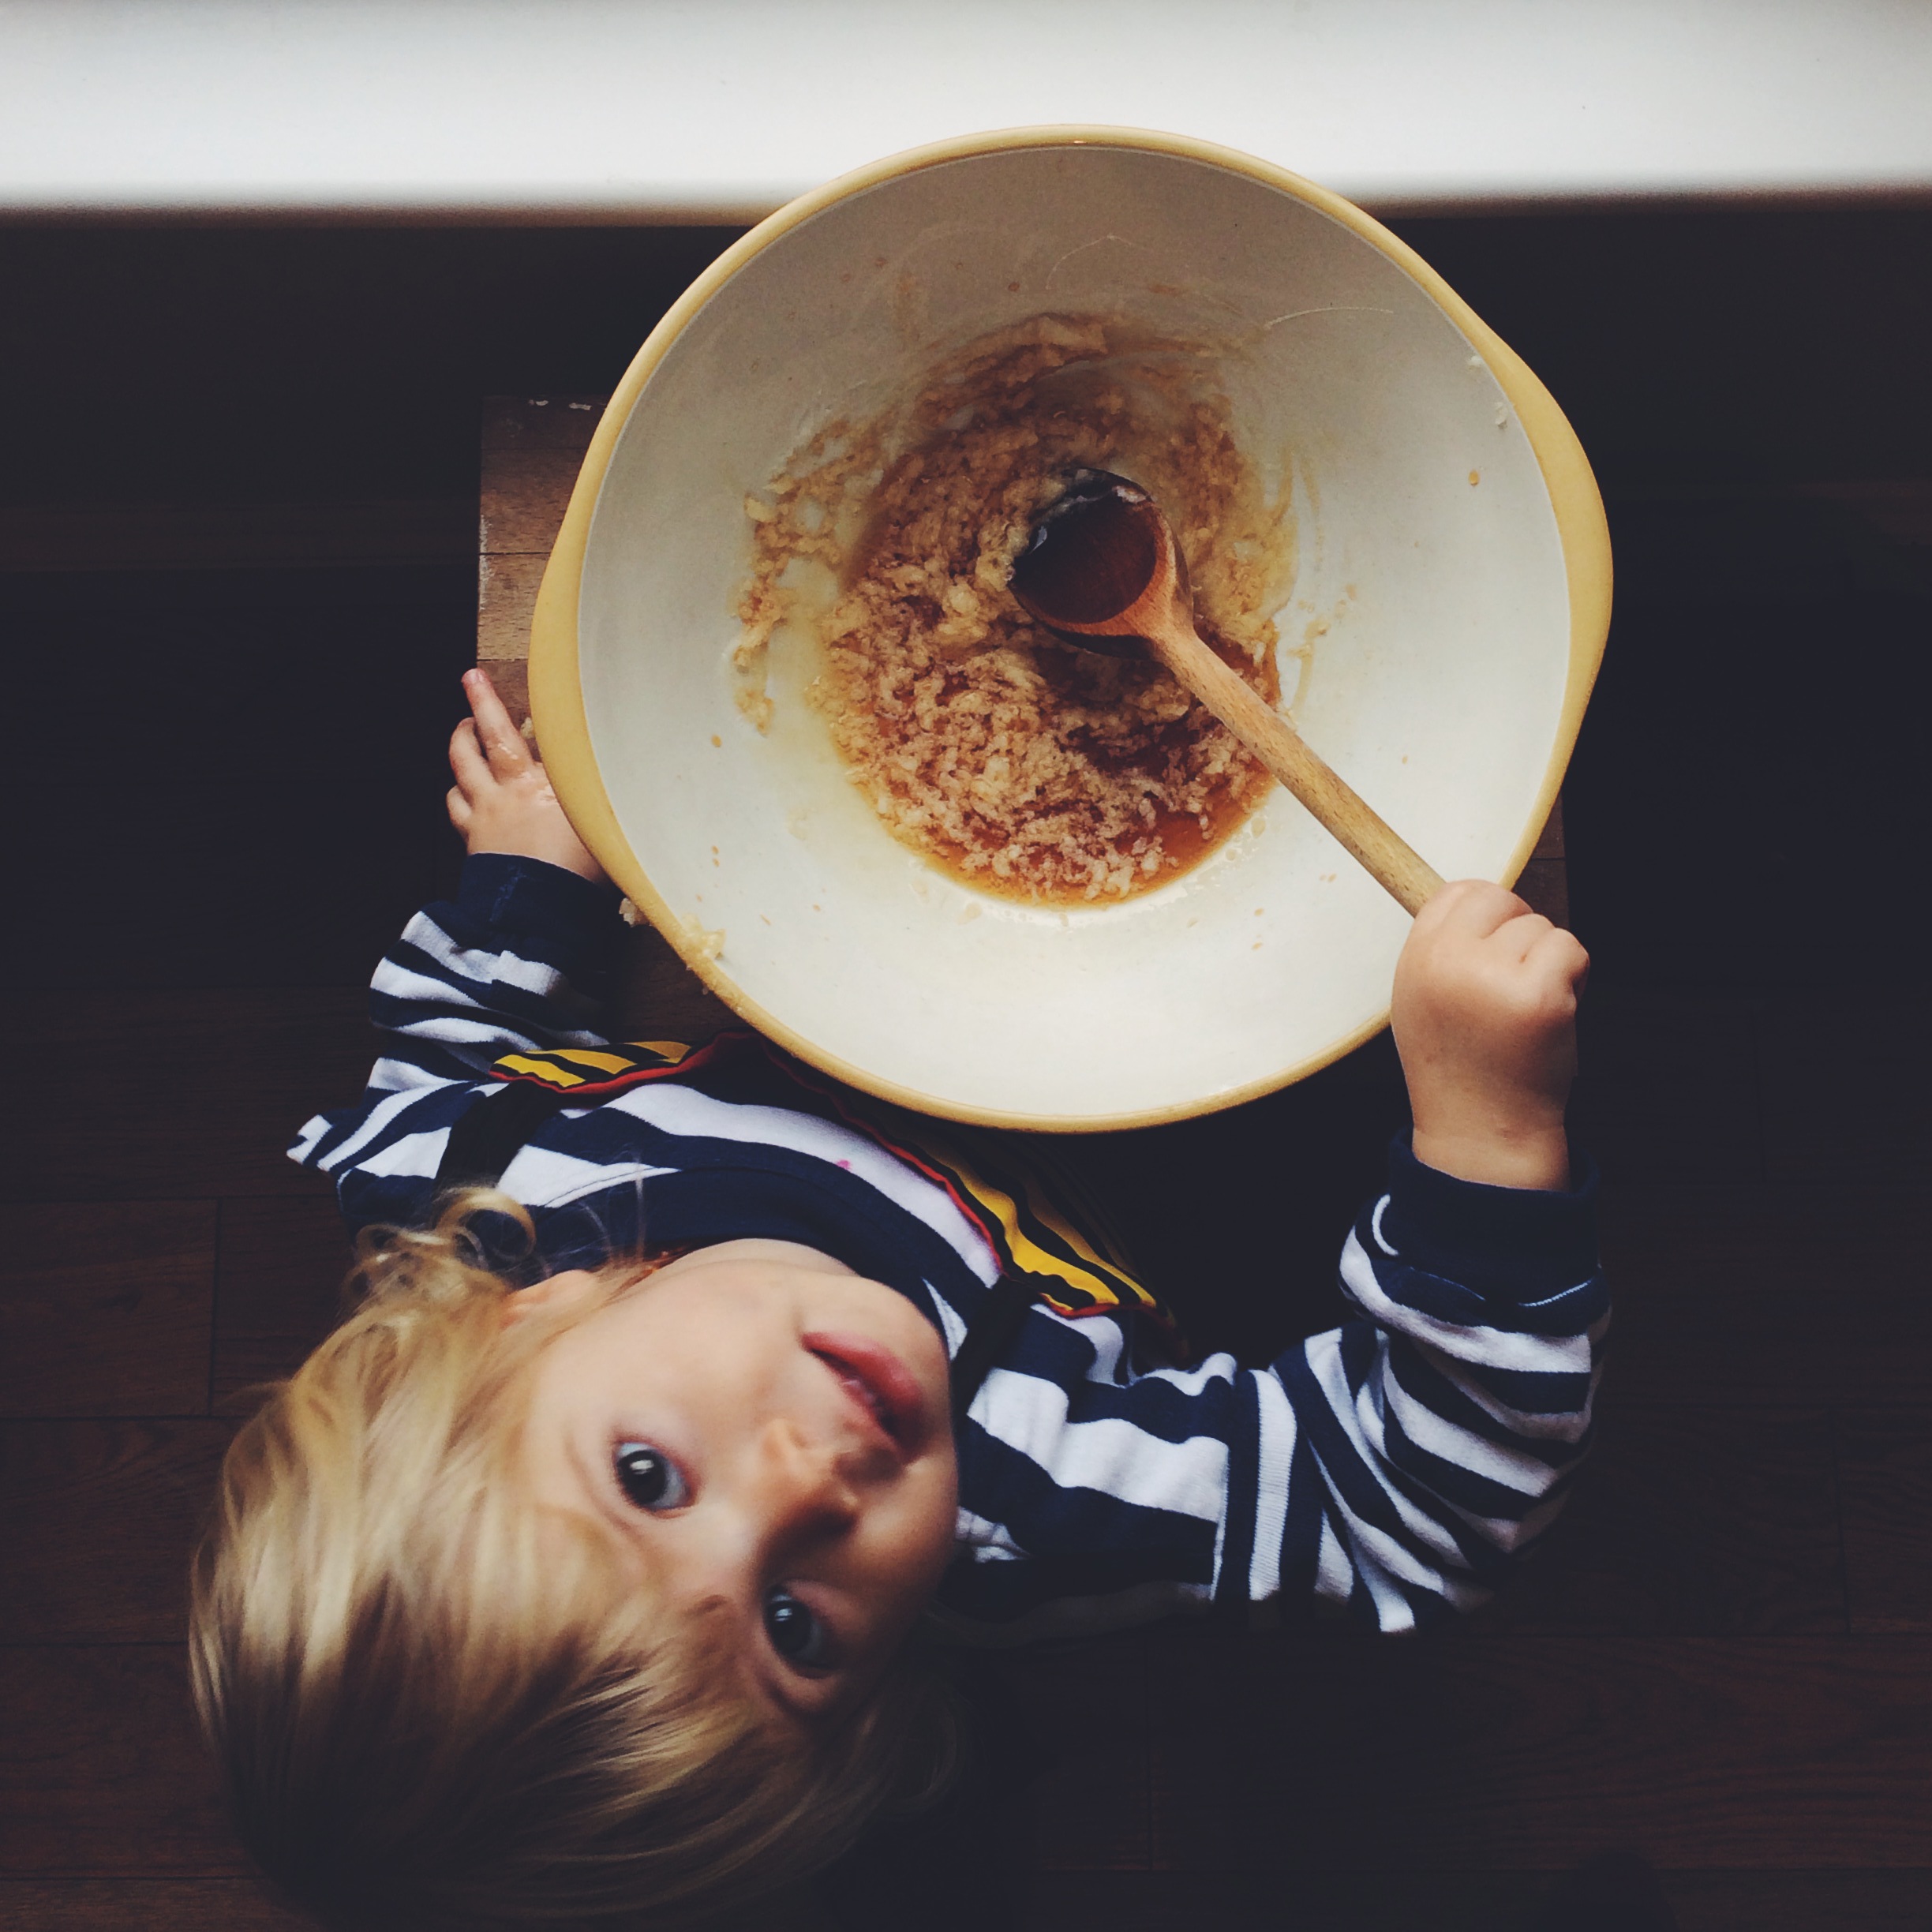
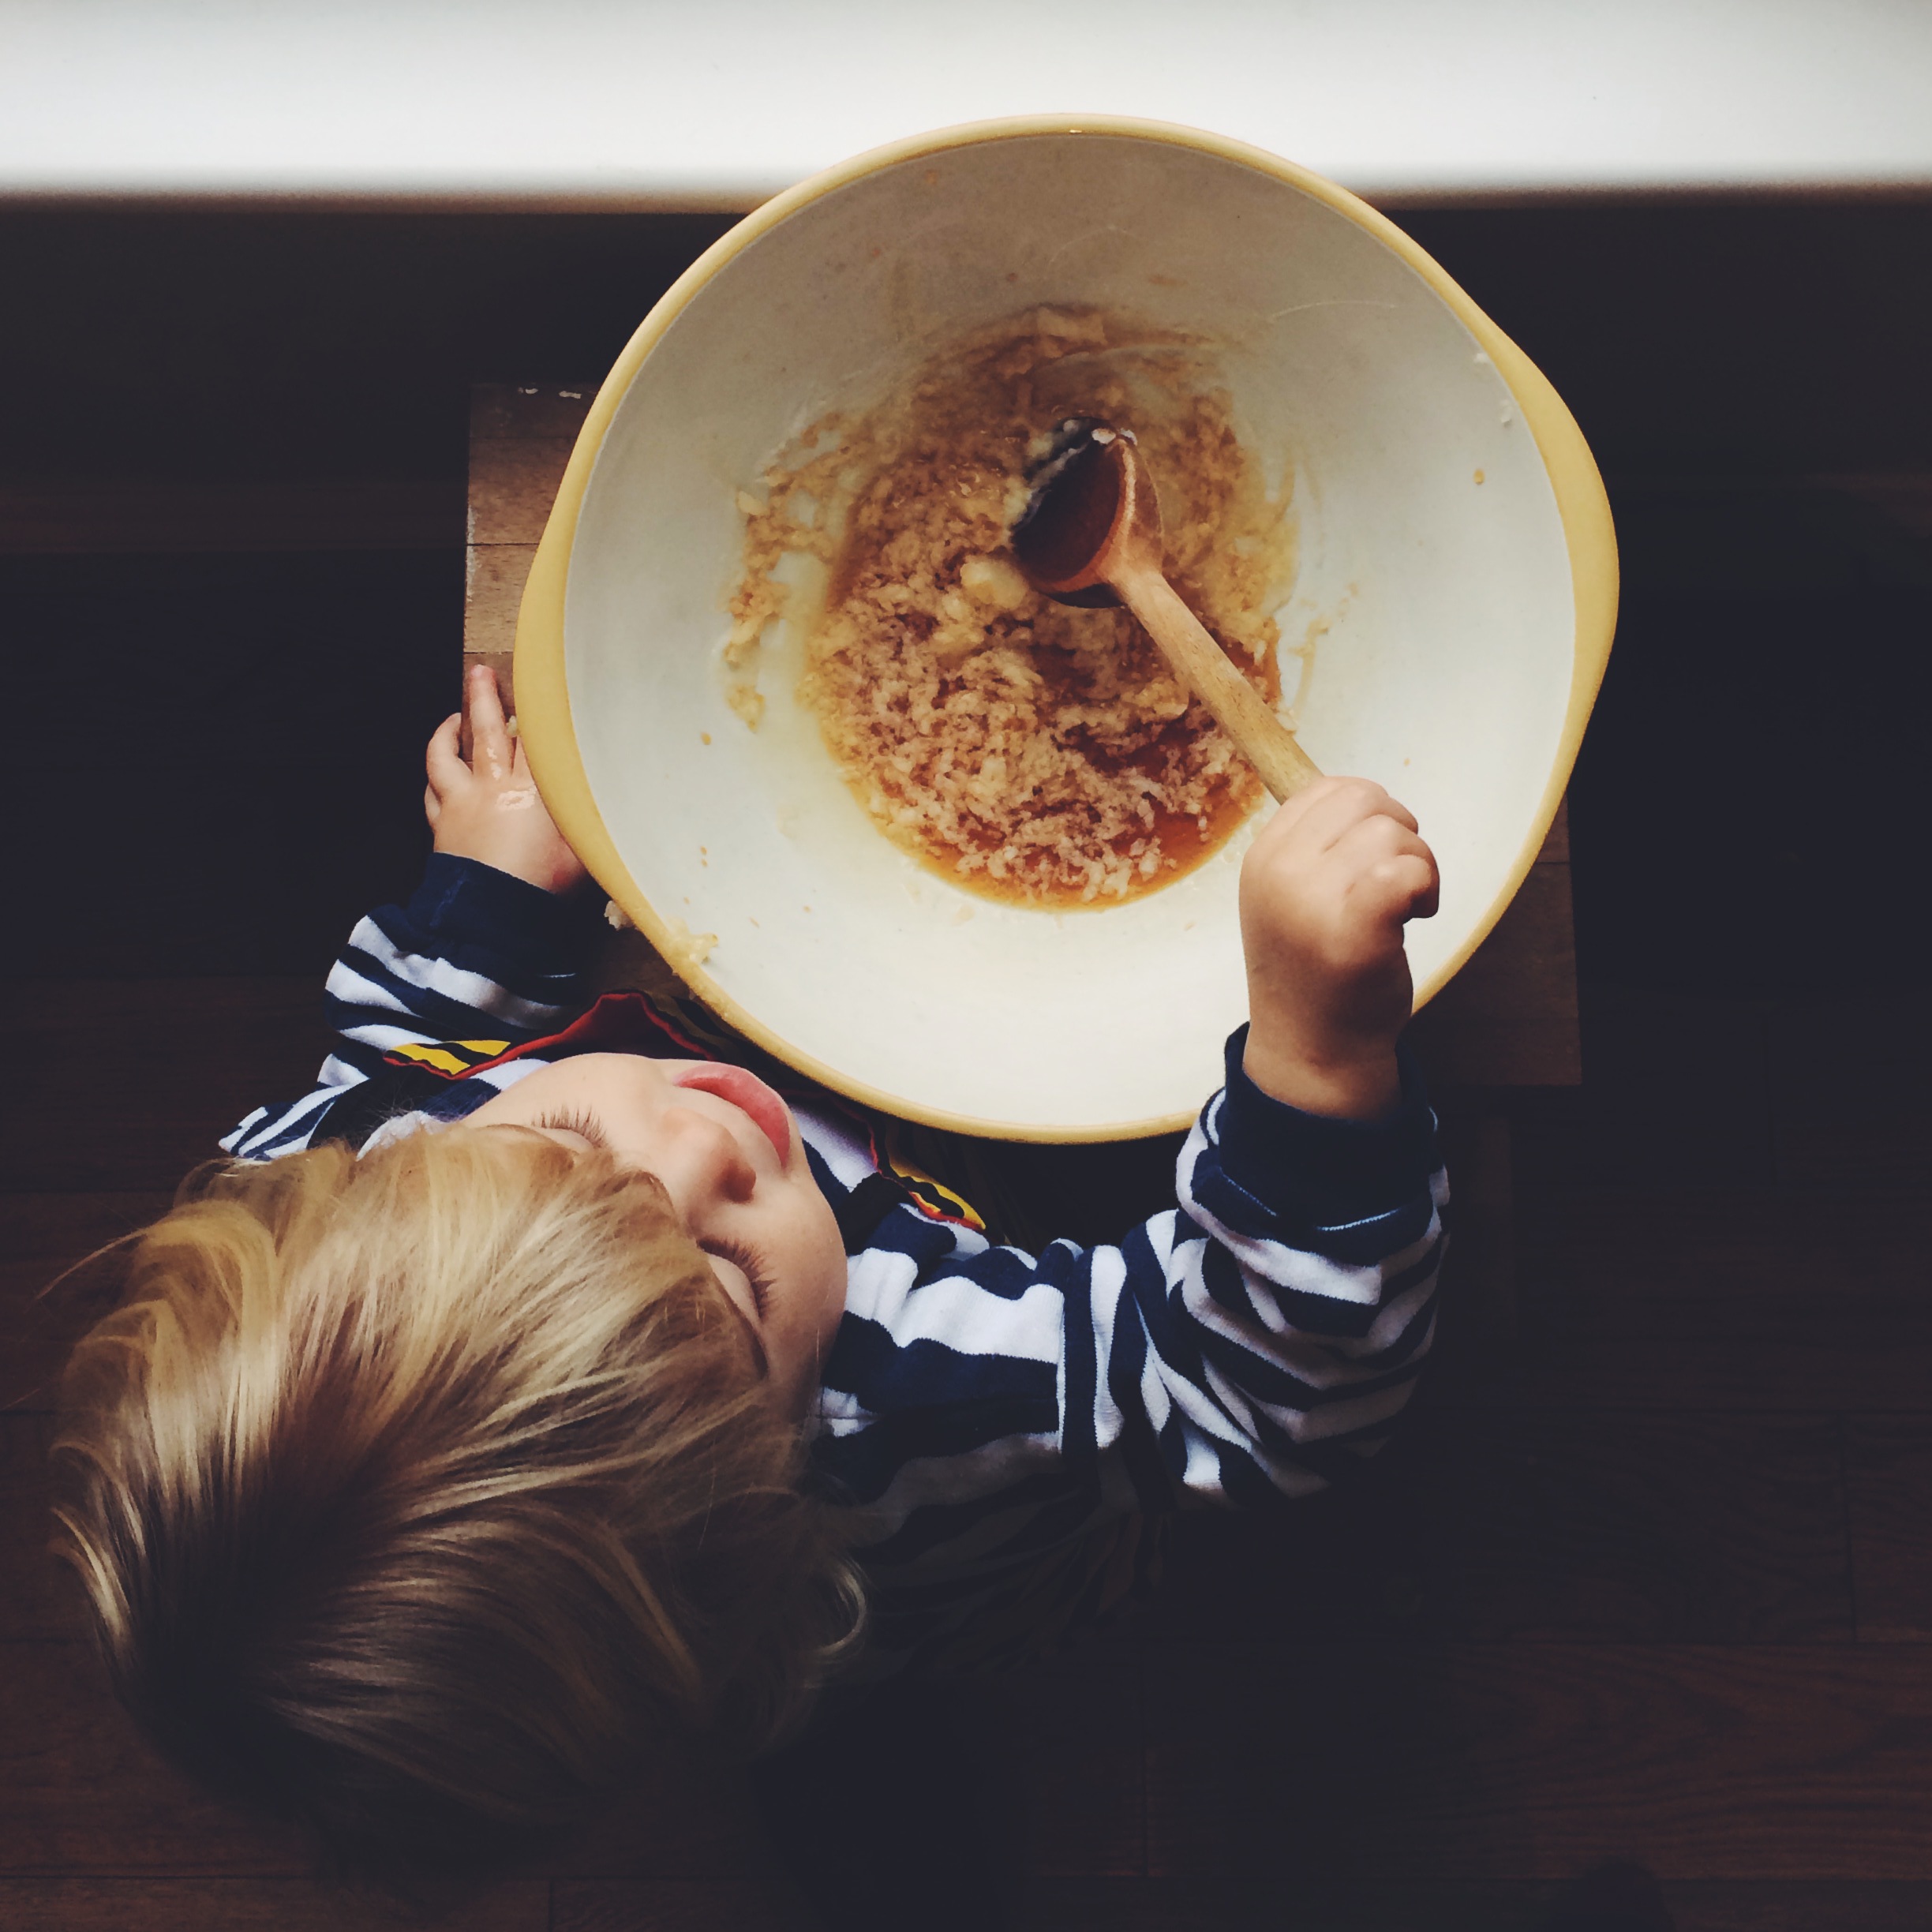
3 mega ripe bananas
1 tbsp coconut nectar, raw honey, maple syrup or agave
more agave or maple syrup (for serving)

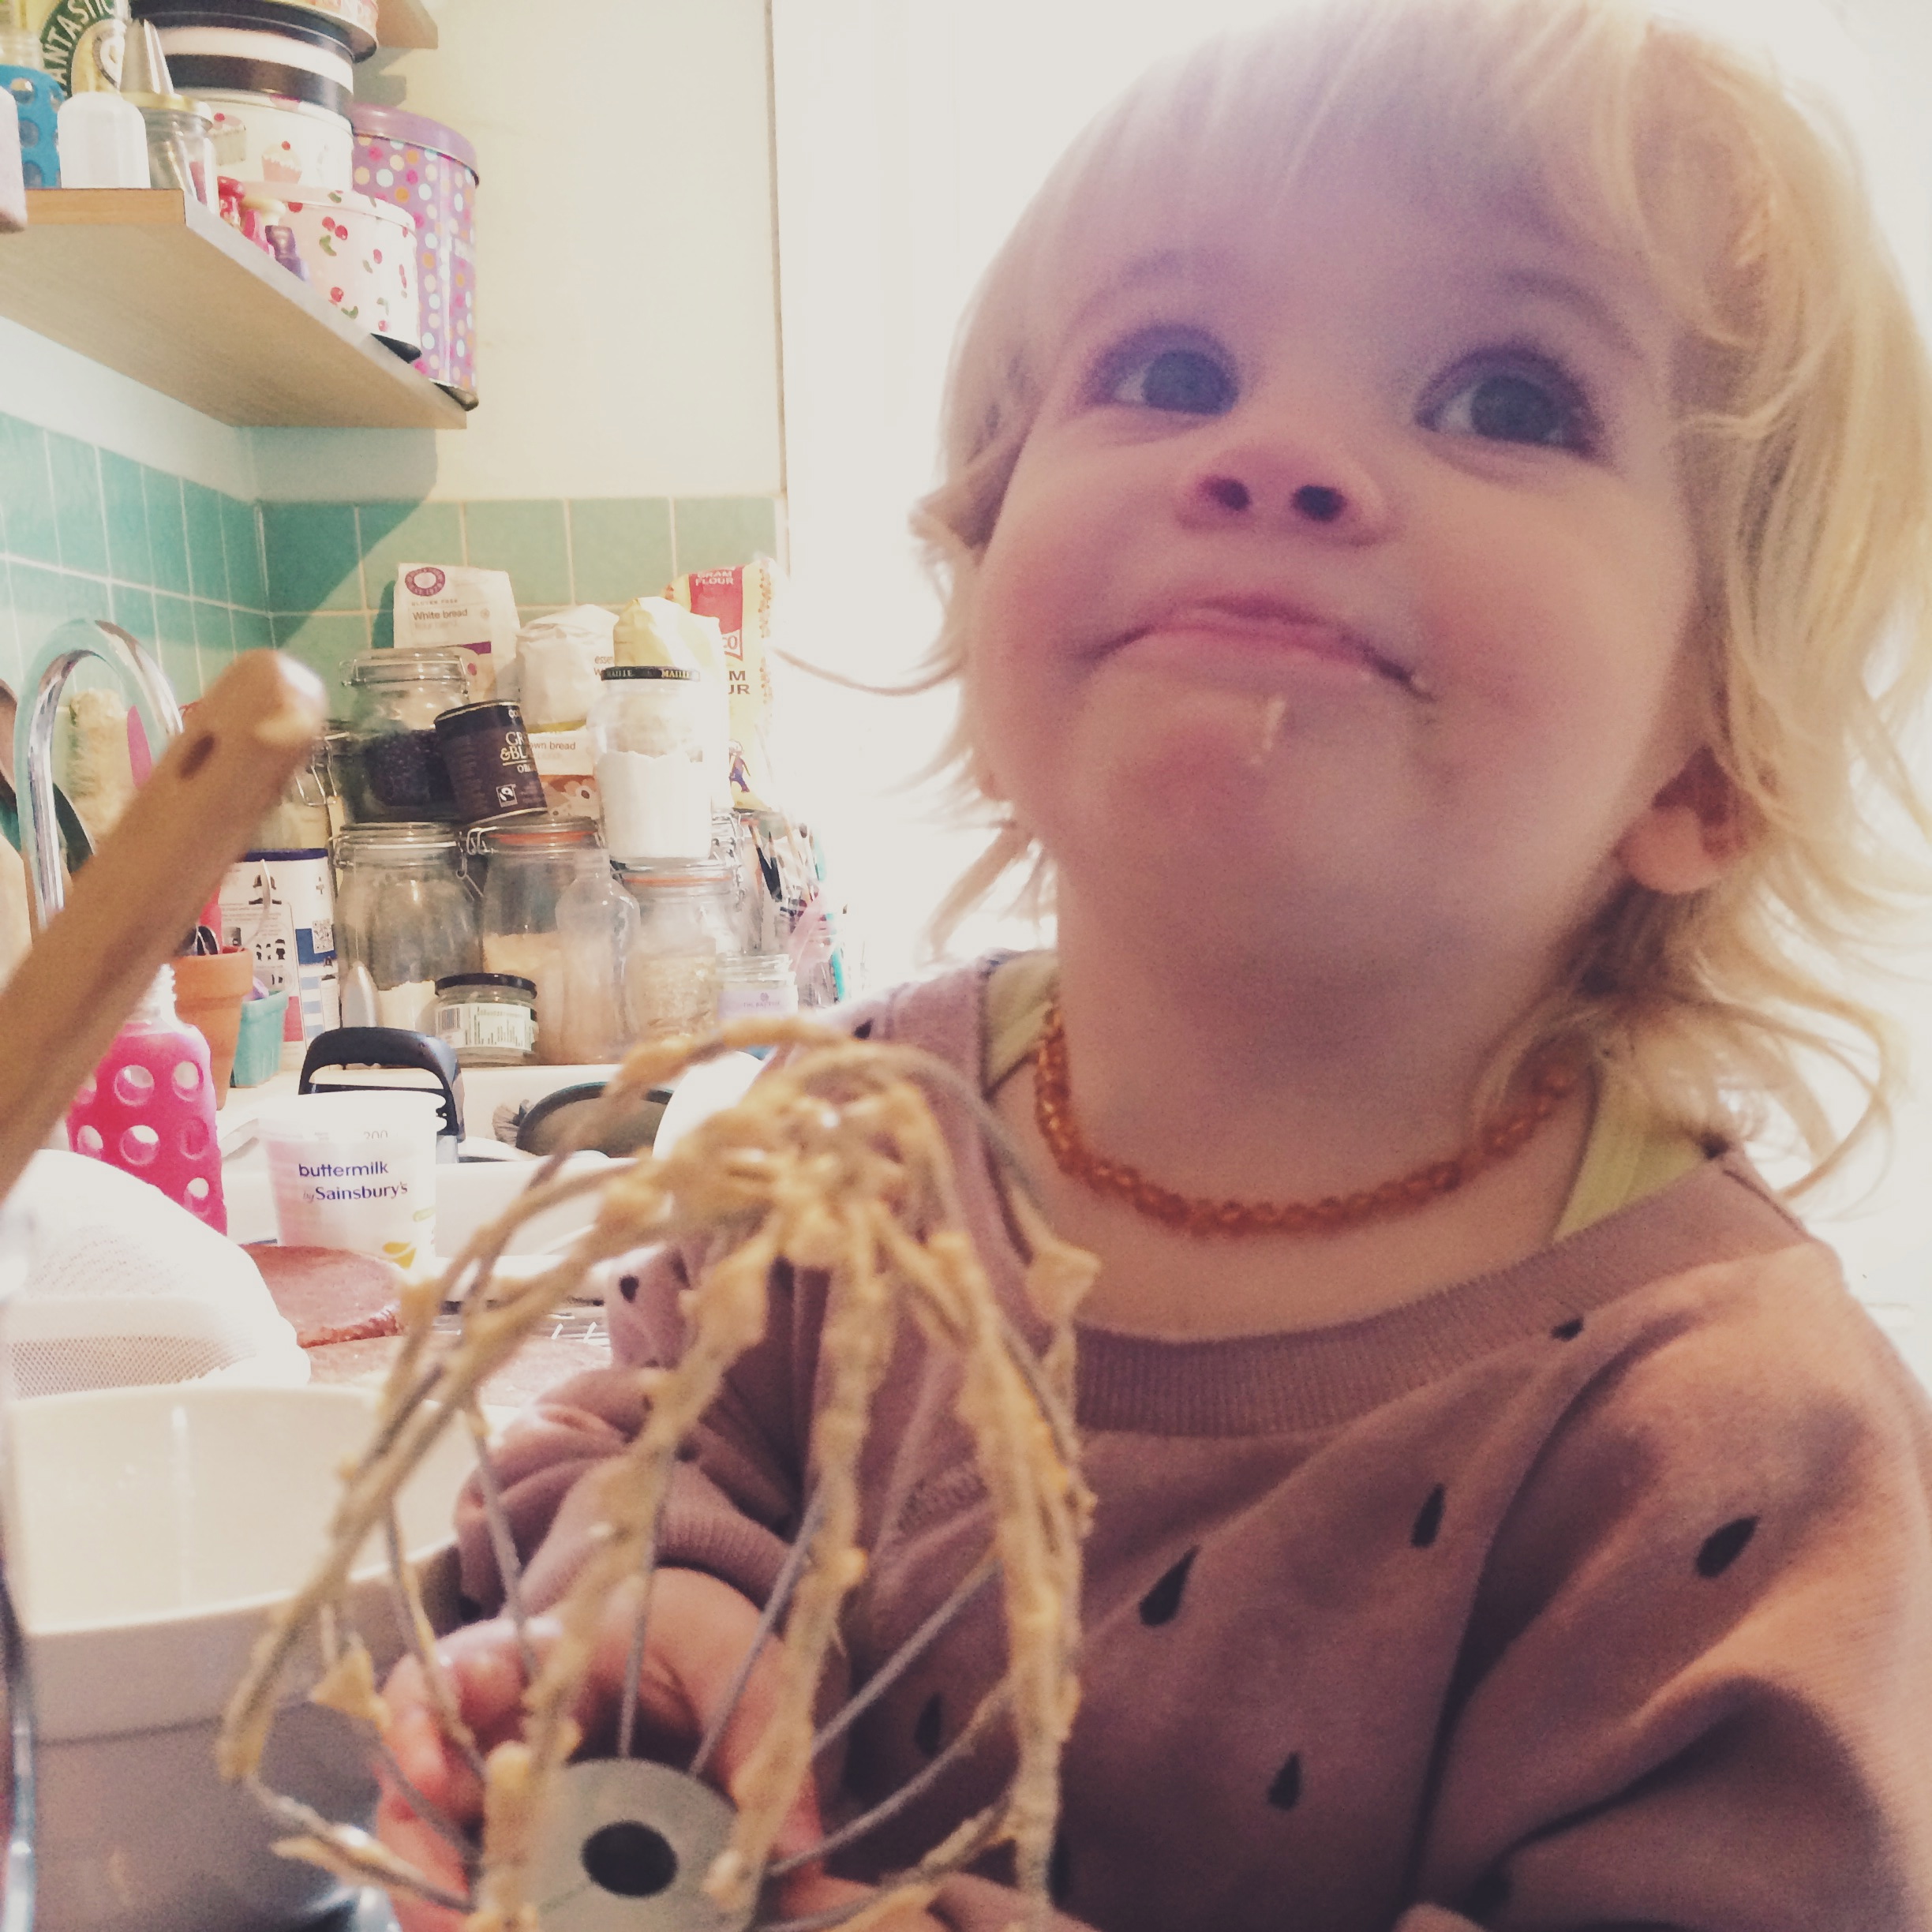
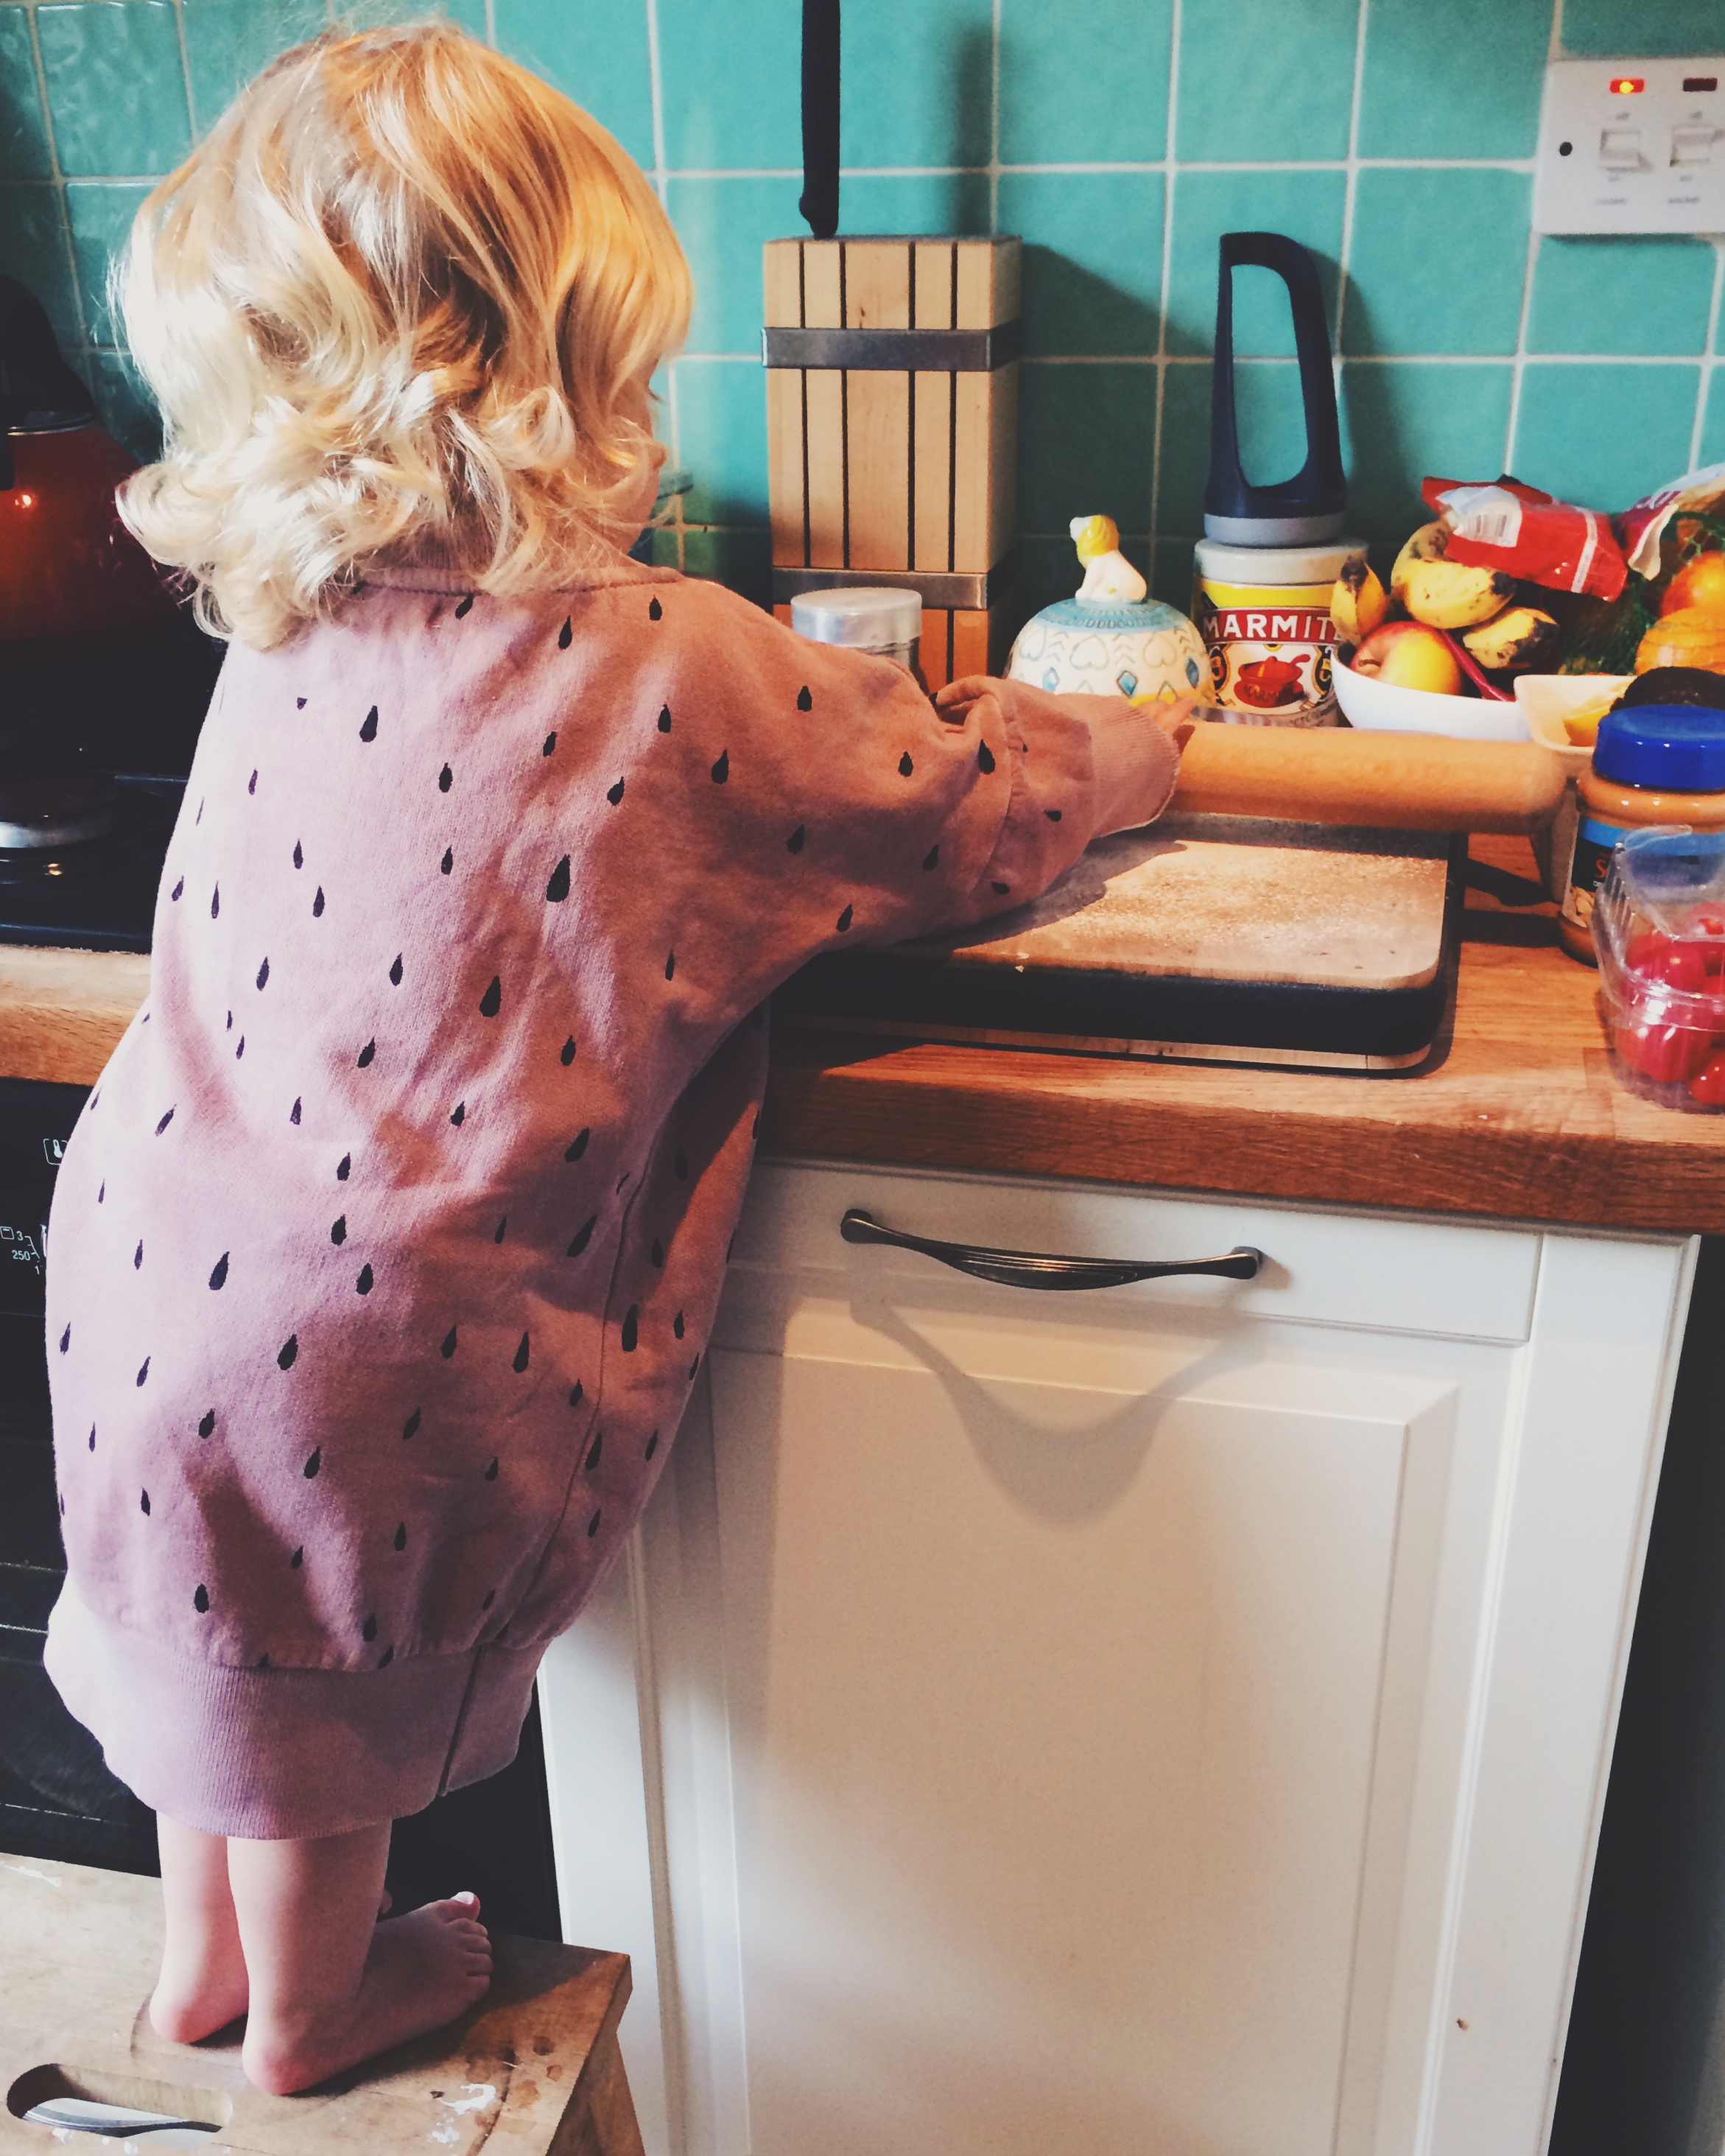
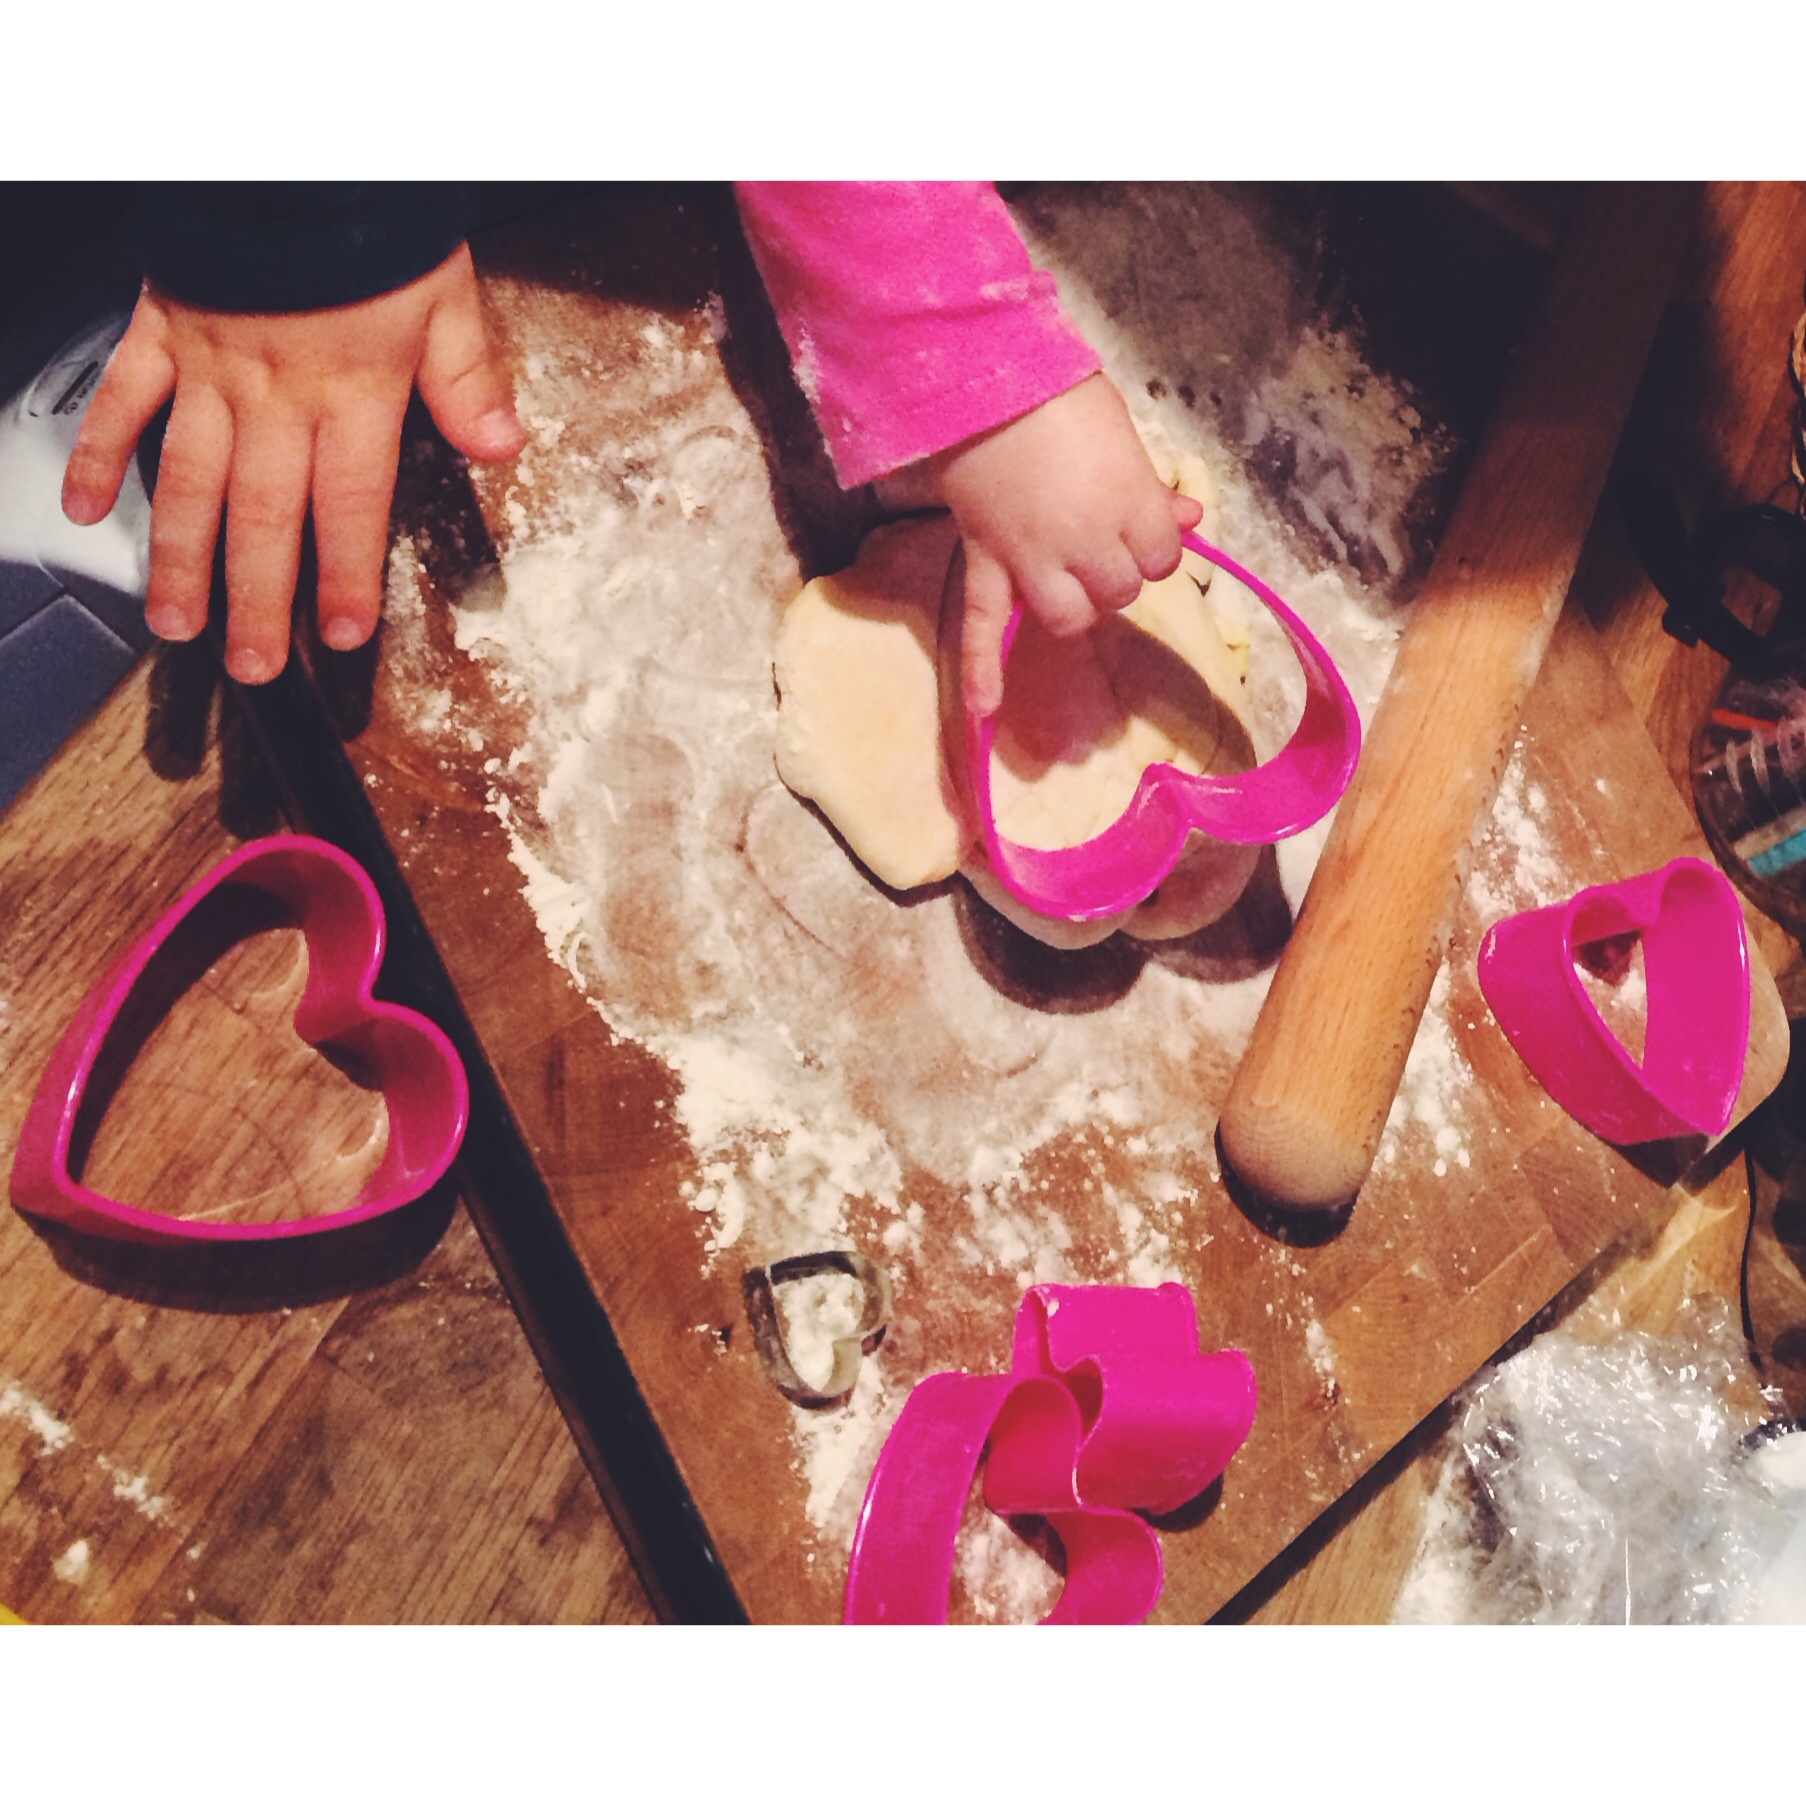
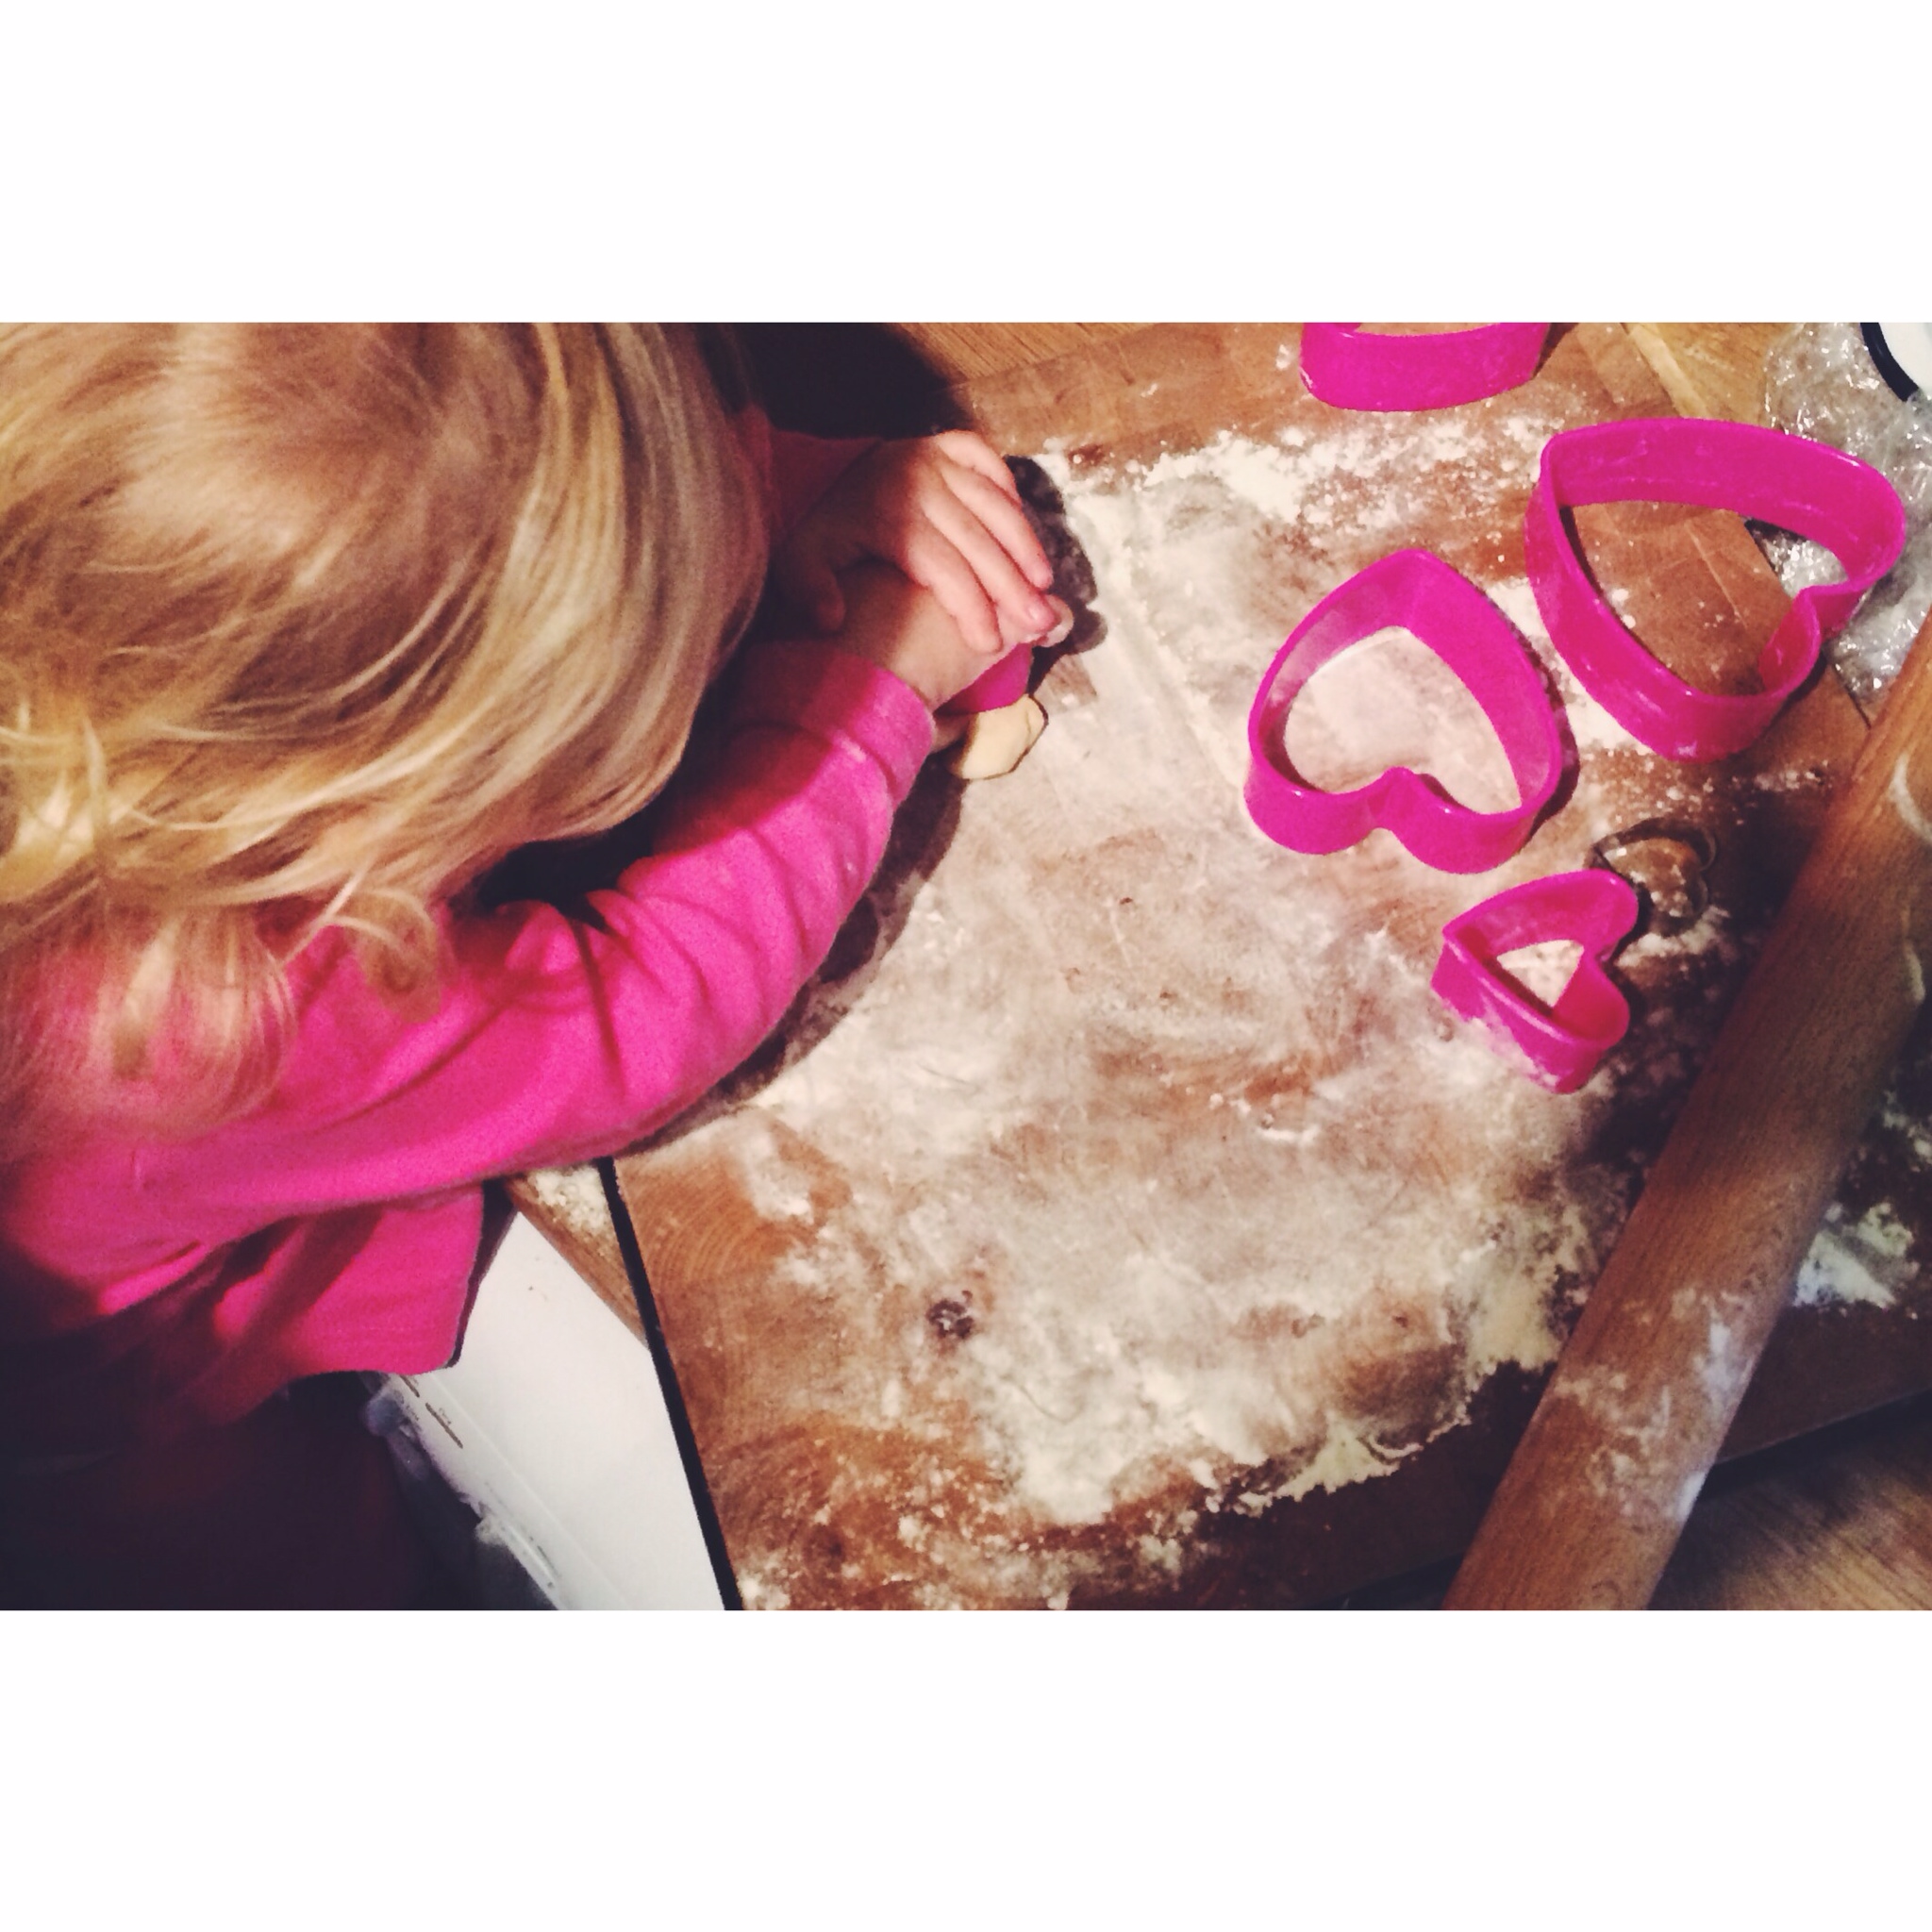
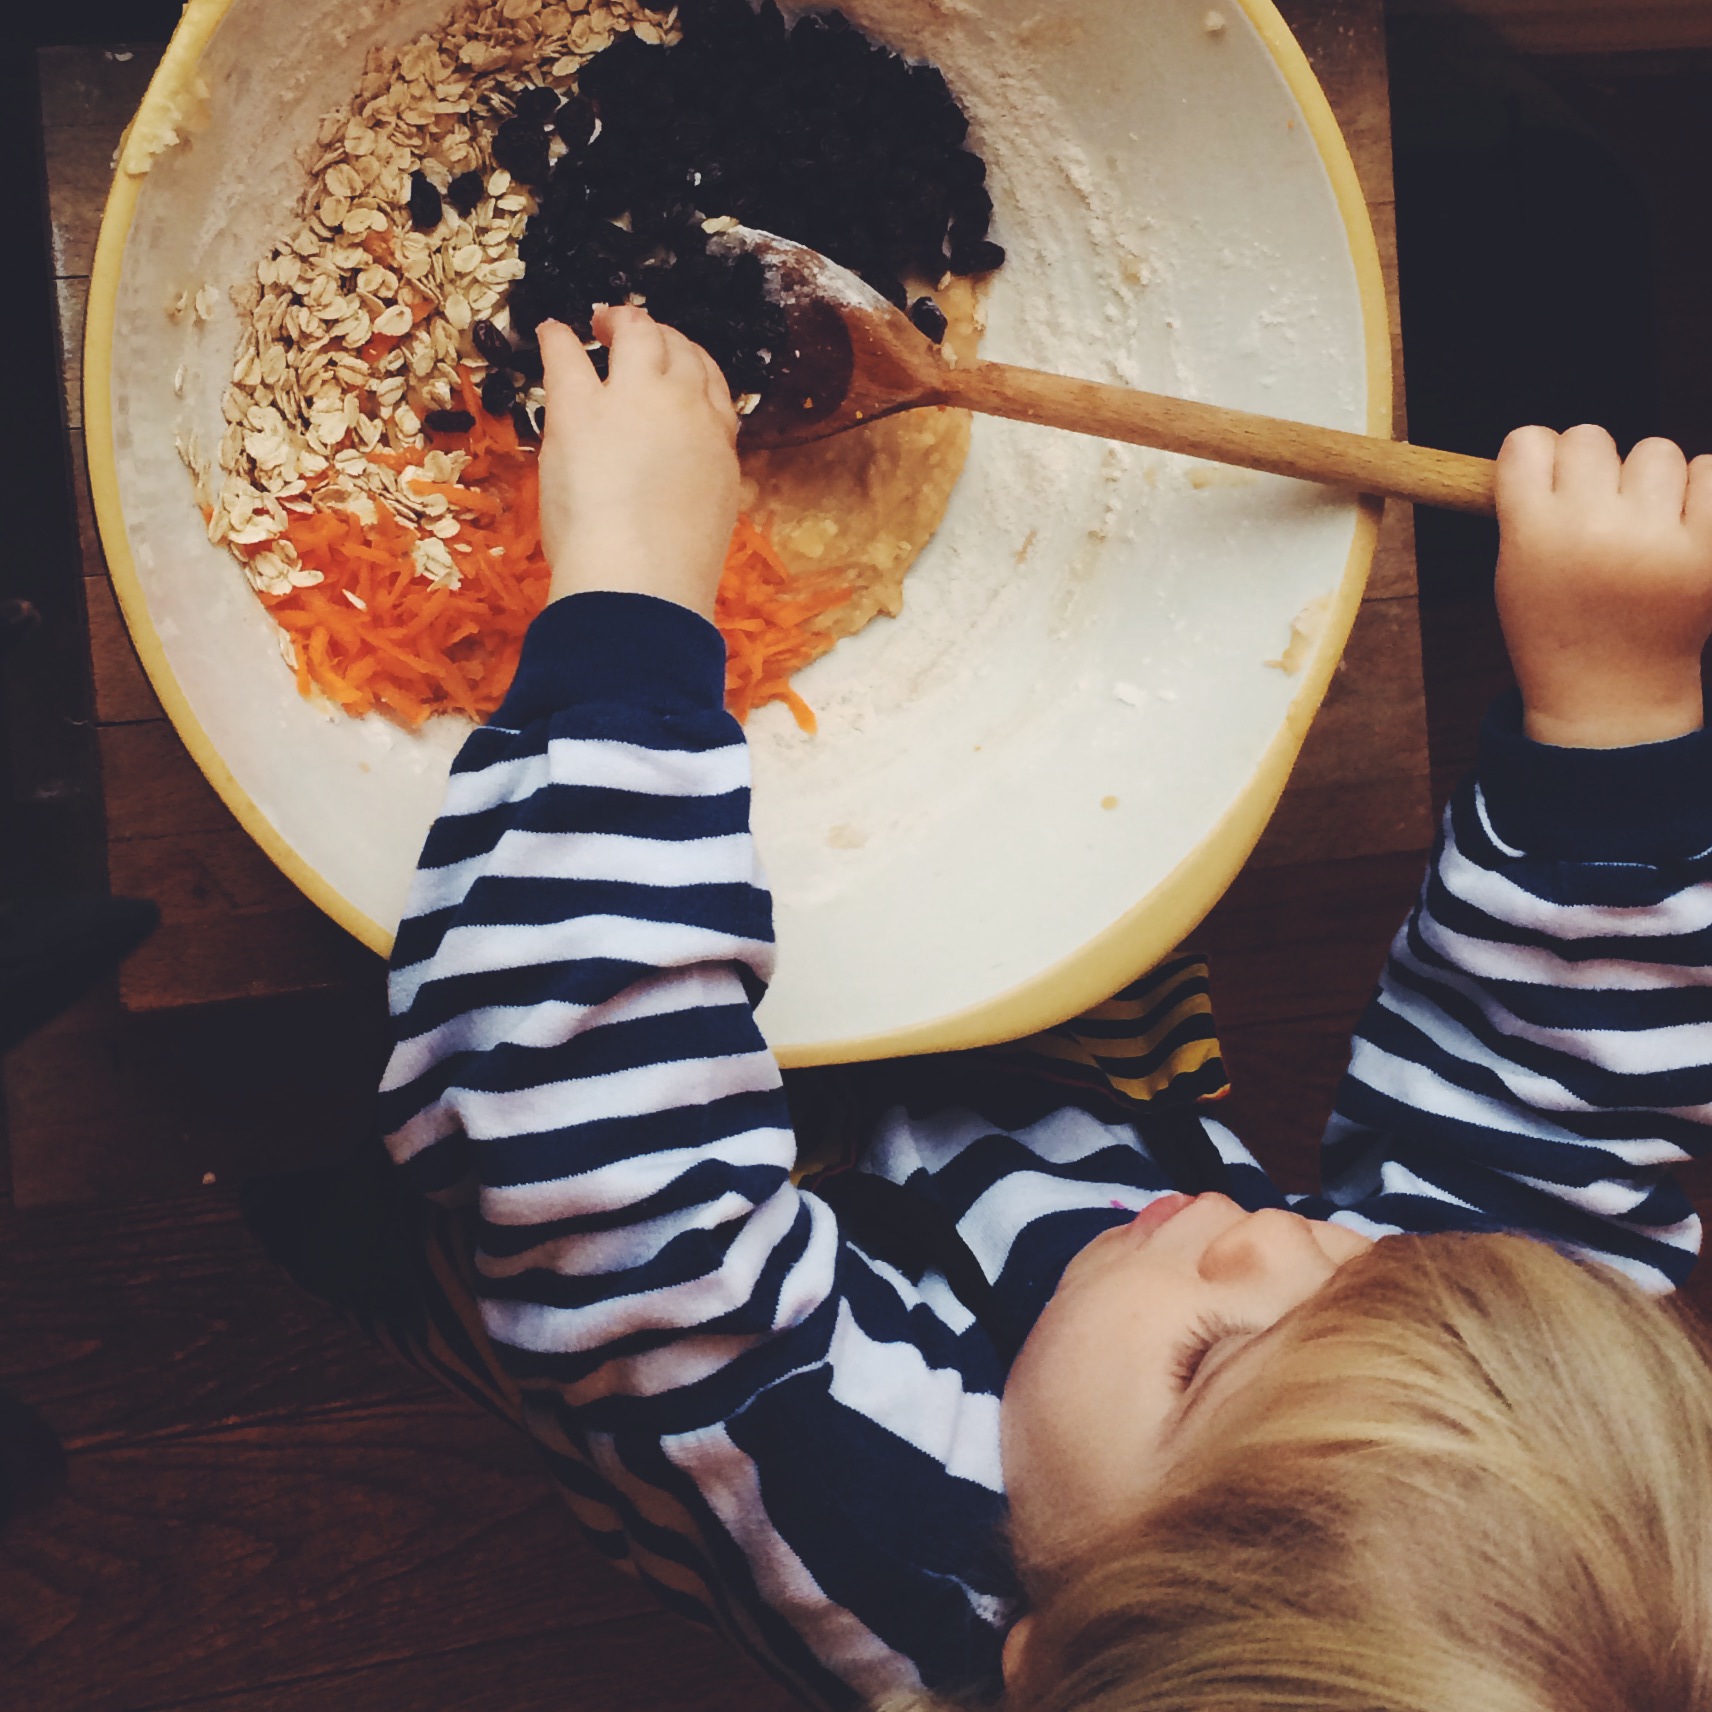
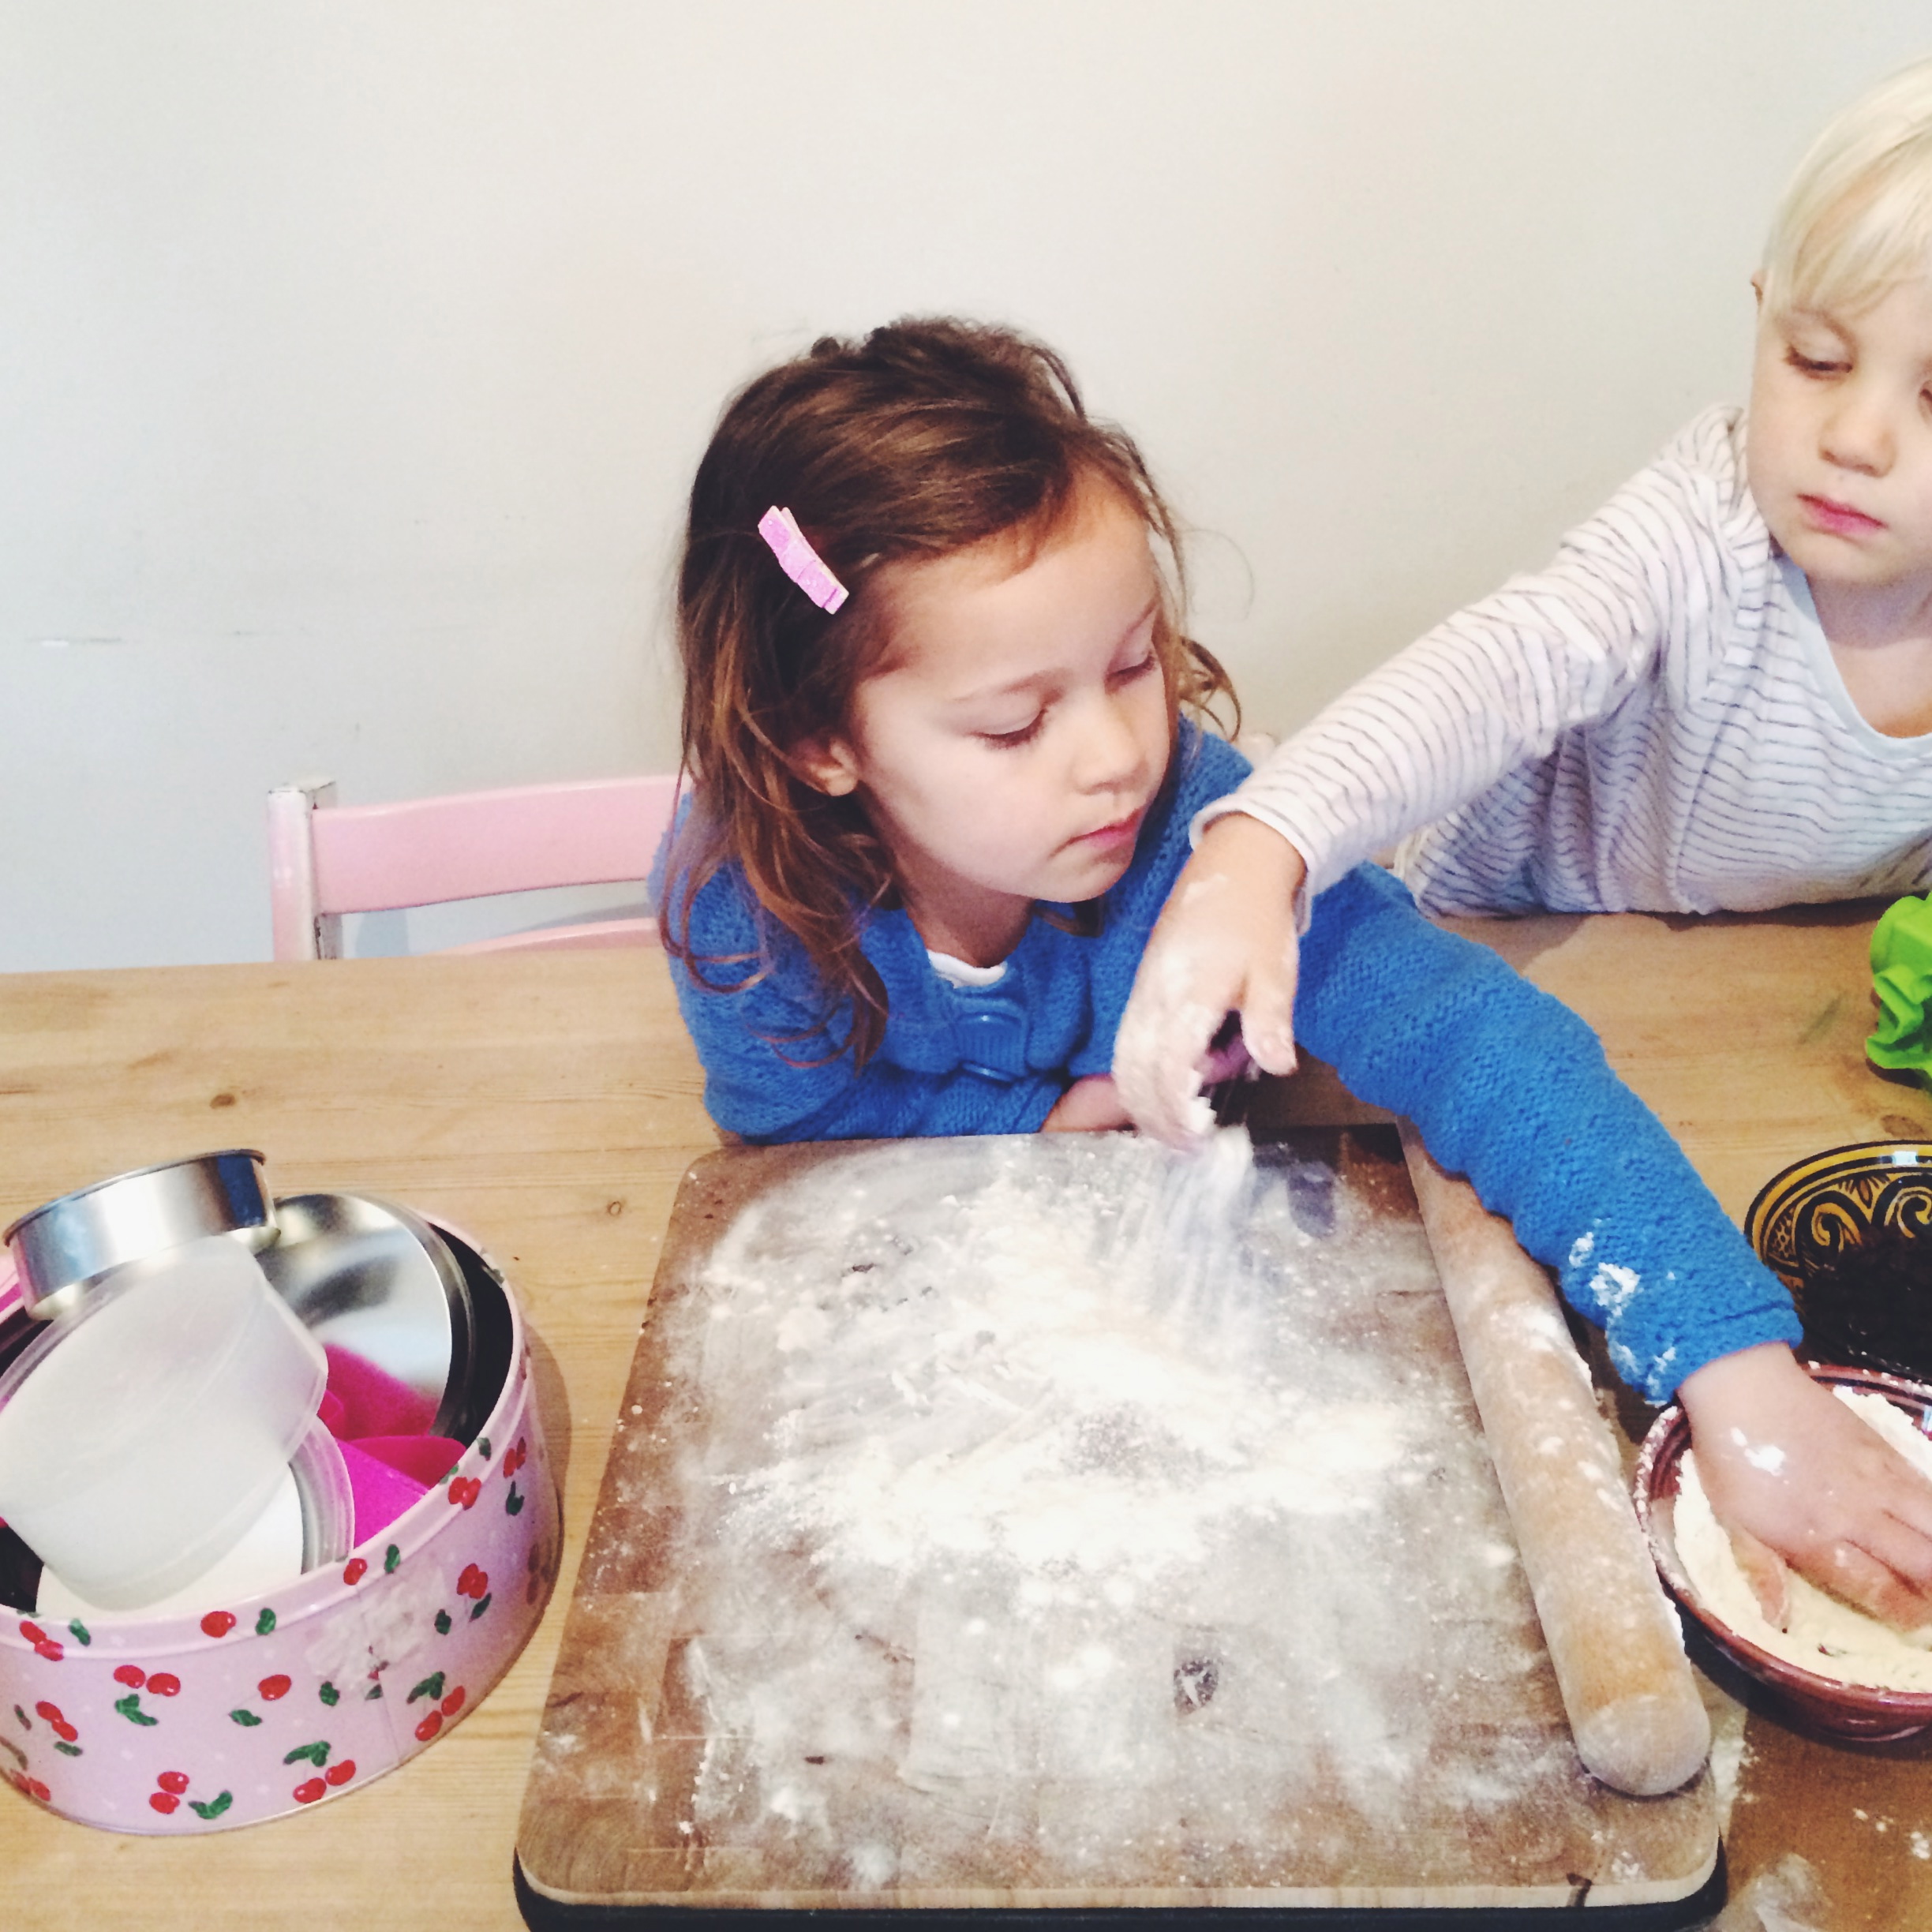
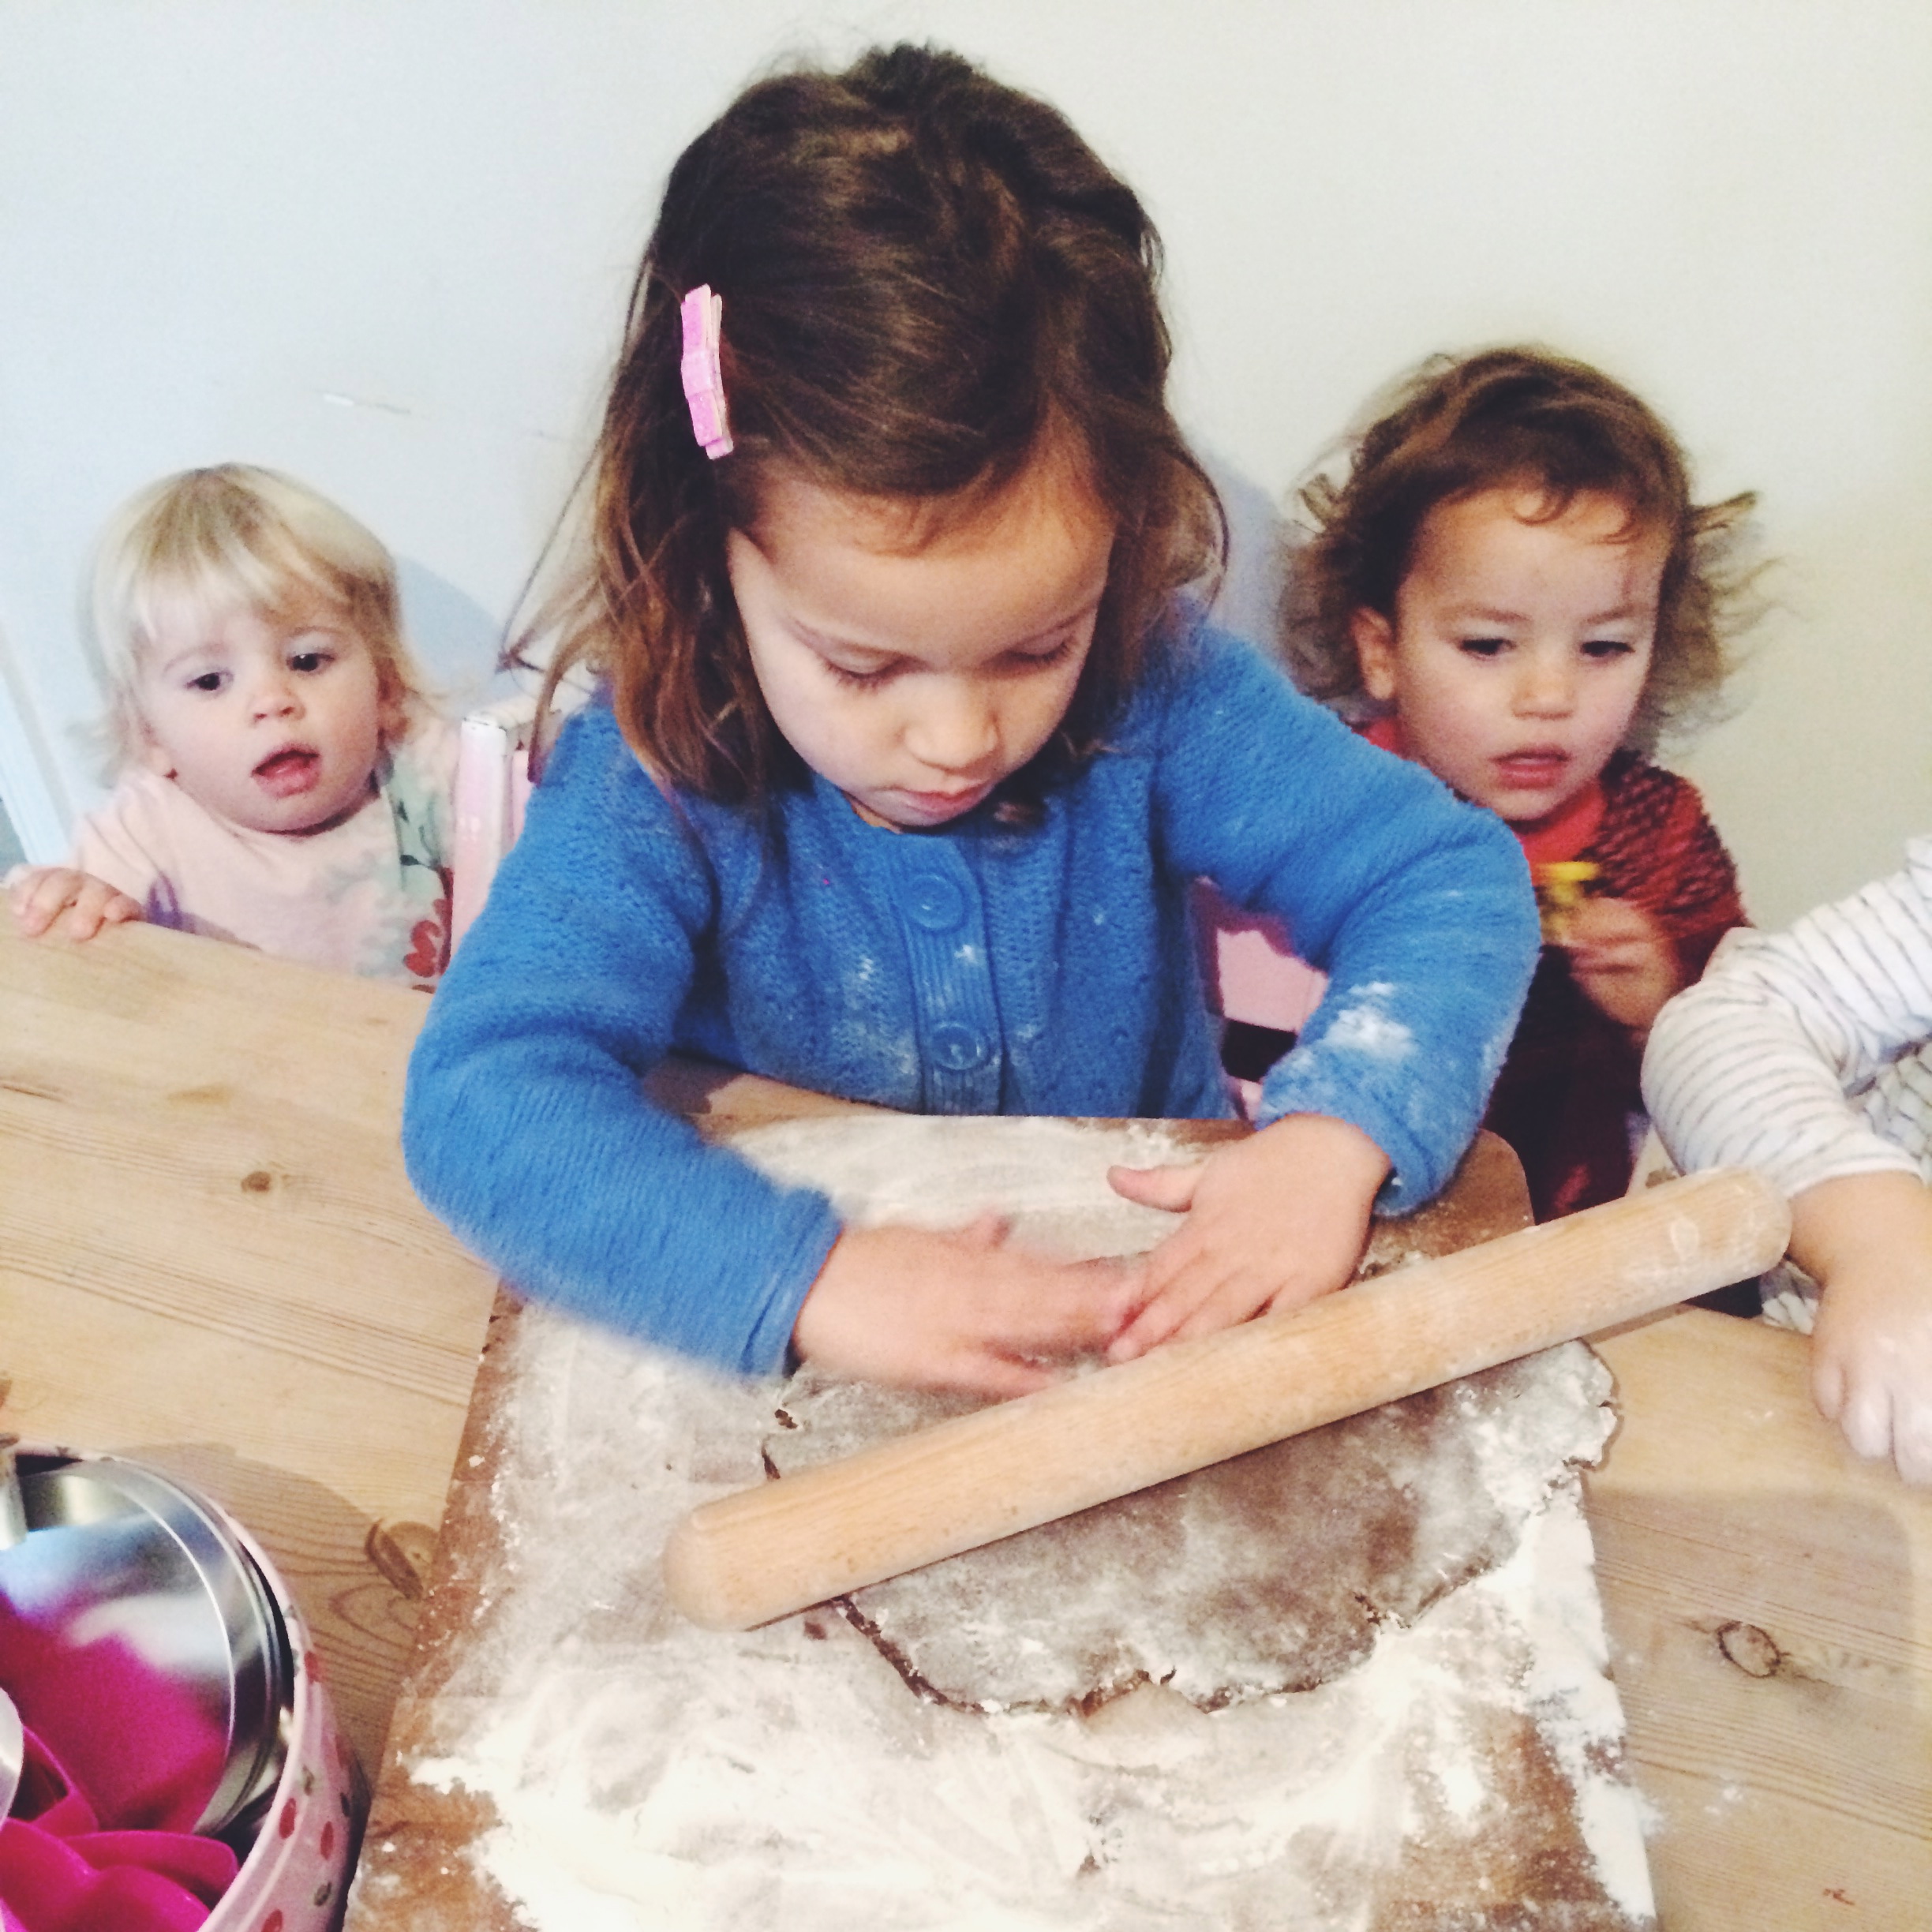
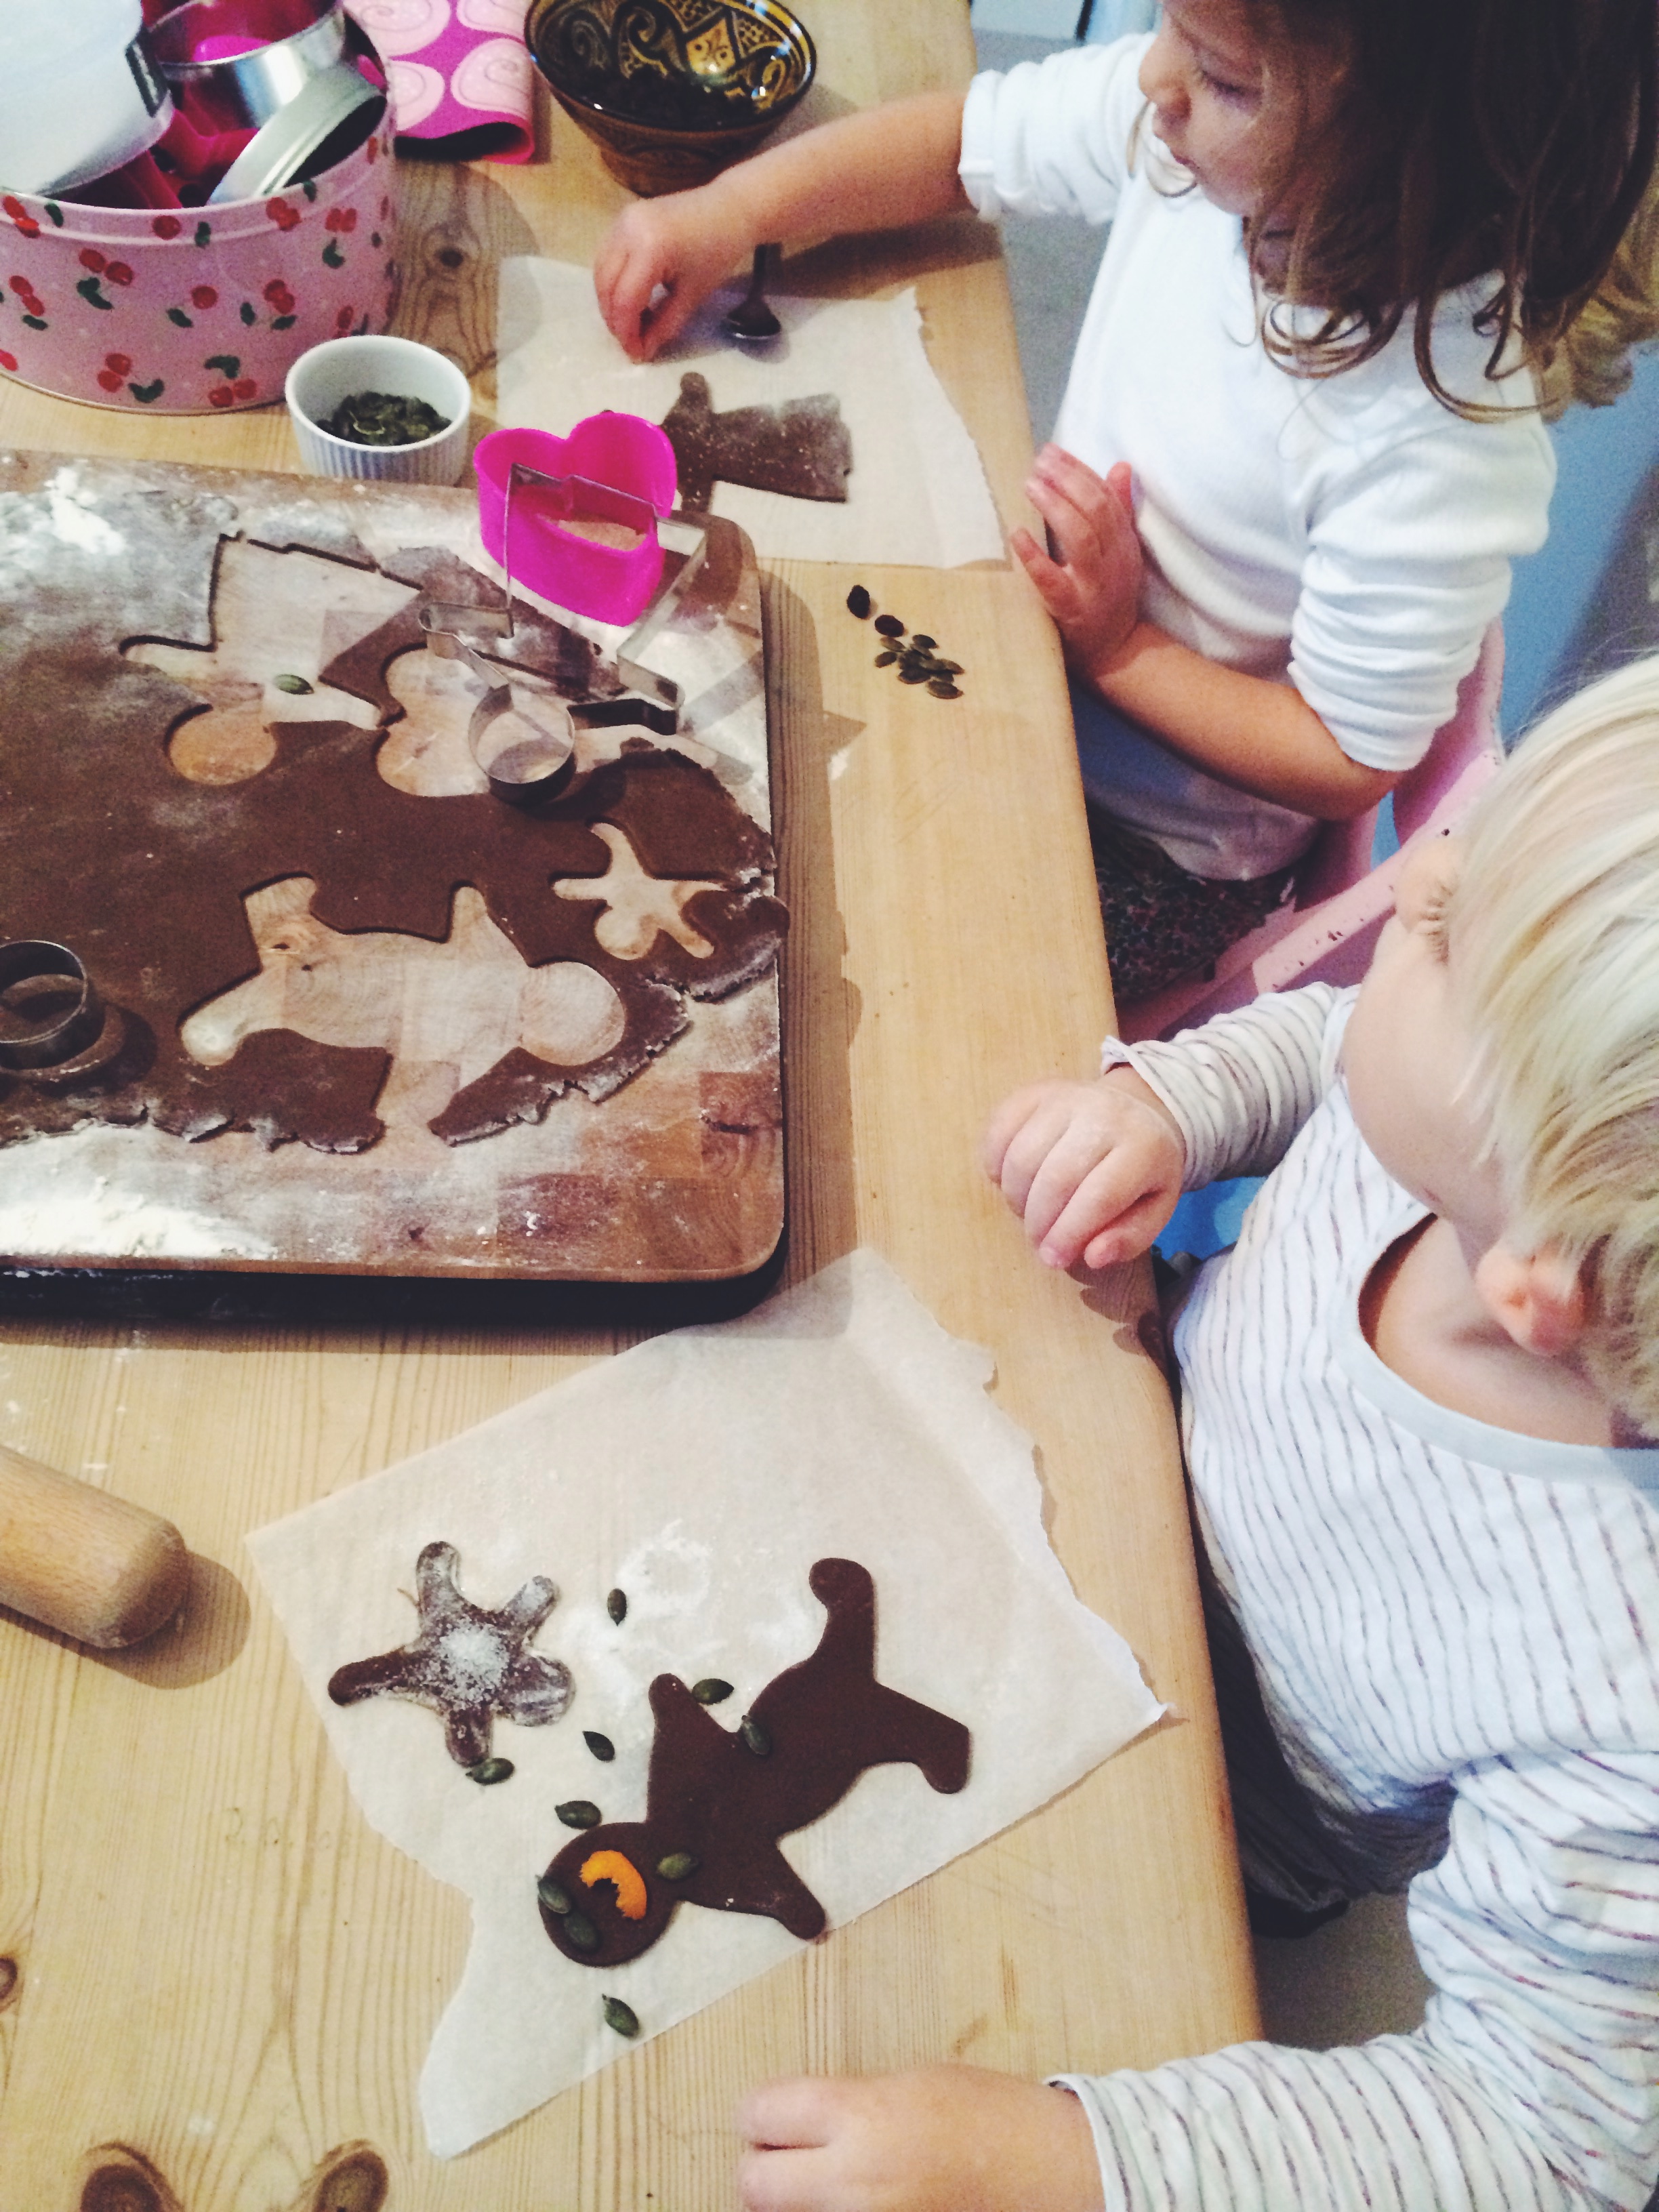
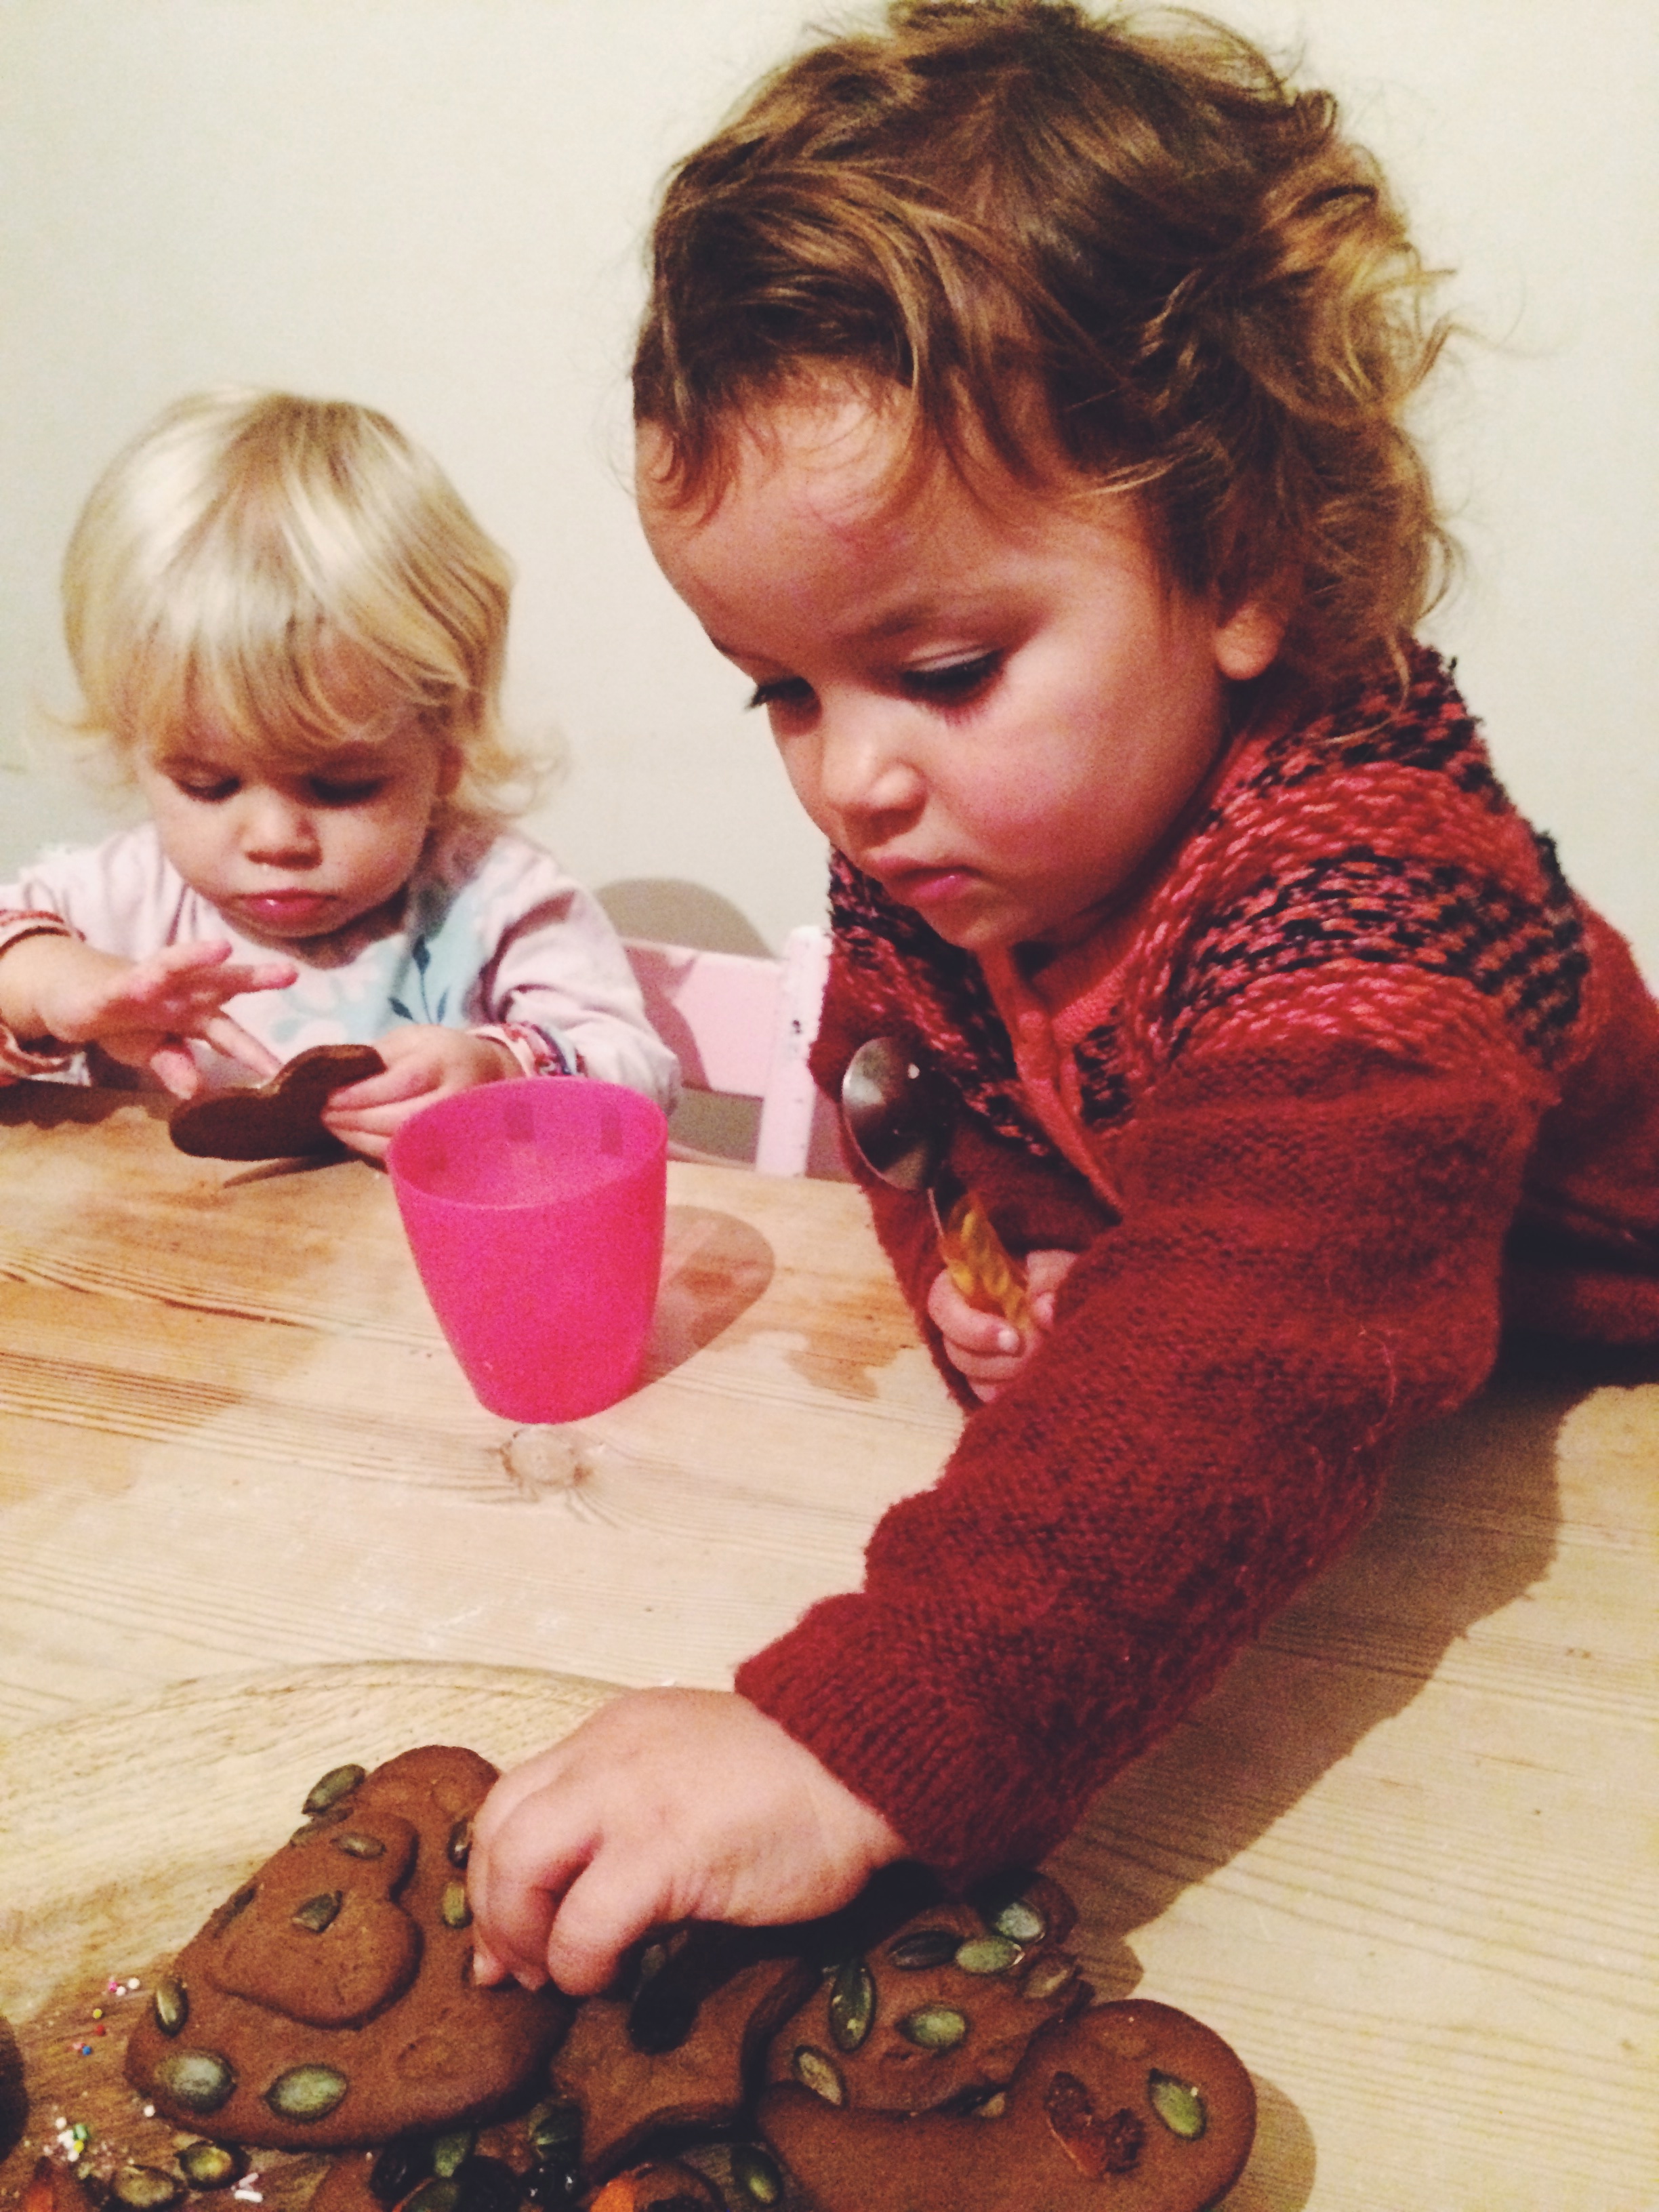
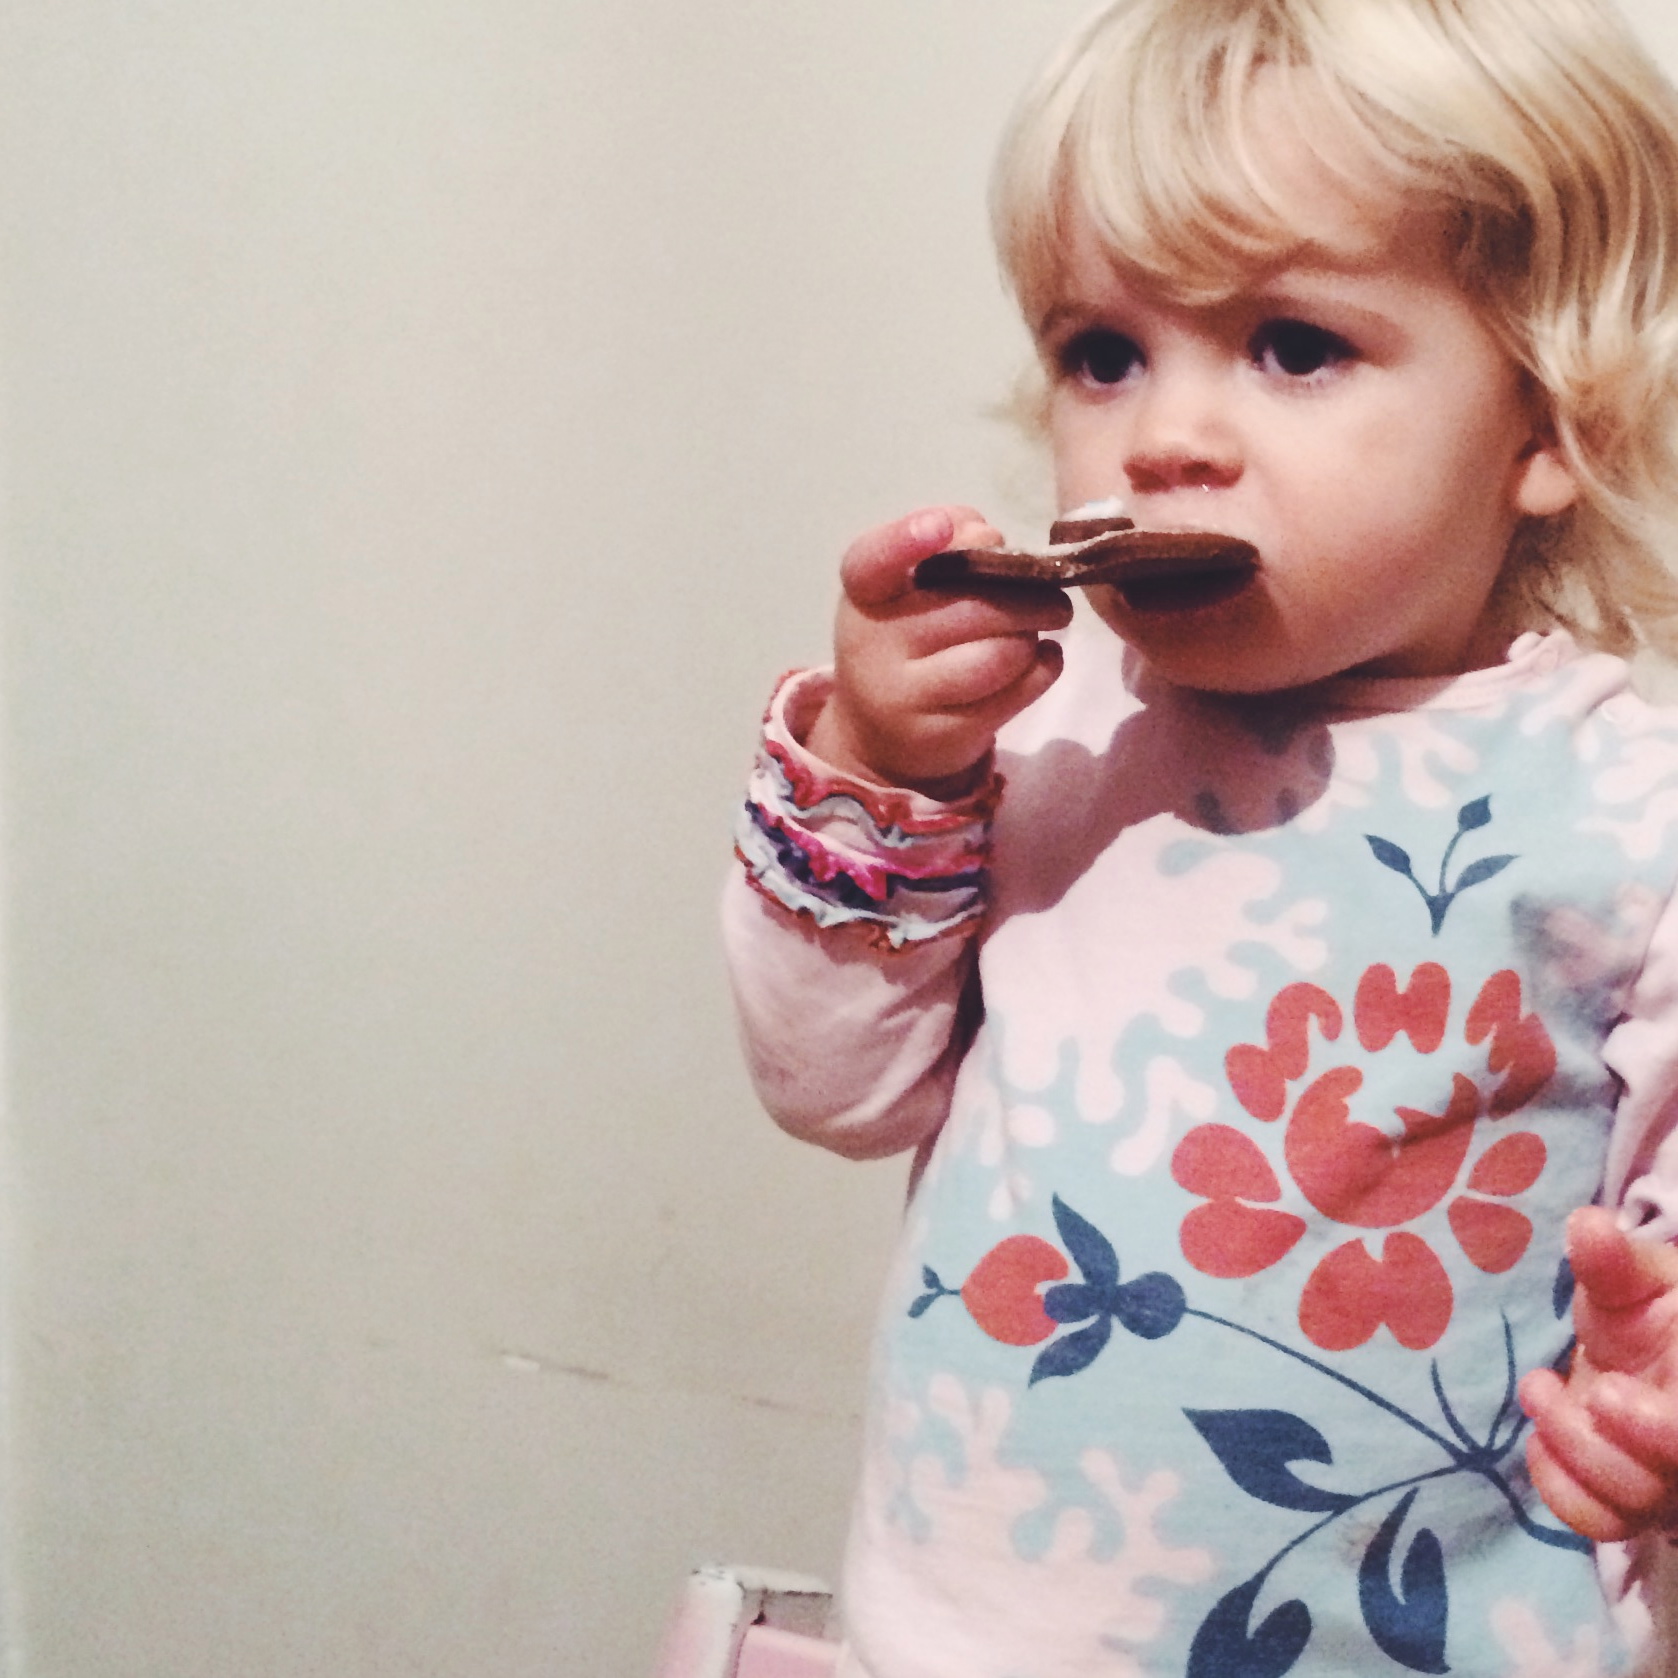
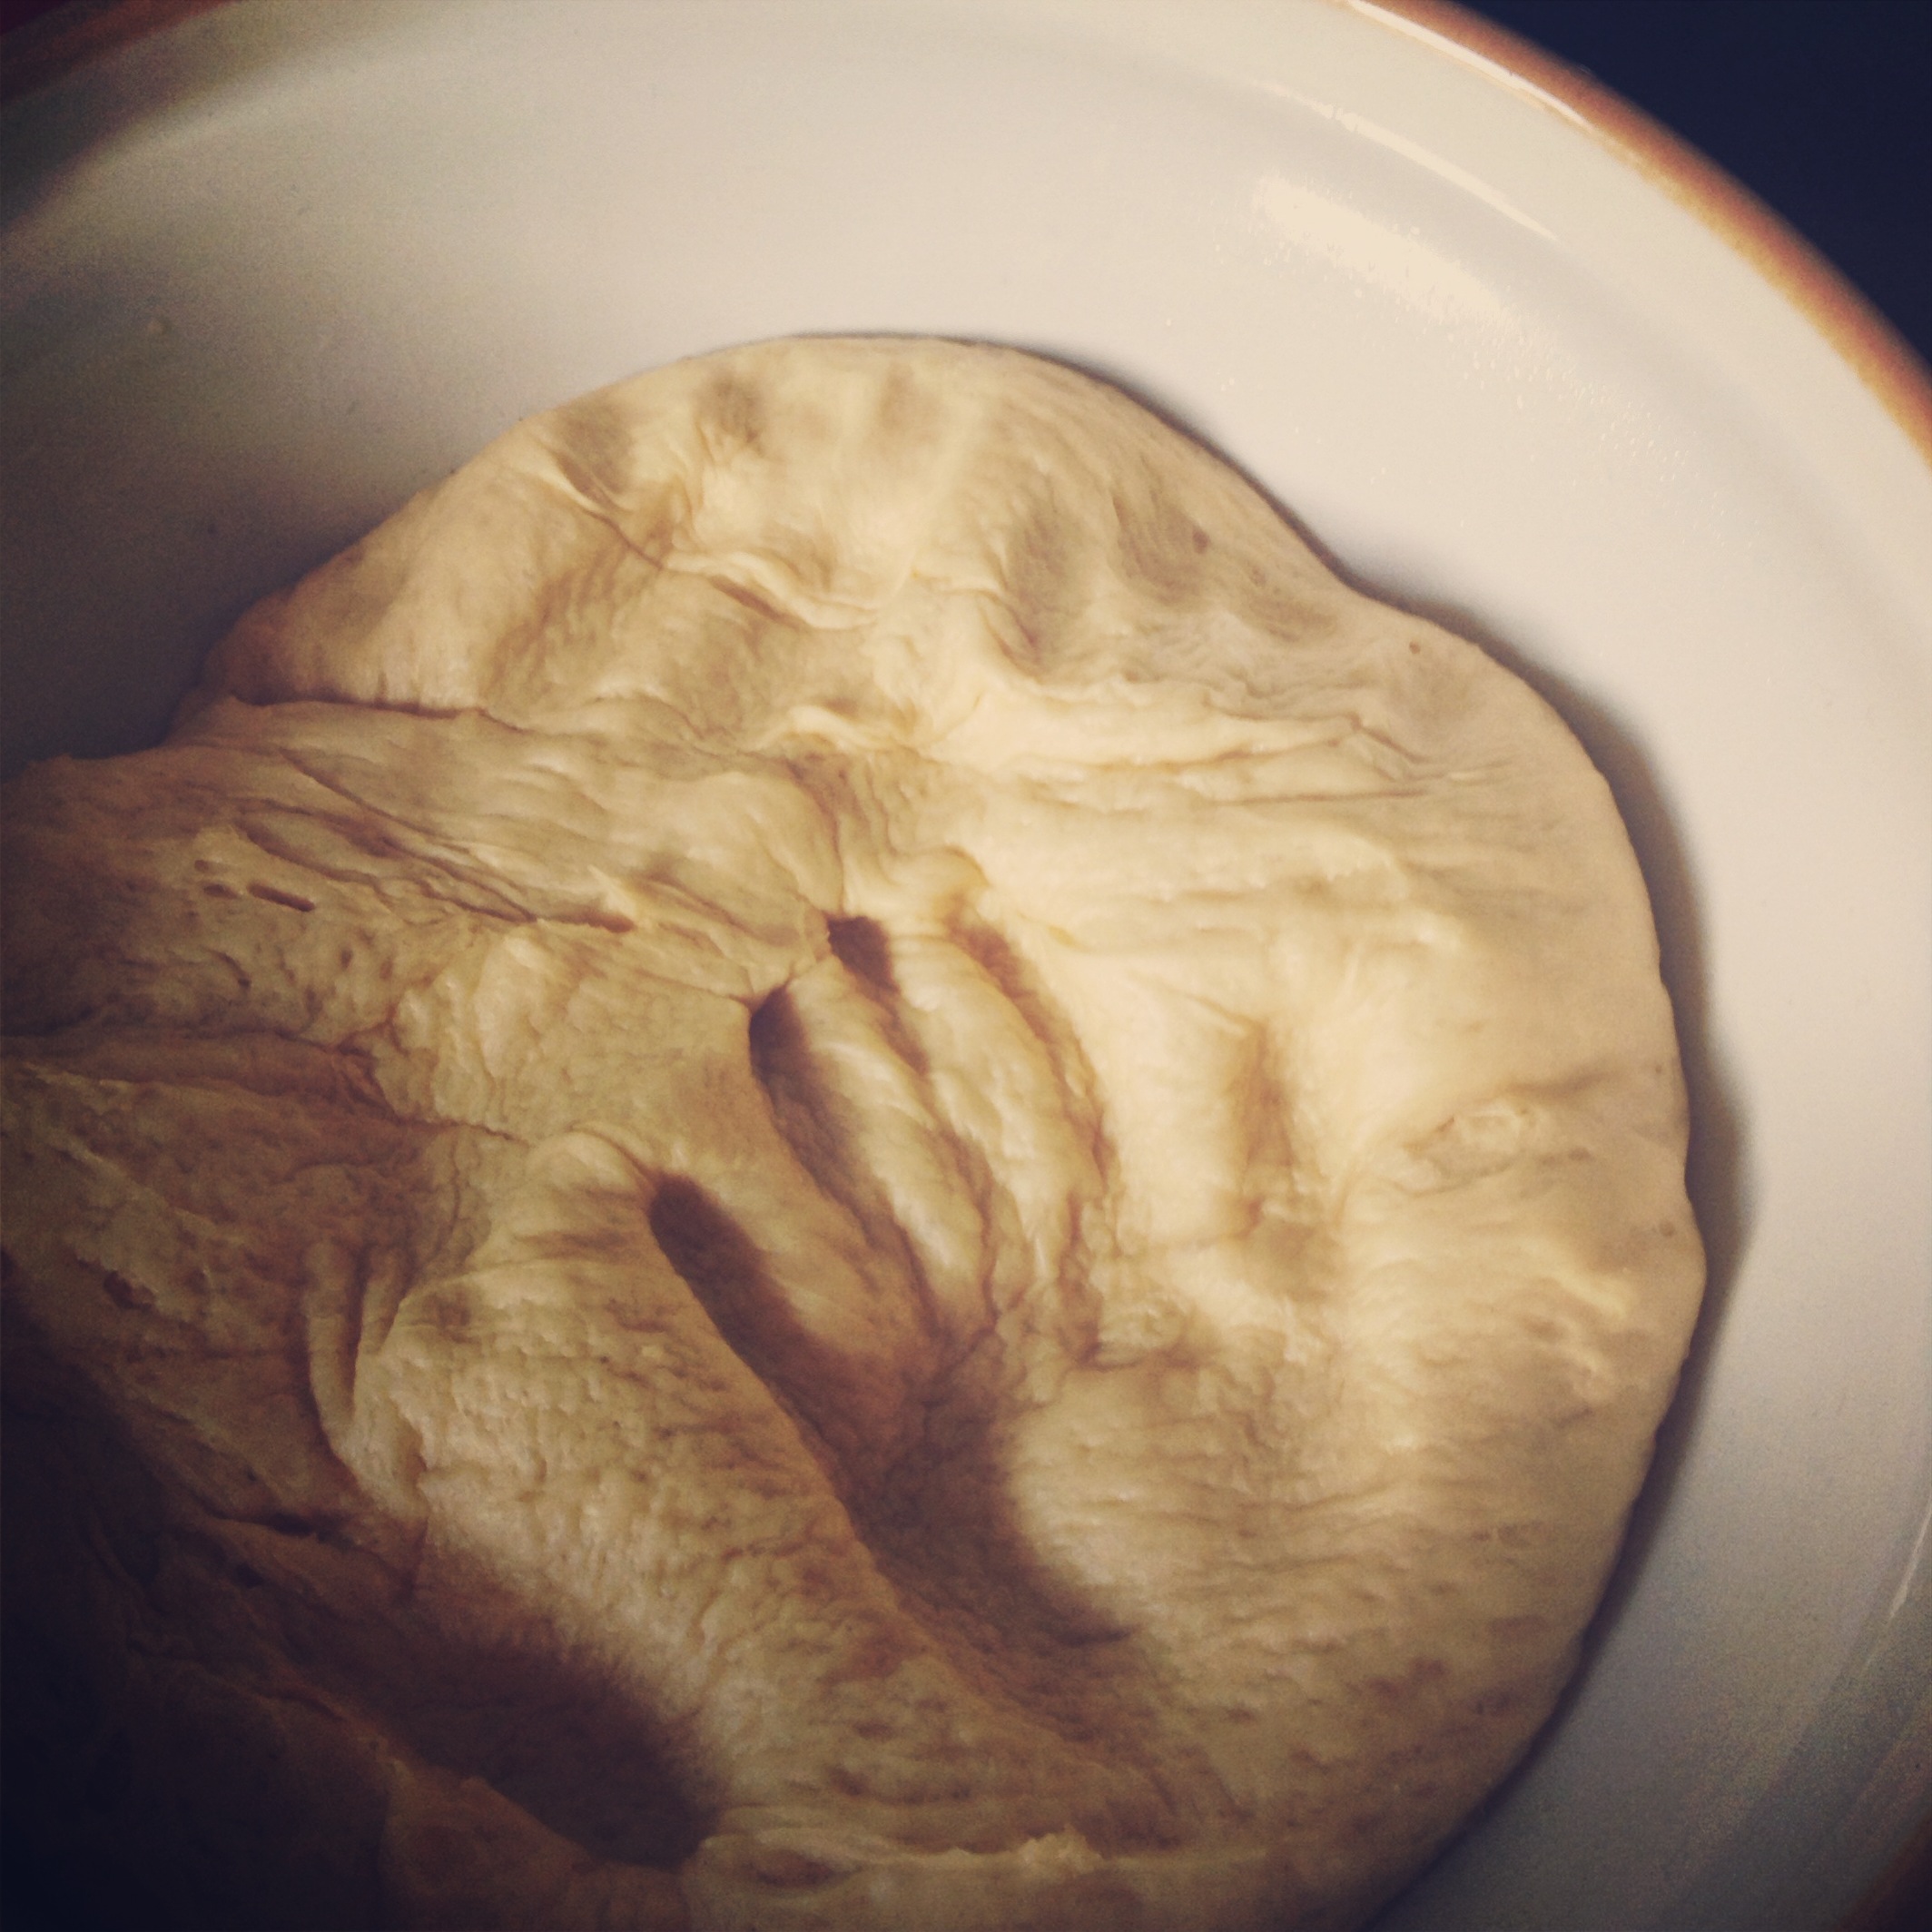
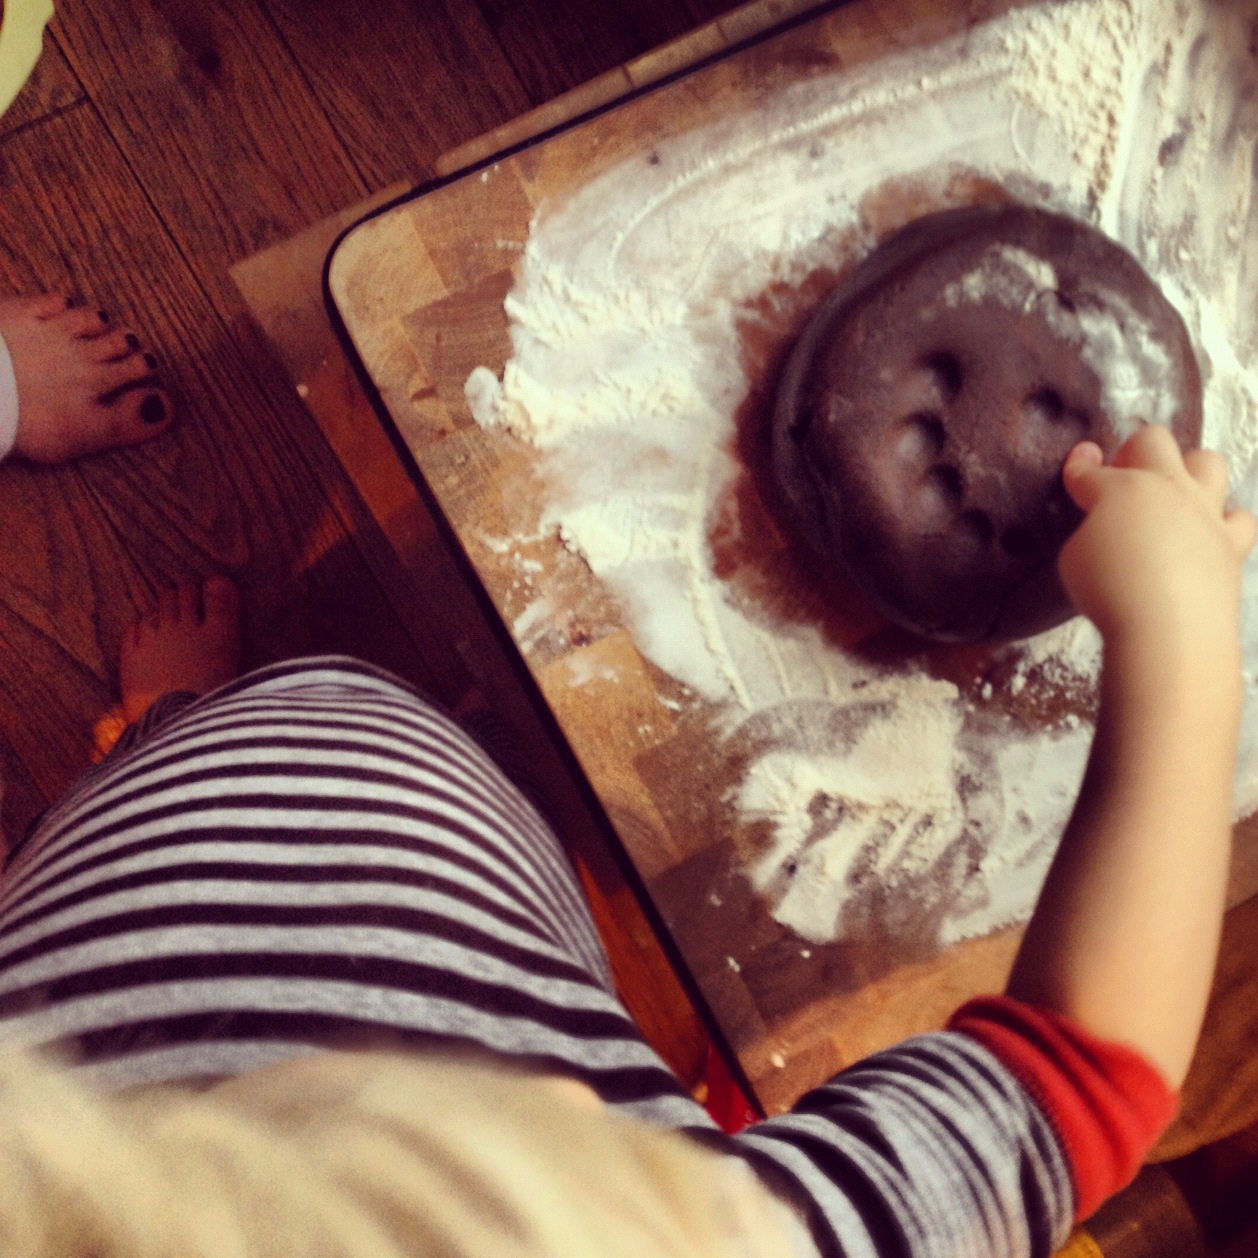
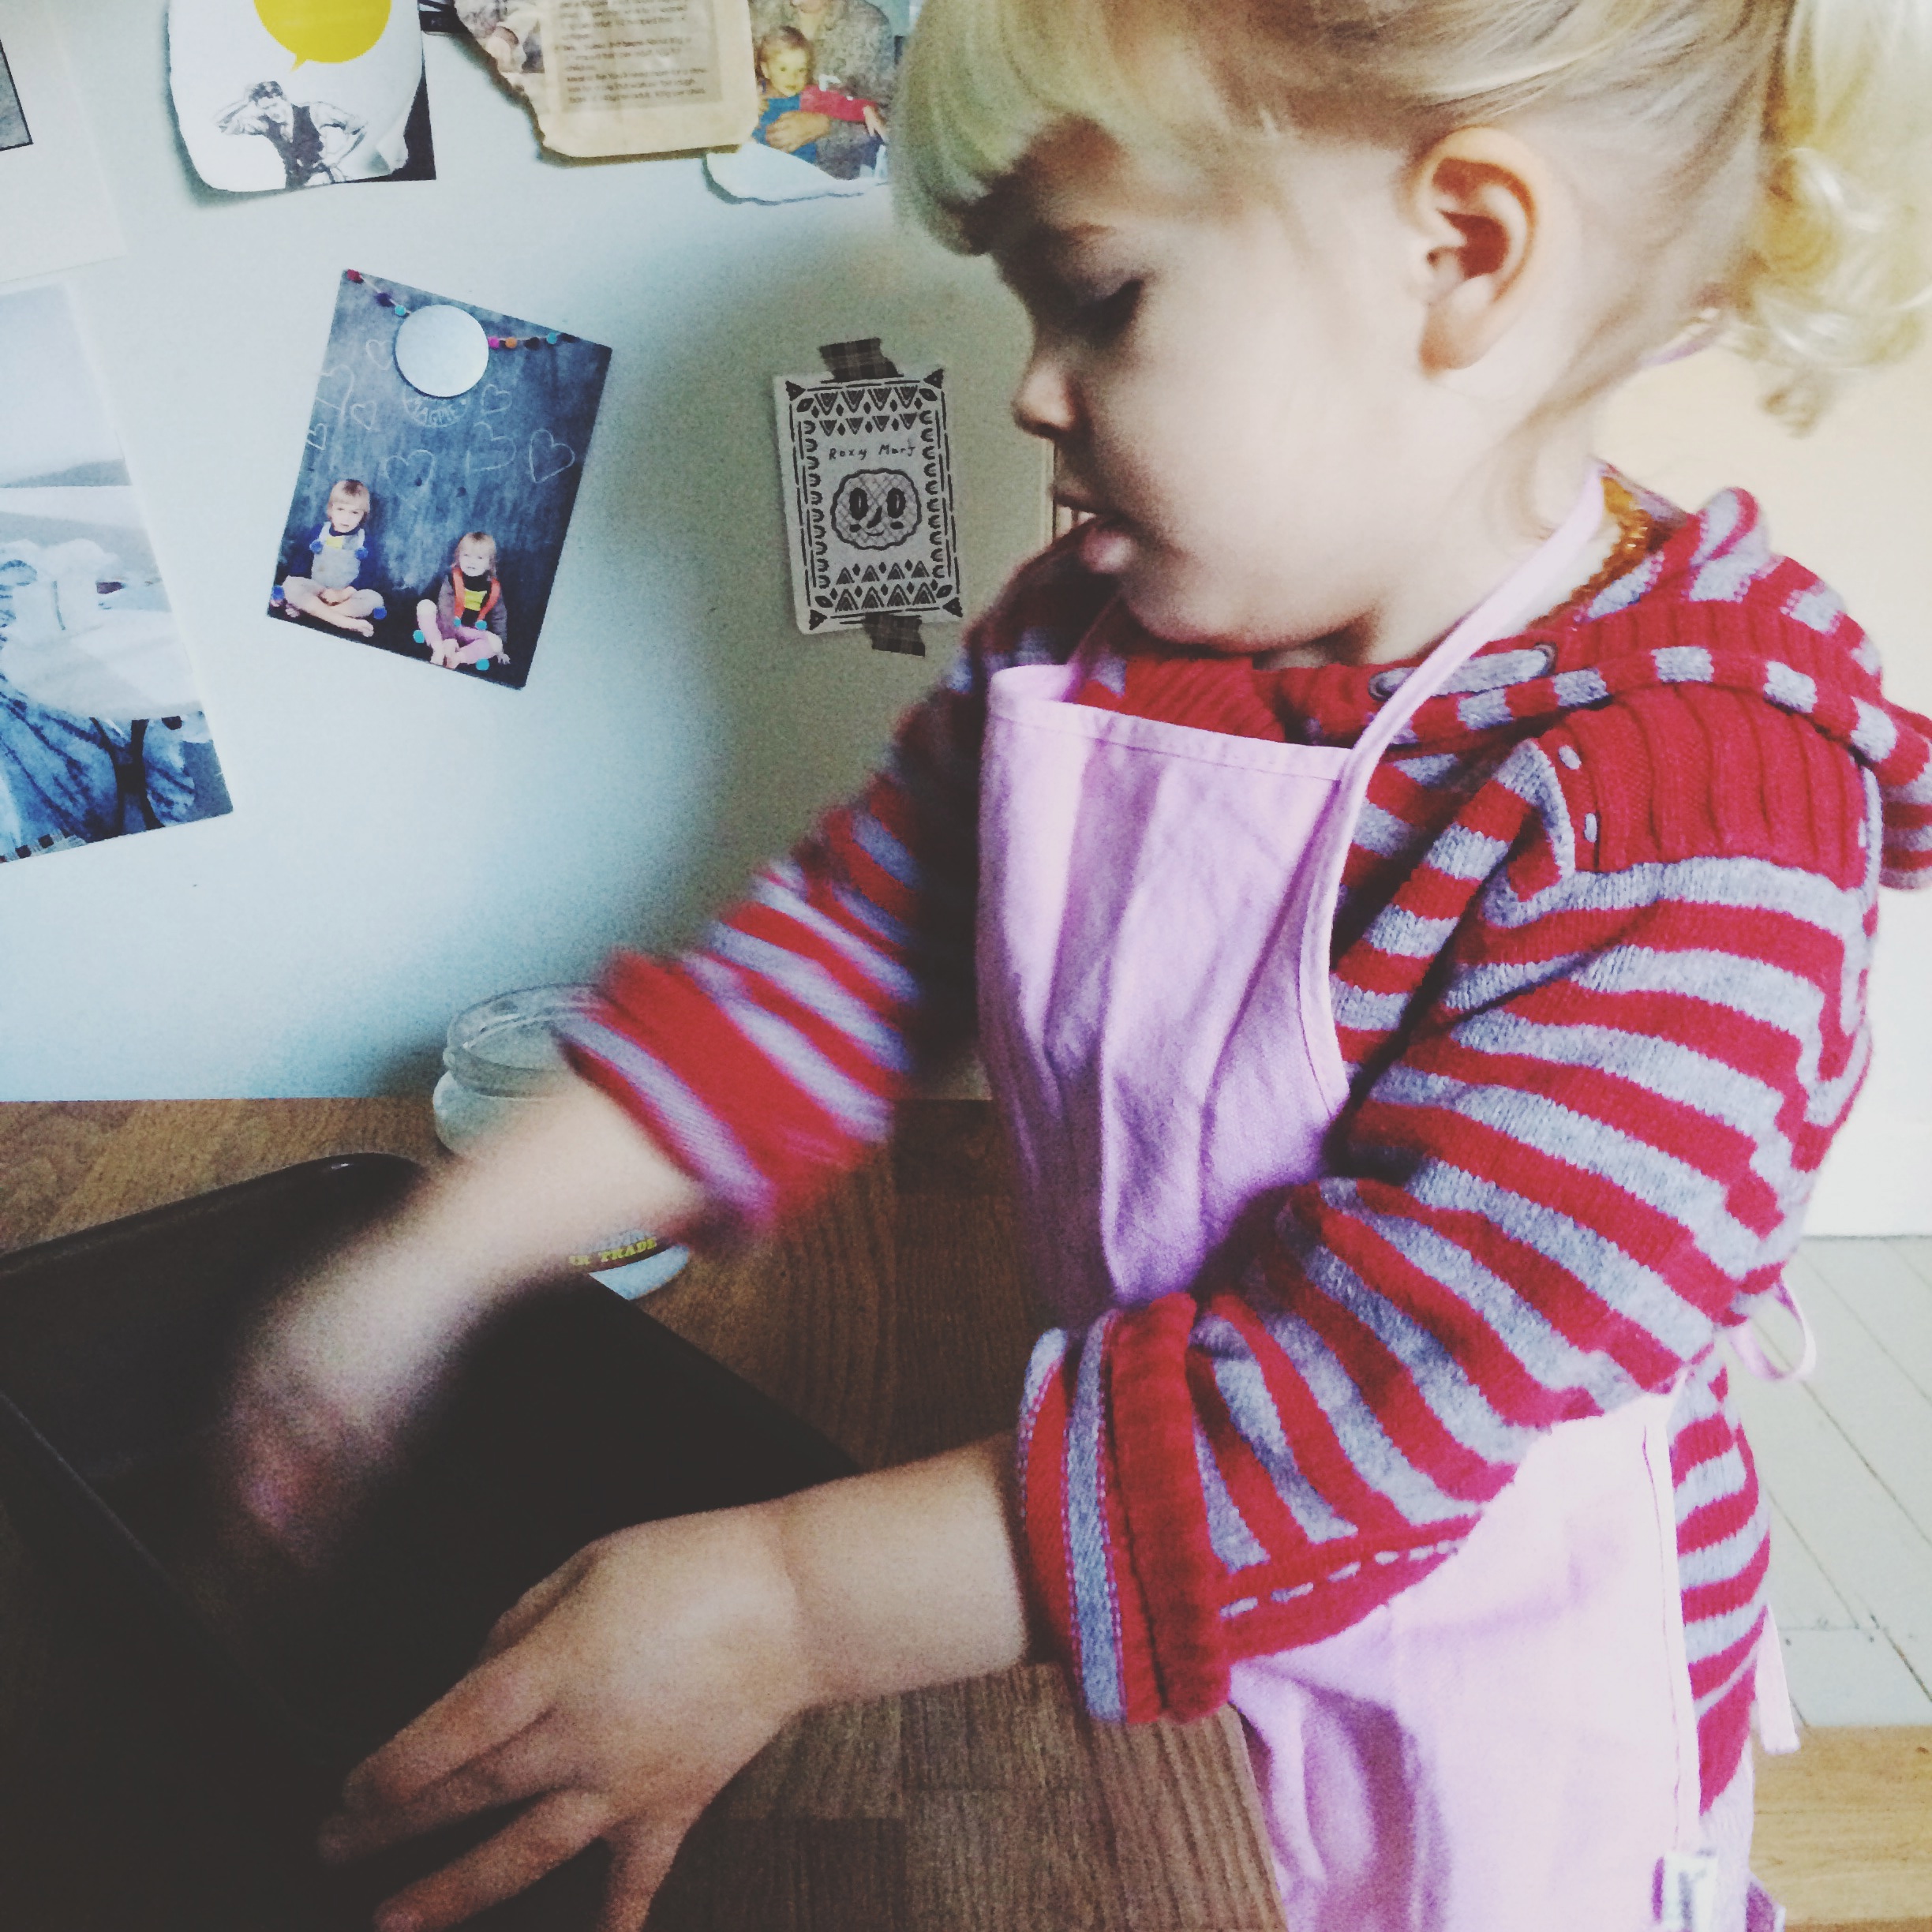
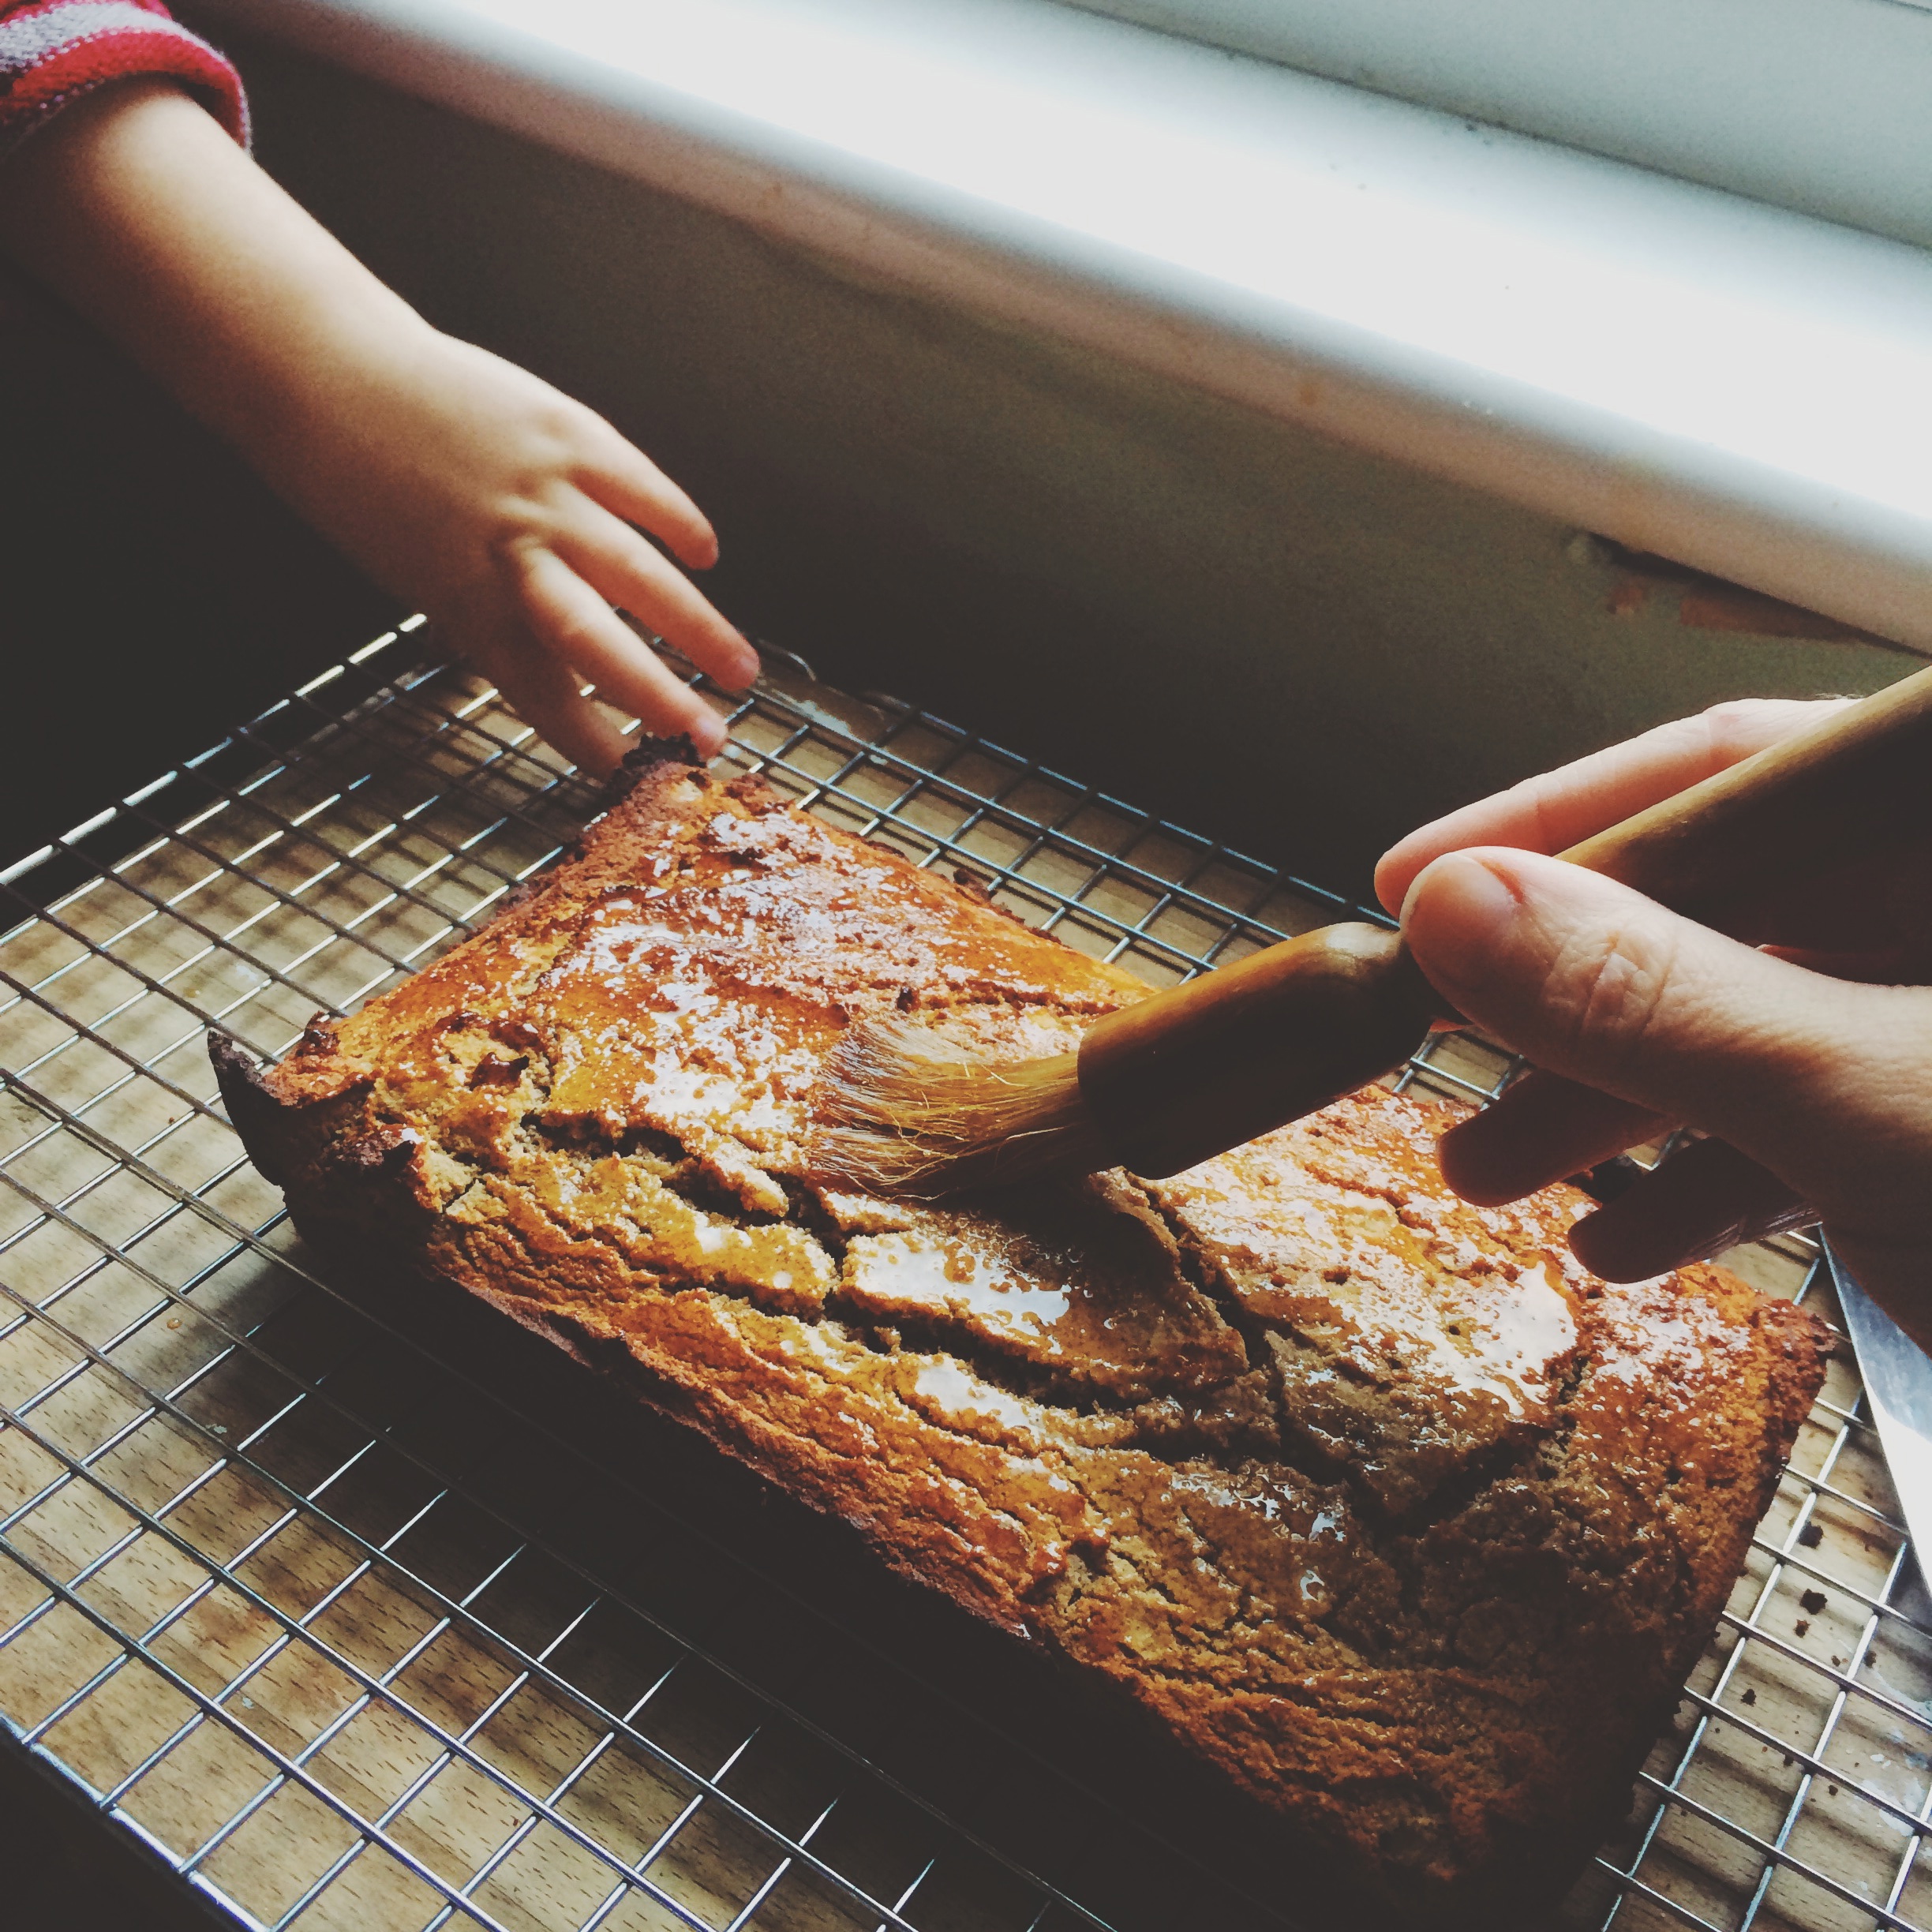
This one is lovely and easy for kids to help with. Pablo's just getting into maths so loves to measure the ingredients, and Indy is always keen to sneak licks of spoons when my back is turned. Line a loaf tin with parchment in the bottom, and butter/coconut oil the sides (indy does this by painting with a pastry brush). Mash the bananas in a bowl, then add all other wet ingredients *except the egg whites*.  Mix all dry ingredients in a separate bowl, then combine the two. Whip the egg whites into soft peaks and very carefully fold into the mixture. 

indy mixing

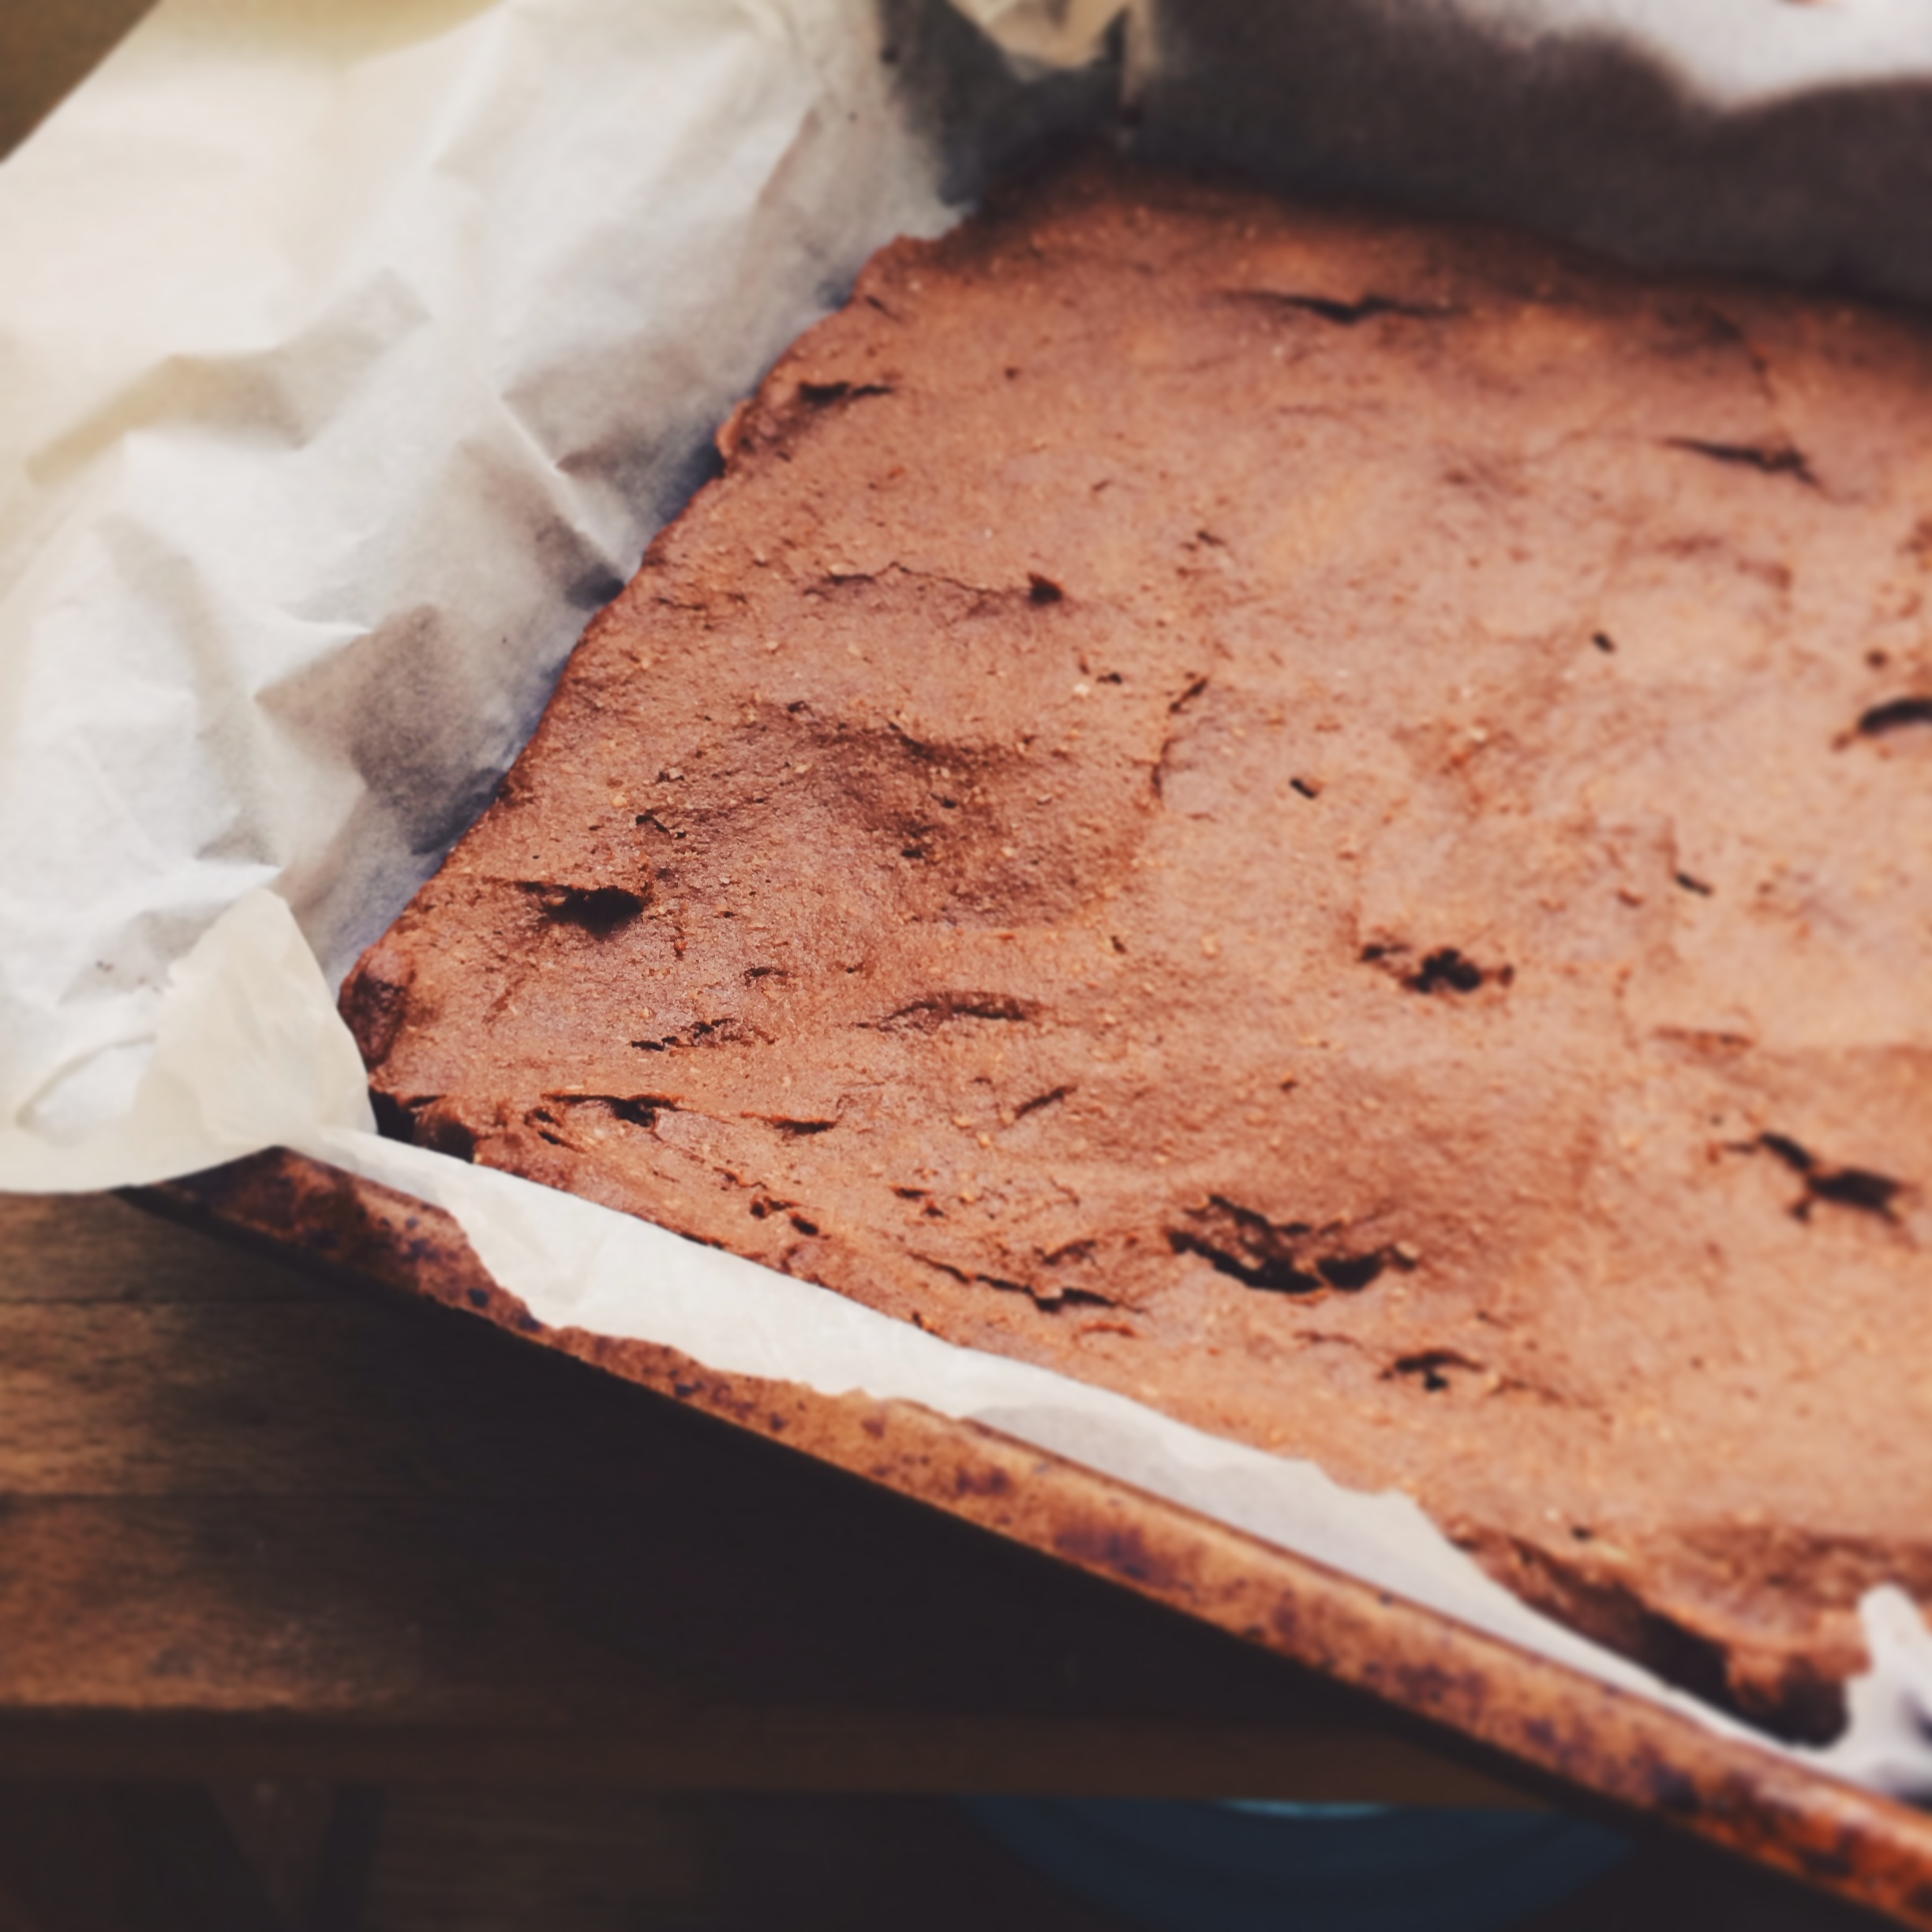
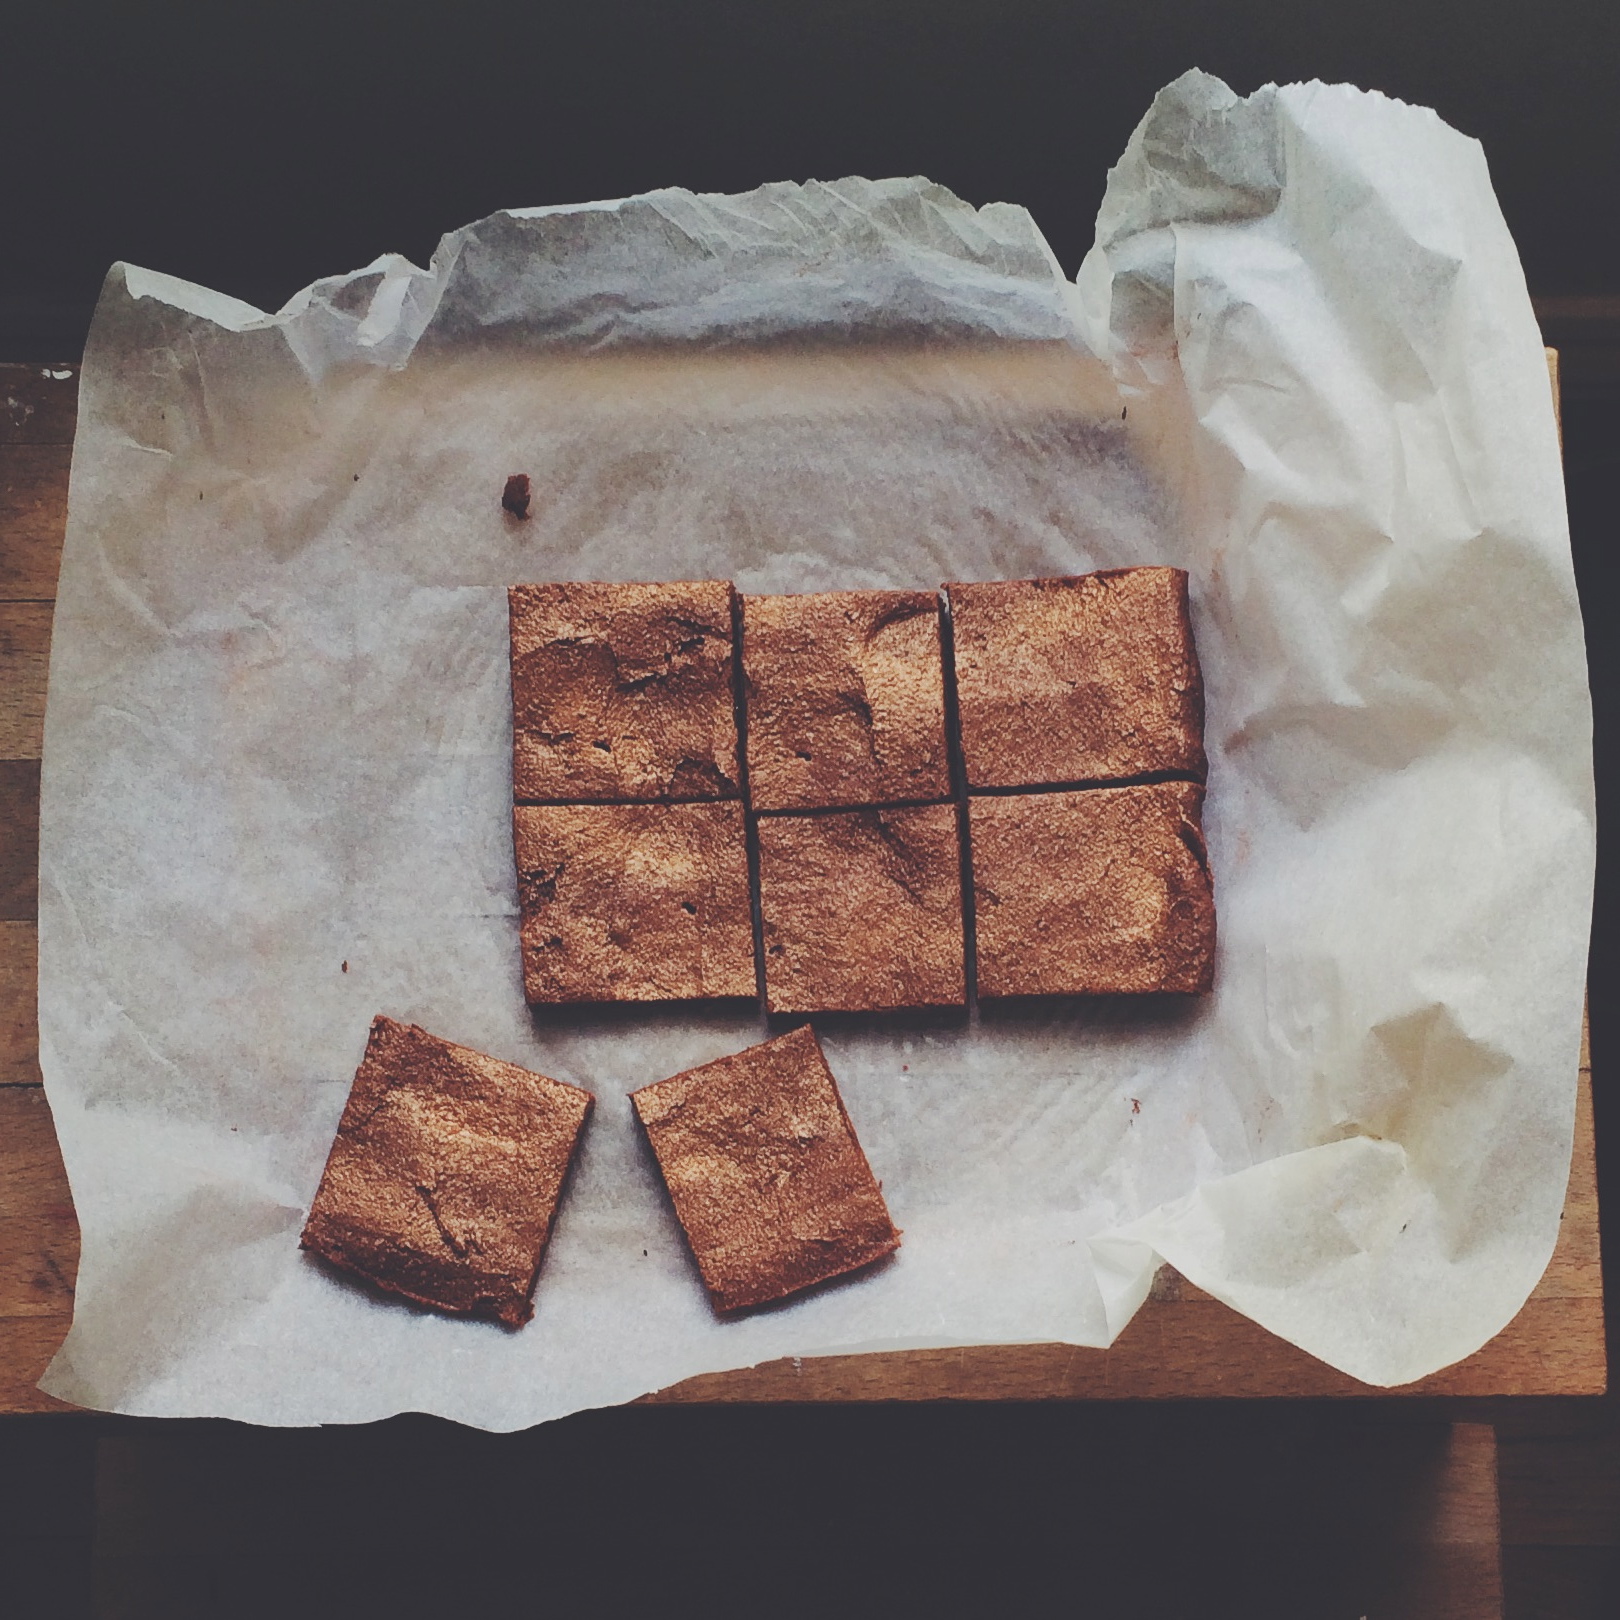
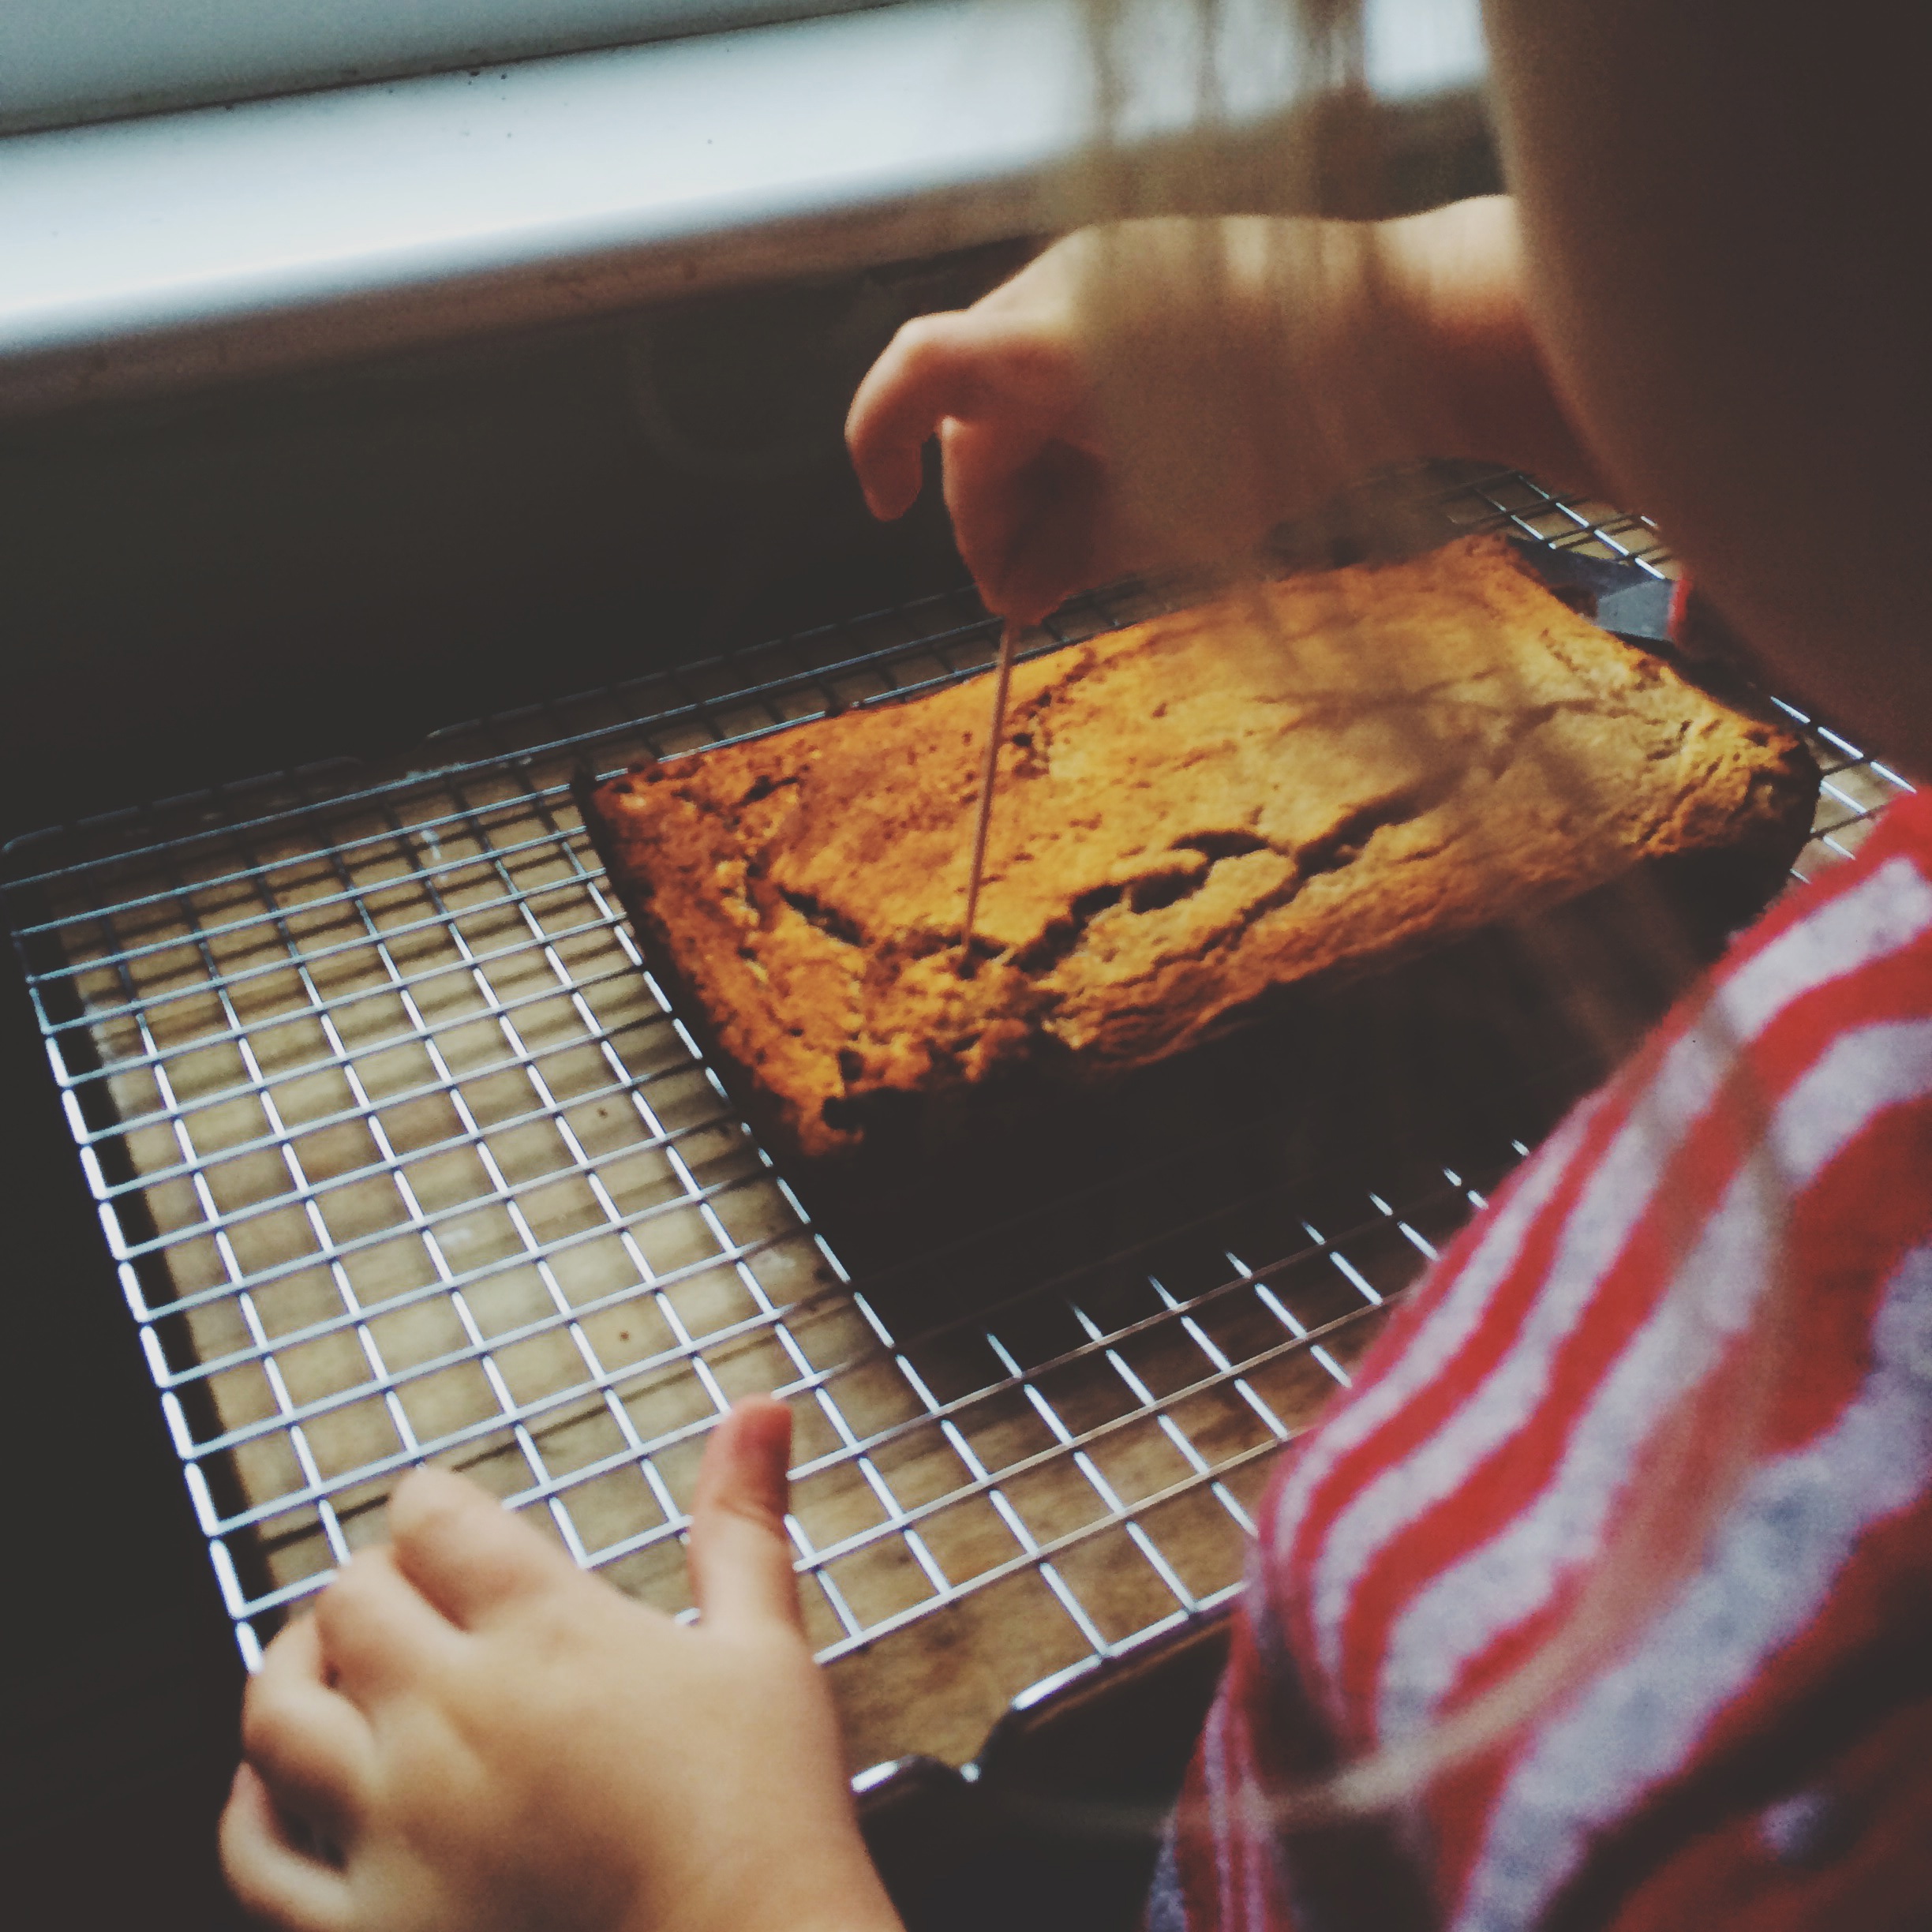
Bake in a preheated oven at 180C for 30 minutes. It should come out lovely and golden. Leave to cool in the tin for ten minutes, then transfer to a wire rack. Warm your additional agave or maple syrup (about 1-2 tbsp) until super runny. Poke the bread with a toothpick all over - not all the way through. Brush with the runny syrup. It makes the bread super glossy and extra delicious. 

The bread is really light and I imagine you could easily jazz it up with some nuts, raisins, coconut, maca....maybe we will try and make a carrot version if any carrots survive in our house long enough not to be juiced. Or a beetroot and chocolate! Ok I'm getting carried away...but make this and eat it and feel better and know that spring is around the corner. I hope. 

These are a few of my favourite things

cactus flower

Baking and sunshine, sunshine and baking…probably my two bests in the whole world. Apart from maybe a very good margarita on a lovely evening with lovely friends. We're a week back from our yearly soaking of Vitamin D at my mama's beautiful little homestead in Spain. Whilst we were there we had a little birthday bash for my mama - al fresco pasta and sangria with the neighbours, who all brought drums and guitars and friends and kept us dancing under the shooting stars. I made a cake (of course), and took the excuse to make one I've been wanting to try out for ages. The original recipe is from the gorgeous Deliciously Ella, and I altered it slightly….and also somehow managed to make it without the luxury of a food processor, so mine was a bit lumpier but just as divine. It's completely gluten/sugar/dairy free and there wasn't a crumb left uneaten…I promise it tasted totally incredible. It's also quick and easy to make. Total winner.

Smug Chocolate & Strawberry Birthday Cake 

for the cake
5ish small sweet potatoes 
2 cups ground almonds
1/2 cup buckwheat flour
1/2 cup gluten free self raising flour (I like Dove's Farm)
1 cup medjool dates (pitted)
3/4 cup water
1/2 cup maple syrup
4 tbsp raw cacao
1 tbsp cinnamon
1 vanilla bean
pinch of salt

for the icing
5 ripe avocados 
1 very ripe banana
1 cup medjool dates (pitted)
3 tbsp raw cacao
3 tbsp maple syrup
2 cups strawberries
handful of almond flakes
edible flowers and desiccated coconut (optional)

Preheat the oven to 180C. Peel the sweet potatoes, chop into chunks and steam for about 20 mins, until they are really soft. In a large bowl, mix the ground almonds, flours, cacao, cinnamon and salt and set aside. 

Prepare the icing by blitzing all the ingredients in a food processor until smooth and creamy. Or, in my case, pop them in some strange manual chopper and attempt to blitz them until they are as un-lumpy as you can manage… Pop the icing into a bowl, cover and keep in the fridge. 

Place the soft, slightly cooled sweet potatoes, dates, vanilla bean seeds (scraped from the pod - discard the pod), maple syrup & water into a food processor or blender, and blend until smooth. Stir this into the dry ingredients until well combined. Prepare three 8" cake tins (I actually think this would be rad even taller in 6" tins, but that might just be me) by brushing with coconut oil and lining with parchment circles. 

Sitting in the hot hot sun whilst you mix the cake is optional but really helps, I find...

Sitting in the hot hot sun whilst you mix the cake is optional but really helps, I find...

Spoon the batter into three separate tins (I like to measure it out with scales to make sure all three have an even amount) and bake for about 20 mins, until a skewer comes out clean. Cool in the tins 20 mins, then invert onto a cooling rack until completely cool. 

Chop your strawberries and layer your cake with strawberries and the creamy chocolate frosting. I sprinkled some lightly toasted slivered amends and desiccated coconut between the layers too, and topped the cake with more of those plus some yummy edible flowers. Keep in the fridge until serving. ENJOY! God I want to eat it again, right now… 


sweet potato brownies

spbrownies

For a few especially frantic, especially sleep-deprived weeks now Pablo has been on school dinners instead of packed lunch. Apart from apparently being pretty "cool" when you're 4, school dinners seem to have this amazing power to send him home at the end of the day starving hungry and with such miserably low blood sugar that I have regularly considered selling him to the nearest circus rather than hear one more second of whinge. Maybe this is because every day seems to be pasta, sweetcorn and jelly? Who knows, but it was evident that I had to man up and start packing a lunchbox again. 

The worst bit about the lunchbox is the snacky bit. I don't like buying the palm-oil-filled overpriced kids' snacks from the supermarket, but I do love to bake…duh…so am always on the lookout for some kind of "healthy" treat that takes as little time as possible to whip up. I adapted this recipe from one by the insanely gorgeous Deliciously Ella, who is a goldmine of adventurous, nutritious ideas. And I promise these are totally yummy, and most importantly Pablo thought they were an actual brownie and felt like he was getting a really serious treat…when they are technically a health food. So, proceed….

spbrownieings

Sweet Potato Brownies

2 medium sweet potatoes
2/3 cup ground almonds
1/2 cup buckwheat flour
14 pitted dates
4 tbsp raw cacao
4 tbsp maple syrup
2 tbsp coconut oil
pinch of salt

Preheat the oven to 180C. Peel the sweet potatoes, cut them into chunks and steam them for about 25 minutes, until they are completely soft. Place them in a food processor with the dates and blend until smooth. 

Add all the remaining ingredients to a bowl and fold in the potato/date goo. Fully line a tin (I went for 10x10 and you wouldn't want any bigger or the brownies will be too thin, unless you double the recipe) with baking parchment and spread in your mix as evenly as possible. 

spbrownieprecook

Bake the brownies for about 20 minutes, or until a skewer comes out dry. Let them mostly cool in the tin before removing and chopping them up. For a bit of added glamour I painted them with a dry brush and some edible bronze lustre - this is always a good tip for making brownies more fancy! If you do so, do it before you cut them up or you'll be in a world of stress. 

Totally delicious, totally healthy…and also totally vegan, should you need that box ticked too. I might try adding some desiccated coconut next time… already planning a next time...

Baking Daddy's cake

IMG_2273.JPG

Happy birthday to King Squid, my lovely husband Konch. We made him a crazy little cake - chocolate chip funfetti sponges filled with peanut butter cream and vanilla cream frosting. I make cakes eternally but always much more fun to get the littles involved and go a bit bonkers. This time we cut shapes from fondant, left them to dry, then decorated them with edible markers and squished them around the cake. Yummy and fun and a big success… 

For the lovers...

image.jpg

Happy Valentine's Day all you beautiful folk out there! Whether you are spending it wallowing in bouquets and love letters, or out looking for someone to kiss, or home doing not much at all (or home baking like a maniac, then rewarding yourself with steak and chips, like me...) it is, at the very least, a fantastic excuse to make something ridiculously delicious, ridiculously pink and very heart shaped. So here's a recipe. 

These are basically croissant-doughnut love children. I can't use the word C**nut because it's been mega-TMed, so I'll call these Cronies. Because they're smaller than the original, and also because the urban dictionary defines Cronie as "a follower, not a leader. The opposite of a hustla" and these are definitely little followers of the famous Cronut... An illustrative example given is:

I'm a hustla homie,
you a customer, cronie. 

(Jay-Z)

Ok, so now we are all on the same page... 

Cherry, Rose & Vanilla Cronies

Recipe adapted from the marvellous Boy Who Bakes
makes about 10 heart shaped cronies

Although these aren't especially difficult to make, they do have many different aspects and take over 24 hours to sort out, so bear that in mind before embarking. If you do set out on the long road to heaven, however, you'll be extremely glad... First up is the dough. This needs to rest in the fridge twice - once overnight - so start the afternoon of the day before you want to eat them!

For the dough:
60ml milk - body temp
65ml water - body temp
6g dry active yeast
125g plain flour
125g strong bread flour
30g caster sugar
.5tsp salt
150g unsalted butter
To fry:
500ml oil - rapeseed or groundnut

Mix together the milk, water and yeast and set aside. In a larger bowl mix the flours, salt and sugar. Cut the butter into chunks about 2cm square, and using a pastry cutter blend them into the flour/sugar mix very briefly - you want to see large 1cm-ish chunks of butter, so don't go making it into breadcrumbs. Once the butter is combined, add the milk/water/yeast mix and combine with a spatula, then knead with your hands briefly to form a ball of dough. It's essential the butter stays cold and chunky throughout, so only the bare minimum of hand-touching please. Titillating, I know... Now pop the ball of dough back in the bowl, cover with cling film and put into the fridge for a few hours - I'd say minimum 4. At this stage, if you can, make all the other bits & bobs:

to sugar:
50g caster sugar
1/4 tsp rose extract
(or you can use rose sugar if you have a jar)
cinnamon
to ice:

icing sugar
maraschino cherry syrup
cherries
edible glitter
pasteurised egg white 

Mix the sugar and rose extract in a bowl. You could also use rose sugar if you have some, or rosewater, just add to taste - you want it to be pretty dry, so only add a little at a time. Finish with a dash of cinnamon, again to taste. I find one large shake is good. In a separate bowl mix a tablespoon of syrup from a jar of maraschino/cocktail cherries with a tablespoon of water, then add enough icing sugar (sifted) to form a thick paste, a similar consistency to toothpaste is ideal. If you want you can also add a tiny bit of pink gel colour. Tip onto a square of cling film and roll at each end, making it airtight. Keep this in an airtight container until you need it. 

If you want to make glittery cherries to top your cronies, use a paintbrush to brush the cherries with pasteurised egg white and then a dry brush to add edible glitter. You can also use edible glaze or an icing sugar/water solution in place of the pasteurised egg white but I find them less effective and messier. 

IMG_0039.jpg

to fill:
250ml full fat milk
1 vanilla pod
3 egg yolks
60g caster sugar
25g plain flour

Now for the yummy vanilla creme patissiere filling. Scrape the vanilla pod into the milk in a small saucepan, then add the pod itself. In a bowl whisk the egg yolks and sugar until pale and creamy, then add the flour and mix until smooth. Heat the milk to just under the boil (it will start to steam a bit and small bubbles will form around the edge). Slowly pour half the milk into the egg/sugar mix, whisking throughout, then slowly add the rest. Return the whole lot to the pan and bring to the boil, whisking continuously. Keep at the boil for one minute, whisking the whole time, then remove to a clean bowl, scoop out the pod and cover the surface with greaseproof paper (pressed onto the surface of the custard, to prevent a skin from forming). Leave to cool at room temp, then pop into the fridge until you need it. 

Before heading to your bed, remove the dough from the fridge and roll it out on a floured surface into a rectangle approx 20cm x 40cm. Then fold the short edges towards each other, as though you are folding a letter to post. Turn the dough 90 degrees and roll it out again. Repeat this process until the dough has been turned a total of three times, then return to the fridge, wrapped in cling film, overnight. 

image.jpg

Wake up! It's time to roll out your dough! On a floured surface, to approx 1cm thick. Then use your cutter of choice to cut the little cronies out, and place them on an oiled and floured baking tray to prove. You can squidge up and re-roll the dough, but don't expect as flawless results and don't let it get too warm from handling. Usually these messier looking ones are the tastiest, so it's worth it.  

The proving process takes however long it takes - it all depends on how warm your kitchen is. If it's very cold, you can try popping them into the oven at 30 degrees but keep a close eye. Mine take anywhere from 25 mins to 45 mins to puff up - you can check by giving them a gentle prod. You don't want them to have too much or too little give. Over-proving will give you big heavy lumps, so be vigilant and keep practicing. 

Heat your oil in a deep saucepan until it reaches 170C. It's pretty essential to use a thermometer as the oil can rapidly become too hot and burn the cronies, or cool down so much that it makes them greasy. Around 160-180C is optimum. Add two or three at a time and cook until golden brown, about a minute and a half per side. Remove to drain on racks with kitchen paper beneath to catch the grease.

As soon as they are cool enough to handle, roll the edges of the cronies in the rose sugar. I find a wide paintbrush helps to get this neat and even. Then leave to cool completely. 

IMG_0042.jpg

Once absolutely, definitely cool, use a food syringe to fill the cronies with your delicious vanilla custard. I usually make a hole right in the middle top, as this will then be covered by your cherry icing. Pop your icing into a piping bag and pop a thick swirl on each. It dries super fast so be ready to add your sparkly cherries, or any other topping, asap after piping. And....enjoy! But make sure you eat them same day, they aren't too happy after a night alone in some tupperware. 

If you're not aiming for perfection, this is absolutely something the littles can get involved in, especially the cutting out and icing. And the eating, of course... 

IMG_0024.jpg

cookie monster

Nom

Nom

I've been being all January and taking a long, hard look at our eating habits. It's so easy with kids to slip into a routine where every meal is based around wheat and cow's milk, the two things we are supposed to try and have less of. Not to mention the horrible hidden sugar in everything from bread to baked beans. So it's been a month of learning new, quick recipes and making things from scratch, and actually it's been really fun. I got this fab Gwyneth Paltrow cook book, which is full of super fast, mega tasty family friendly meals and snacks. I must have made about 15 of the recipes so far and have yet to be disappointed. I know, I know, everyone loves to roll their eyes at Gwyneth - and she invites it, to a degree, with the inclusion of phrases such as "Like a prize, a perfectly ripe avocado emerged from Gwyneth's carry-on" errrm - but I bloody love her, especially for this book. Seriously. Try it. 

I've been loving the soups, the endless avocado and quinoa feasts, but sometimes you need a cookie. Especially if you are a hyperactive smalley. Or a little boy with a lunchbox. So today Indy and I baked up a batch of invented biscuits, and they were so completely delicious that I had to share… 

Raring to go...

Raring to go...

Monster biscuits

110g gluten-free plain or self raising flour (we use Dove's Farm)
1/2 tsp baking powder
1/2 tsp cinnamon
1/4 tsp salt
75ml coconut oil
3 tbsp raw honey
75ml maple syrup
2 tsp vanilla
1 large egg
grated zest of half an orange 
50g oats
50g grated carrots
50g raisins
1 mashed banana

Mix together the flour, baking powder, cinnamon and salt in a small bowl, and set aside. In a big bowl, mix the coconut oil, honey, maple syrup and vanilla. Try not to let your toddler eat it all at this stage - this is the most challenging bit of this recipe. Add the egg, the orange zest & mashed banana and give it a good mix.

Next add the dry ingredients to the wet and mix until well incorporated. Then mix in the oats, raisins and grated carrot. Indy was pretty into pinching these out of the bowl too… Once all is mixed, add dollops (approx 1 tbsp) to a cookie sheet - ours is nonstick (but a bit haggard) and we didn't bother greasing it, which worked out fine.  Bake at 170C for 12 minutes, then place on a rack to cool. 

Having made this kind of "healthy" biscuit before, with varying degrees of success, I wasn't expecting them to be so incredibly tasty. They were soft and sweet and tasted like the best home made oatmeal raisin cookies I've had. And they were quick to make, and a fun activity with a crazy toddler. Hopefully Gwyneth would approve, too… 


Biscuit Brigade

This blog has been like a ghost town since my last post, which promised a website reveal and cronuts recipe that never materialised. The shame! I promise they are both on the horizon, and will appear one day before the year's end. In the meantime I've been up to my armpits in cake orders and small children, and haven't even checked an email for actual weeks. However, I've been shocked out of my sugar rush by the realisation that Christmas is hurtling towards me. It's just one month away, and I've not even thought about all the festive fun I want to cram in before I wake up in a sea of Quality Street wrappers on the 27th to the harsh realisation that life is once again devoid of reason for overeating, over-baking, random platters of large cheeses and general overindulgence in port. 

IMG_7889.jpg

So it was that we kicked things off with a gingerbread party! I thought it would be fun to add a bit of nutrition to balance the treacle, and so we attempted the following, which I stumbled upon via this site

Spelt and Agave Gingerbread

330g spelt flour 
.5 tsp salt
.75 tsp baking soda
2 tsp ground ginger
1 tsp ground cinnamon
.25 tsp ground nutmeg
.25 tsp ground cloves
113g unsalted butter
1 large egg
80ml agave syrup
80ml treacle/molasses

(if you prefer your gingerbread lighter in colour, use golden syrup in place of treacle)

some of the treacle actually made it into the dough...

some of the treacle actually made it into the dough...

The dough is so easy to make that the kids did it all themselves, bar the weighing and measuring, and despite devouring dangerous amounts of treacle along the way it came together perfectly. Mix all the dry ingredients in one bowl, and all the wet (including butter) in another, then just stir them together, at some stage transferring from spoon to hands to squish it all into a ball. We then left ours in the fridge overnight, but you would want to leave it for at least half an hour as otherwise it's too sticky to work with. 

Cutter-sorting kept her busy for almost an hour! Coup!

Cutter-sorting kept her busy for almost an hour! Coup!

Next day we had besties Edie & Holly coming over for a dinner date, so we planned a gingerbread baking party beforehand and the kids went to town making some fabulous gingery creations. Roll the dough out to about 5mm thickness, cut your desired shape, then pop on a parchment-lined tray in the oven (170C) for approx 10 minutes. We decorated ours first, with varying degrees of success, with pumpkin seeds, raisins, sugar crystals and bits of orange peel. You could also ice with basic royal icing and sprinkles after they are cooked and cooled, which I did a tiny bit of before losing interest and just eating them. The pumpkin seeds were super yummy baked into the gingerbread. It was lovely to watch the kids really get into decorating - Indy and Holly, despite being the littlest, really focussed on making pretty designs. It took them ages to catch on to the fact that the dough was edible, at which point we had to step in and confiscate it… Such a lovely activity from start to finish, that the kids can really just take over with and isn't hideously messy. Needless to say we all enjoyed devouring them afterwards too… 

We made doughnuts...

Sickeningly easy, and luckily we had a BBQ to attend so a good excuse to gift them to someone else before we ate them all... 

If you're hunting for a good recipe for raised doughnuts I highly recommend Lara Ferroni's. Or you can make yummy English jam doughnuts via this post on my blog... 

strawberry milkshake cake

My lovely friend Jennie is always so patient and generous with her time when it comes to helping me out with little sewing projects (and teaching me how to make amazing quilts! Well, her quilts are amazing. And so are her classes - bookable here) that when she offered to spend her actual birthday helping me to prep a quilt for Pablo I thought it would only be right to make her a big old cake...

IMG_5342.JPG

Jennie is one of the more colourful folk I know (literally - she was dyeing her hair turquoise as we sewed) and made a special request for no chocolate, so I was excited to have an excuse to hunt out a suitably colourful cake. As usual, Sweetapolita did not disappoint and I went with an adaptation of her Strawberry Layer Cake with Whipped Strawberry Frosting

350g Granulated Sugar
85g Strawberry flavoured gelatin crystals (don't be a moron like me and get block jelly. I had to send husband on a last minute urgent errand to buy crystals and all he could find were raspberry vegetarian jelly crystals, which worked perfectly, just fyi...)
227g unsalted butter, softened
4 large eggs
300g cake flour (this is not widely available in the UK - see tips on how to make your own here)
1 tbsp baking powder
3/4 tsp salt
240ml whole milk
1 tbsp pure vanilla extract
60ml strawberry puree (blend a handful of slightly defrosted frozen strawberries)

Preheat oven to 170C. Line 3x6in round cake tins with parchment and flour, tapping out any excess. Ensure strawberry puree is not icy, then combine with milk and vanilla. In a mixer, cream the butter with the sugar and jelly crystals until light and fluffy. I usually cream the butter a minute or two on its own first to make sure it's soft enough, or this can take ages... Sift the remaining dry ingredients together. 

Add eggs to the creamed butter and sugar one at a time and mix well after each addition. Use a spatula to scrape down the sides of the bowl so that everything is combined. Next alternate adding your dry ingredients and strawberry milk mixture, starting and ending with the dry. Mix well between additions but be careful to only mix until combined, not over mix. At this stage I also added a couple of drops of Americolor Neon Pink gel colour to give the cake an extra pink kick. 

Divide the mix between three pans. I thoroughly recommend weighing the batter so that this is as exact as possible. Bake in preheated oven approximately 30 minutes - my oven is pretty hot, but I recommend carefully (and speedily) checking the cakes with a skewer after 25 mins and keeping an eye on them every 5 mins beyond that. 

When the cakes are done, leave them in the tins 10 mins before transferring to racks to cool completely. Then make the icing!

250g unsalted butter, softened and in cubes
330g icing sugar
10ml milk
1 tsp pure vanilla extract
30ml strawberry puree (as above - it can be cold but make sure it isn't icy)

Whip the butter for 8 minutes at medium speed with an electric mixer. Add sifted icing sugar slowly with the milk and vanilla and mix on slow 1 min and then on high for 6 more. Then add the strawberry puree, and a drop of pink gel colour (optional - and you can of course add more than a drop! Just be aware that the colour does add a slightly yucky taste, and that it MUST be gel colour or you will be adding too much liquid). 

Stack the cakes and ice generously between layers before doing a very thin crumb coat to cover the whole cake. Pop the cake in the fridge for 30 mins before removing and applying a thick final coat of icing. 

The cake was DELICIOUS, really moist and tasted just like those naughty strawberry milkshakes I'd get at the seaside as a kid. It also looked pretty spectacular in all its pinkness. Definitely one to make again. Two large slices was probably a bit much but I needed to keep my strength up for cutting all those quilt squares...

Christmas bake

The couple of weeks leading up to Christmas were INTENSE, mostly due to baking commitments (ok, and whims...) Here's a few things we got up to:

L-R from top...

  1. cutting heart shaped doughnuts
  2. double choc 70th birthday cake
  3. making christmas biscuits with Elton John
  4. incredible rolls by Konch
  5. red velvet christmas cake
  6. finished doughnut heart
  7. cassis mince pies (with cinnamon-chic ice cream)
  8. our gingerbread cabin
  9. proud biscuit baker
  10. all iced and packed up for the school party
  11. cinnamon-choc ice cream getting going
  12. satisfying gingerbread poke by Pablo